Research Project – Unit 1
I like these examples from Yuki Nakamura as inspiration for our ceramic frame project. Both of them provide a lot of texture and communicate a landscape idea. While both of them would need to be flattened for the unit 1 project, I think that the 3D shapes would still communicate in the 3D form. I’d like to explore using these in my project.


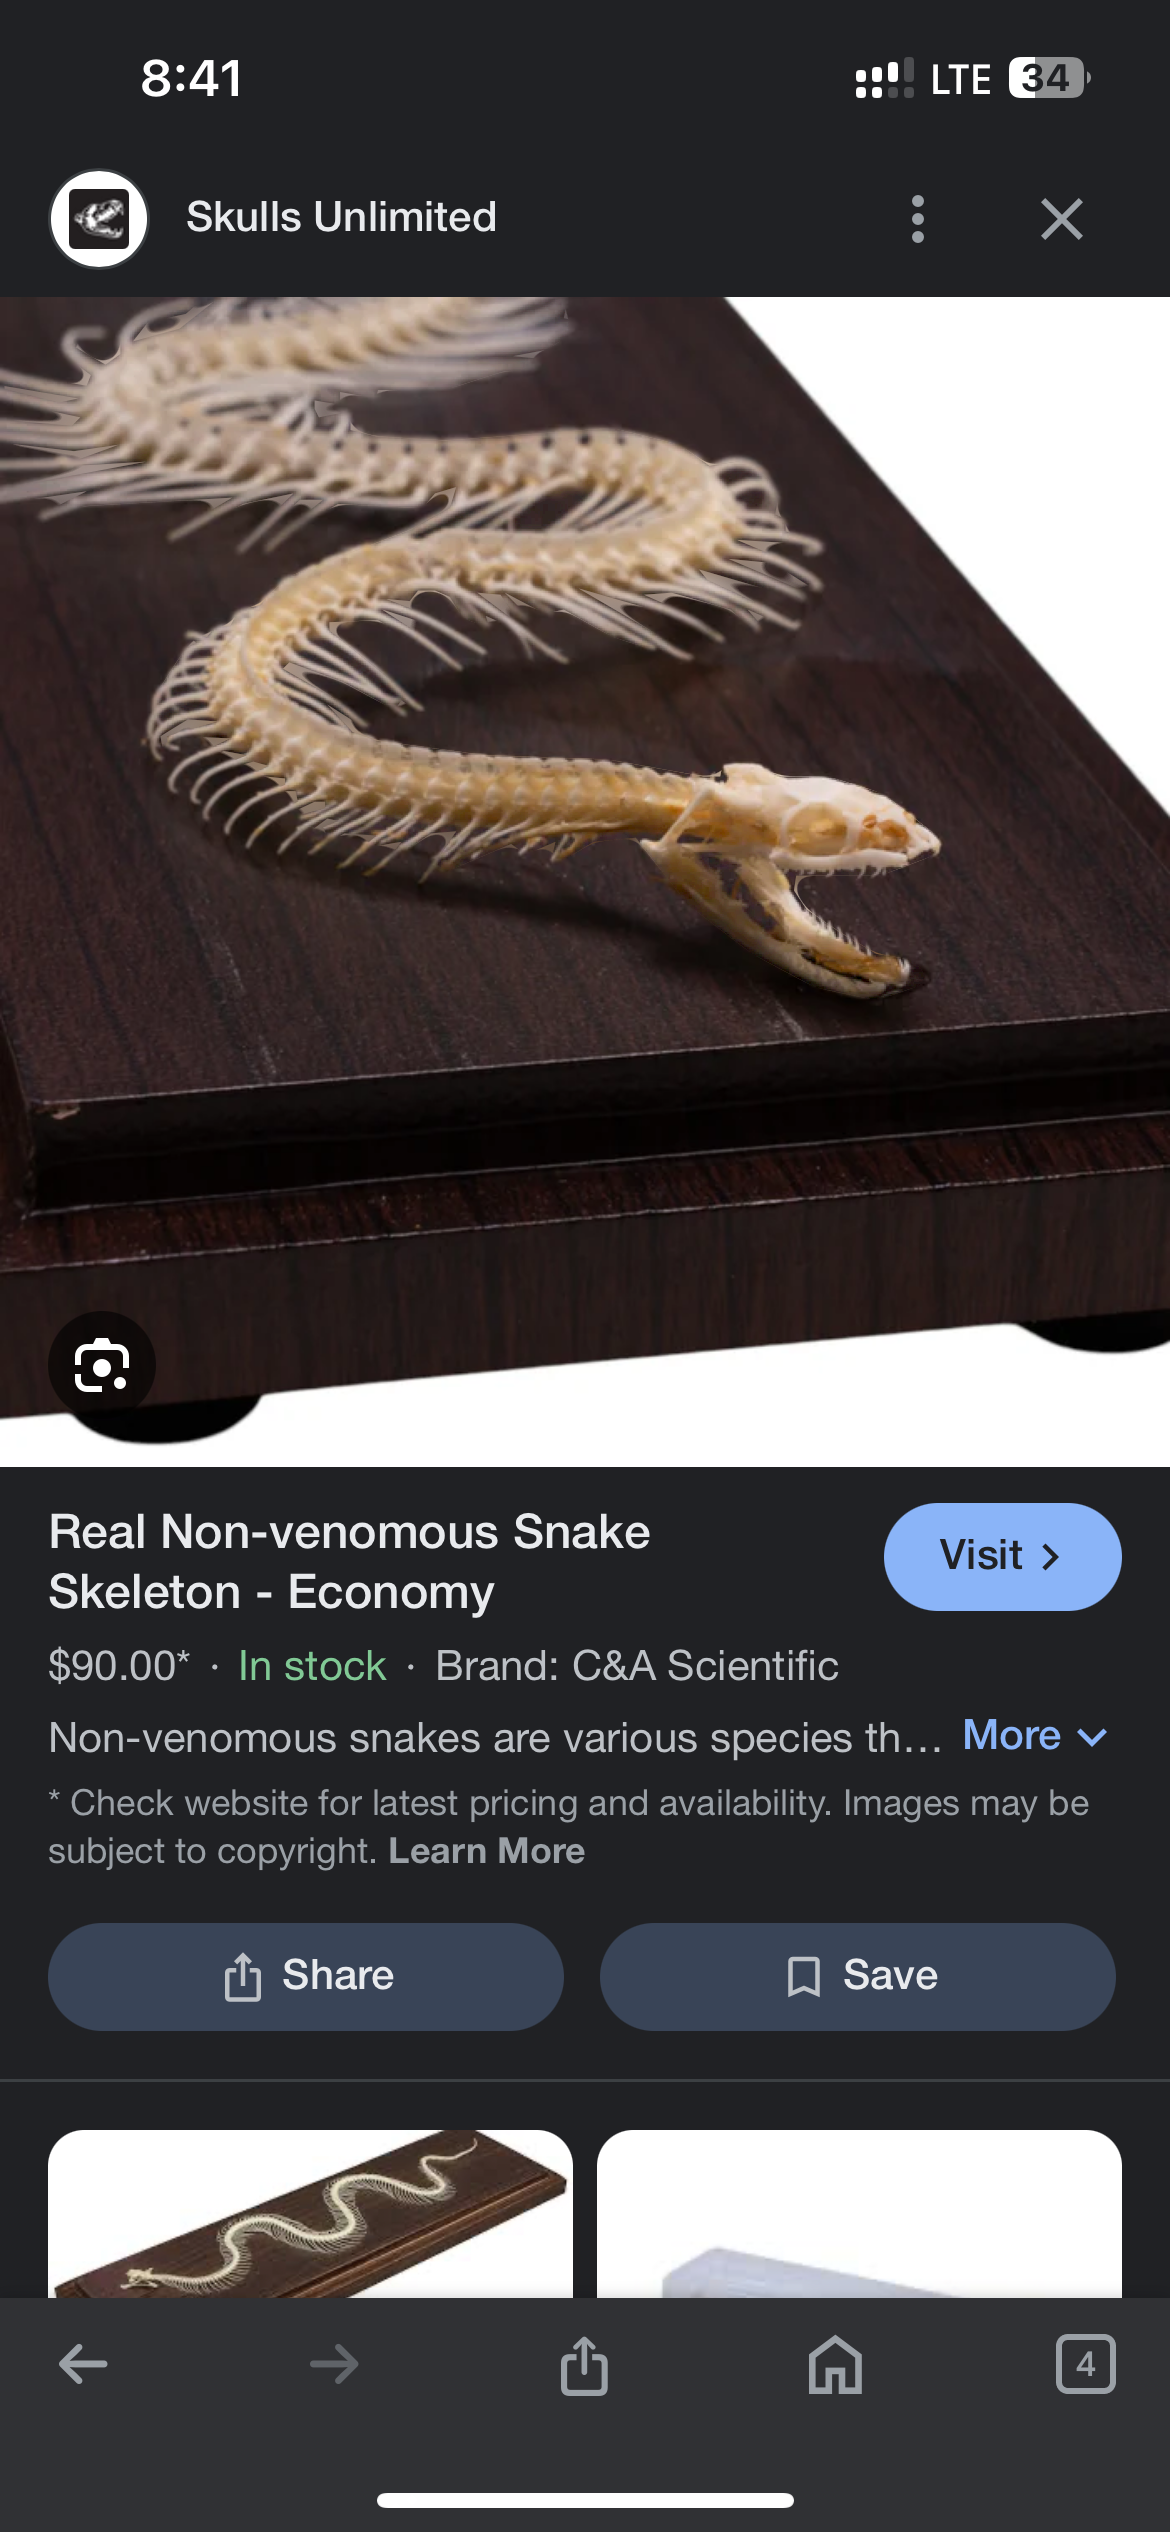
I like the way that the following piece by Yuki Nakamura utilizes a simple shape. I’ve been noticing how much I’ve been drawn to a specific form – a snake – and this is a reminder that sometimes simple can still provide an incredibly beautiful.


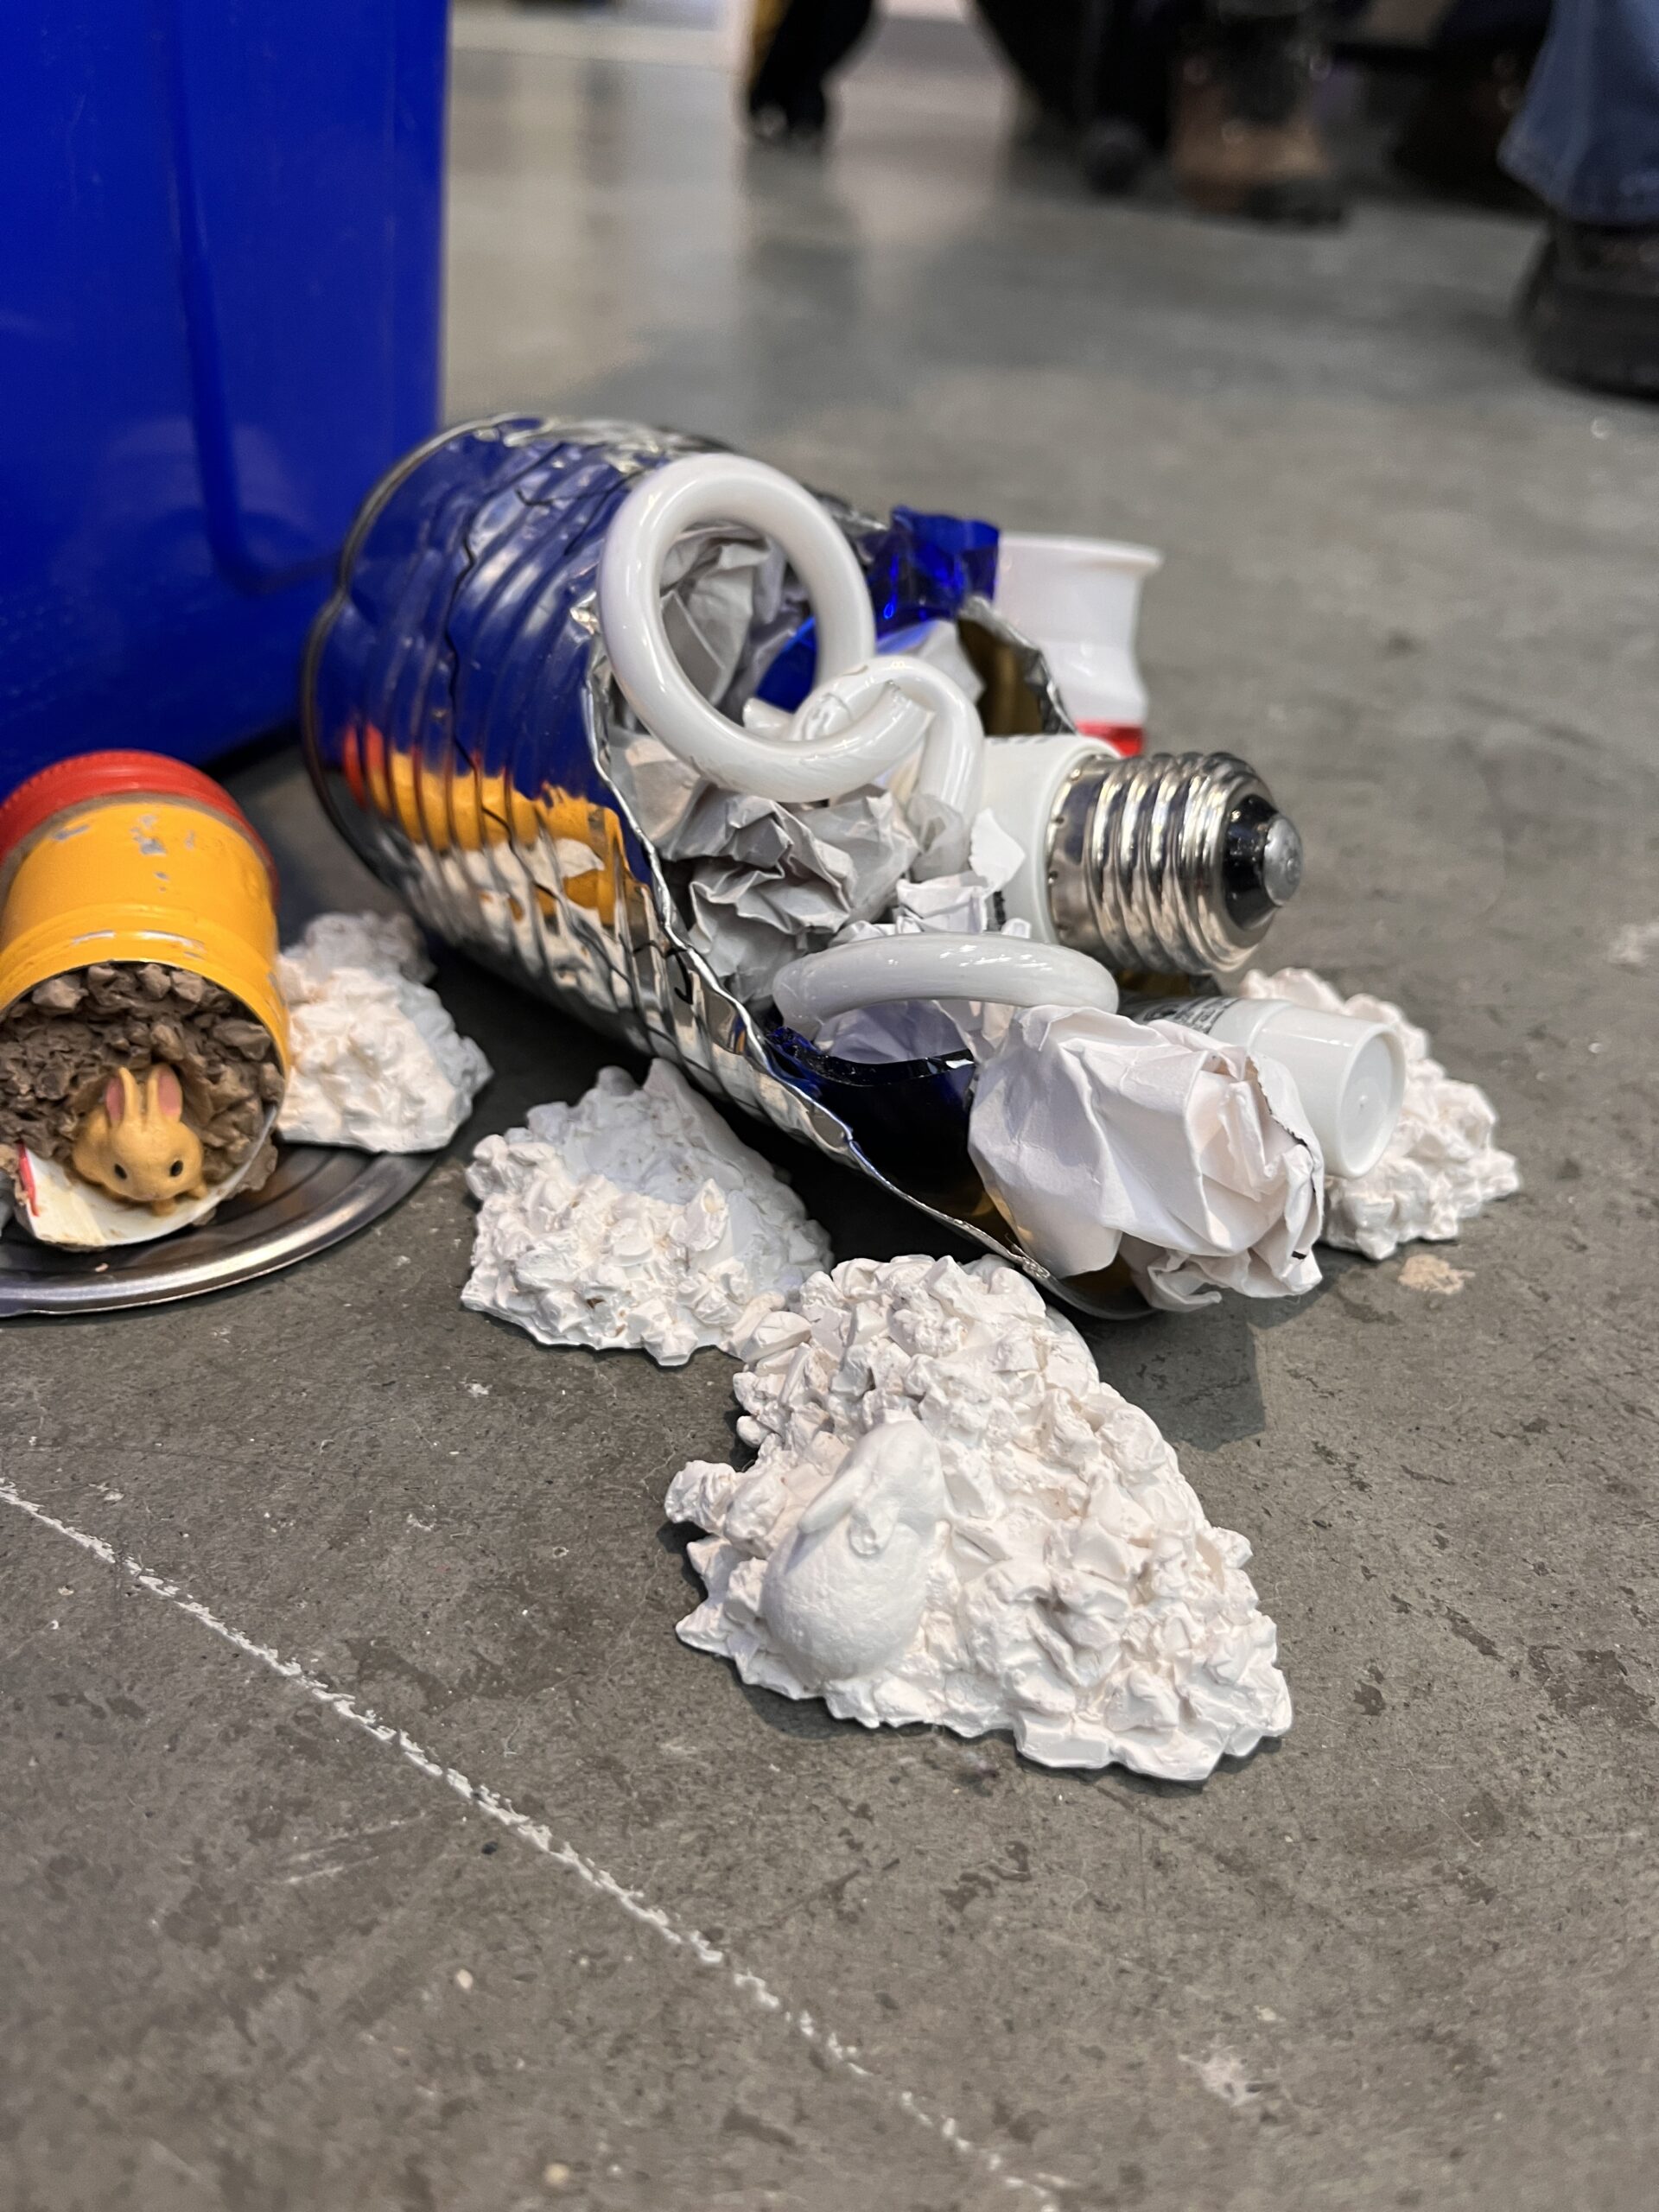
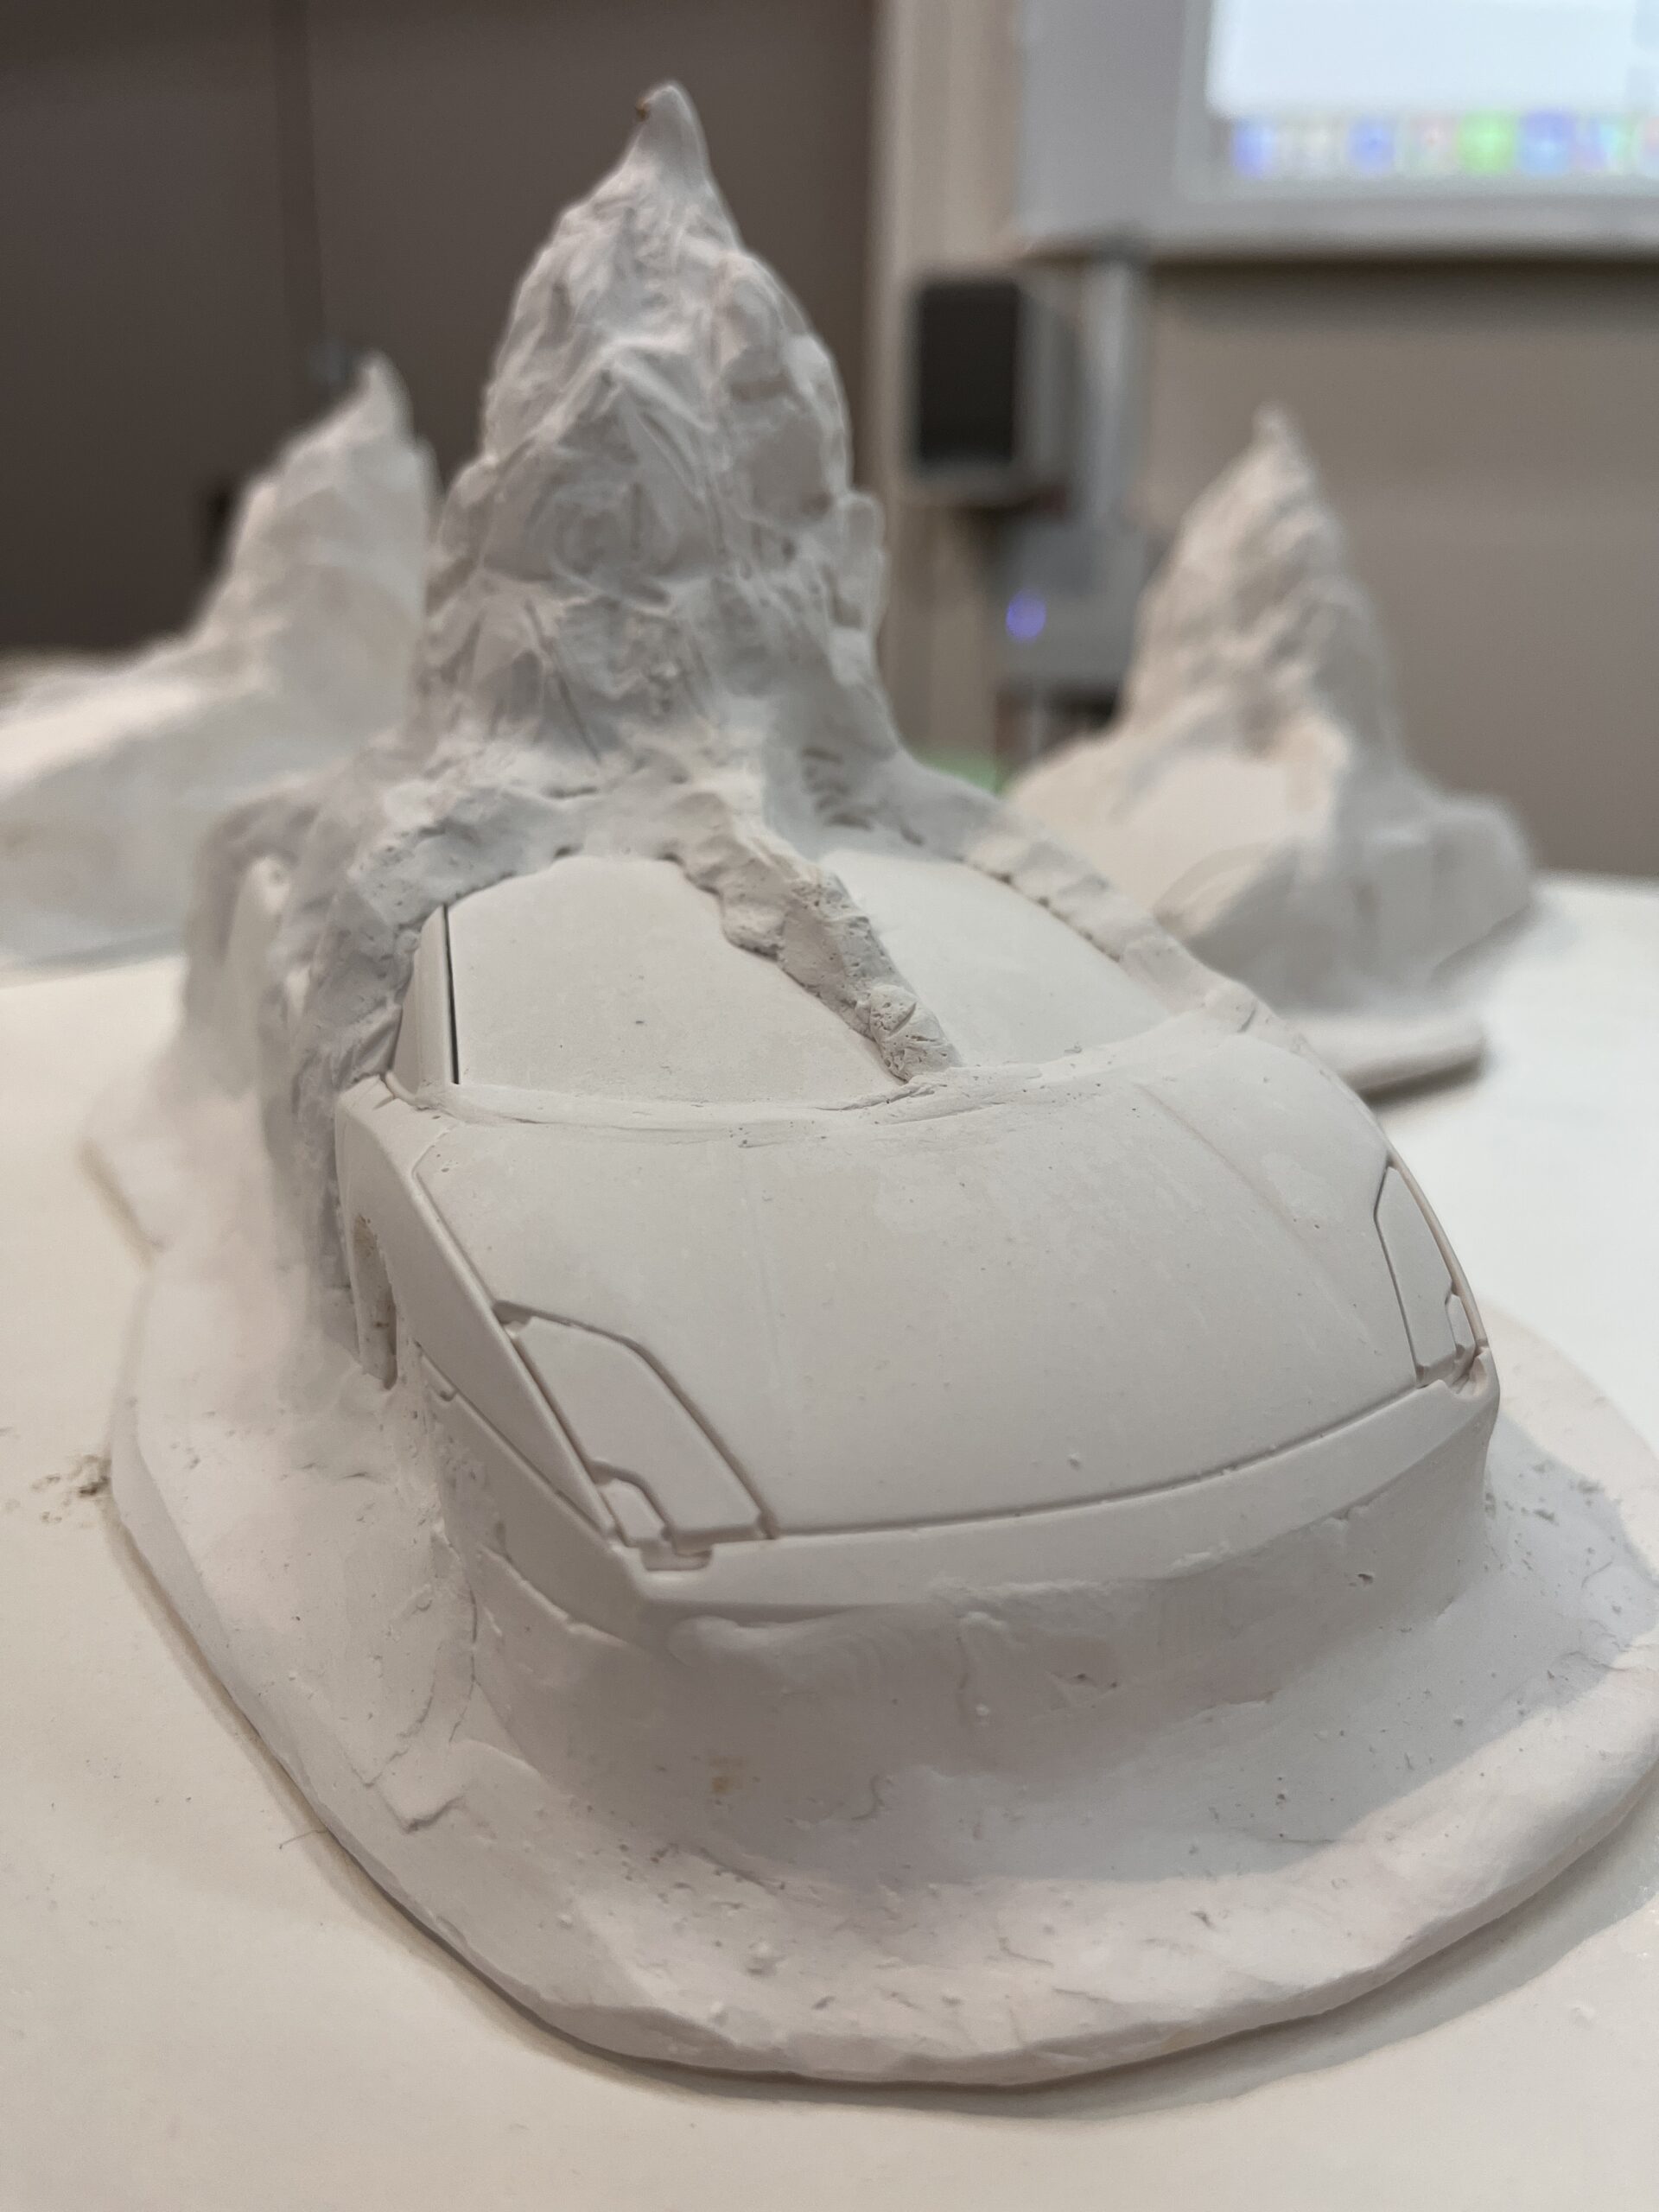
Chrostopher Locke (cast/altered familiars/editions of multiples)
What I like about Christopher Locke’s work is the humorous presentation. This idea of using the descriptions as a way to. add humour to the design is a fun concept. This approach changes the tone of how I read the work. The subject matter now seems like a commentary on the how ridiculously fast our technological field is advancing,

Mischer’Traxler
Curiosity Cloud: I like the Mischer’Traxler’s idea of documenting the natural world and bringing it into modern spaces. Somehow the contrast of organic objects, like insects, incased in glass bulbs both shows the preciousness of the insects and a sense of of separation from the natural world and the human world – which was once natural. I like the idea of separation and closeness and the repetition of the glass bulbs.


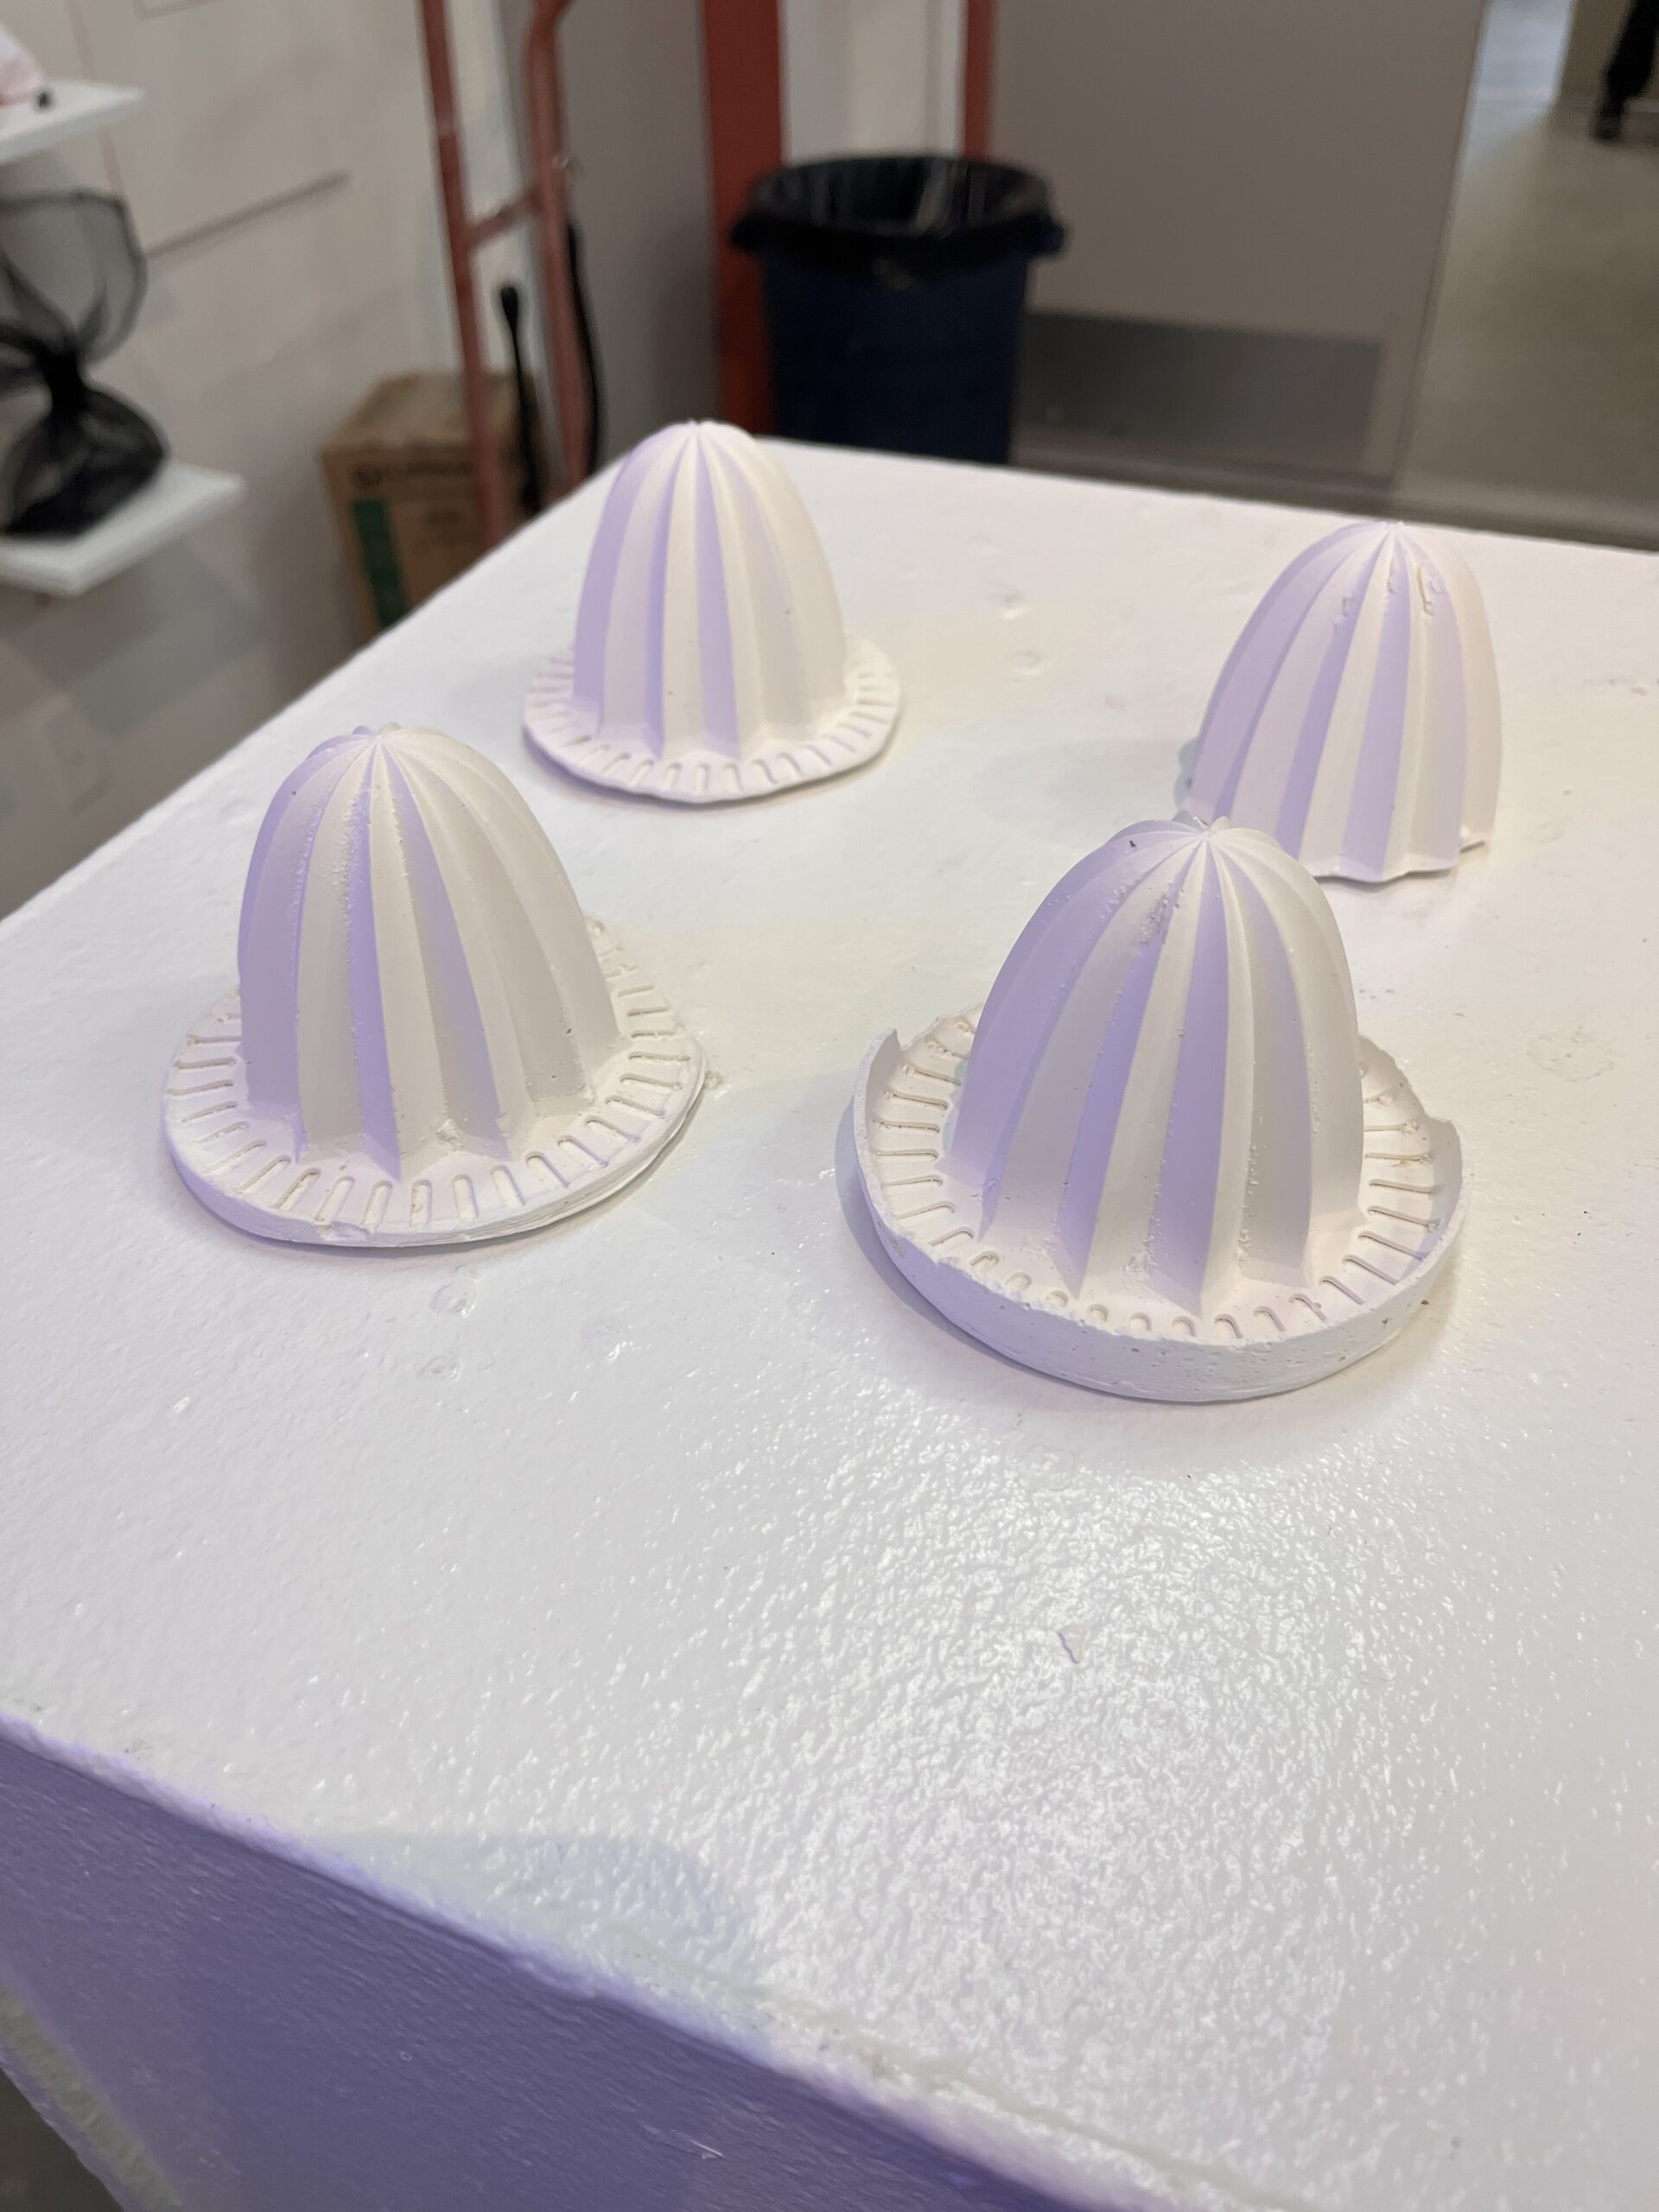
Micher’Taxlers’ reversed volumes: a collection of bowls that captures the imprint
of real fruits or vegetables, is a practical, colourful and celebratory of the foods that form us. I love the idea of imprinting foods. I wonder if I could apply this method to create a human form, furthering this concept as food being an essential building block to human life: you are what you eat! So eat well!
Sharon Pazner (familiars/altered/casting – related material (cement)
Sharon Pazner’s work below brings simple objects to life. The heart and the gears feel potent. I’m reading it as a commentary on the way that hearts (and minds) change with time. simply connecting two familiar but perhaps contrasting (metal gears with organic heart) creates a curiosity that leads to storytelling. Then there are the houses. The middle image of the house connected by nails brings me to an interpretation of the housing crisis and the way our houses are barely holding the space needed for our families. Something that could be warm and comforting like a home, split by the cold rusty nails is powerful. Then there are the housing with the nails. This reminds me of Baba Jaga. The gesture like stance and provided by the nails and the stuck legs in cement create interest. They look percarious and yet at the same time stuck!


Katharina Fritsch
The following works by Katharina Fritsch draw me in from their colour and size. For Torso, the colour is not on the subject, but the background. This is a reminder as well that the context can emphasize the work. Think outside the box! The rats on the otherhand are interesting because of their size – what would life be like if we took a small being like a mouse and made them larger than life. Also the gesture and stance in relation to others tells a story. I like this example of repetitive objects because here we can see how the repetition and relation to one another tells a story.


- cris tufiño
- DANCING AT THE END OF THE WORLD
- PRESS
- Mike Goodlett
- https://www.jmkac.org/exhibition/2016/escape-routes/mike-goodlett.html
- Genesis Belanger
- https://www.artsy.net/article/artsy-editorial-20-female-artists-pushing-sculpture-forward
- Dan Lam
- Beautiful and Bizarre Neon Sculptures – Fubiz Media
- Dan Lam
- google search: contemporary art sculptural casts everyday objects
- Christina y Efren (concept drawings and maquettes – click left right)
- http://www.cero9.com/project/tower-in-las-vegas/
- David Umemoto (cast/modular/familiar/concept iteration drawings)
- Concrete Modular Cities by David Umemoto
- Wolfgang stiller (hybridized utilitarian object/tool)
- https://www.designboom.com/art/matchstick-men-by-wolfgang-stiller/
- Art installation illustrates the harsh impact of burnout syndrome: Matchstick men by German artist Wolfgang Stiller – DZine Trip
- Home – Wolfgang Stiller
- Kaolin – Tov Tenga (referencing functional forms)
- http://kaolin.se/tove-tenga/
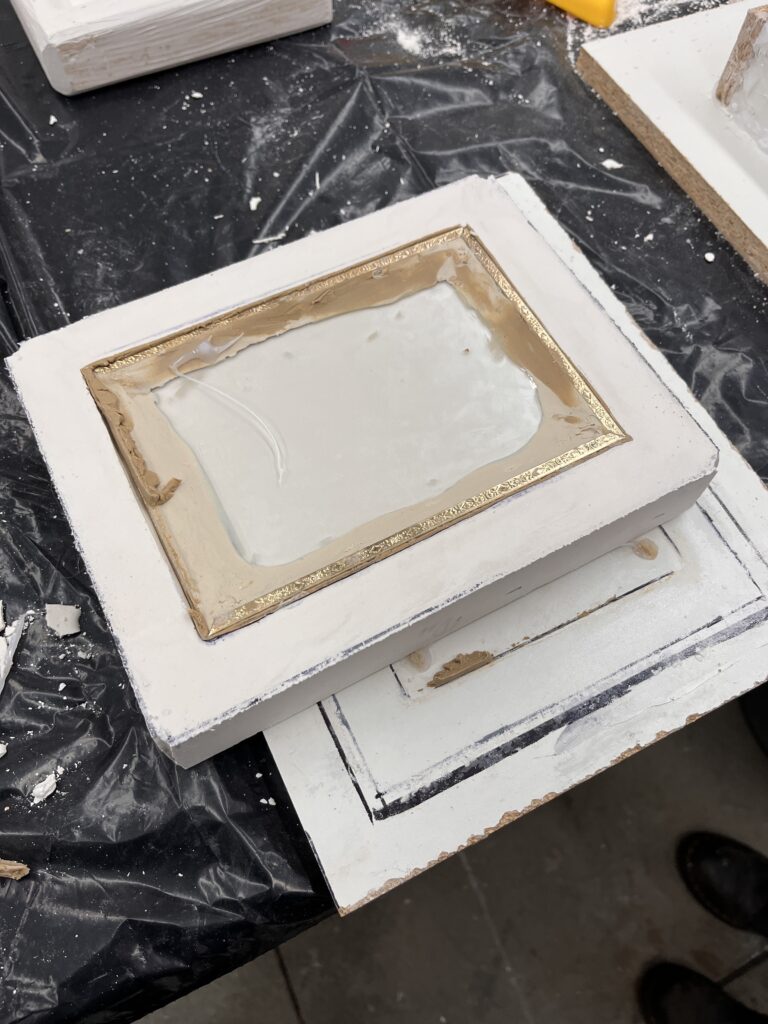
Technical Exercise – World Within, Space Between
This technical exersize had a lot of steps:
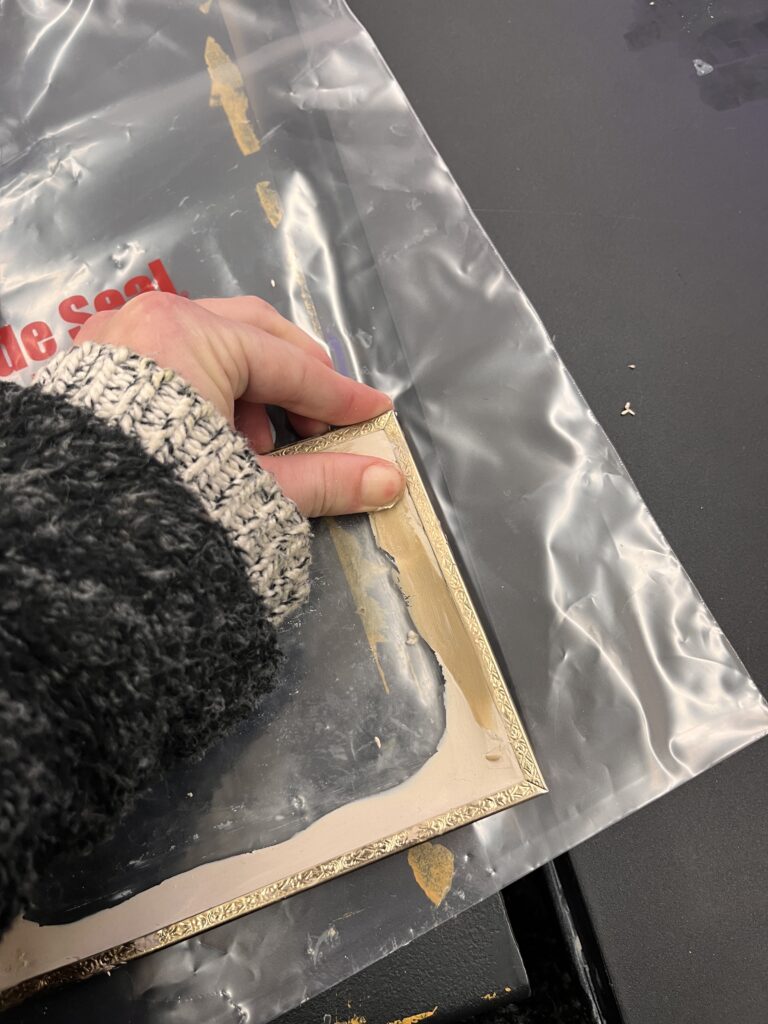
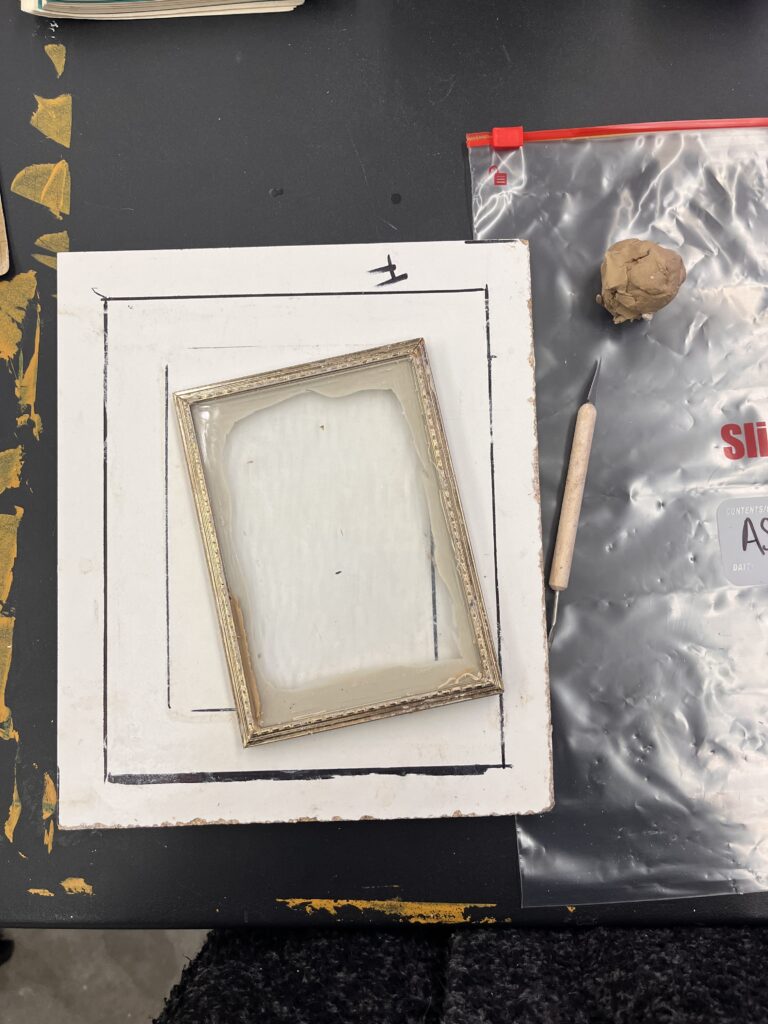
- first we chose our selected piece and cleaned it up ensuring there was no guck from the last use
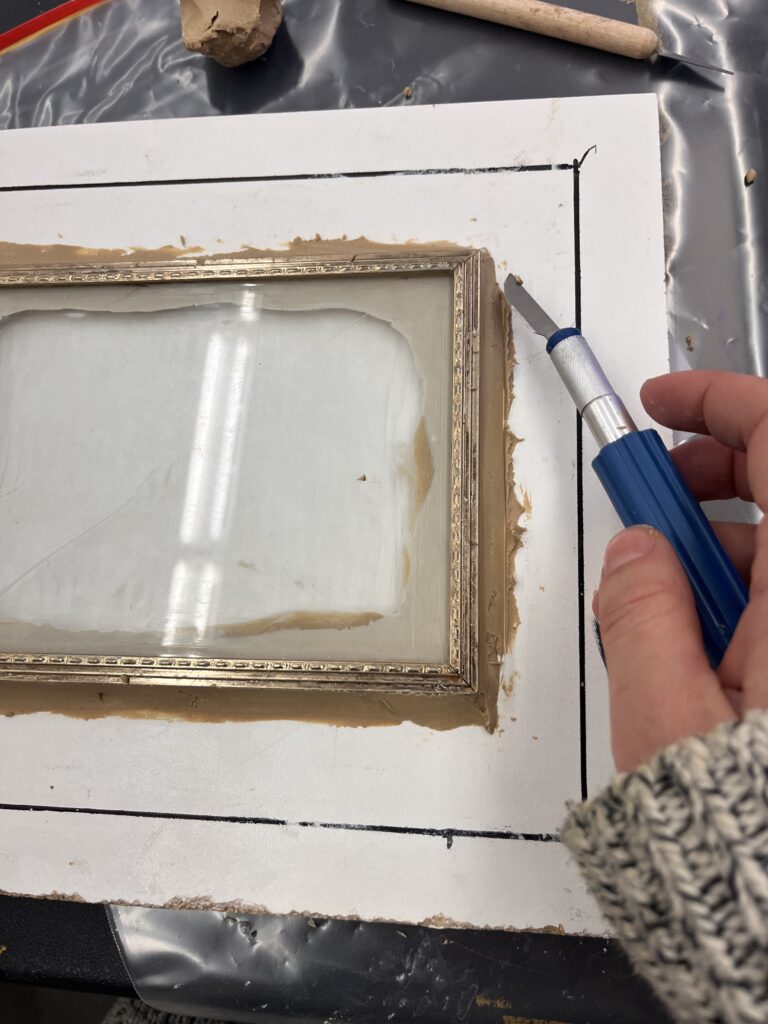
- Then we used moulding clay to soften and seal the edges to ensure that not hydrocal plaster would drip through the connecting edges and distroy the form
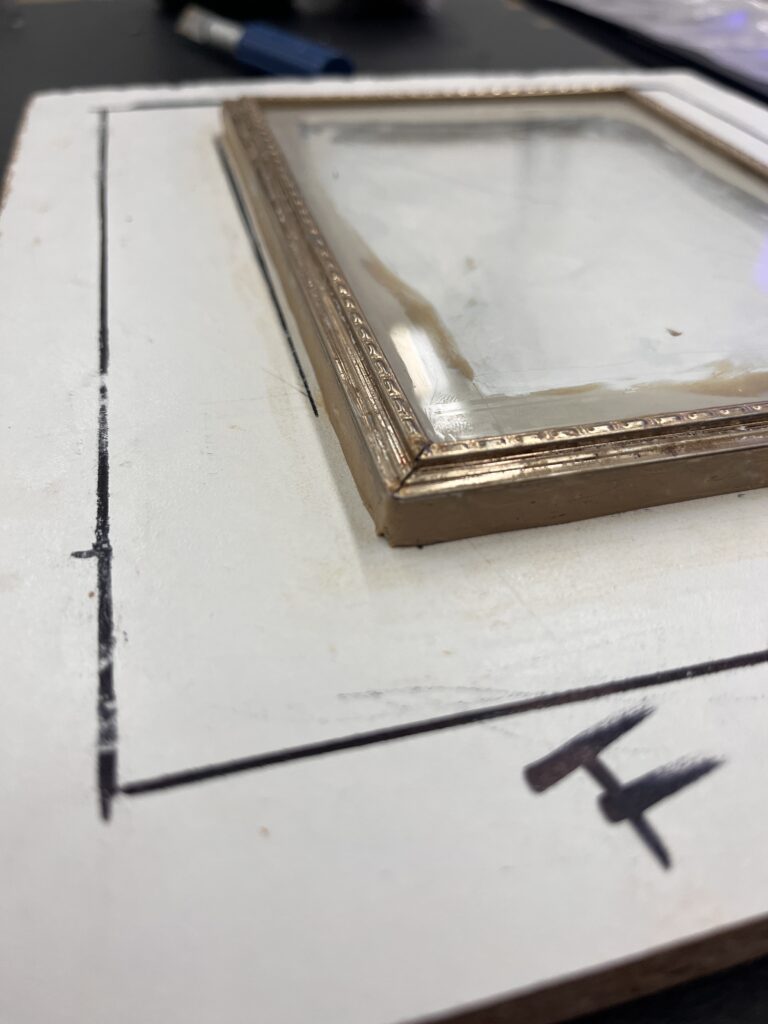
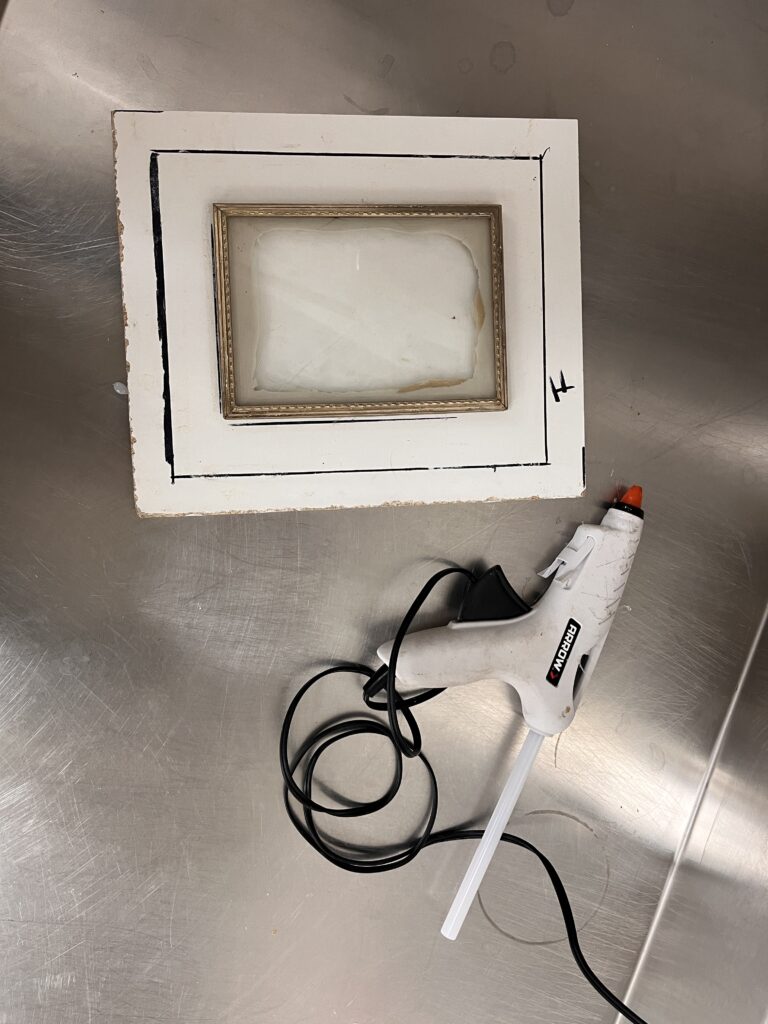
- Then we hot glue gunned the frame to the wooden board
- Then we measured out about 2 inches from the frame and marked the line.
- Then we took pieces of wood jeff cut and glued those in place, sealed the edges with more hot glue
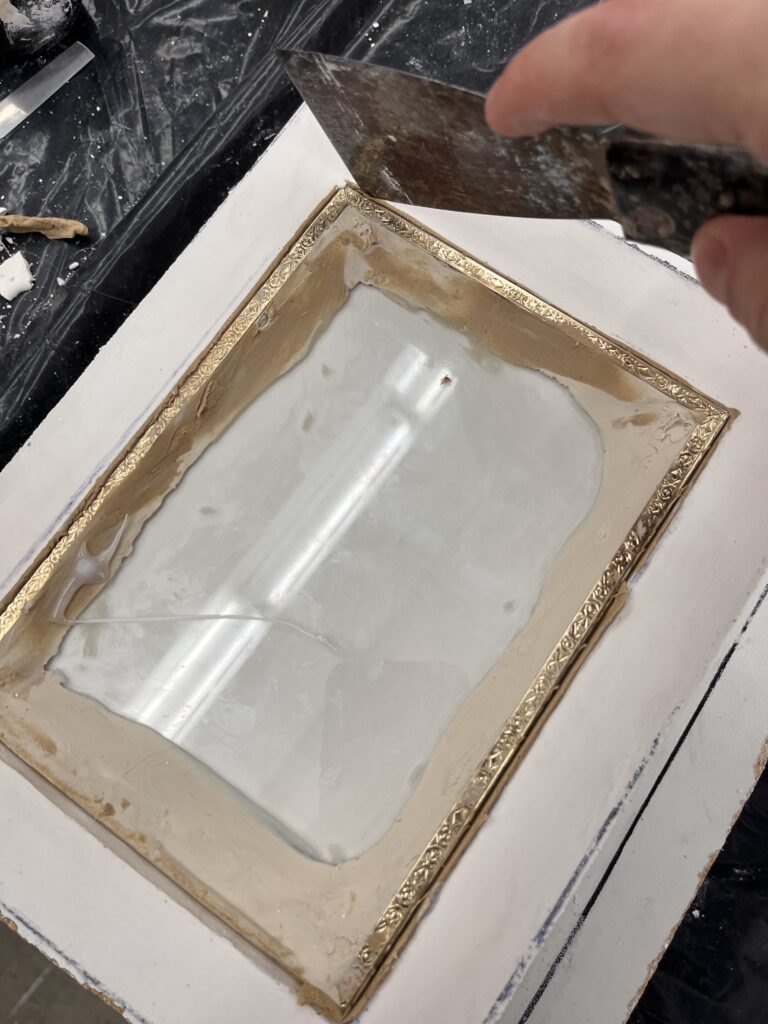
- Then we used a non-stick substance on the wood and frame so that the hydrocal would easily separate from the edges.
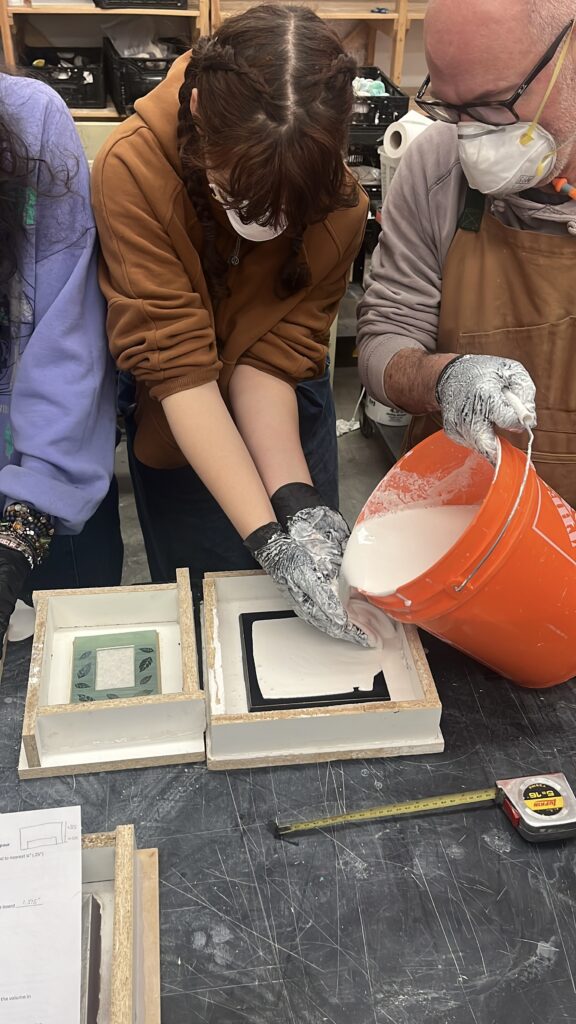
- Then we mixed and poured the hydrocal and let it cure
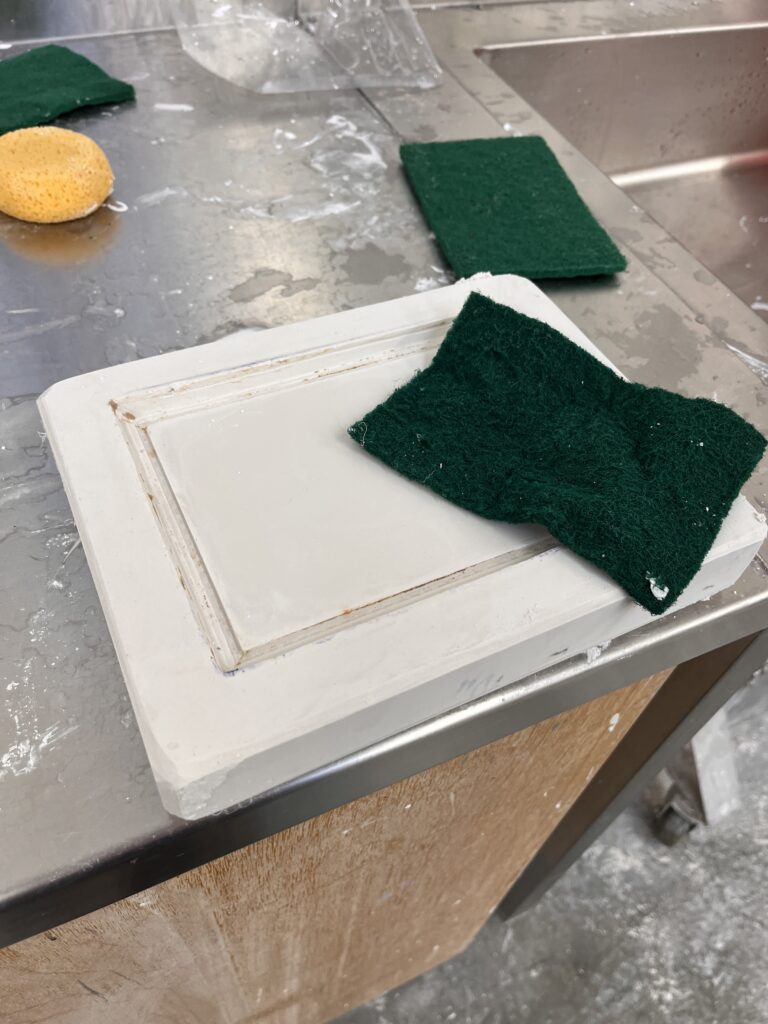
- After creating out plaster mold of the frame, we could now use it to make clay multiples
- From here we could get more creative with what clay imprint we could use to make our frames.

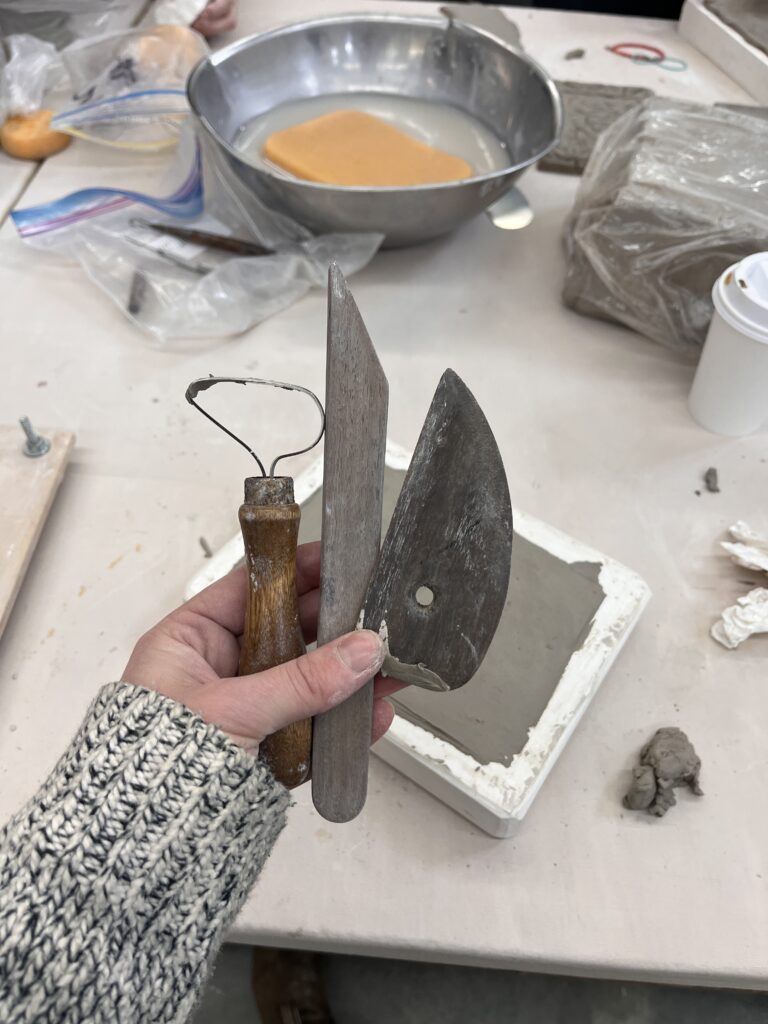


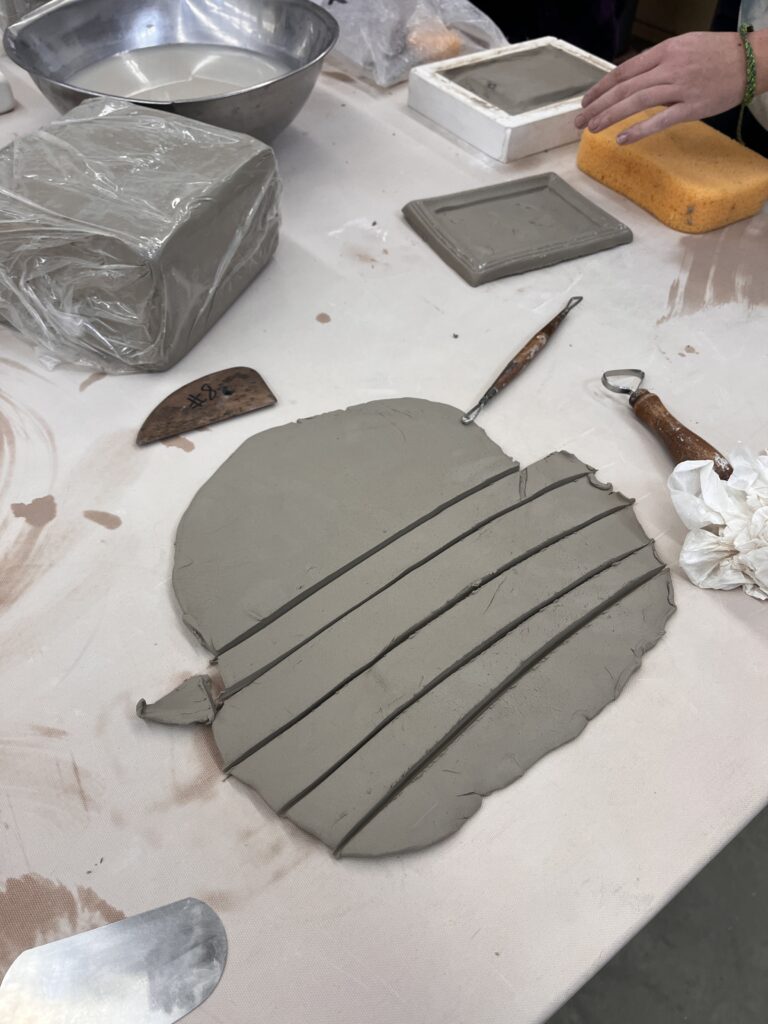
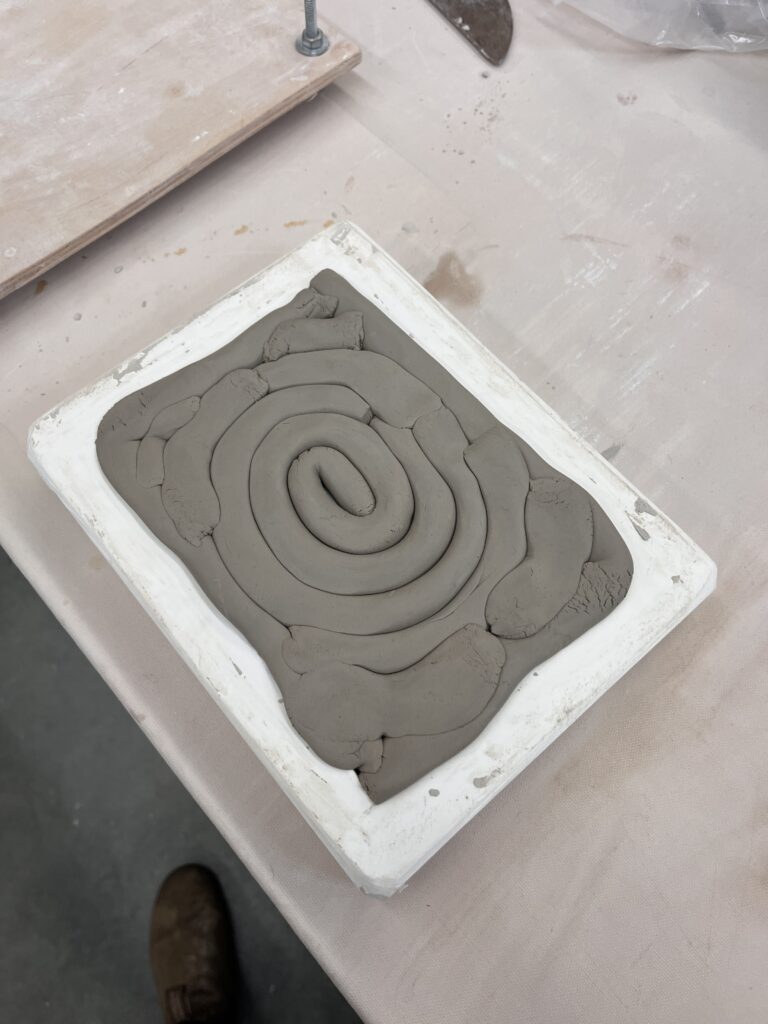
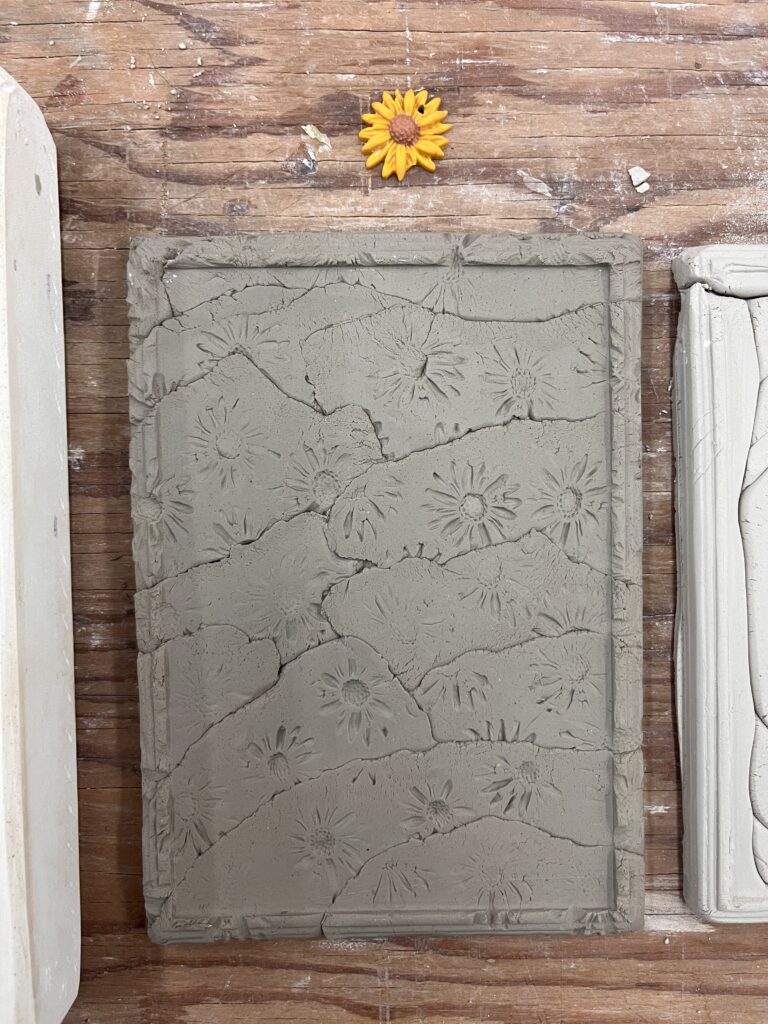
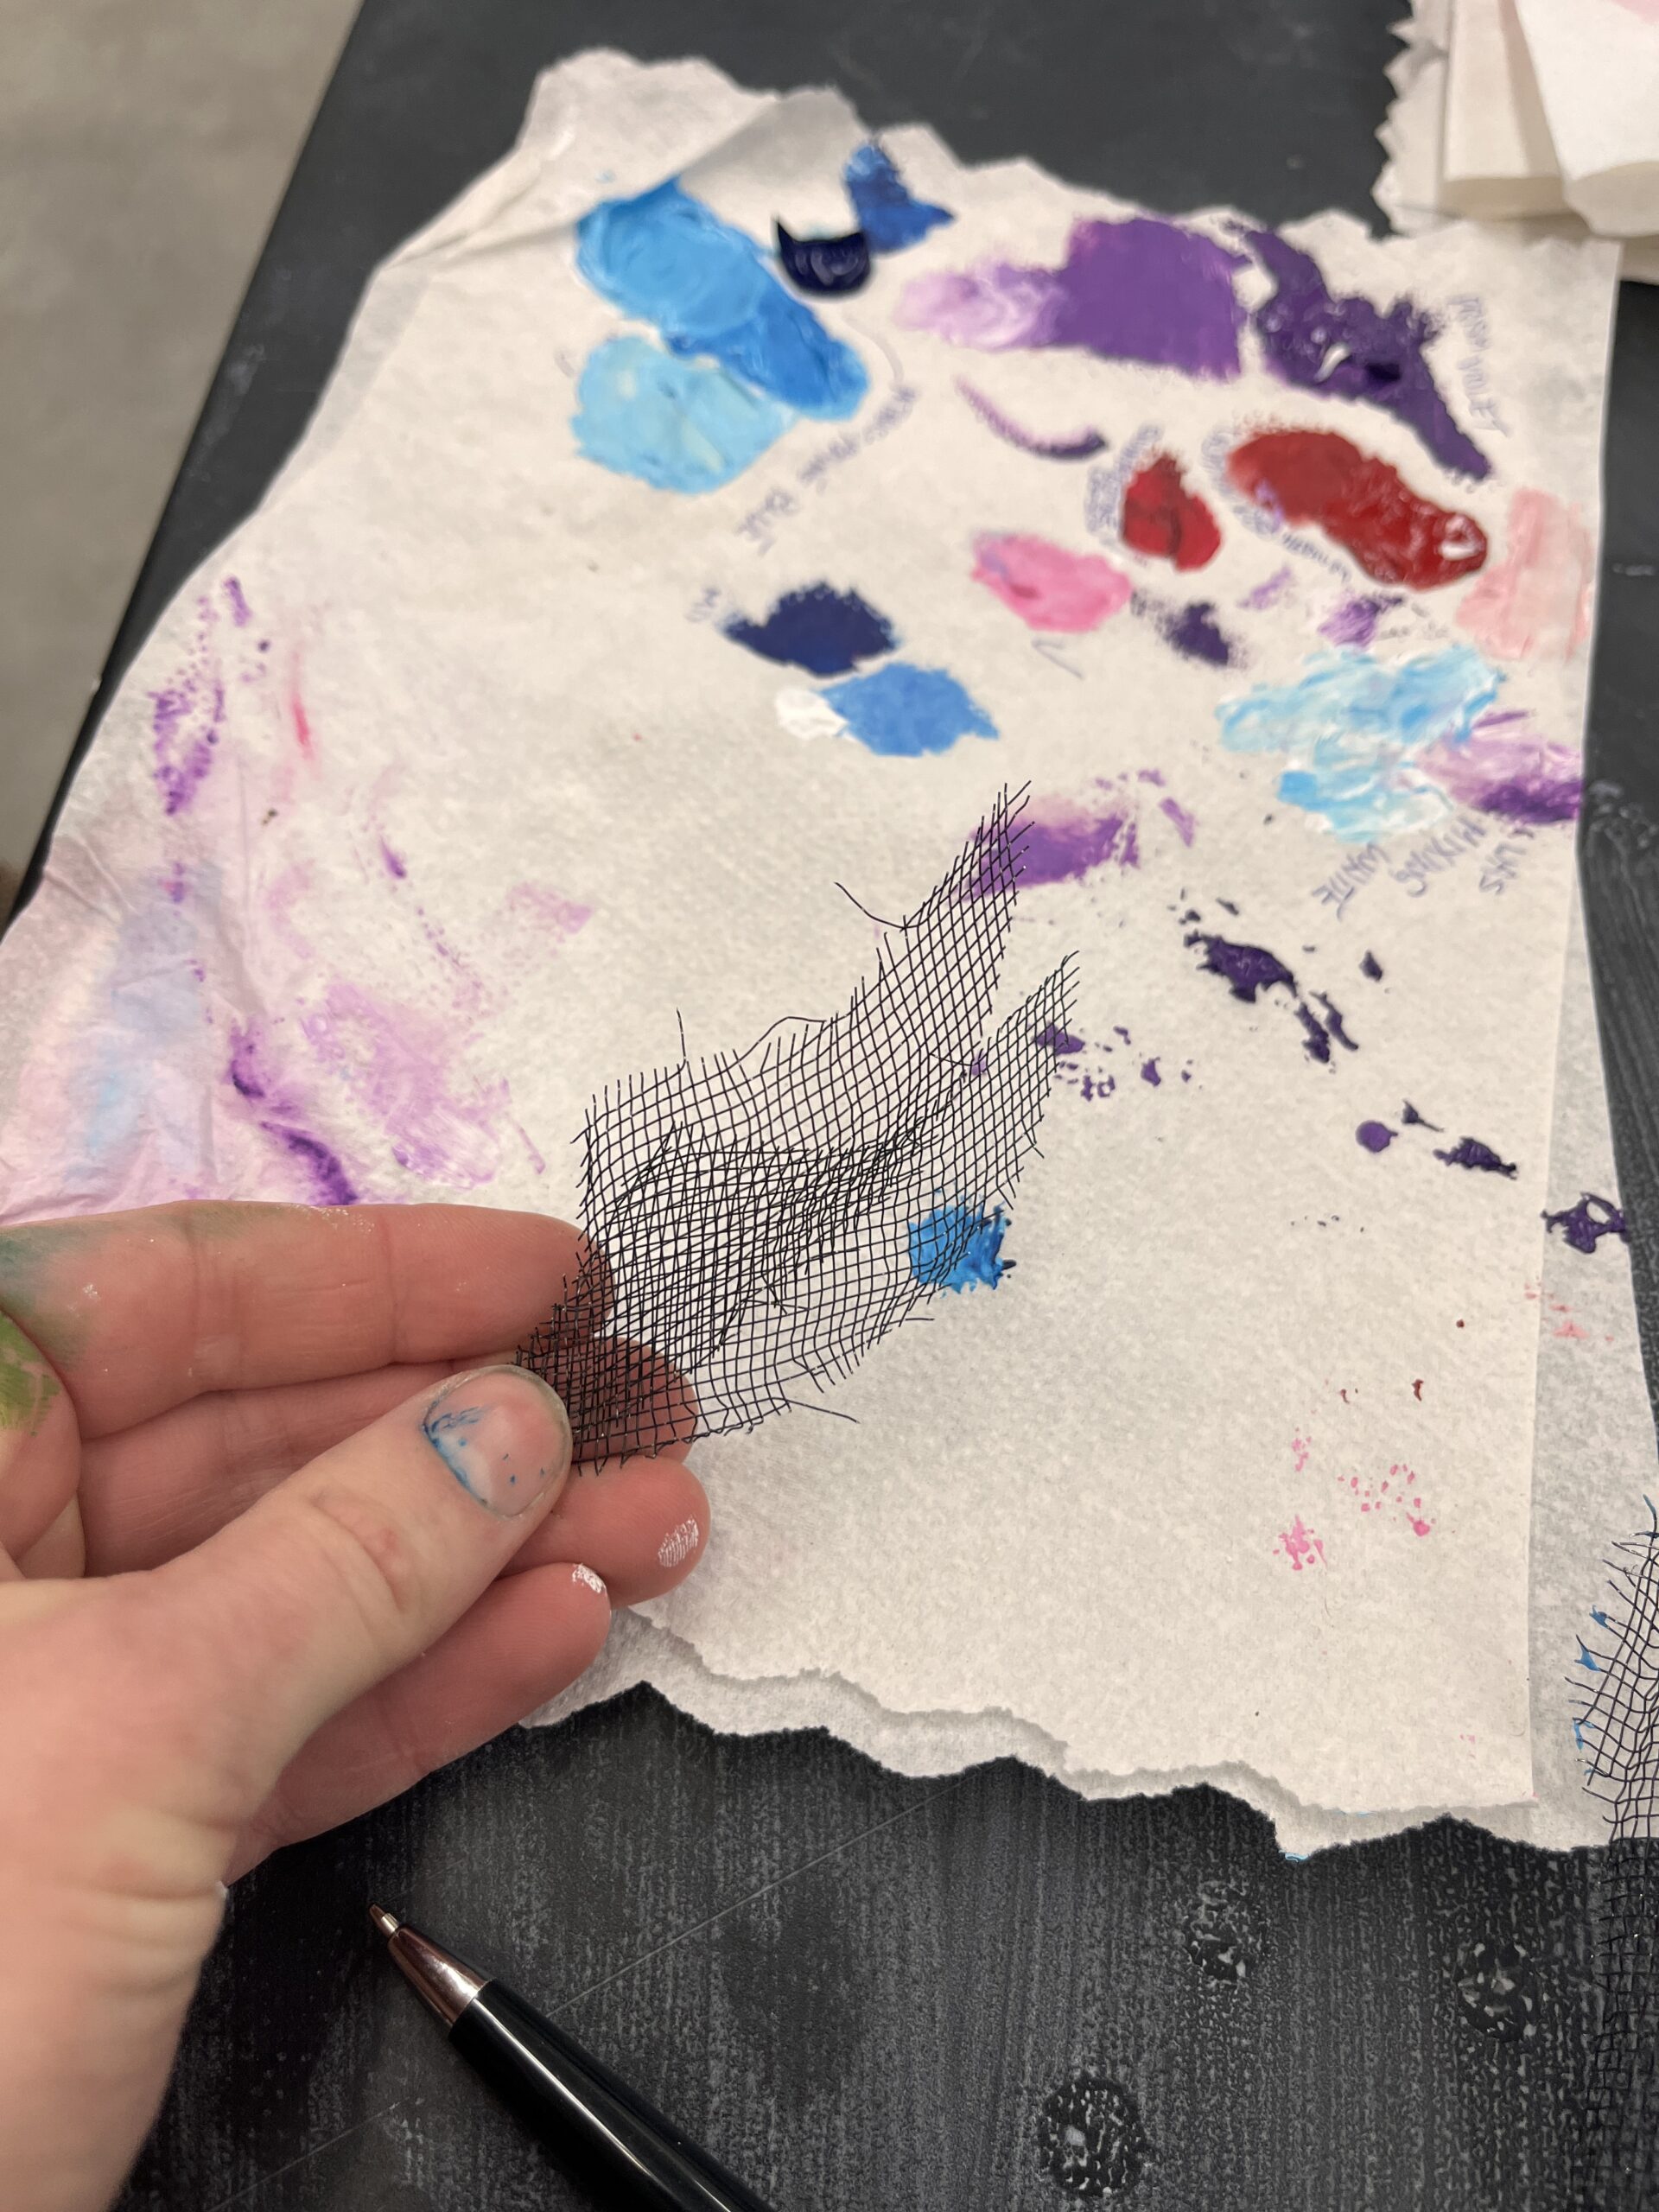
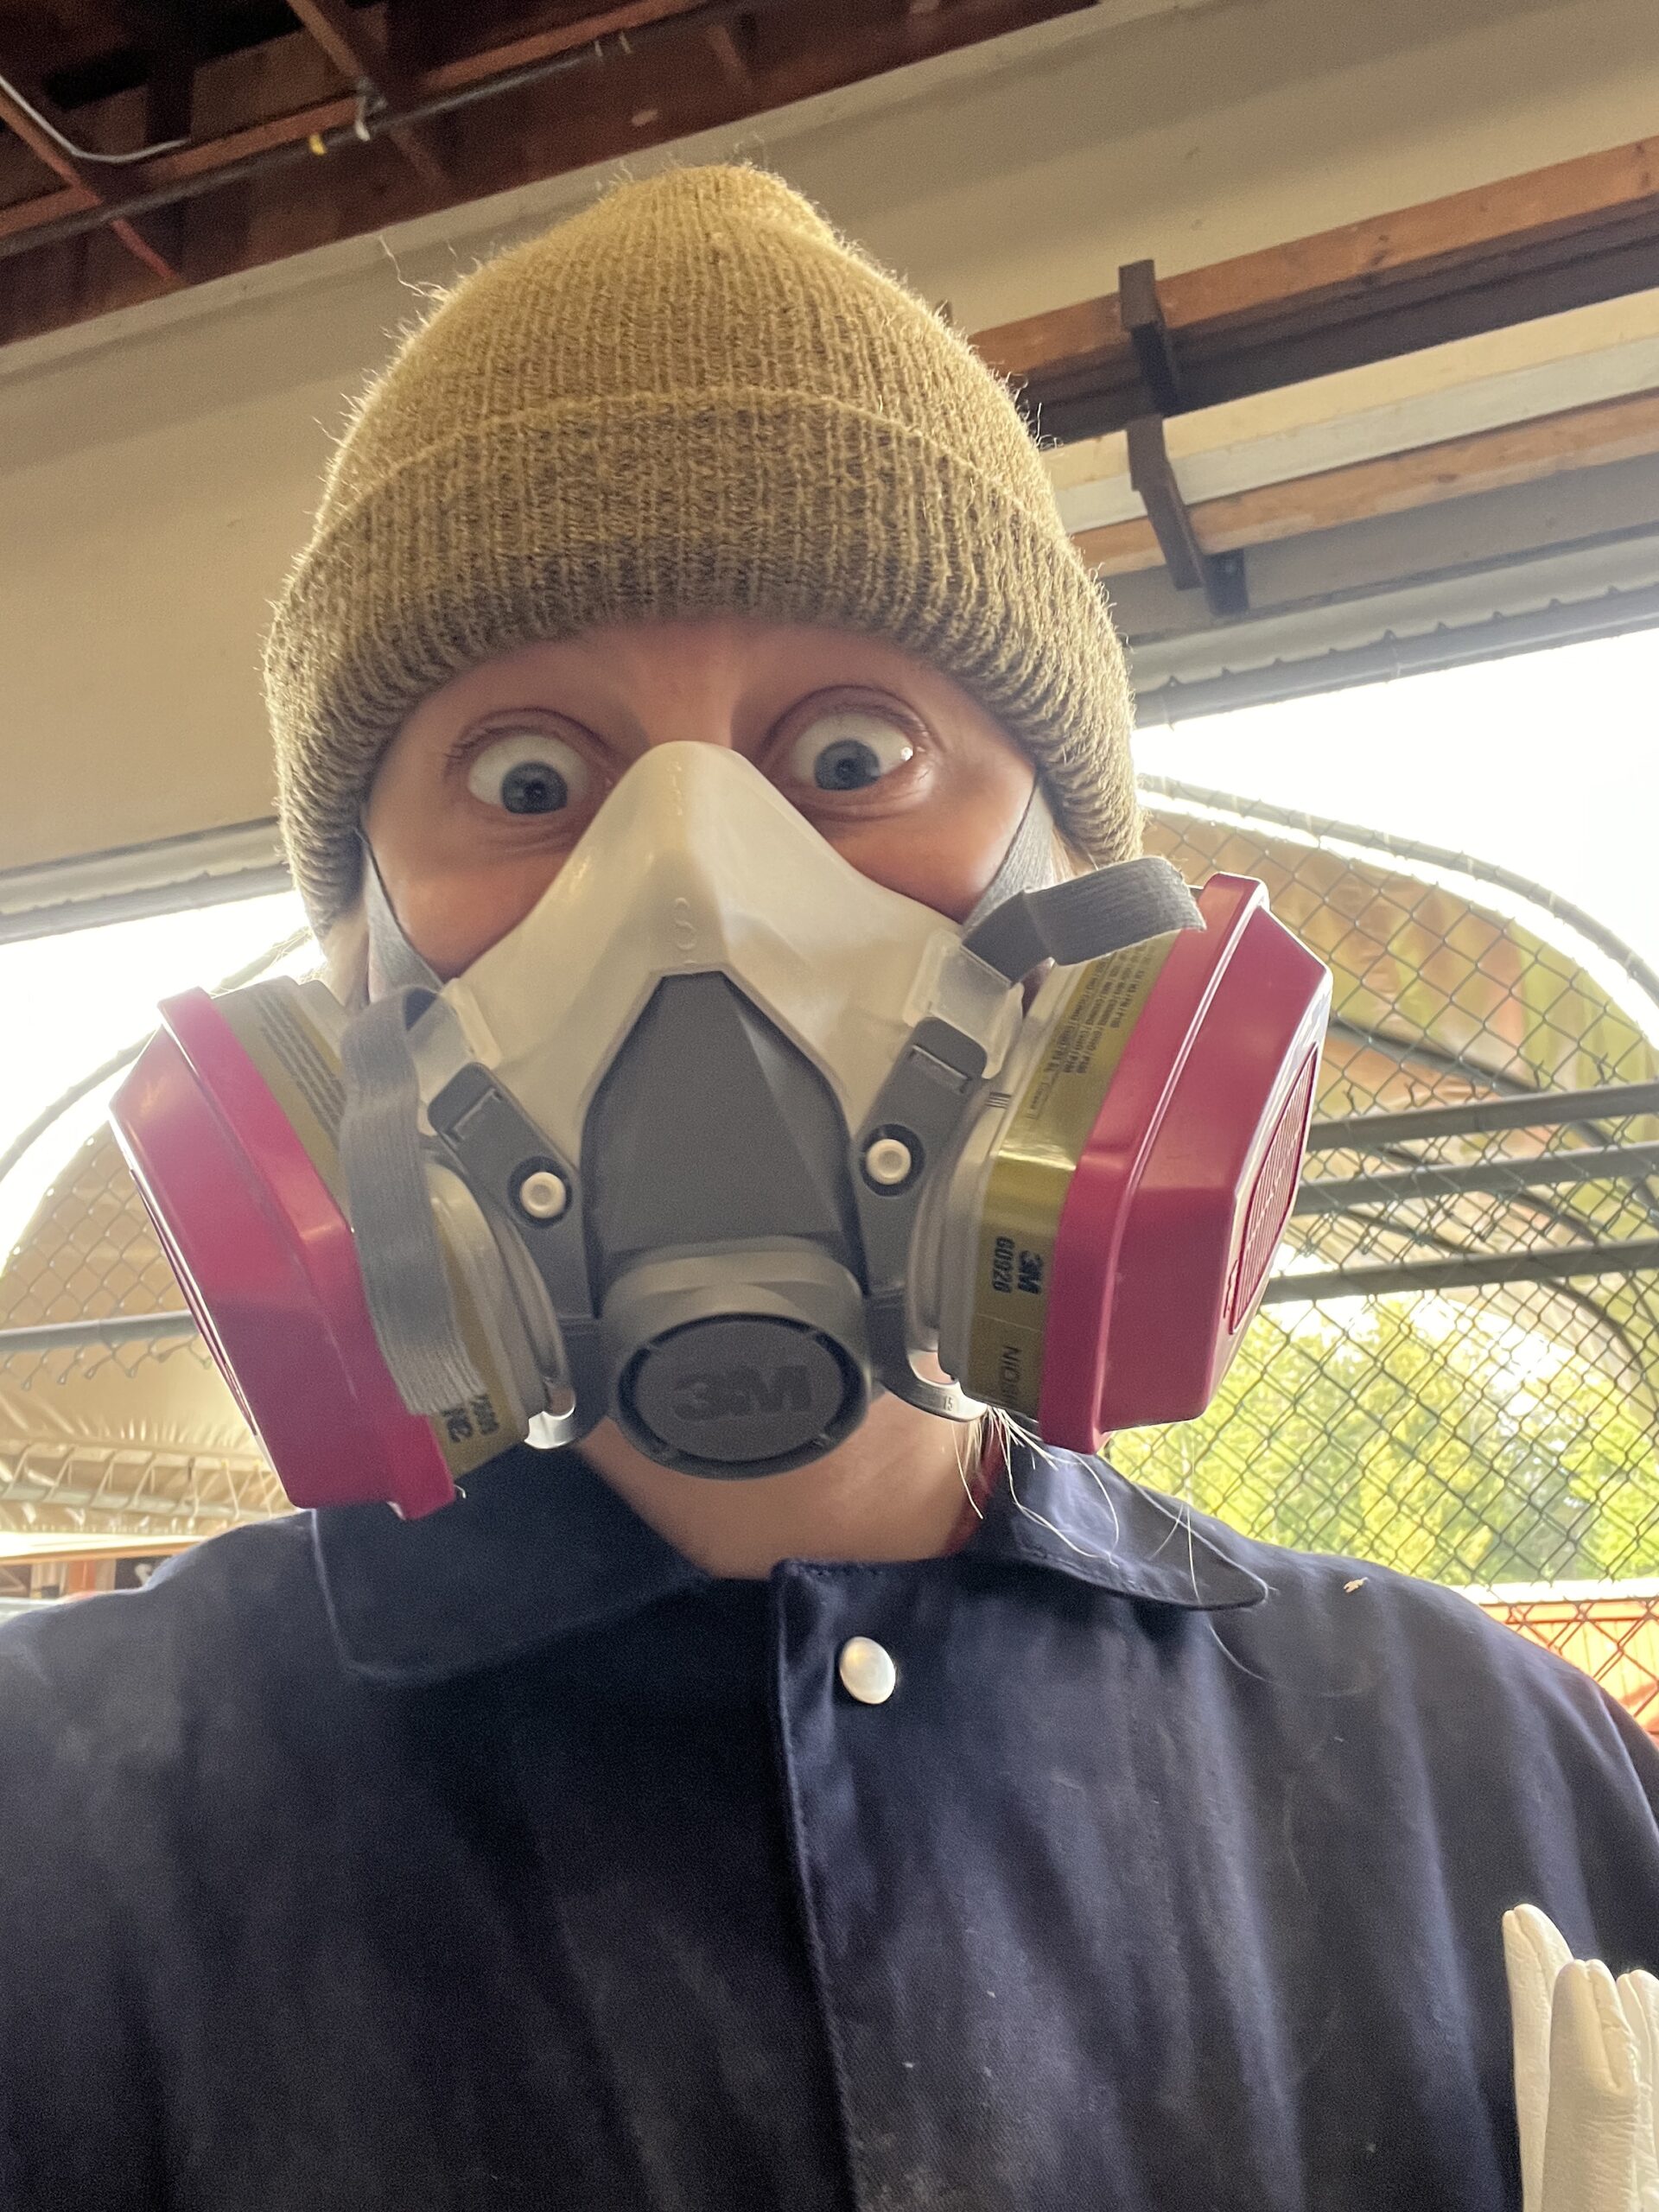
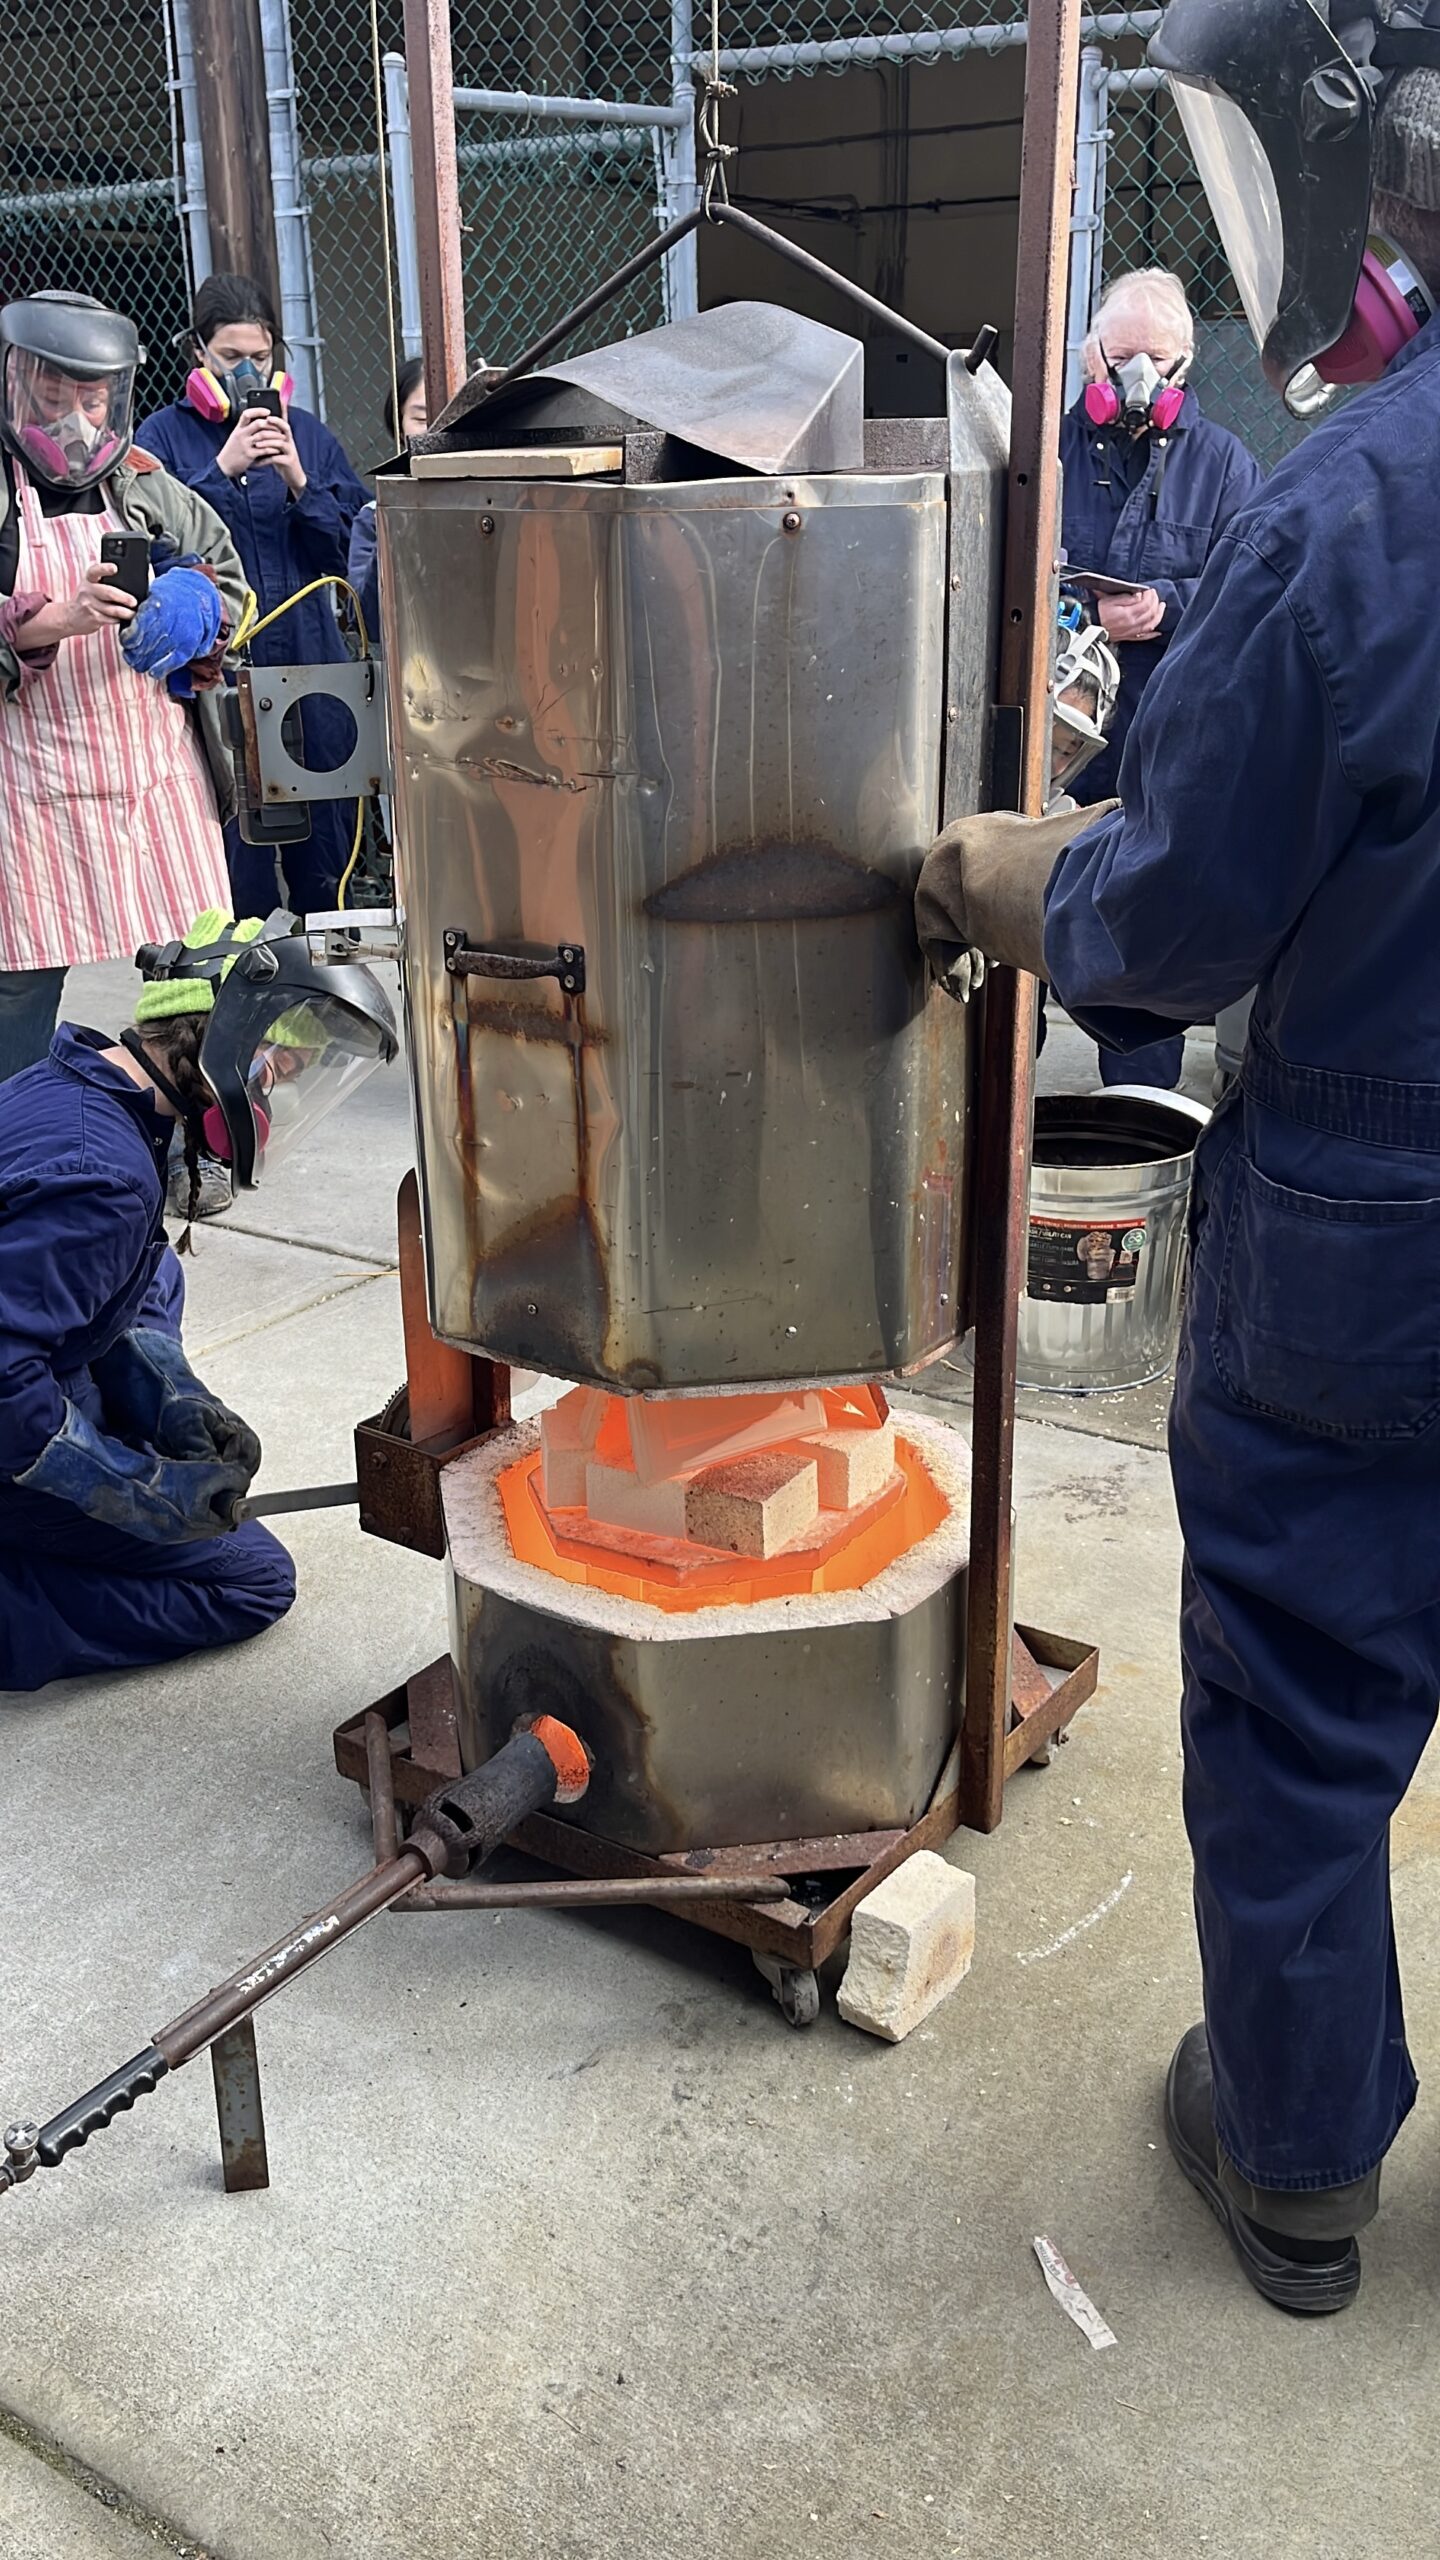
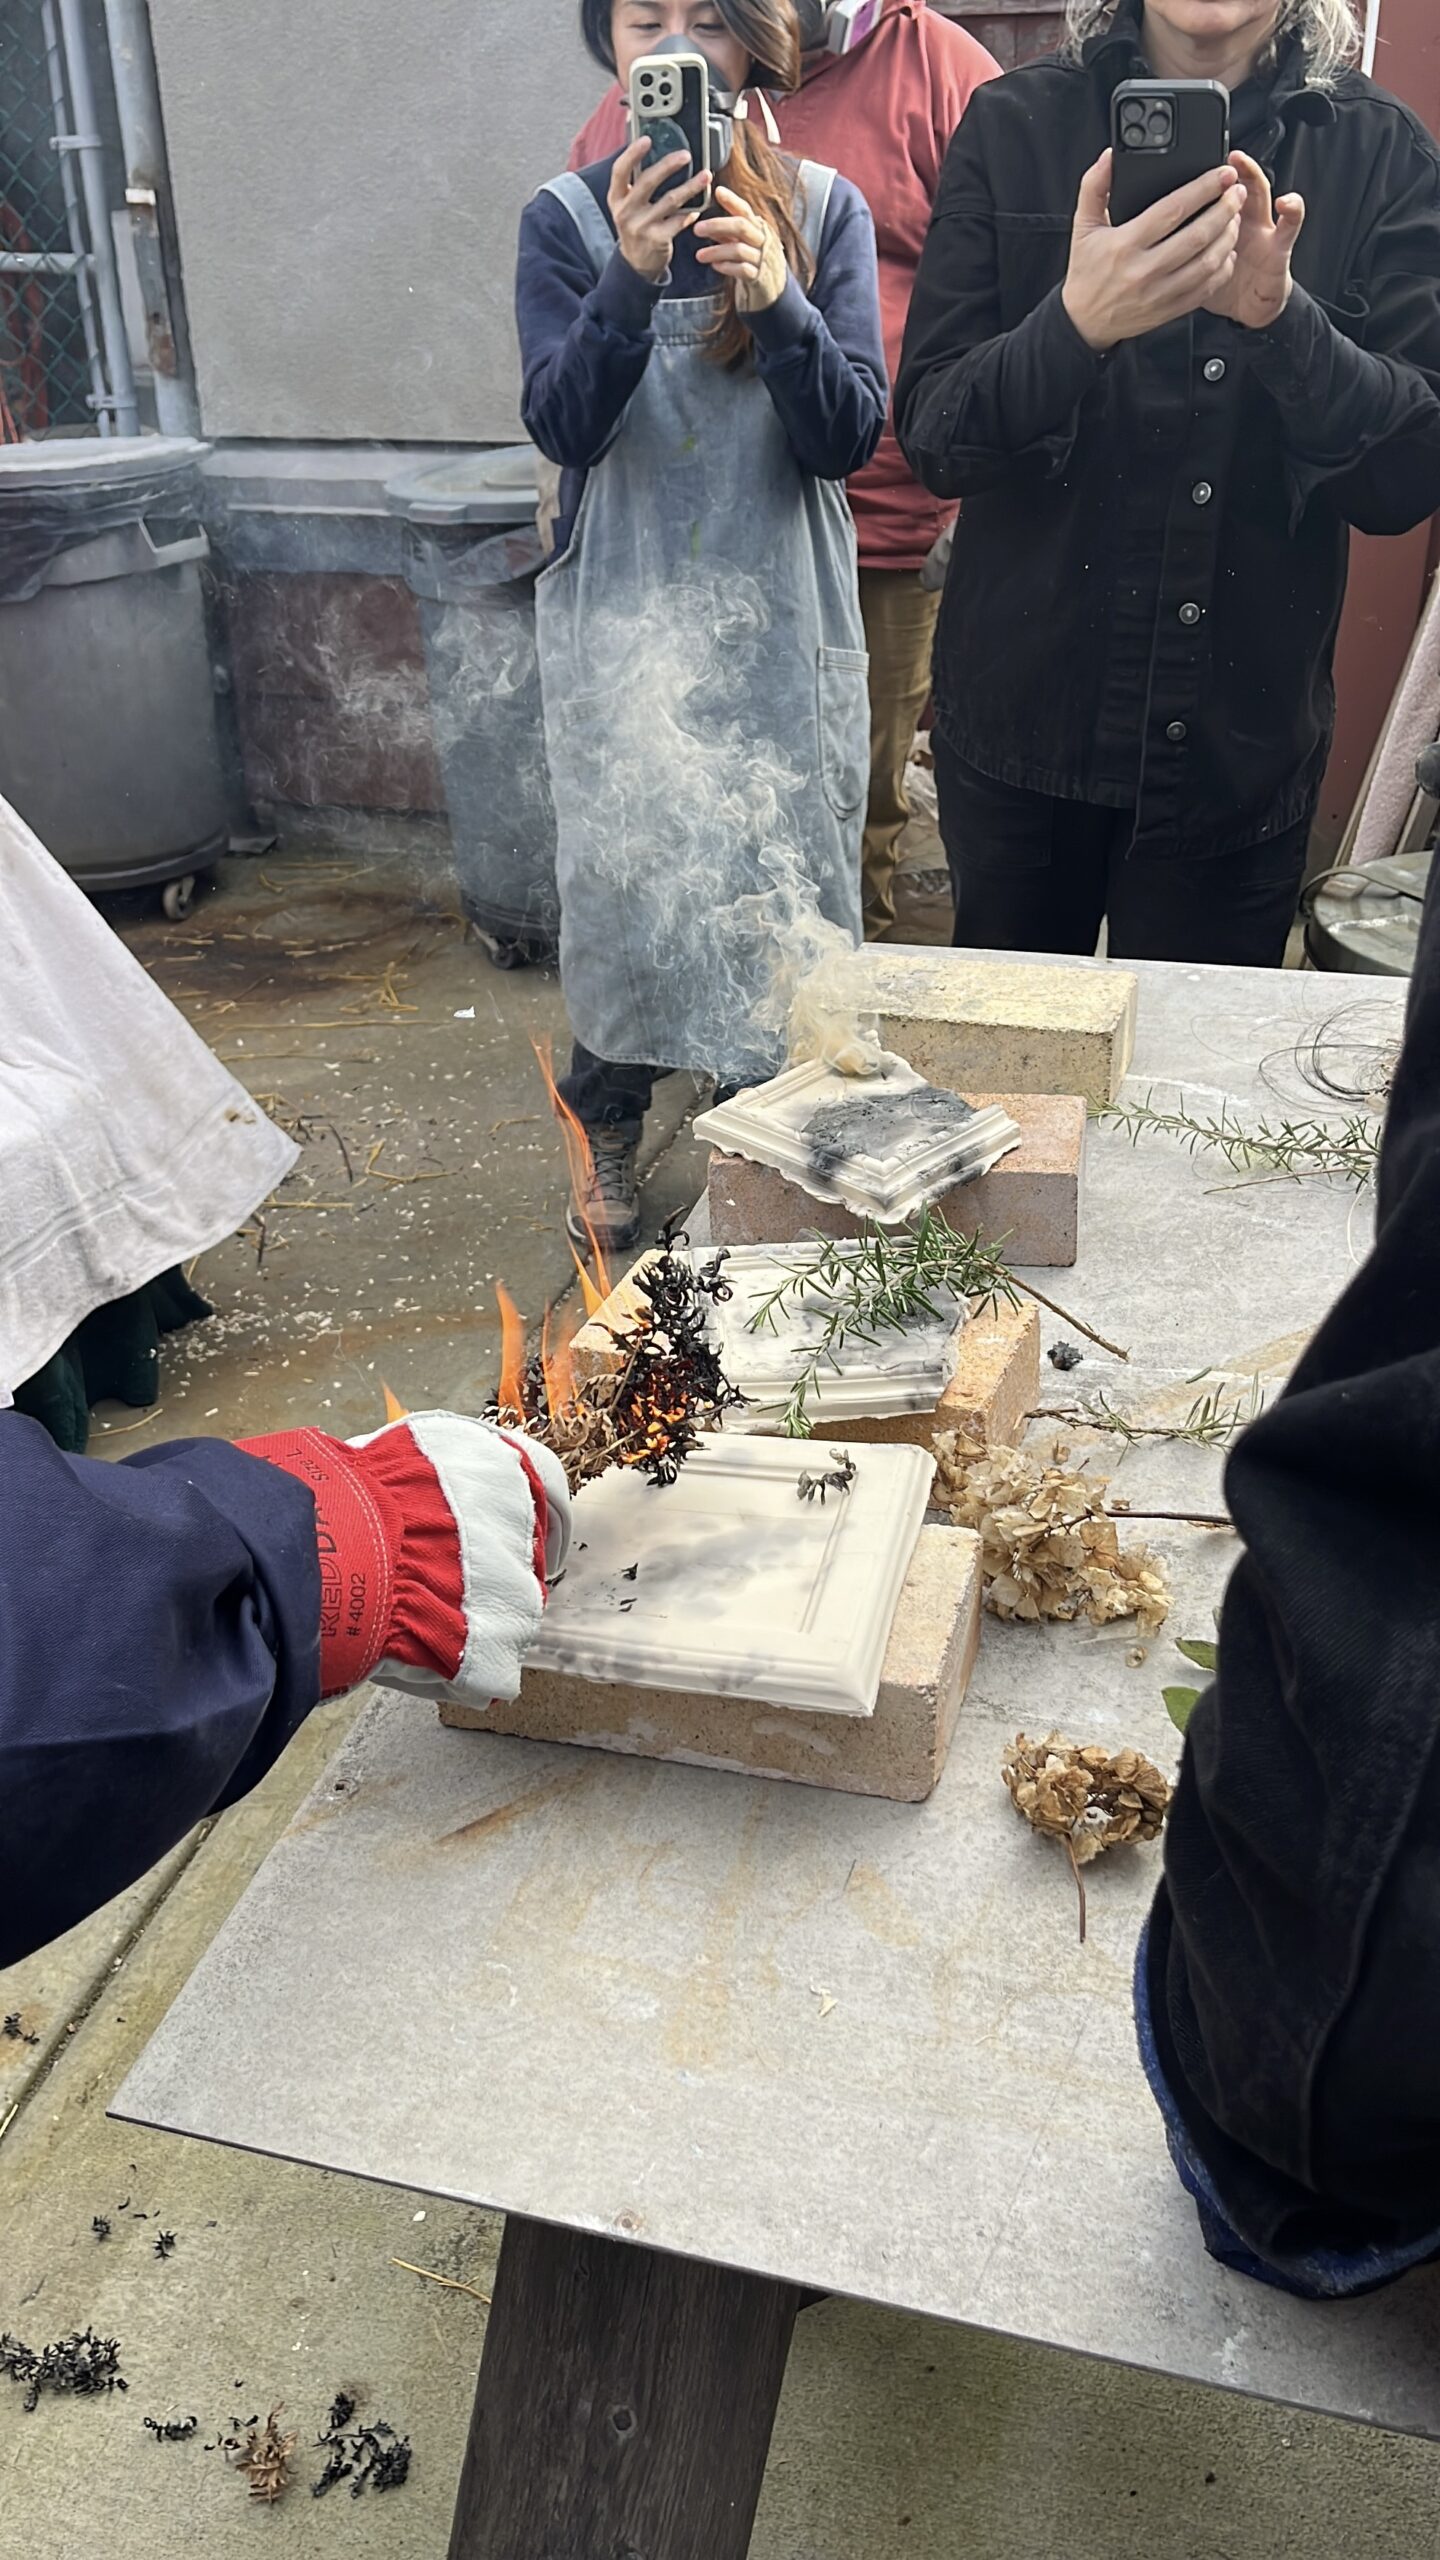
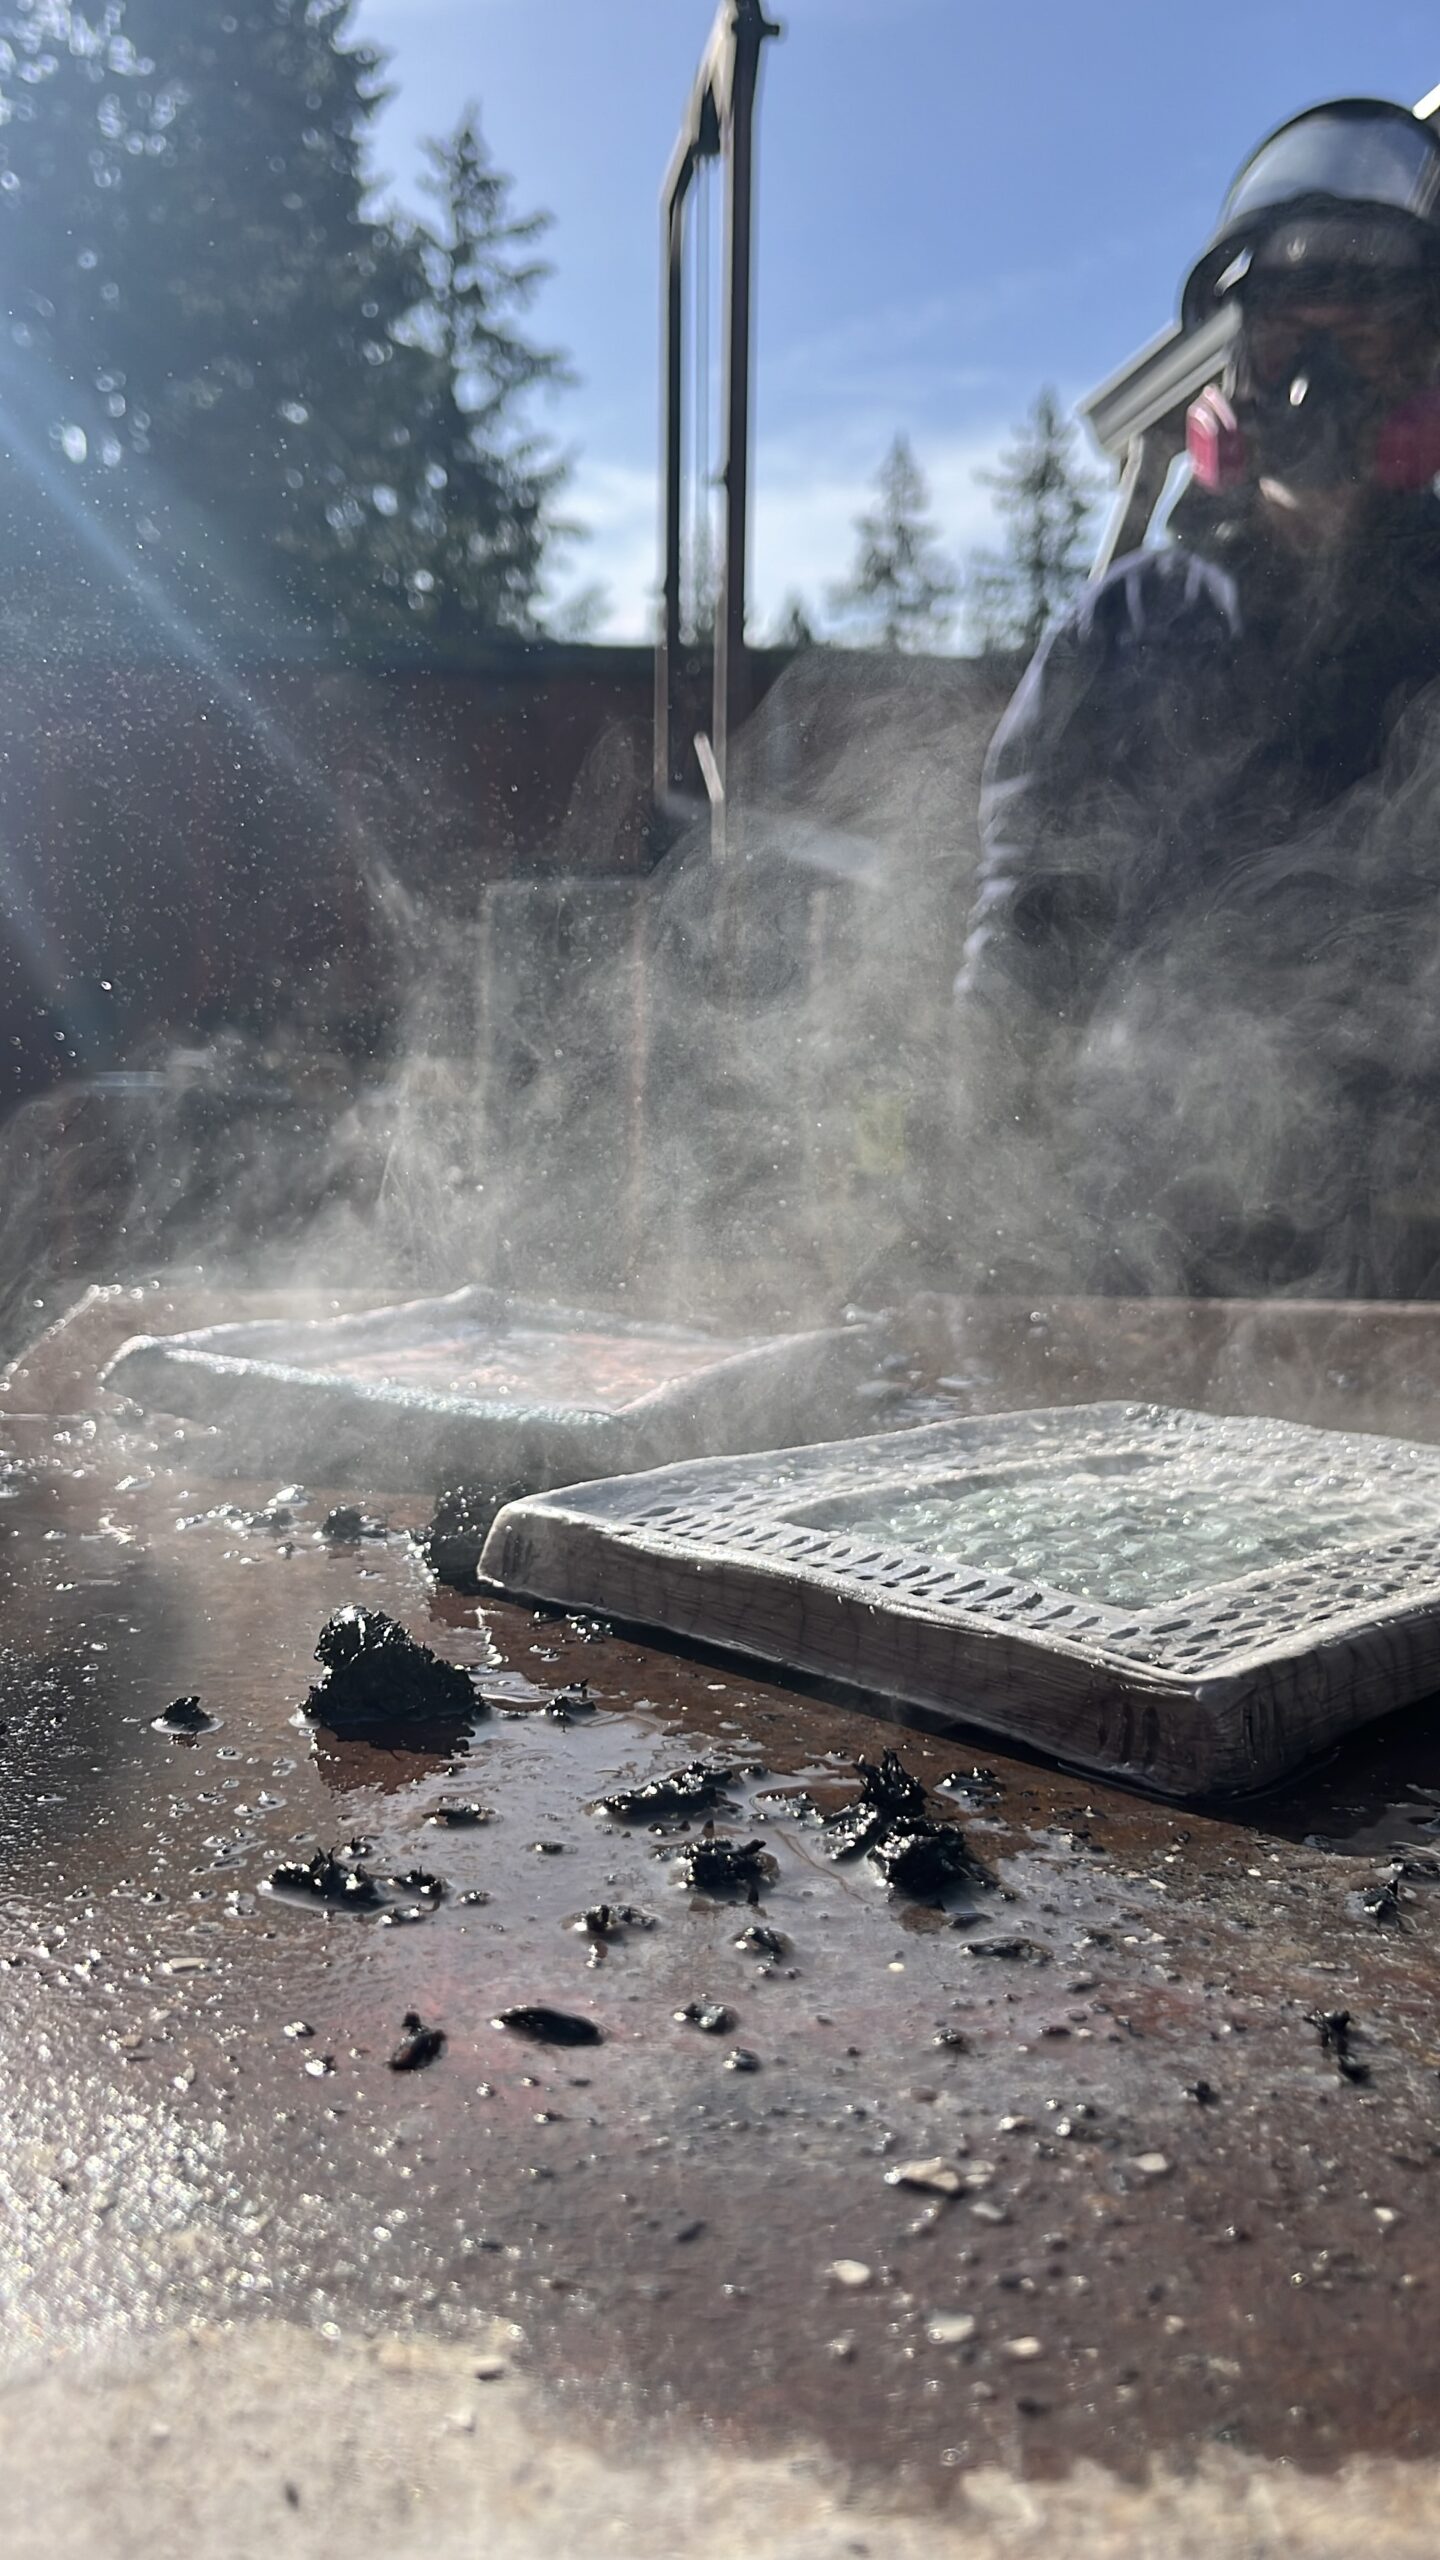
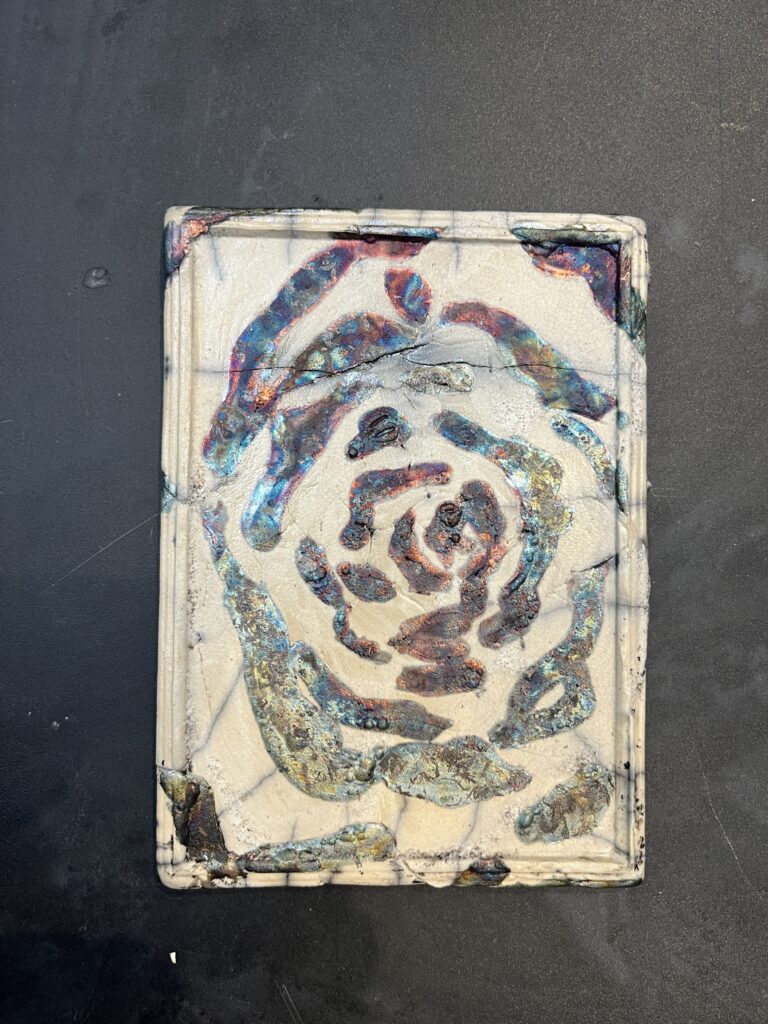
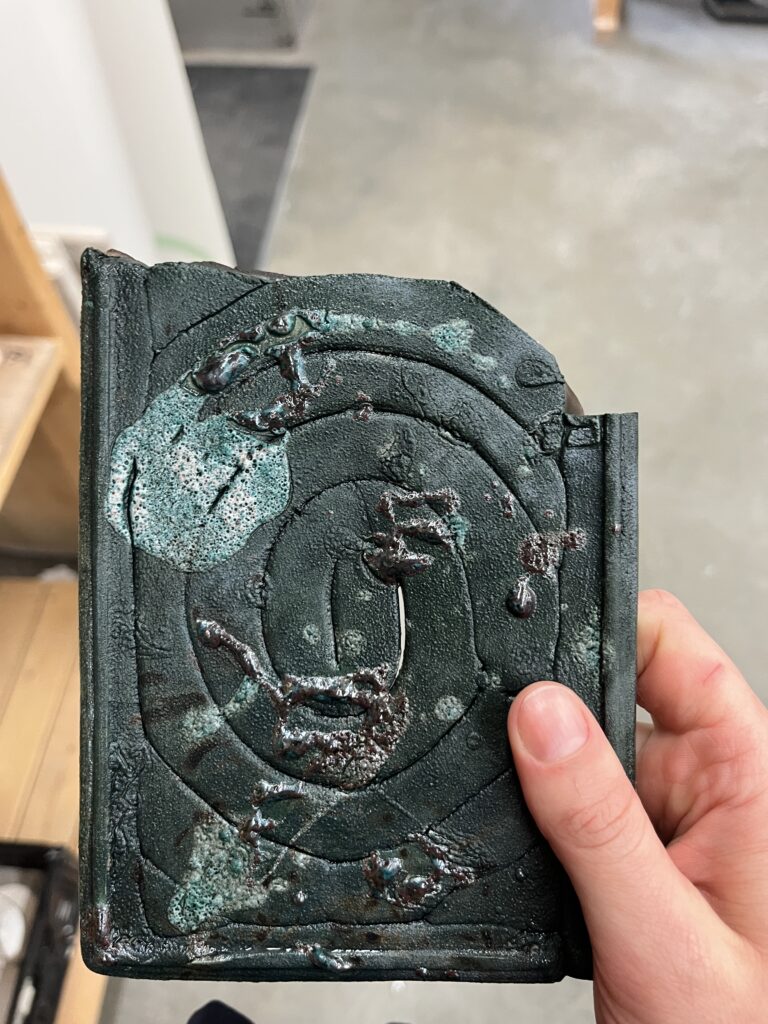
I ripped clay, I made coils, and I imprinted the clay with an old earing to make the flowers. I layed the ripped clay to make a rose form. Then we painting the clay with glazes appropriate for this type of firing. We Raku fired the clay using appropriate PPE and adult supervision.
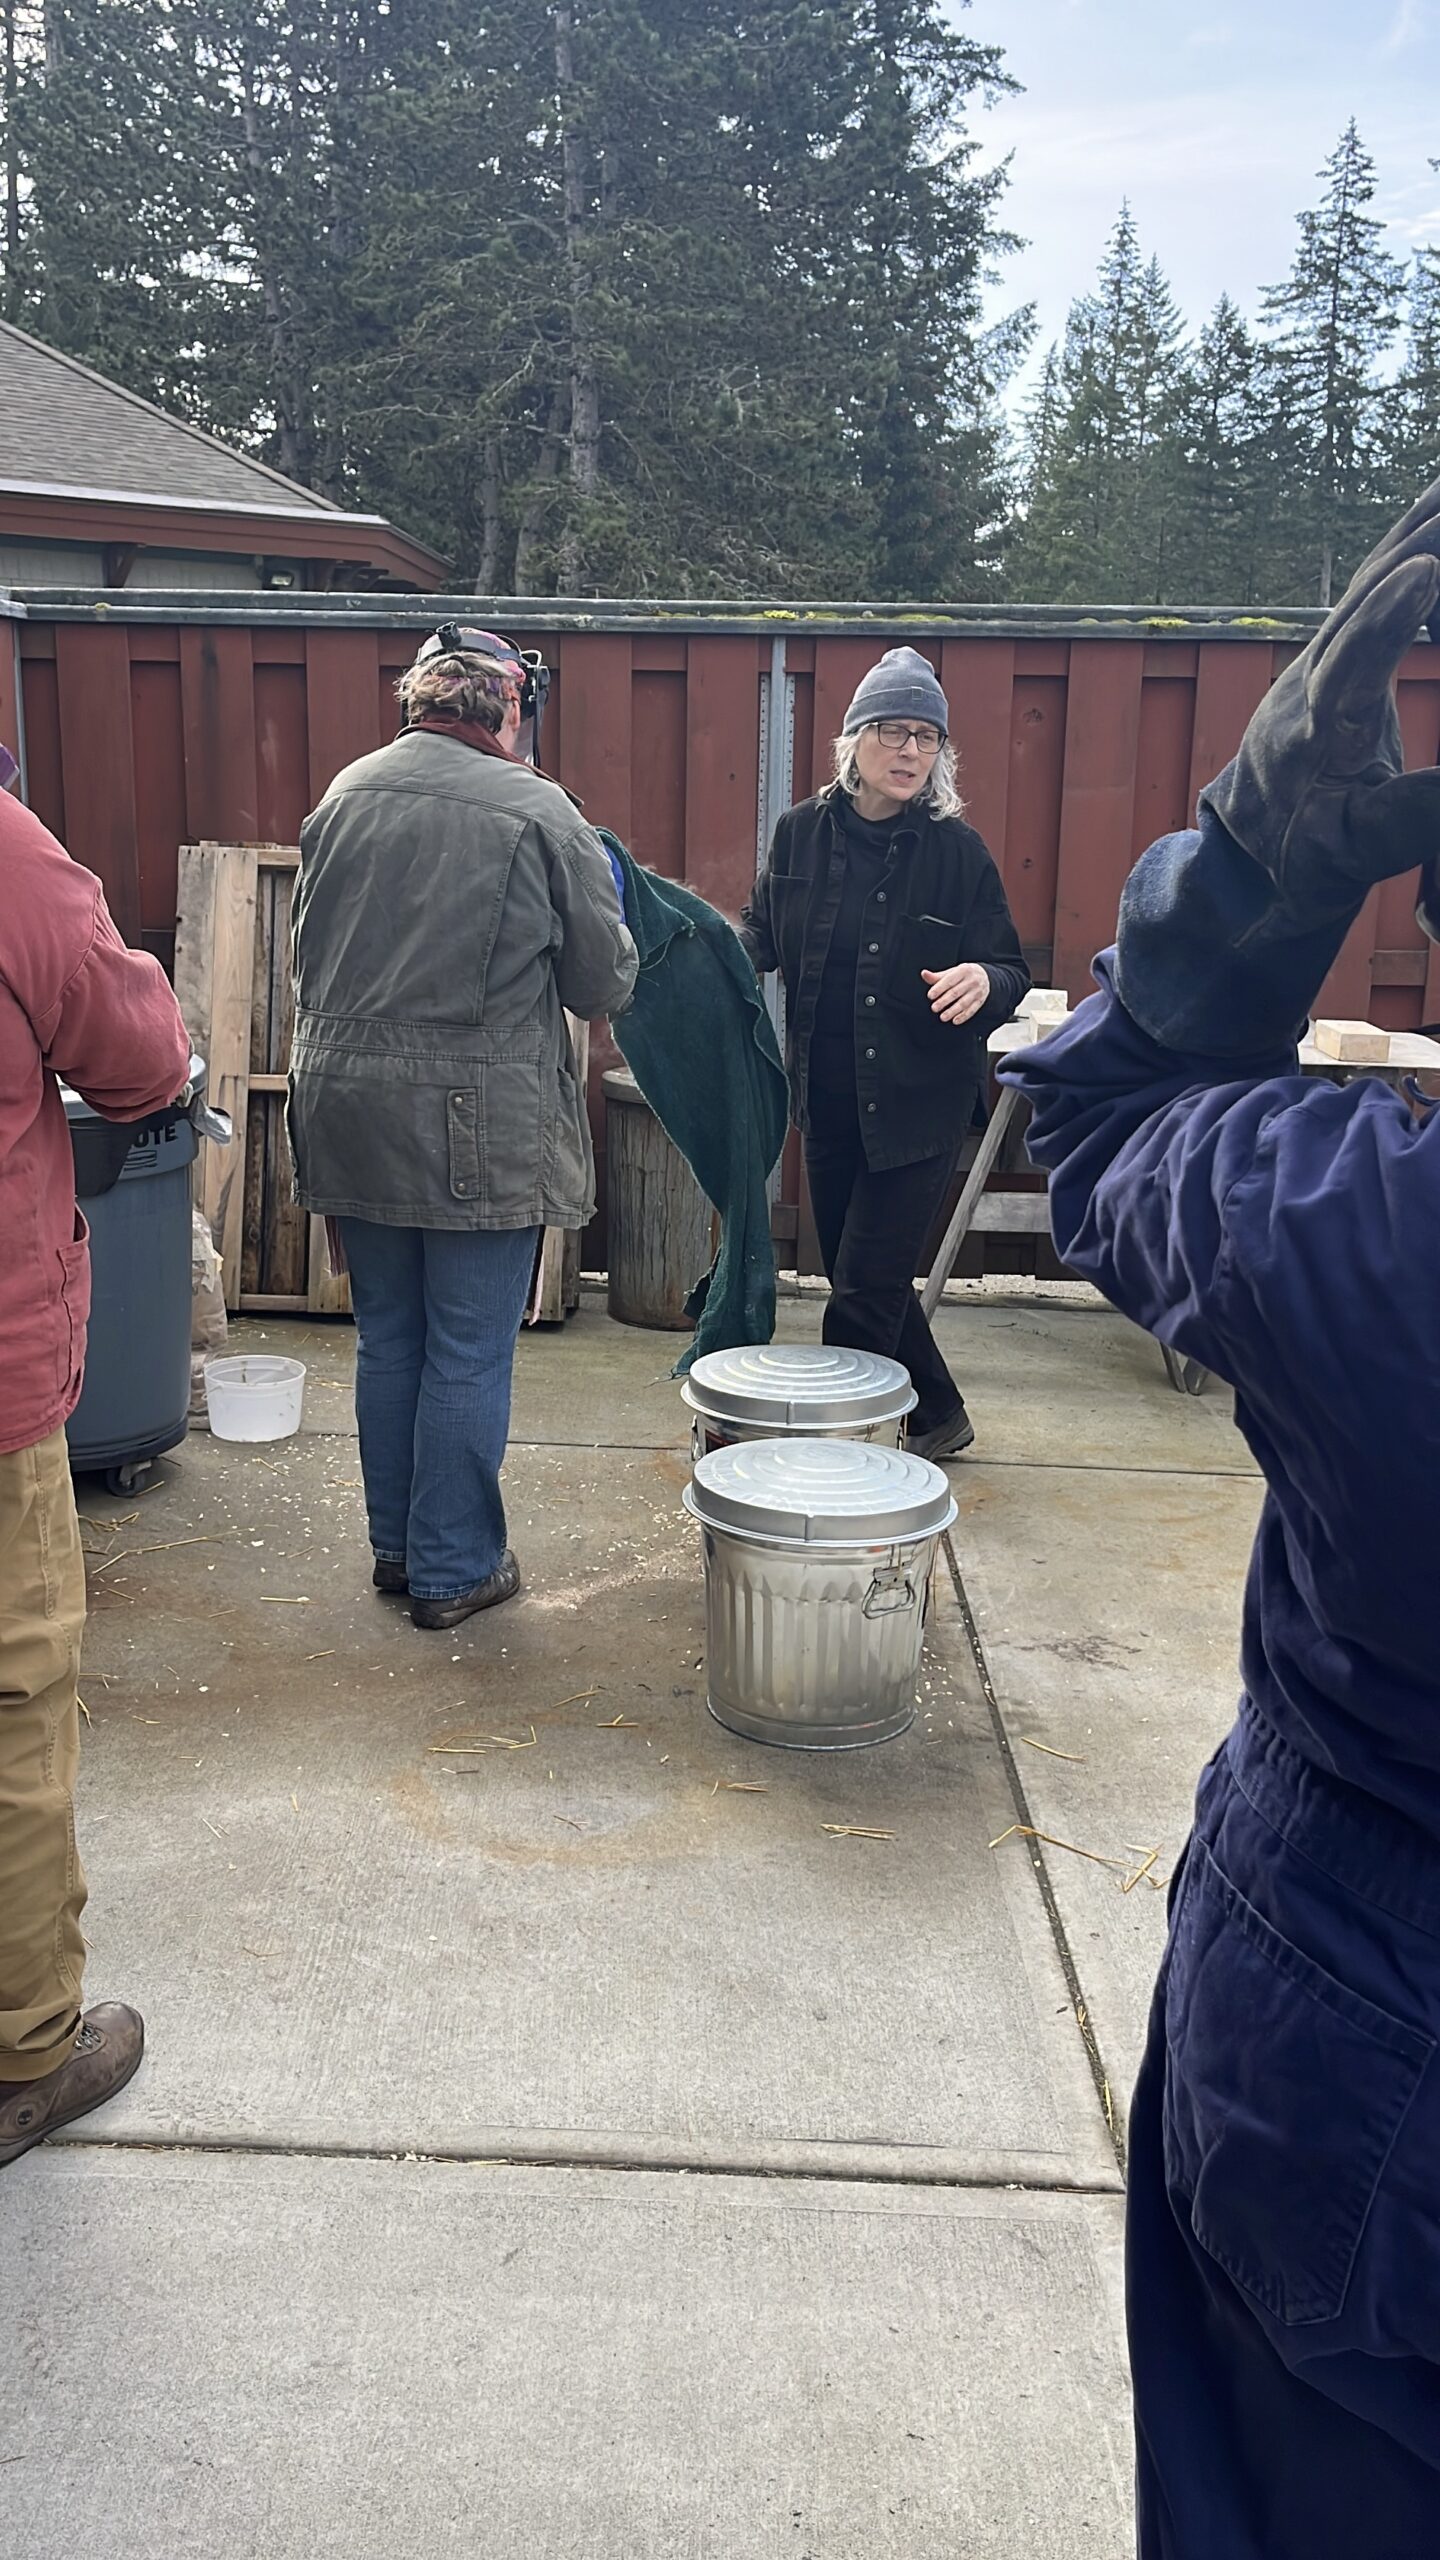
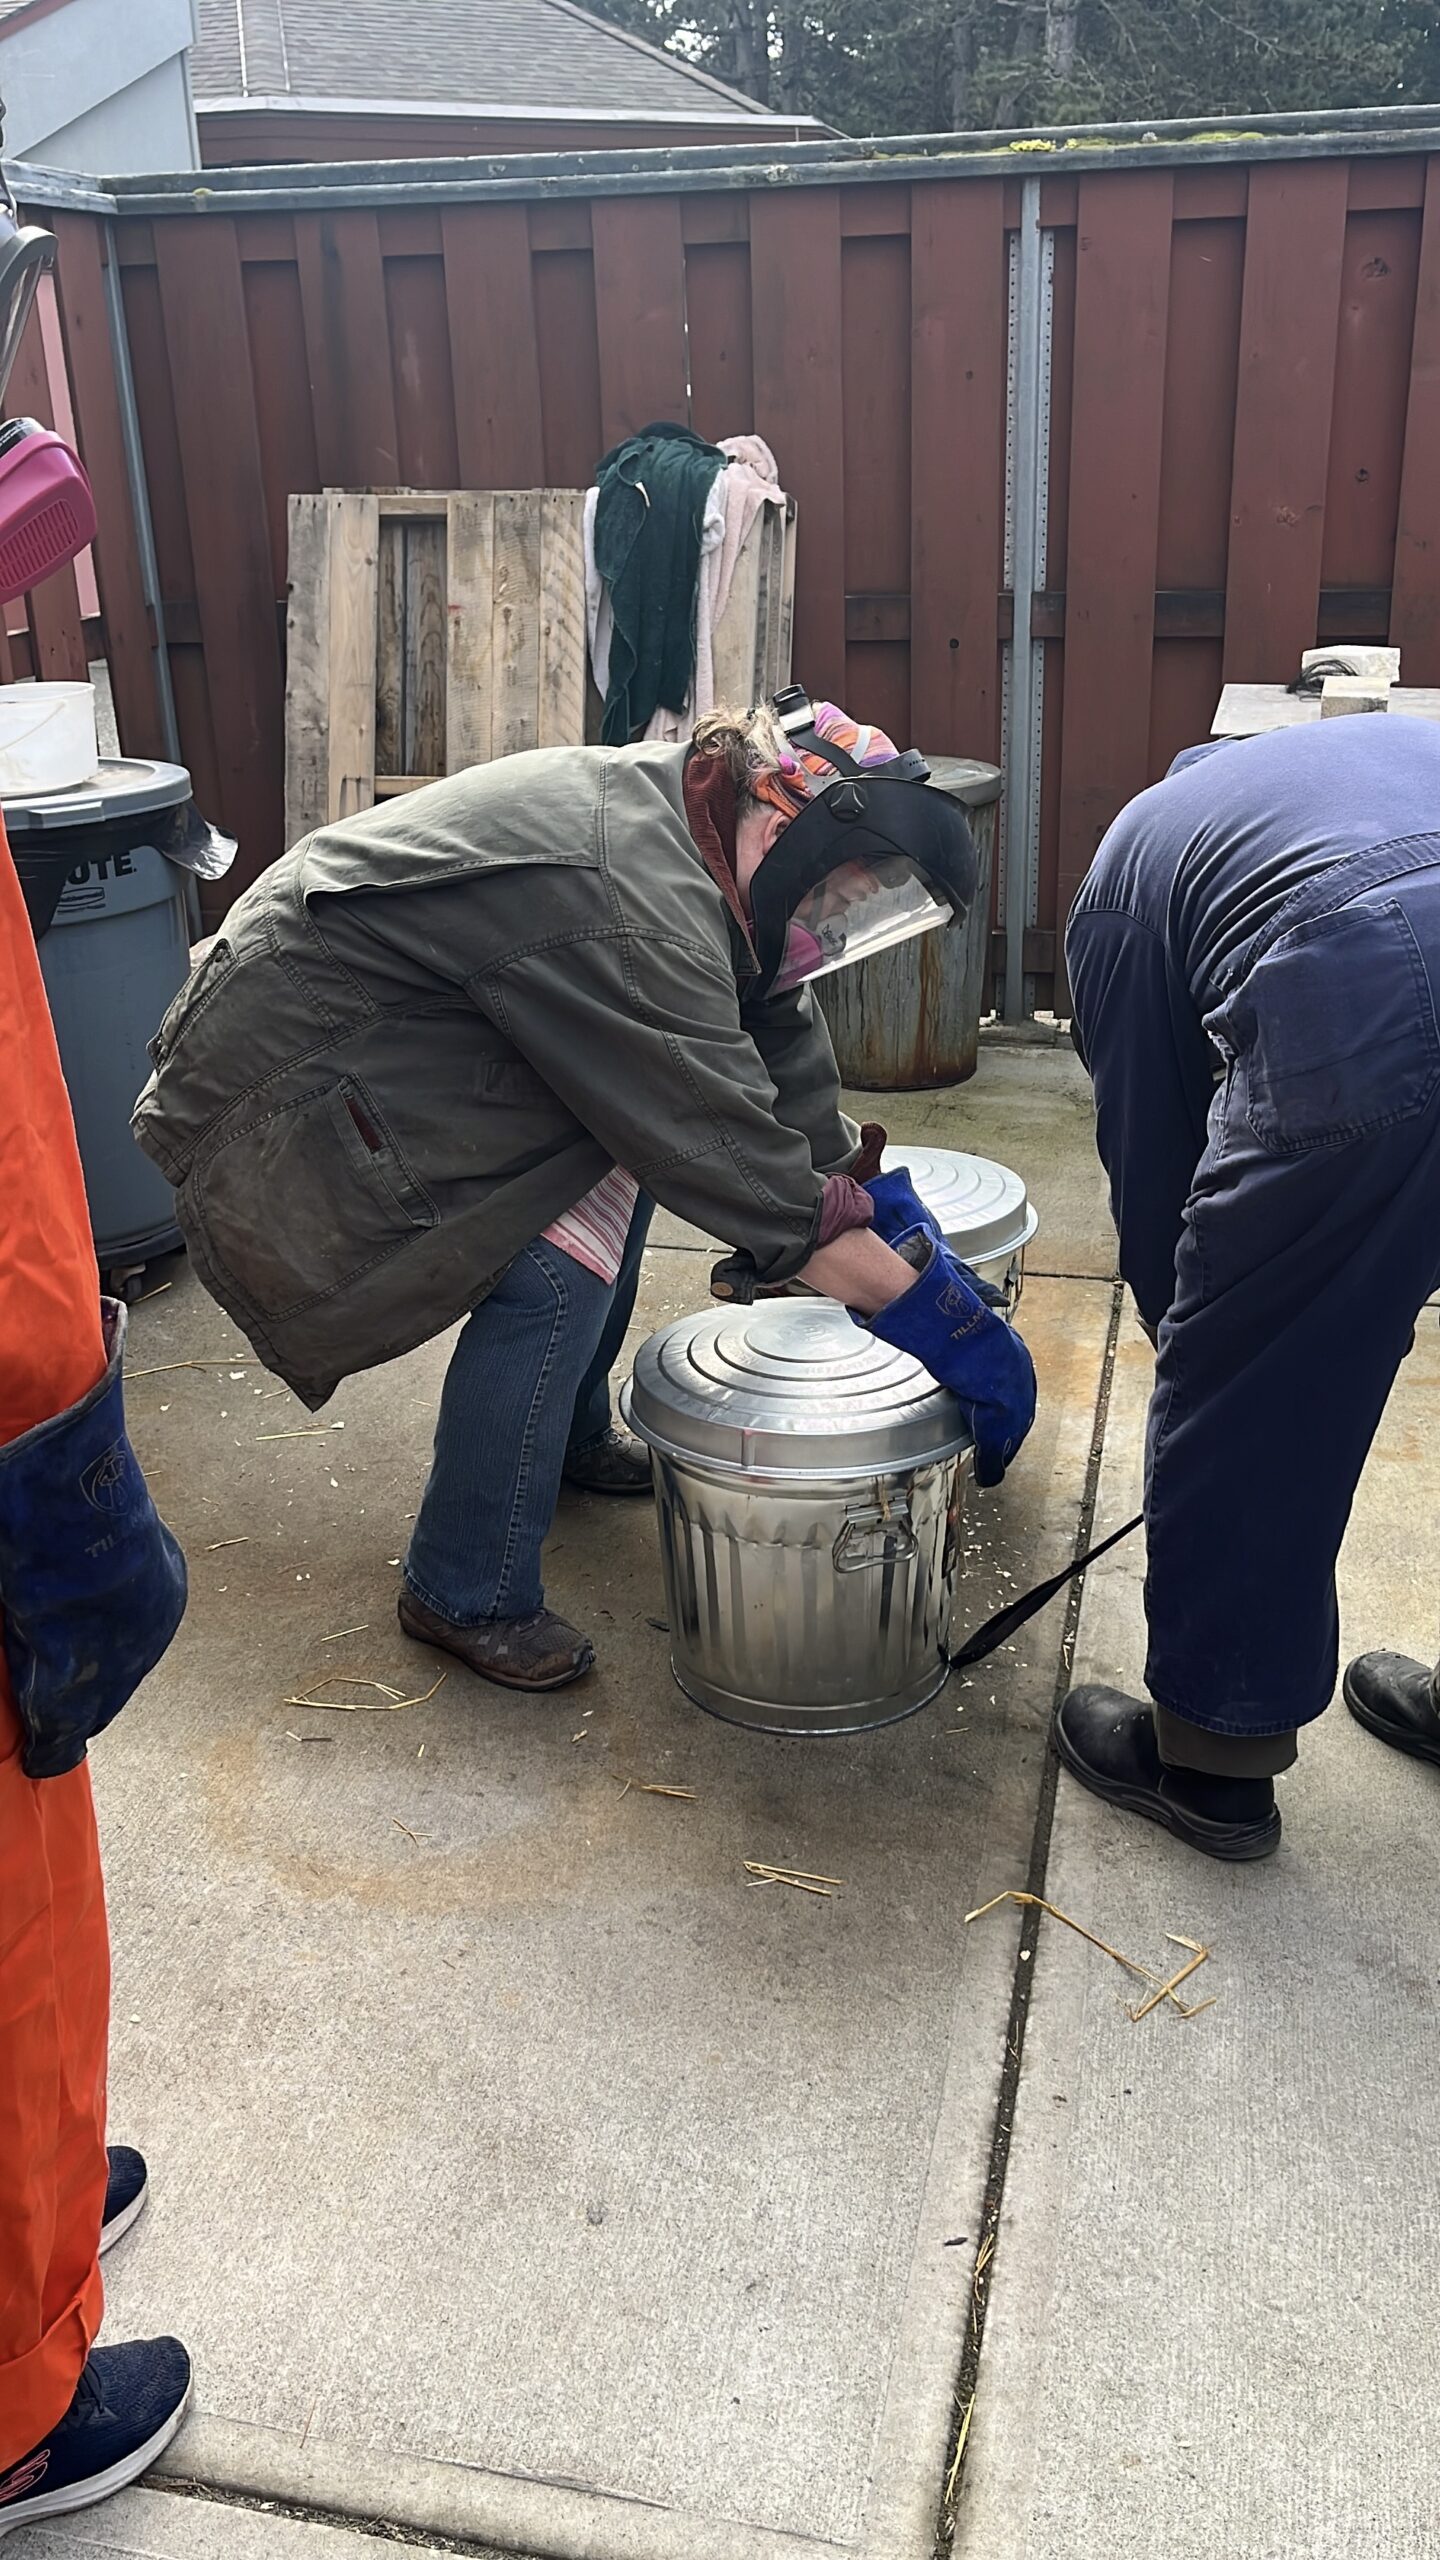
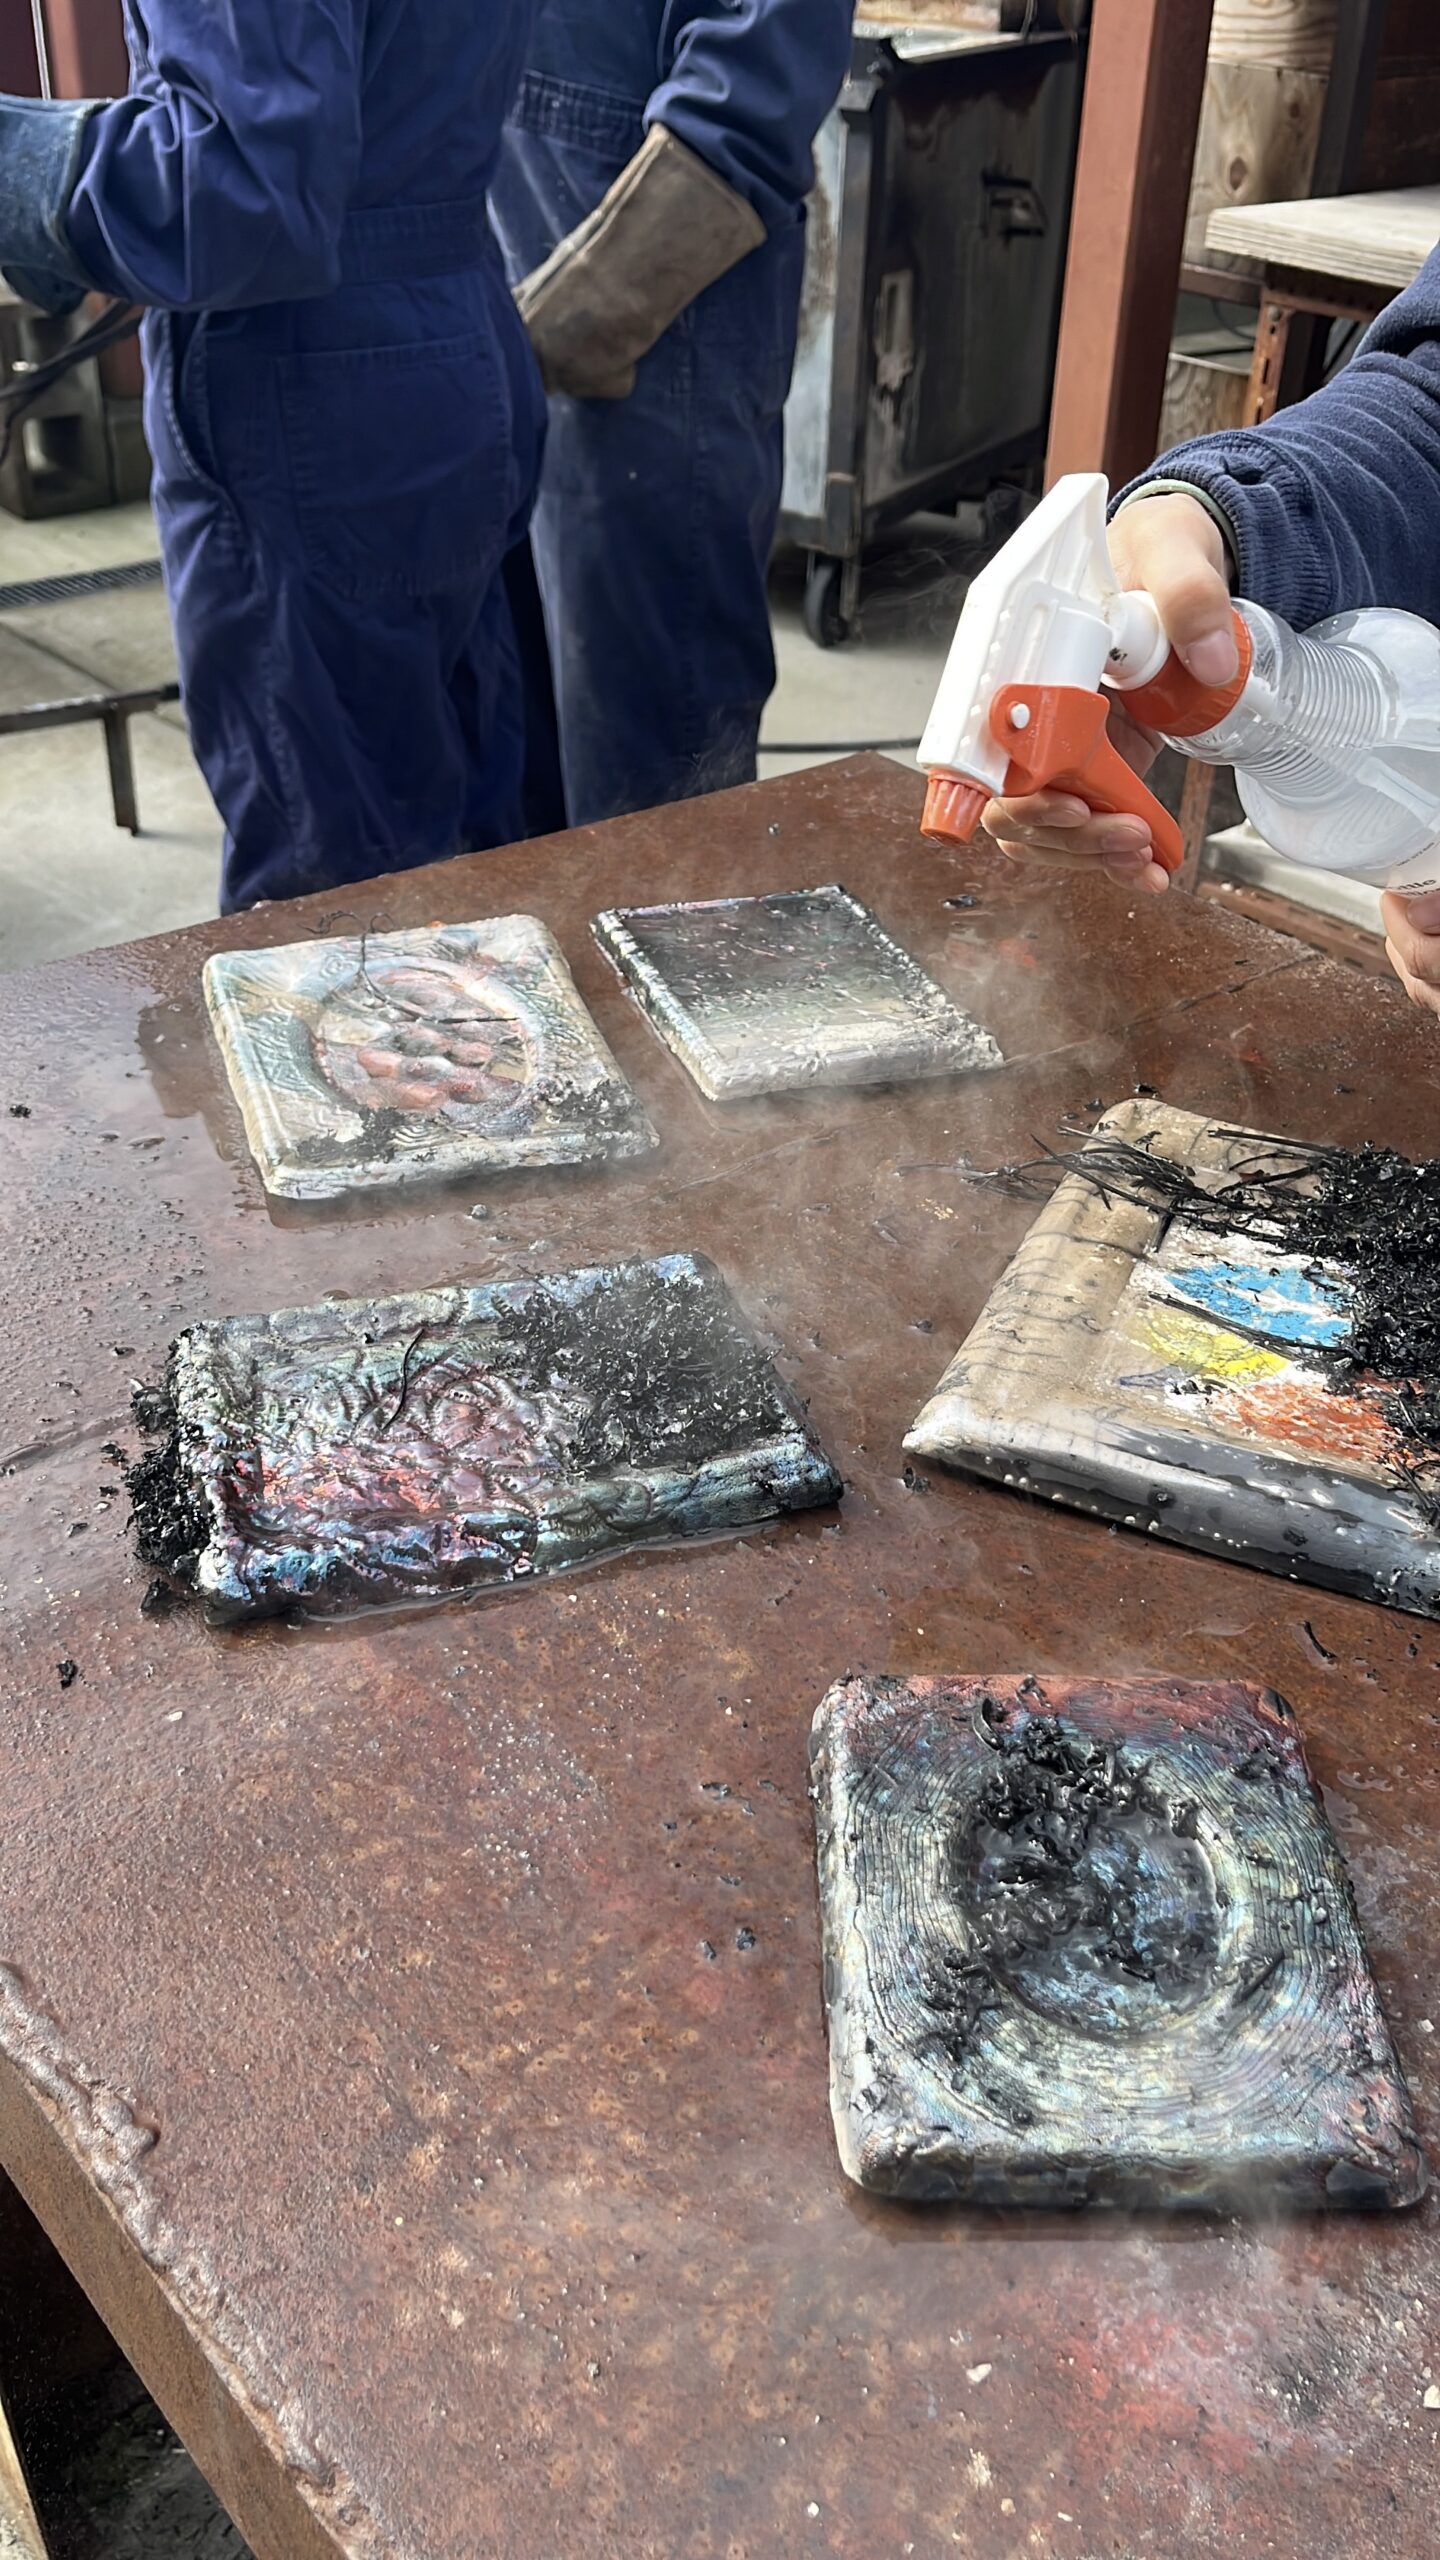
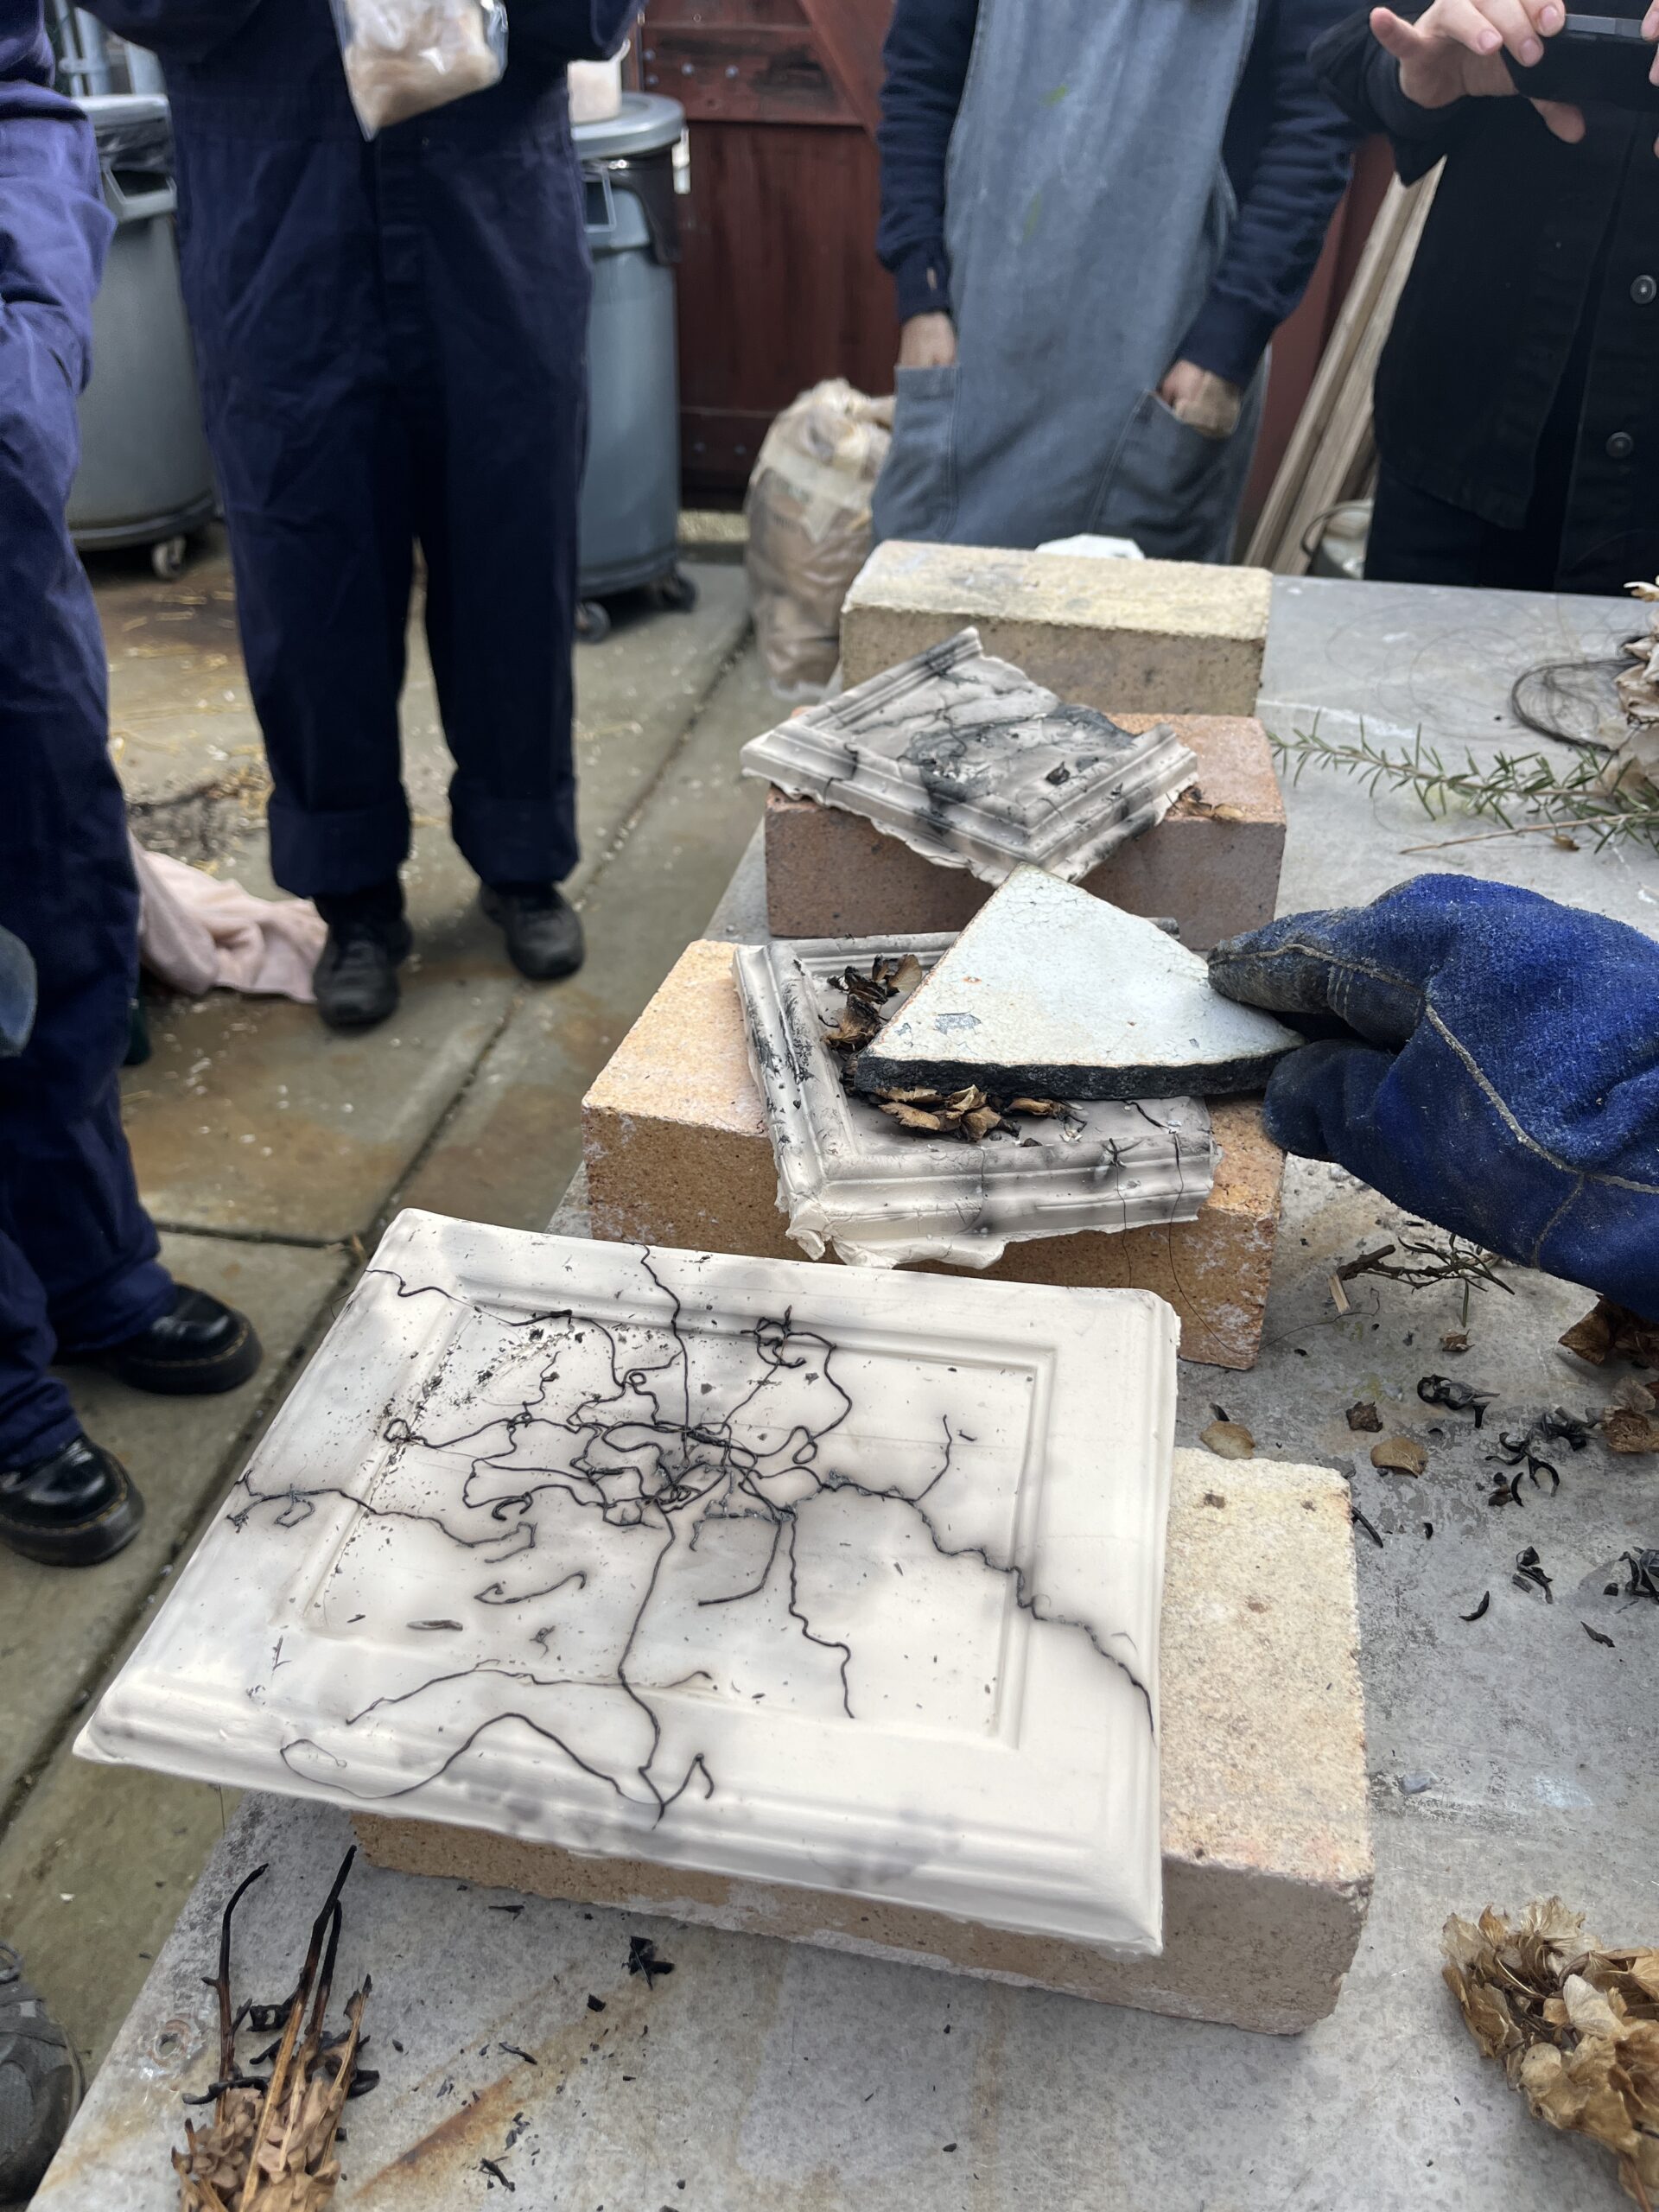
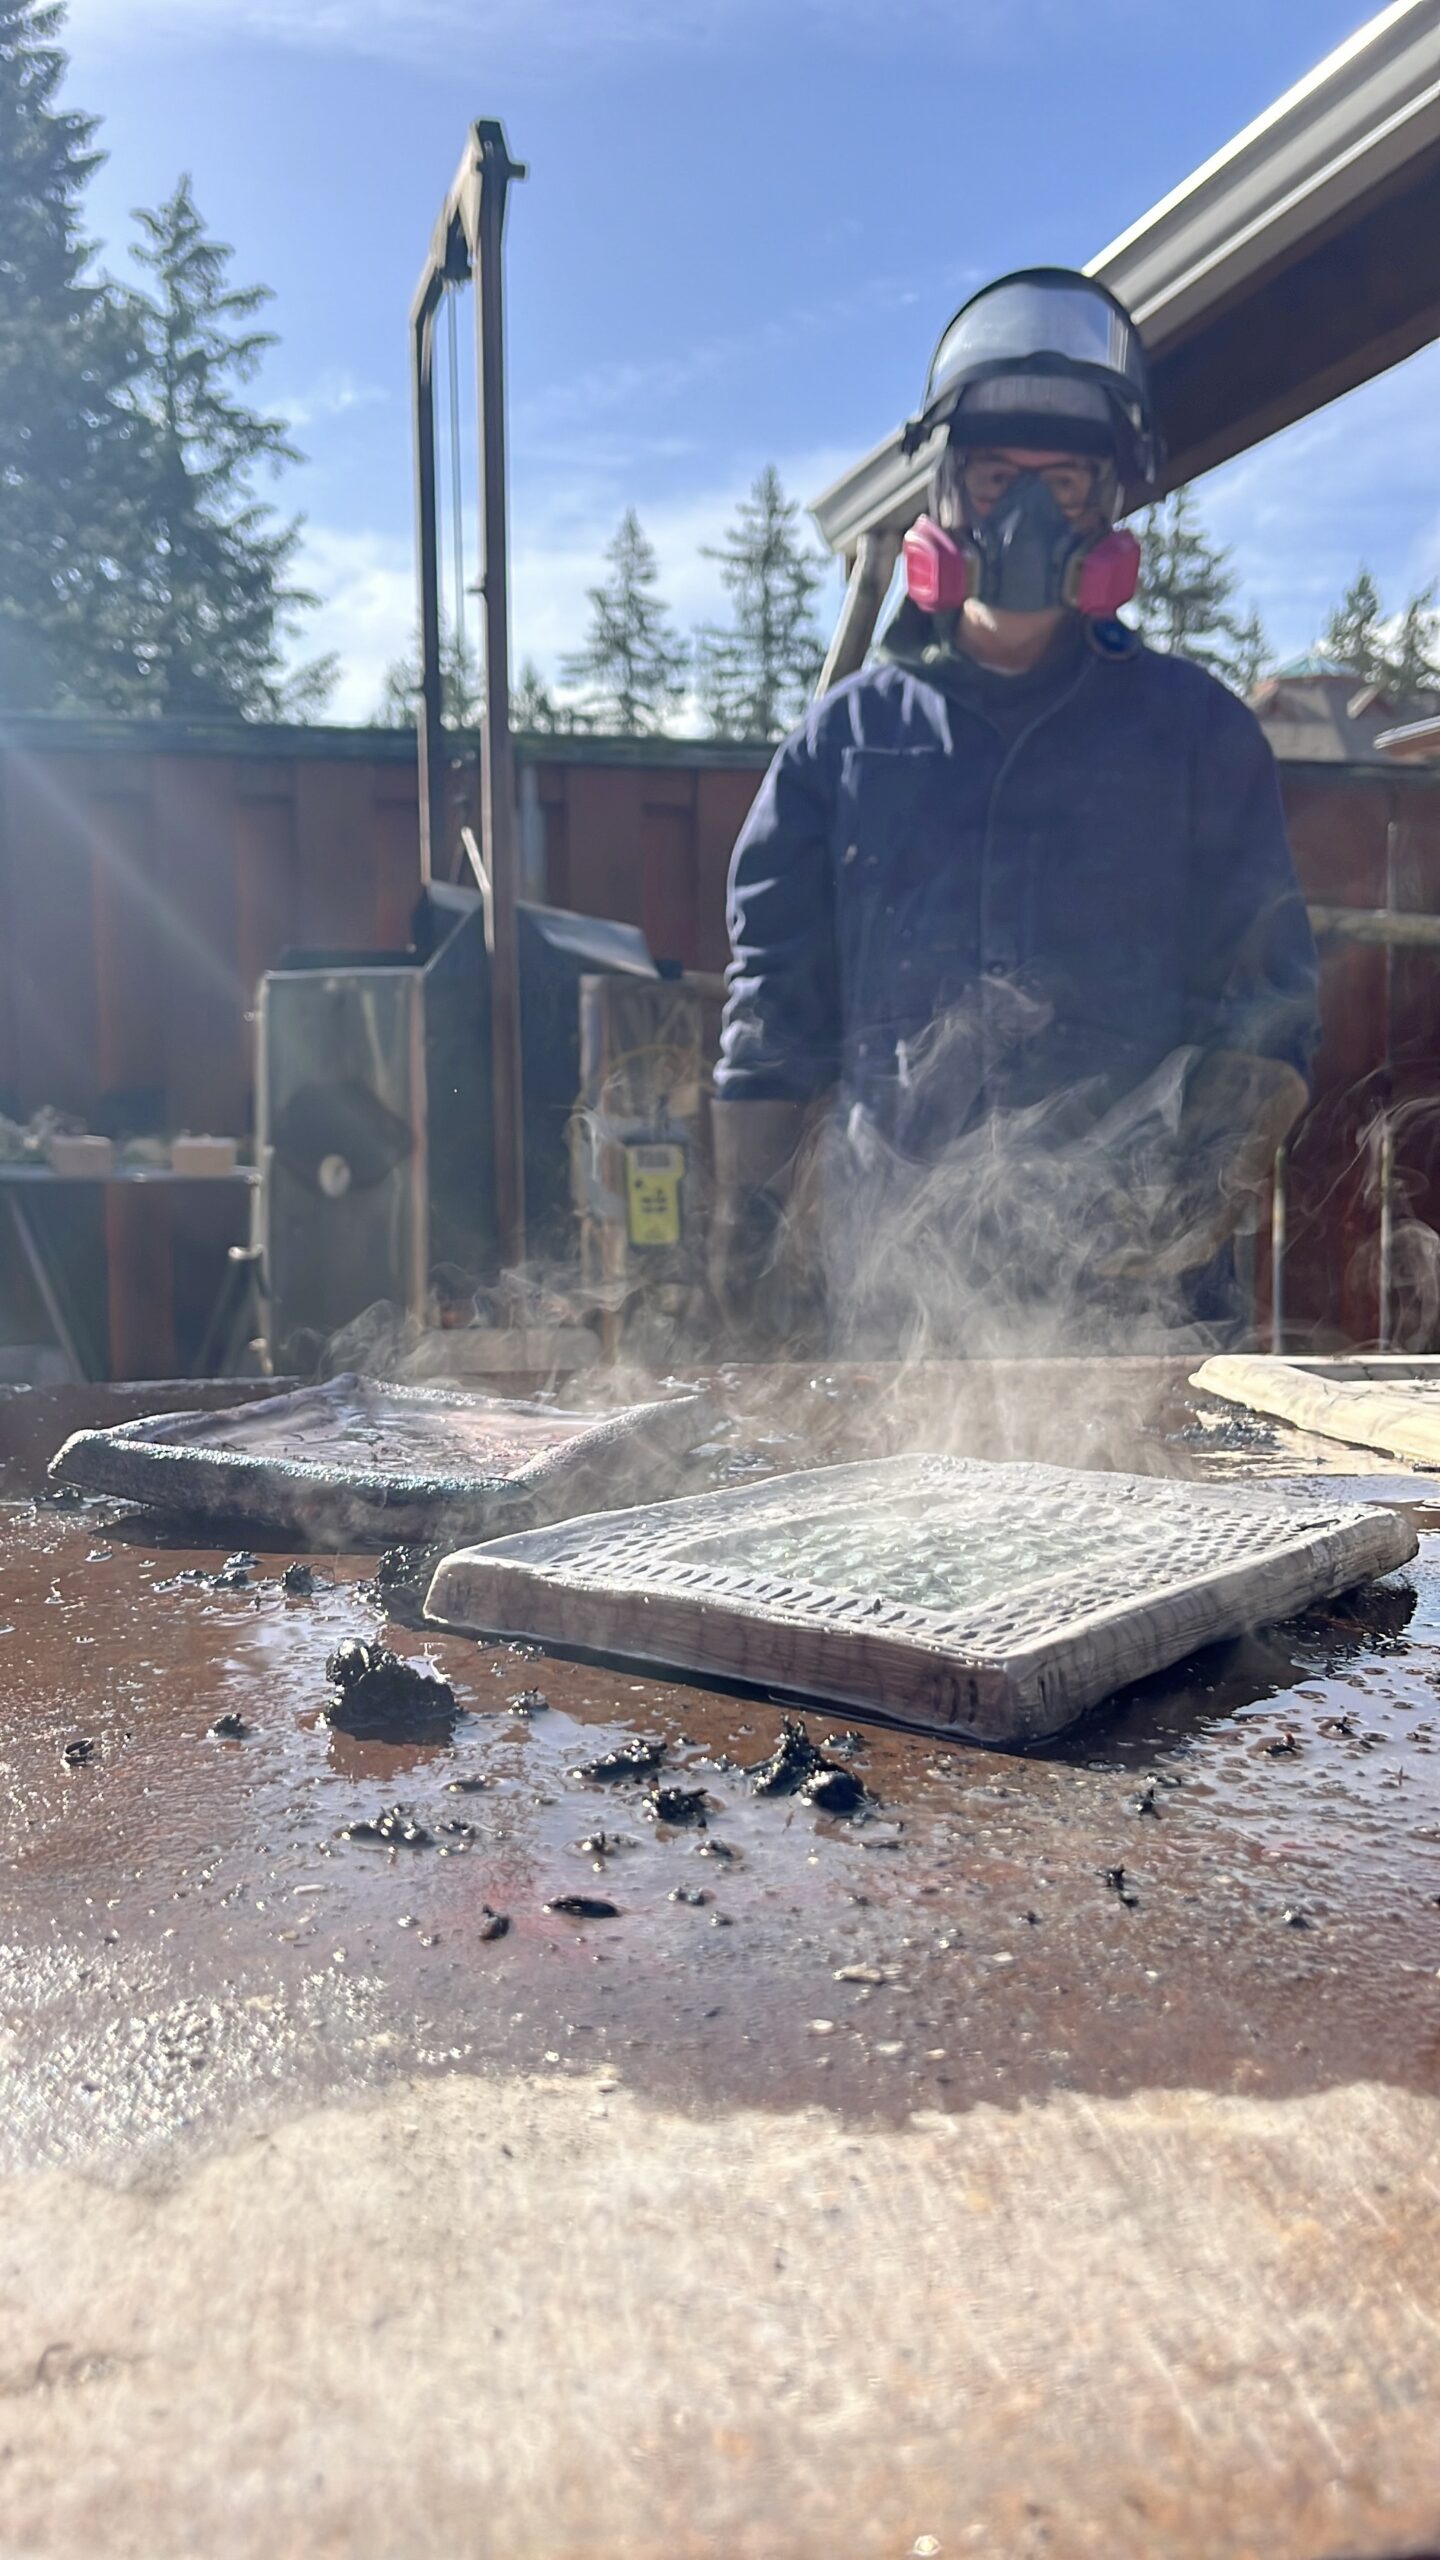

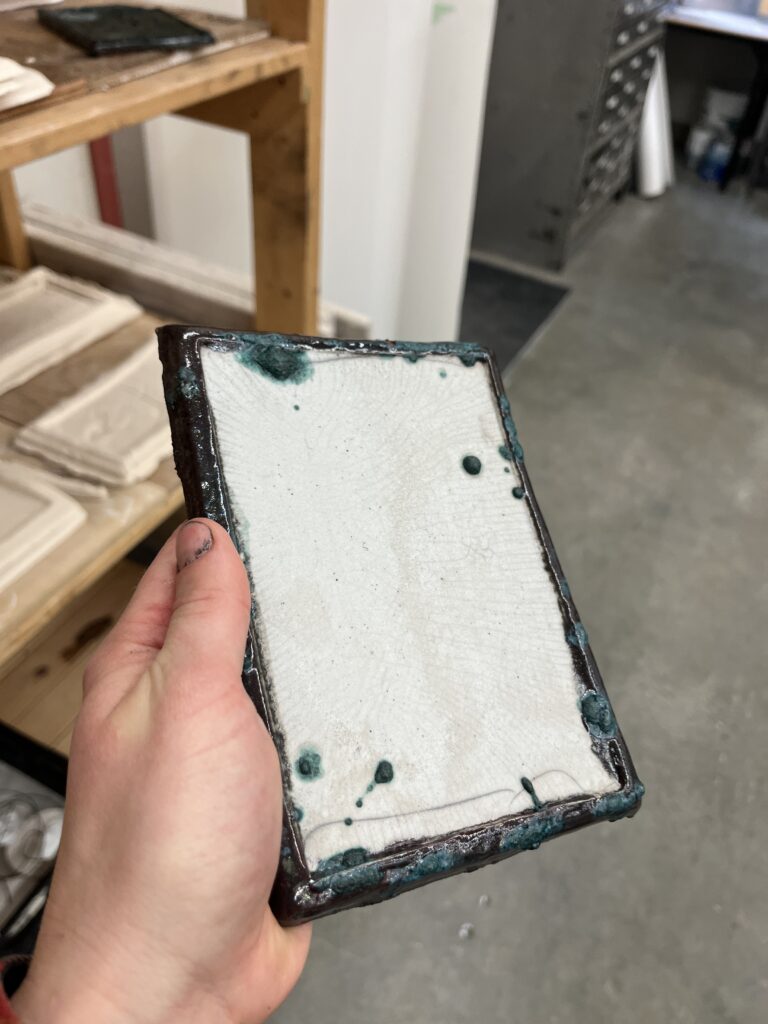
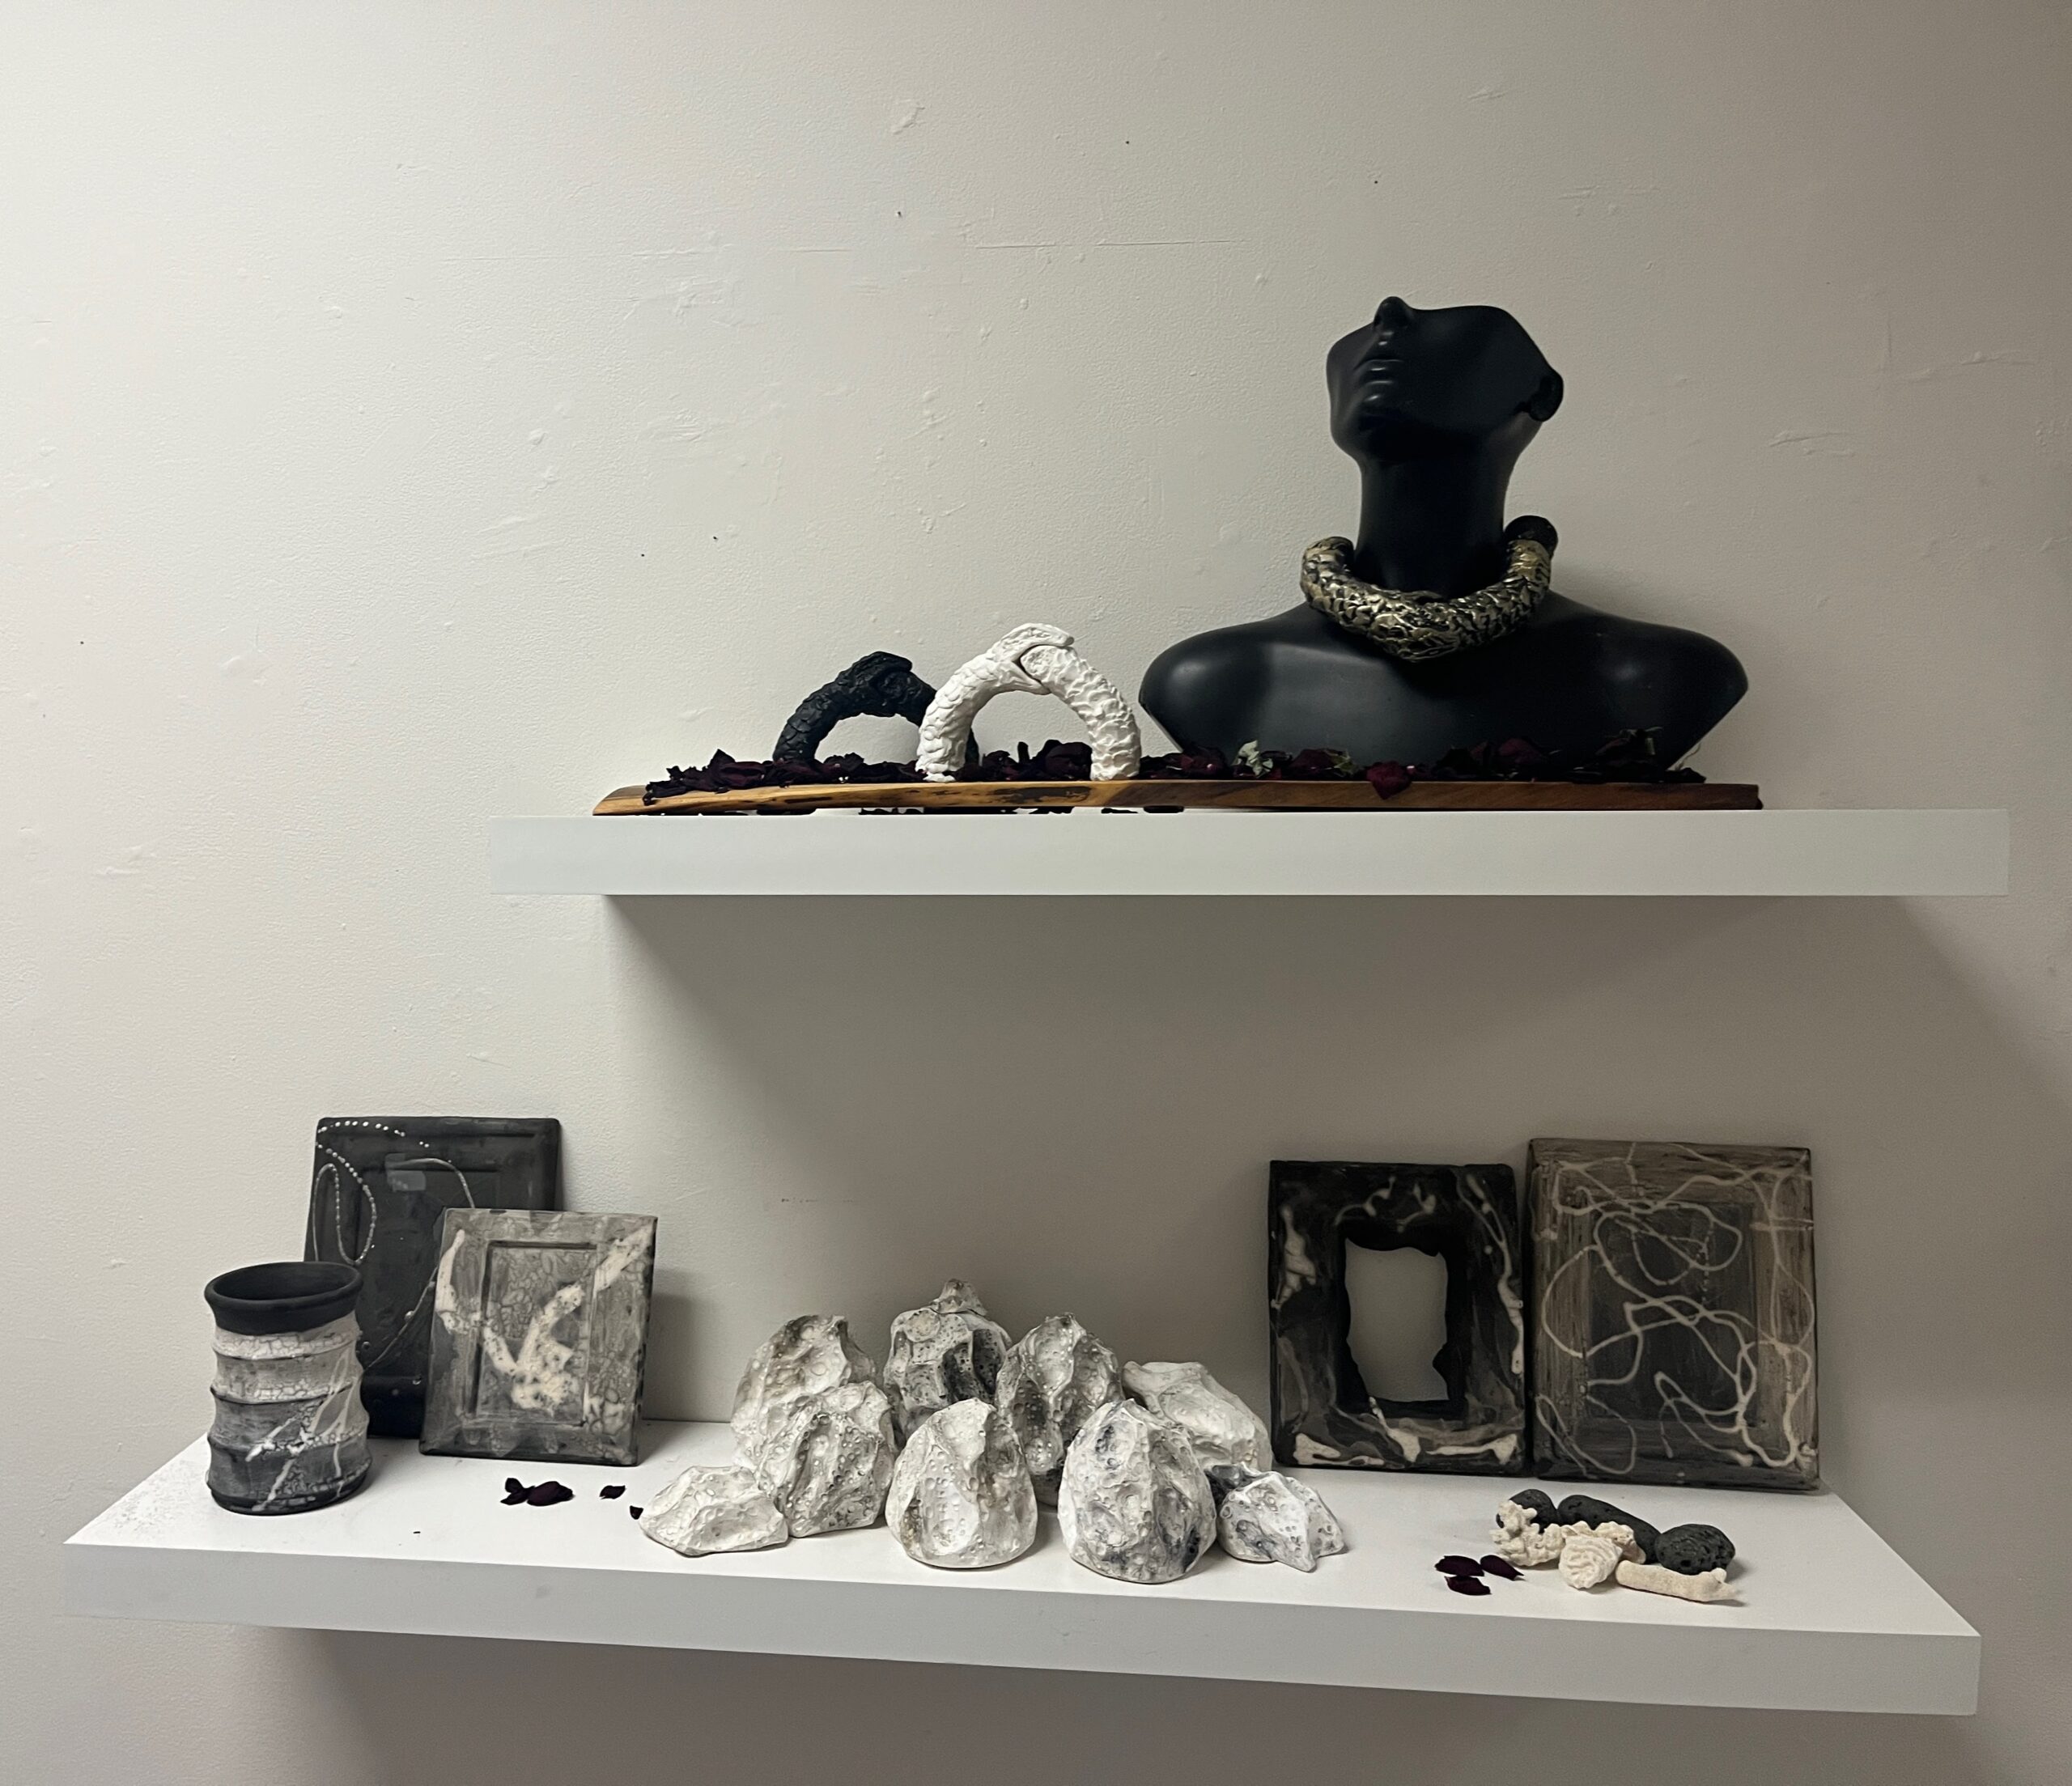
After cooling and cleaning the pieces after the Raku firing, we saw a lot of variation in each piece. It was intereing to see how reduction and oxydation created so much difference in the colours of the glazes. My coil fire frame broke, but my other frames held to one piece.
I wanted my frames to be like the 4 directions: air, fire, earth and water. The clear frame was air, the south the rose, the west the spiral water, and the north the field of many flowers like our ancestors before us.

Studio Project 1: Common + Curious: Sum of Their Parts
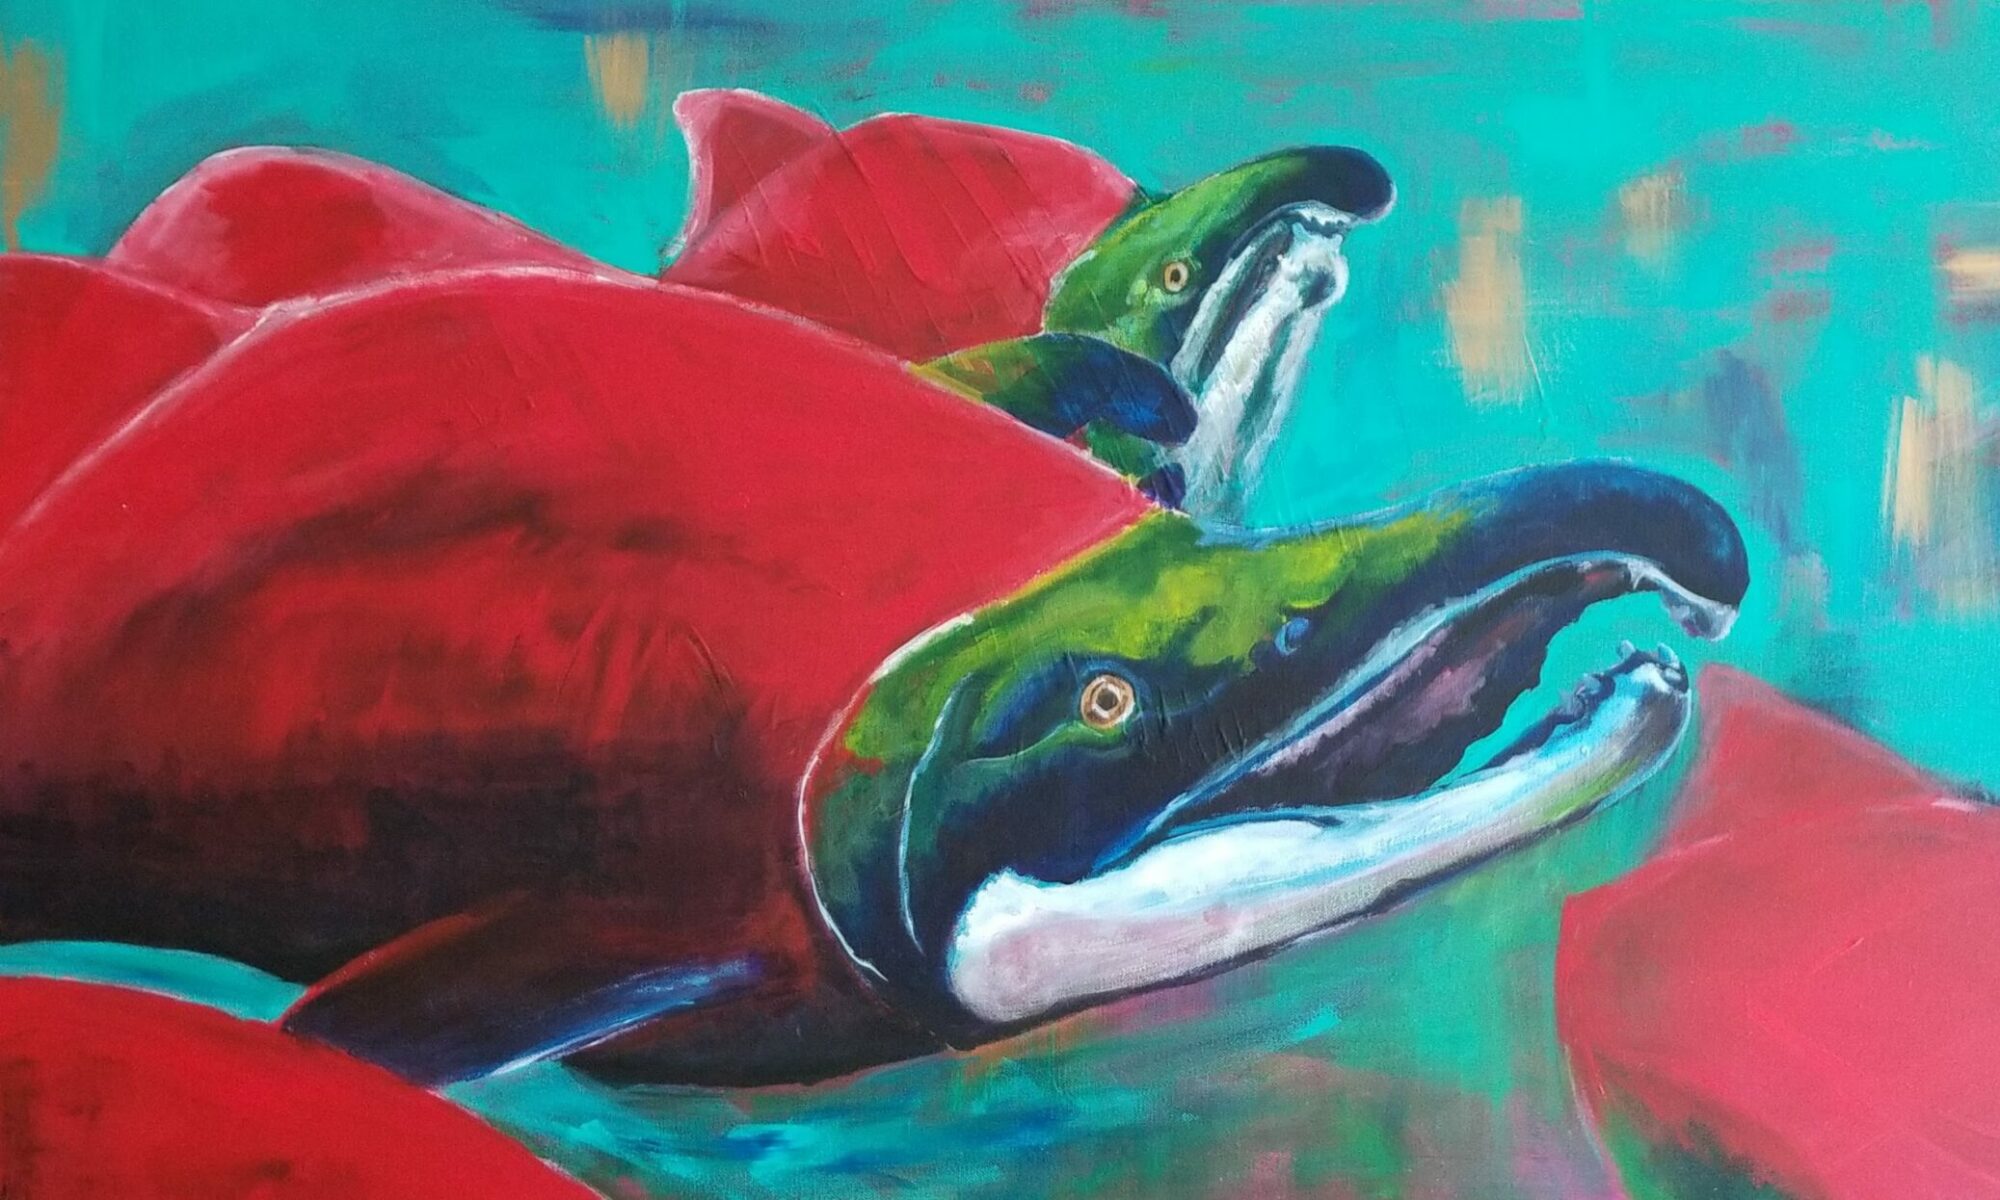
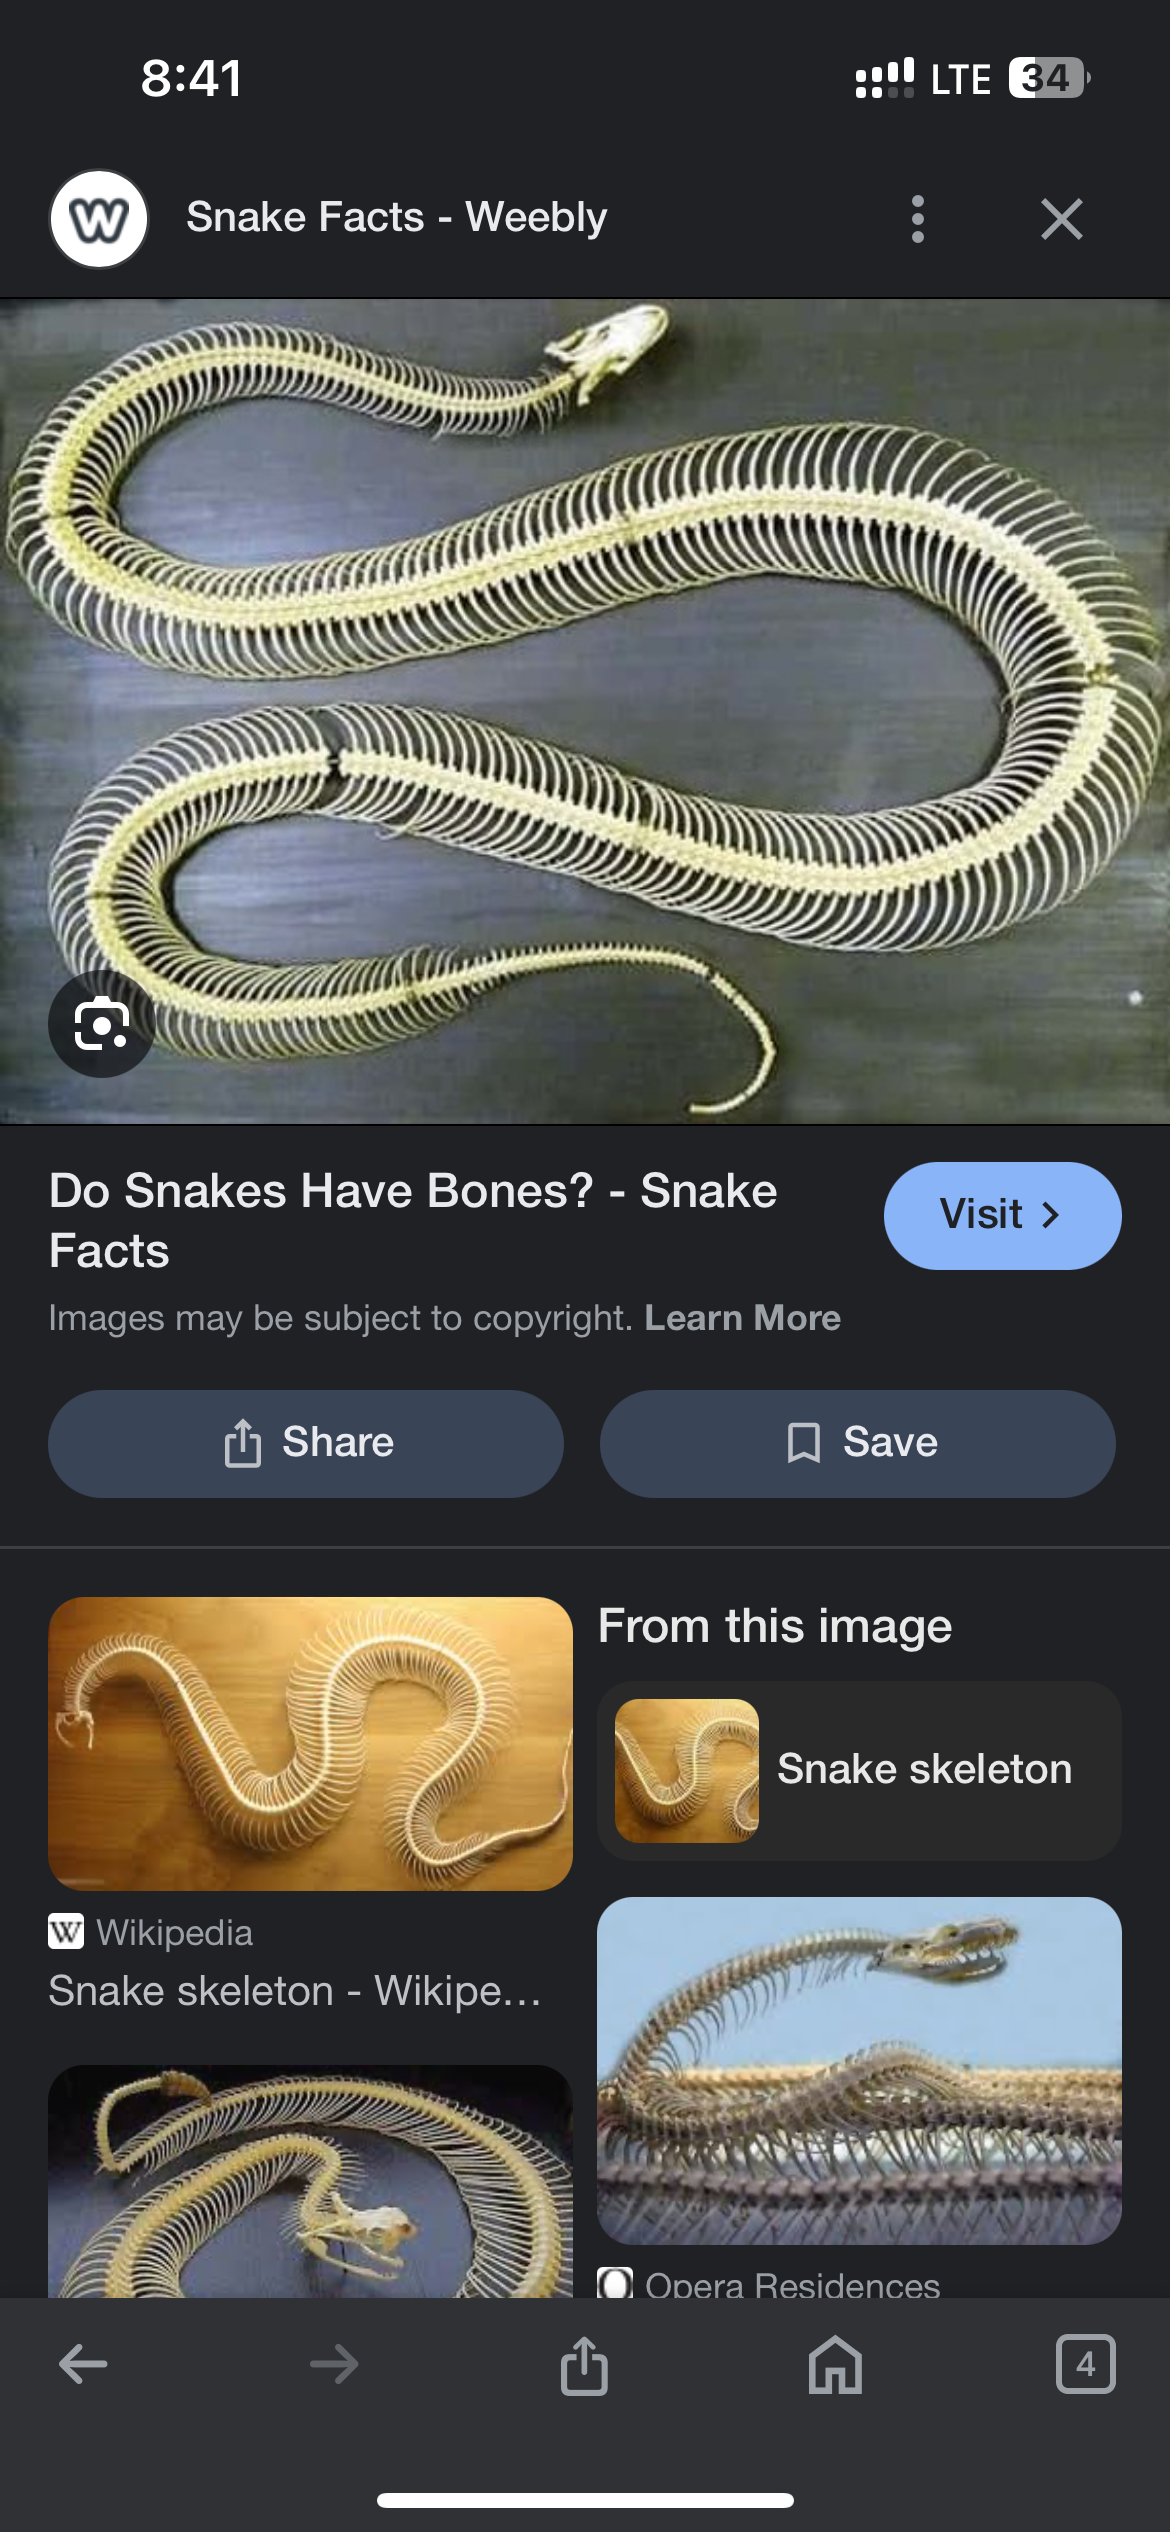
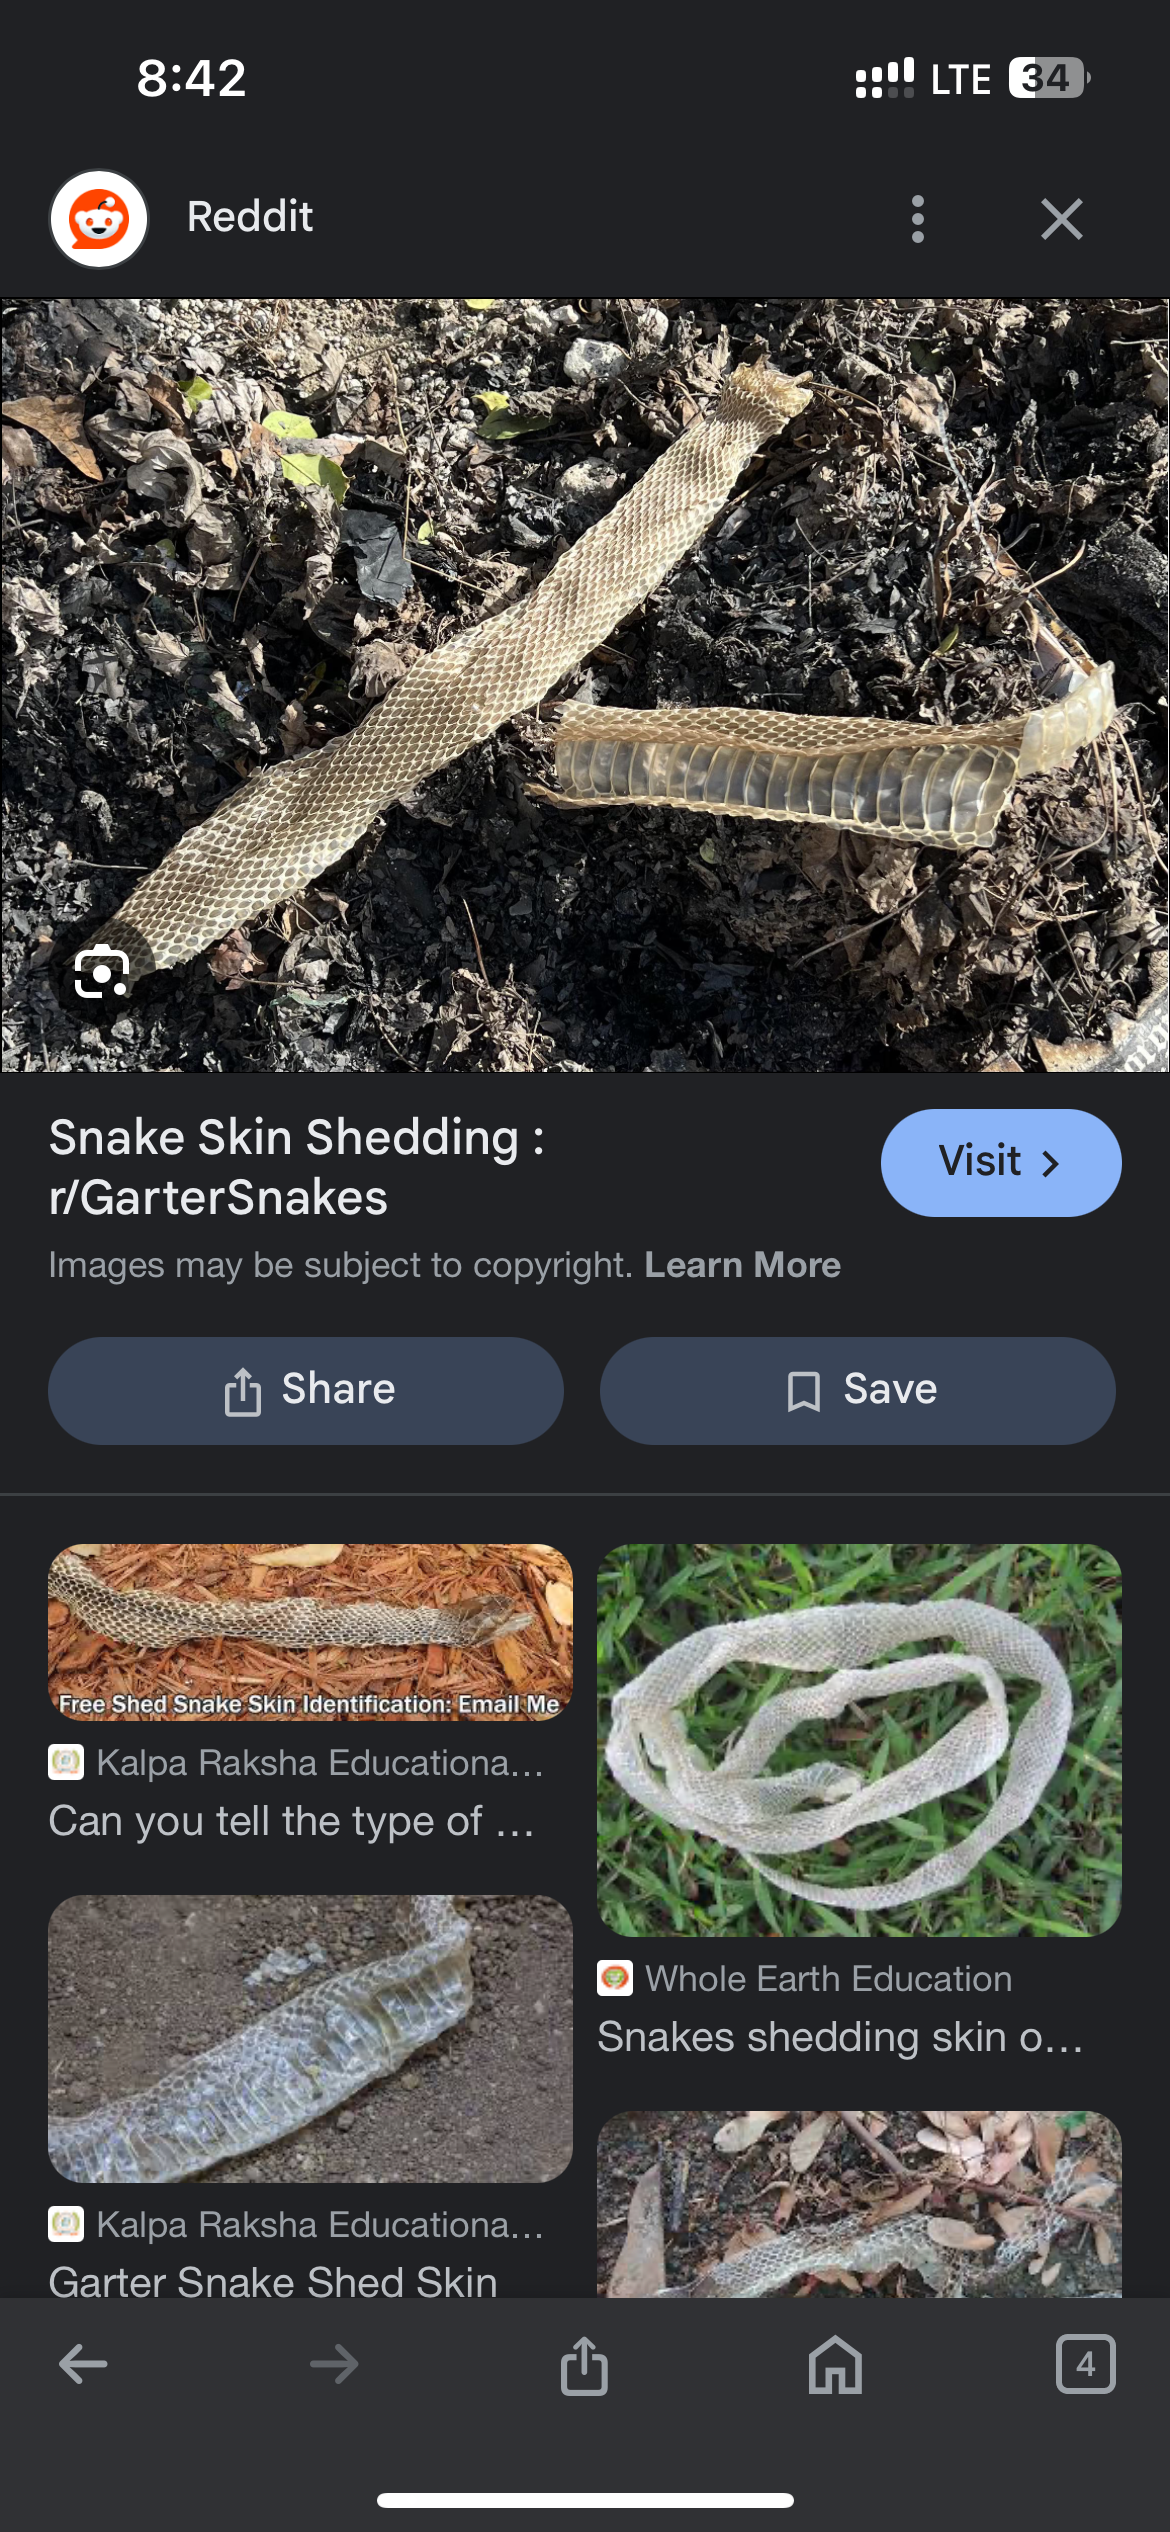
Early ideation and research: During this phase of the project I had only my theme that I’d decided on for the semester: snakes and roses. I wasn’t sure on what the project even was, let alone what model I would build for the project. So, I started looking at snake anatomy, and reflecting on the shapes of them. I thought about buying a fake snake online that I could use for my model and went to different thrift shops to find a model I could use. I shared my idea of the rose and the snake and sketched out a few different options. I researched symbolism of the snake and the rose and looked at different cultures that come from my own heritage to get ideas; slavic, celtic, german, dutch. Eventually I discussed some of my research with my teacher, Angela, and she asked me what snakes mean to me and if I have any childhood associations with them. I told her, yes! As a child I used to pick snakes up from the small patch of natural space across from my house. There, I could almost always find a garter snake and I would pick them up and hold them, even placing them on my arms and in my sleeves. I likes the feeling of the snake on my skin. It was a welcome connection with nature. So, she suggested I build on that idea and work with a snake on skin. We talked about the idea of having the snake coil up my arm and how we might make that work with my project. We would need joinery and to plan to make the snake in pieces and at a half spiral so that it could connect and move up my arm. I left class that day feeling inspired. But, the more I thought about it, the more difficult it seemed. I would have to get the angels and the joinery right, and I wasn’t sure how I would get it to stay on my moving arm. Would the hydrocal plaster be strong enough for a park of my body that moves so much? So, for the next class I decided to explore another option.
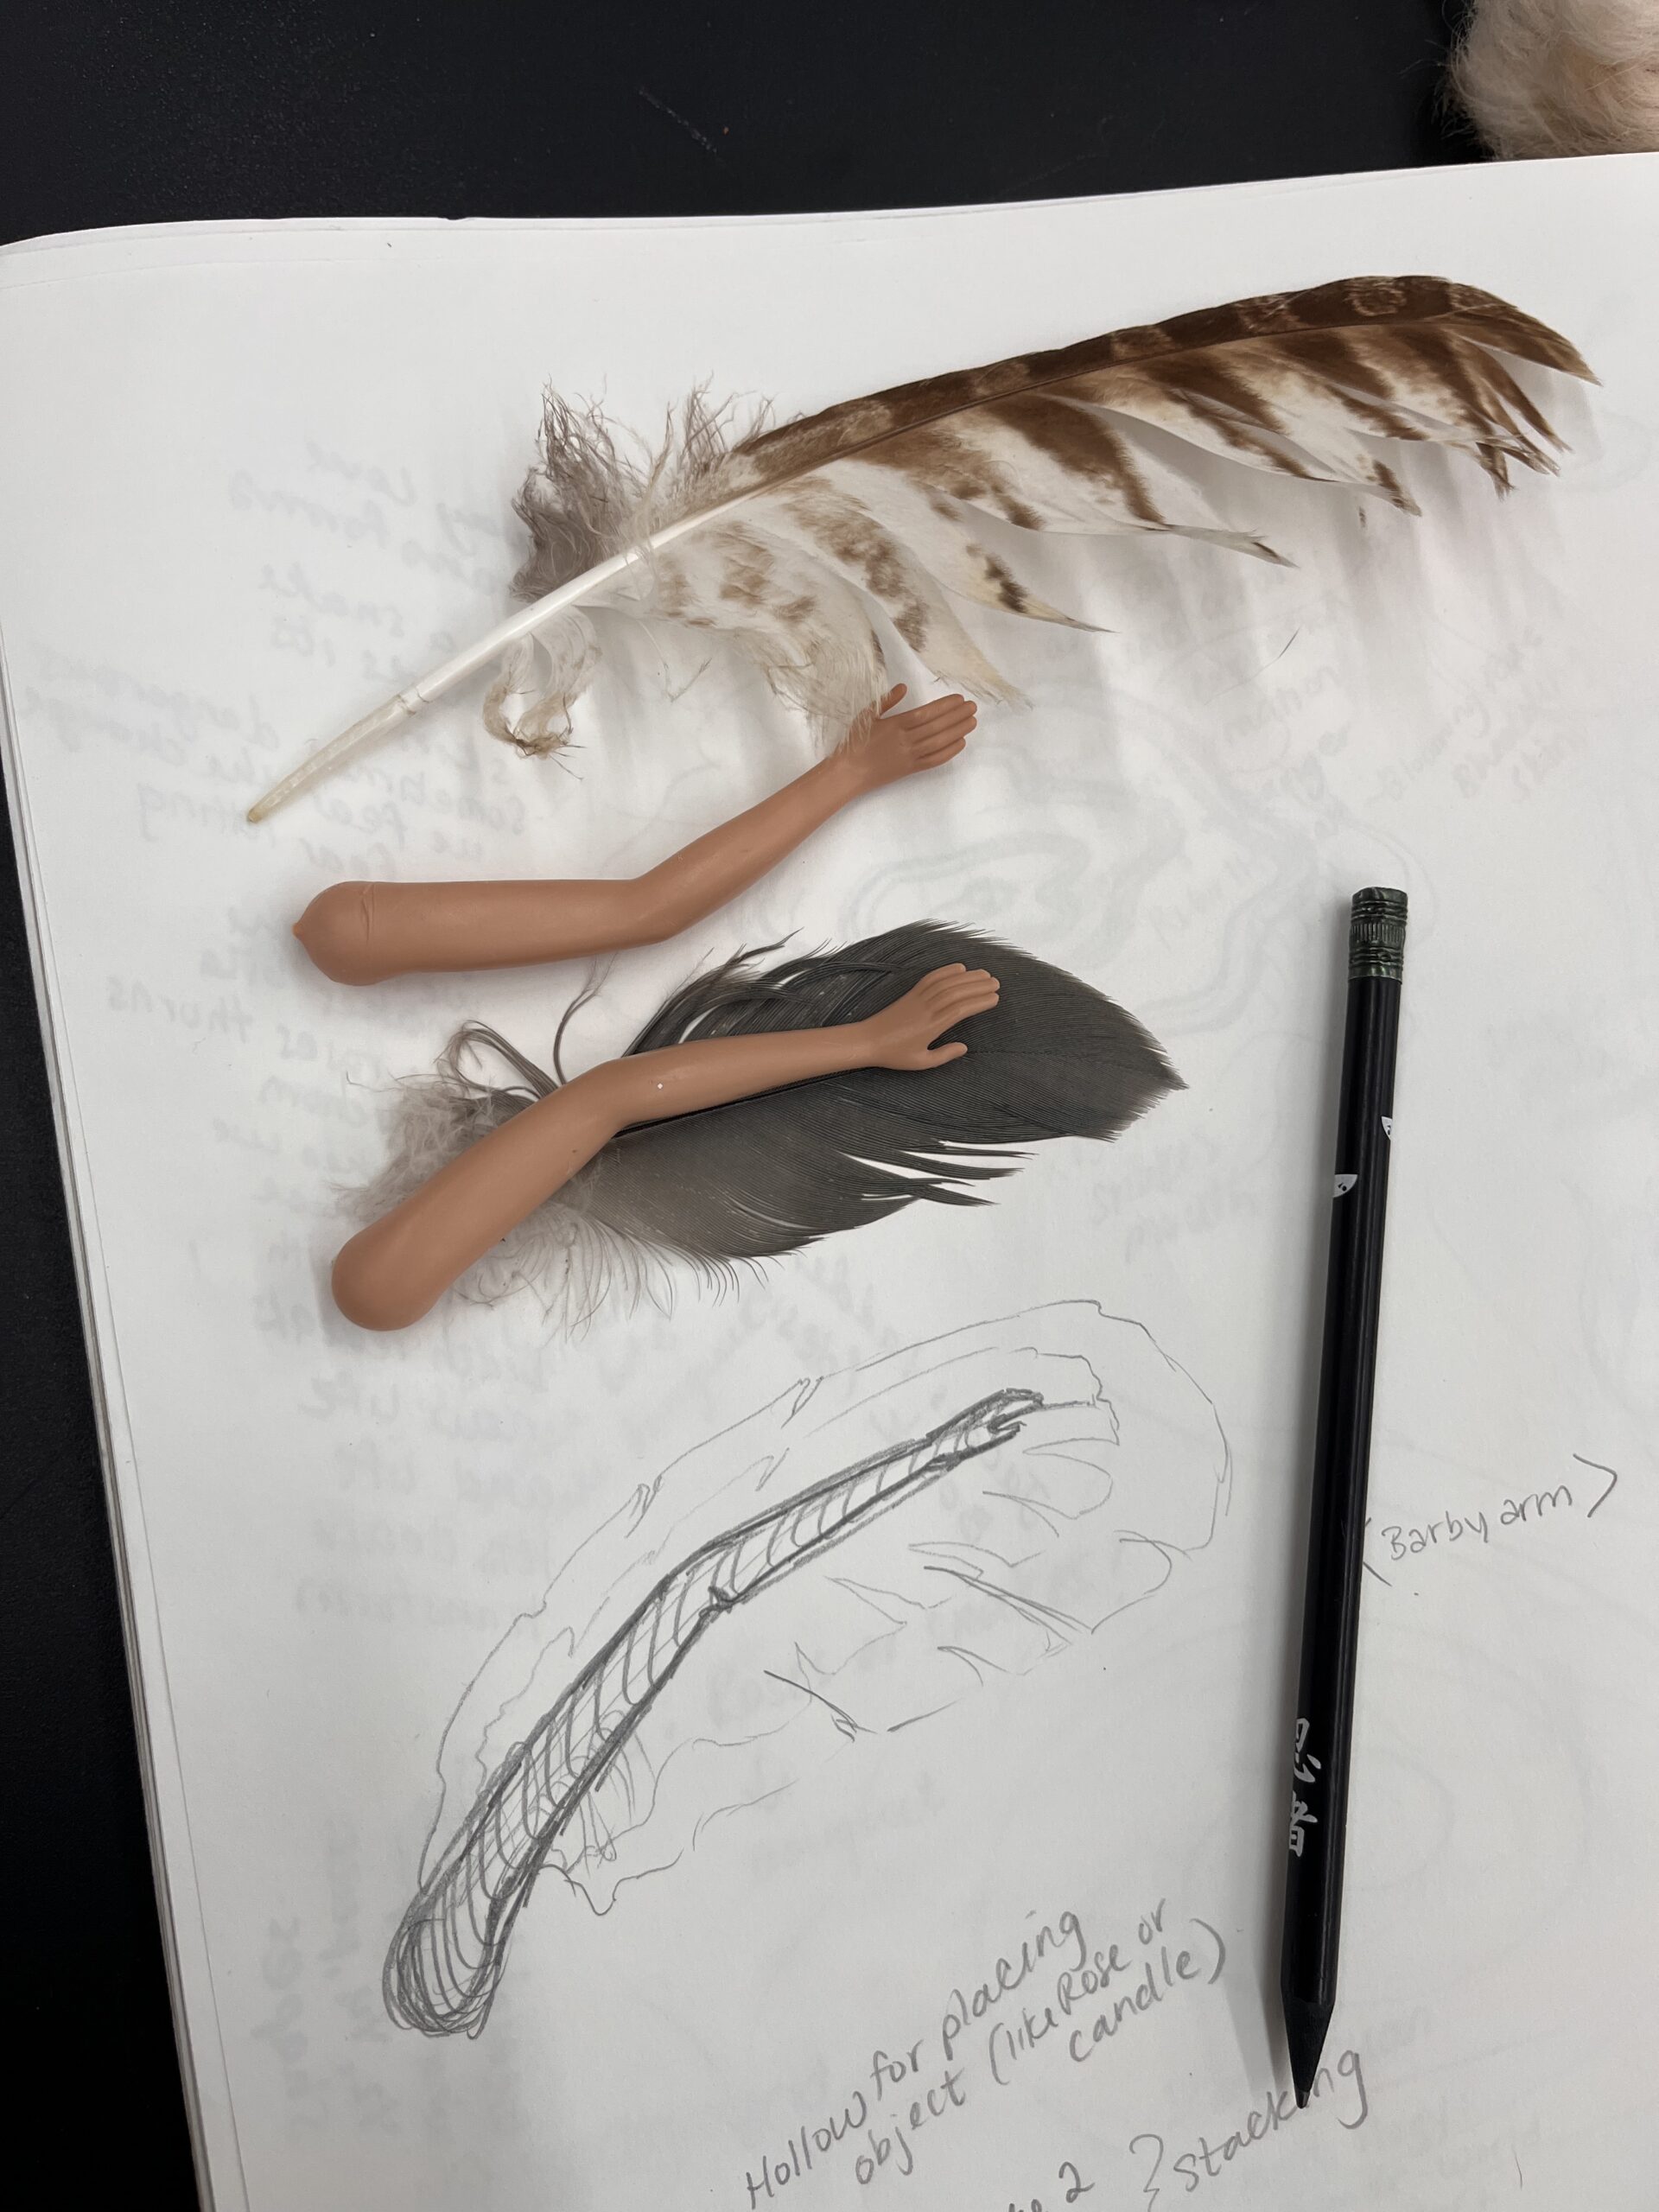
In the picture below you can see another option I explored. It was for an idea that I’ve had in my mind since December. The idea was titled “under my wing” and the idea was to make a shield of pod where someone could sit and feel sheltered in a warm and caring place. I wanted it to be like an arm and a feather coming together and do multiples of it then have them all connected to make a wing like form. But when I presented this idea to Angela, she suggested I go back to my original idea. She said the barbie arm and wing idea would be too fragile and thin for the restrictions of this project. An idea to perhaps use for another project down the road.
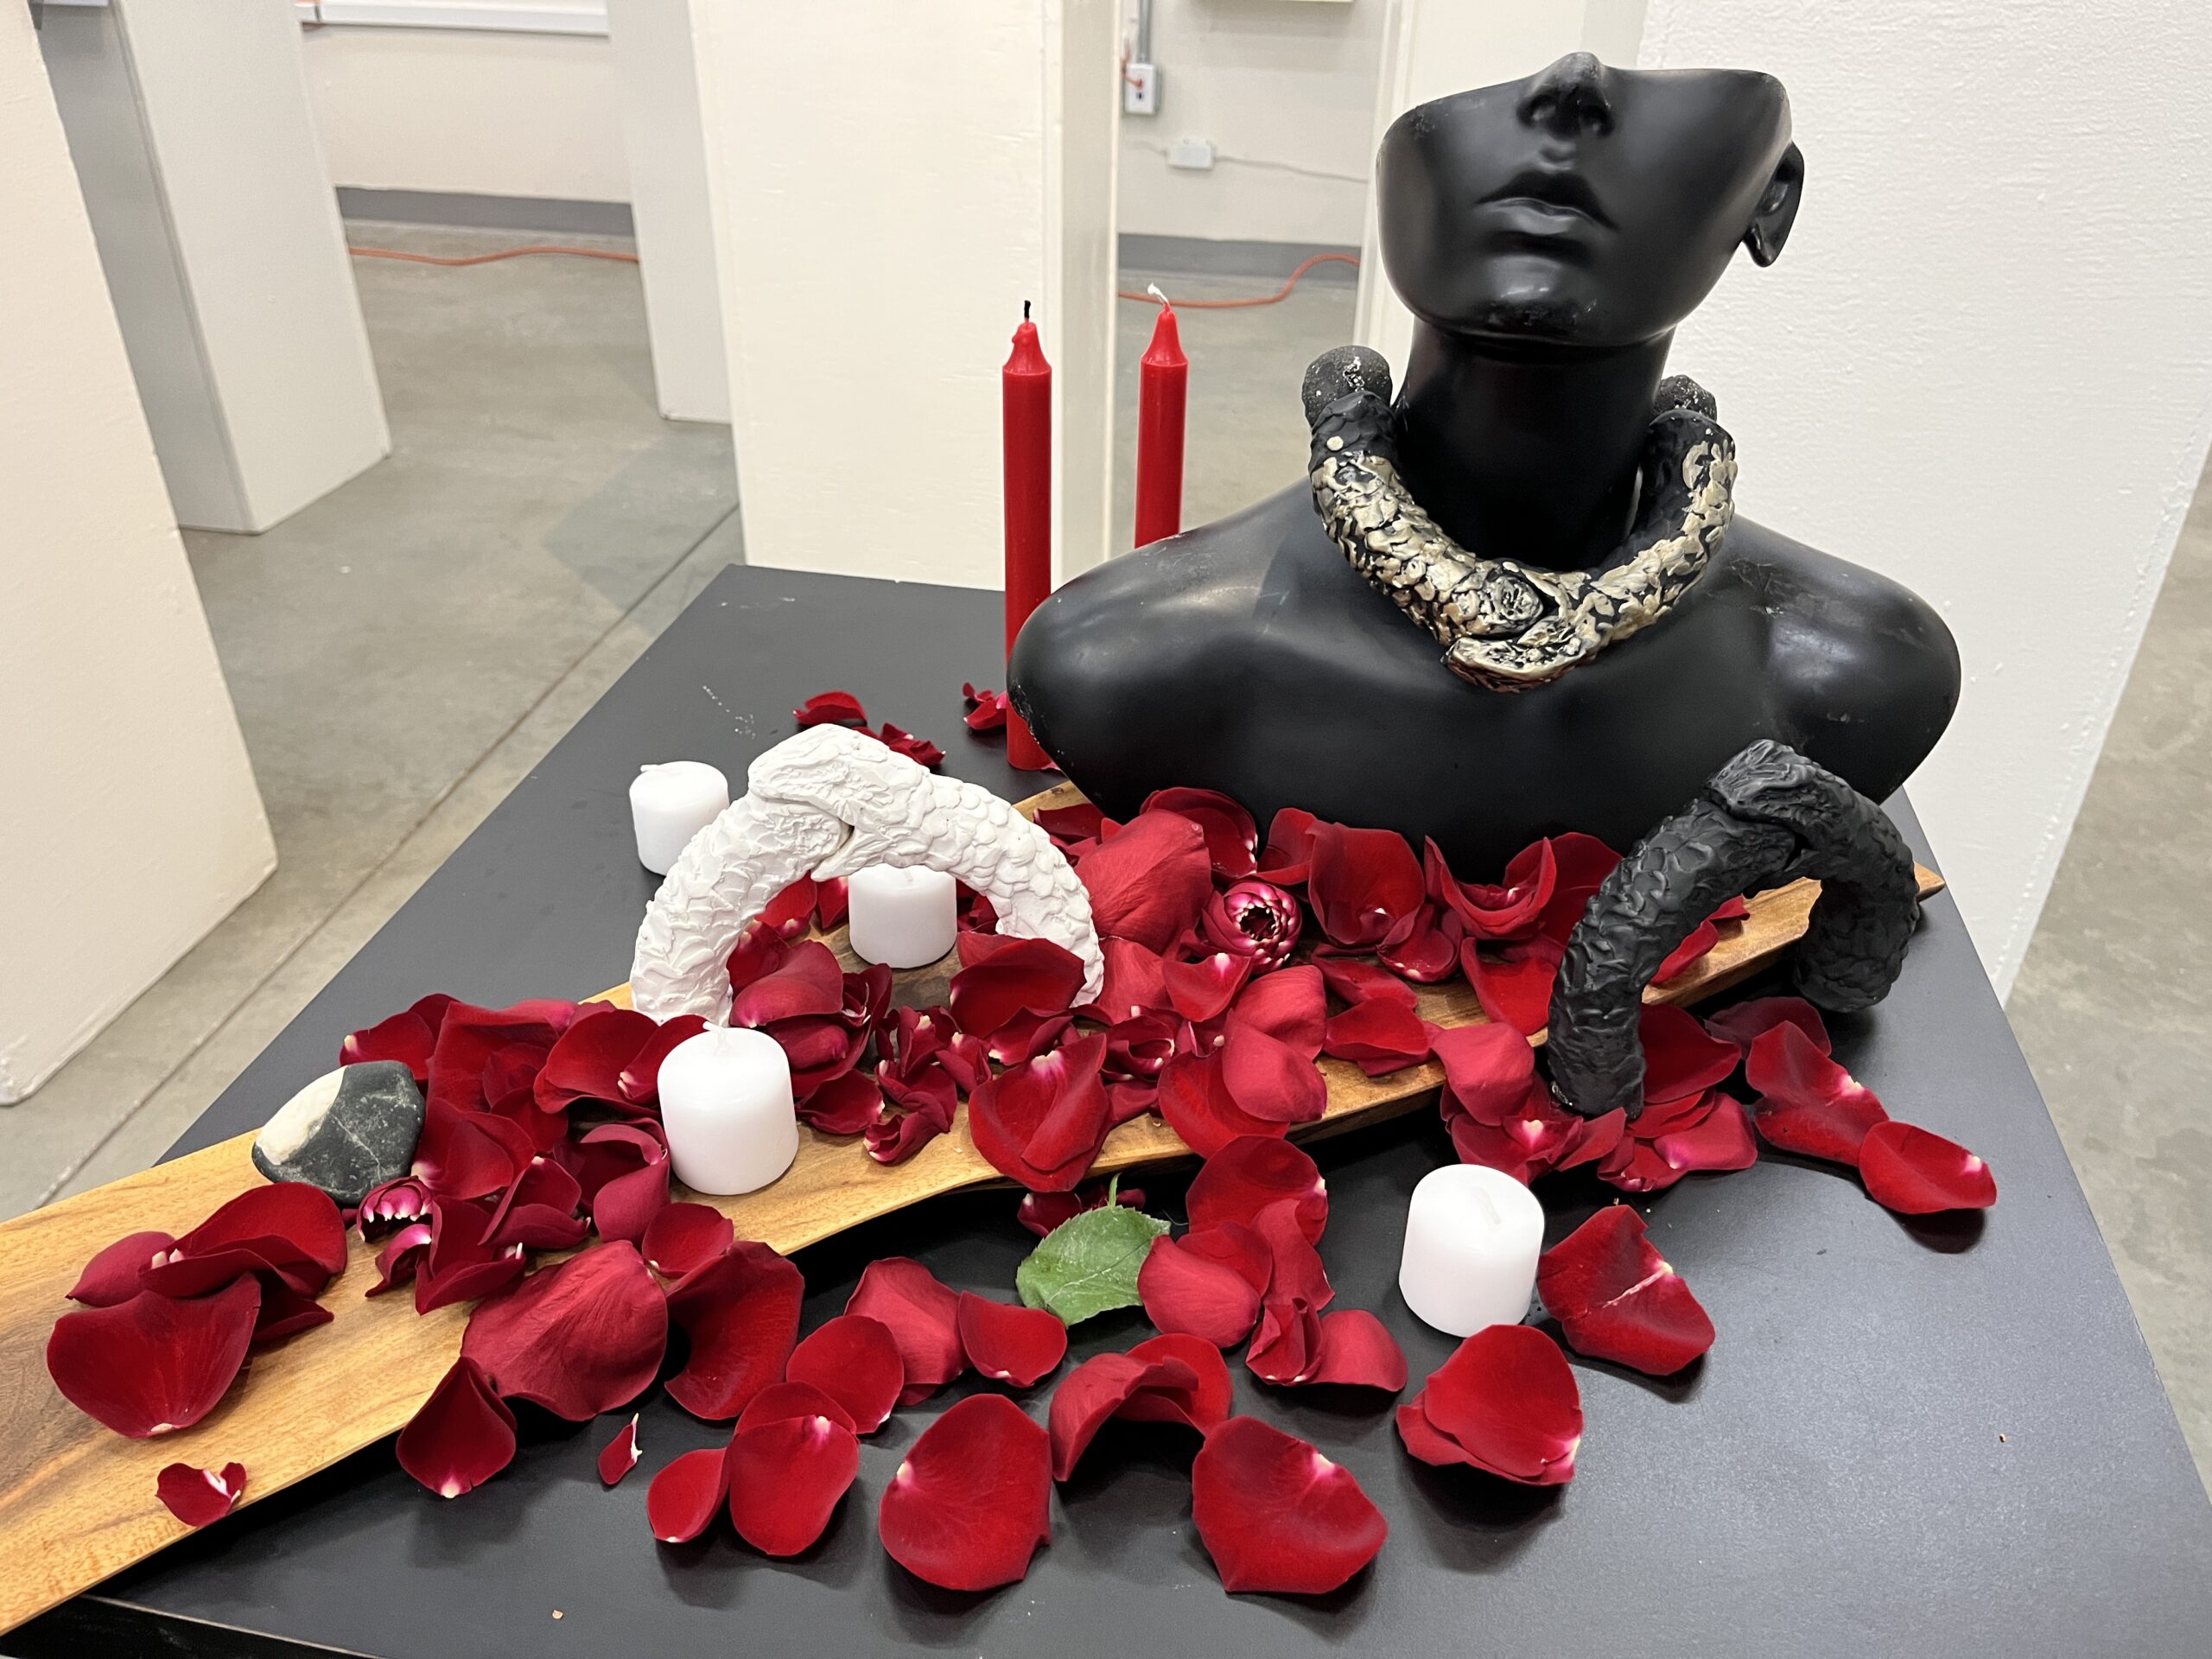
So I continued my search for a snake model and I ended up buying some rubber snakes on amazon. While I waited for them to arrive, I went to Value Village and I saw a braided choker and wondered if I could use this as a model for my project. Ultimately I decided to leave it, but it did give me the idea to transform the snake coiling up my arm to coiling around my neck. To do that, I’d need the snake to create a full circle, like a necklace. So I thought of the Ouro Boris, the snake eating it’s tail, and began doing research on this mythical creature.
The Ouro-Boris symbolized the cycles of life, death and rebrith, and the movement of the waters in the nile and the sun around the earth. It goes back as 1300 BC Egypt and has been used in many cultures to discuss transformation, yin-yang, chaos and balance, and eternity. This symbolism resonated with me and the more I did the project the more I reflected on what the snake symbolizes for me. I did a shamanic journey class and in this class I connected with snake energy and explored this question further. I realised that the snake is about the sensual and the sexual and that this movement and contact with the earth is a part of the cyclical nature of life. It felt that the more I connected with the snake the more I realized that this part of myself was awakening.


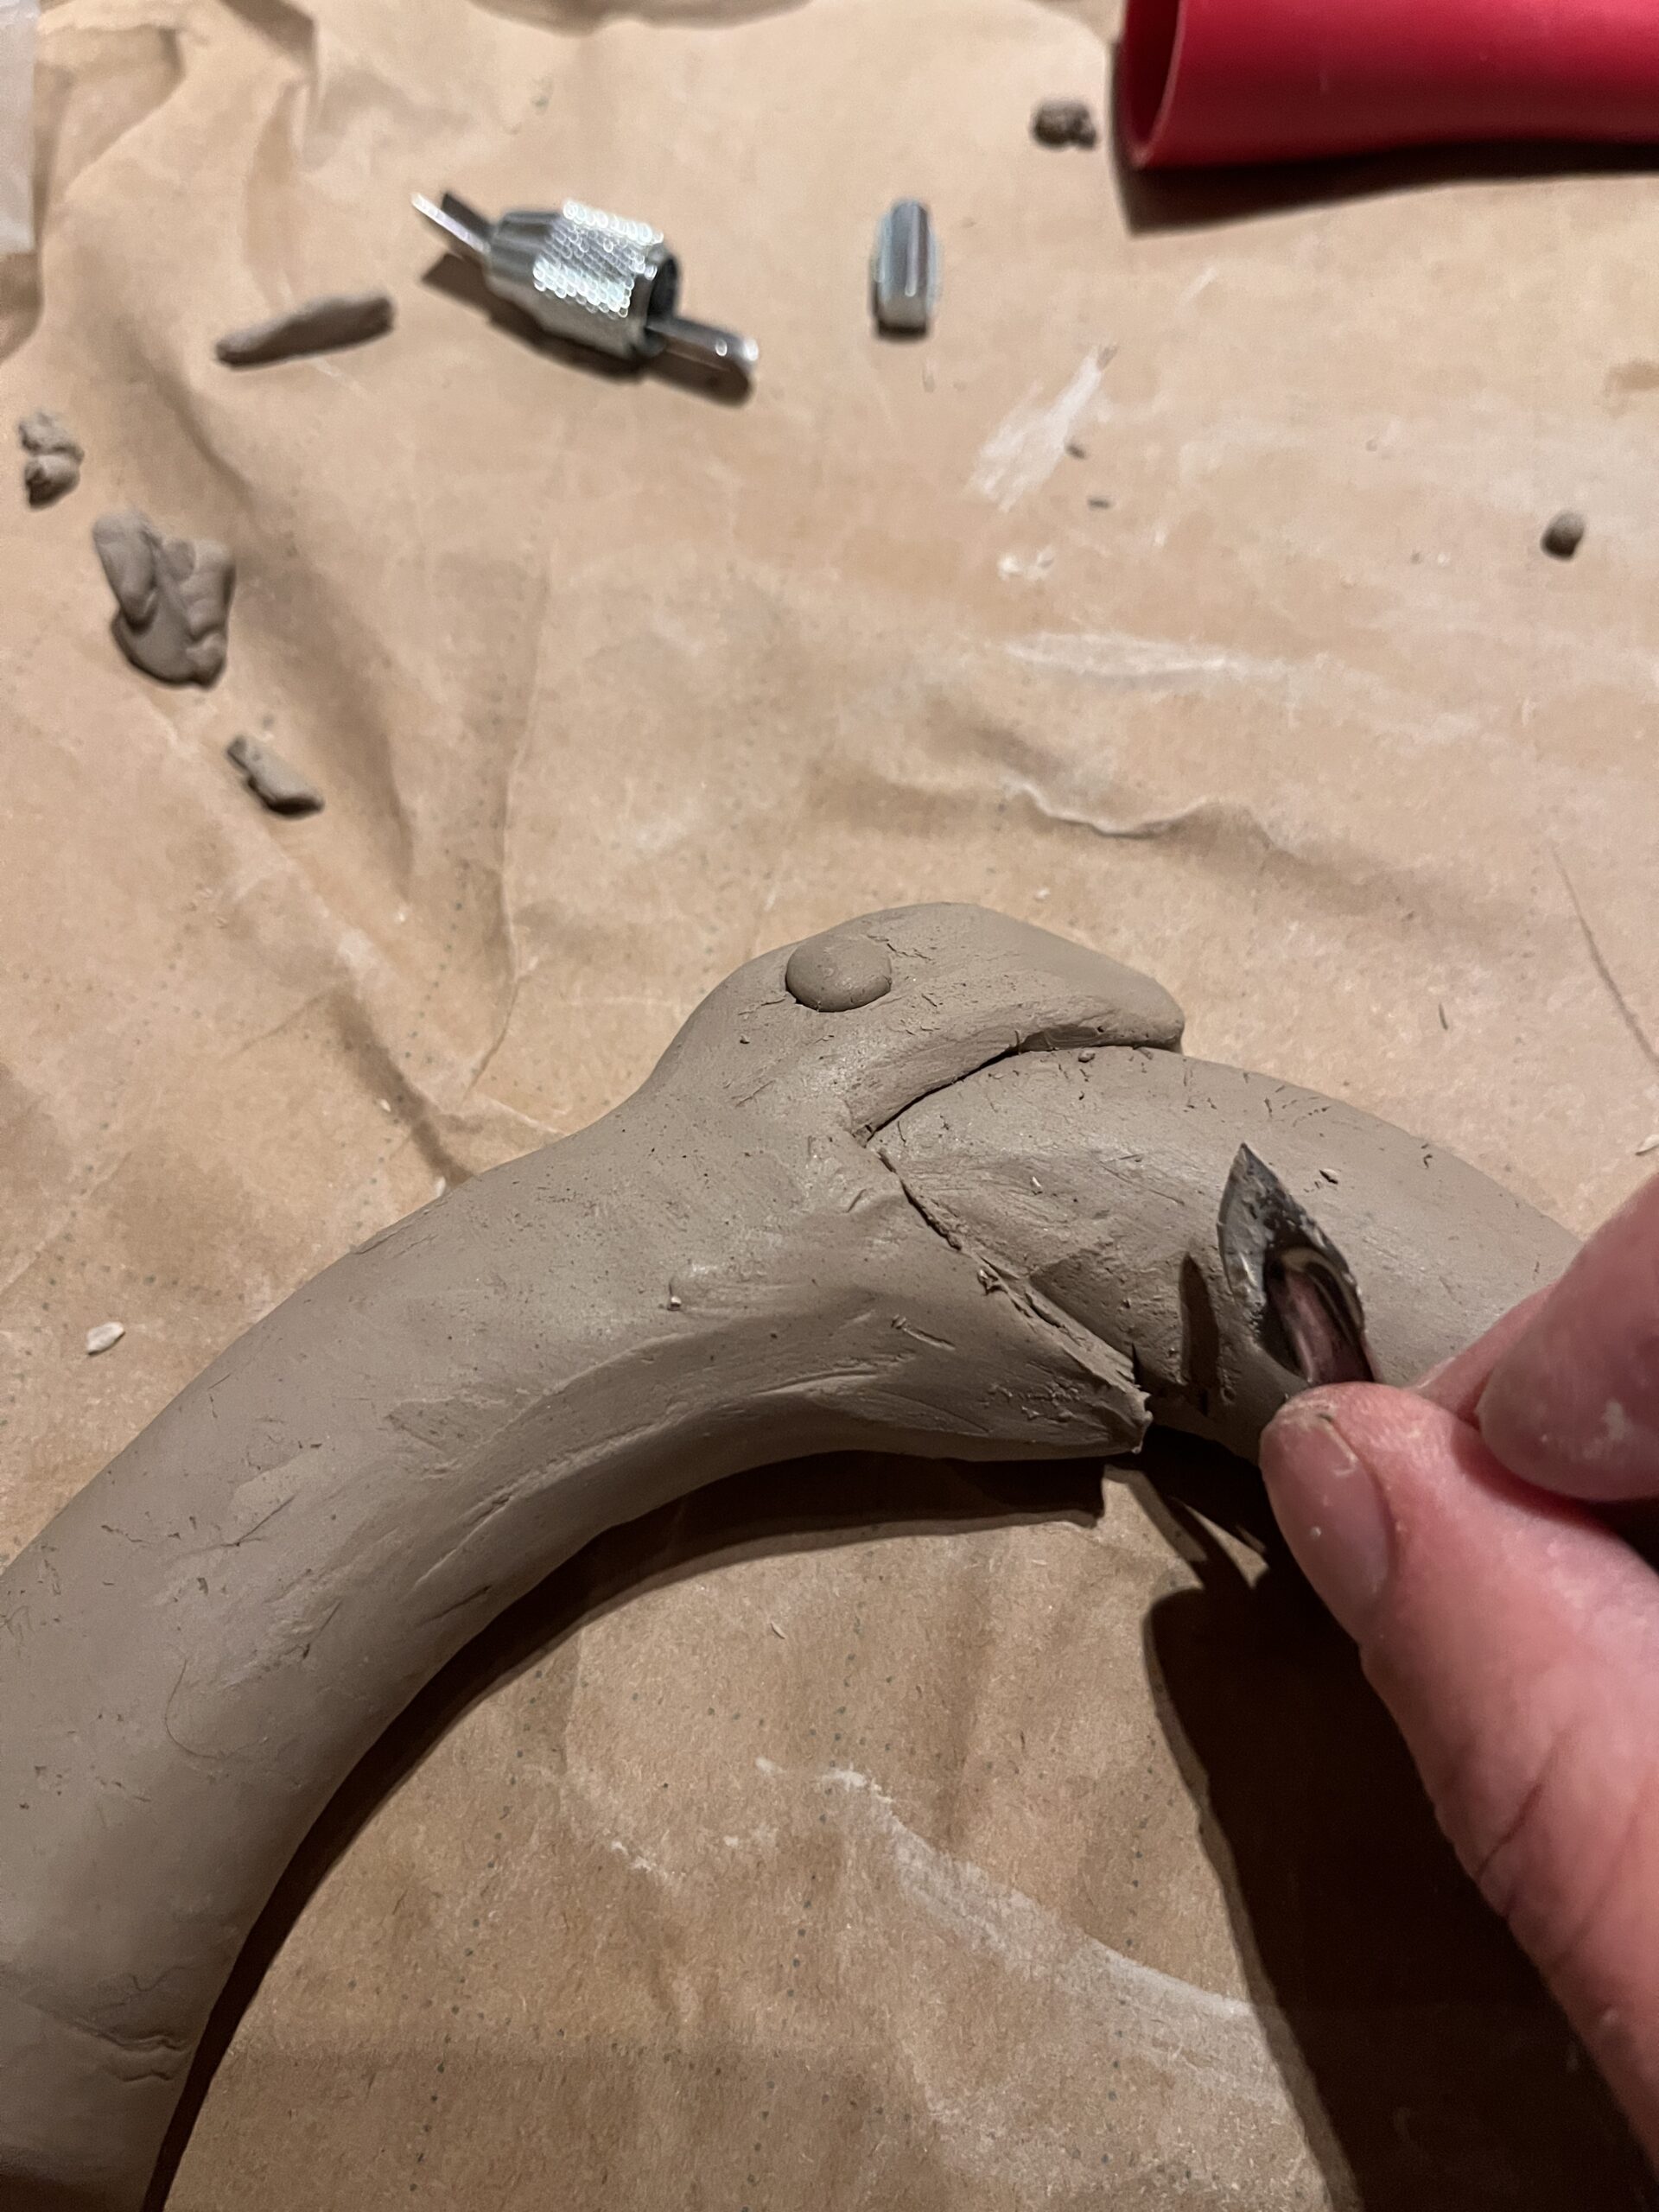
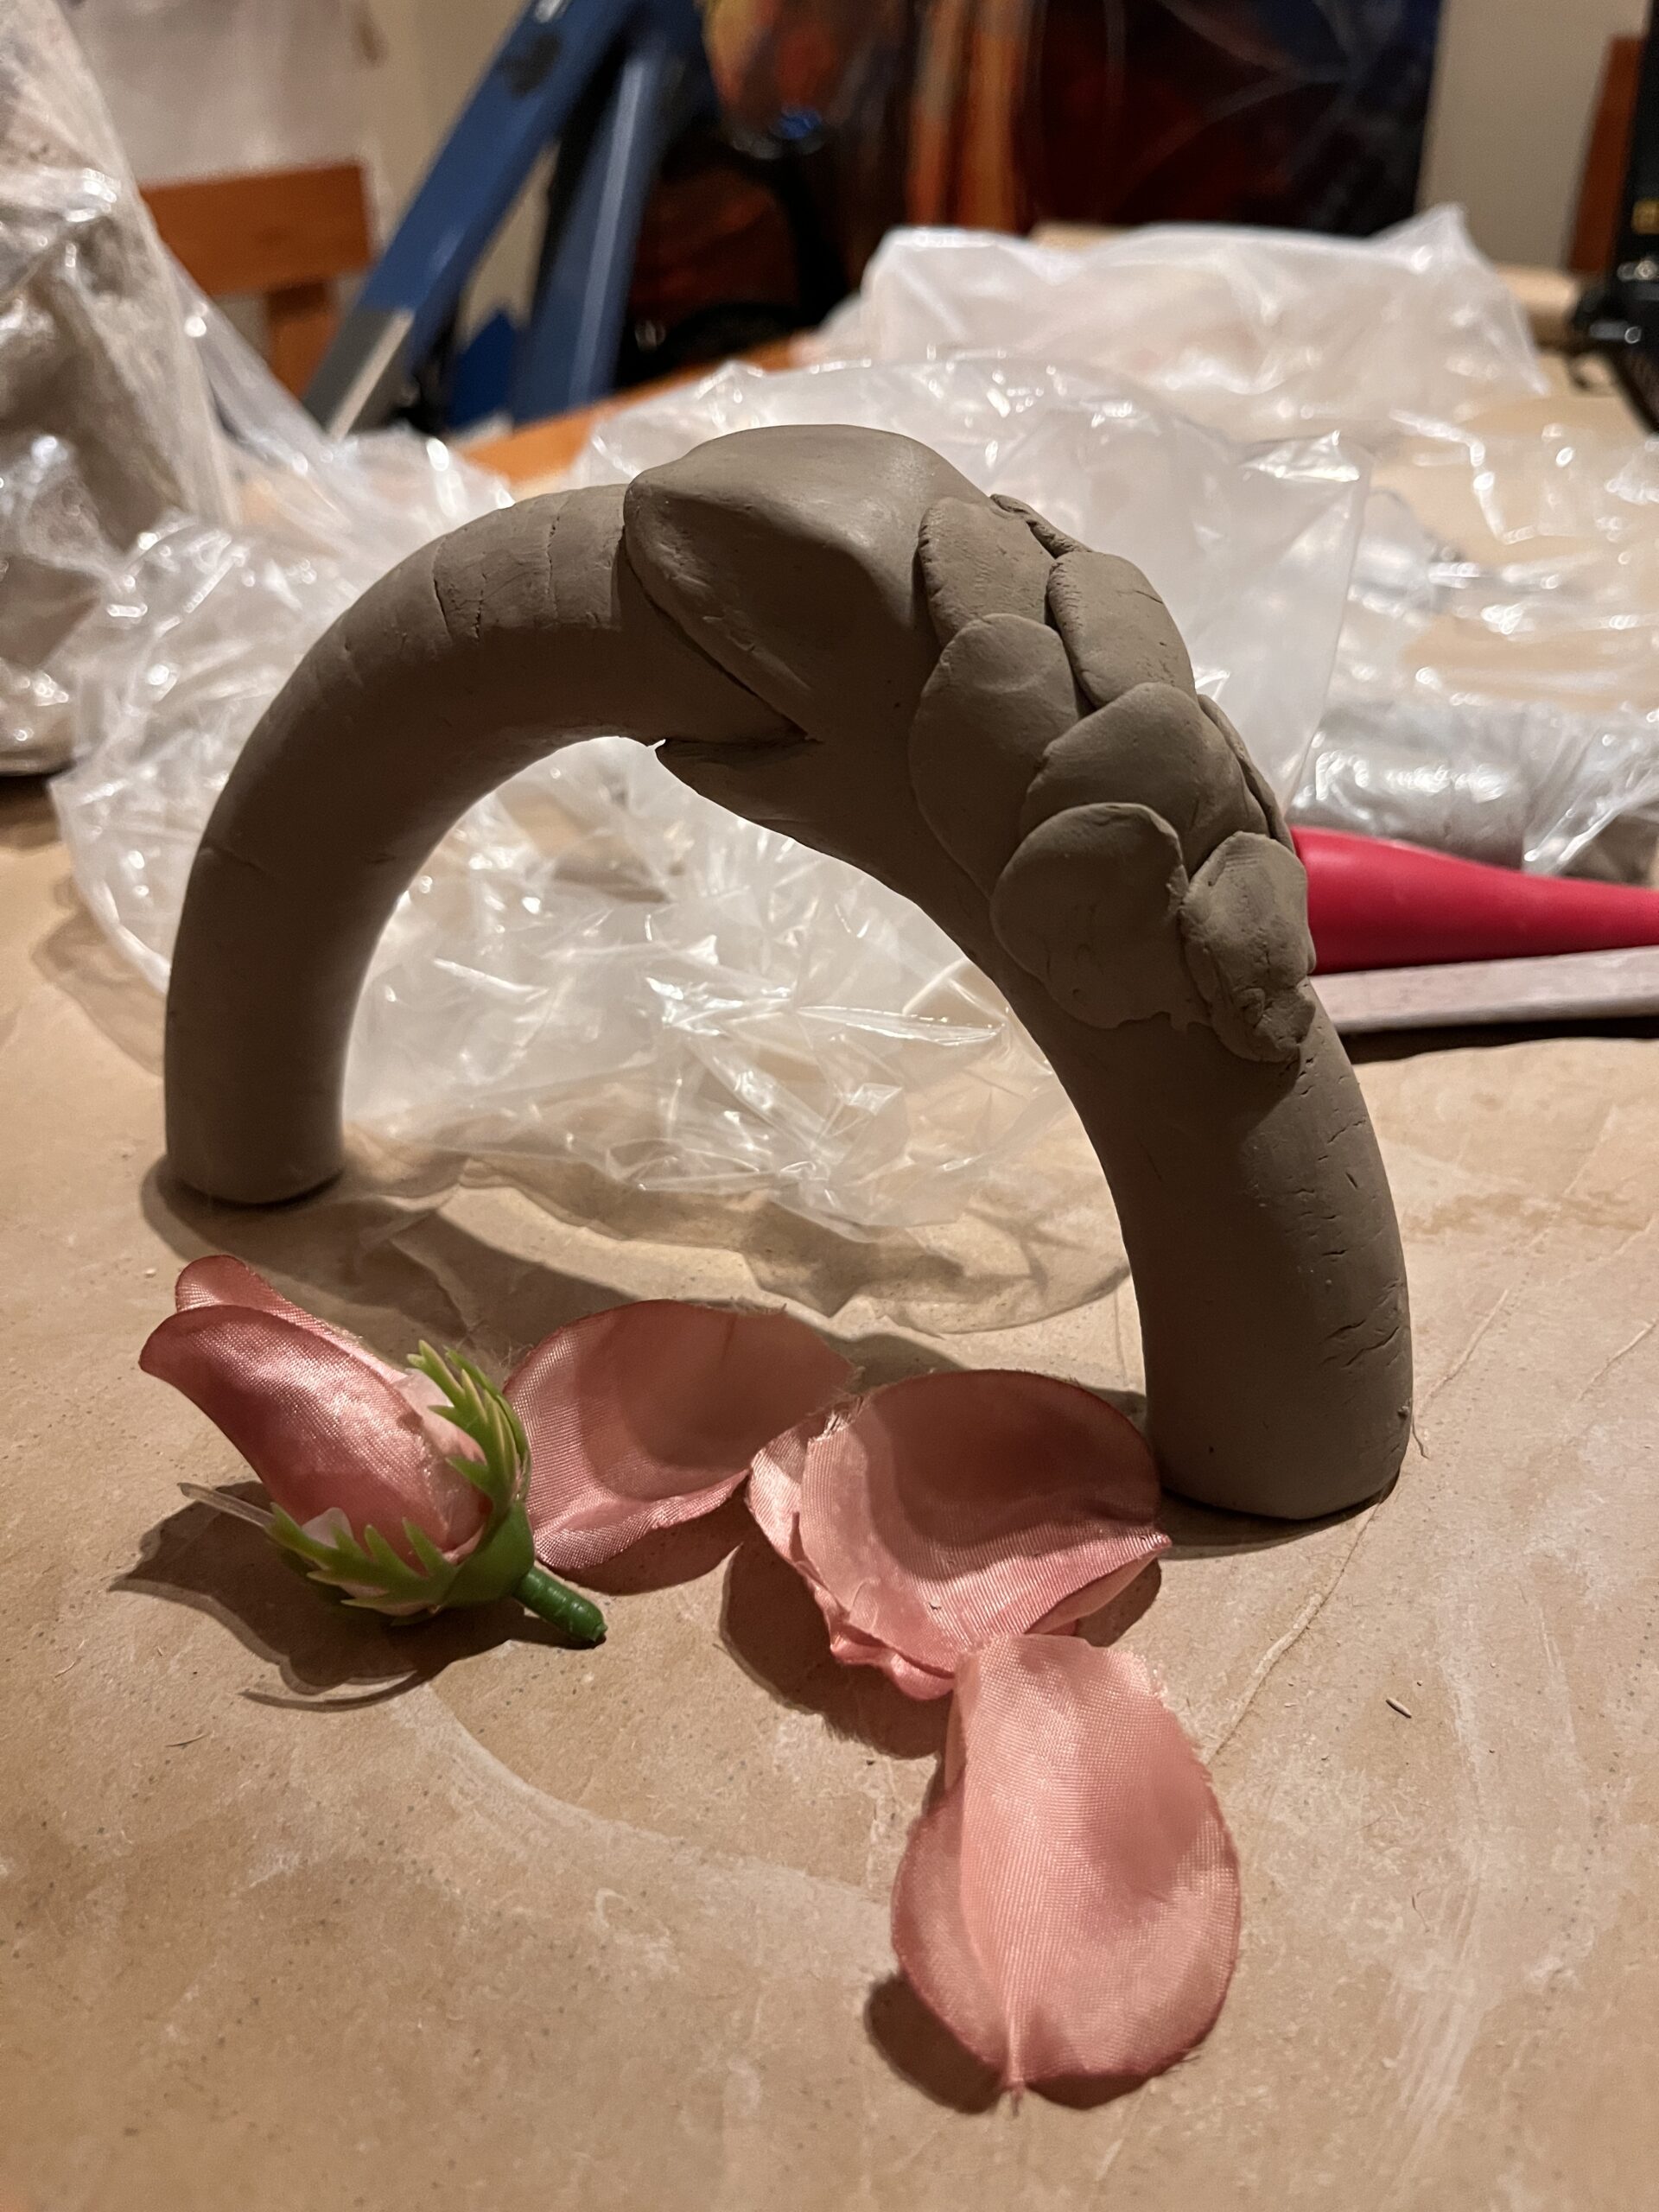
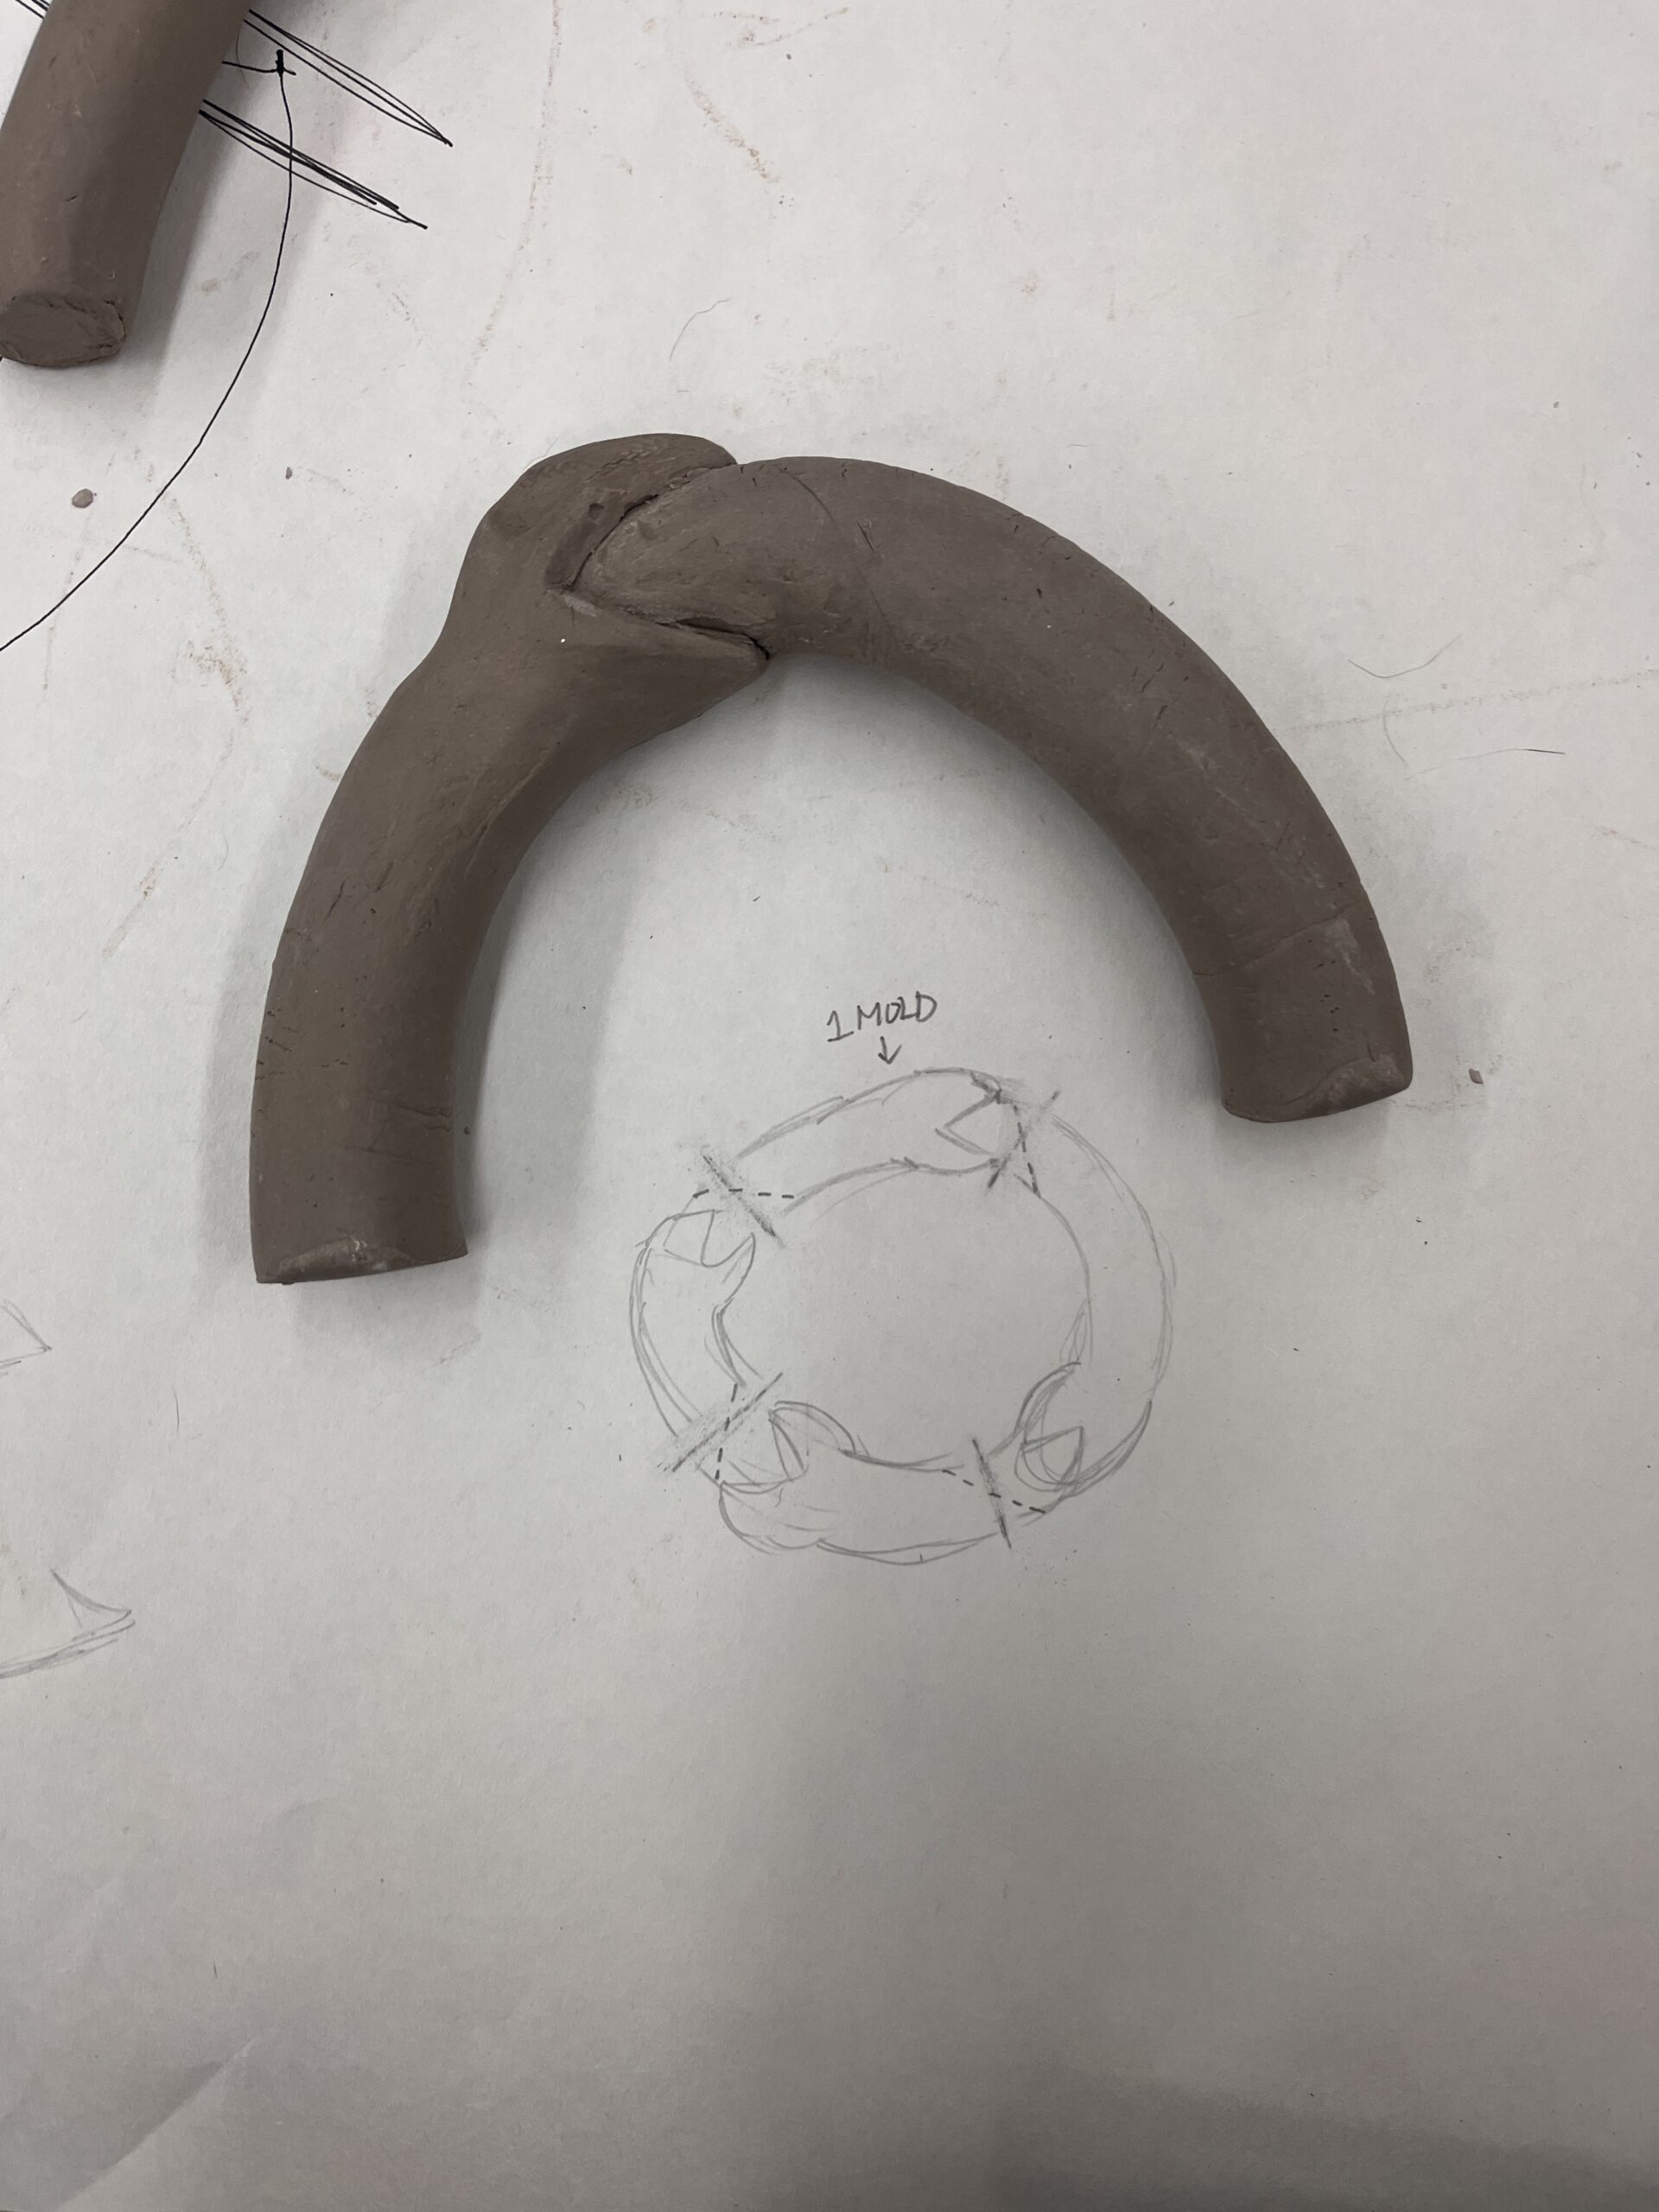
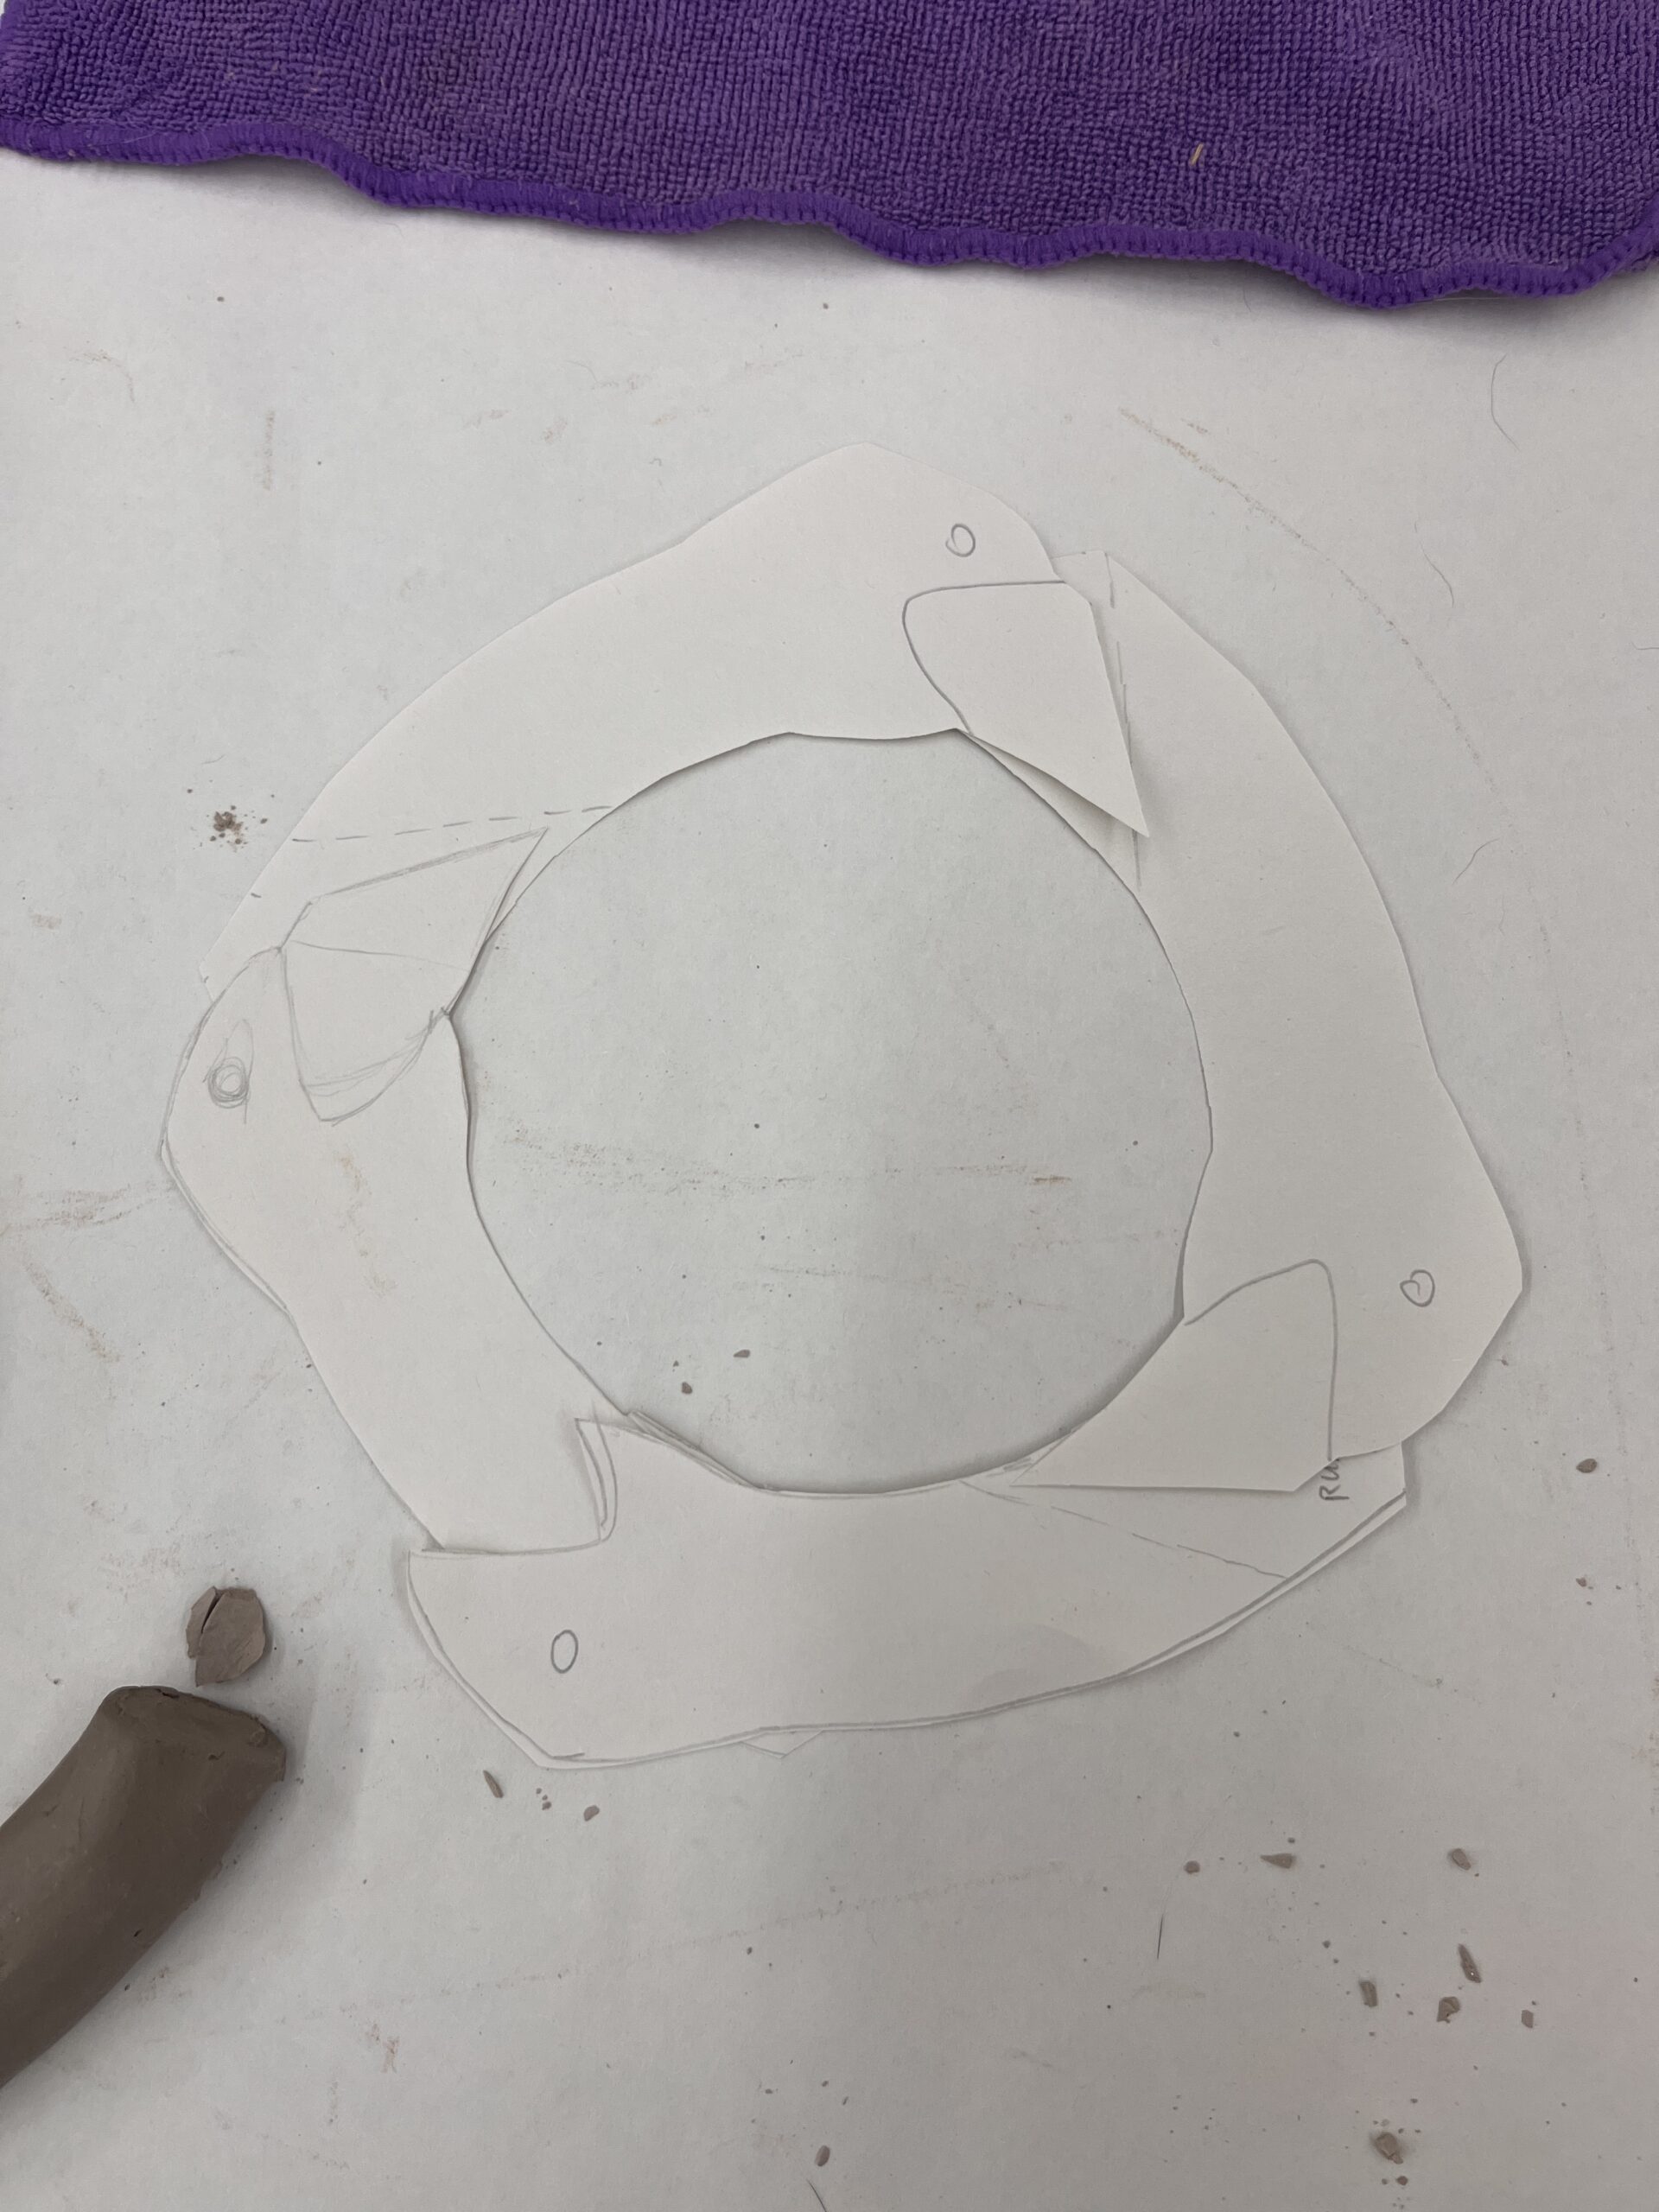
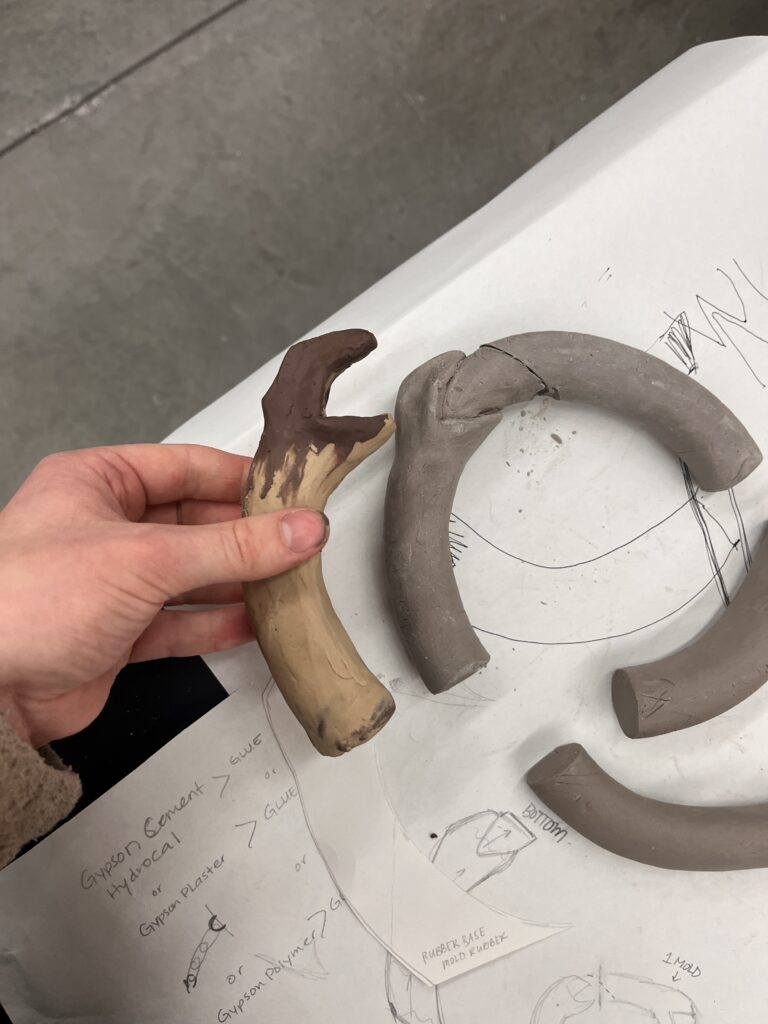
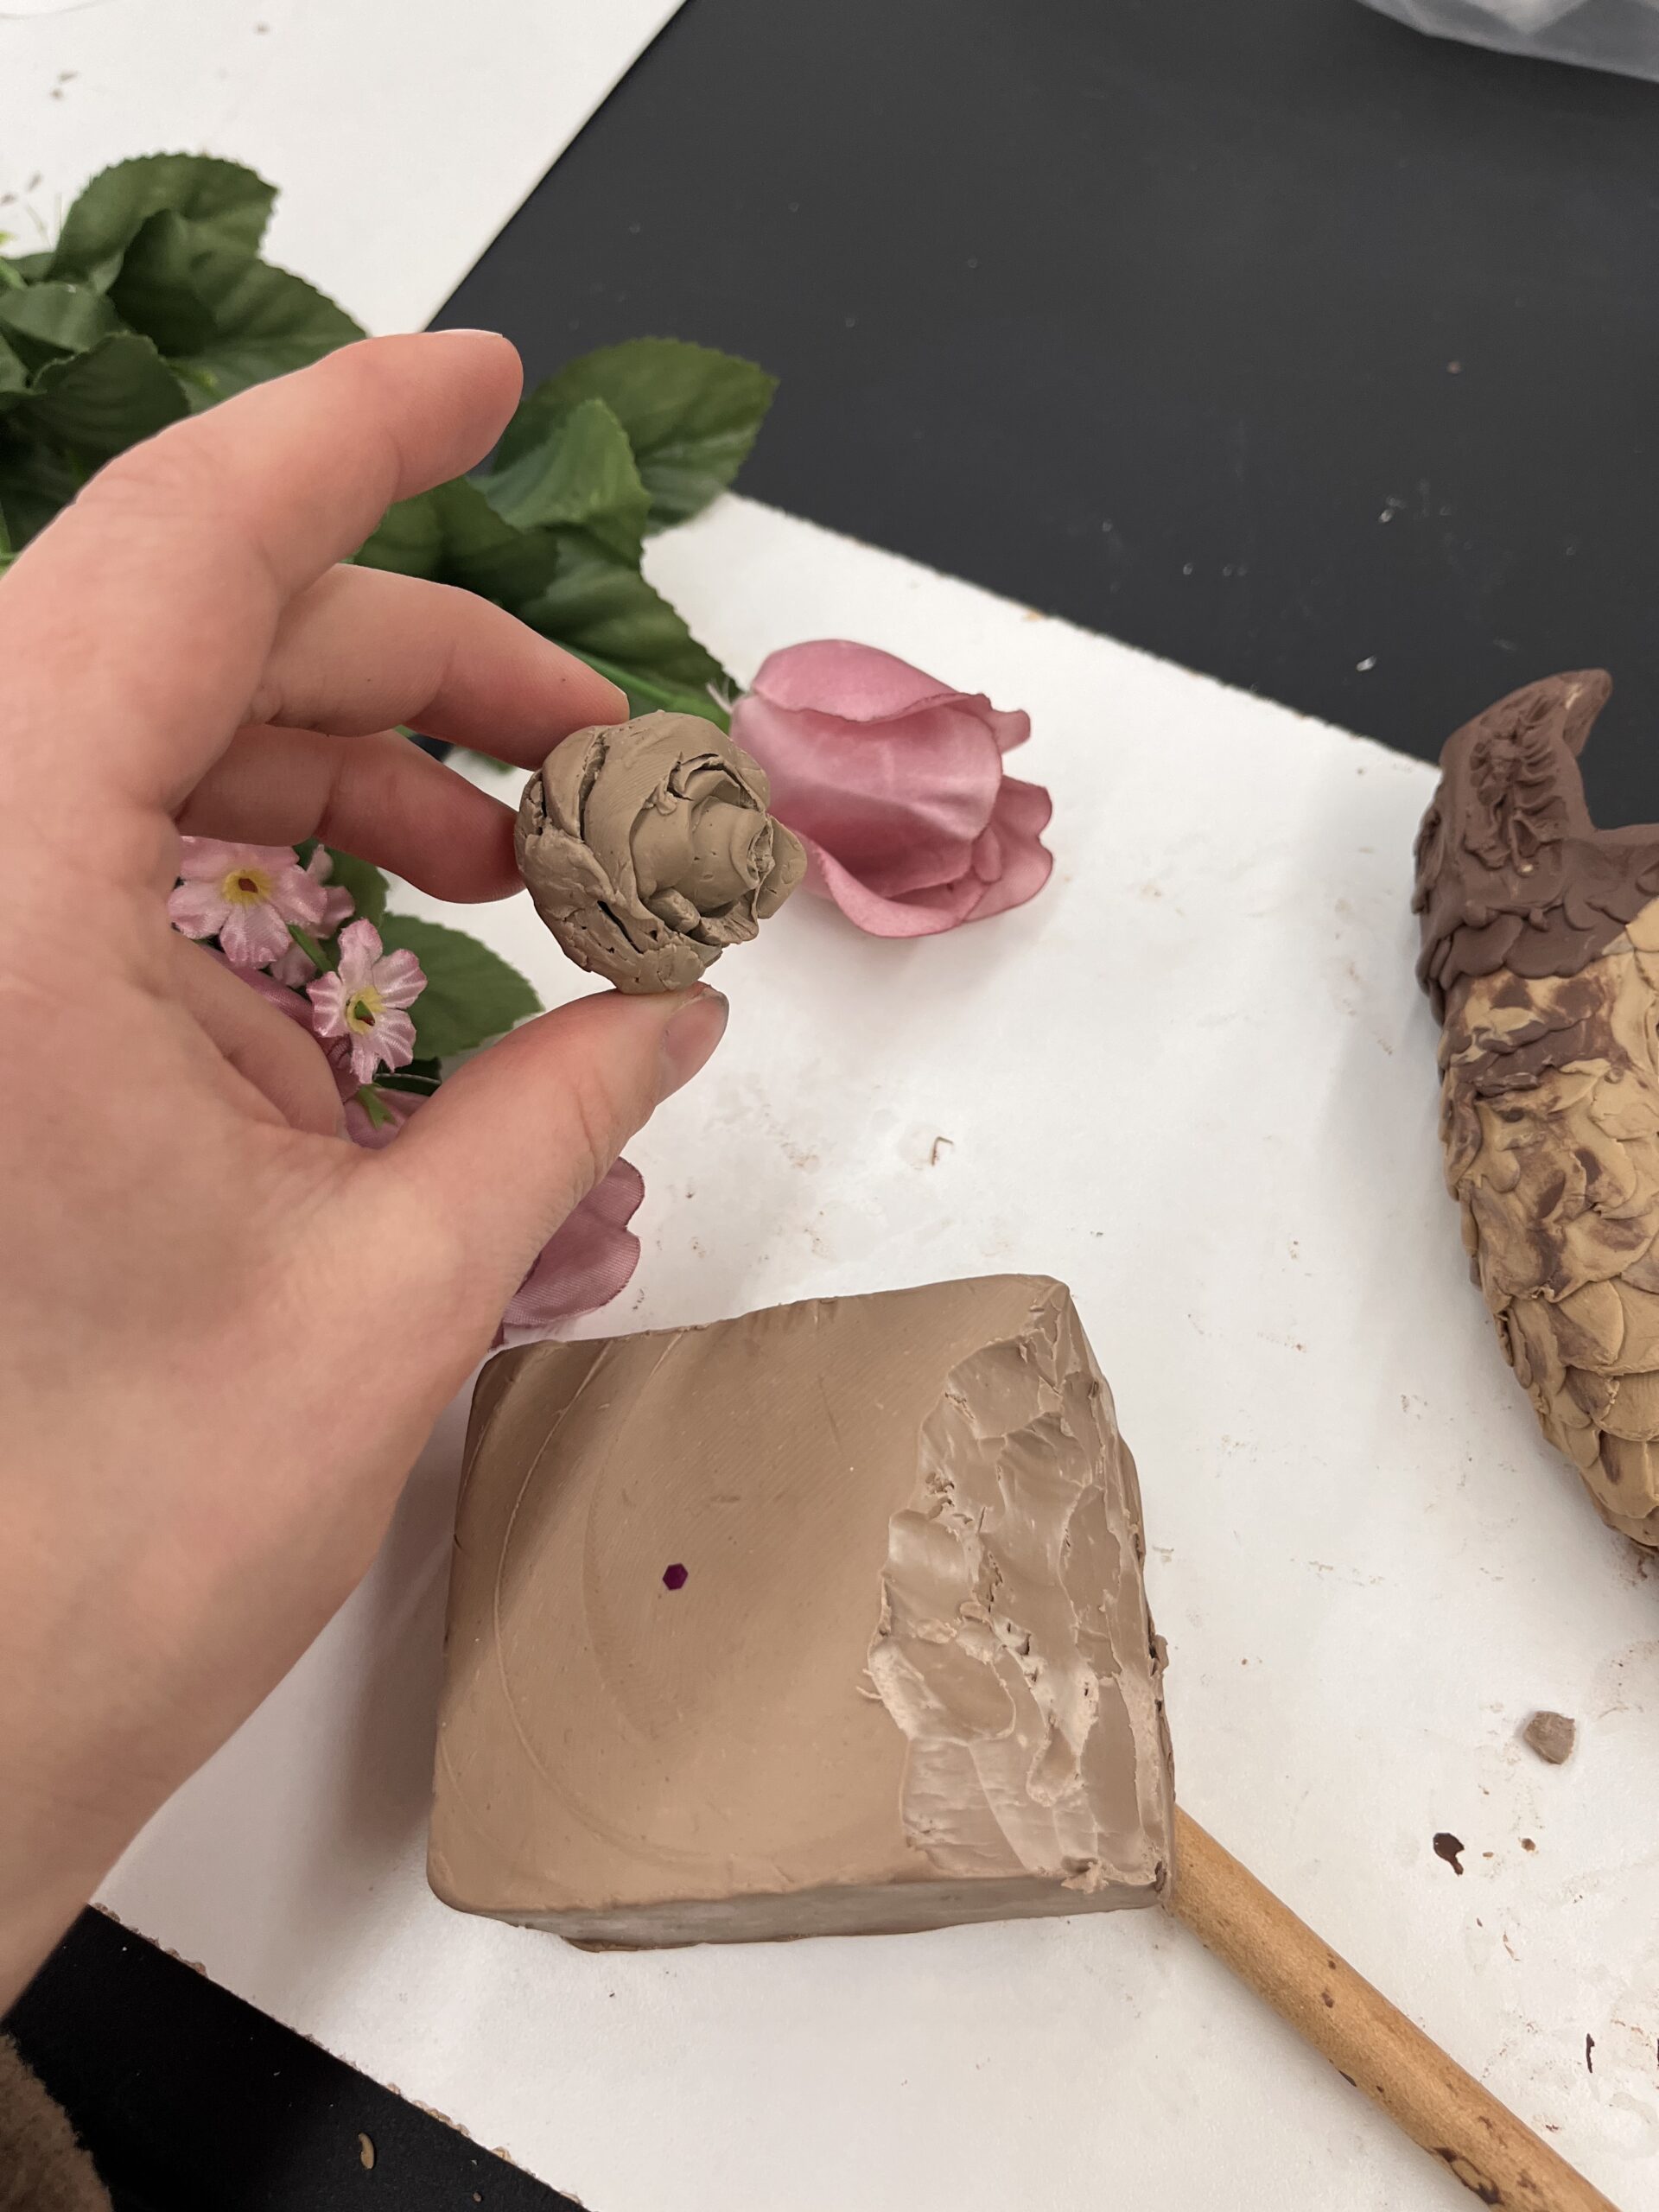
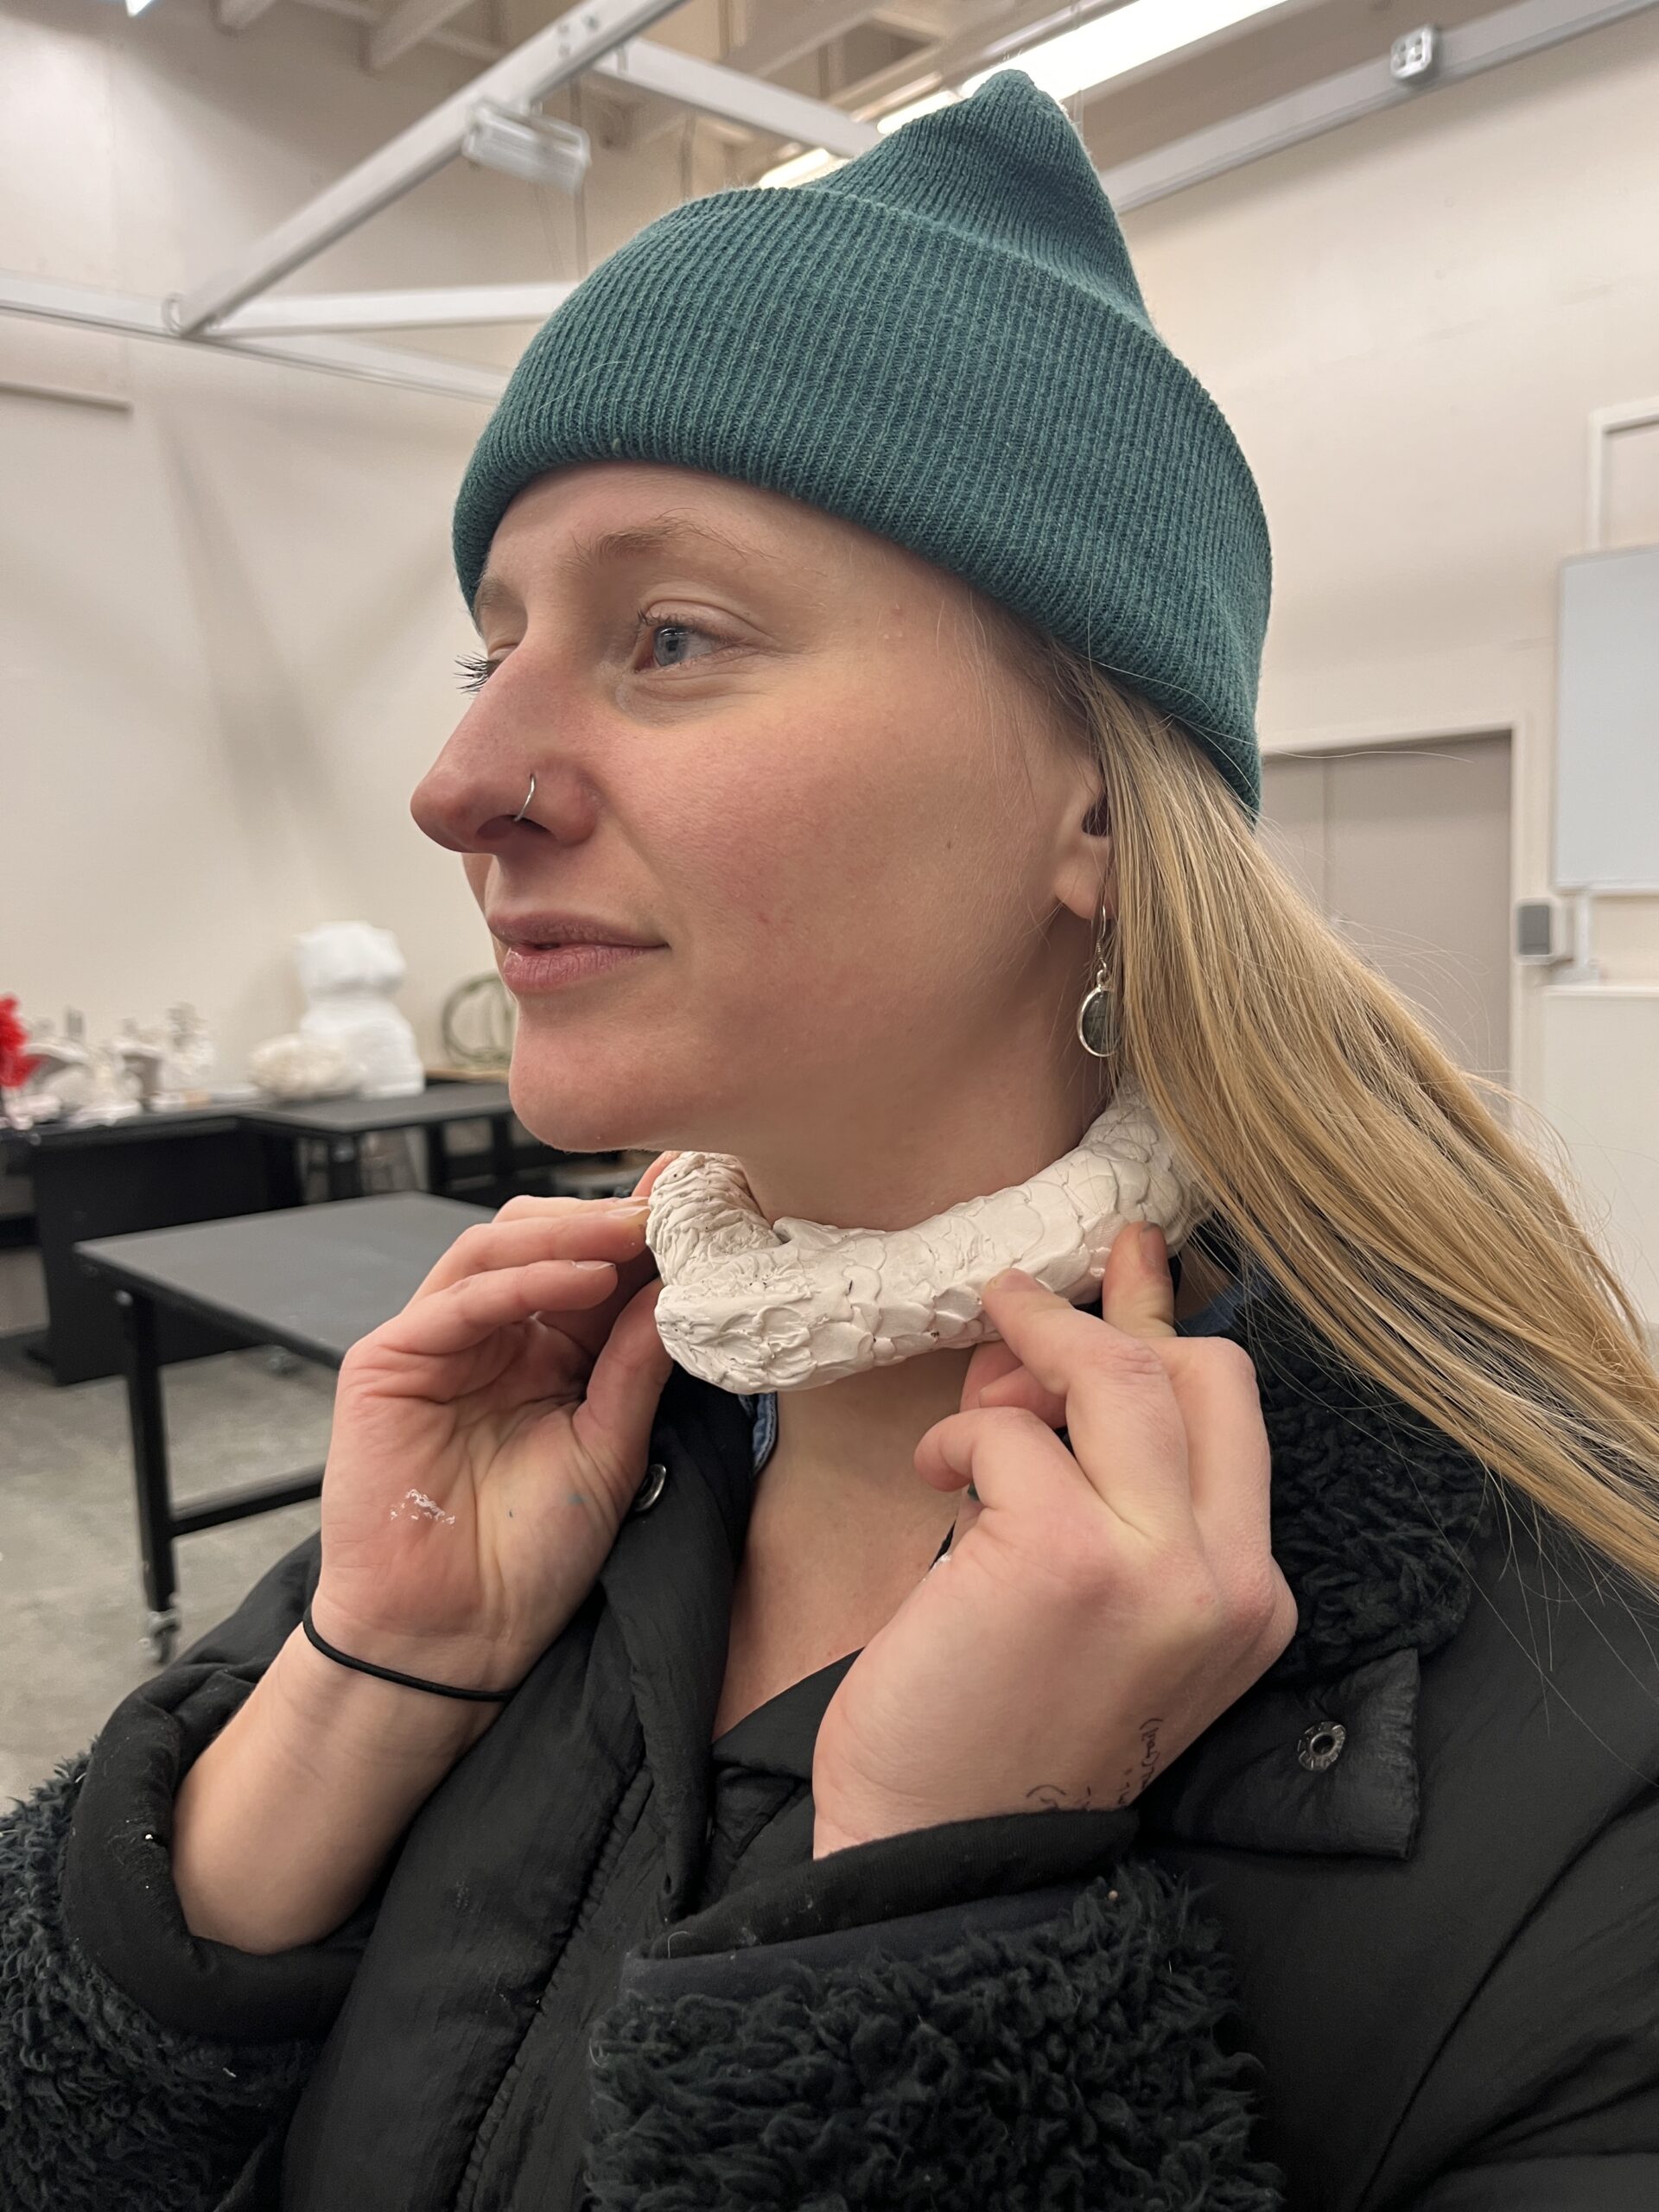
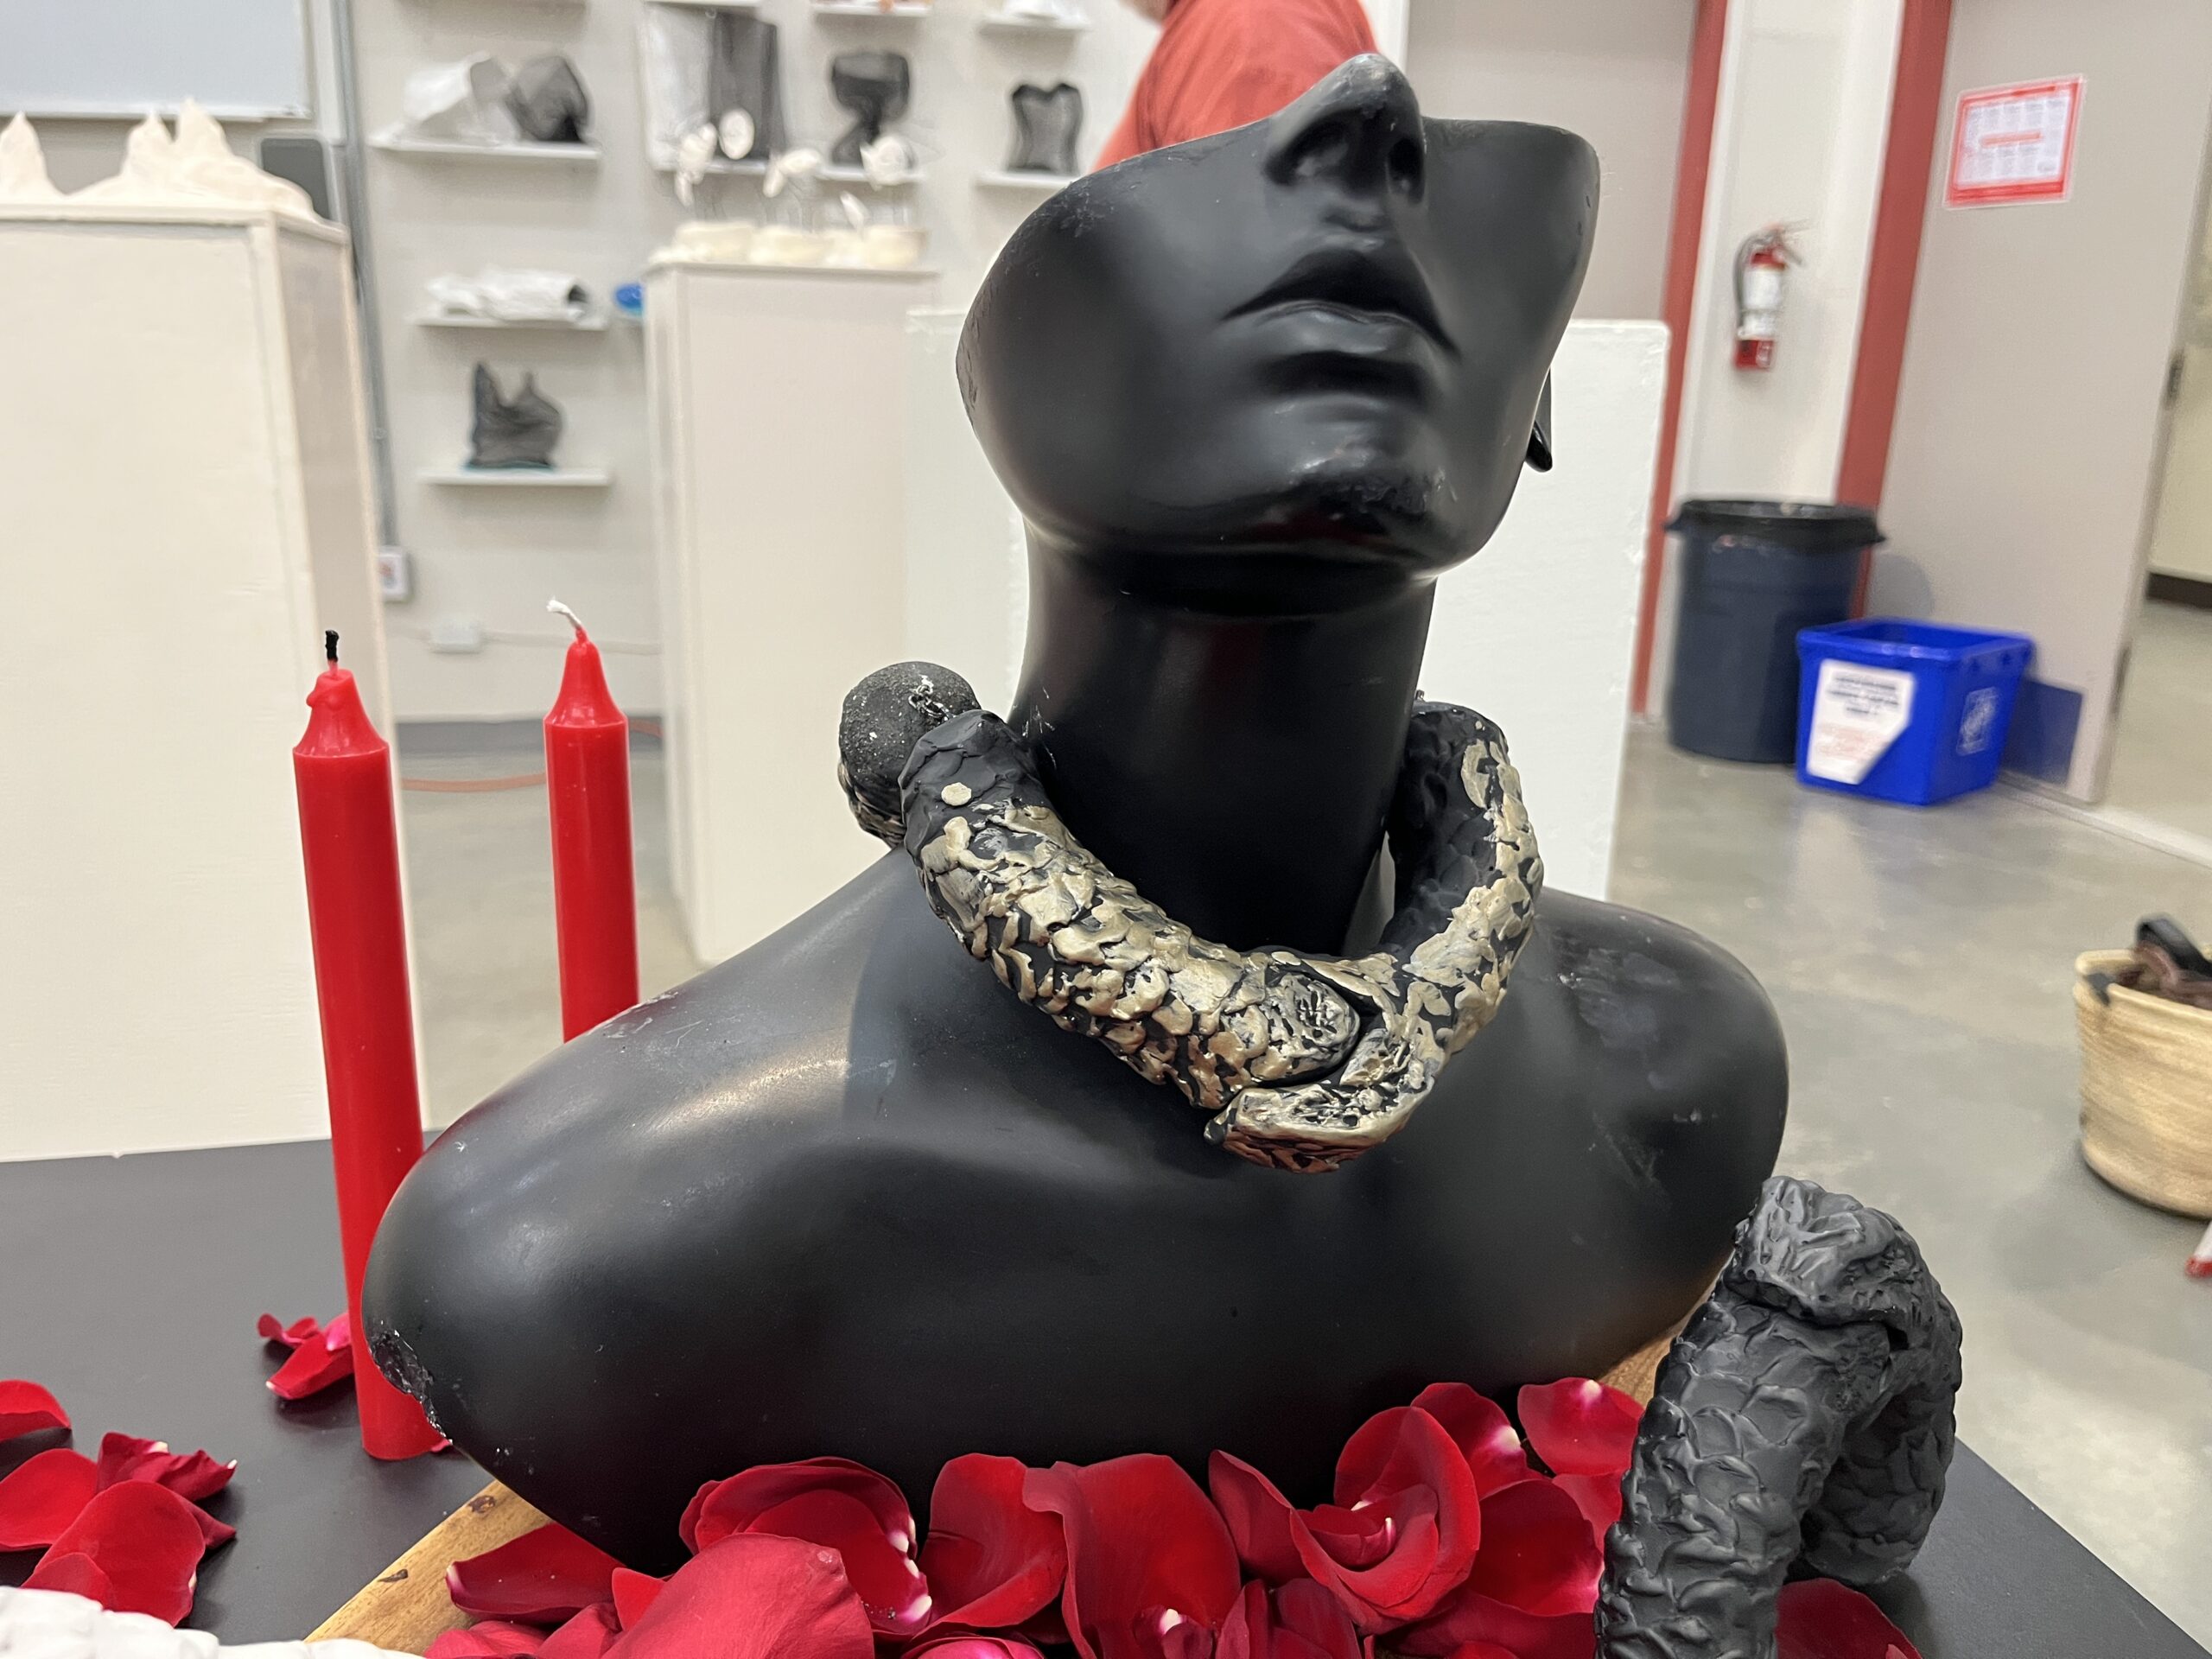
Ideation and model creation: Having decided on my subject matter, I was still faced with the issue of creating a model that would work with the restrictions of the materials. Not really understanding the process, those restrictions were still a bit foggy to me. I realized that having a model to pbring to class would help me explain my idea to Jeff and Angela, so I took some clay from my ceramics class and used it to design my Ouro-Boris. I created a semi circle, thinking that the back two pieces would be quarter circles that joined together with jewelry joinery so that the model could get on an off my neck. I modeled the snake around my own neck. Unfortunately, the semi-circle wouldn’t work for removing the model from the rubber mold, so we needed to make the snake into 4 parts and then glue them together at the mouth-eating-tail part of the collar. You can see I struggled with understanding why this was, but ultimately I cut pieces on paper to get an idea. We played with the snake eating tail in 4 places, but landed on just two places and that the two halves would be joined together.
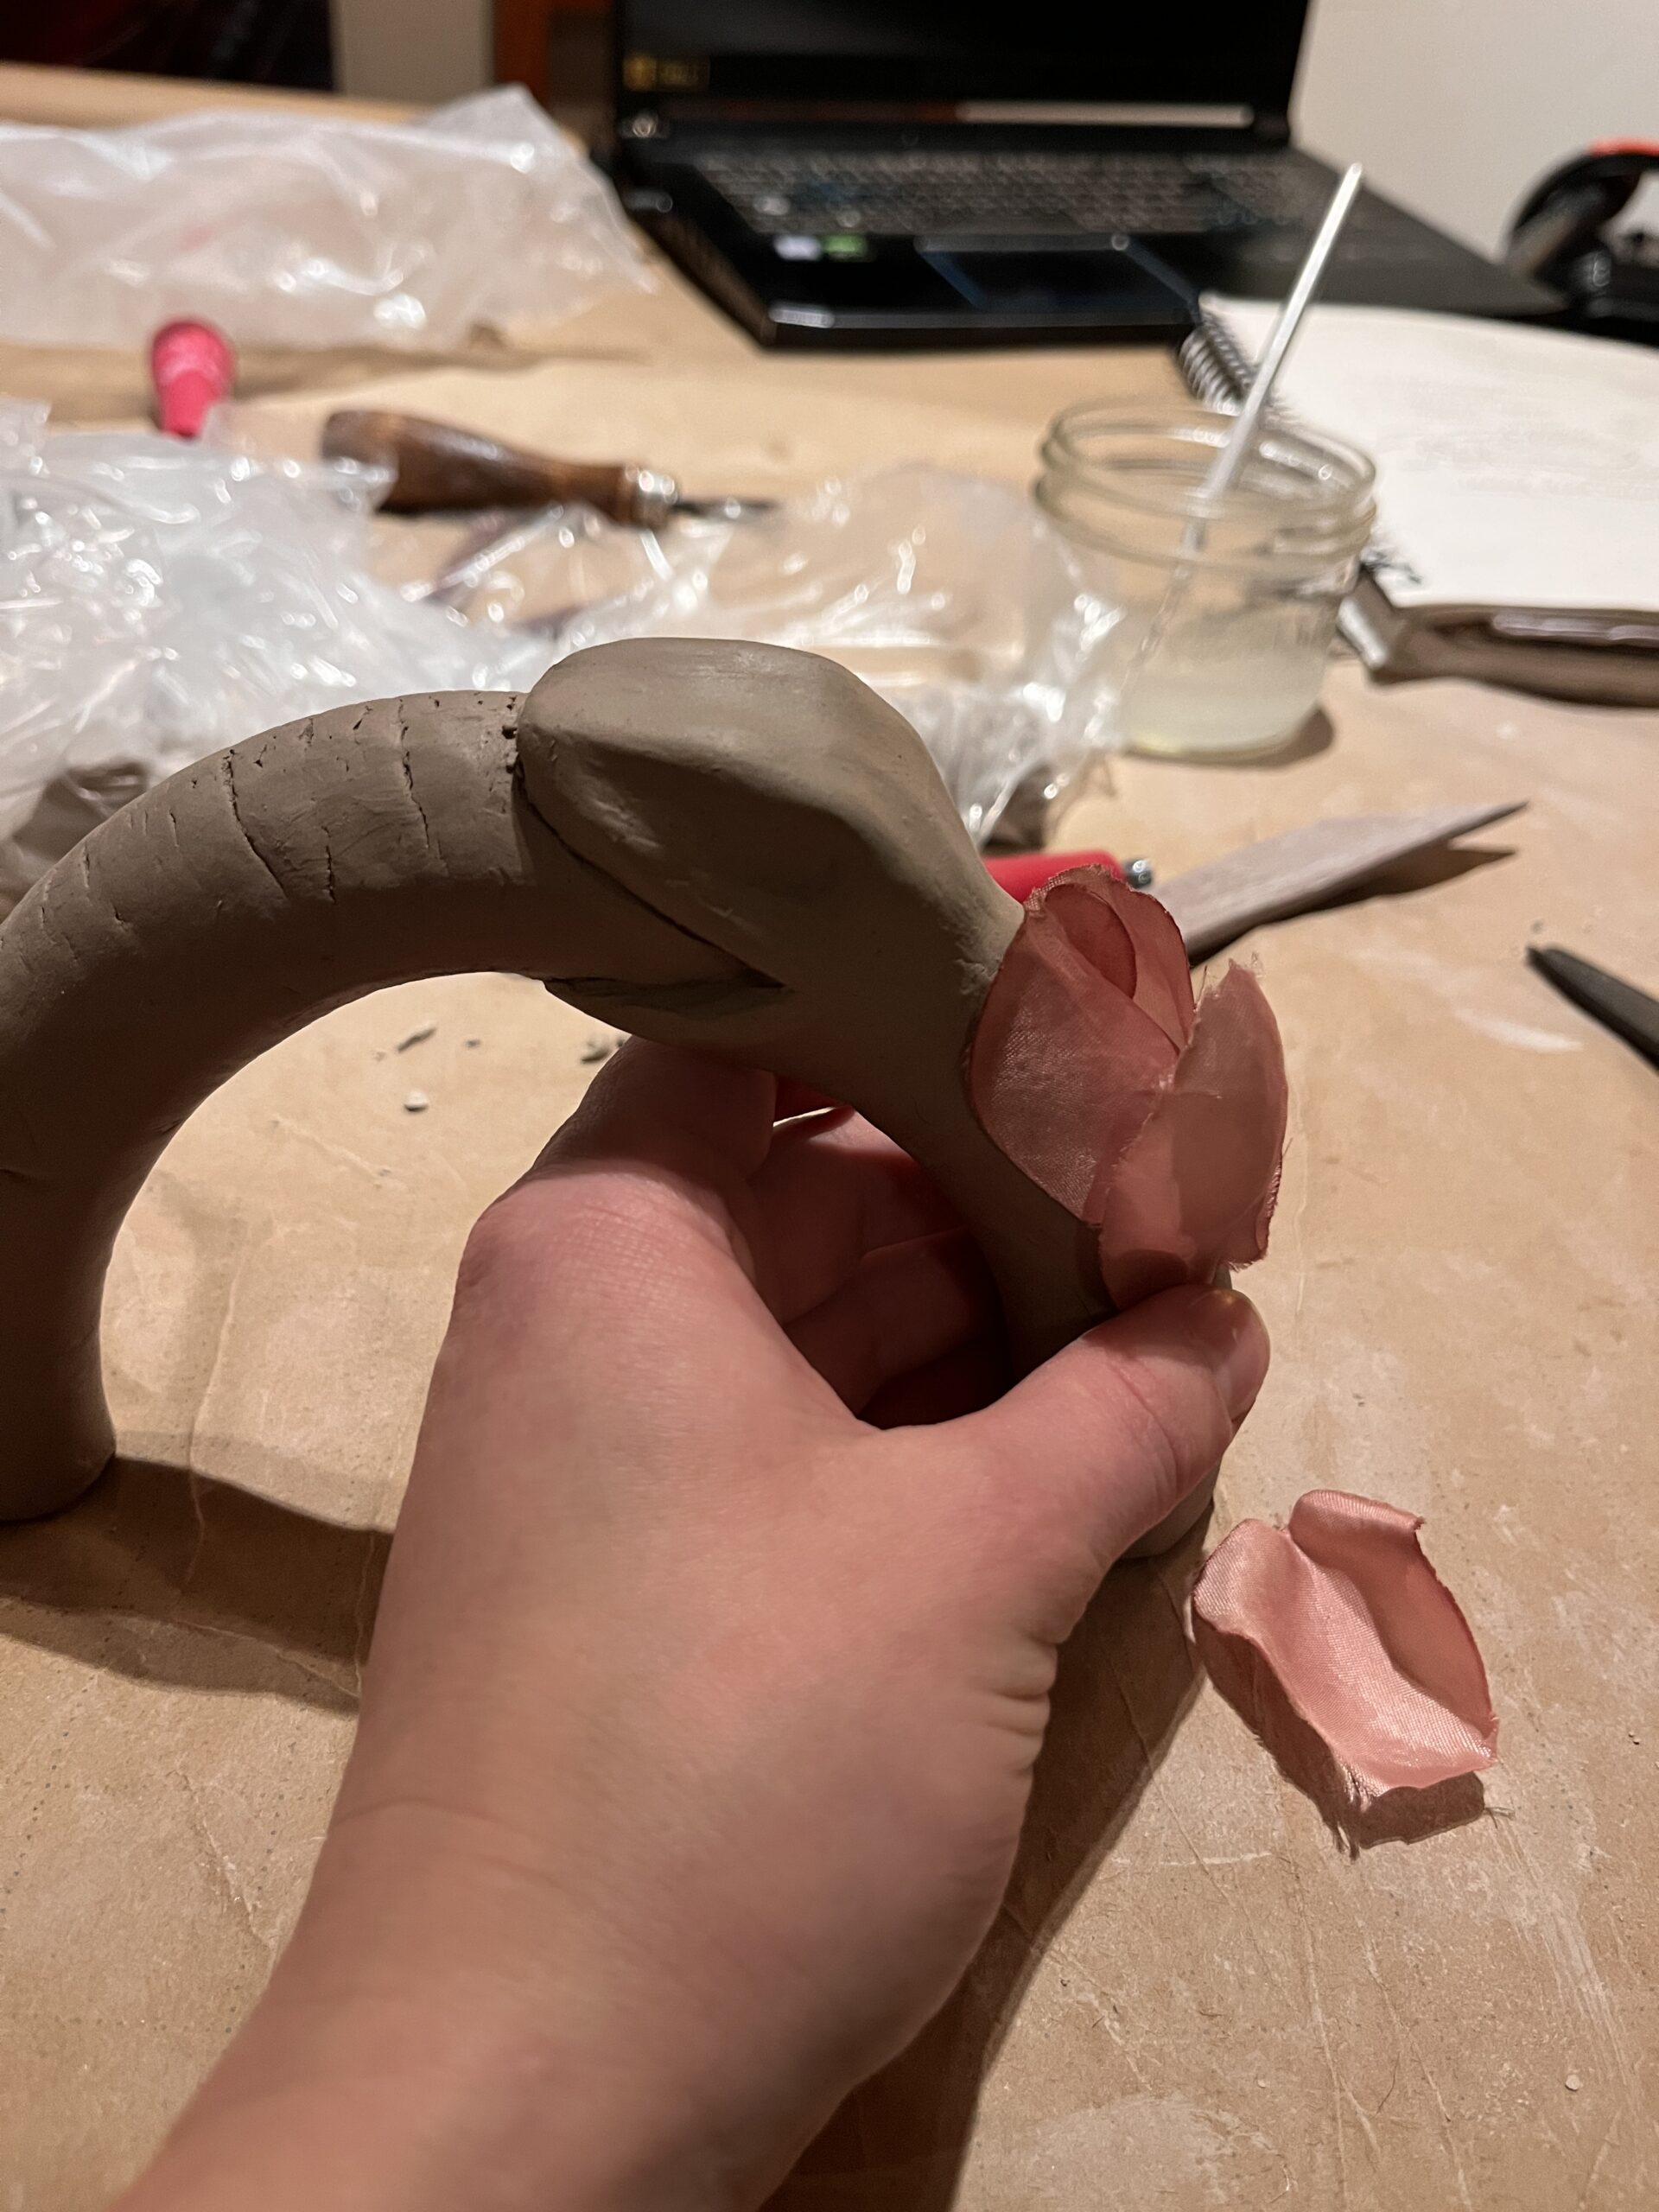
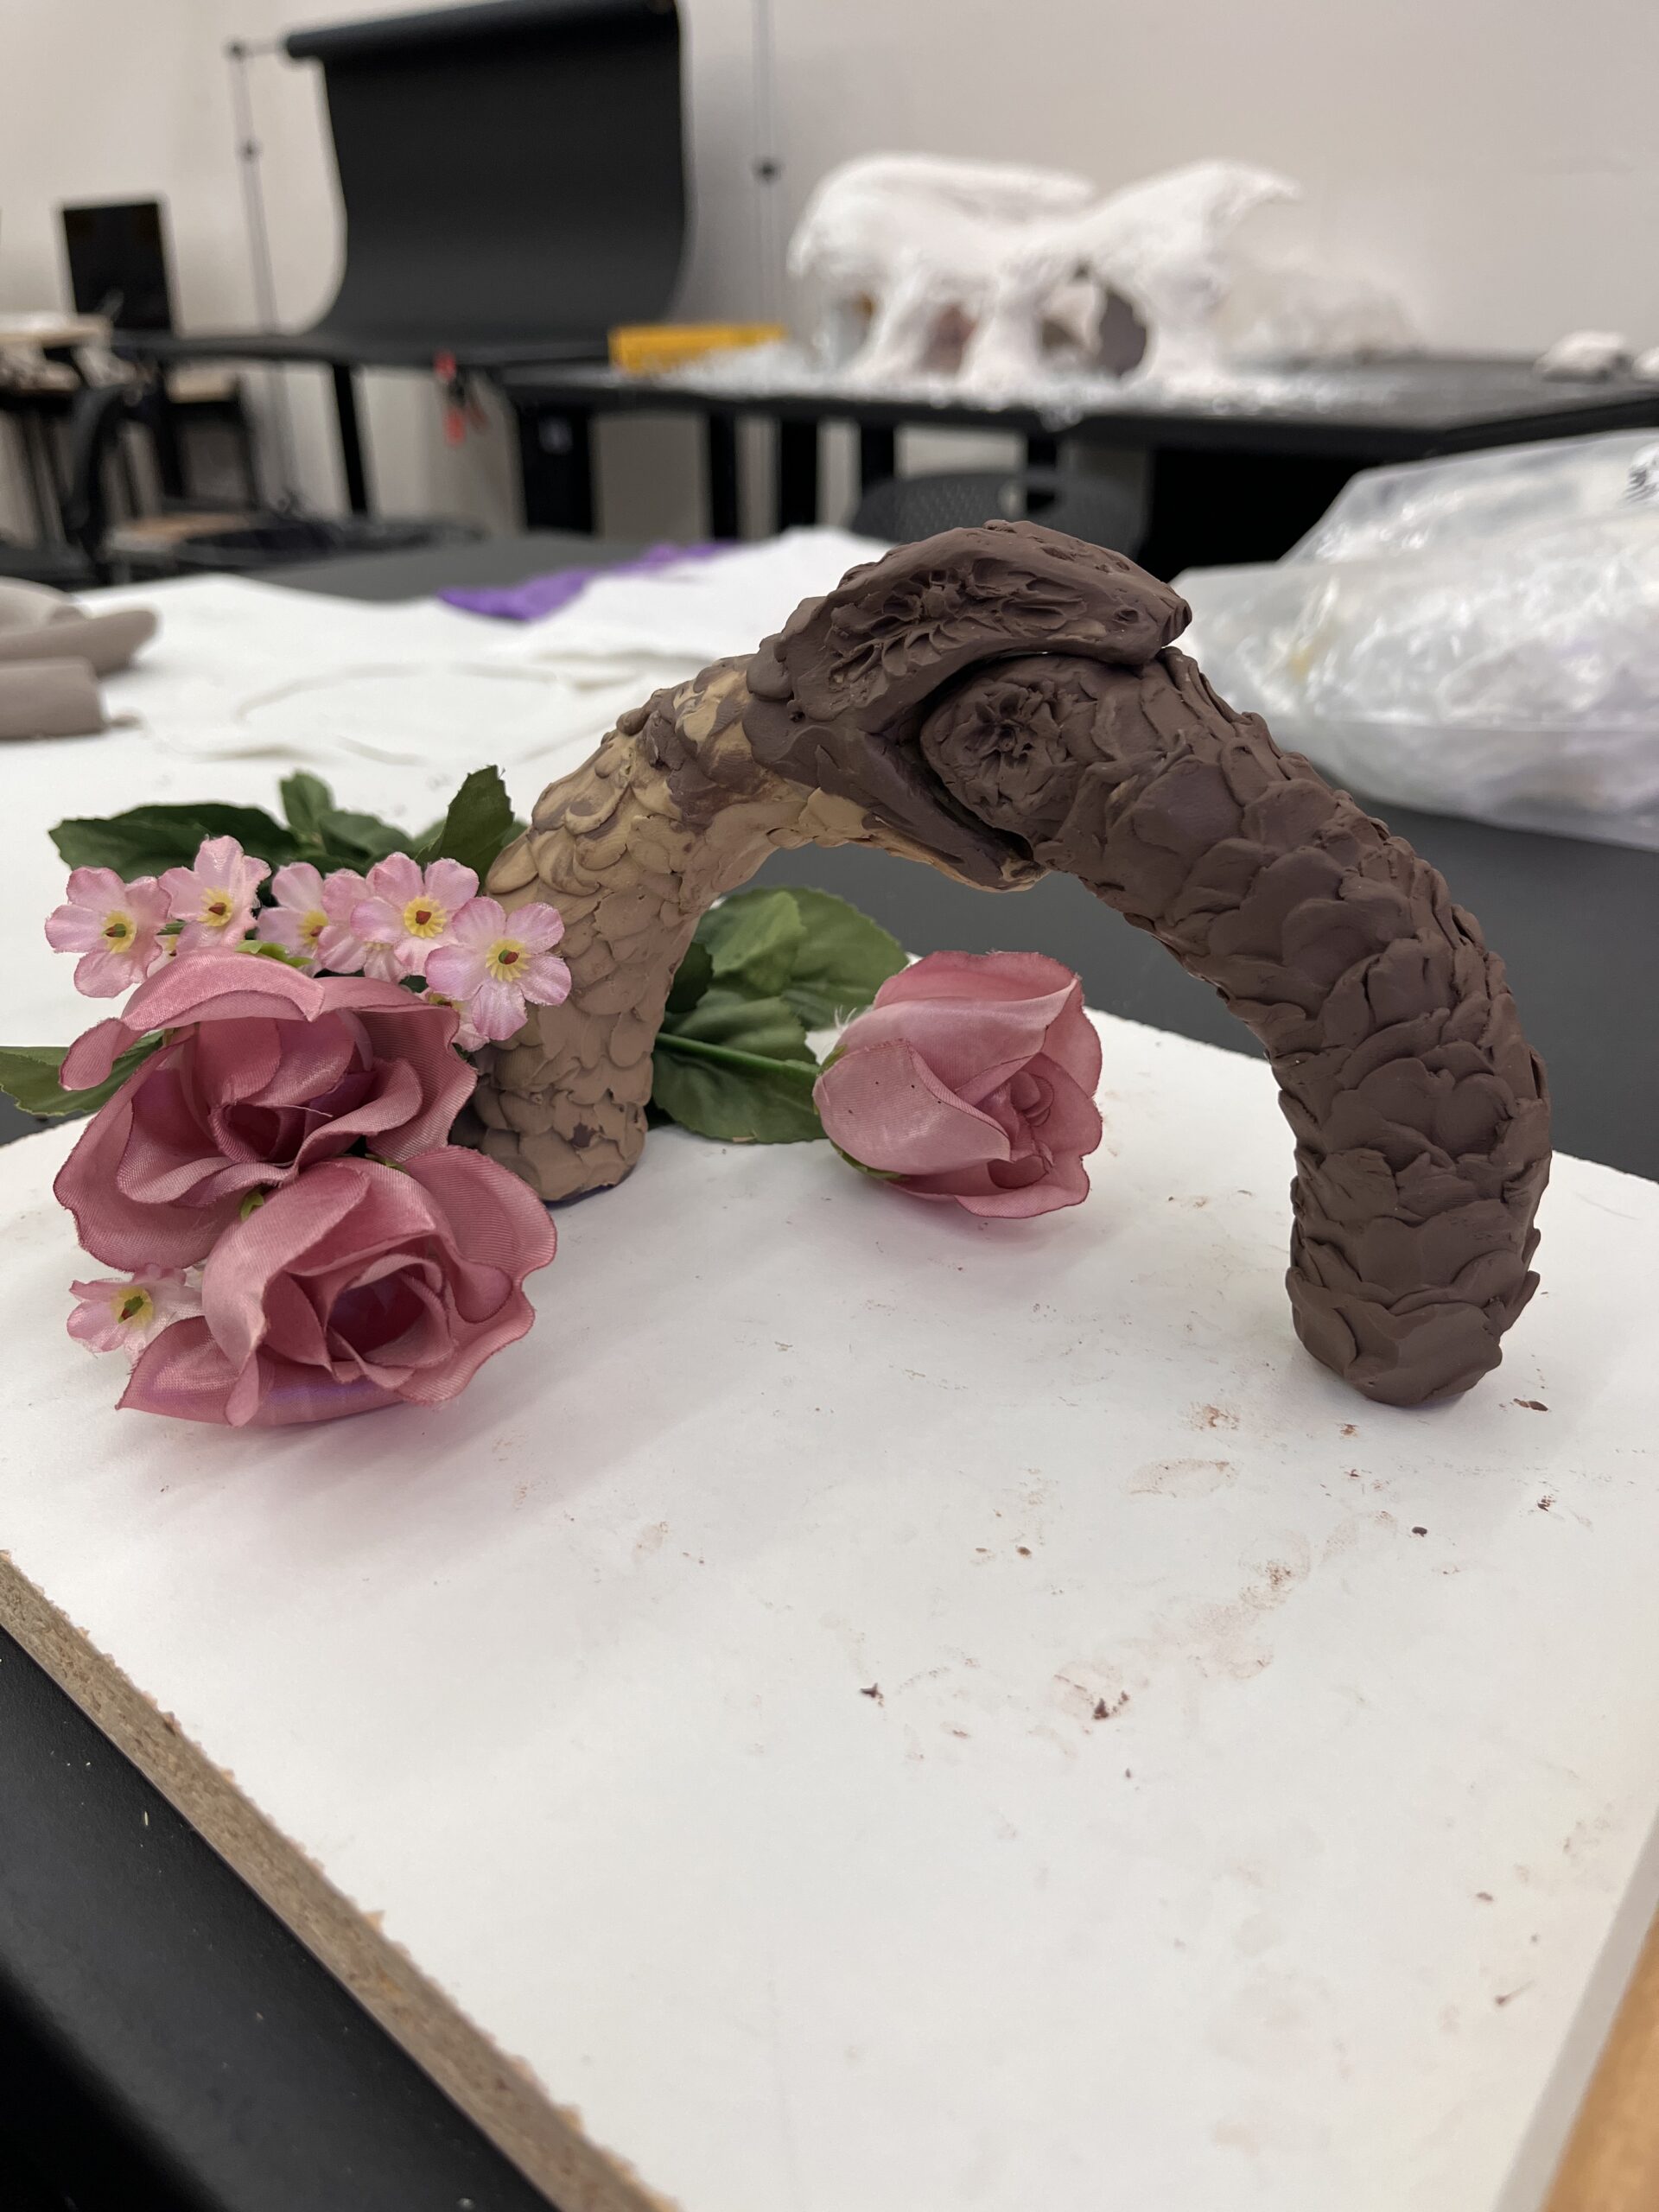
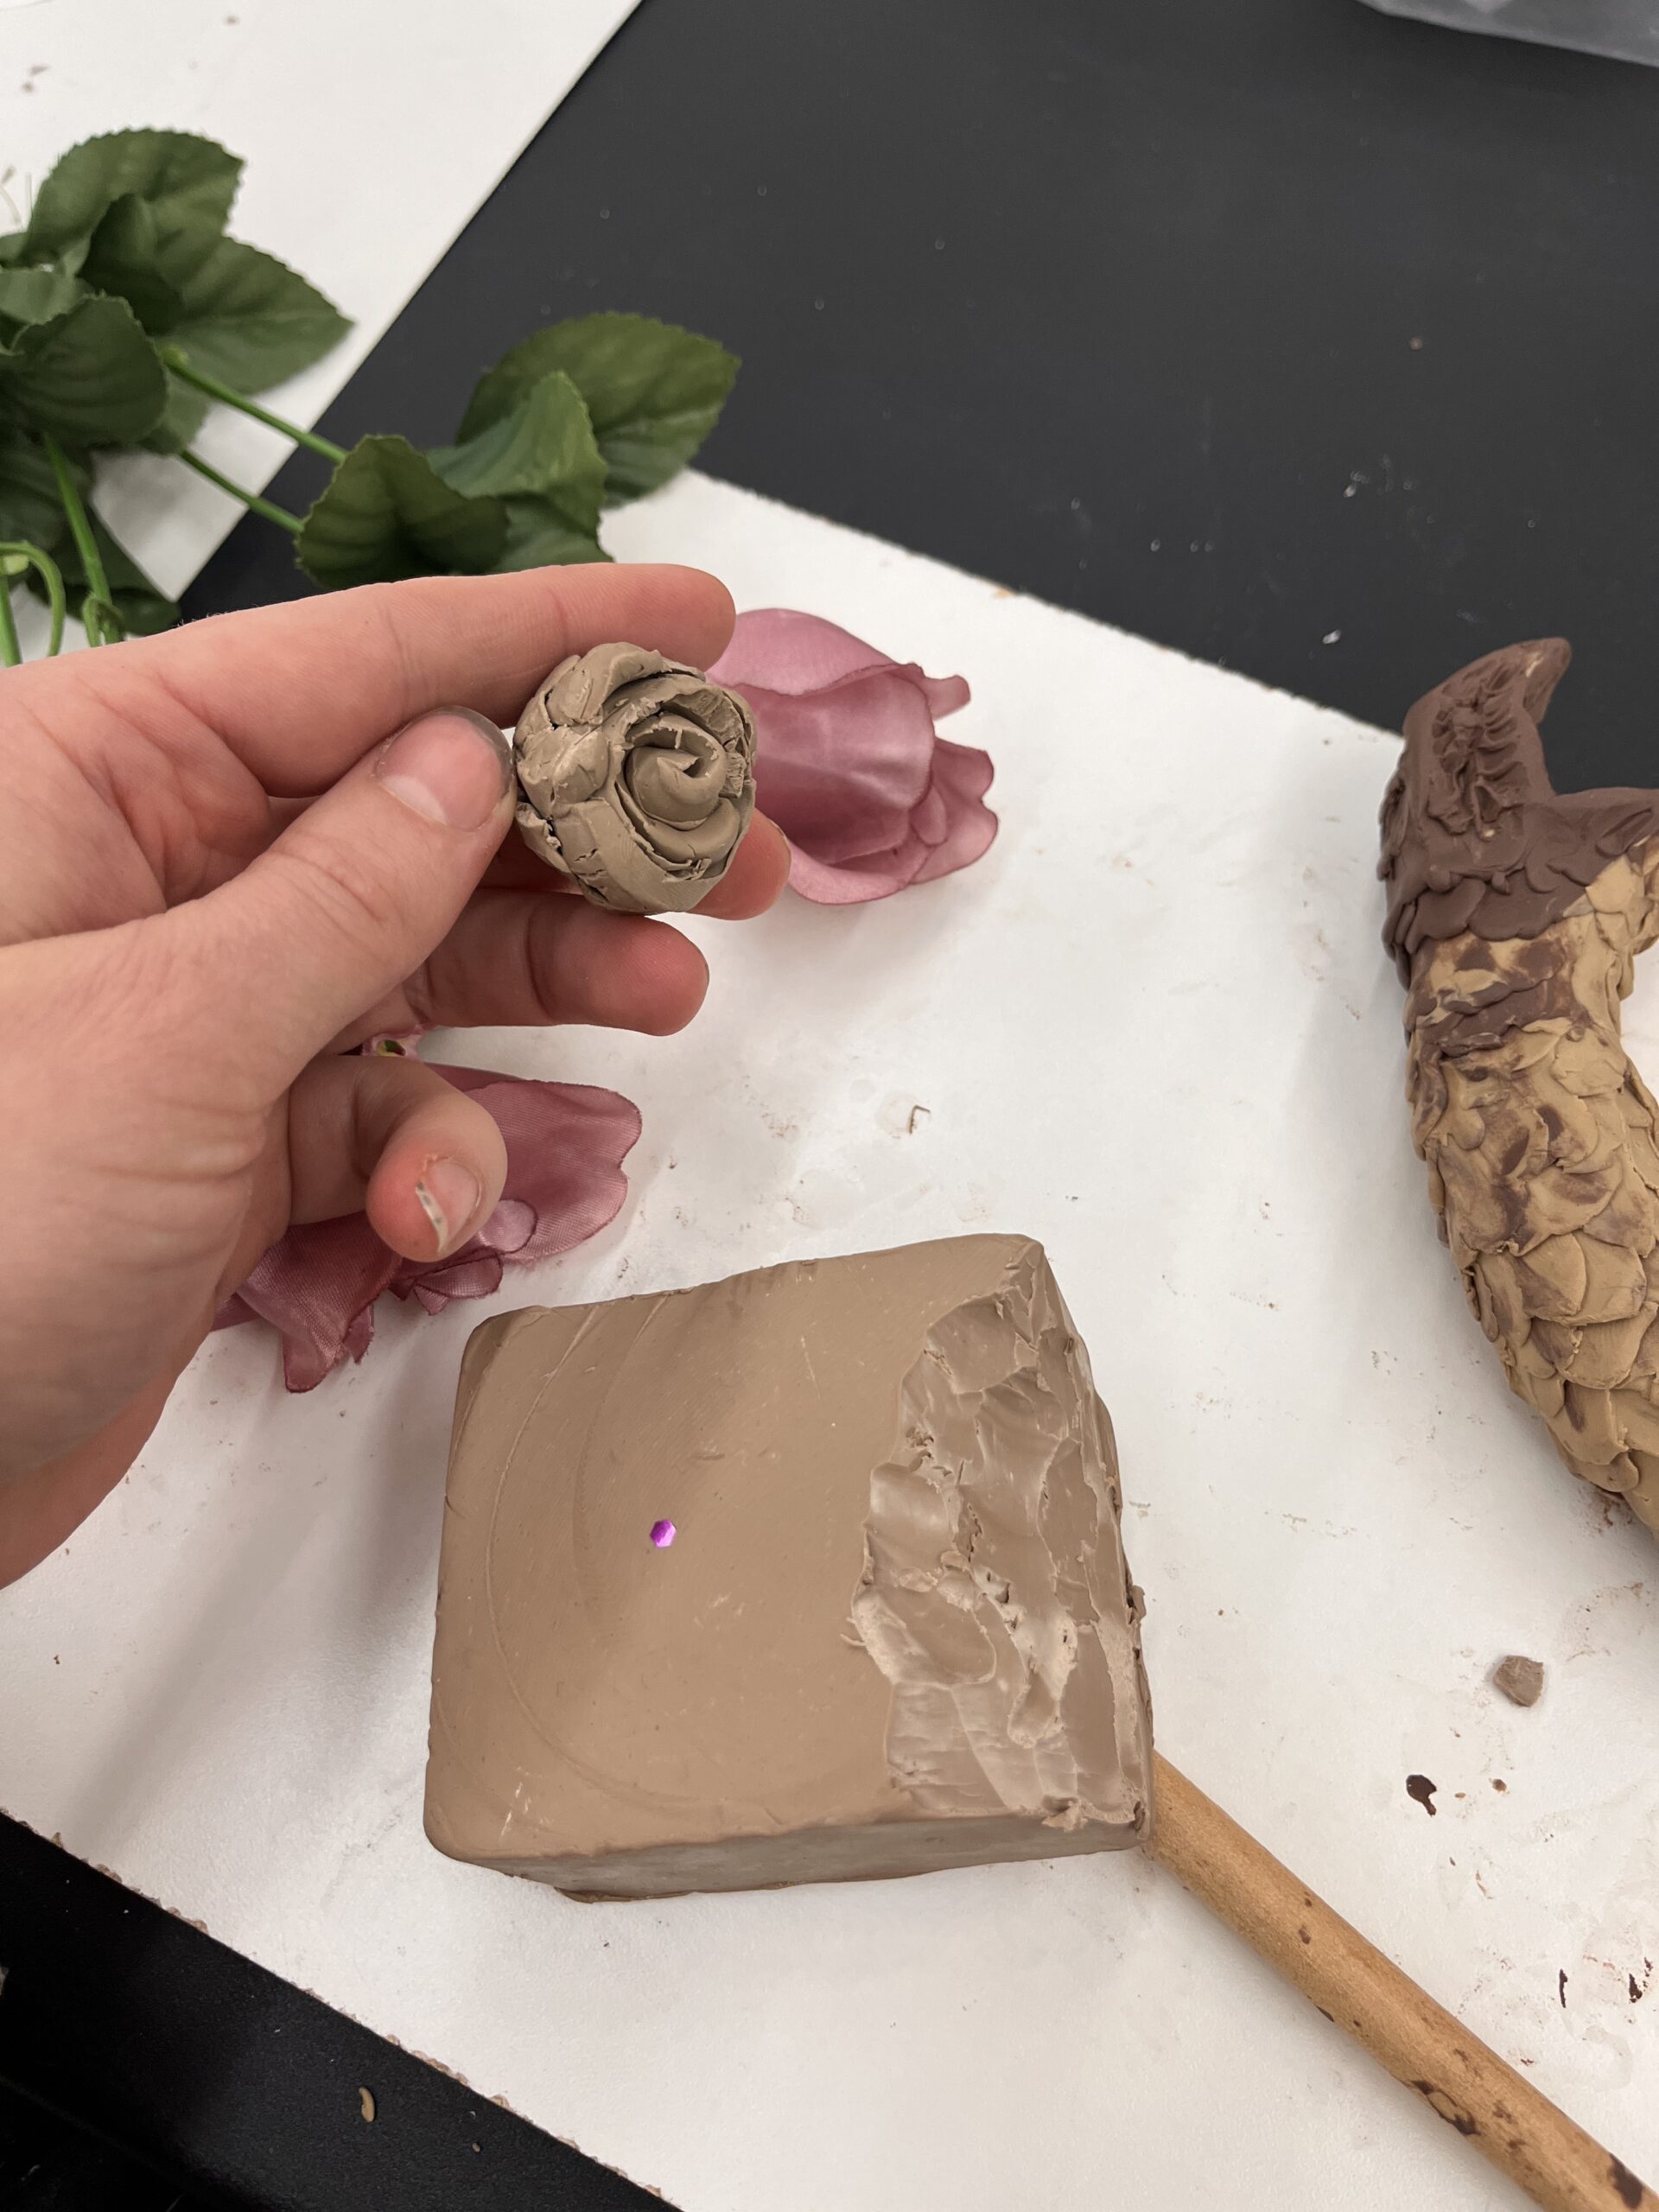
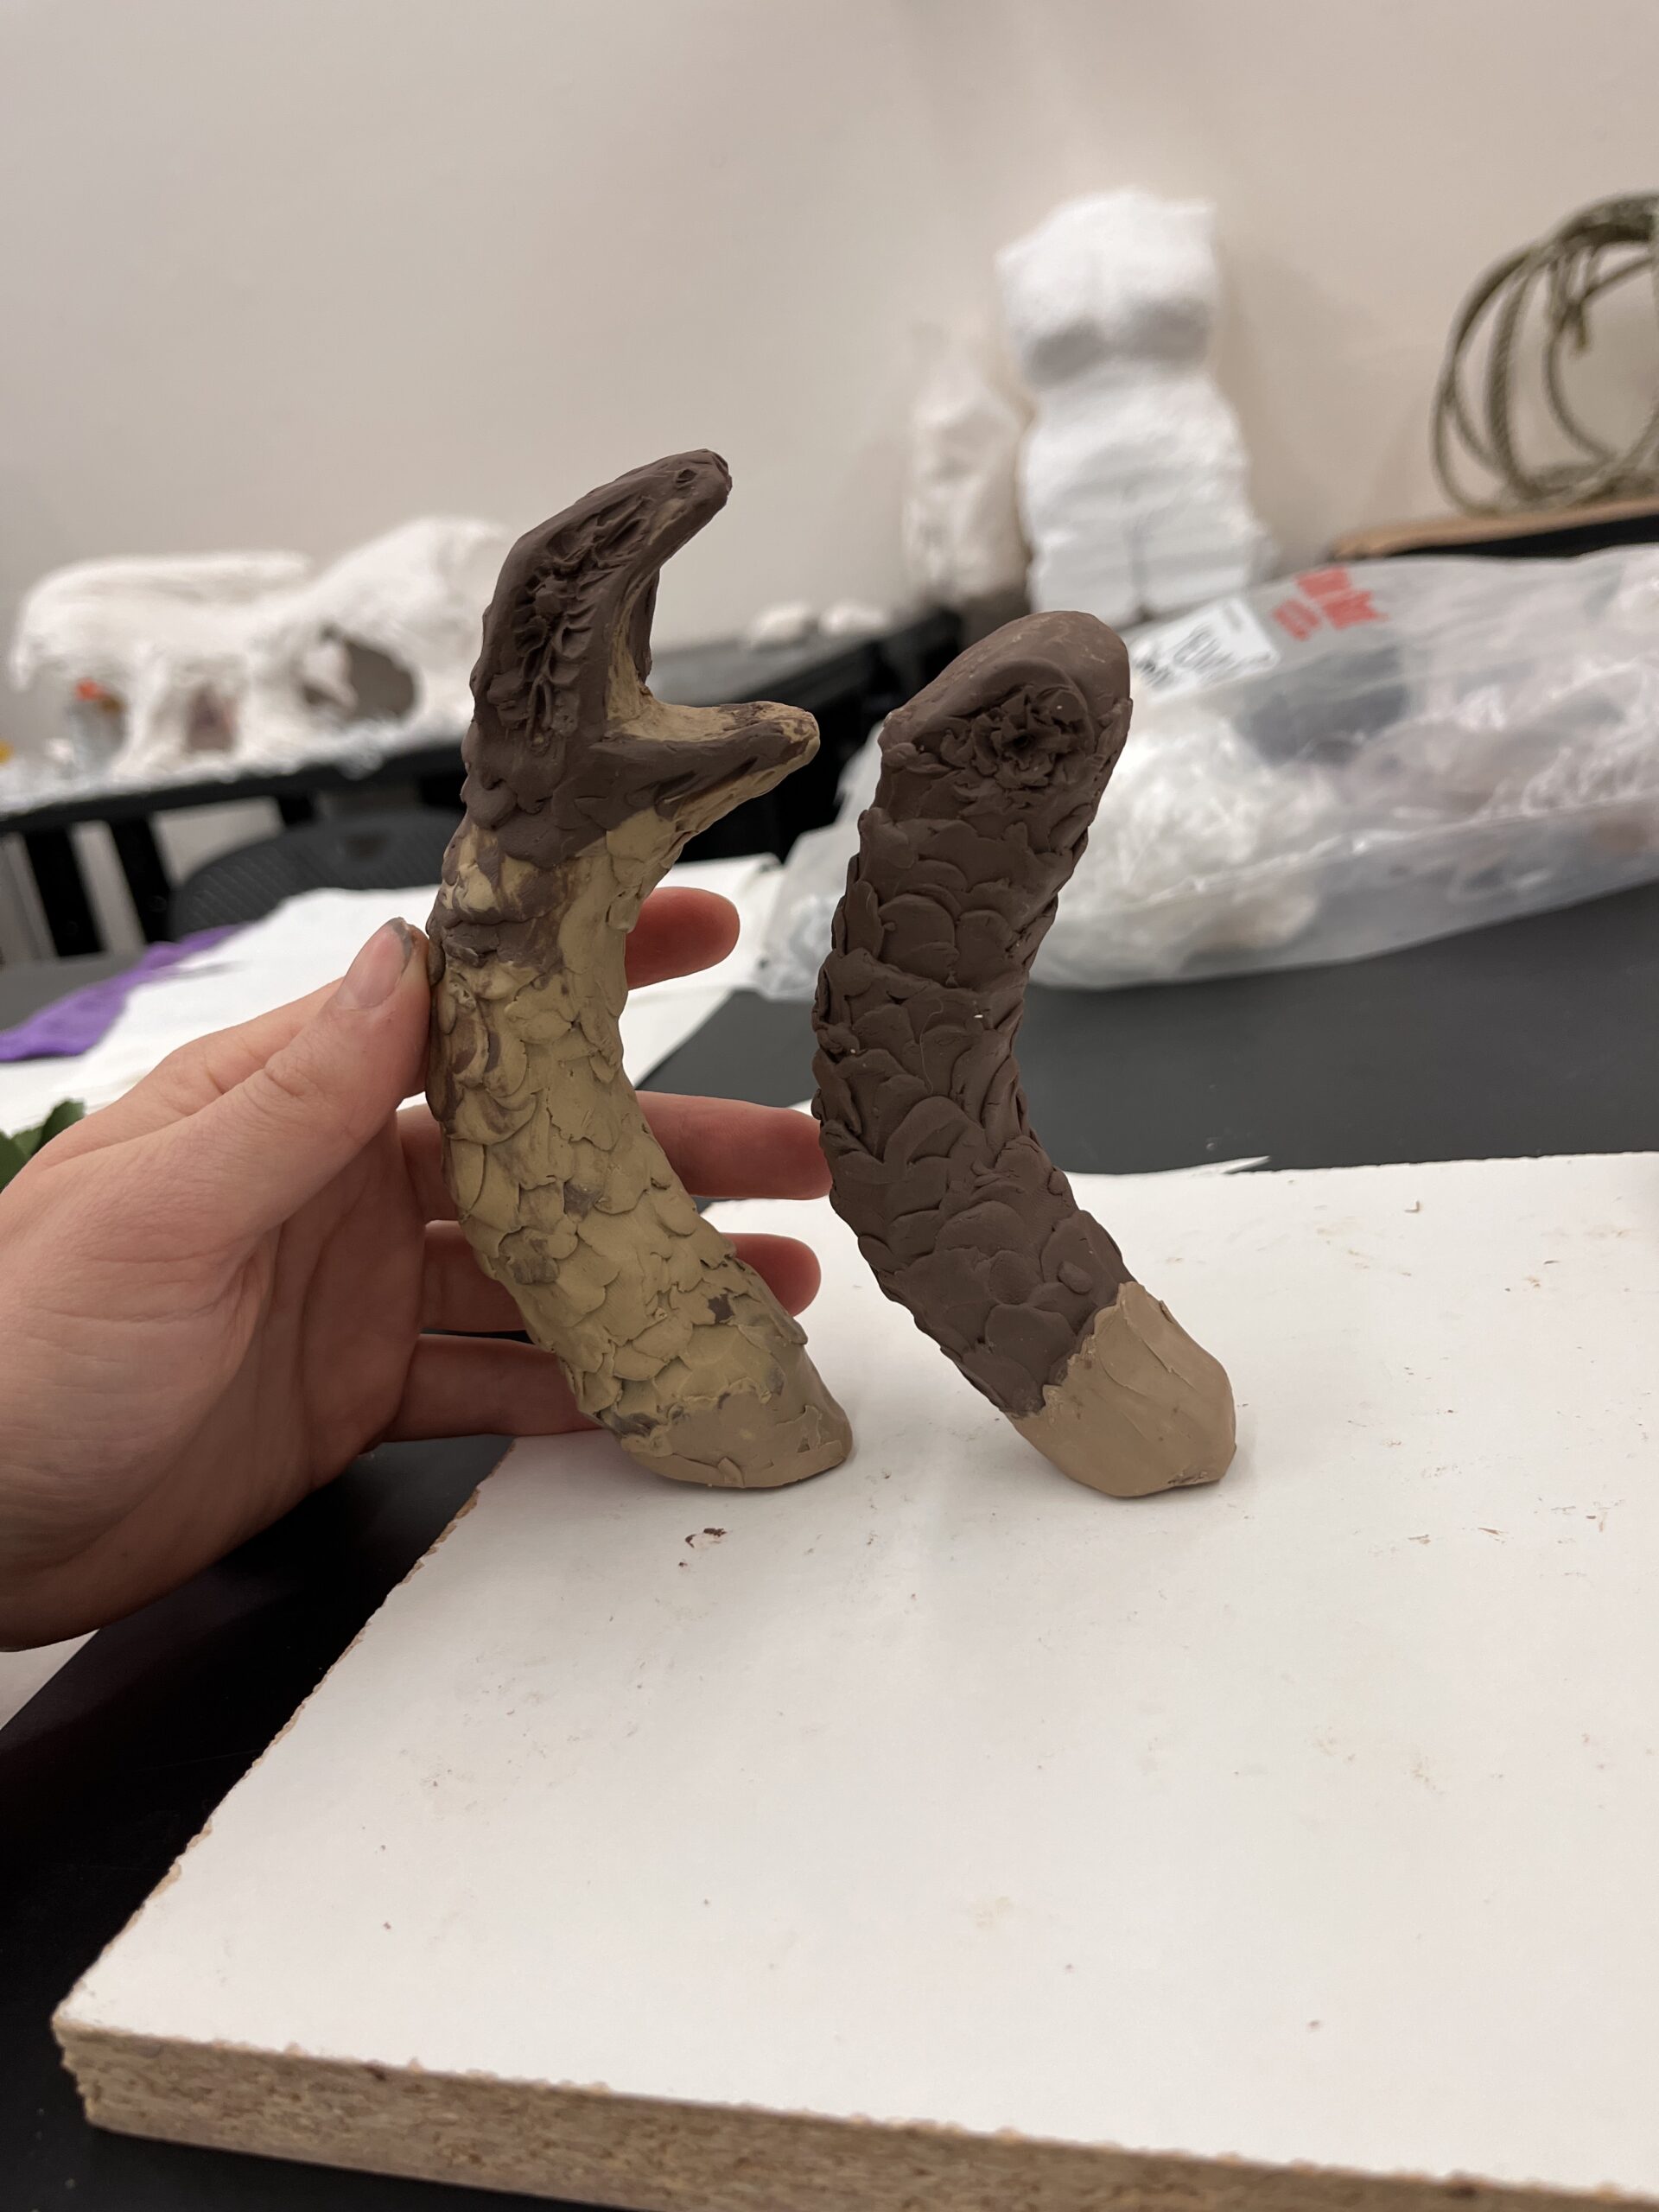
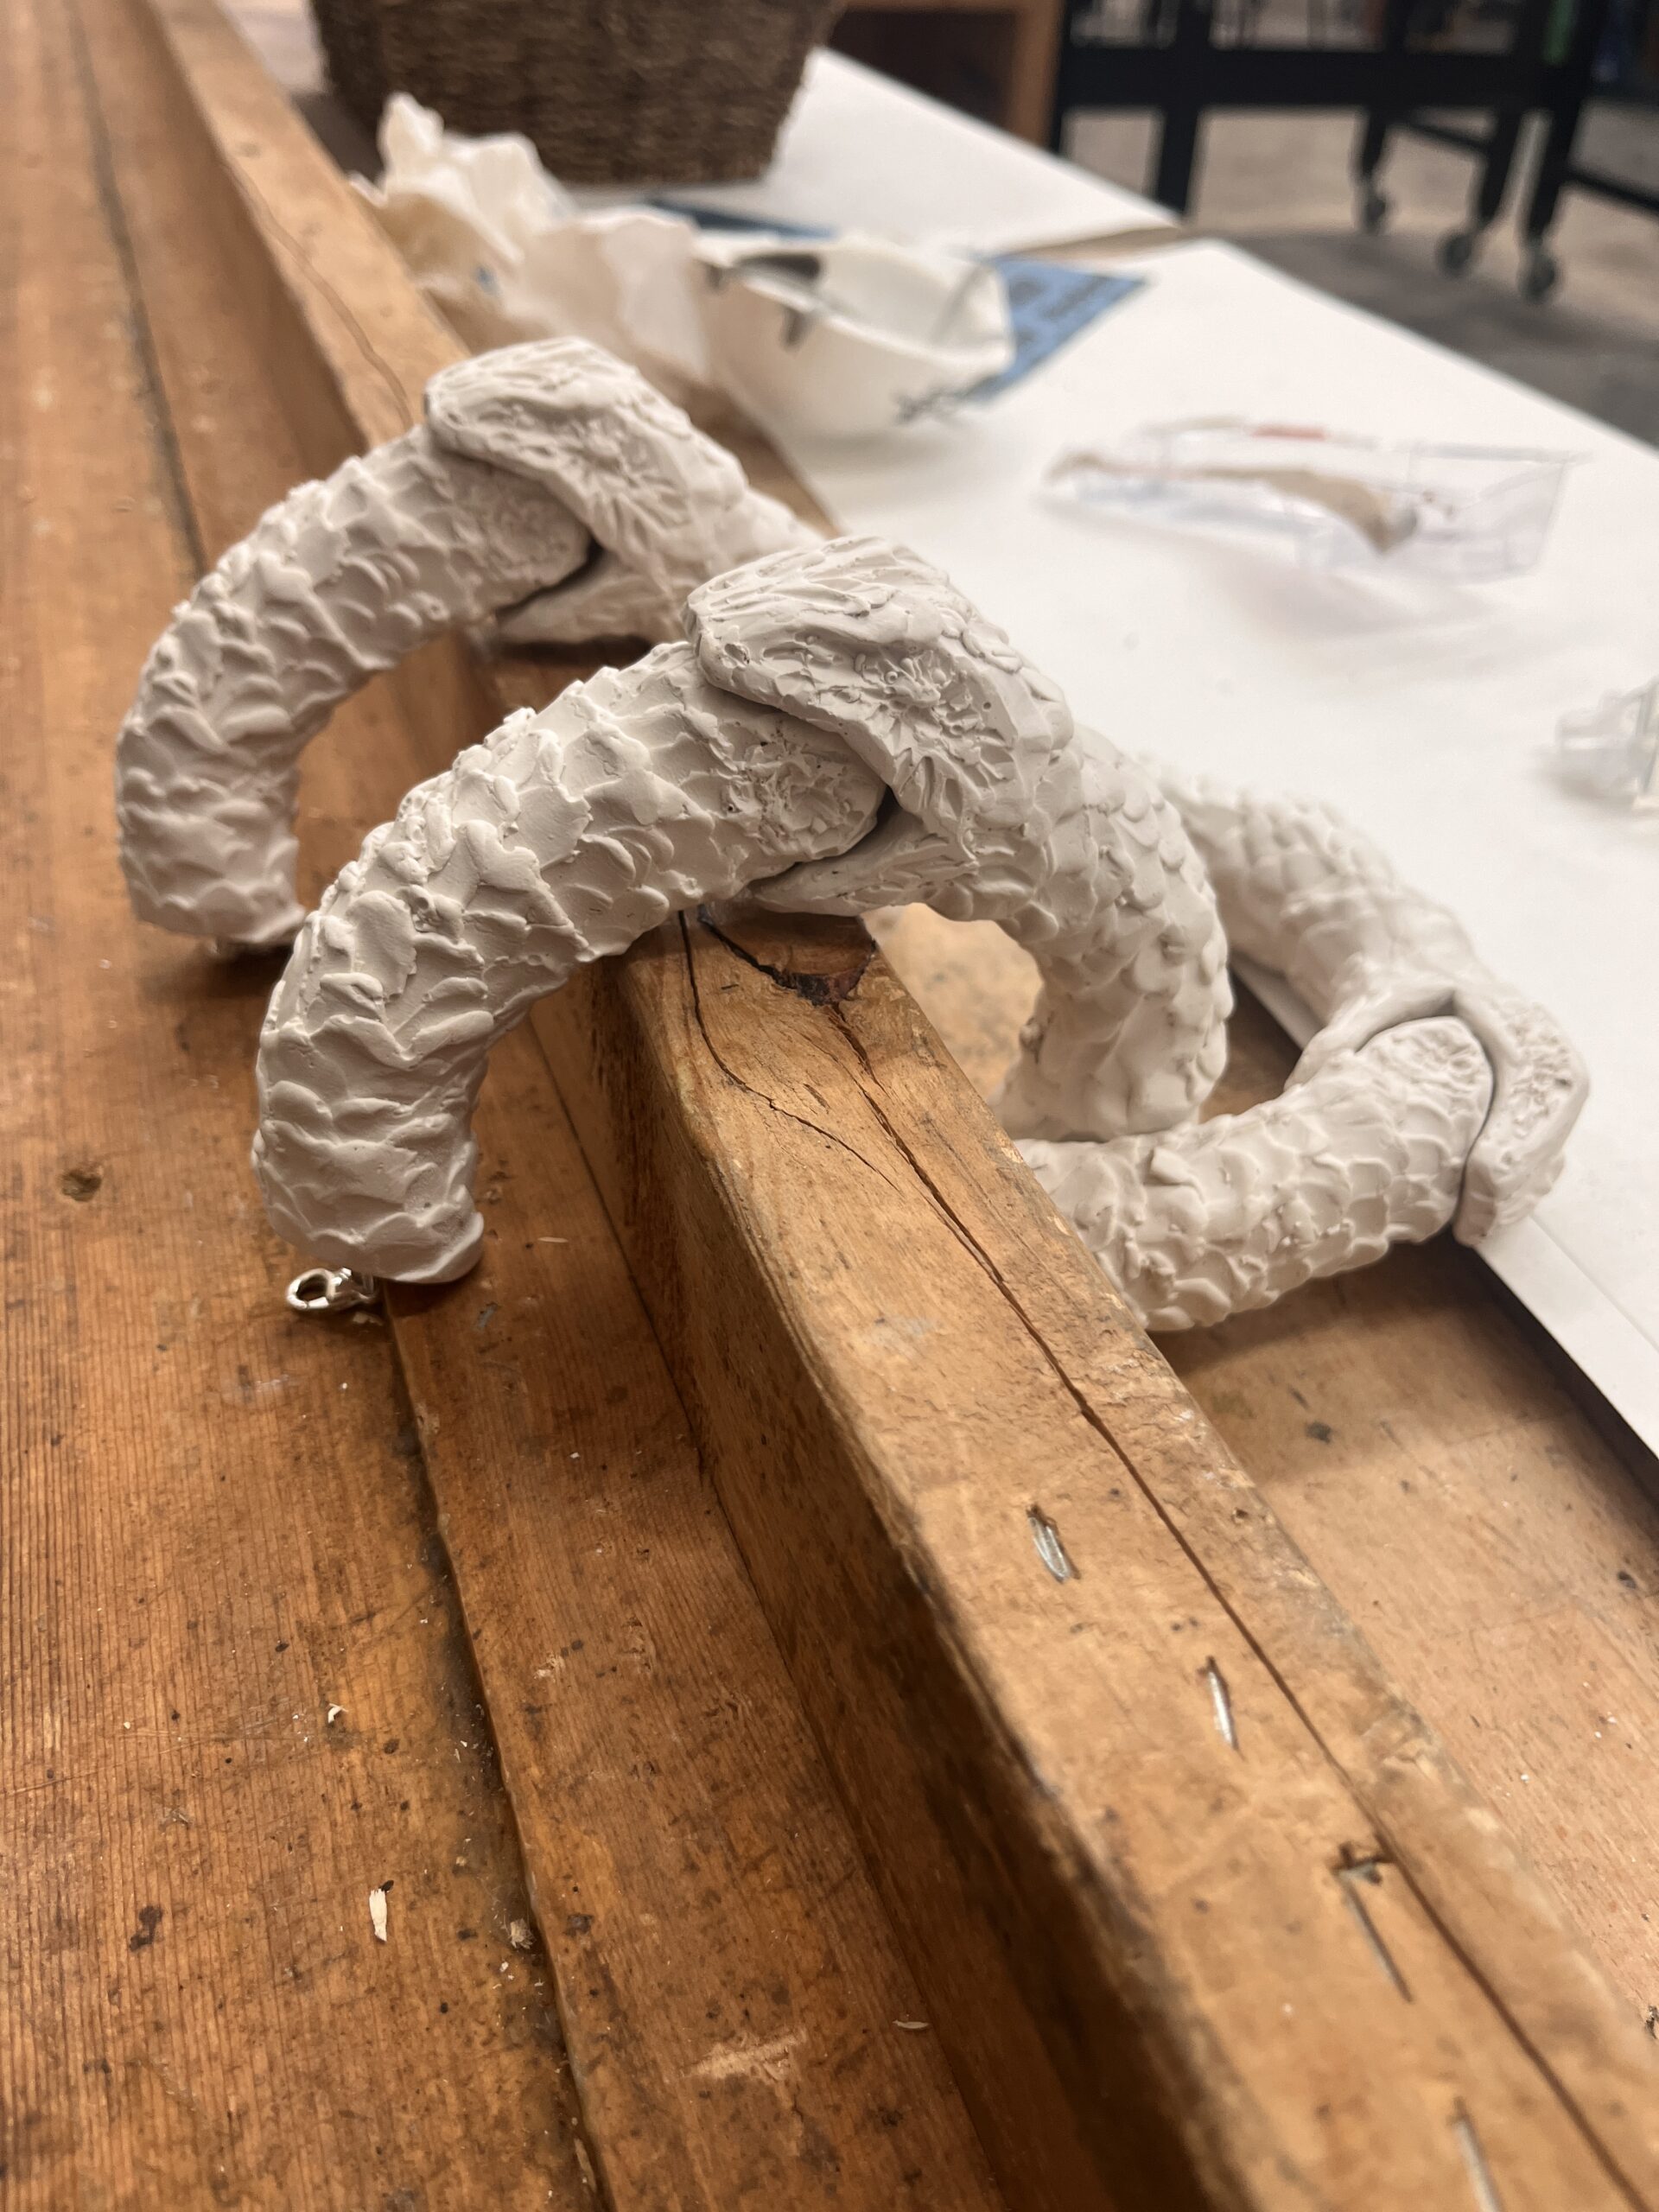
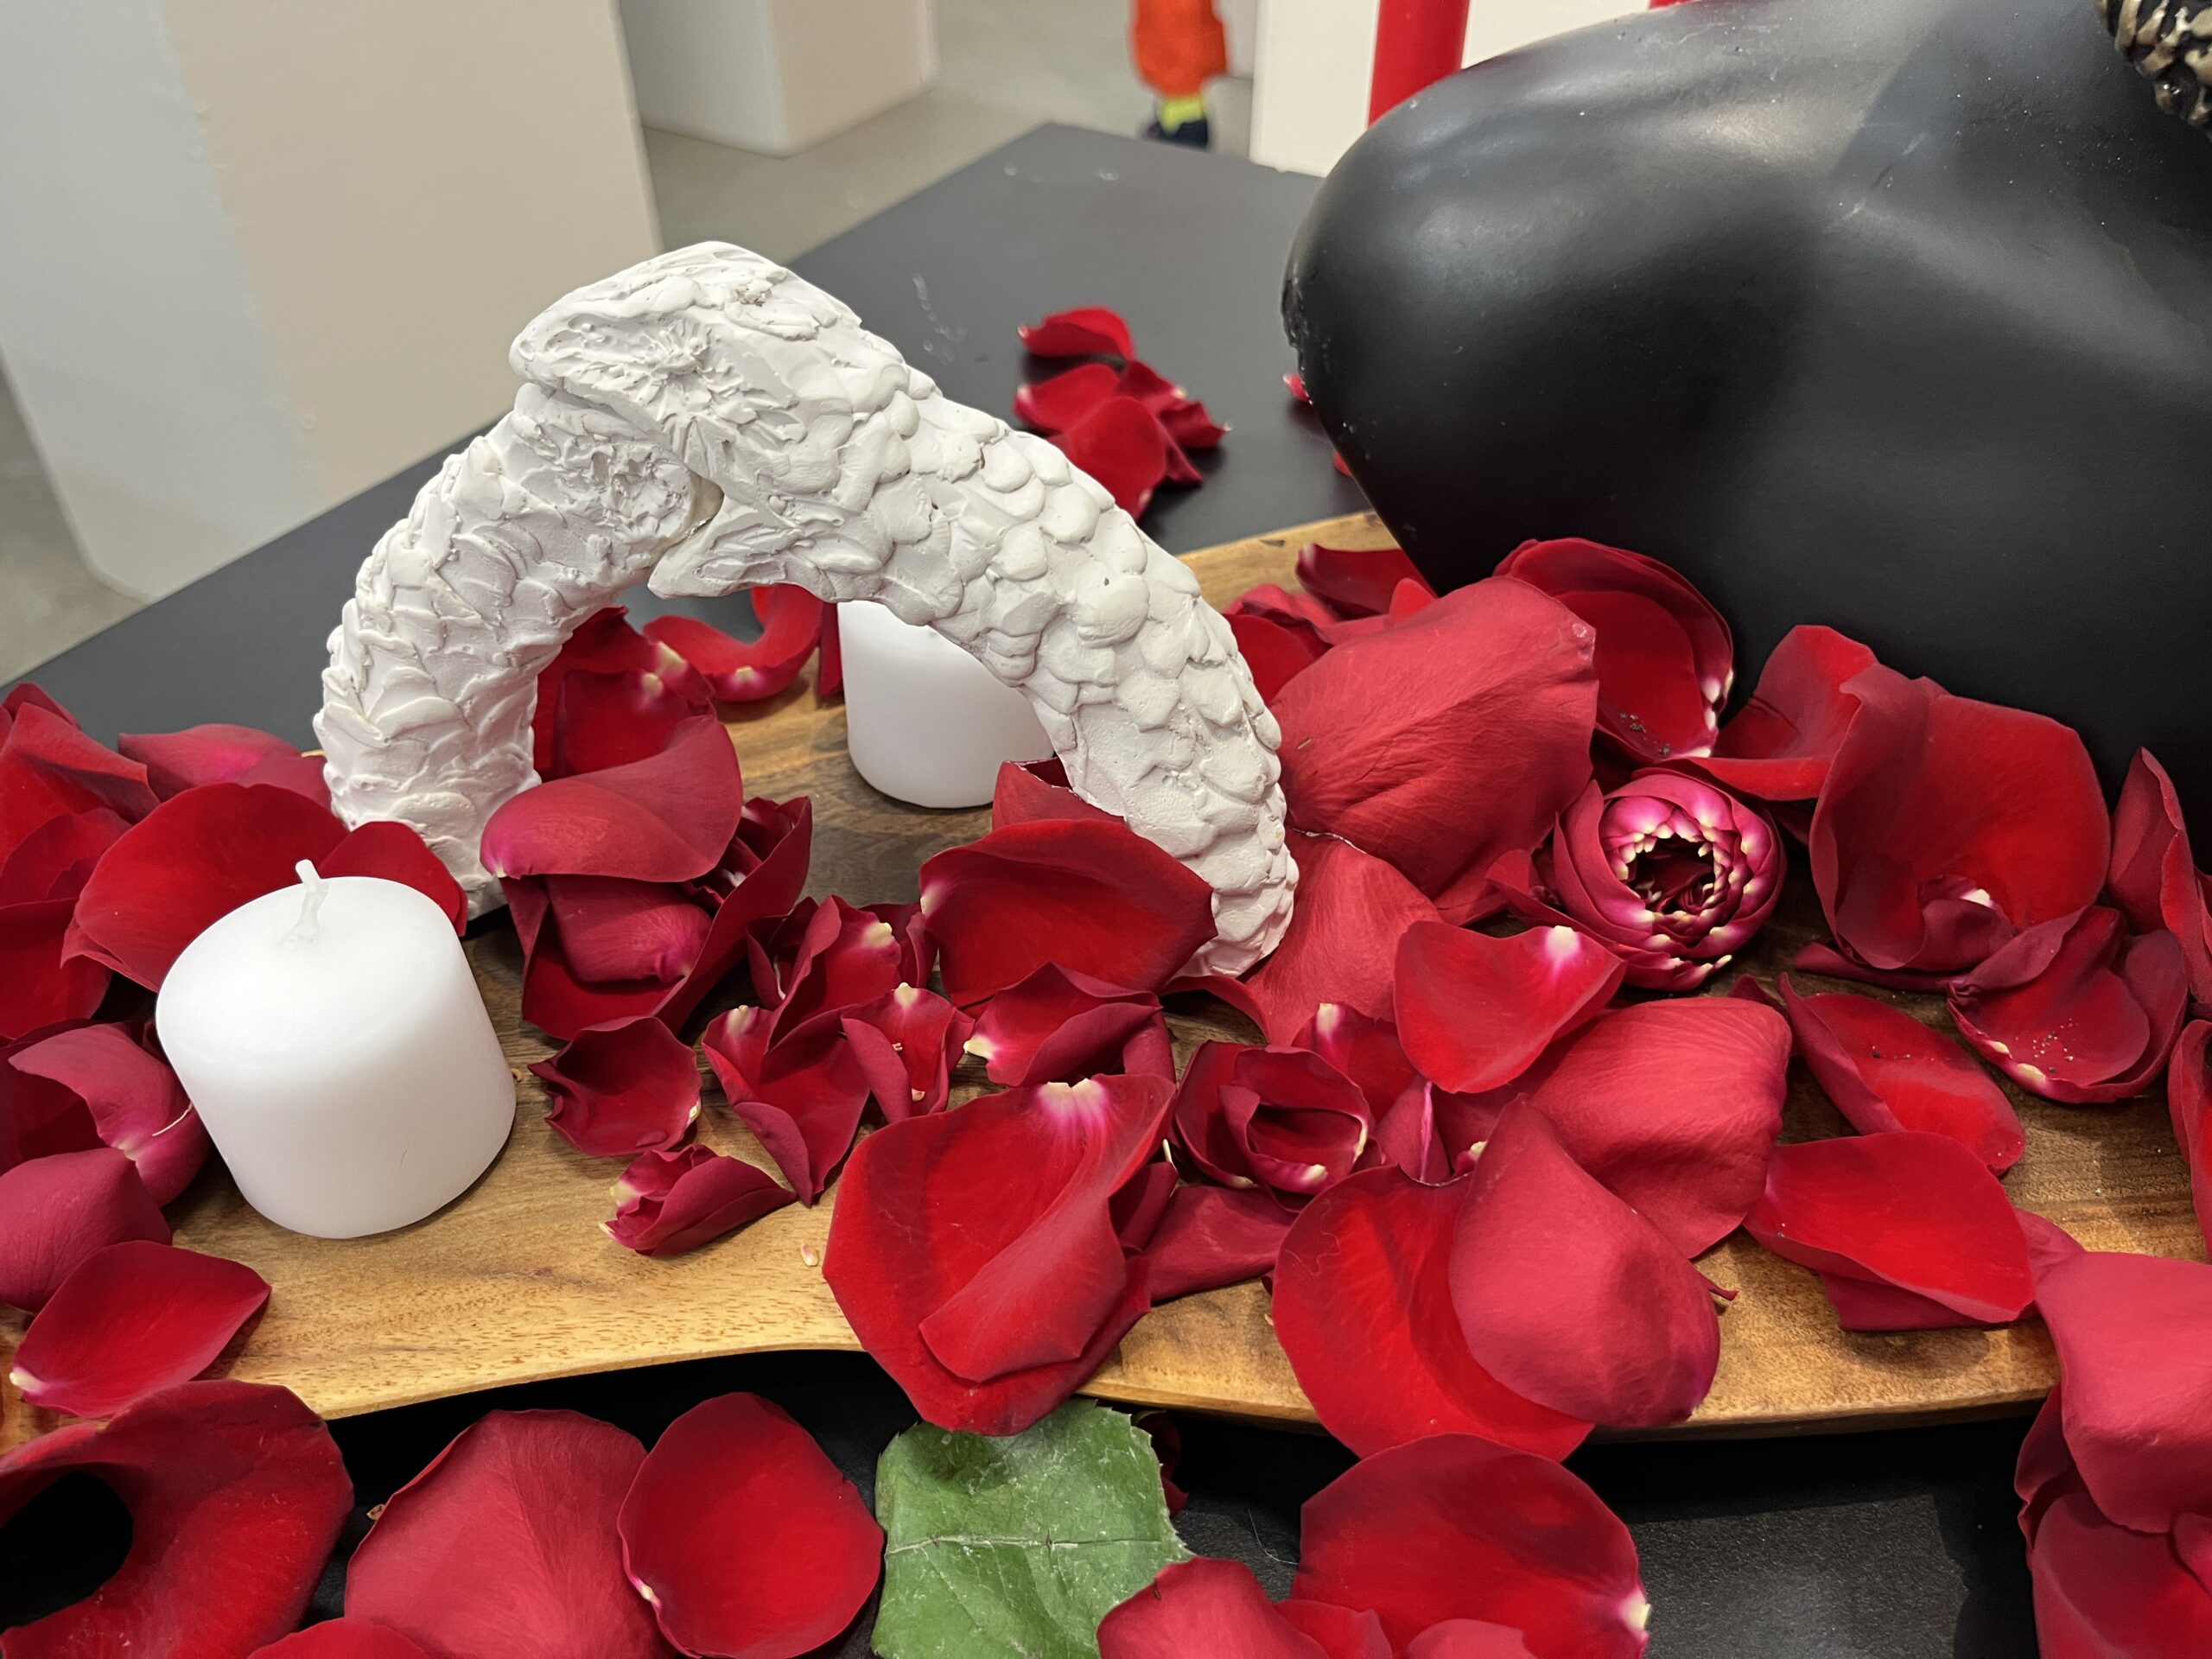
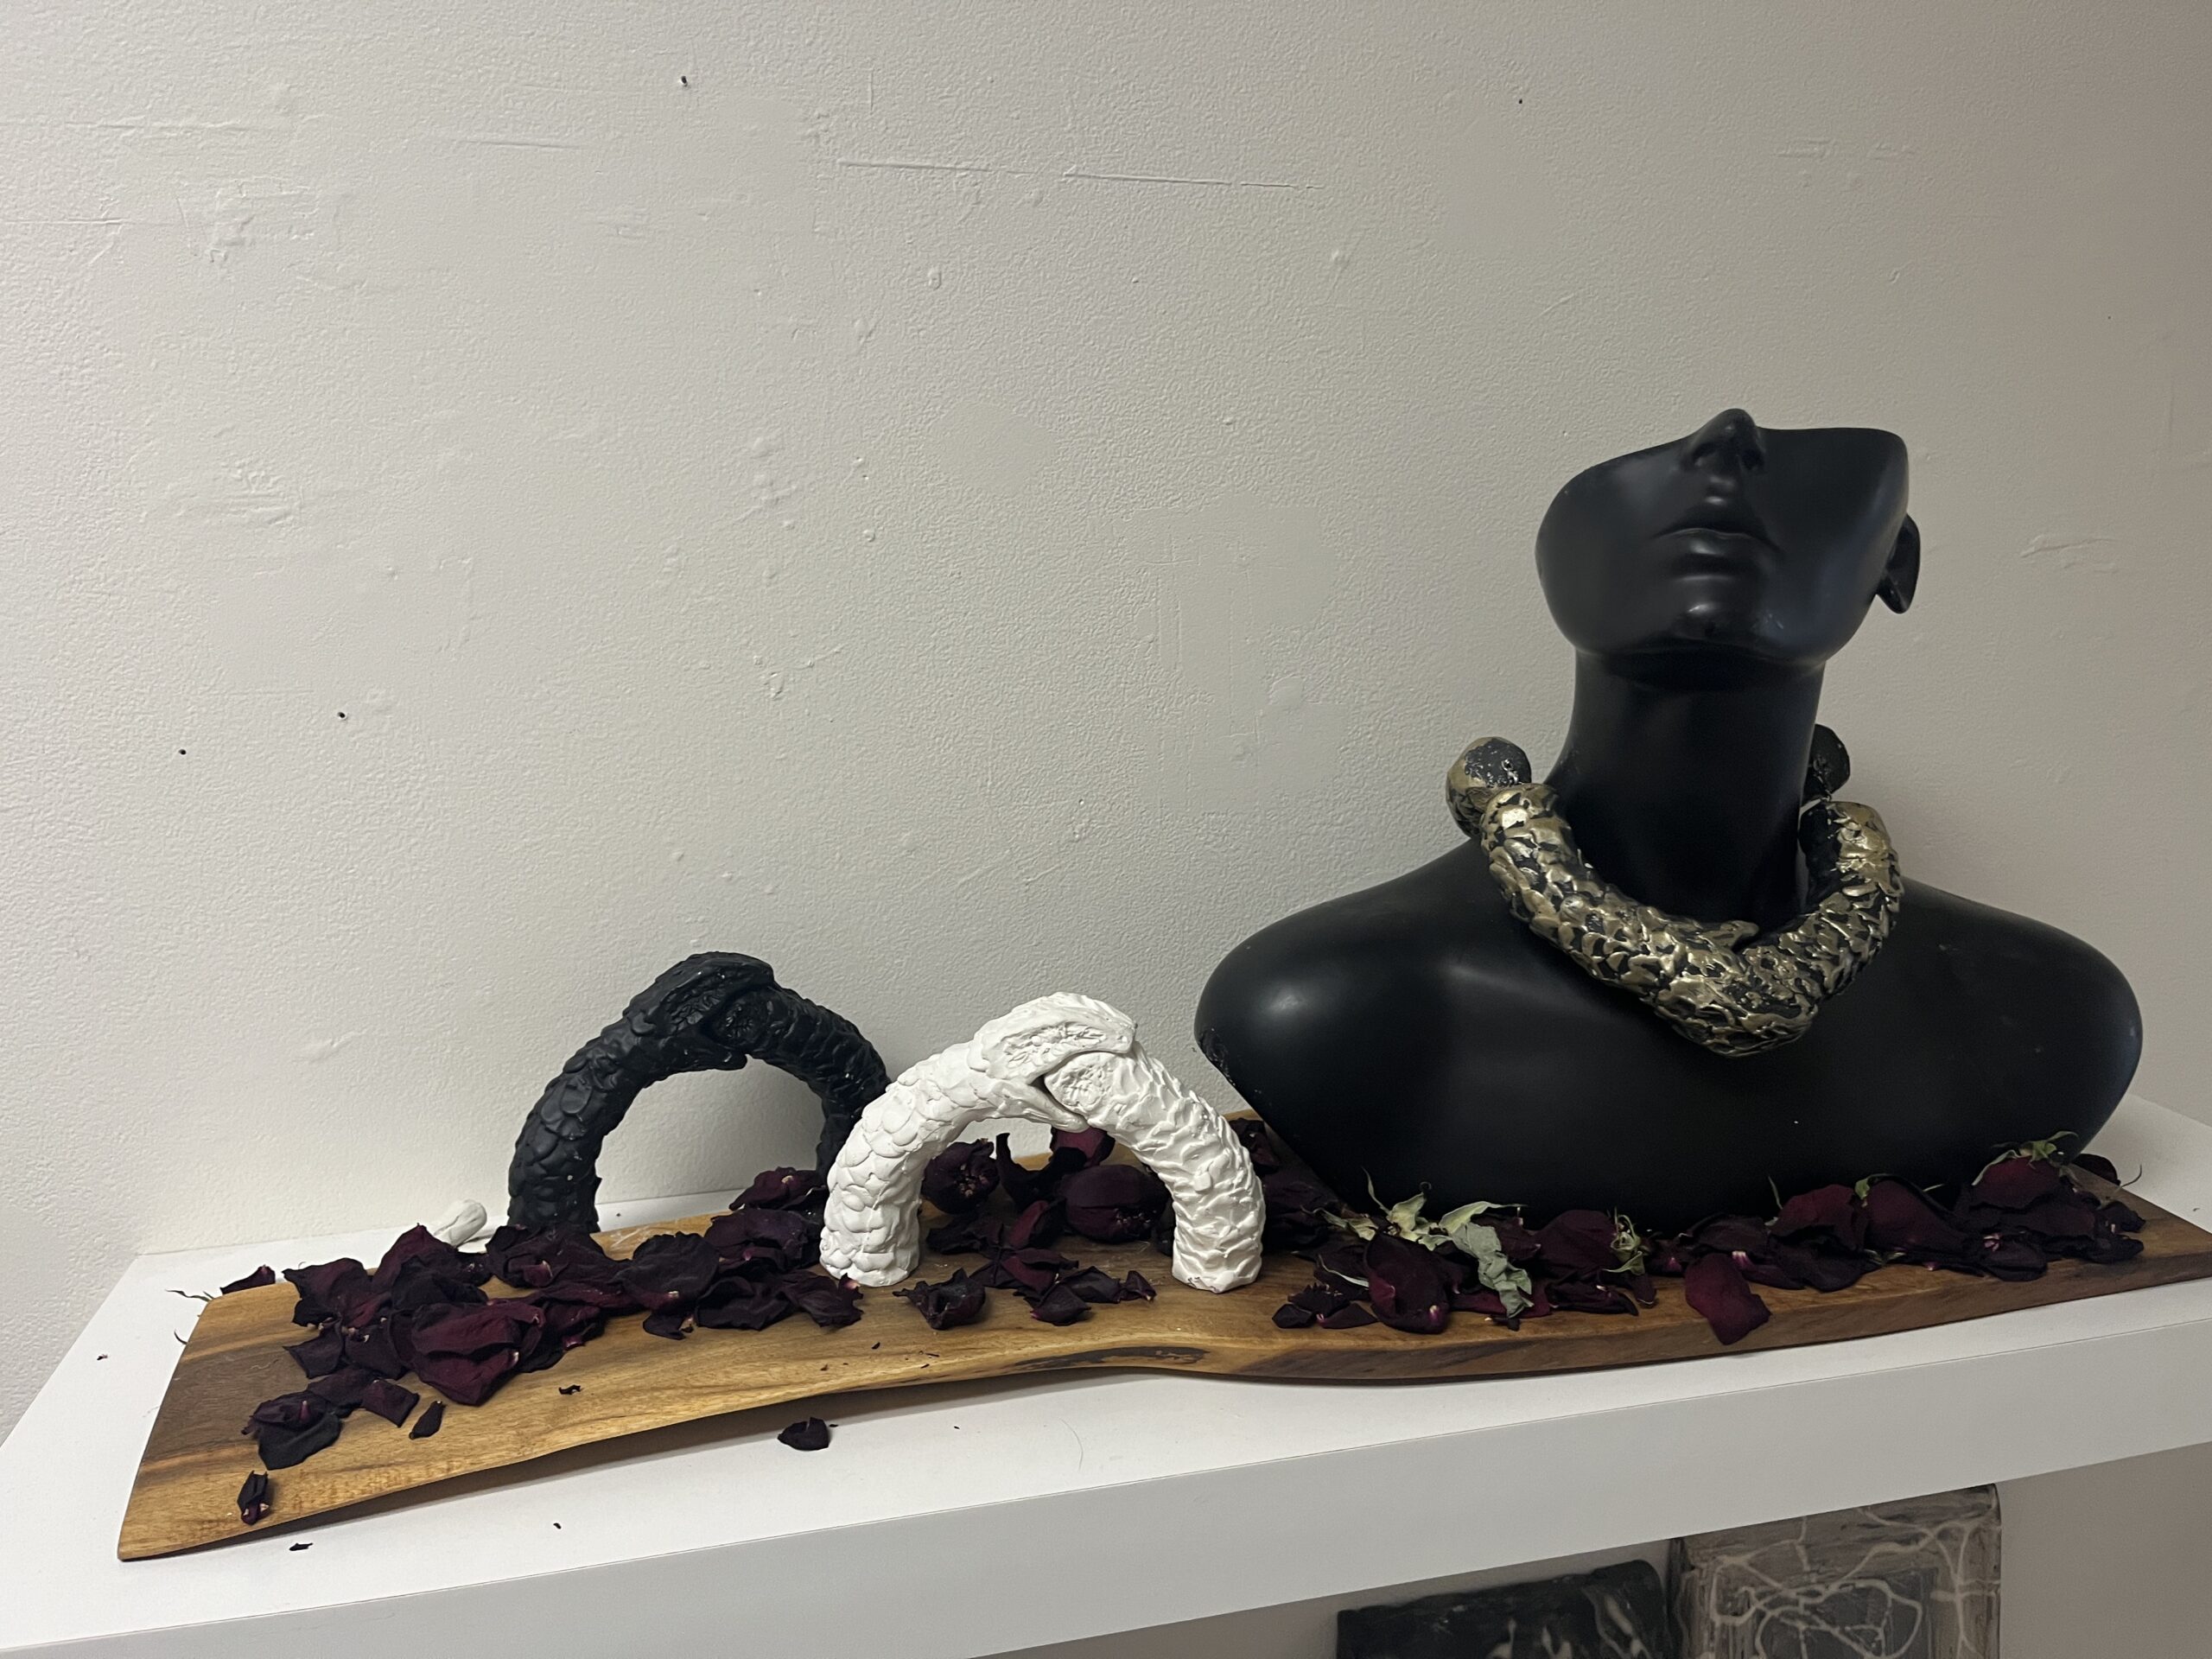
Model design + rubber mold: Below you can see the process of finalizing the model for the project. I wanted to incorporate the rose, so I decided to make the scales look like rose petals. Flowers are temporary, and so too are the scales of snakes. They look fairly similar and worked visually for my idea. I modelled the ouro-boris in the two types of available modeling clay and then even had some fun cutting and coiling pieces into little roses that didn’t end of getting incorporated, but it was good to see how easy it was to work with this material to create rose-like flowers. Something to consider for a future project.
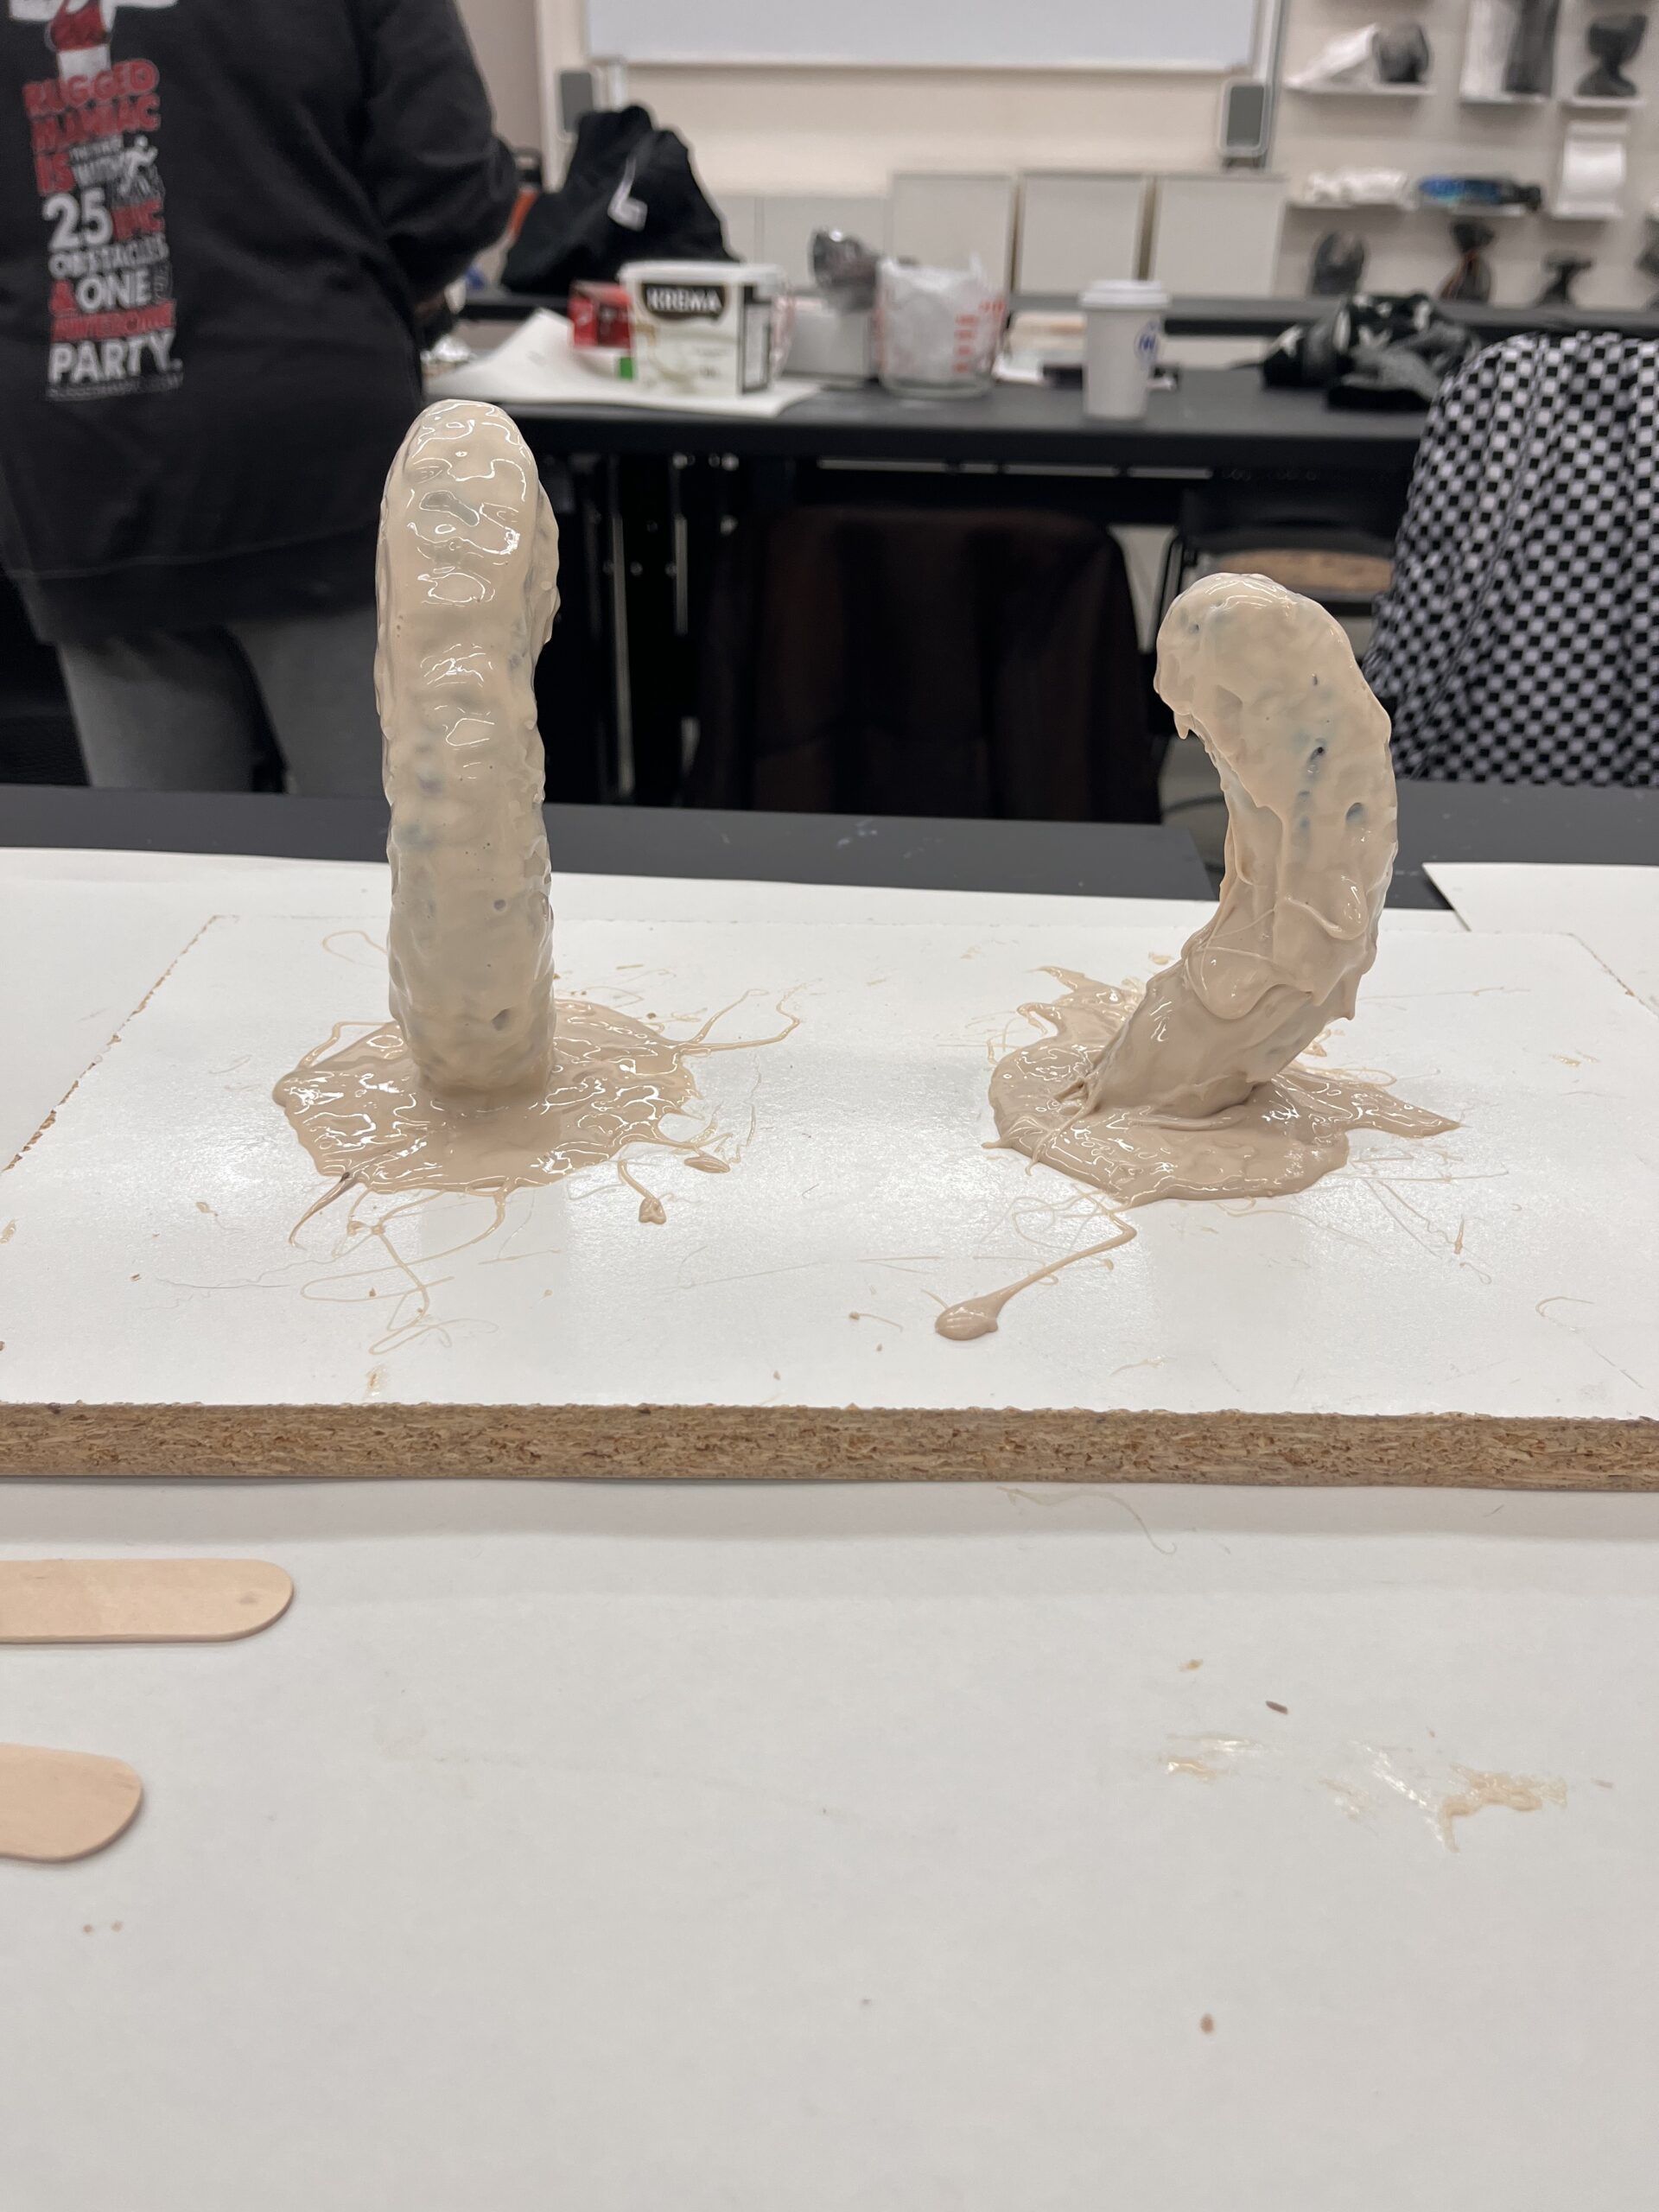
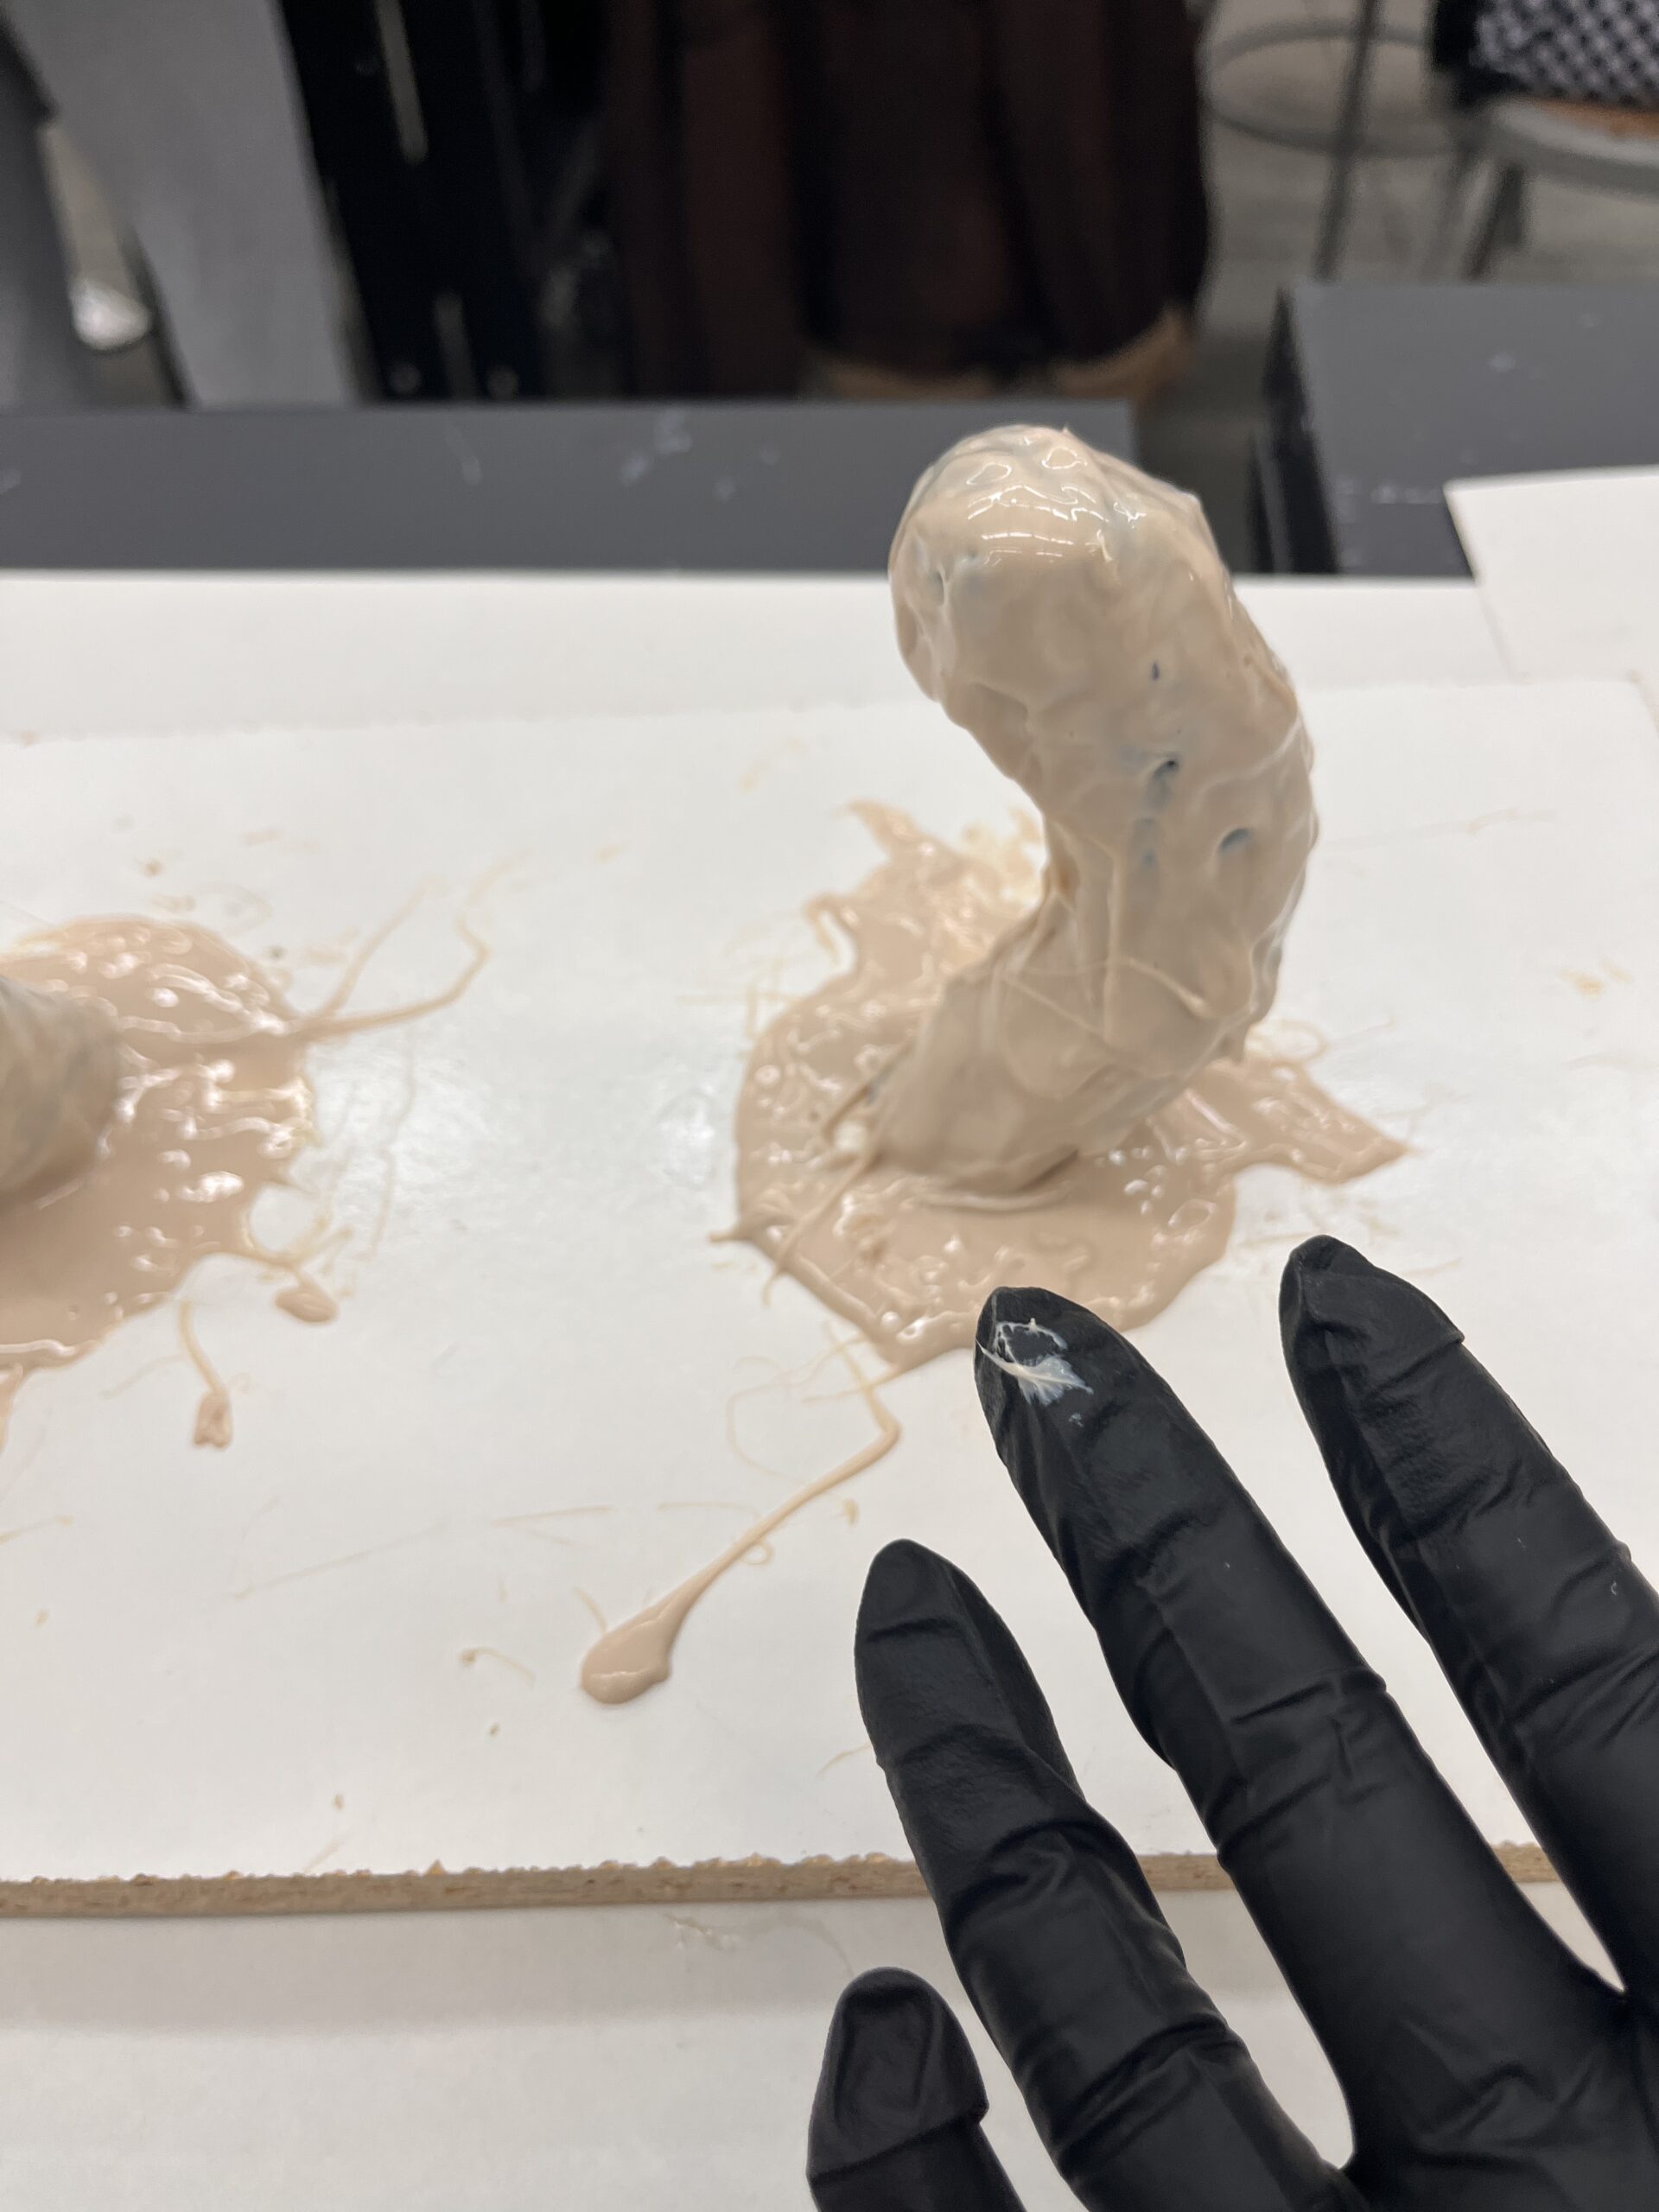
Another consideration for my model was the angle at which I would be pouring the hydrocal to ensure that there would be no bubbles. The mouth and curvature of the snake and tail head could cause air to get trapped while pouring, so Jeff and Angela suggested adding a bit of extral space to the bottom of the mold to get a straighter pour. After doing this, I pressed them into the wood board and then did my first layer. Unforuntately, pressing the model into the board wasn’t secure enough and on my second layering of the rubber the models detached. This was extremely stressful and we needed to act quick to avoid wasting the model and the expensive rubber layer. We screwed in one end of the snake to the board, and the other end I just held it place until the rubber dried enough to glue it in place to the board. Crisis averted!

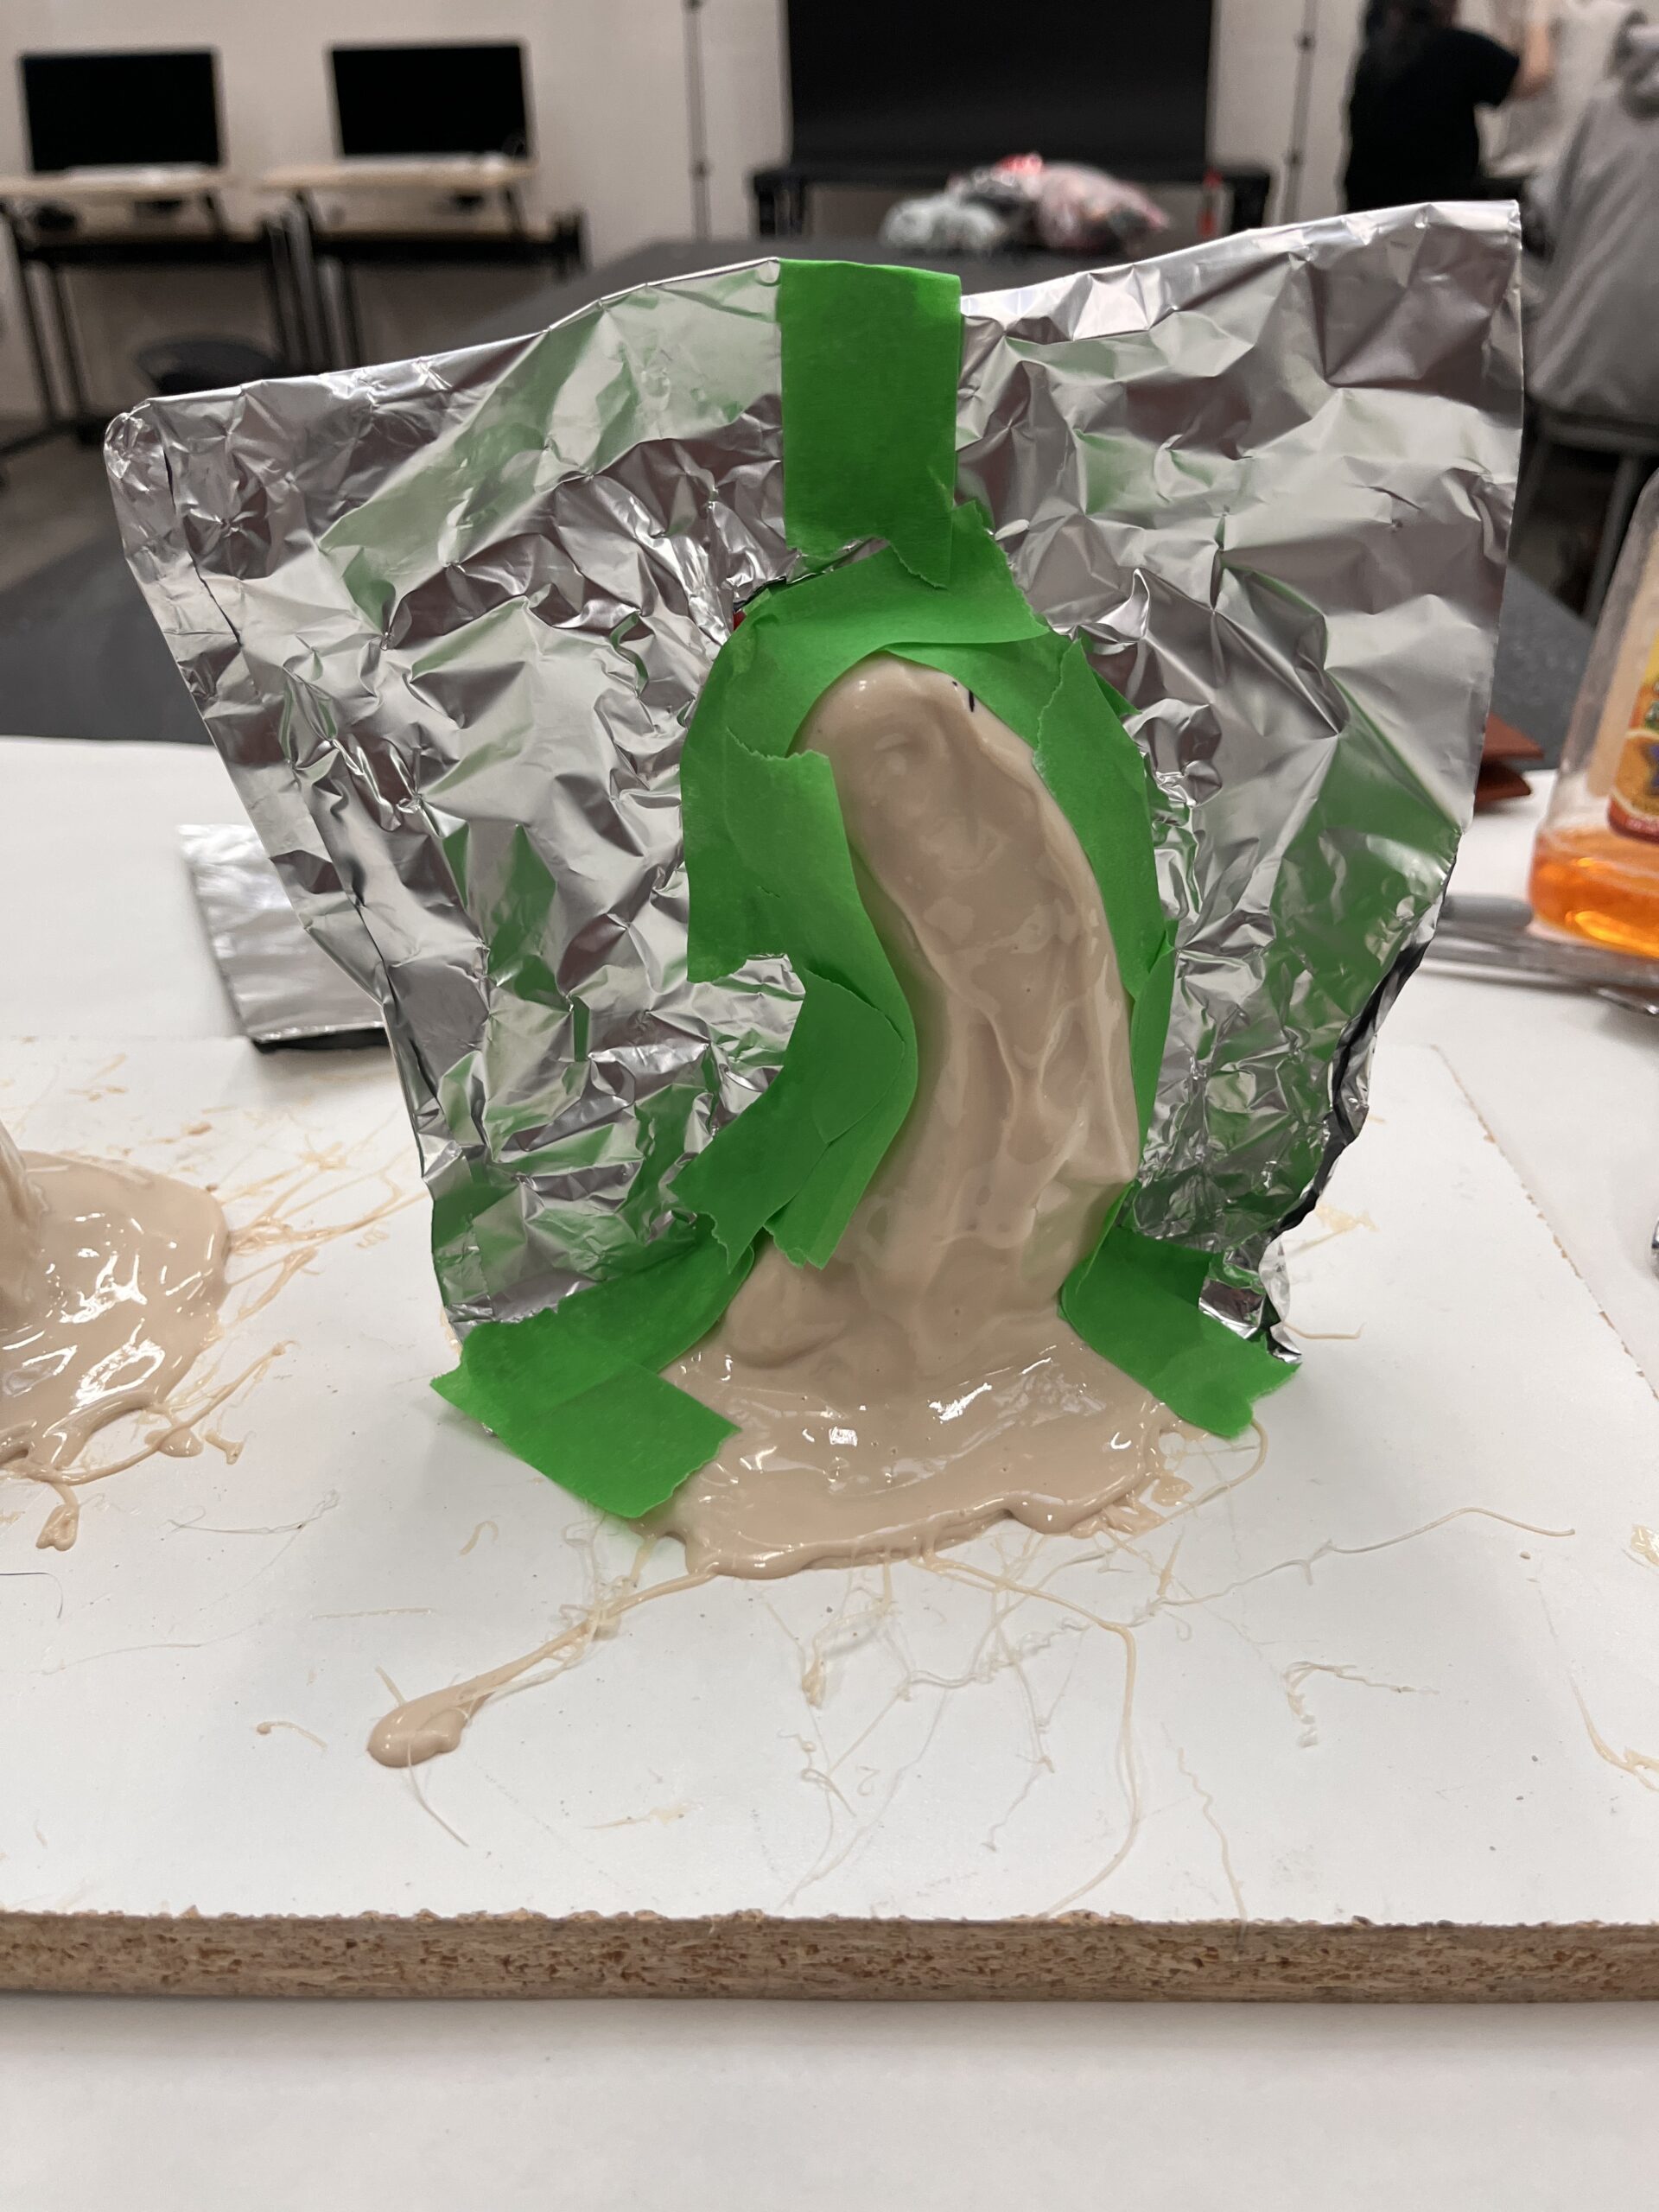
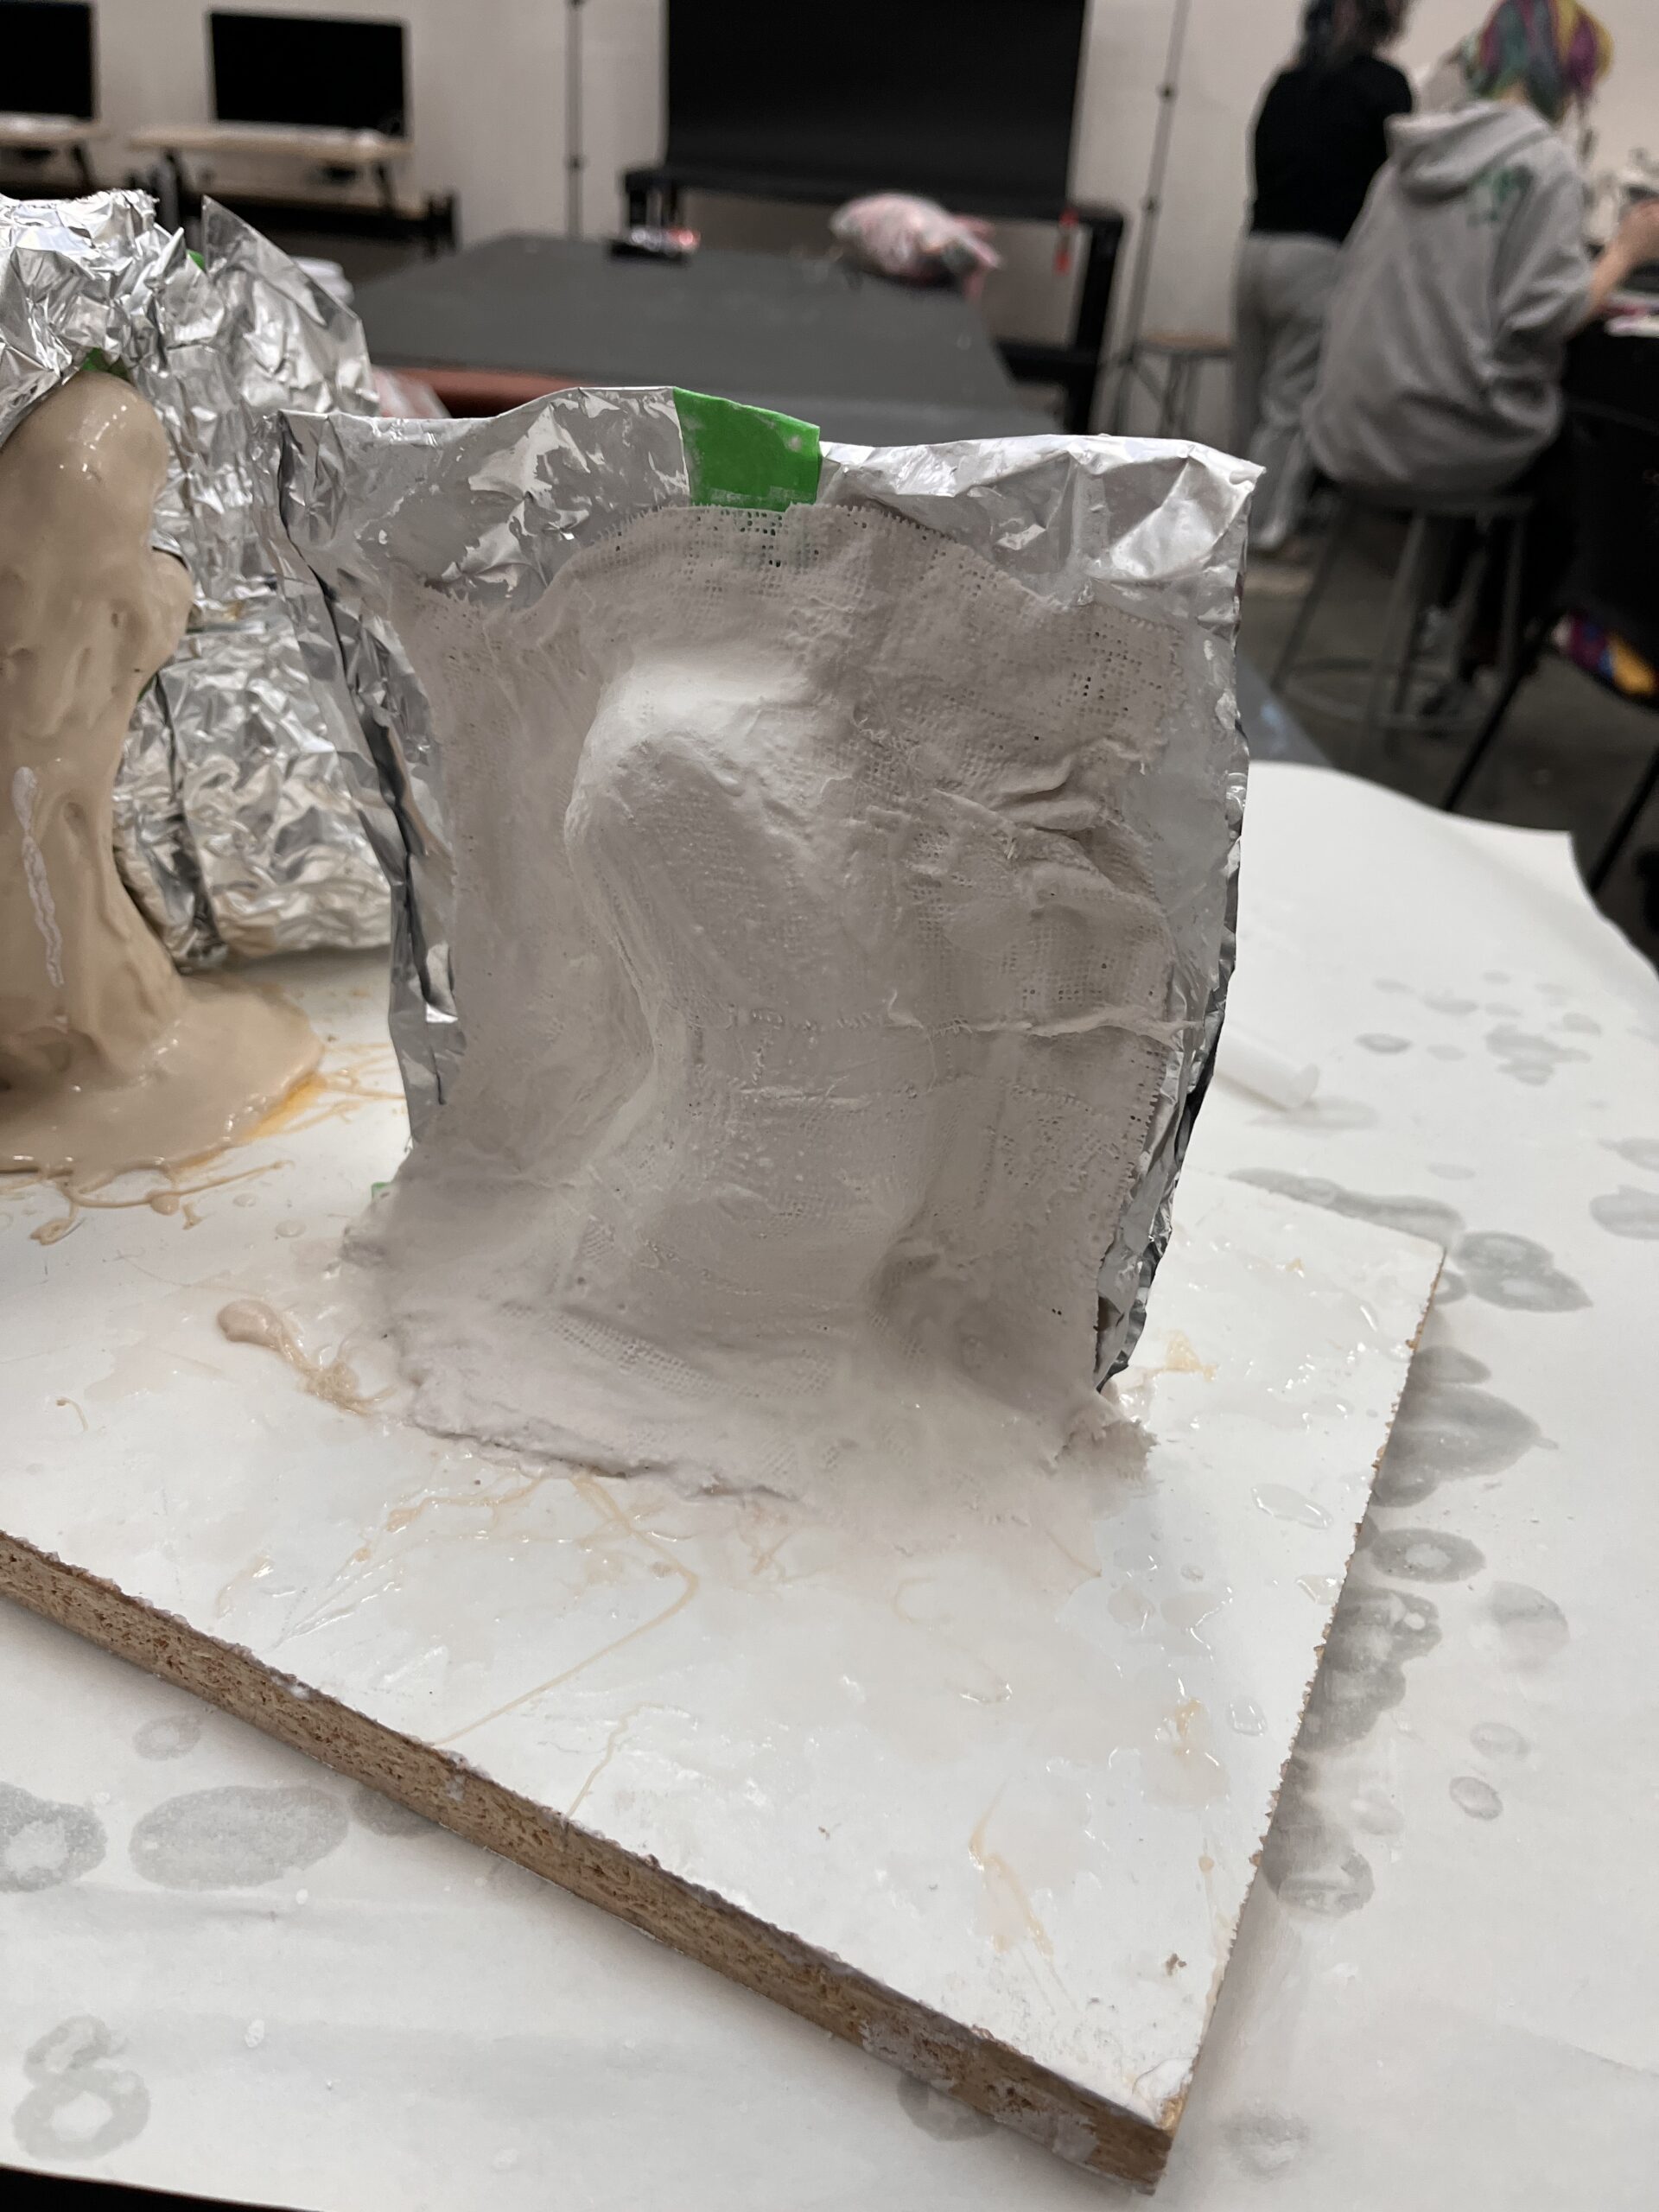
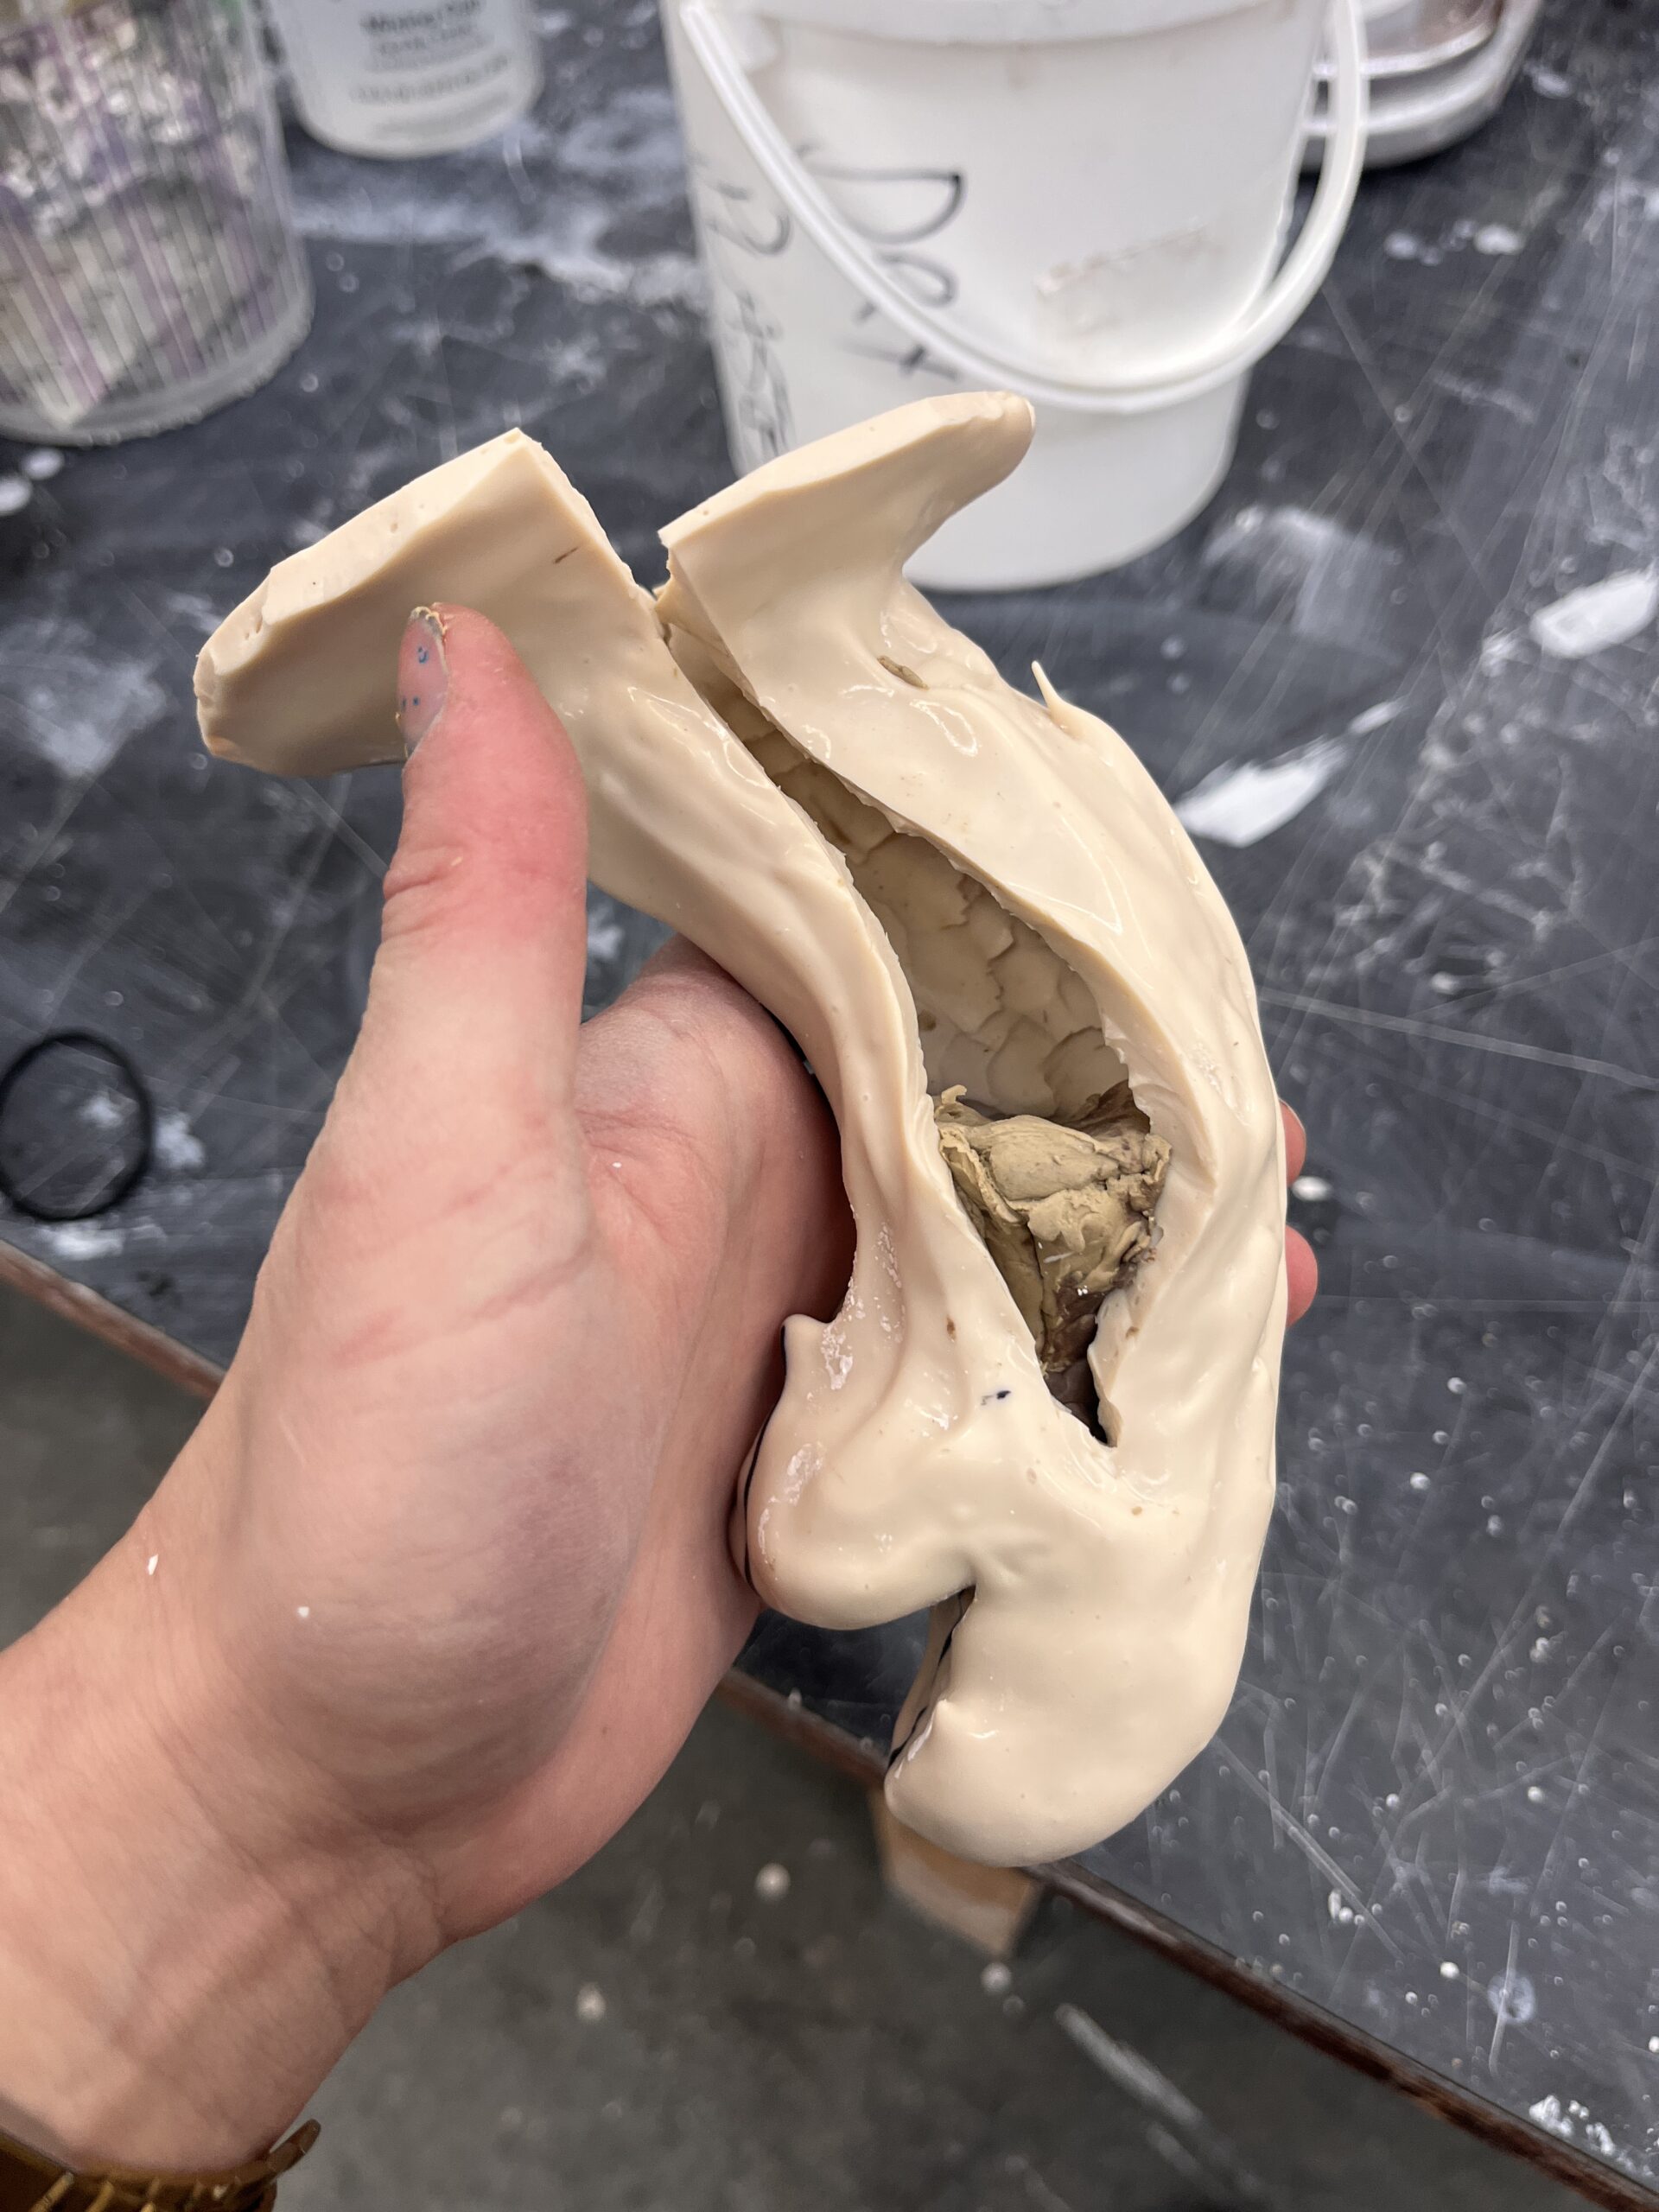
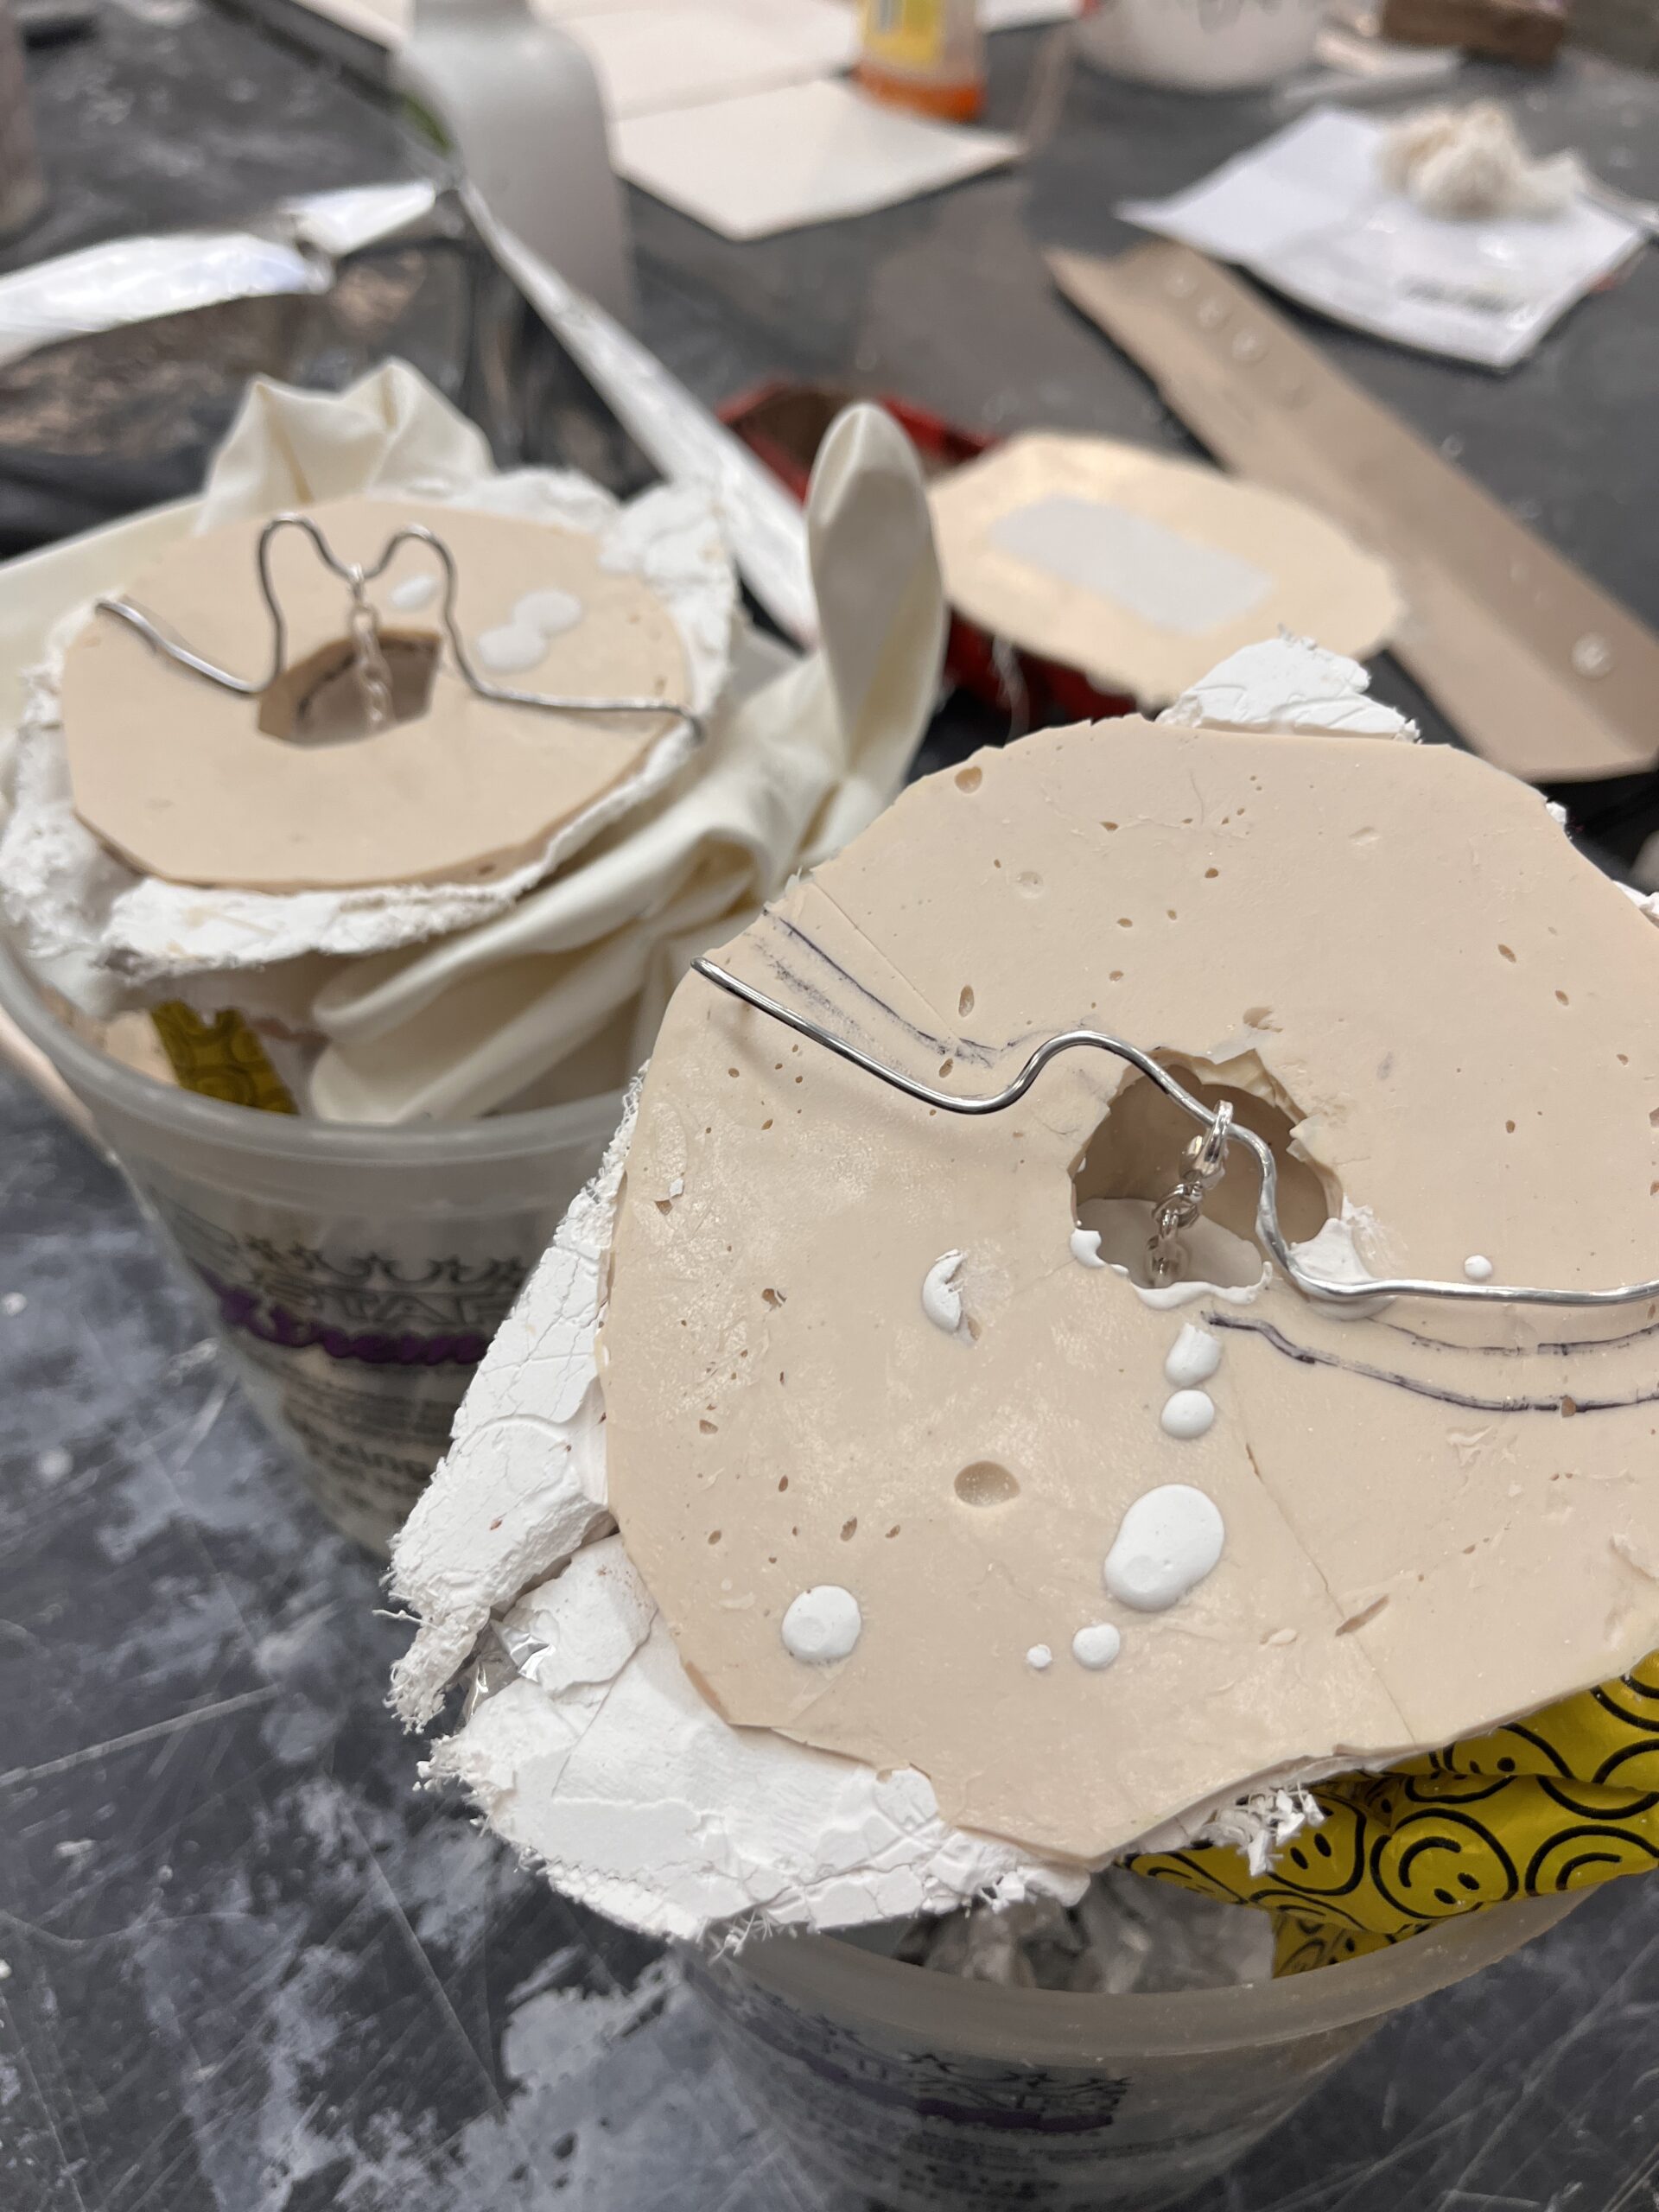
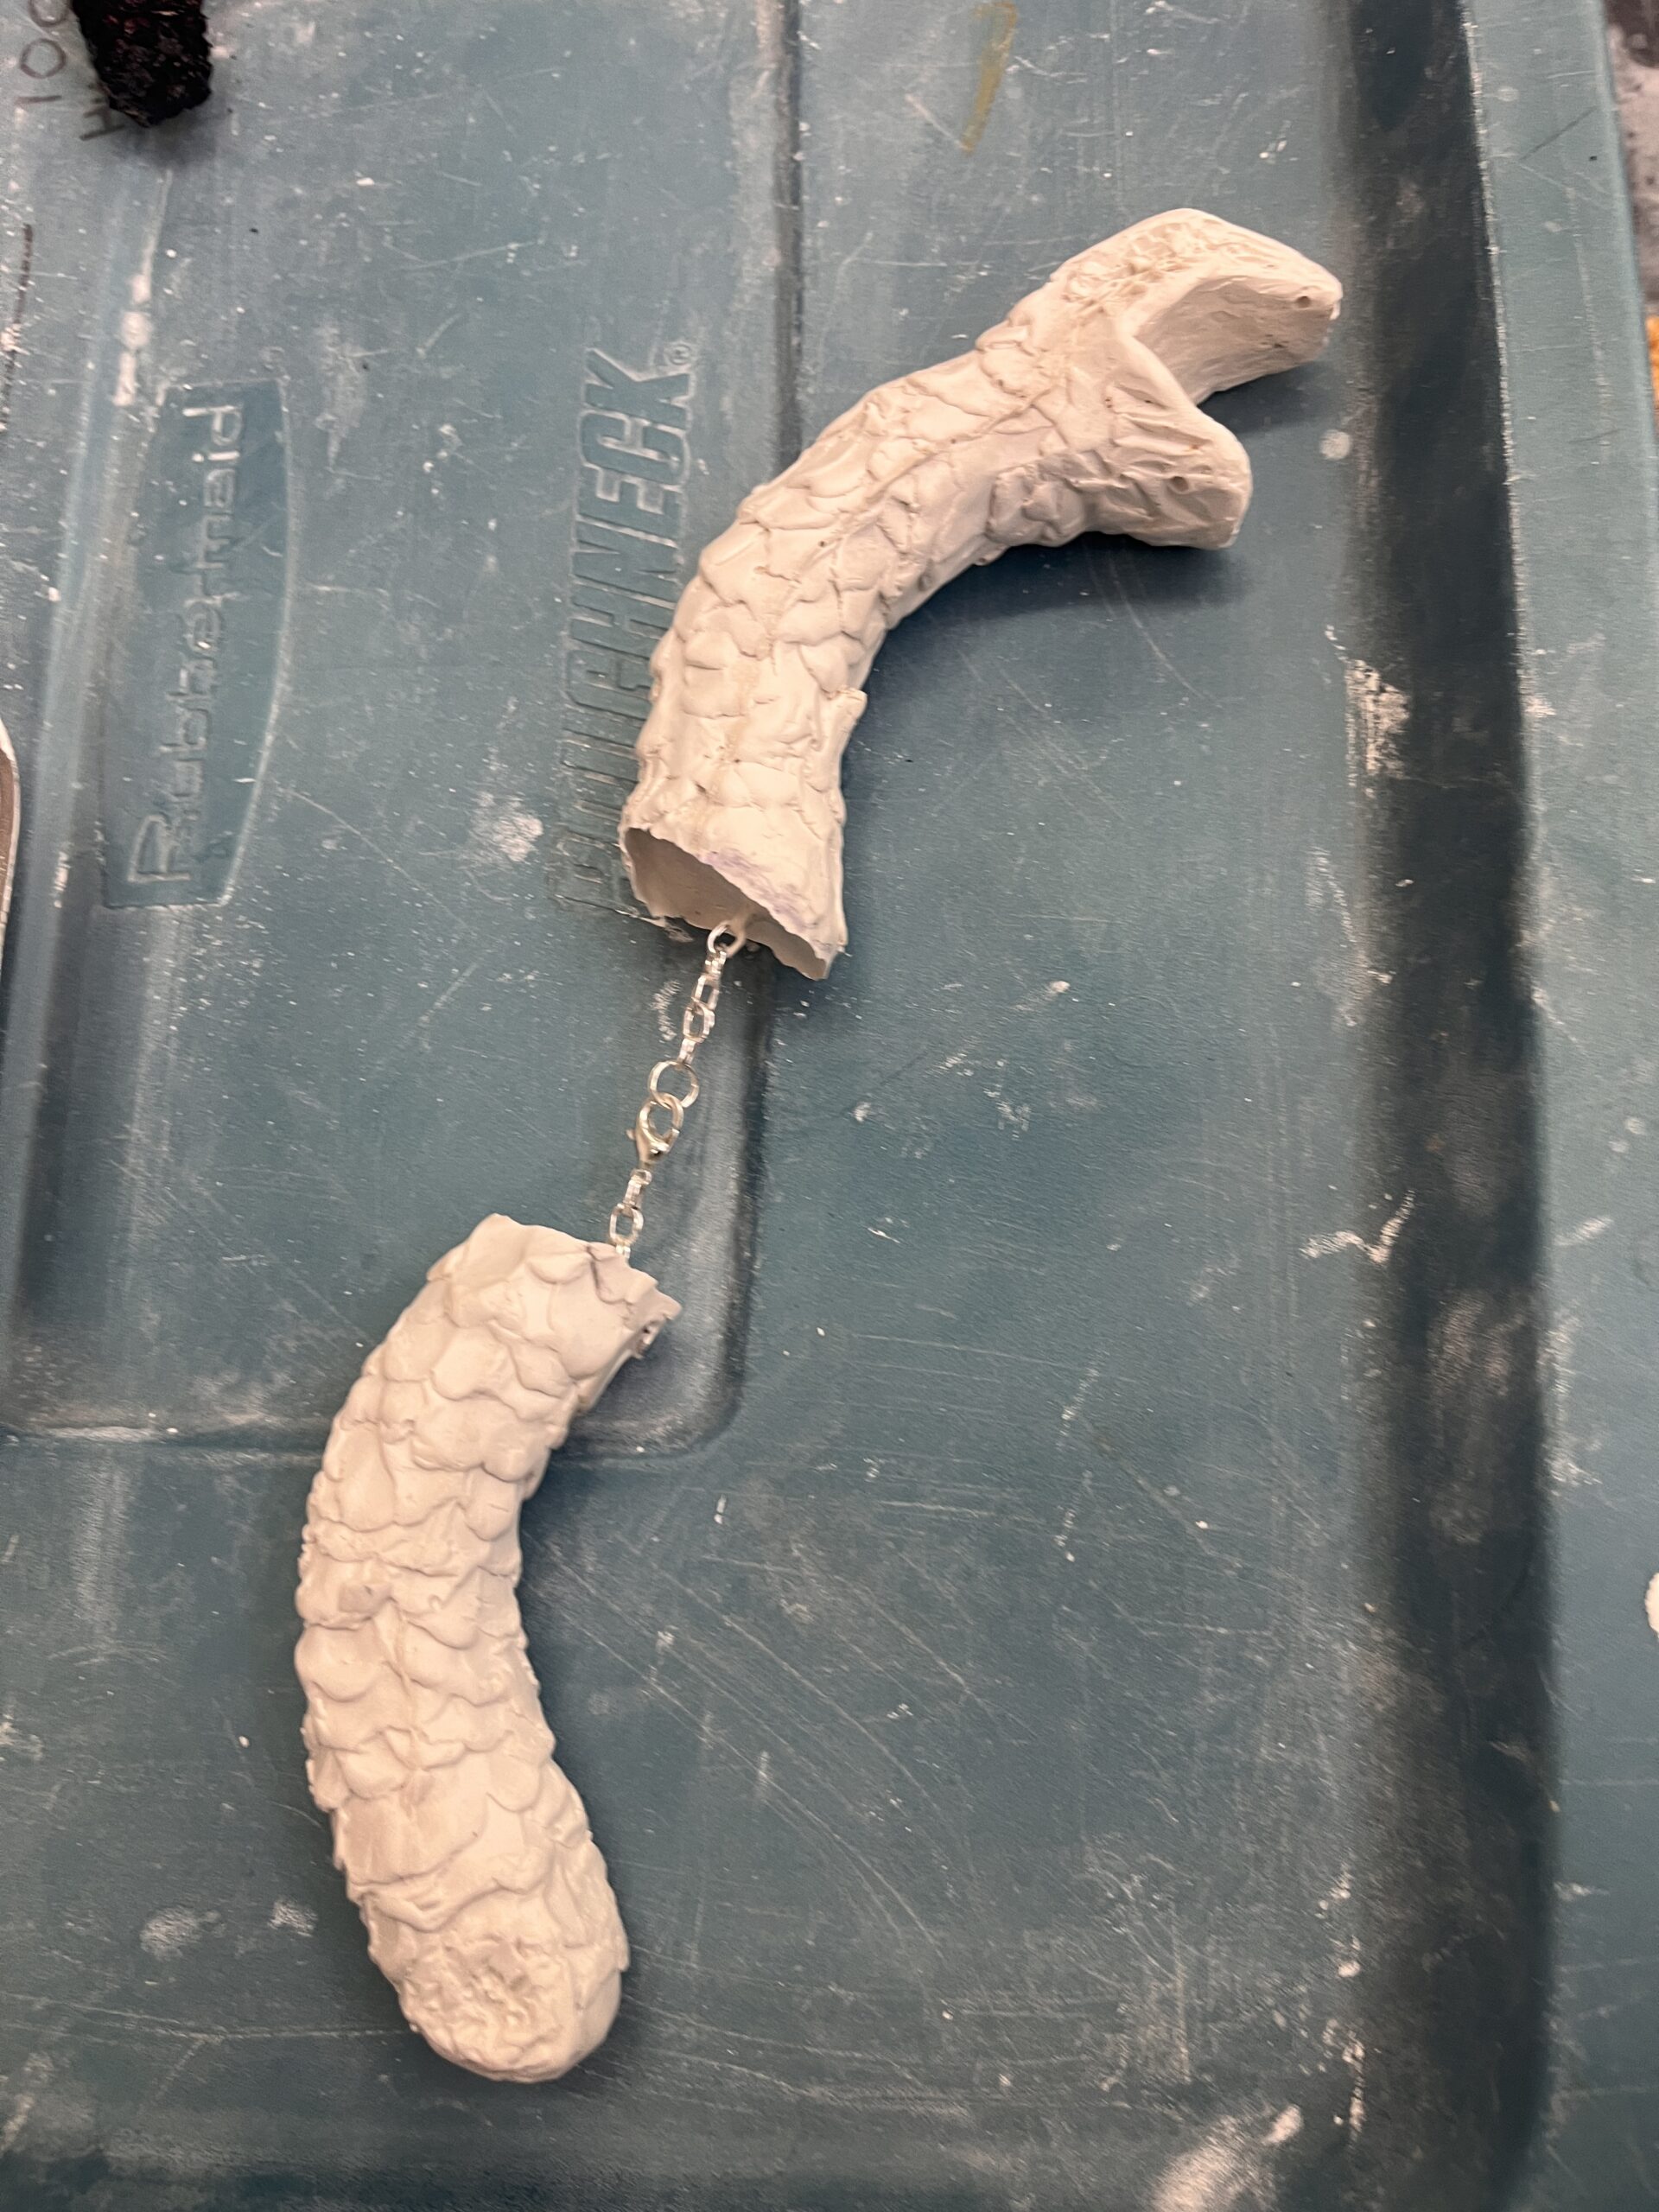
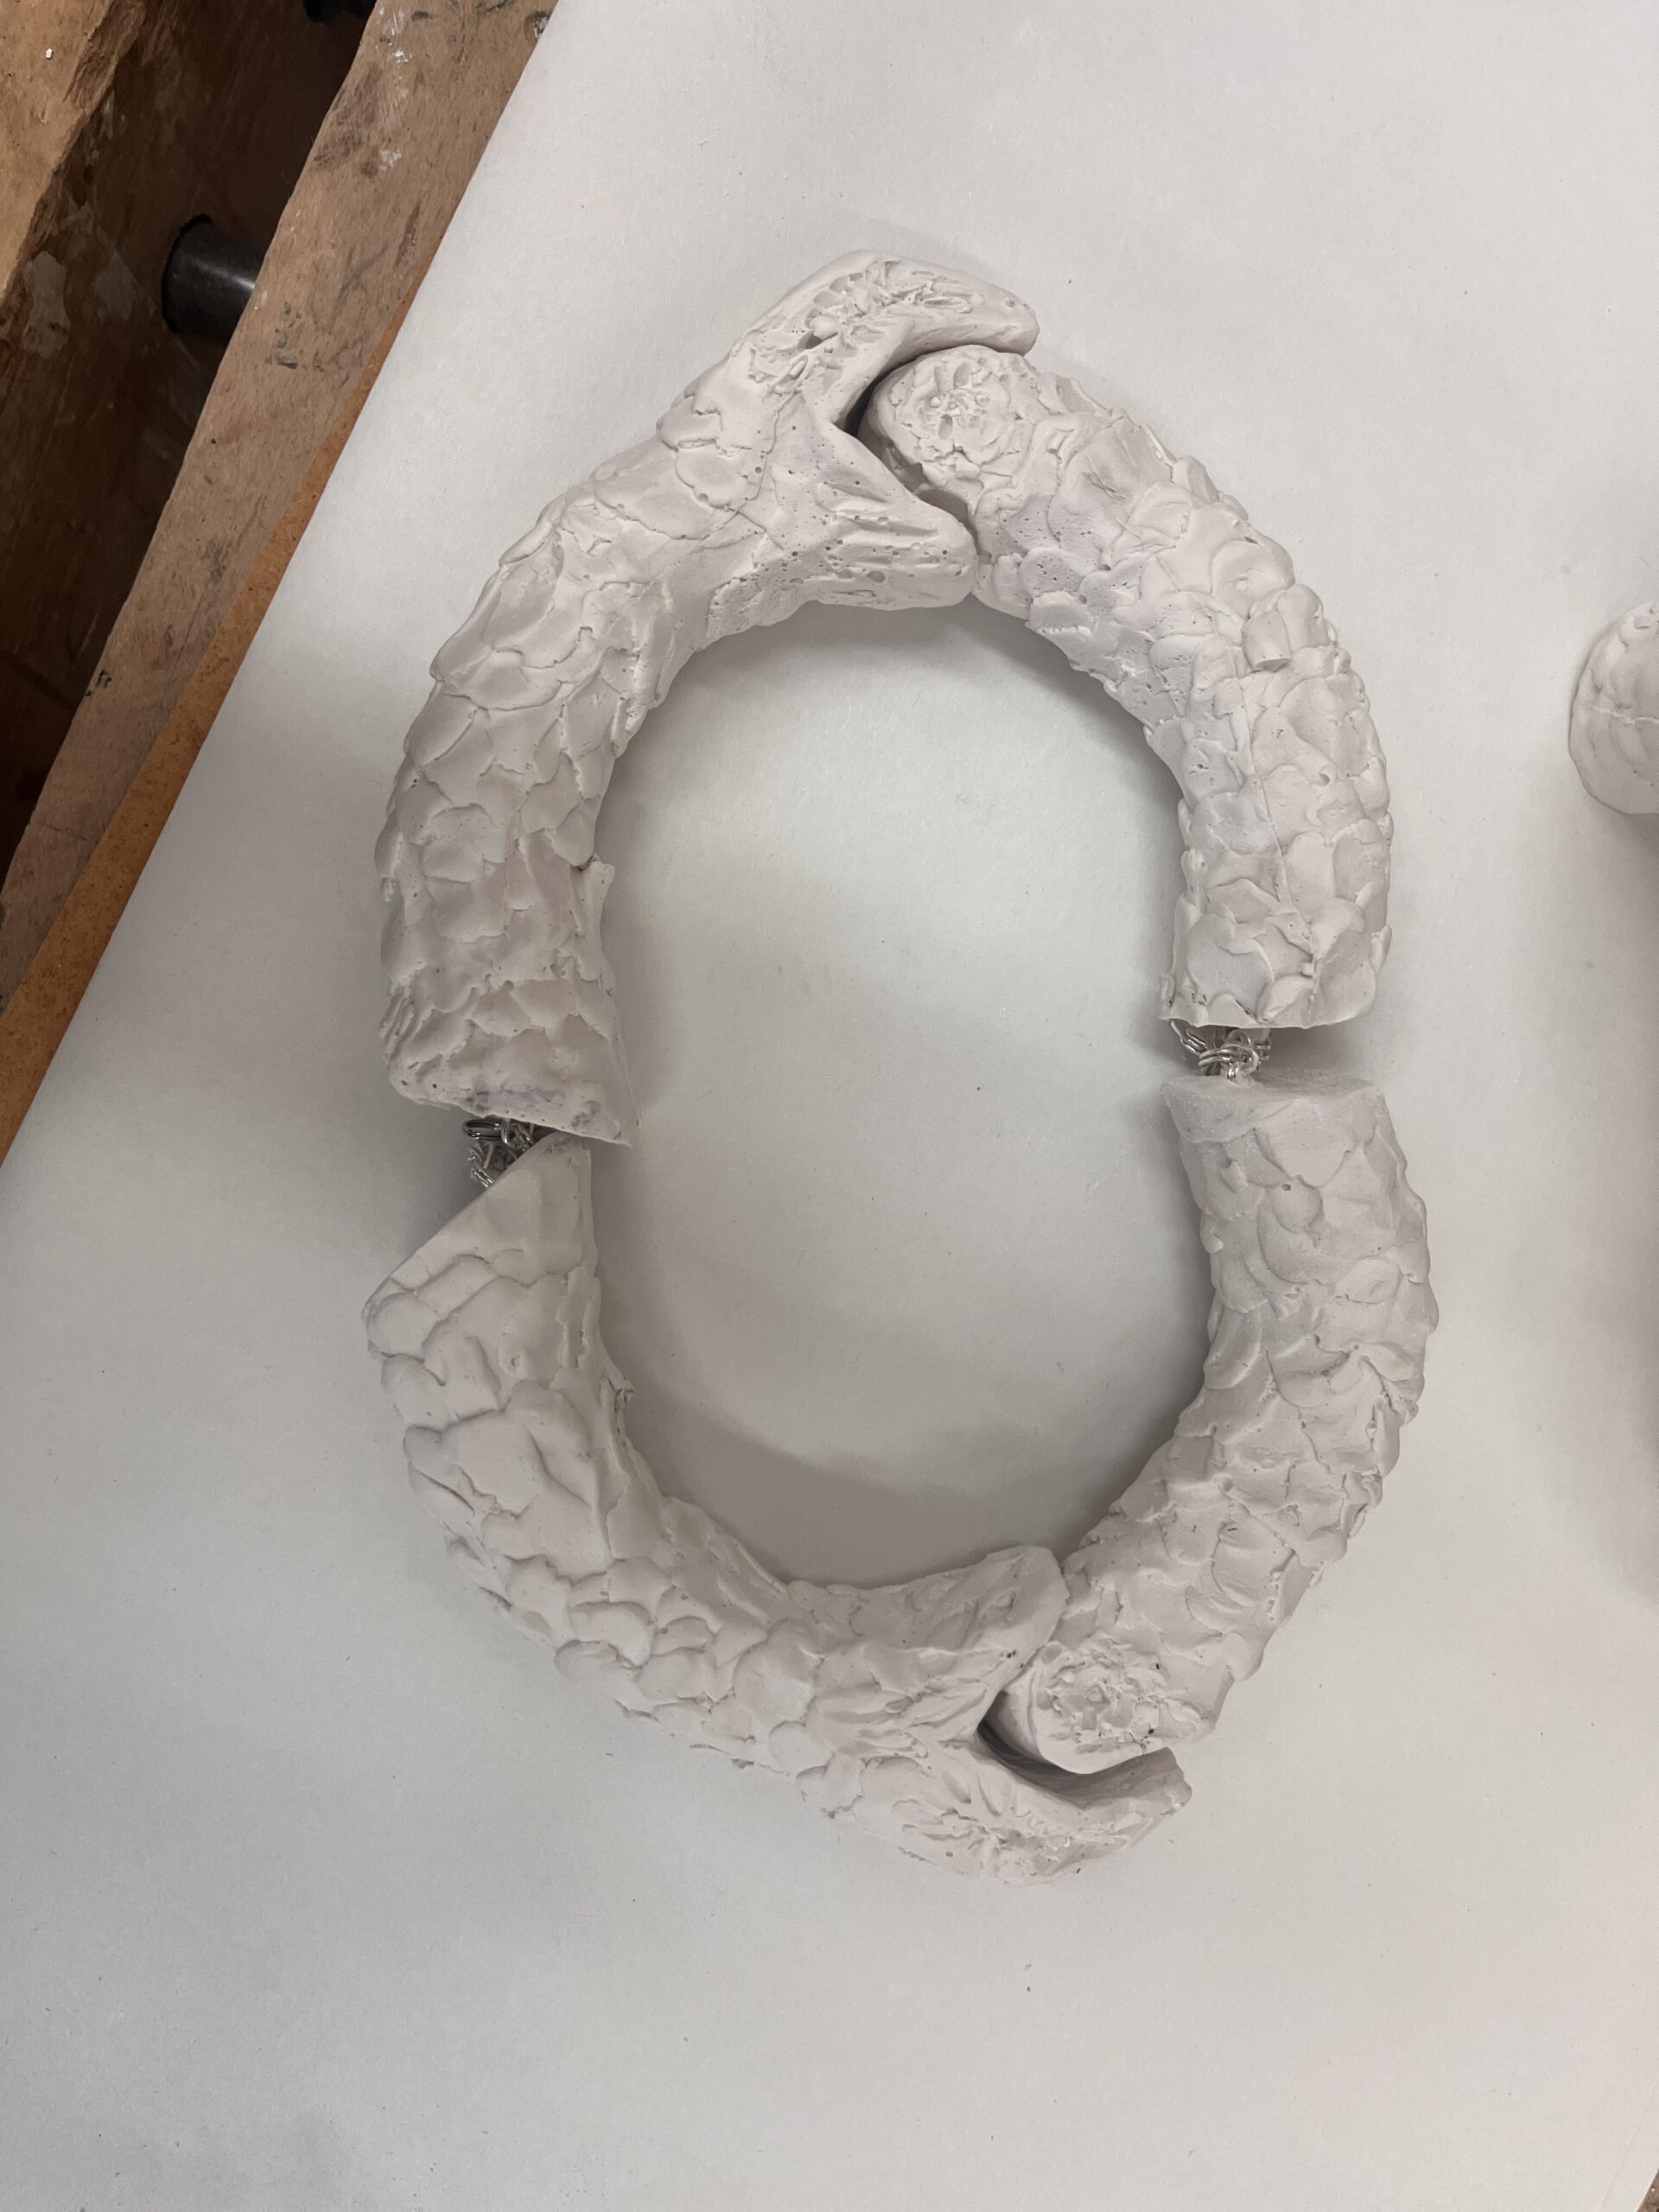
Mother mold and pouring with joinery: Because of the shape of my object, it it was going to be difficult to remove the snake from the mold, which meant I’d need to cut the rubber mold to remove the hydrocal plaster object. That meant a mother model would be needed to ensure that the object would be held in place for subsequent pours. Later I even ended using a bit of tape to keep the rubber nice and tight along the seem (see below). After my first few pours I added the jewelry joinery and had to have that delicately placed so as to ensure it didn’t go too deep/too shallow or too close to the edges of the inside of the snake body so as to create any weaknesses while wearing the collar. So, I used wire to keep the joinery centered and at the appropriate depth while the hydrocal plaster dried.
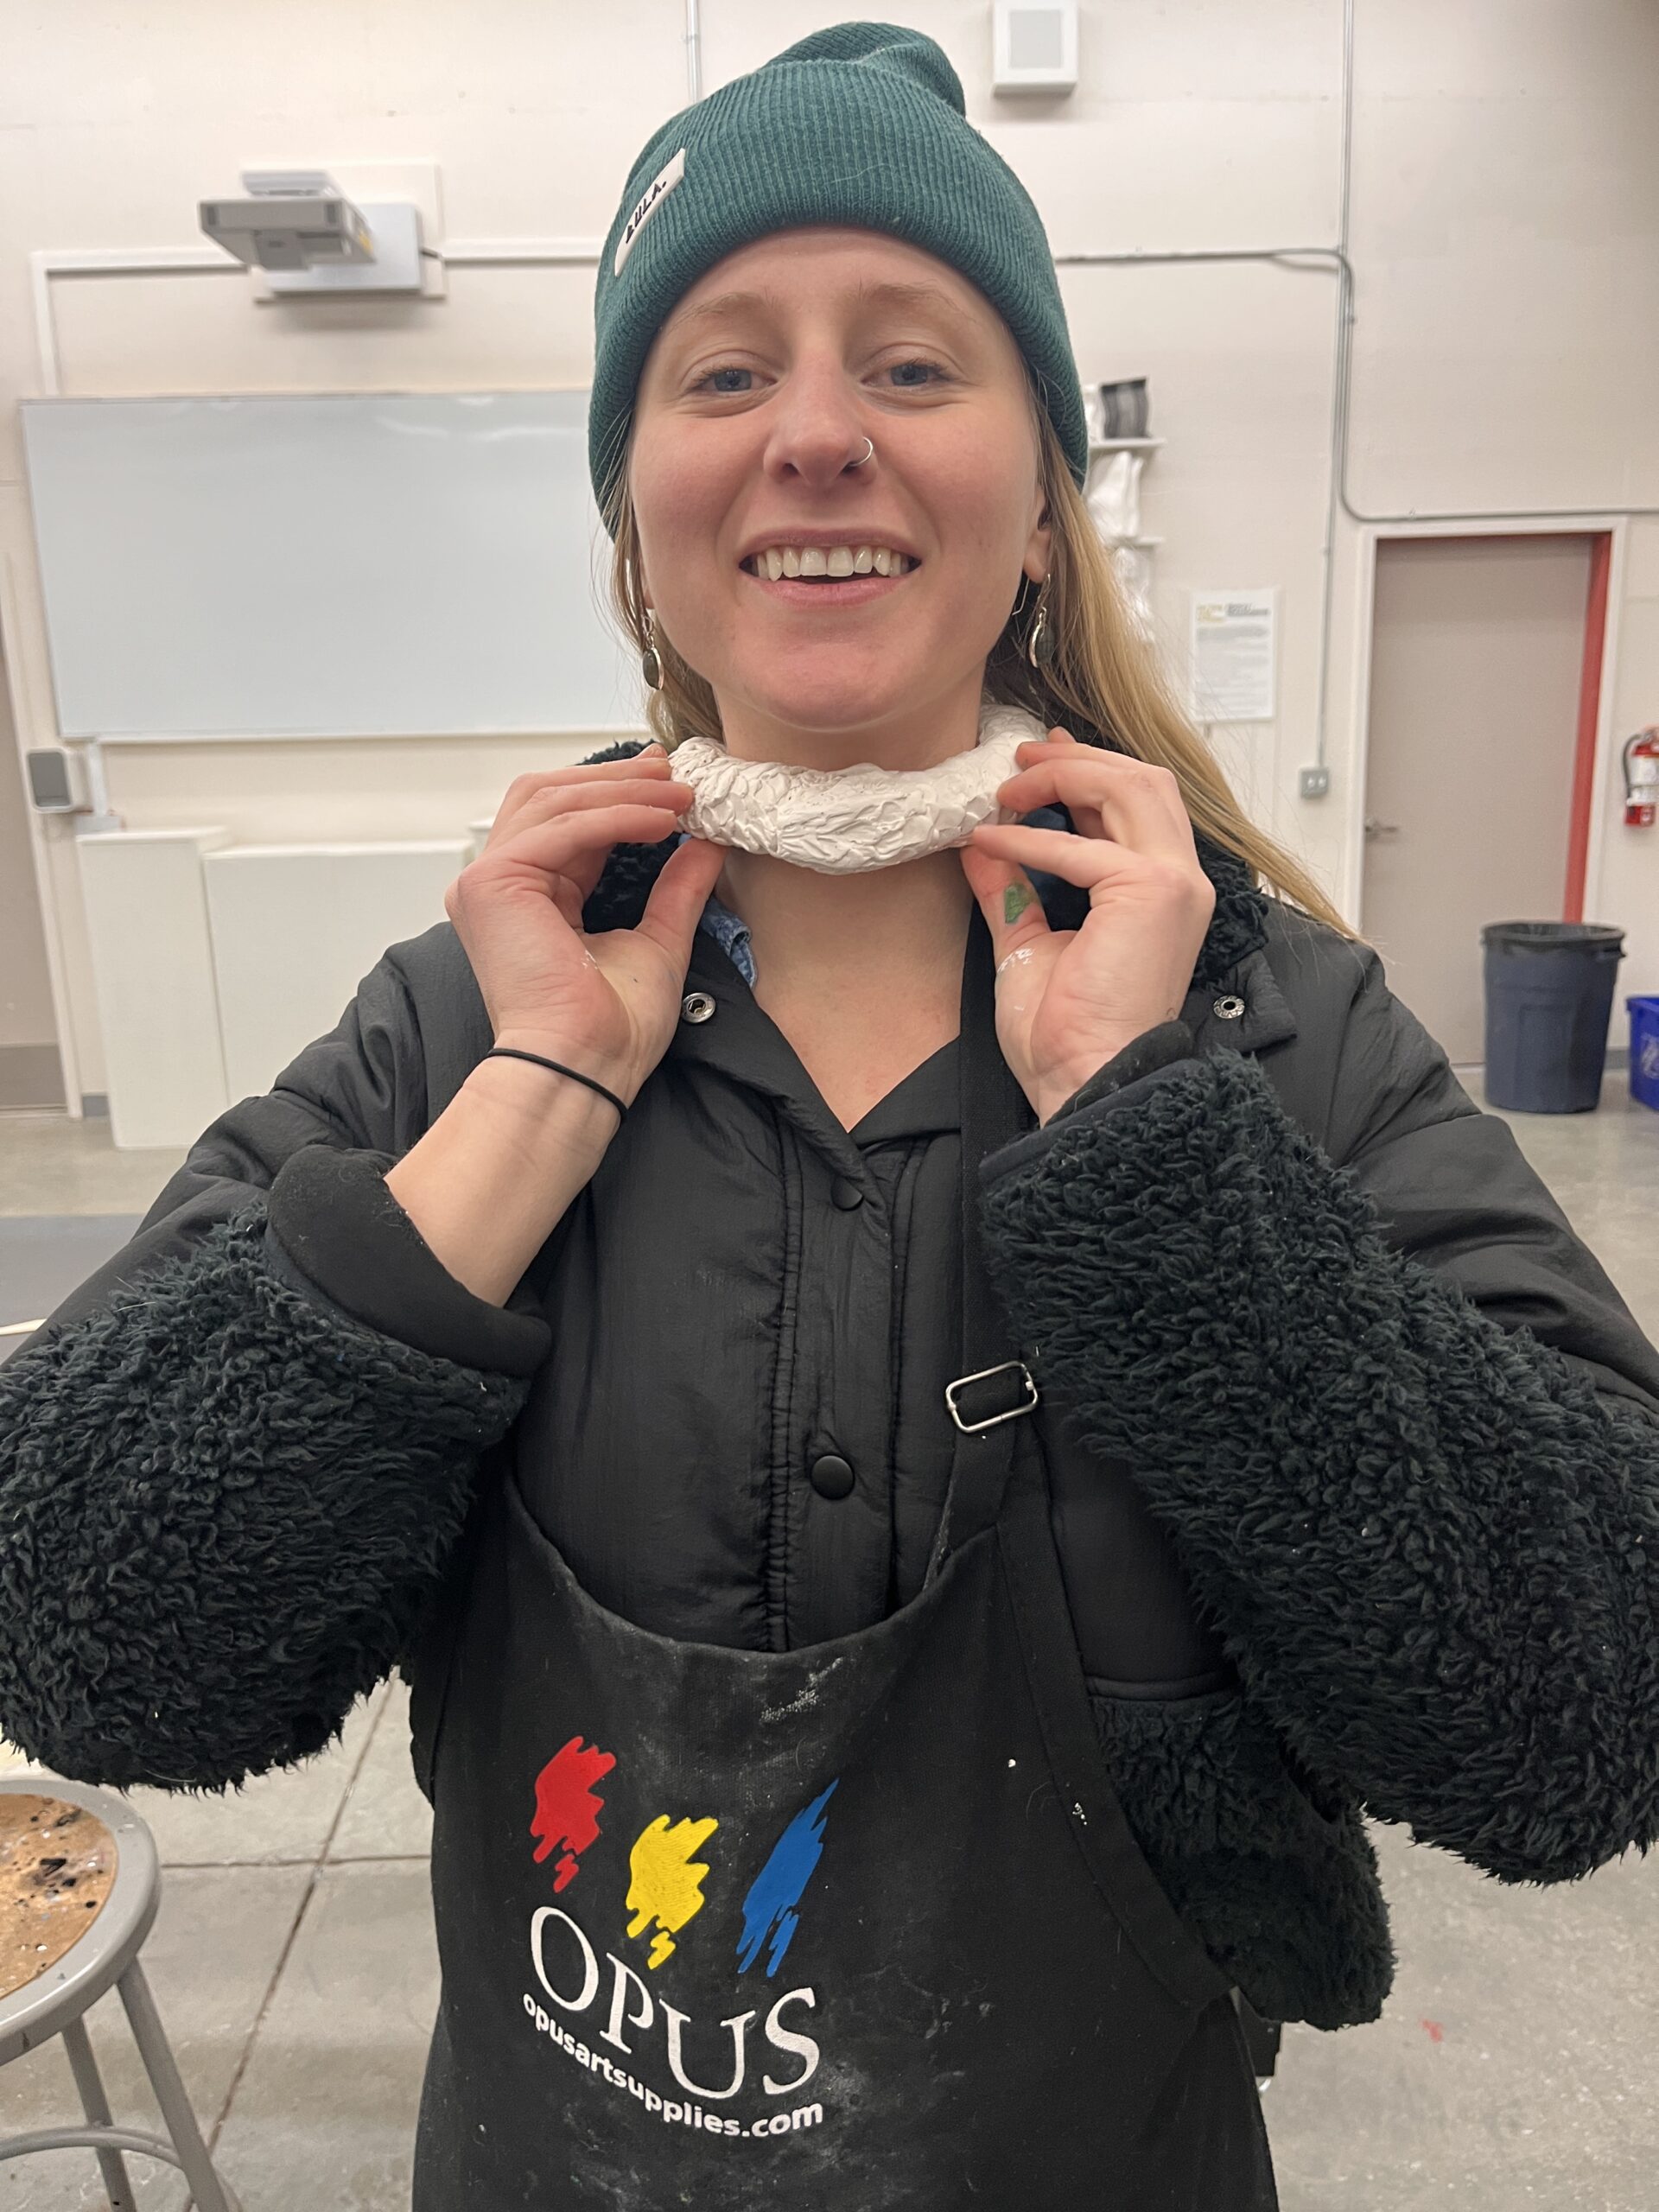
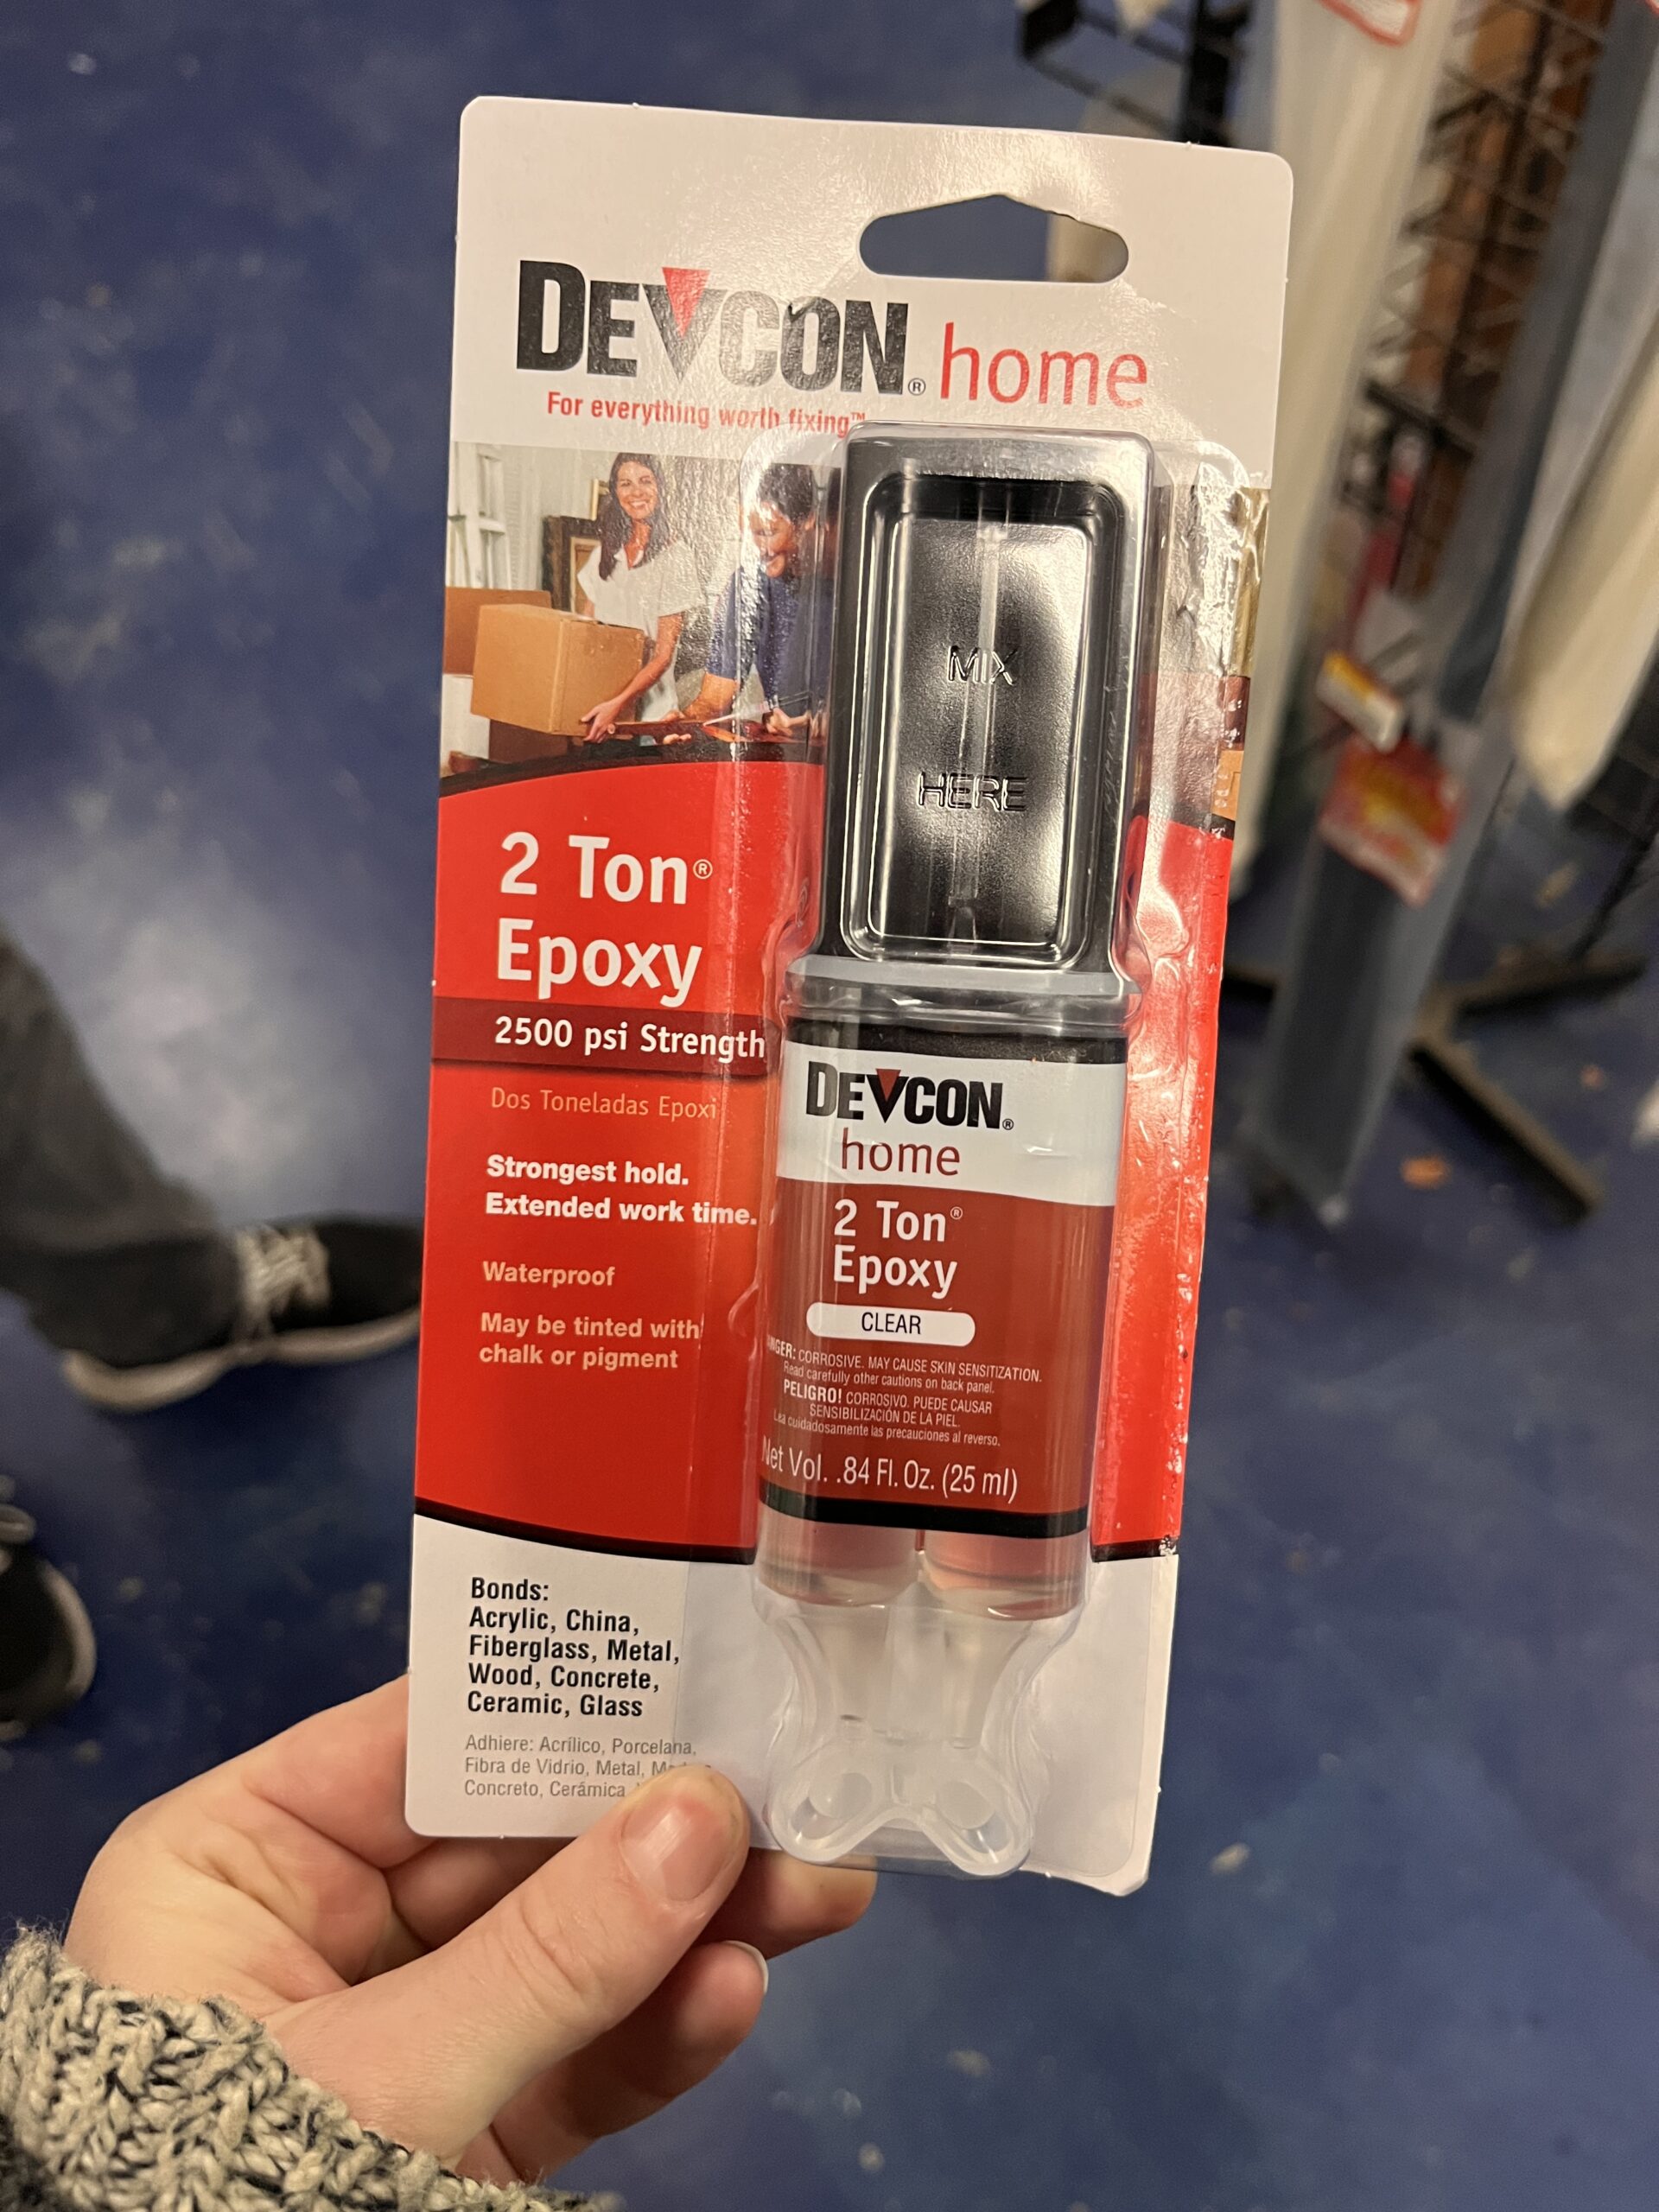
The collar fits! Next I needed to glue the tail into the mouth of the snake. I used an apoxy from Industrial plastics after doing some research online on what might work and chatting with Jeff. There is a delicate balance with the application to ensure that the glue doesn’t drip ad create a mark that I can’t paint over, while still applying enough that the two pieces will remain secure.

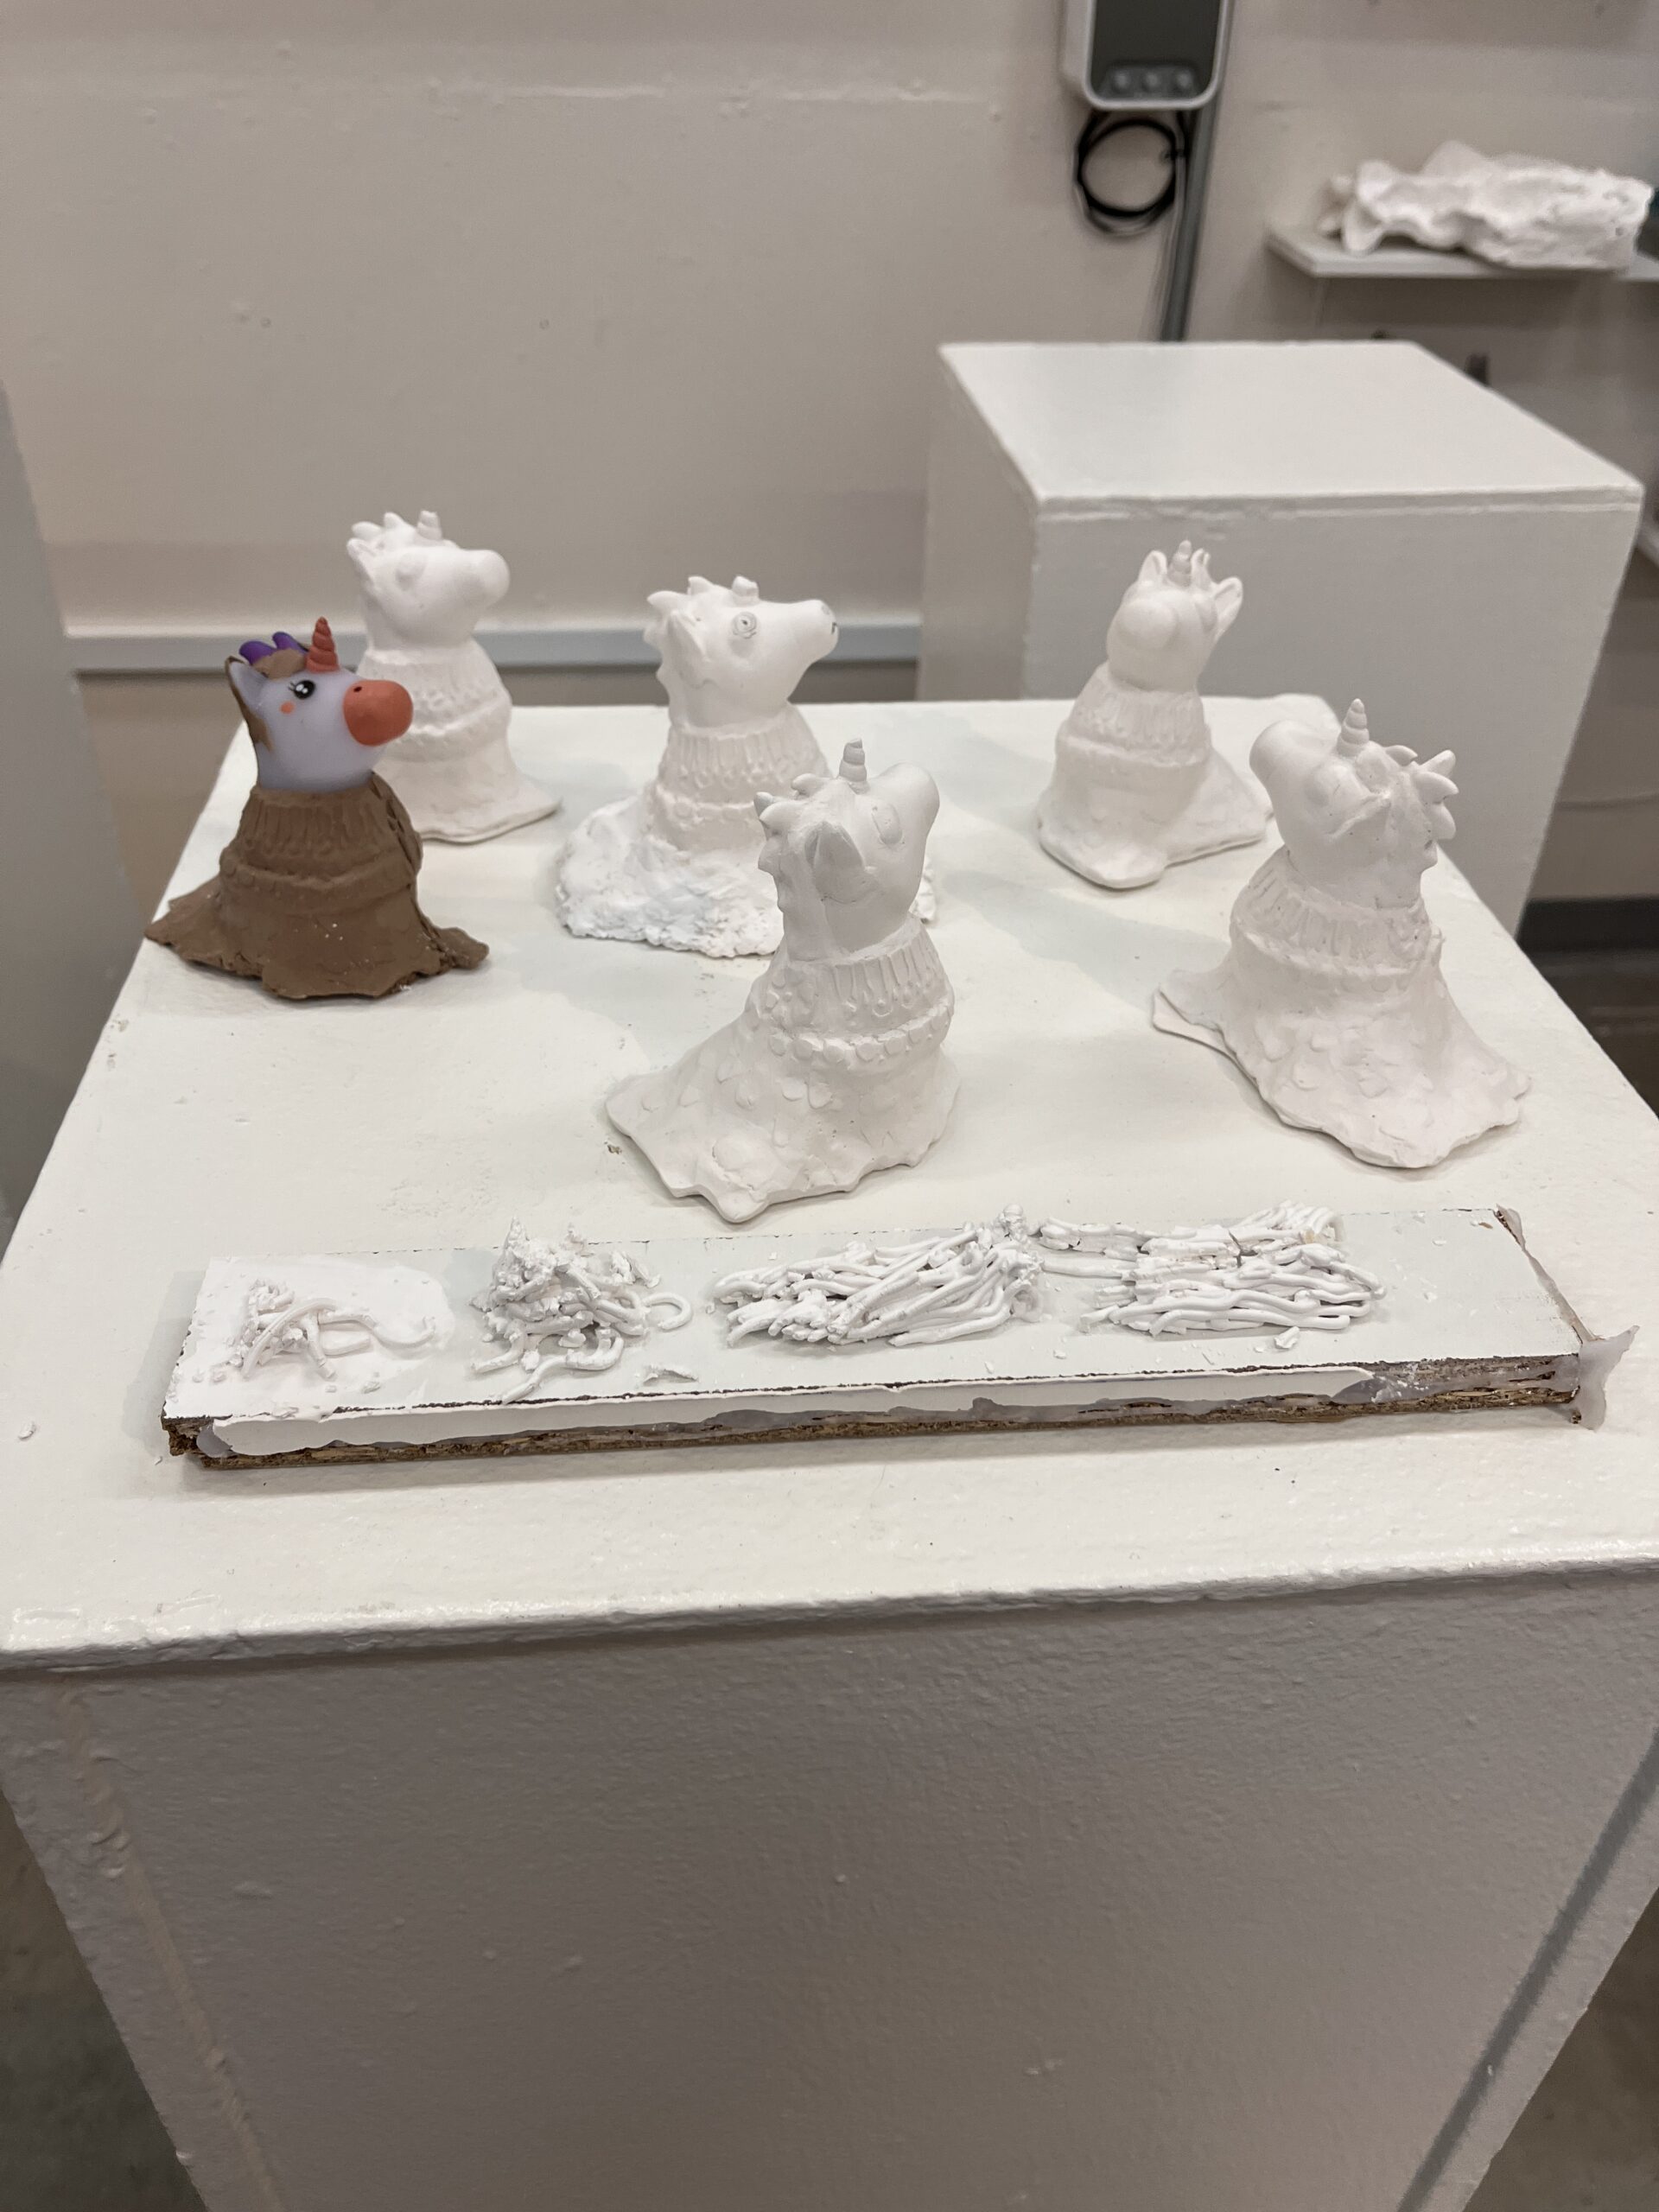
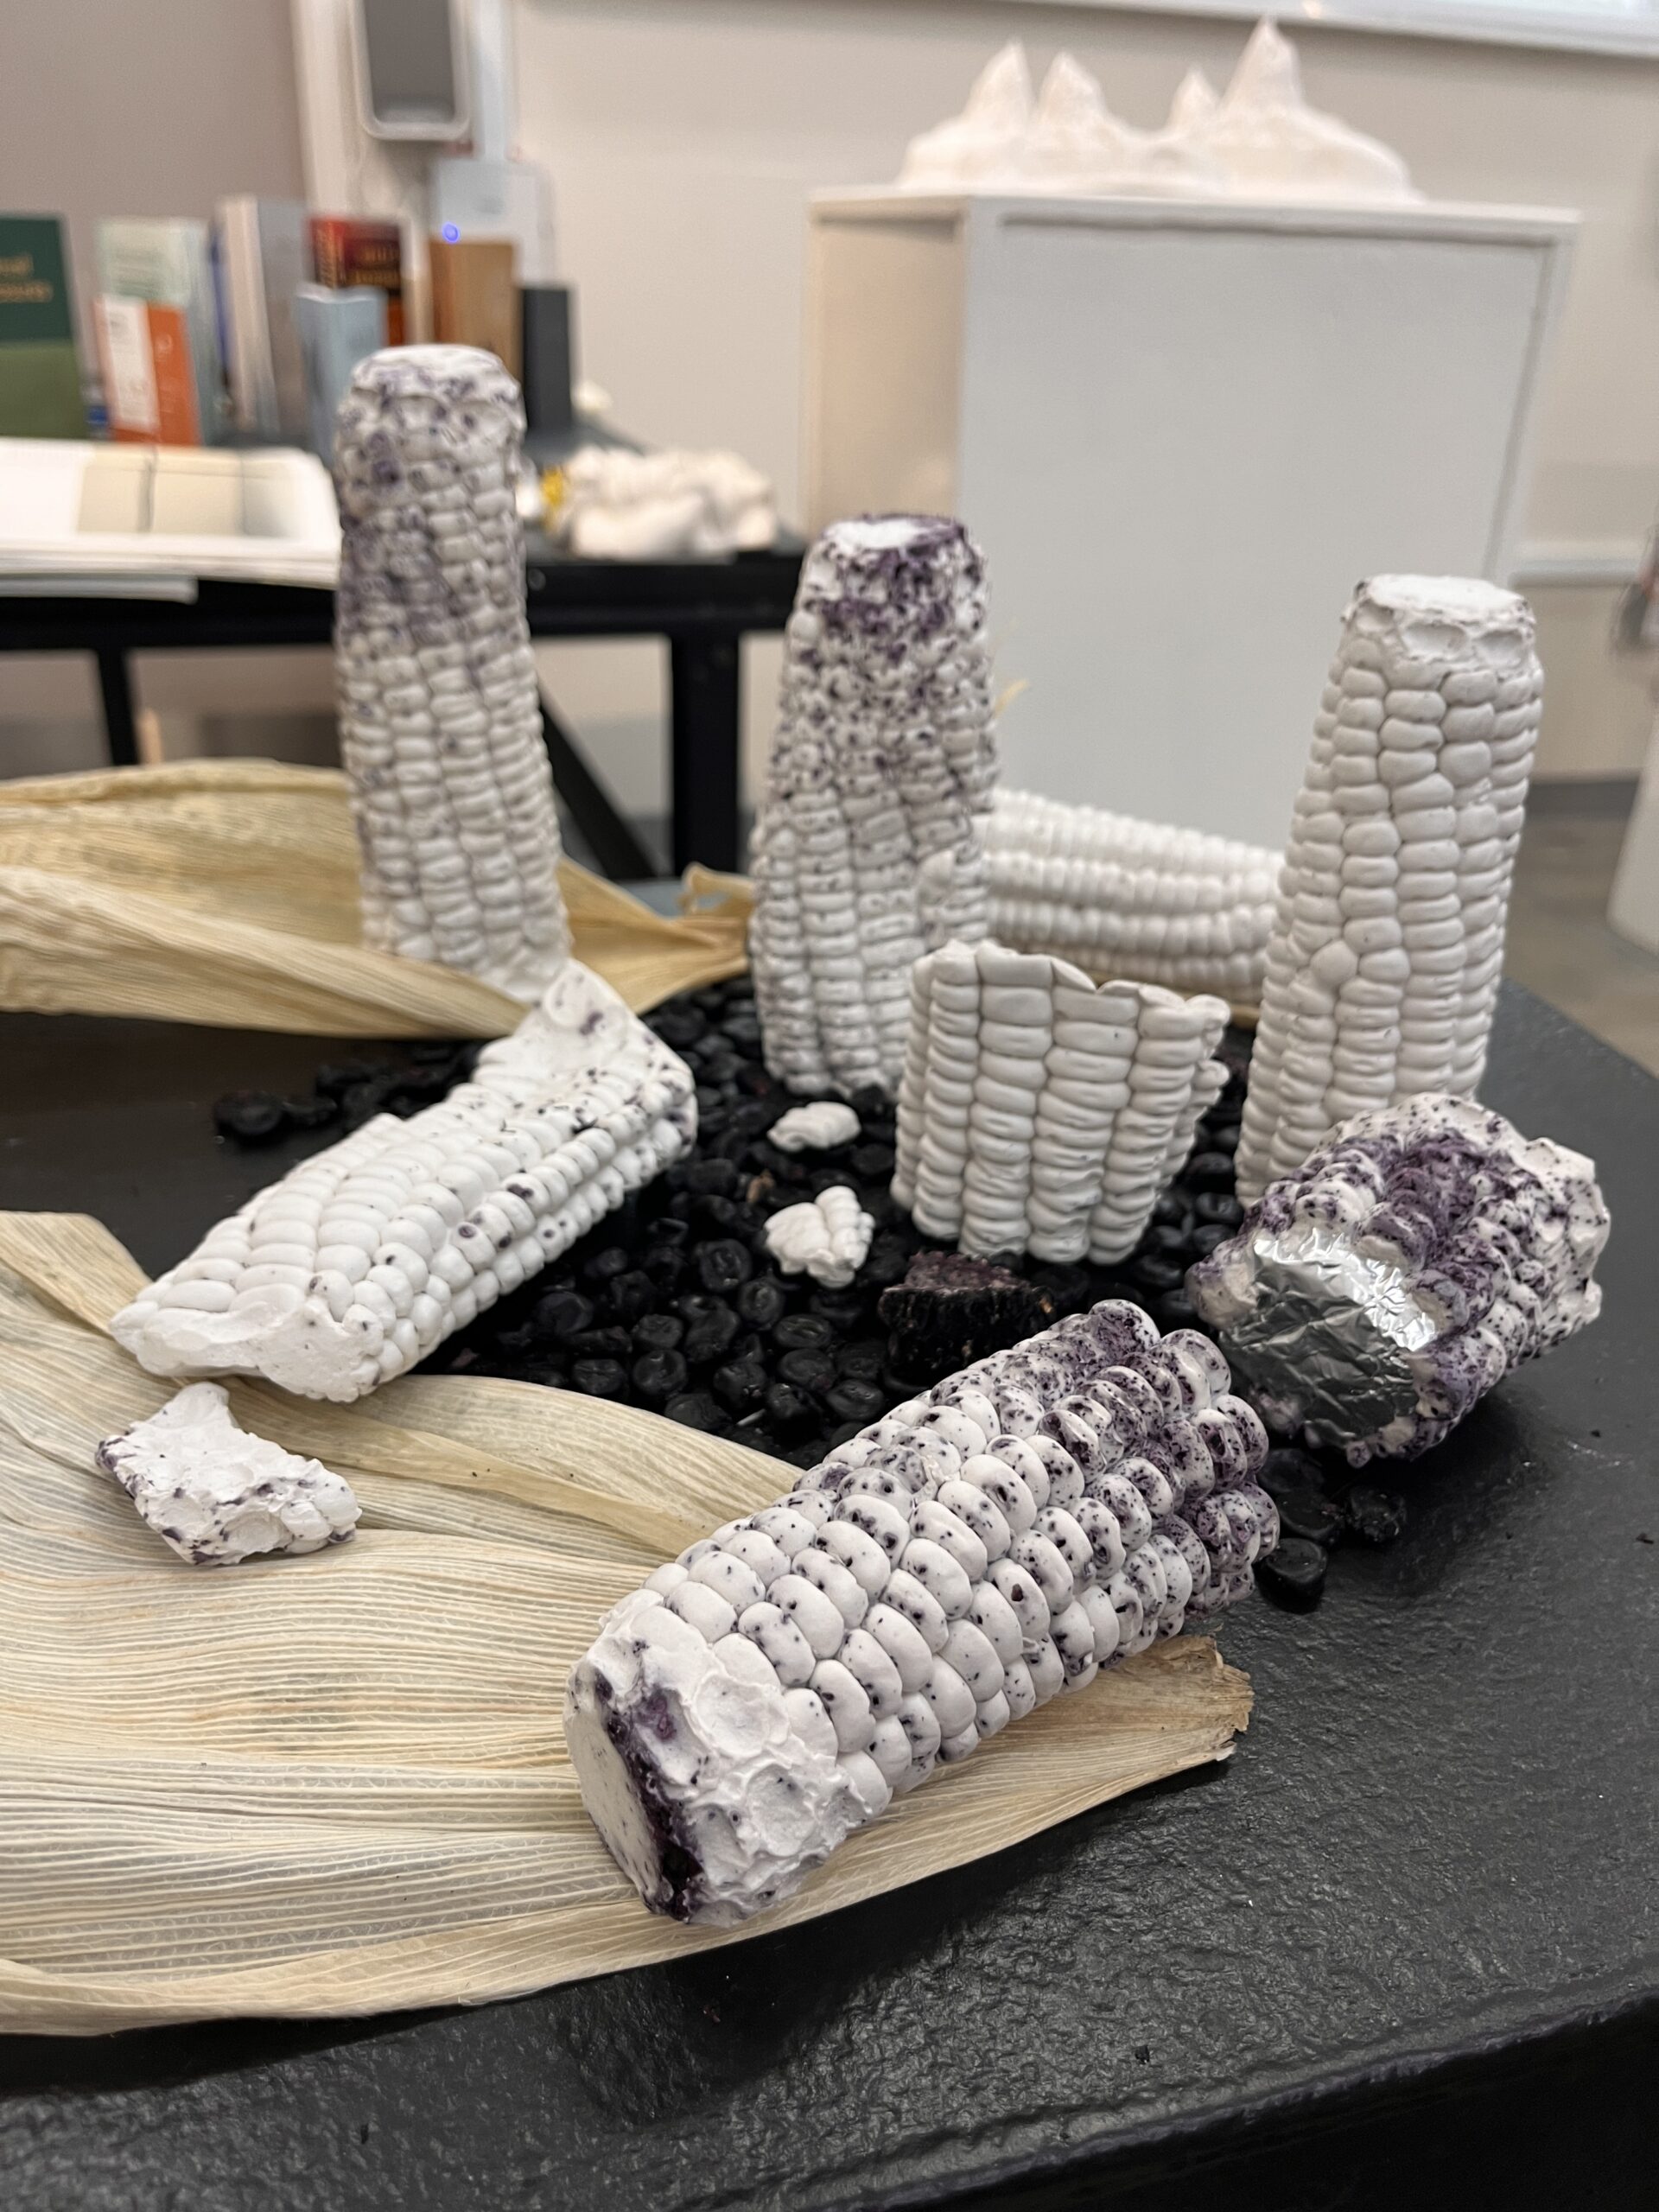
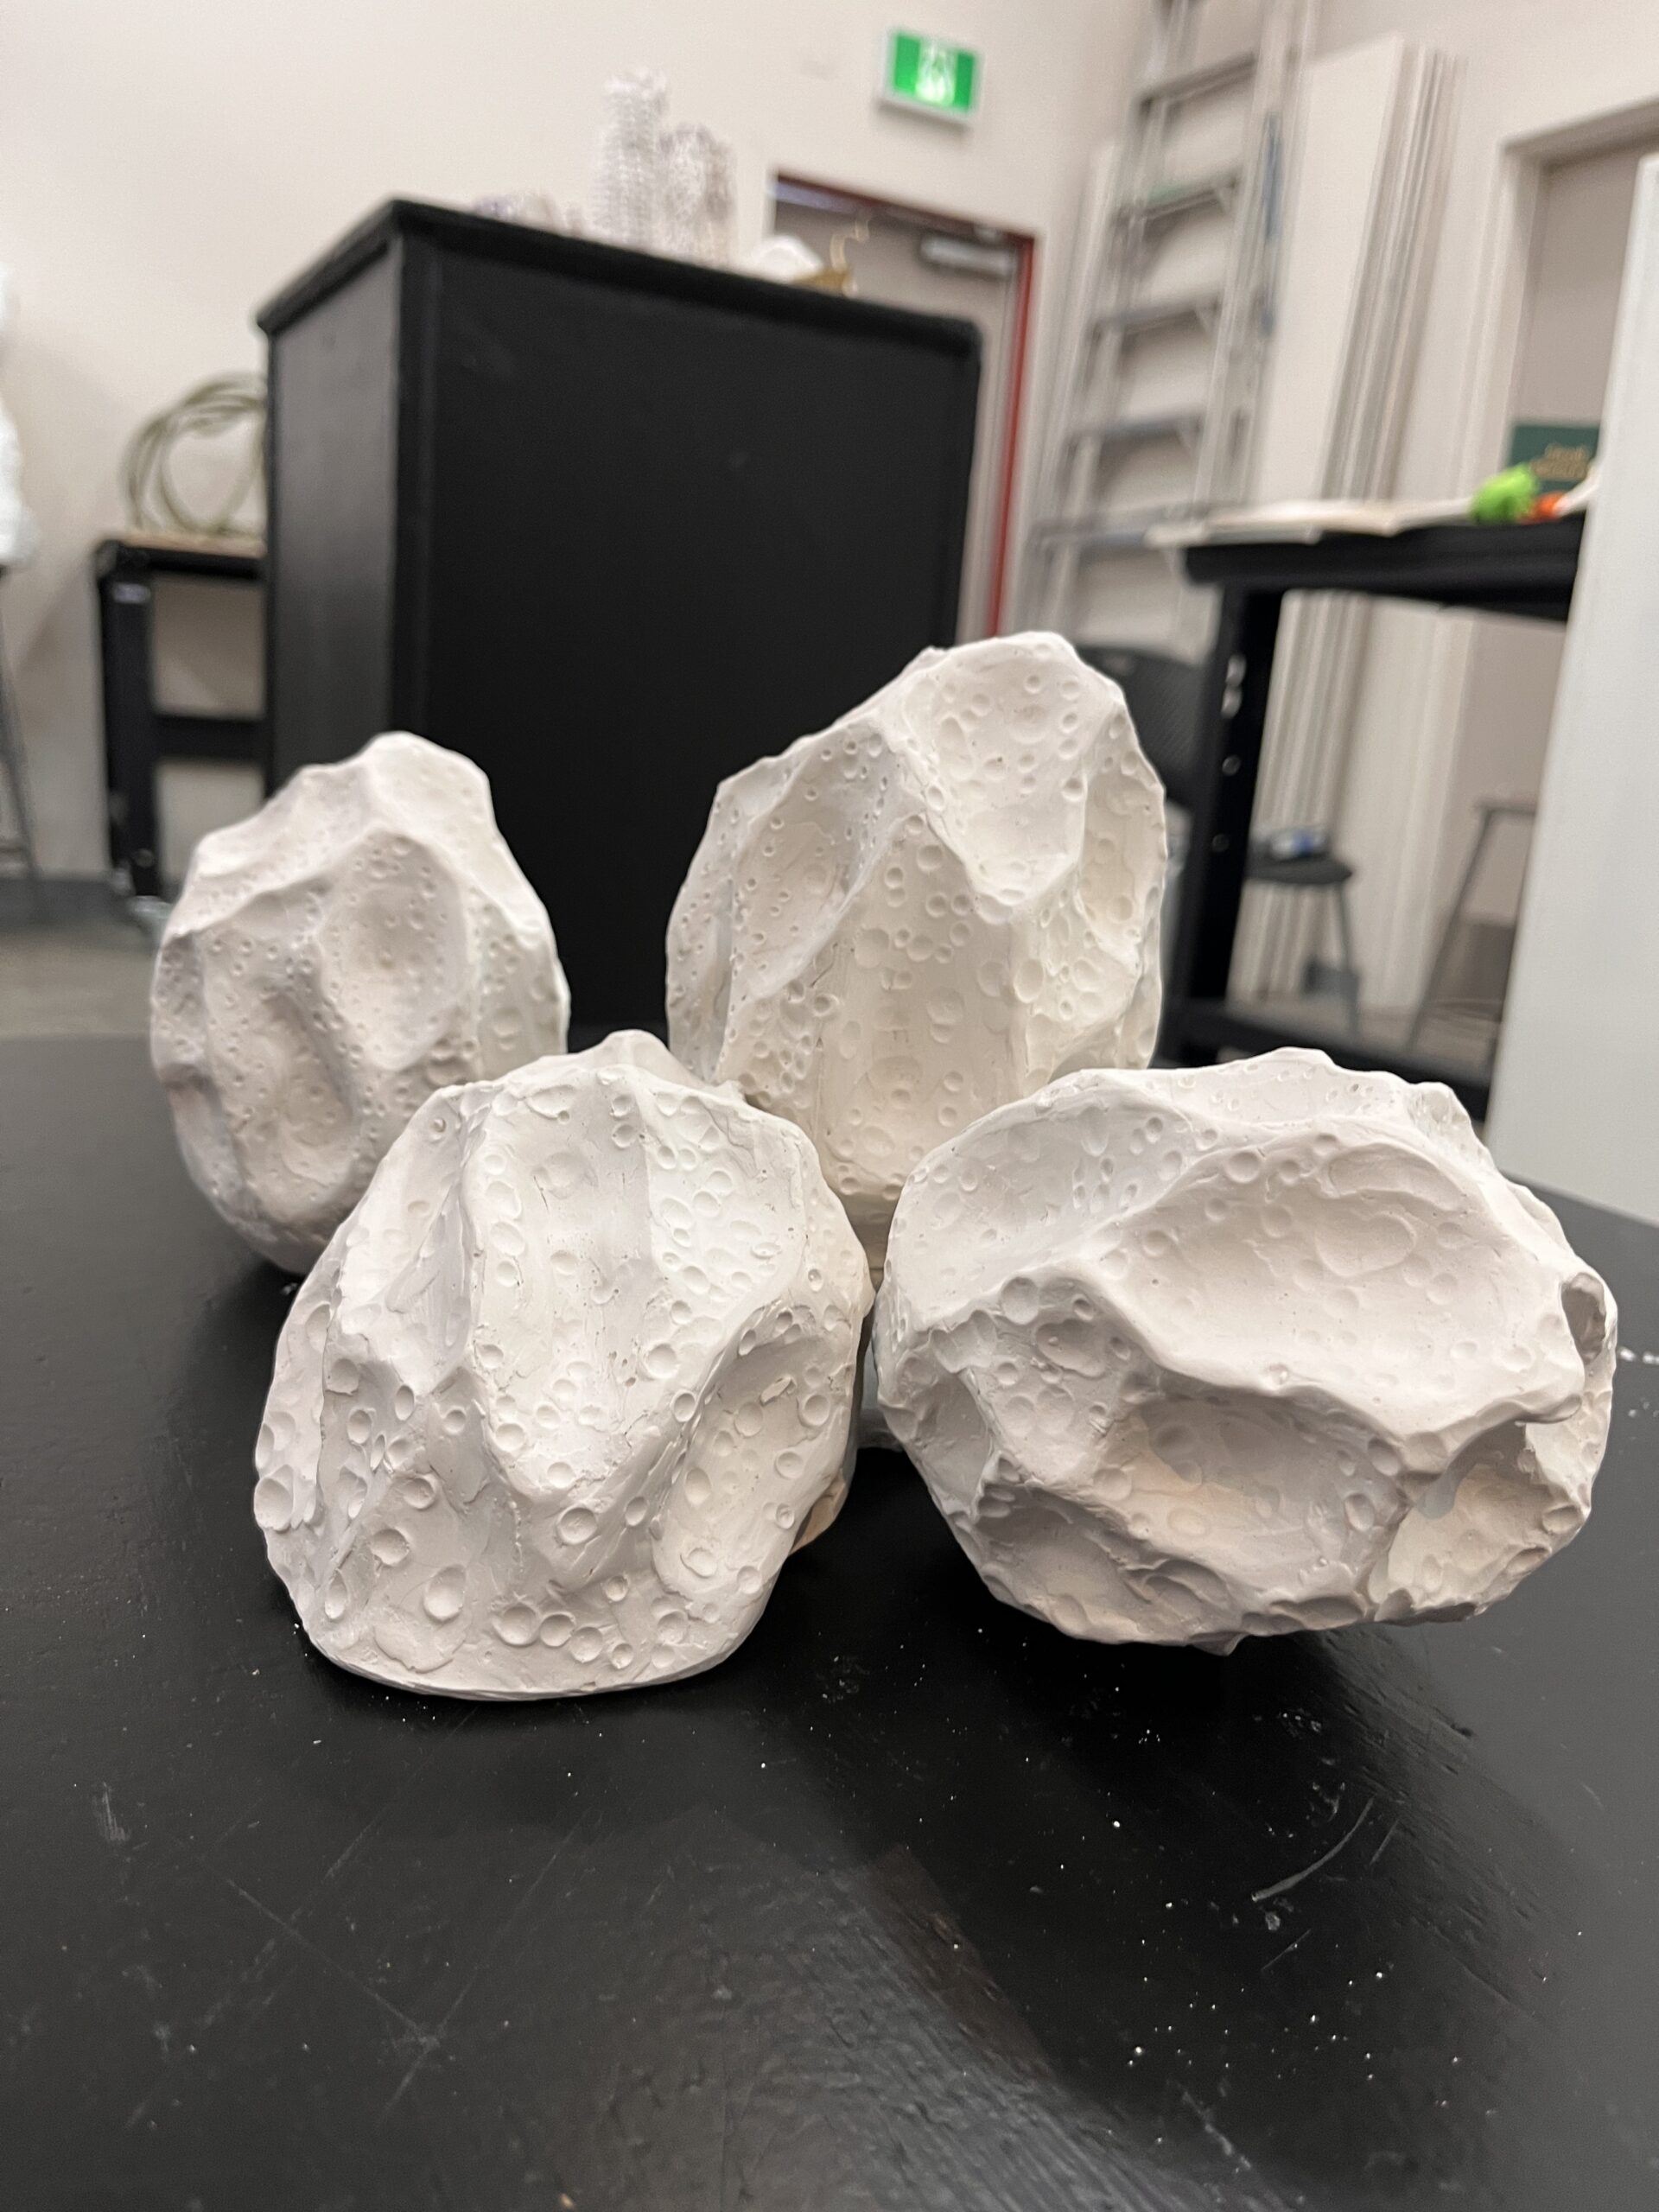
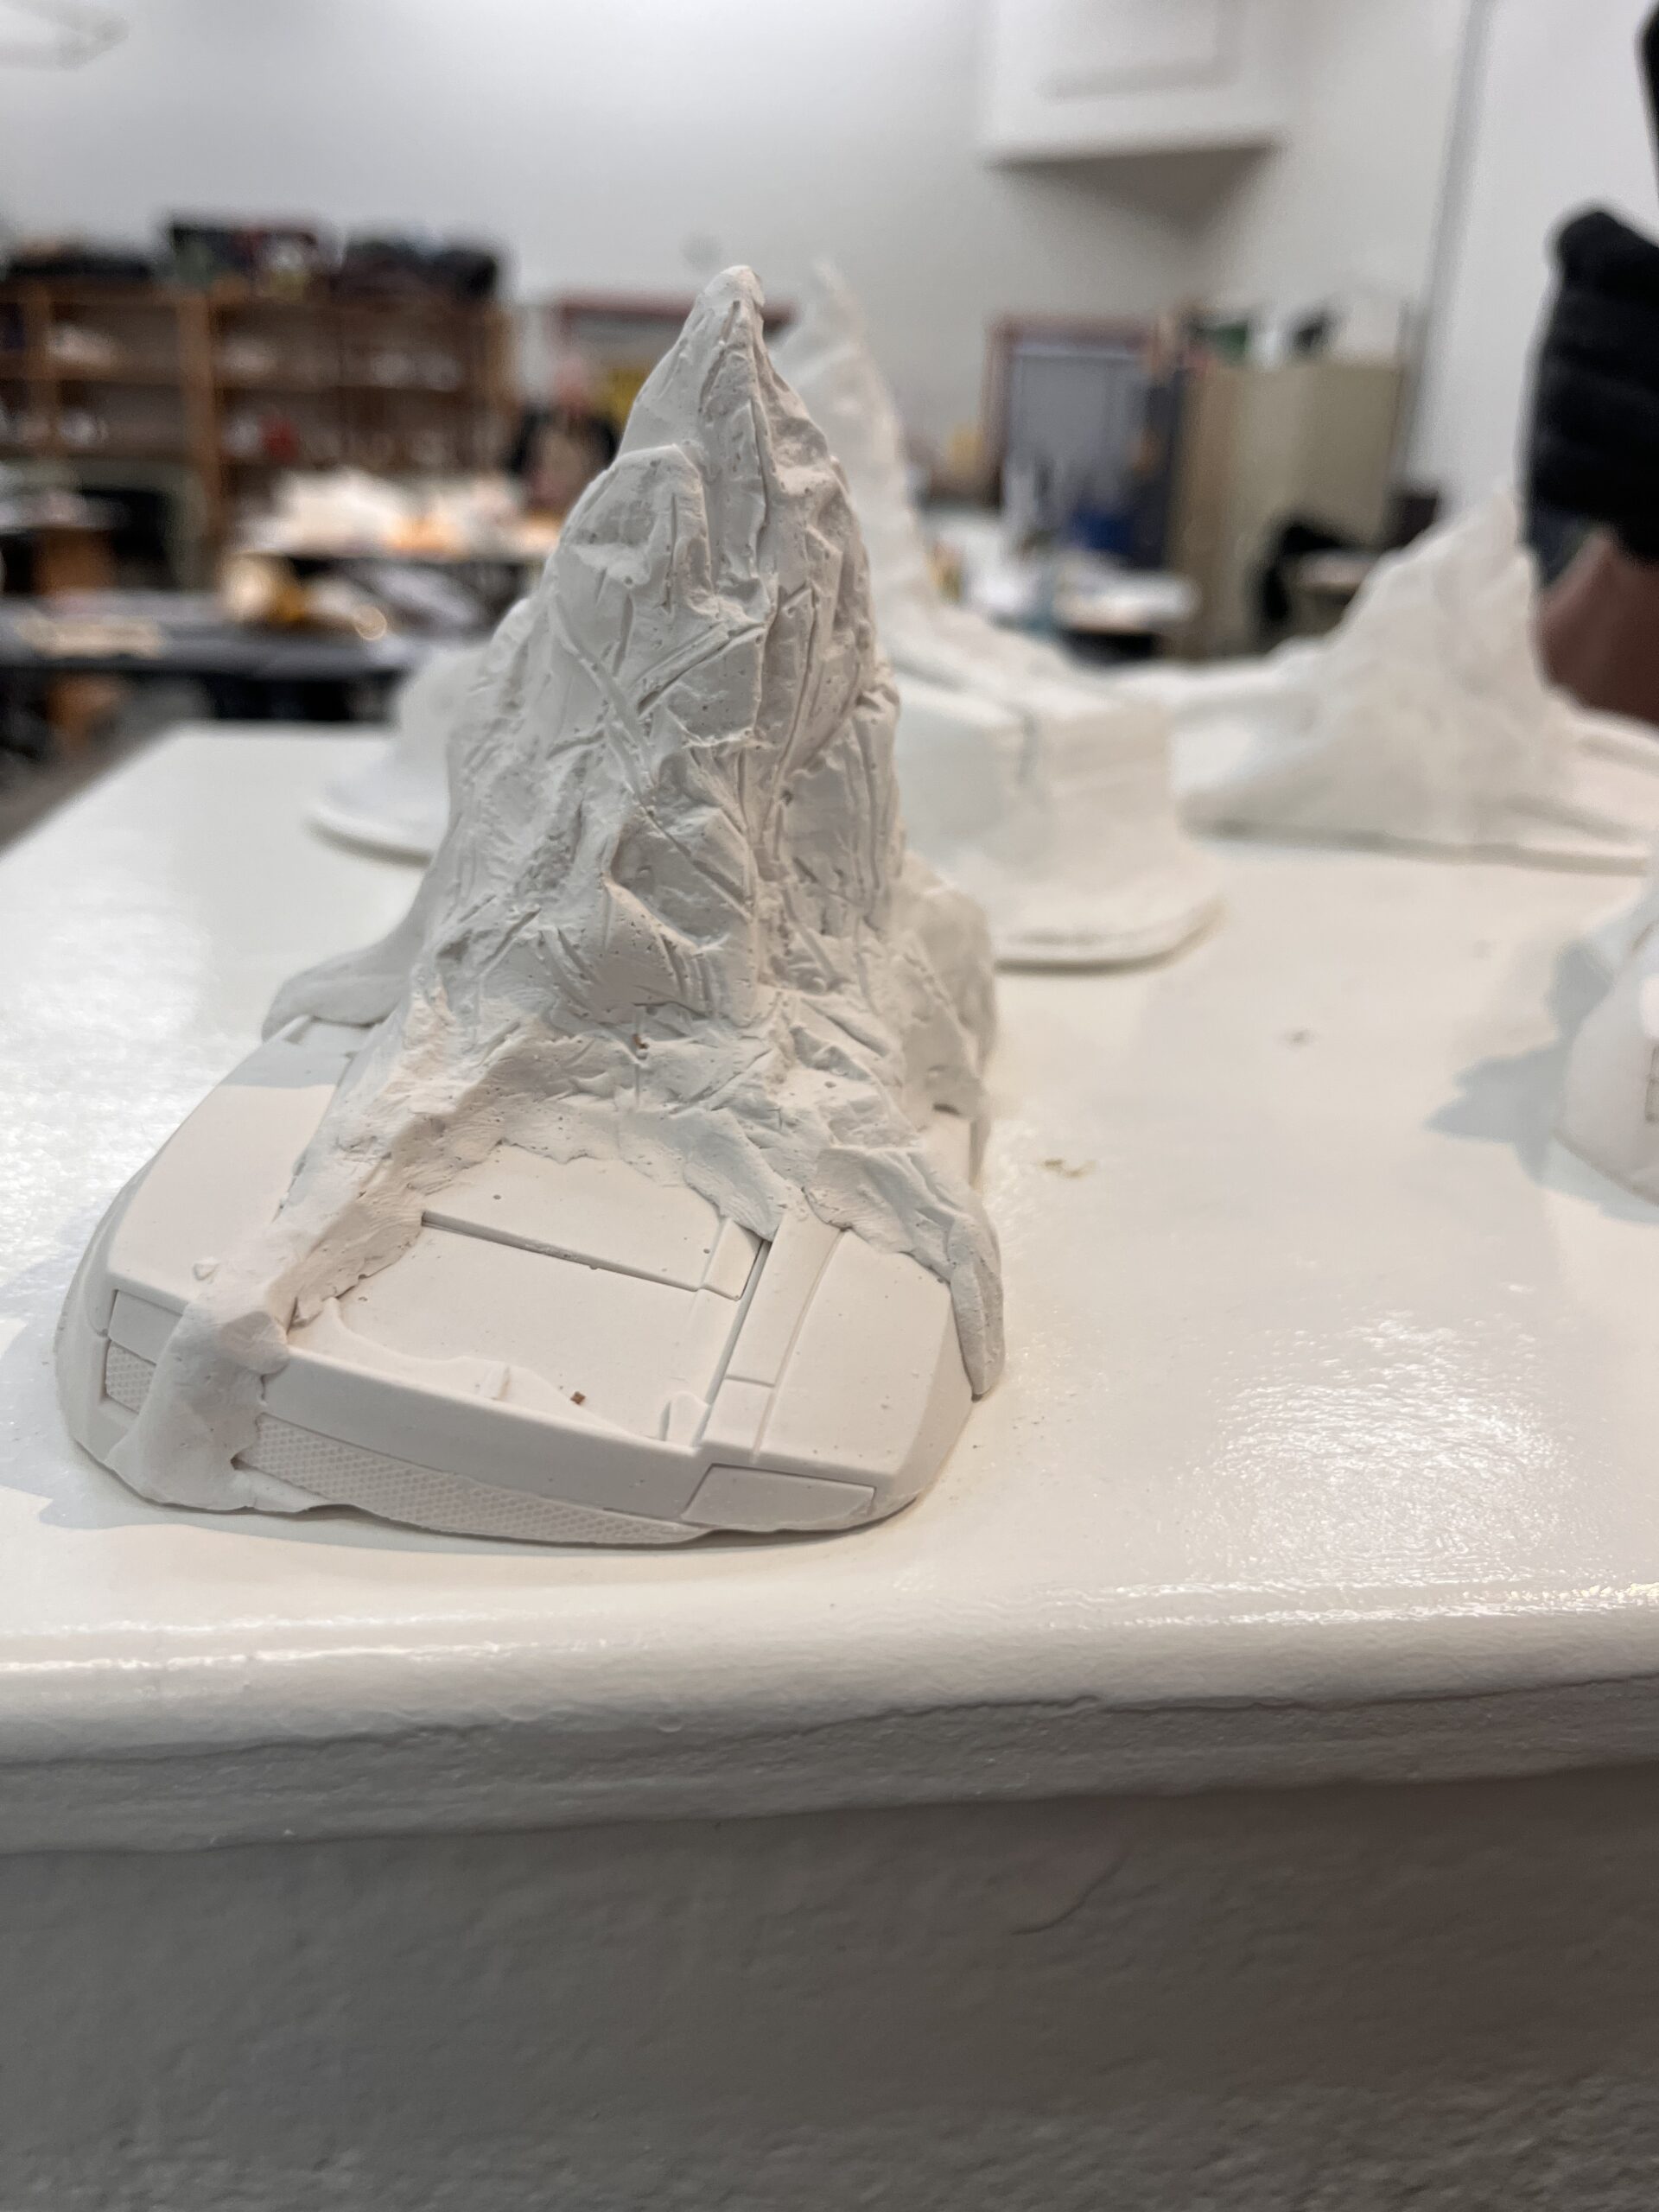
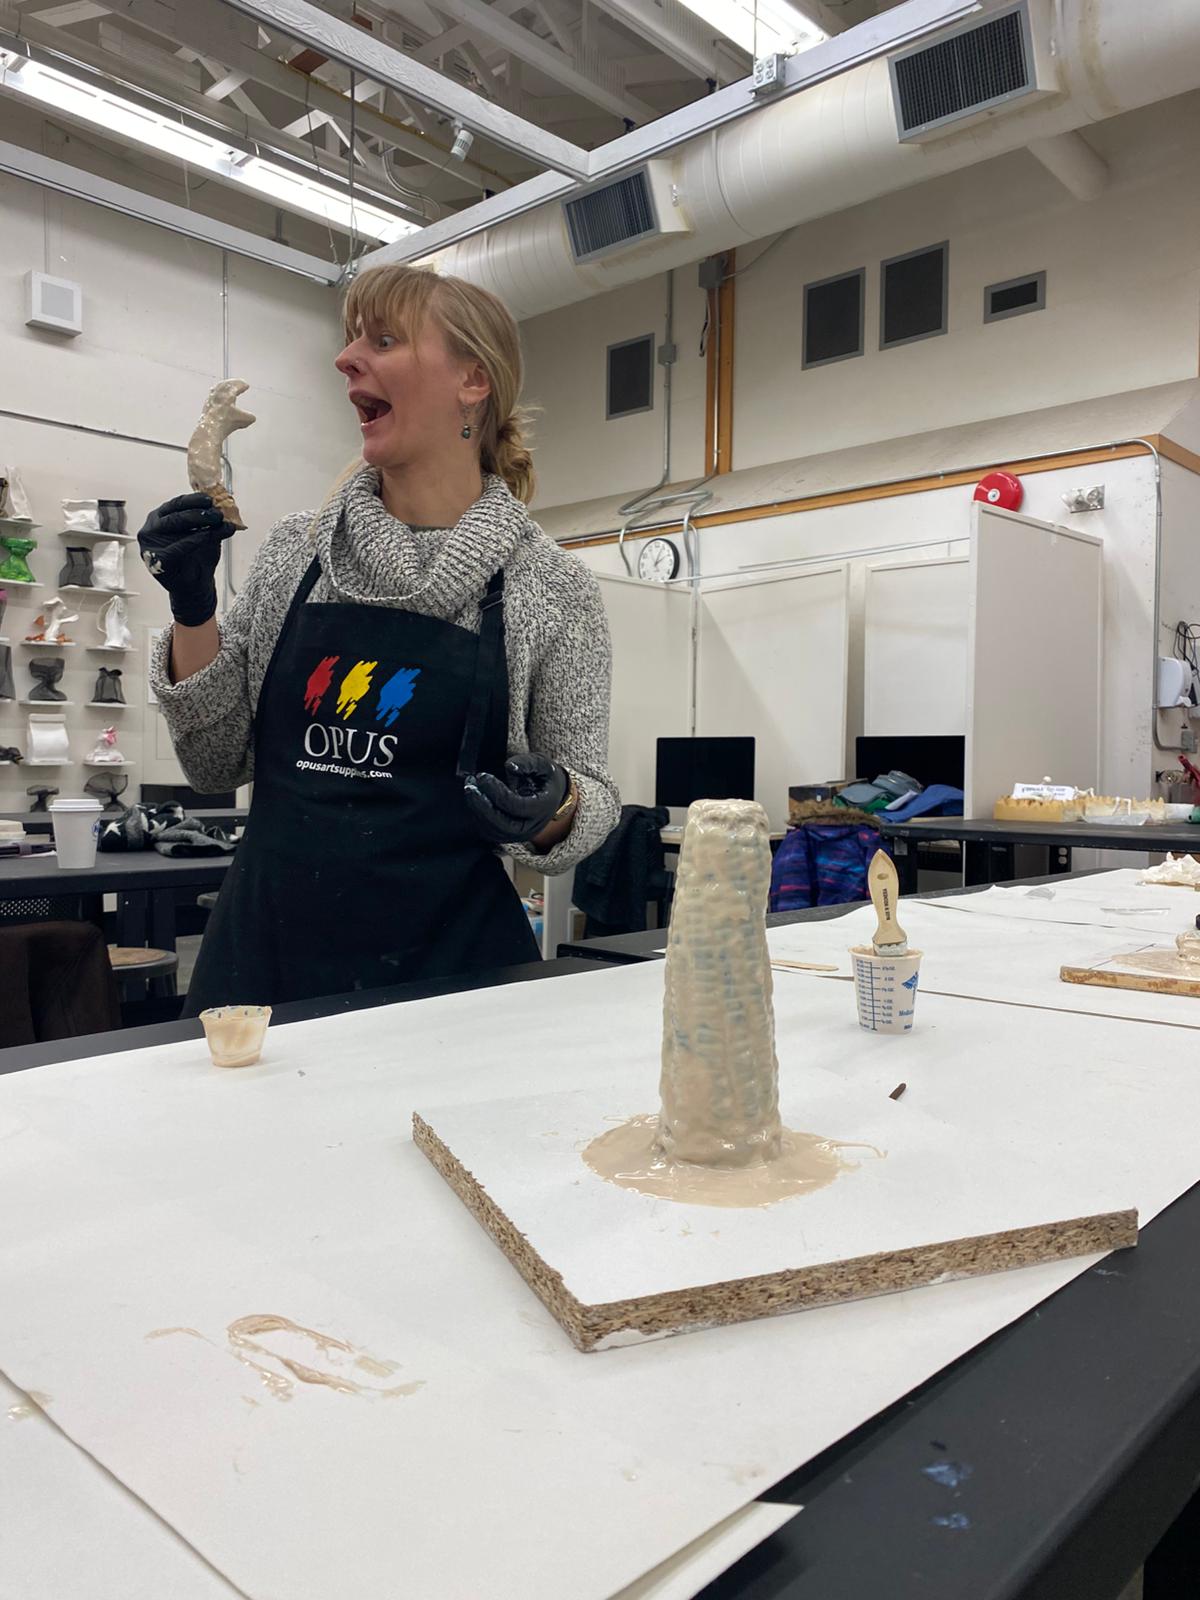
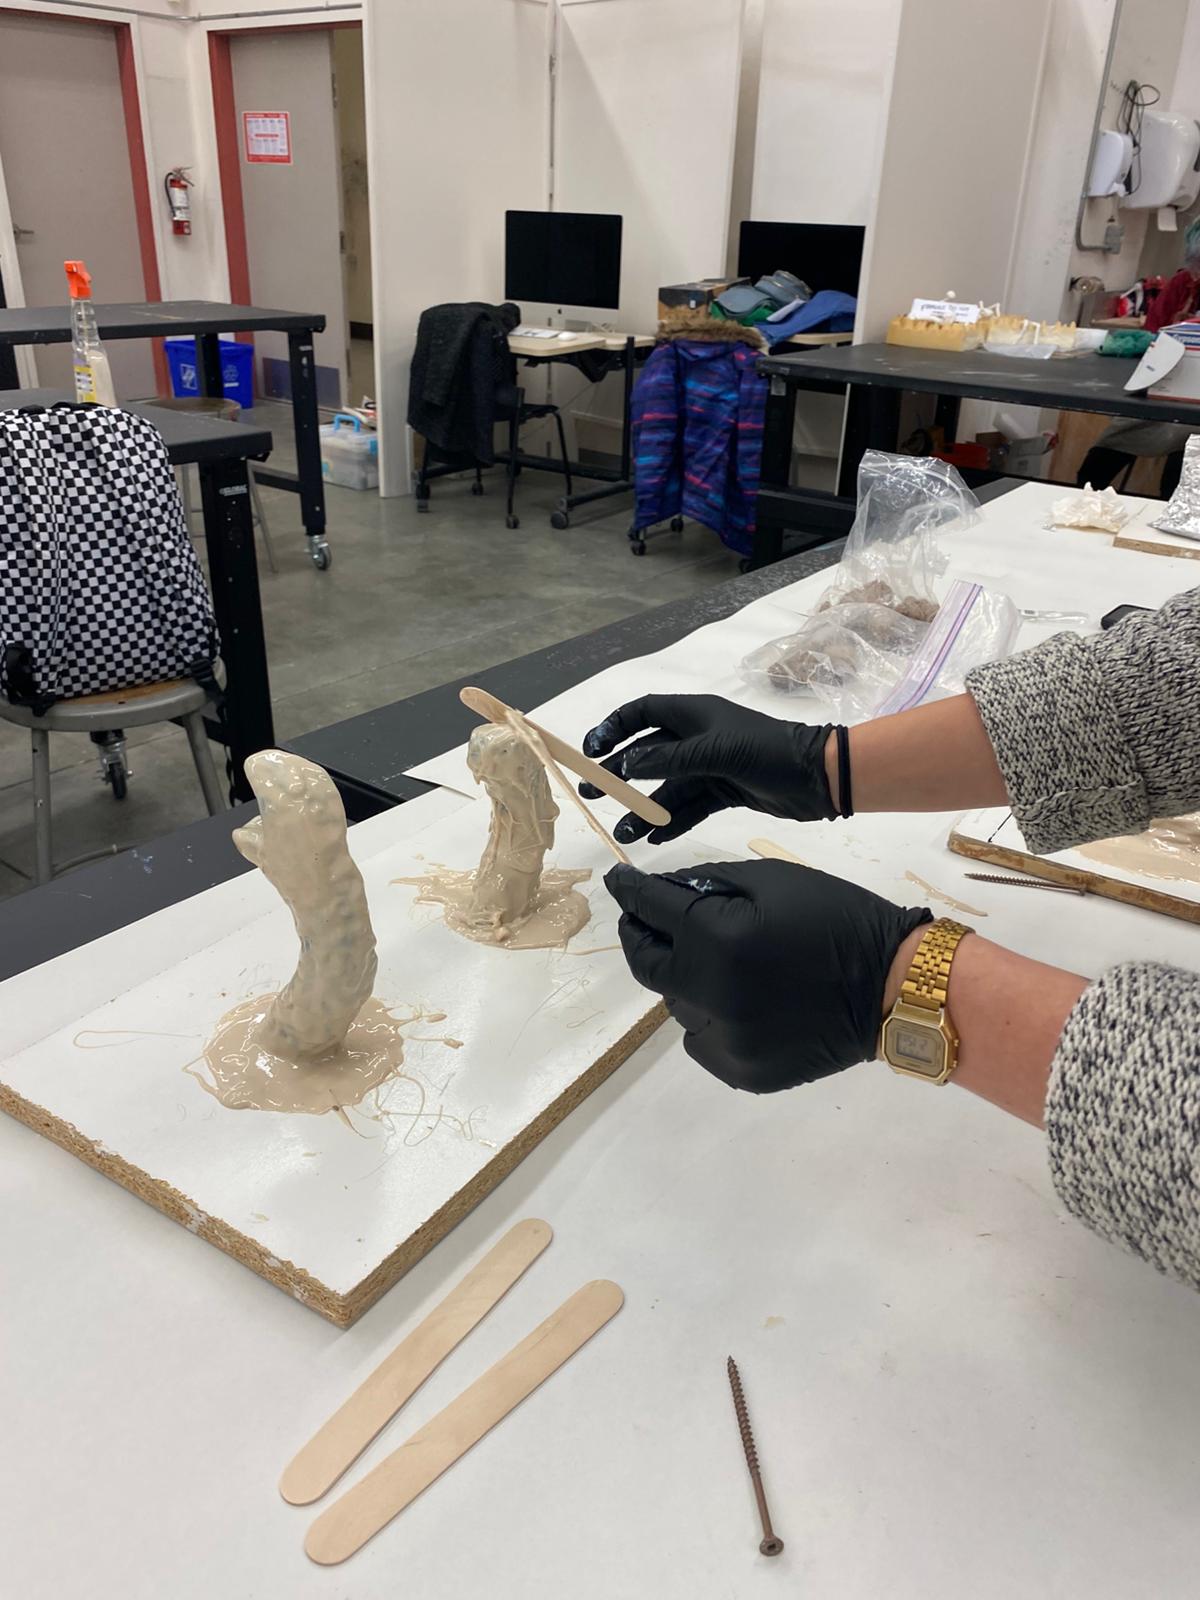
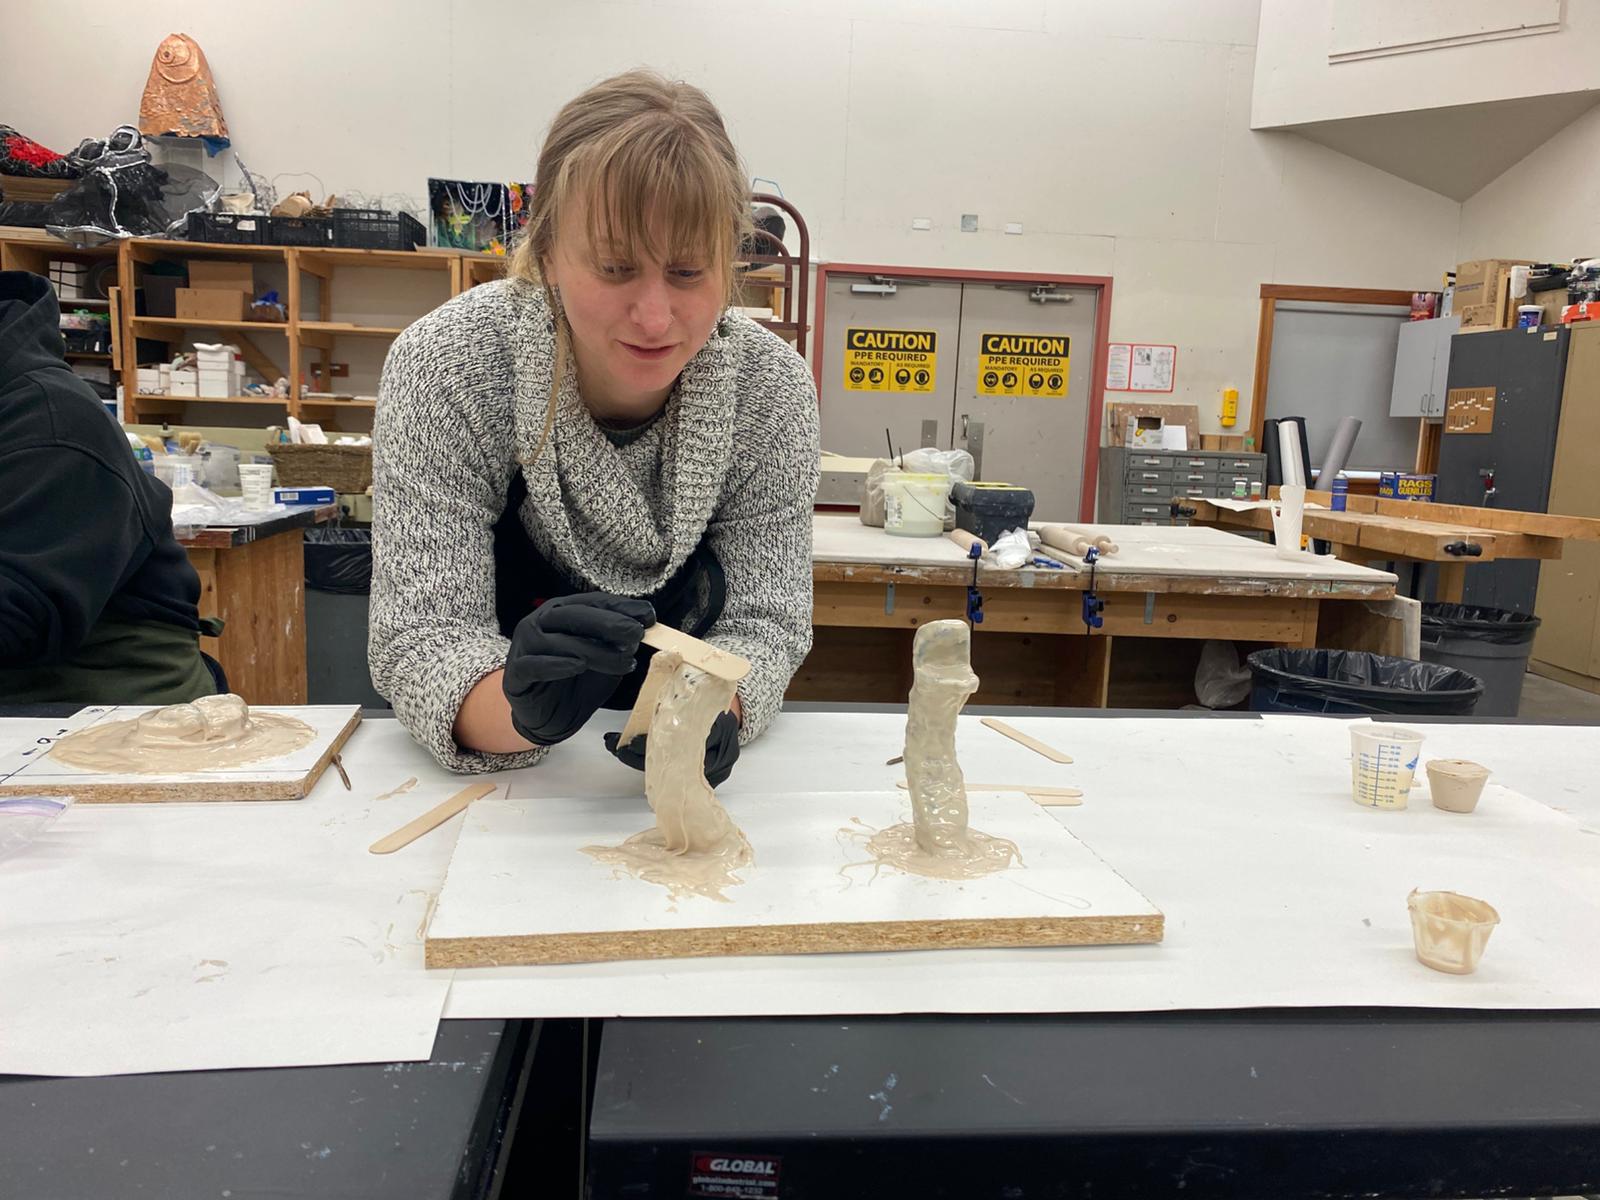
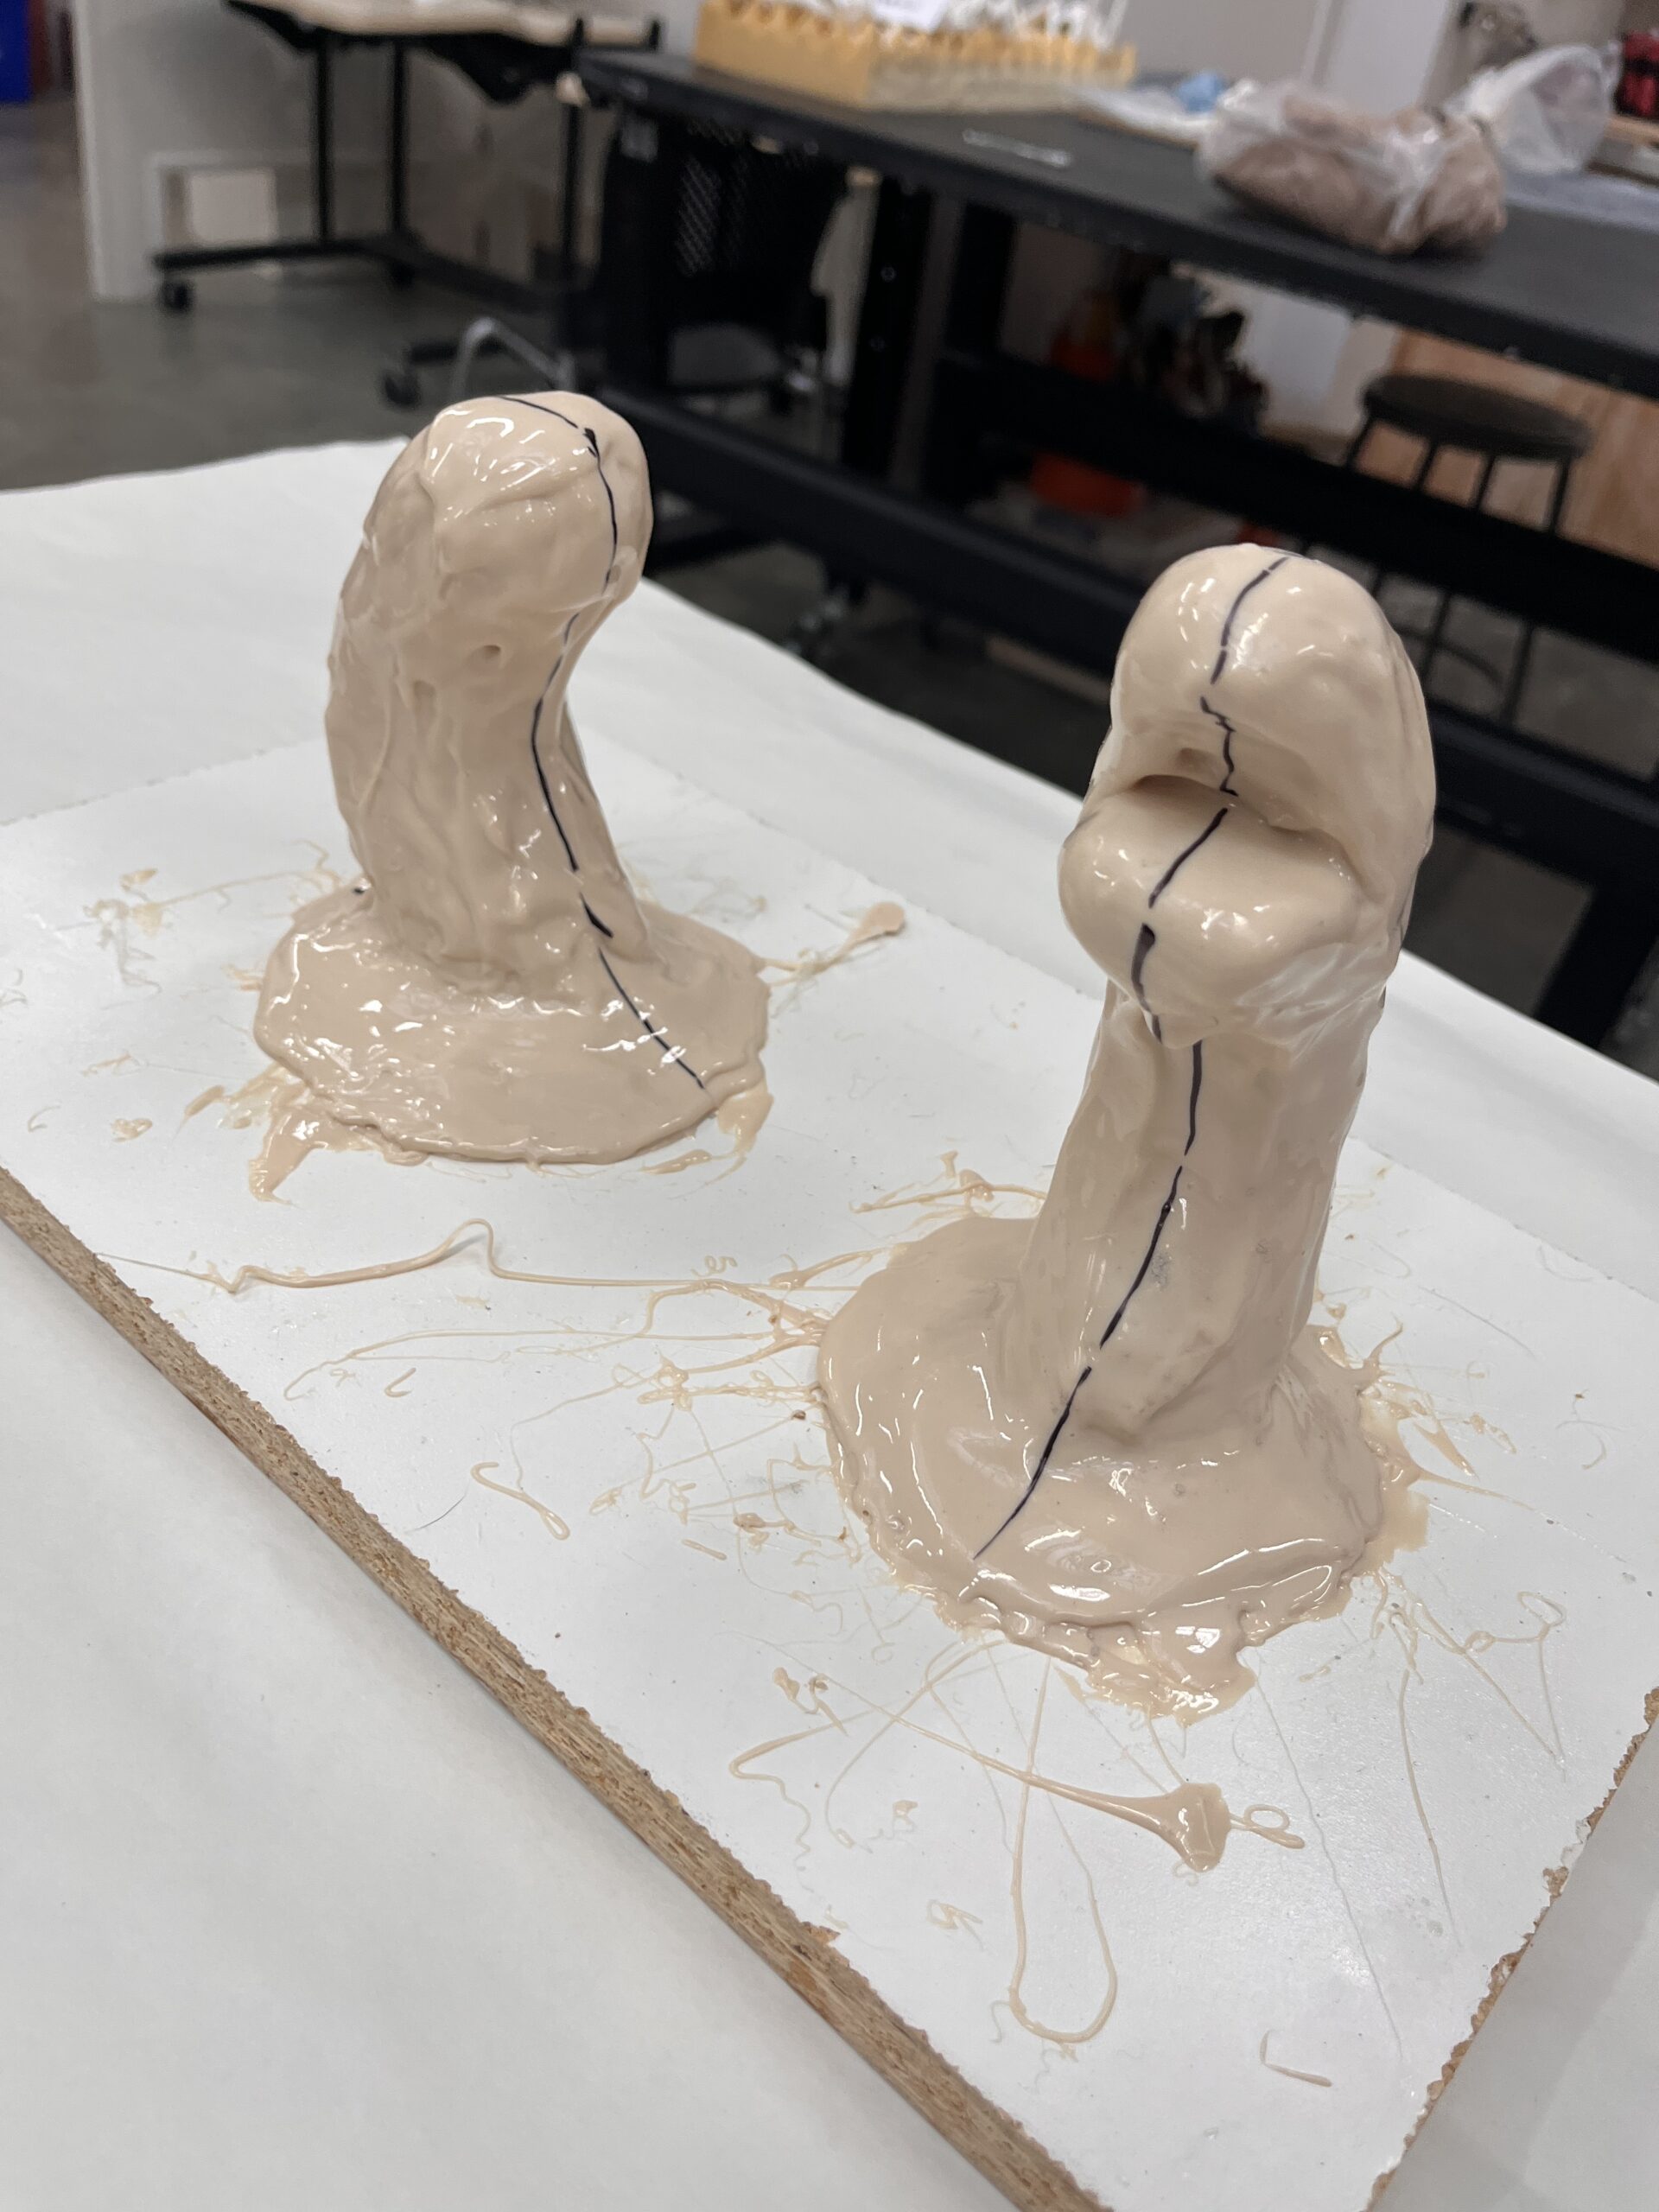
Other Classmates Work
I did have an opportunity to look at some of my classmates works. I photographed some of the materials below. I like Kathy’s use of multiple materials and test painting to add wings to her democracy unicorns. Gabbi’s corn was very interesting speckle effect with the remnants of the blue corn in the mold. Denise’s amorphous shapes were very interesting. They look like otherworldly craters! Even more images below show the fascinating works of my classmates thus far.