3D Print
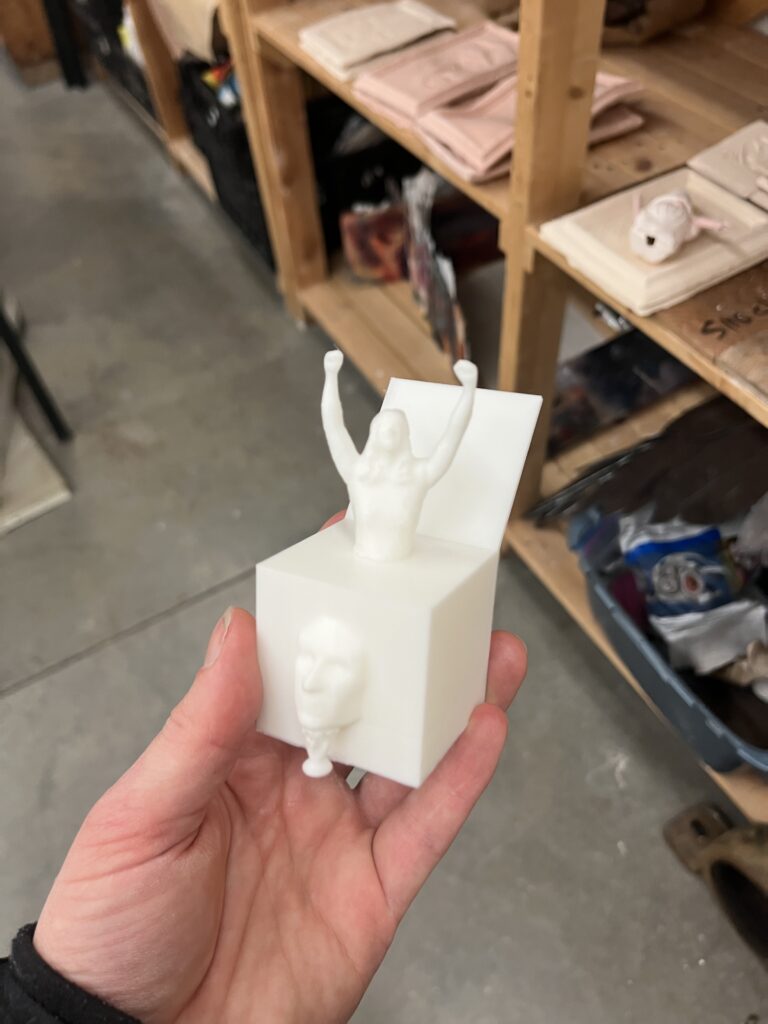
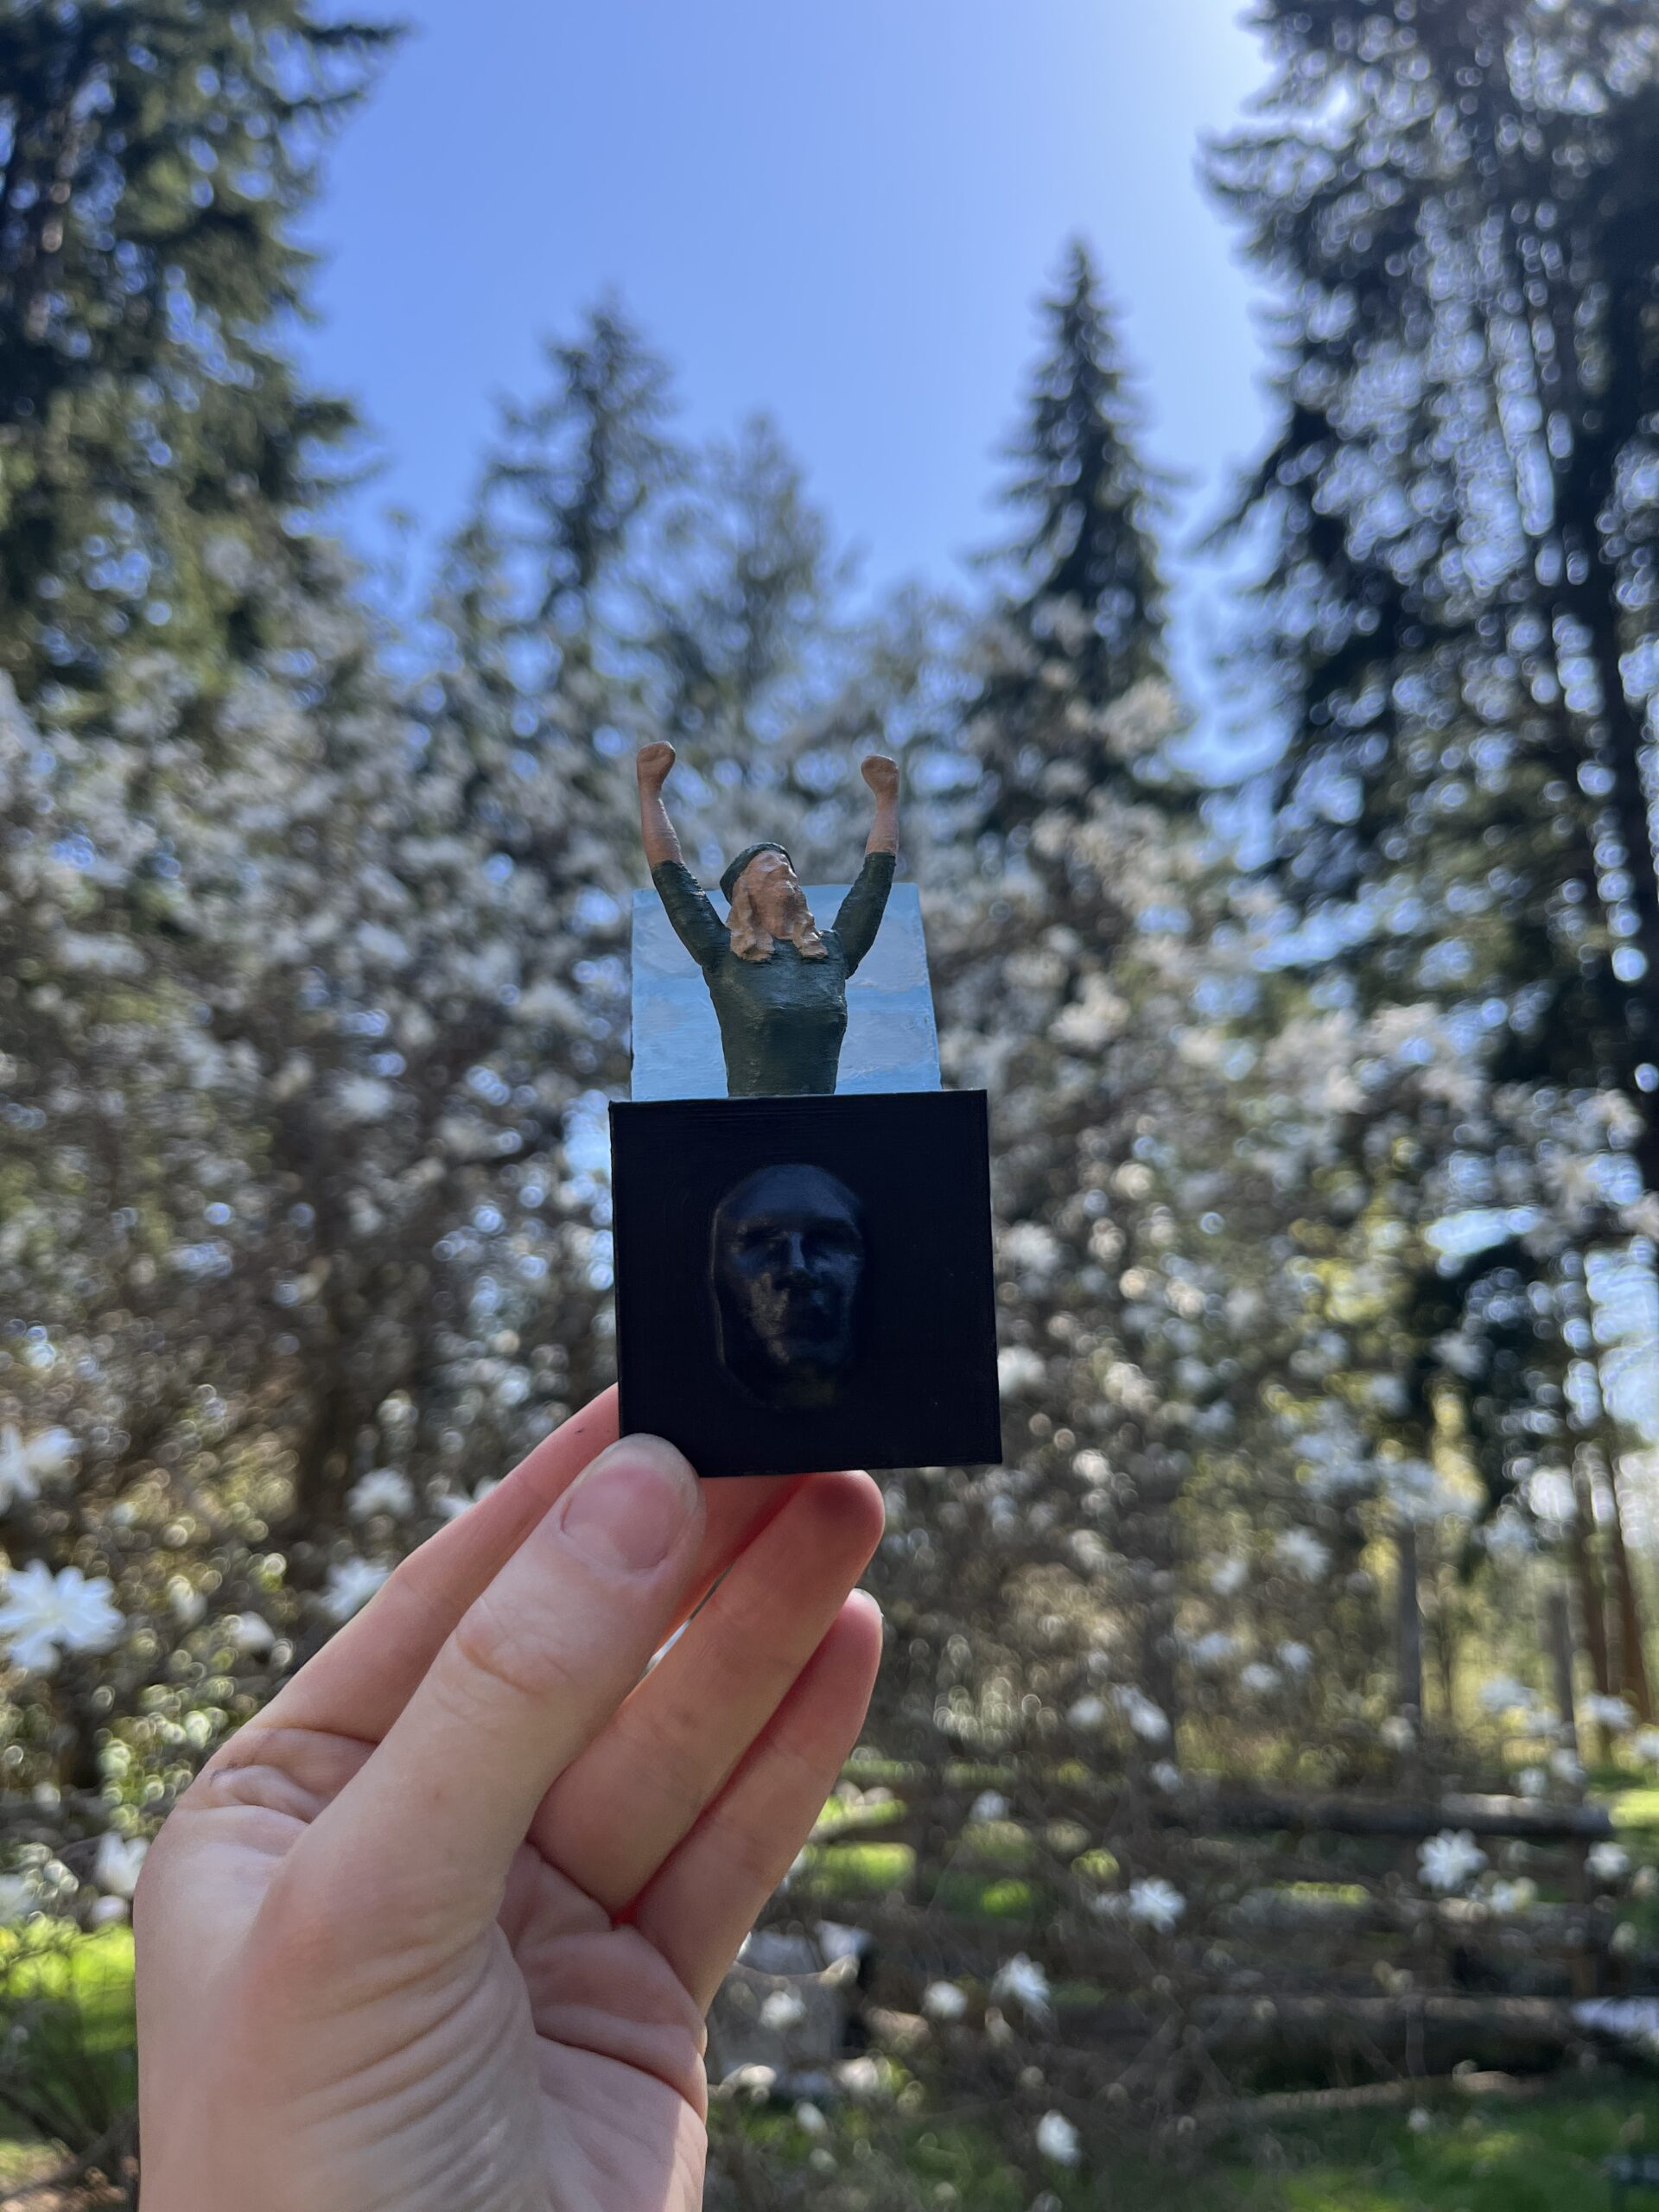
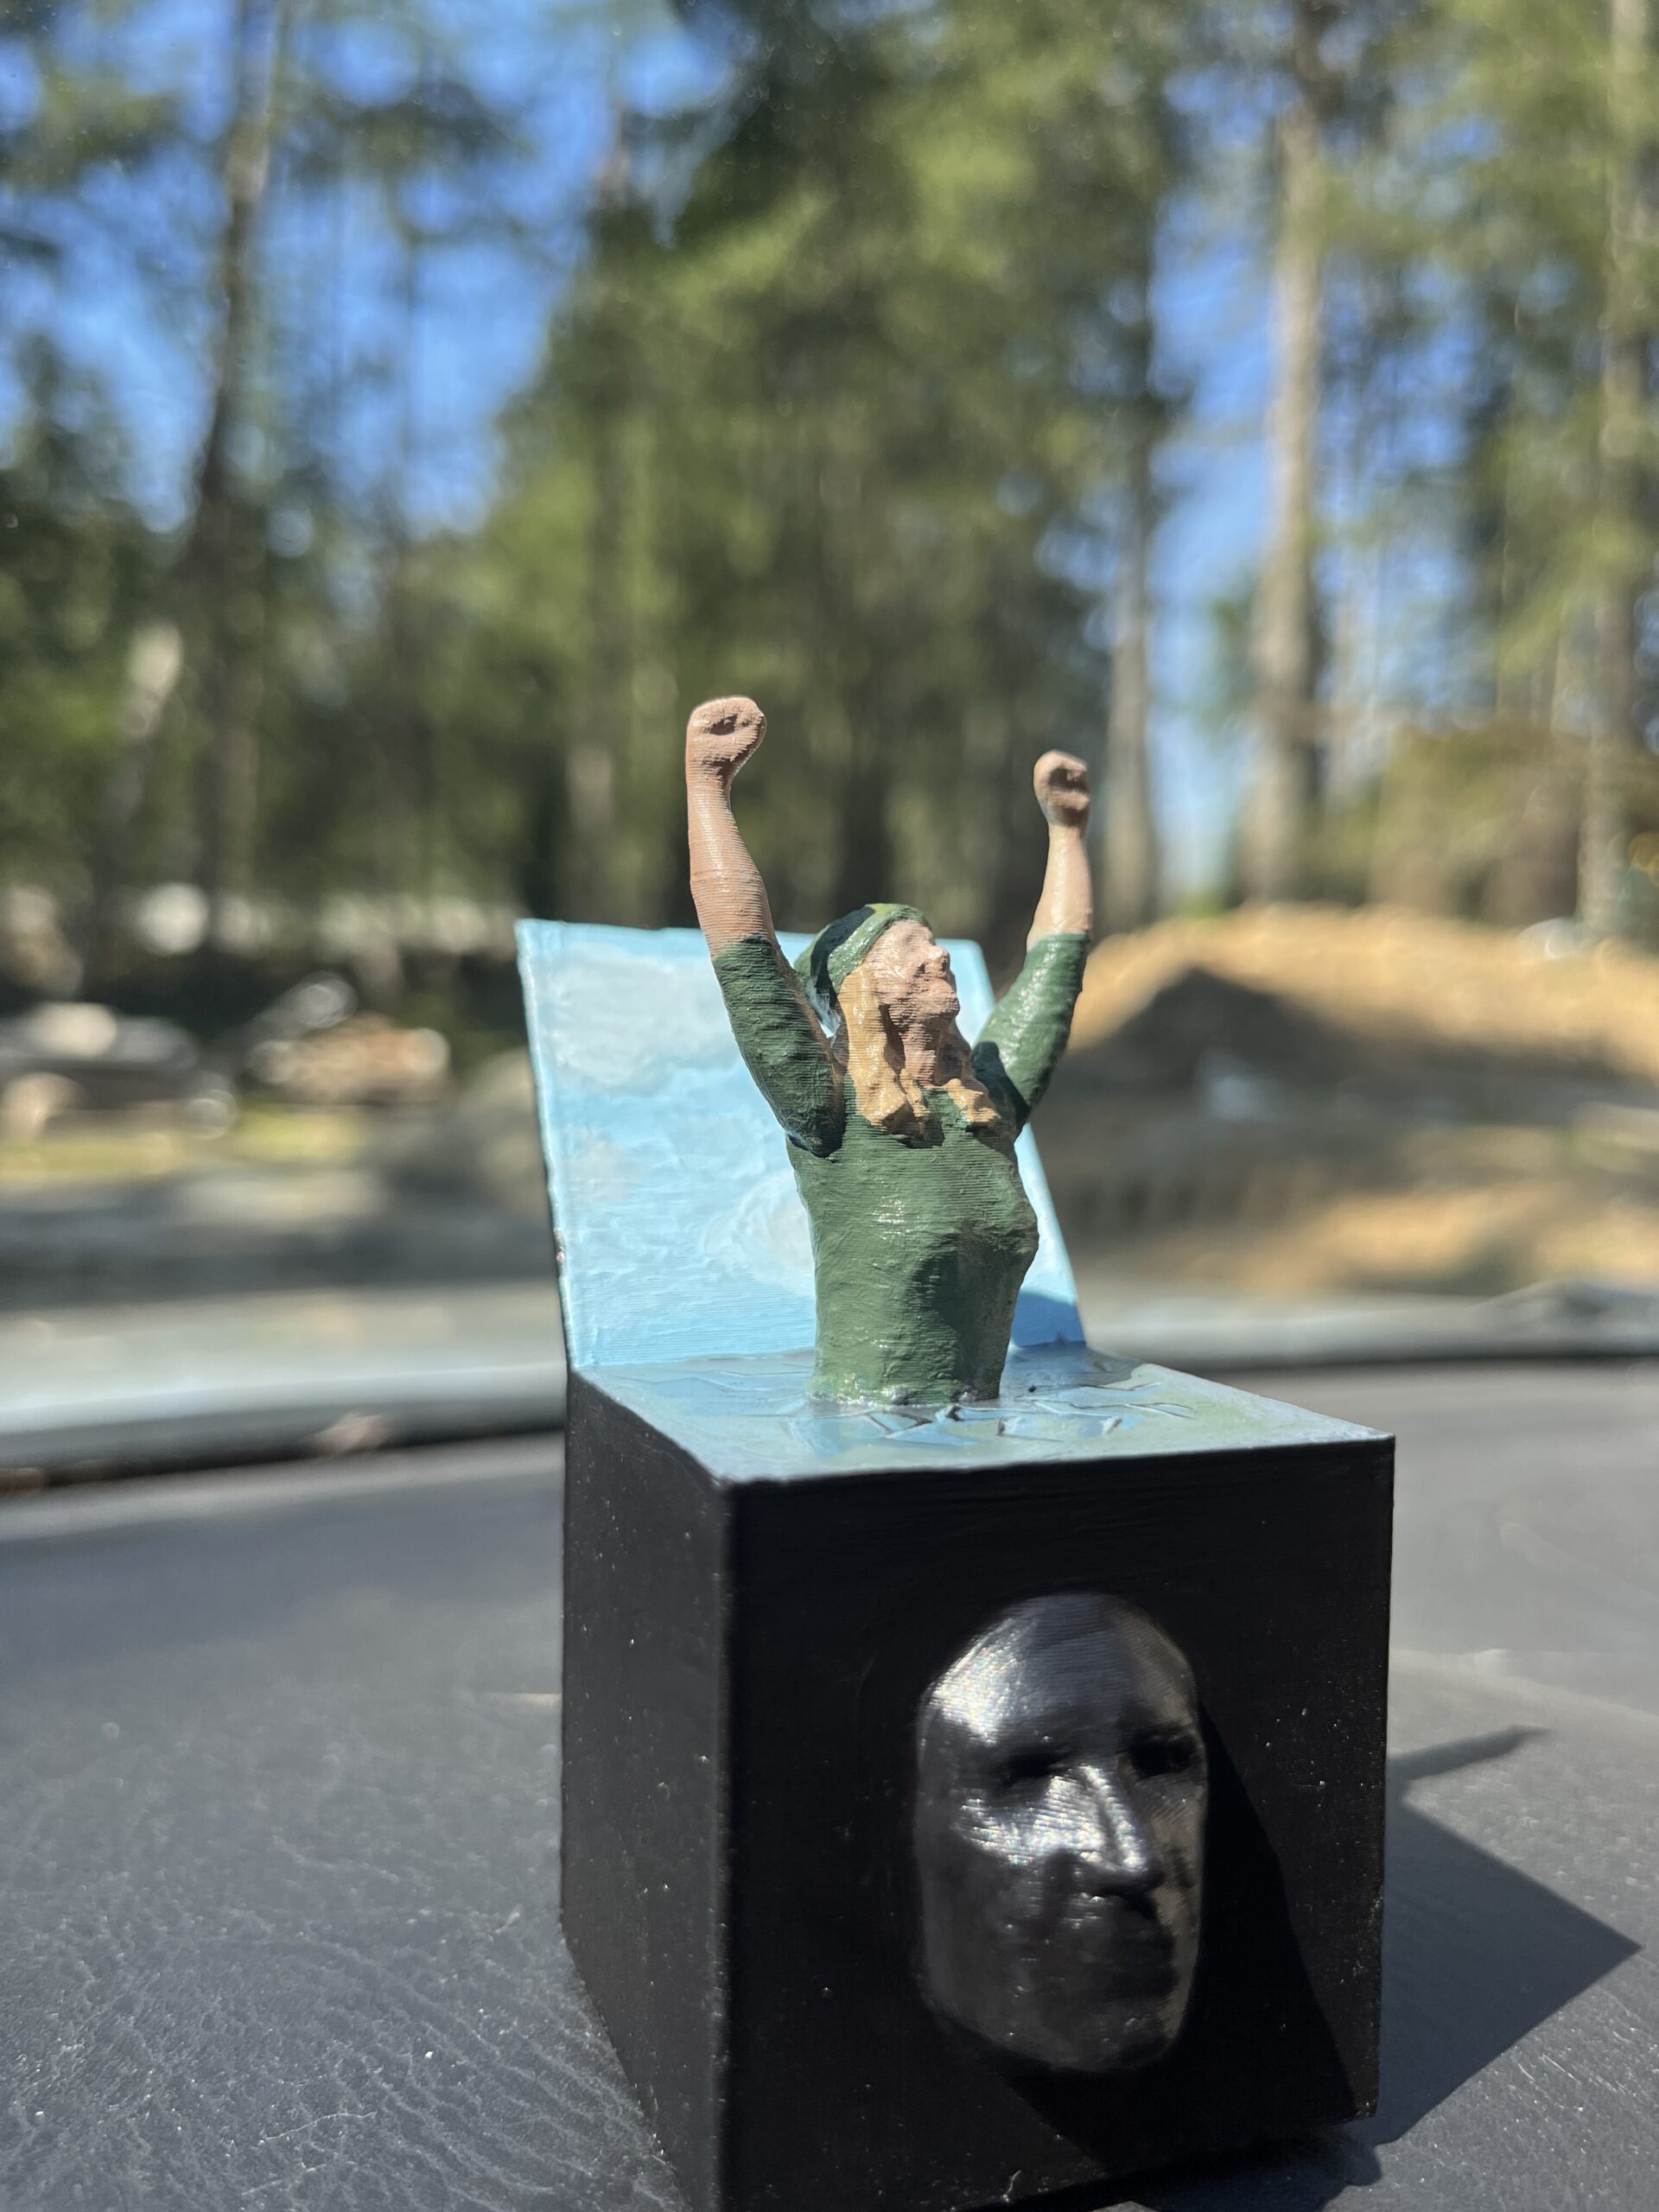
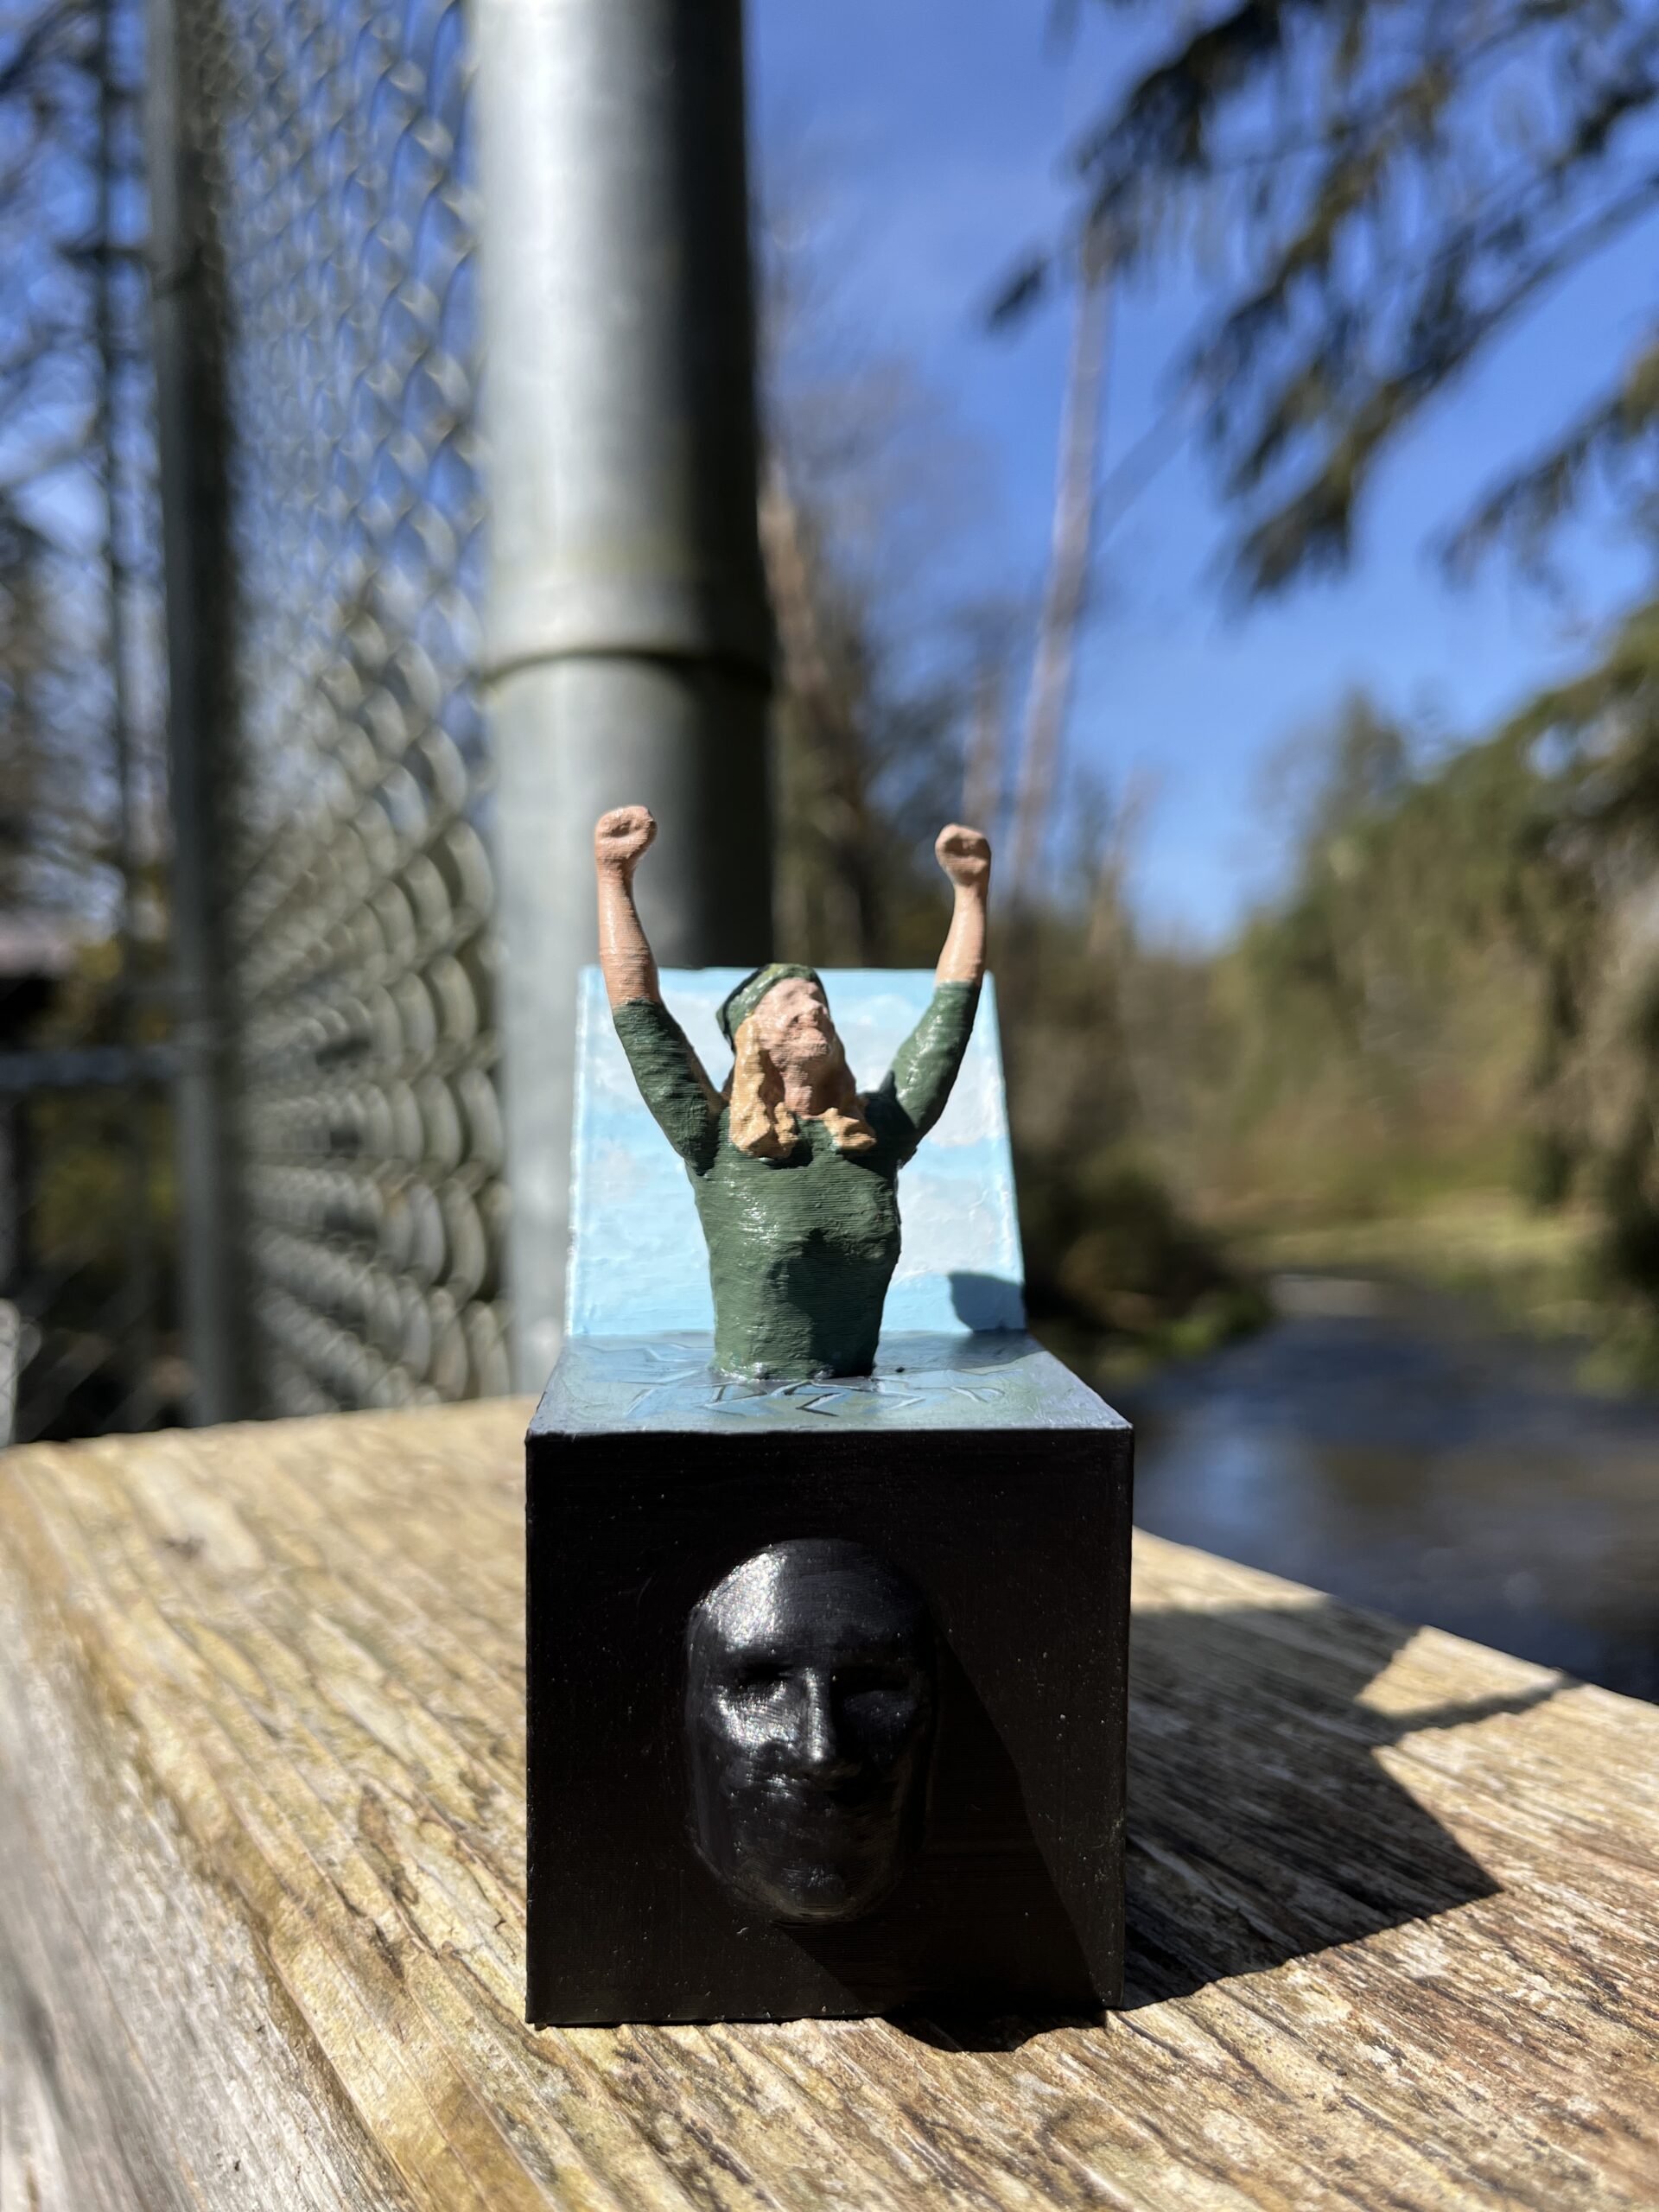
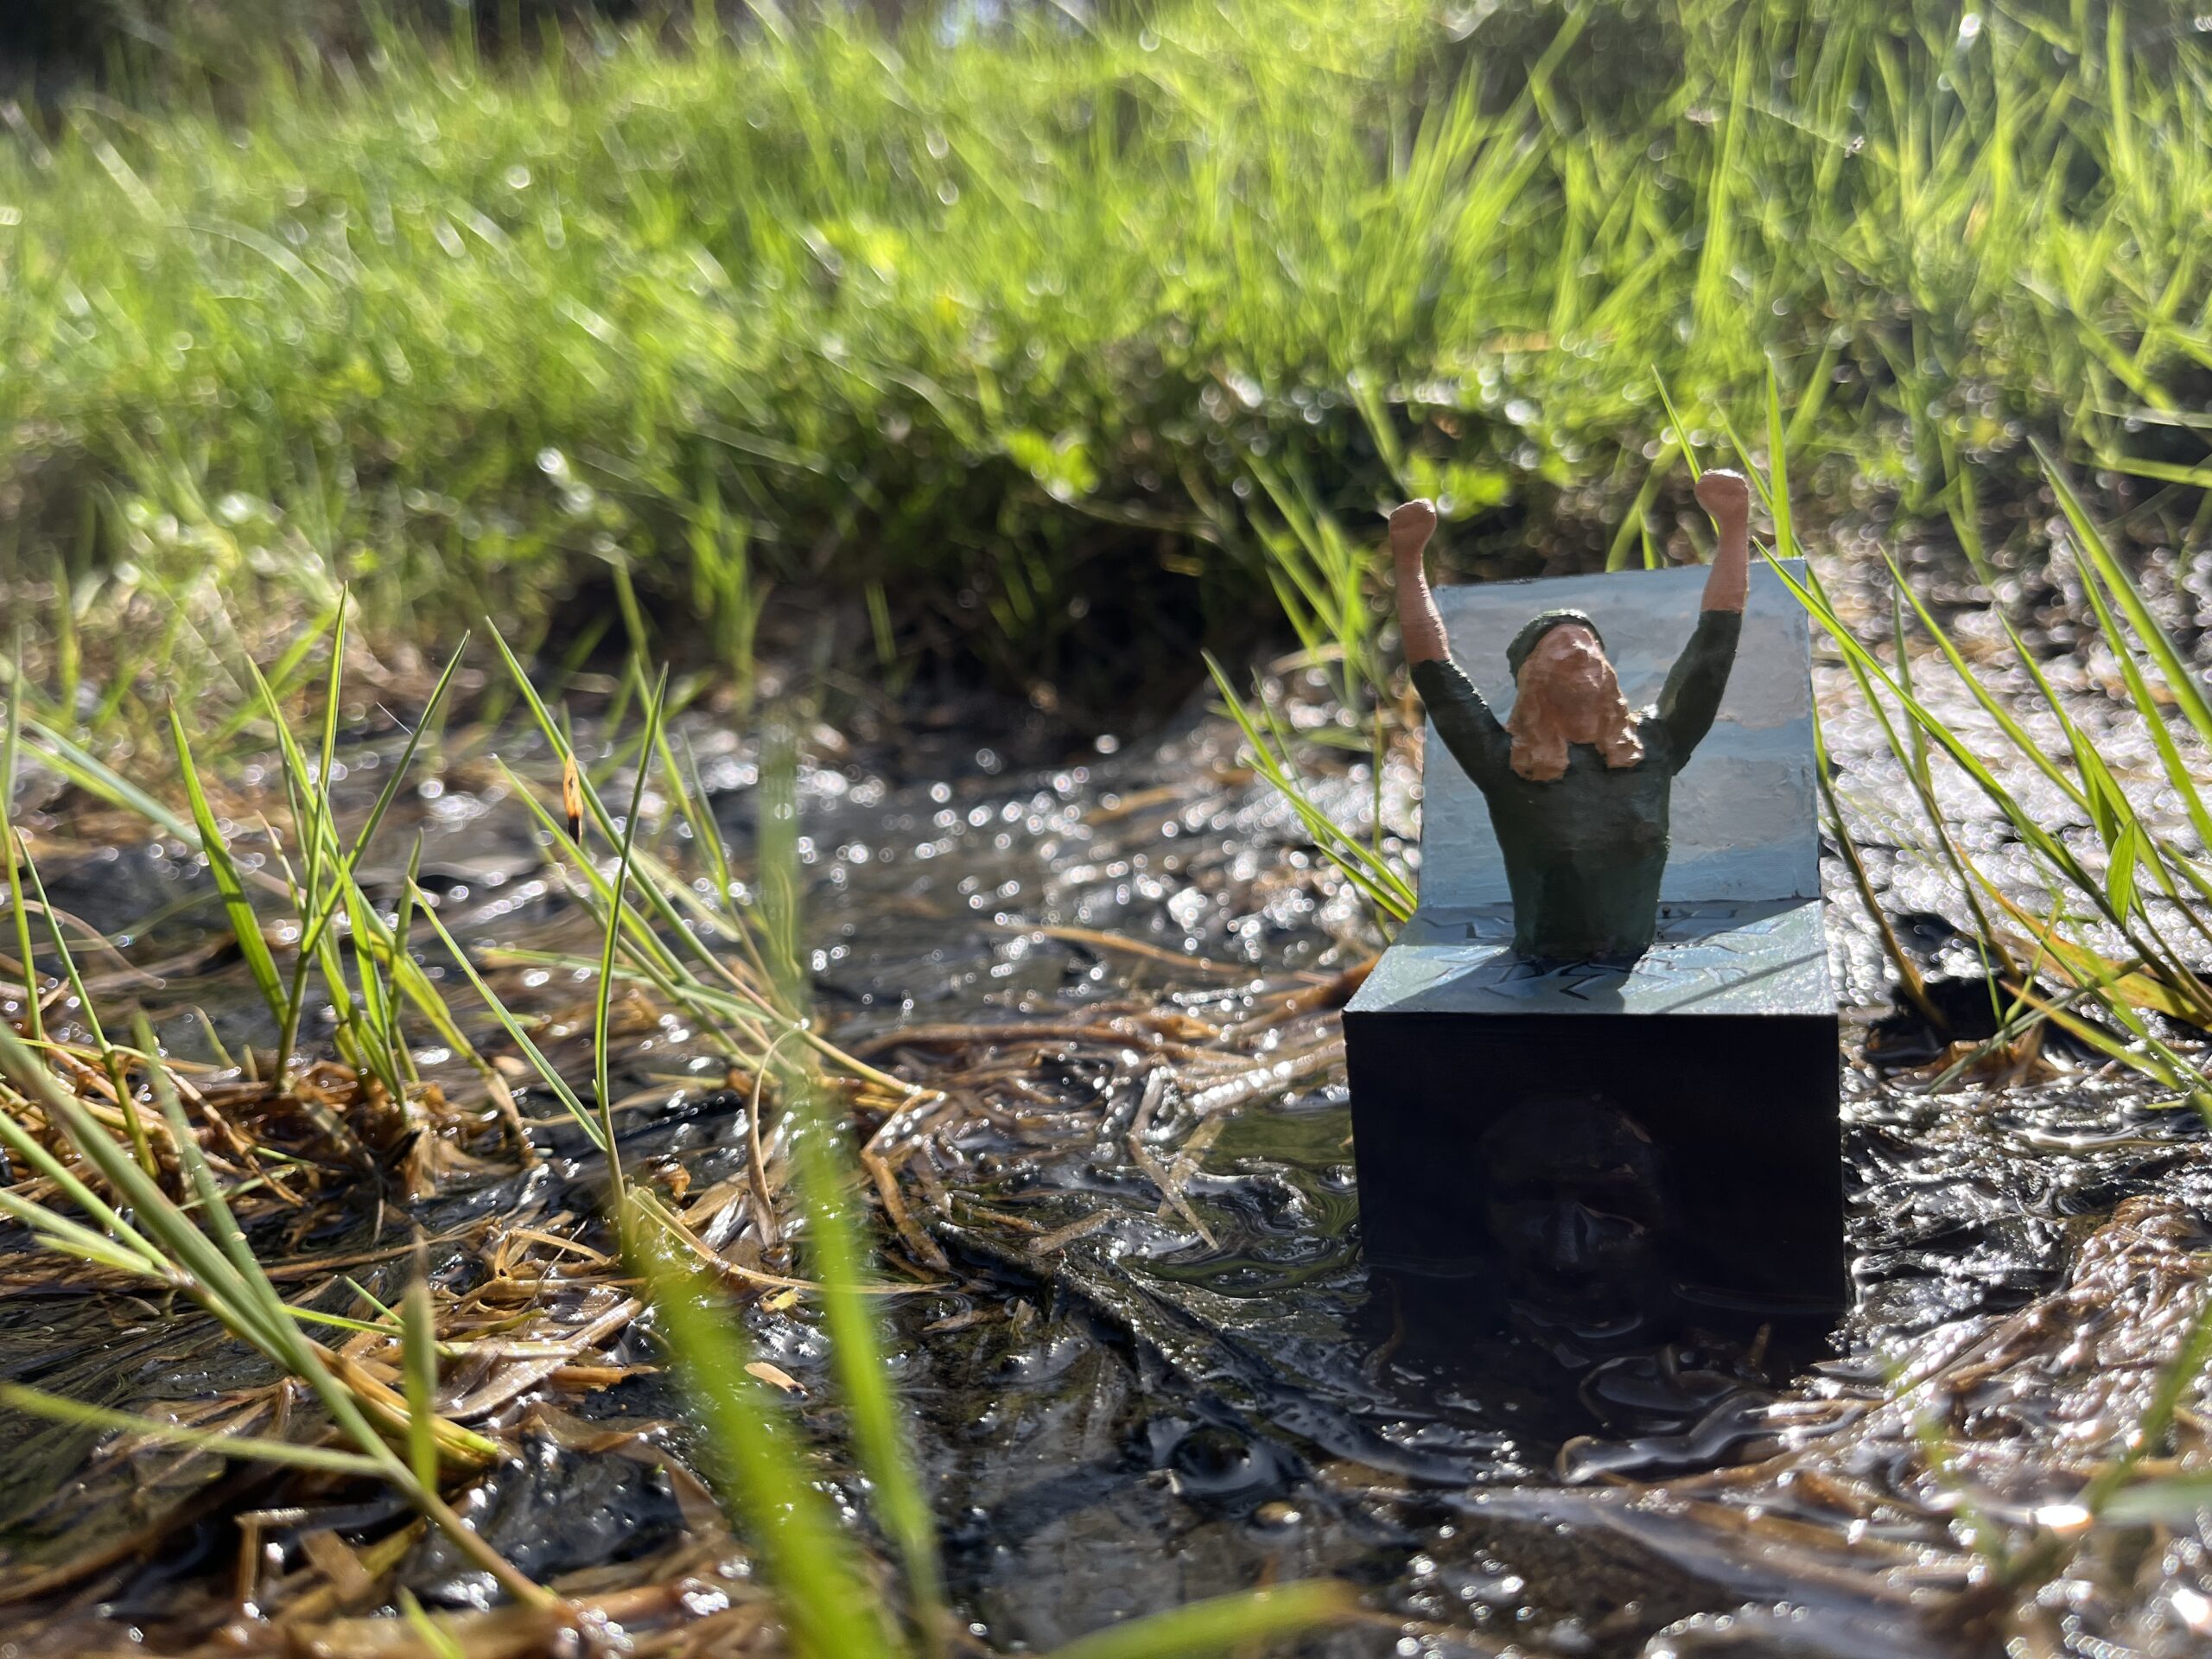
For this project I wanted to keep the work fairly straight forward since I knew that a majority of my time would be focused on my metal work project – the reason I signed up for this course! So, I decided that I would reuse and refine my polycam scan from laster semester: “joyouse flare”. However, the Angela was sure to clarify that she wanted a full model to be staged for photography and the group exhibition, so I needed to add a bottom half to my scan which was from the waste up. She mentioned I could be emerging from something. So I reflected on this and came up with the idea of emerging from a box. This “ASH in a box” idea felt aligned for me, because this model was originally about overcoming my mental blocks and mindset. And, like most “jack in a box” they come out joyous and playful. So I decided to explore this idea further.


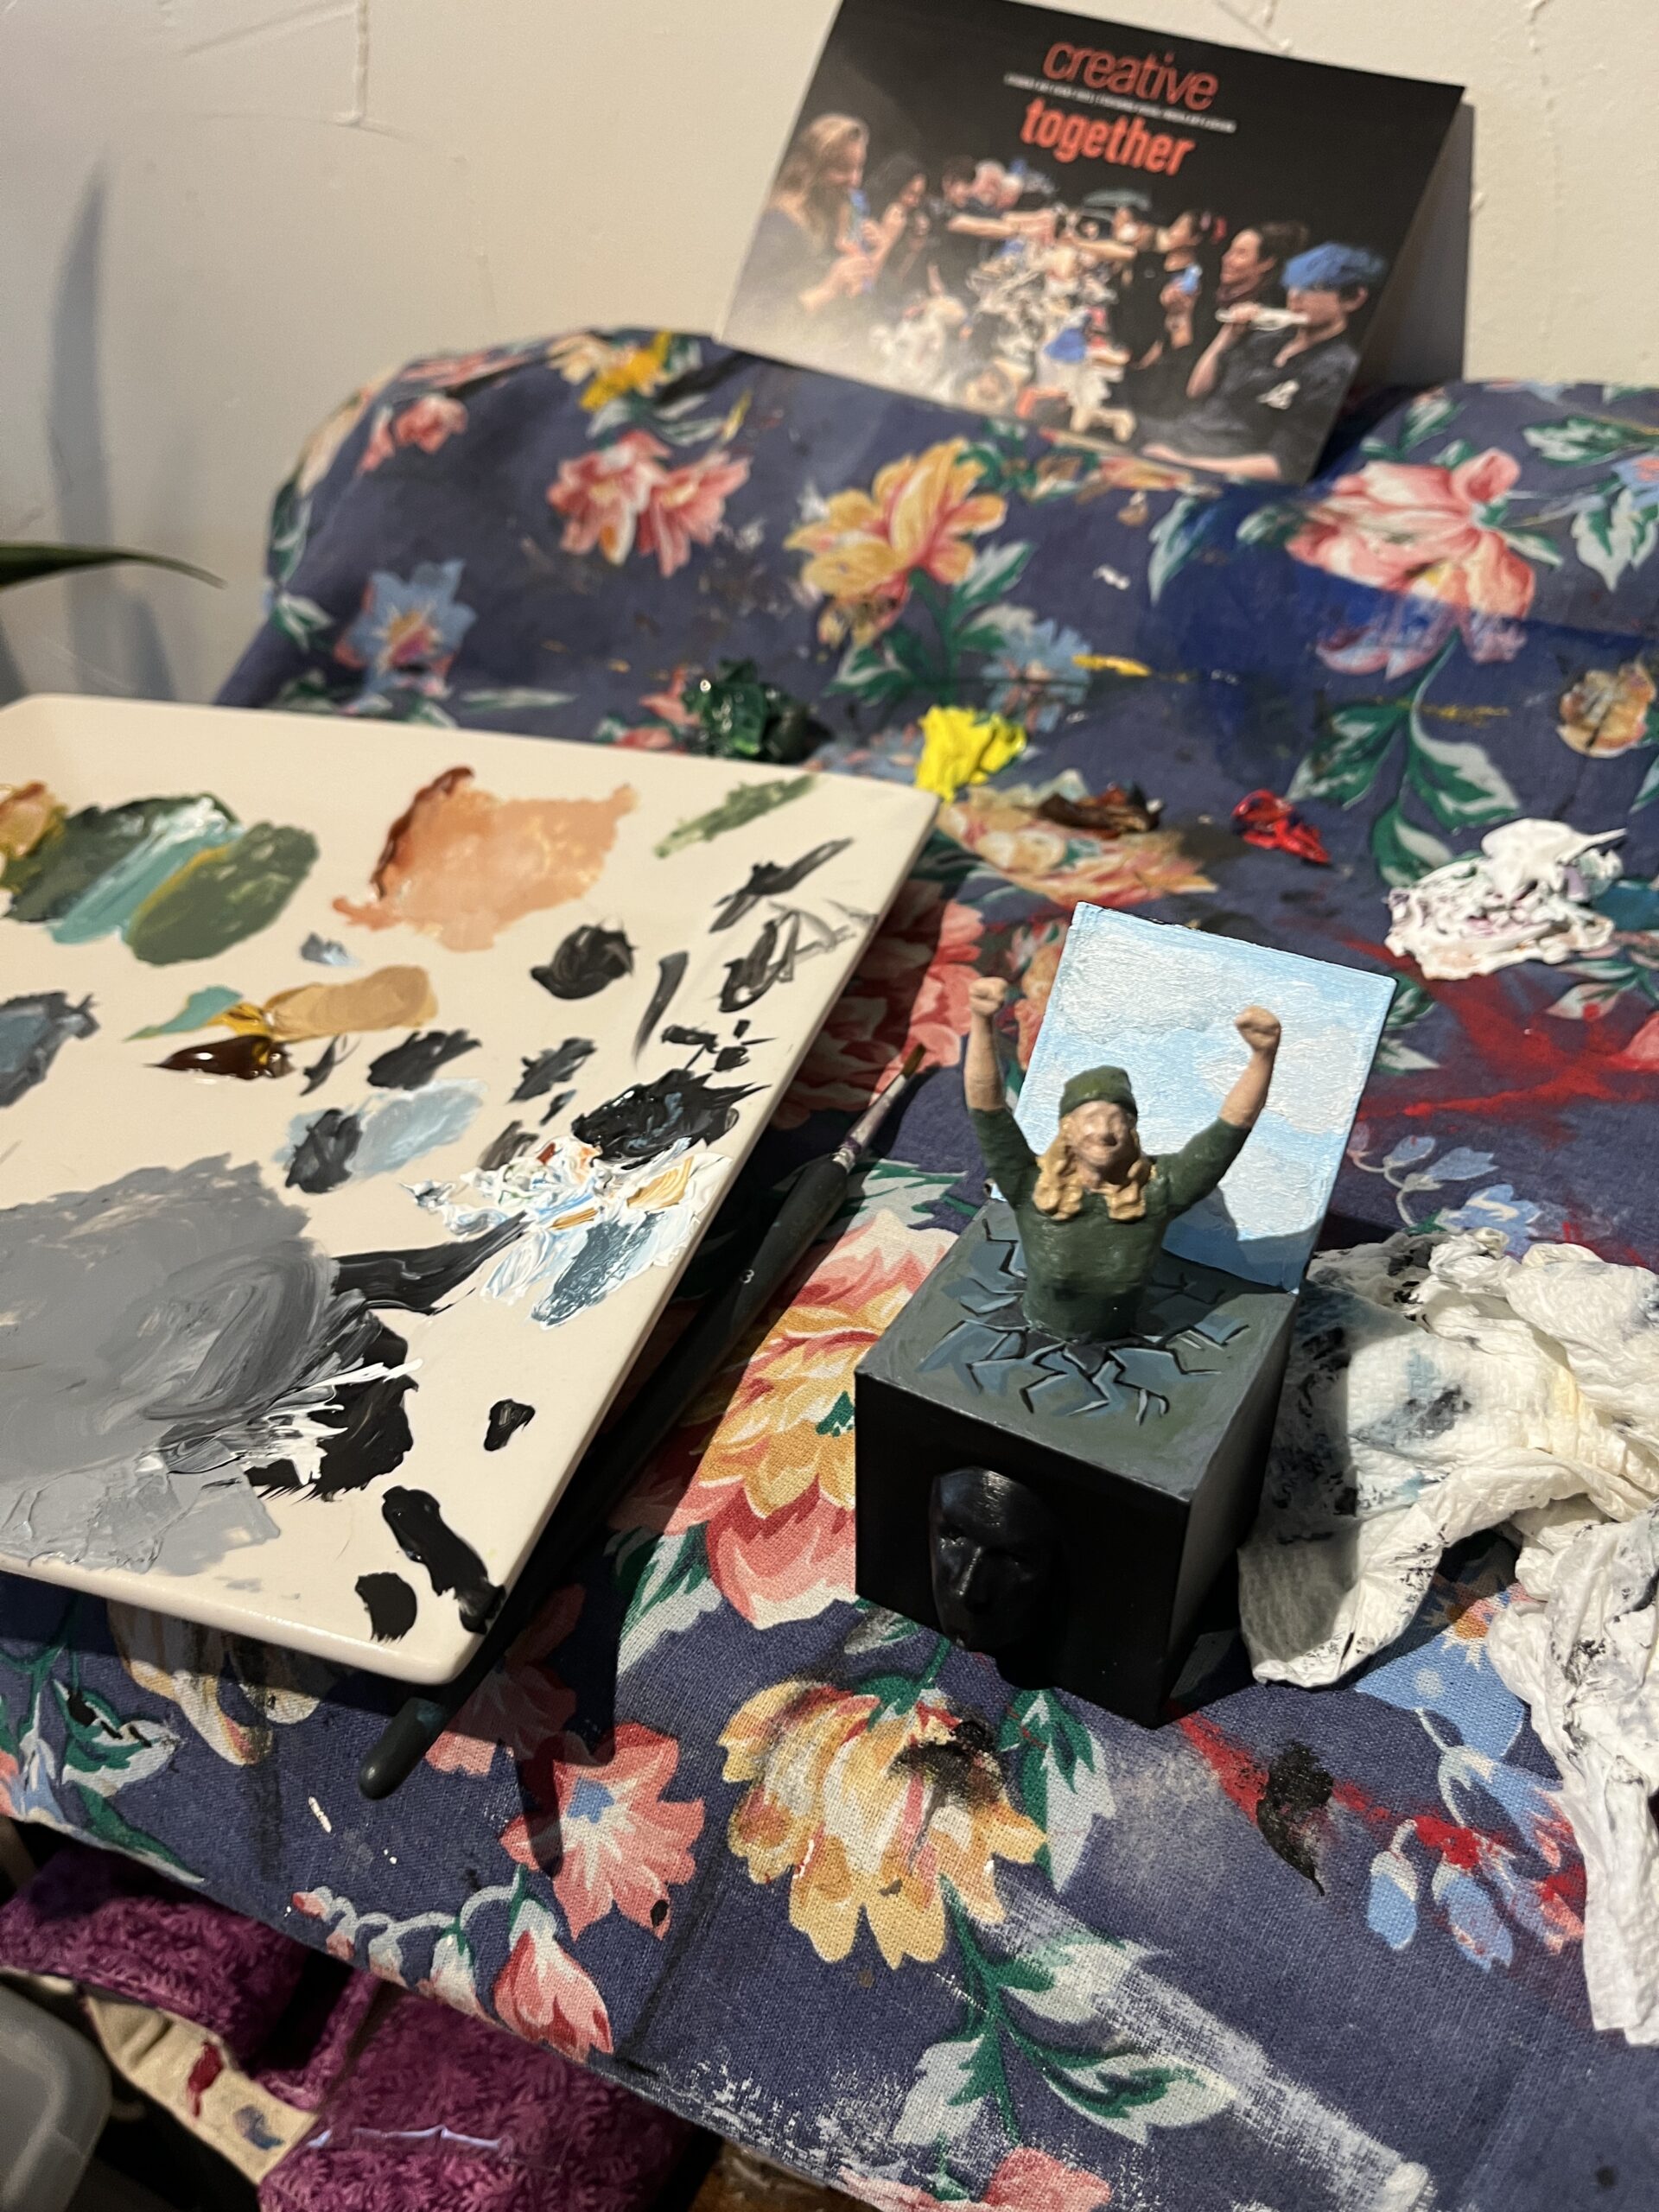
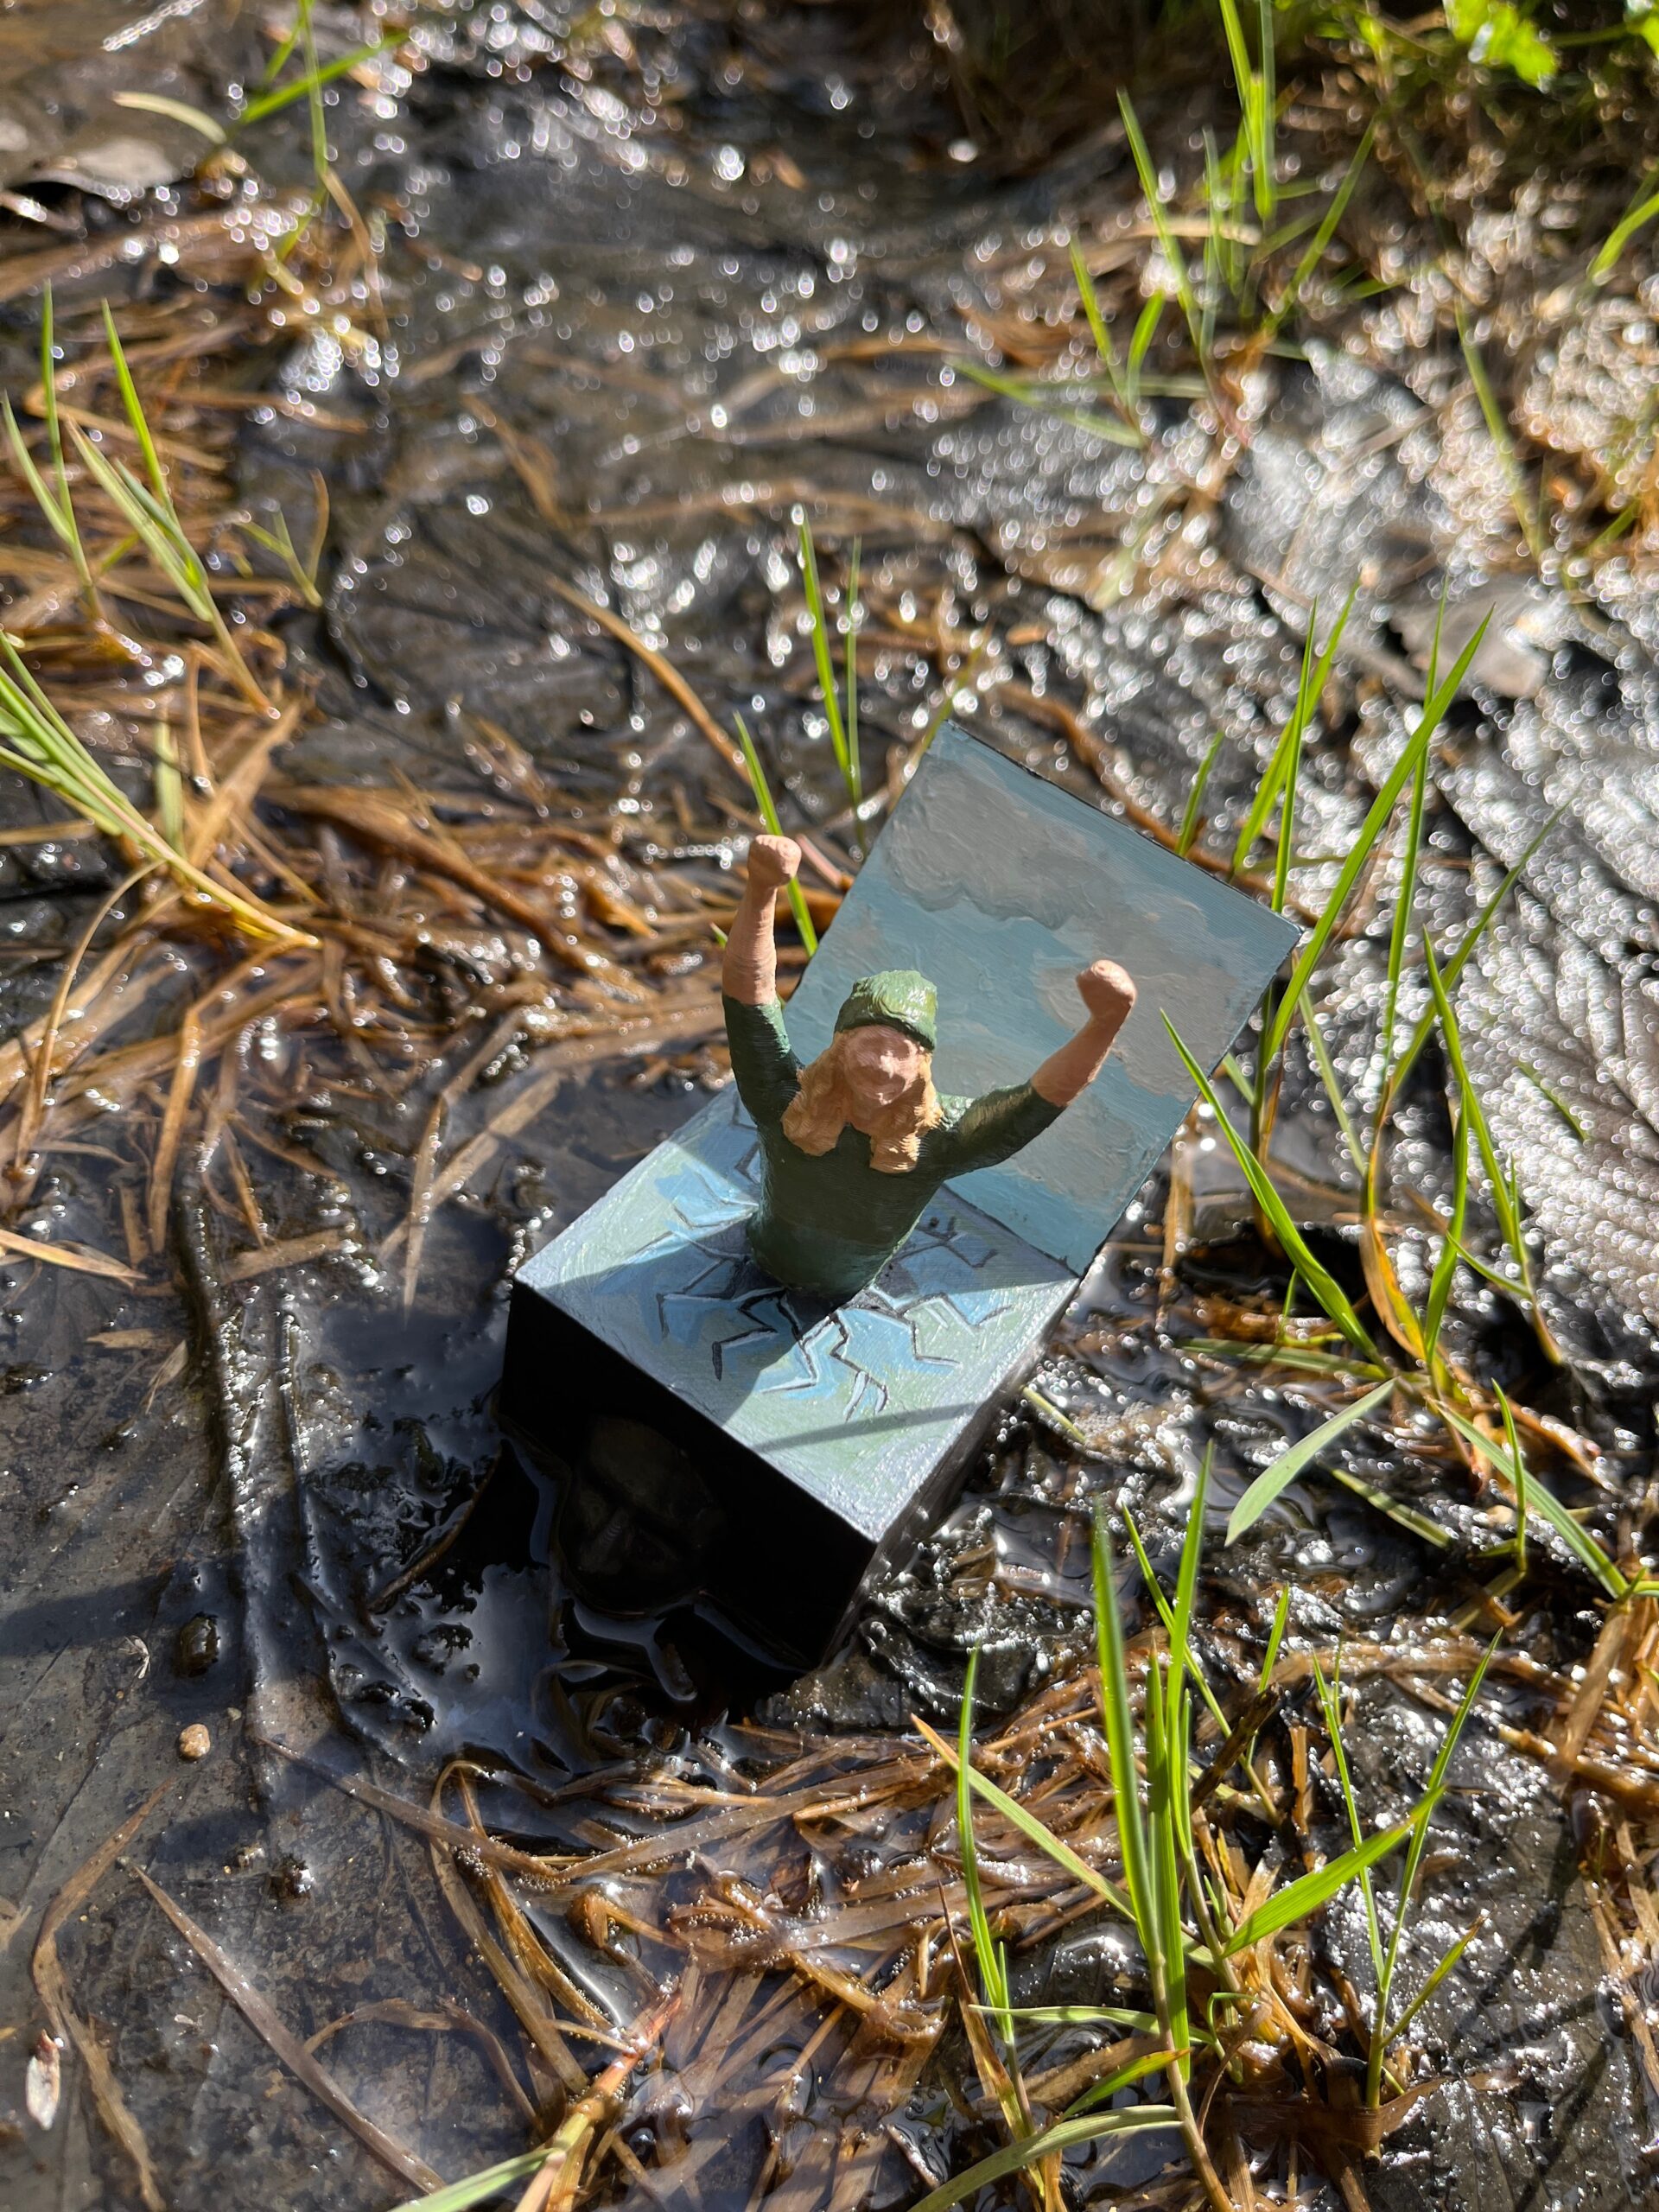
At the time of working on this project I was exploring next steps in my schooling and career and was very excited to discover and expressive arts therapy program. However, my best option to following this pathway was to follow up on my father’s commitment to support me financially in pursuing a masters program. However, after broaching the subject with him I realised a diploma in expressive arts therapy was not aligned with his vision for my academic and career potential. It was a frustrating few days, feeling the pinch of the patriarchy and the power that it has over my future. I decided to use this project as an opportunity to express and manifest my breaking free from that confinement. So, I added the face of an unidentified male.
While designing the model I really liked the tree supports that were created. It added another element to the design that felt connected to nature. It seemed powerful. But unfortunately during the printing process the technitian removed the tree supports and the result were the 3D model printing above.
After priming the model I felt a bit stuck on what to do for the painting. I thought about the box being like a black box. Mysterious, difficult to define, much like the patriarchy. But what about the lid, and the top of the box that I’m emerging from?
I reflected on this some more and thought about the women breaking through the glass ceiling. The sky above like a beacon of opportunity, of light. And the invisible glass somehow always keeping them from reach. Well not here!
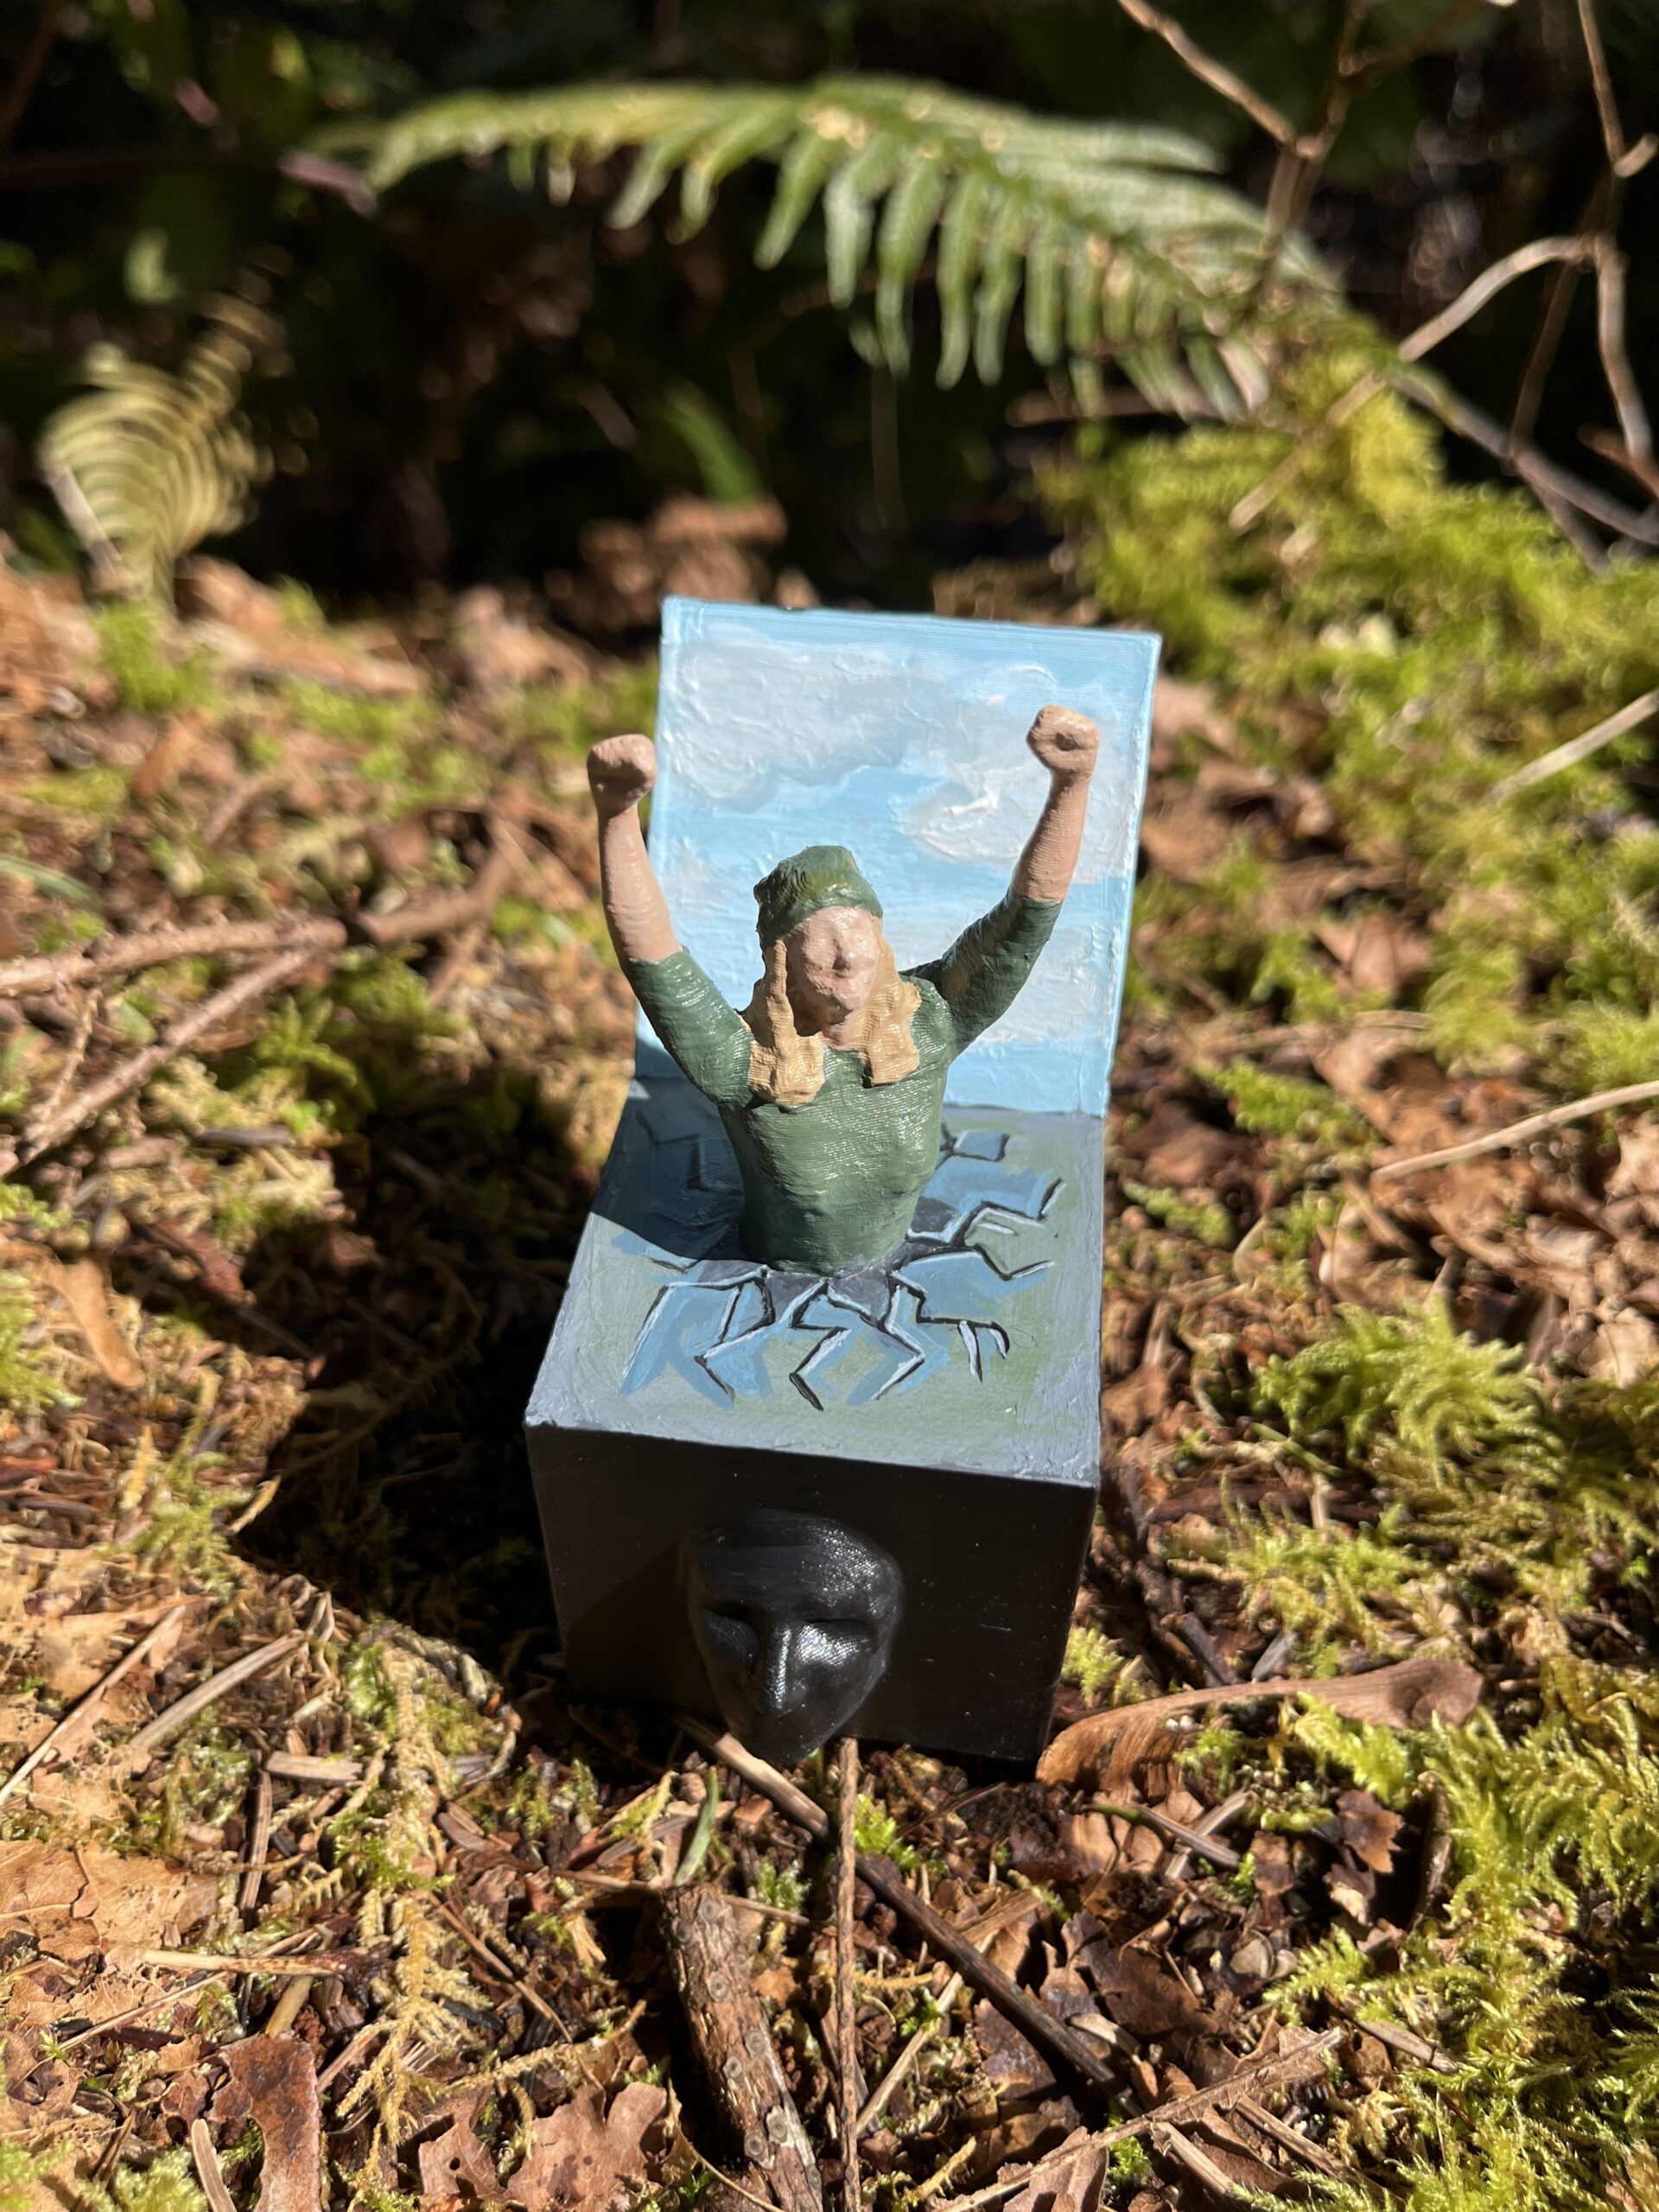
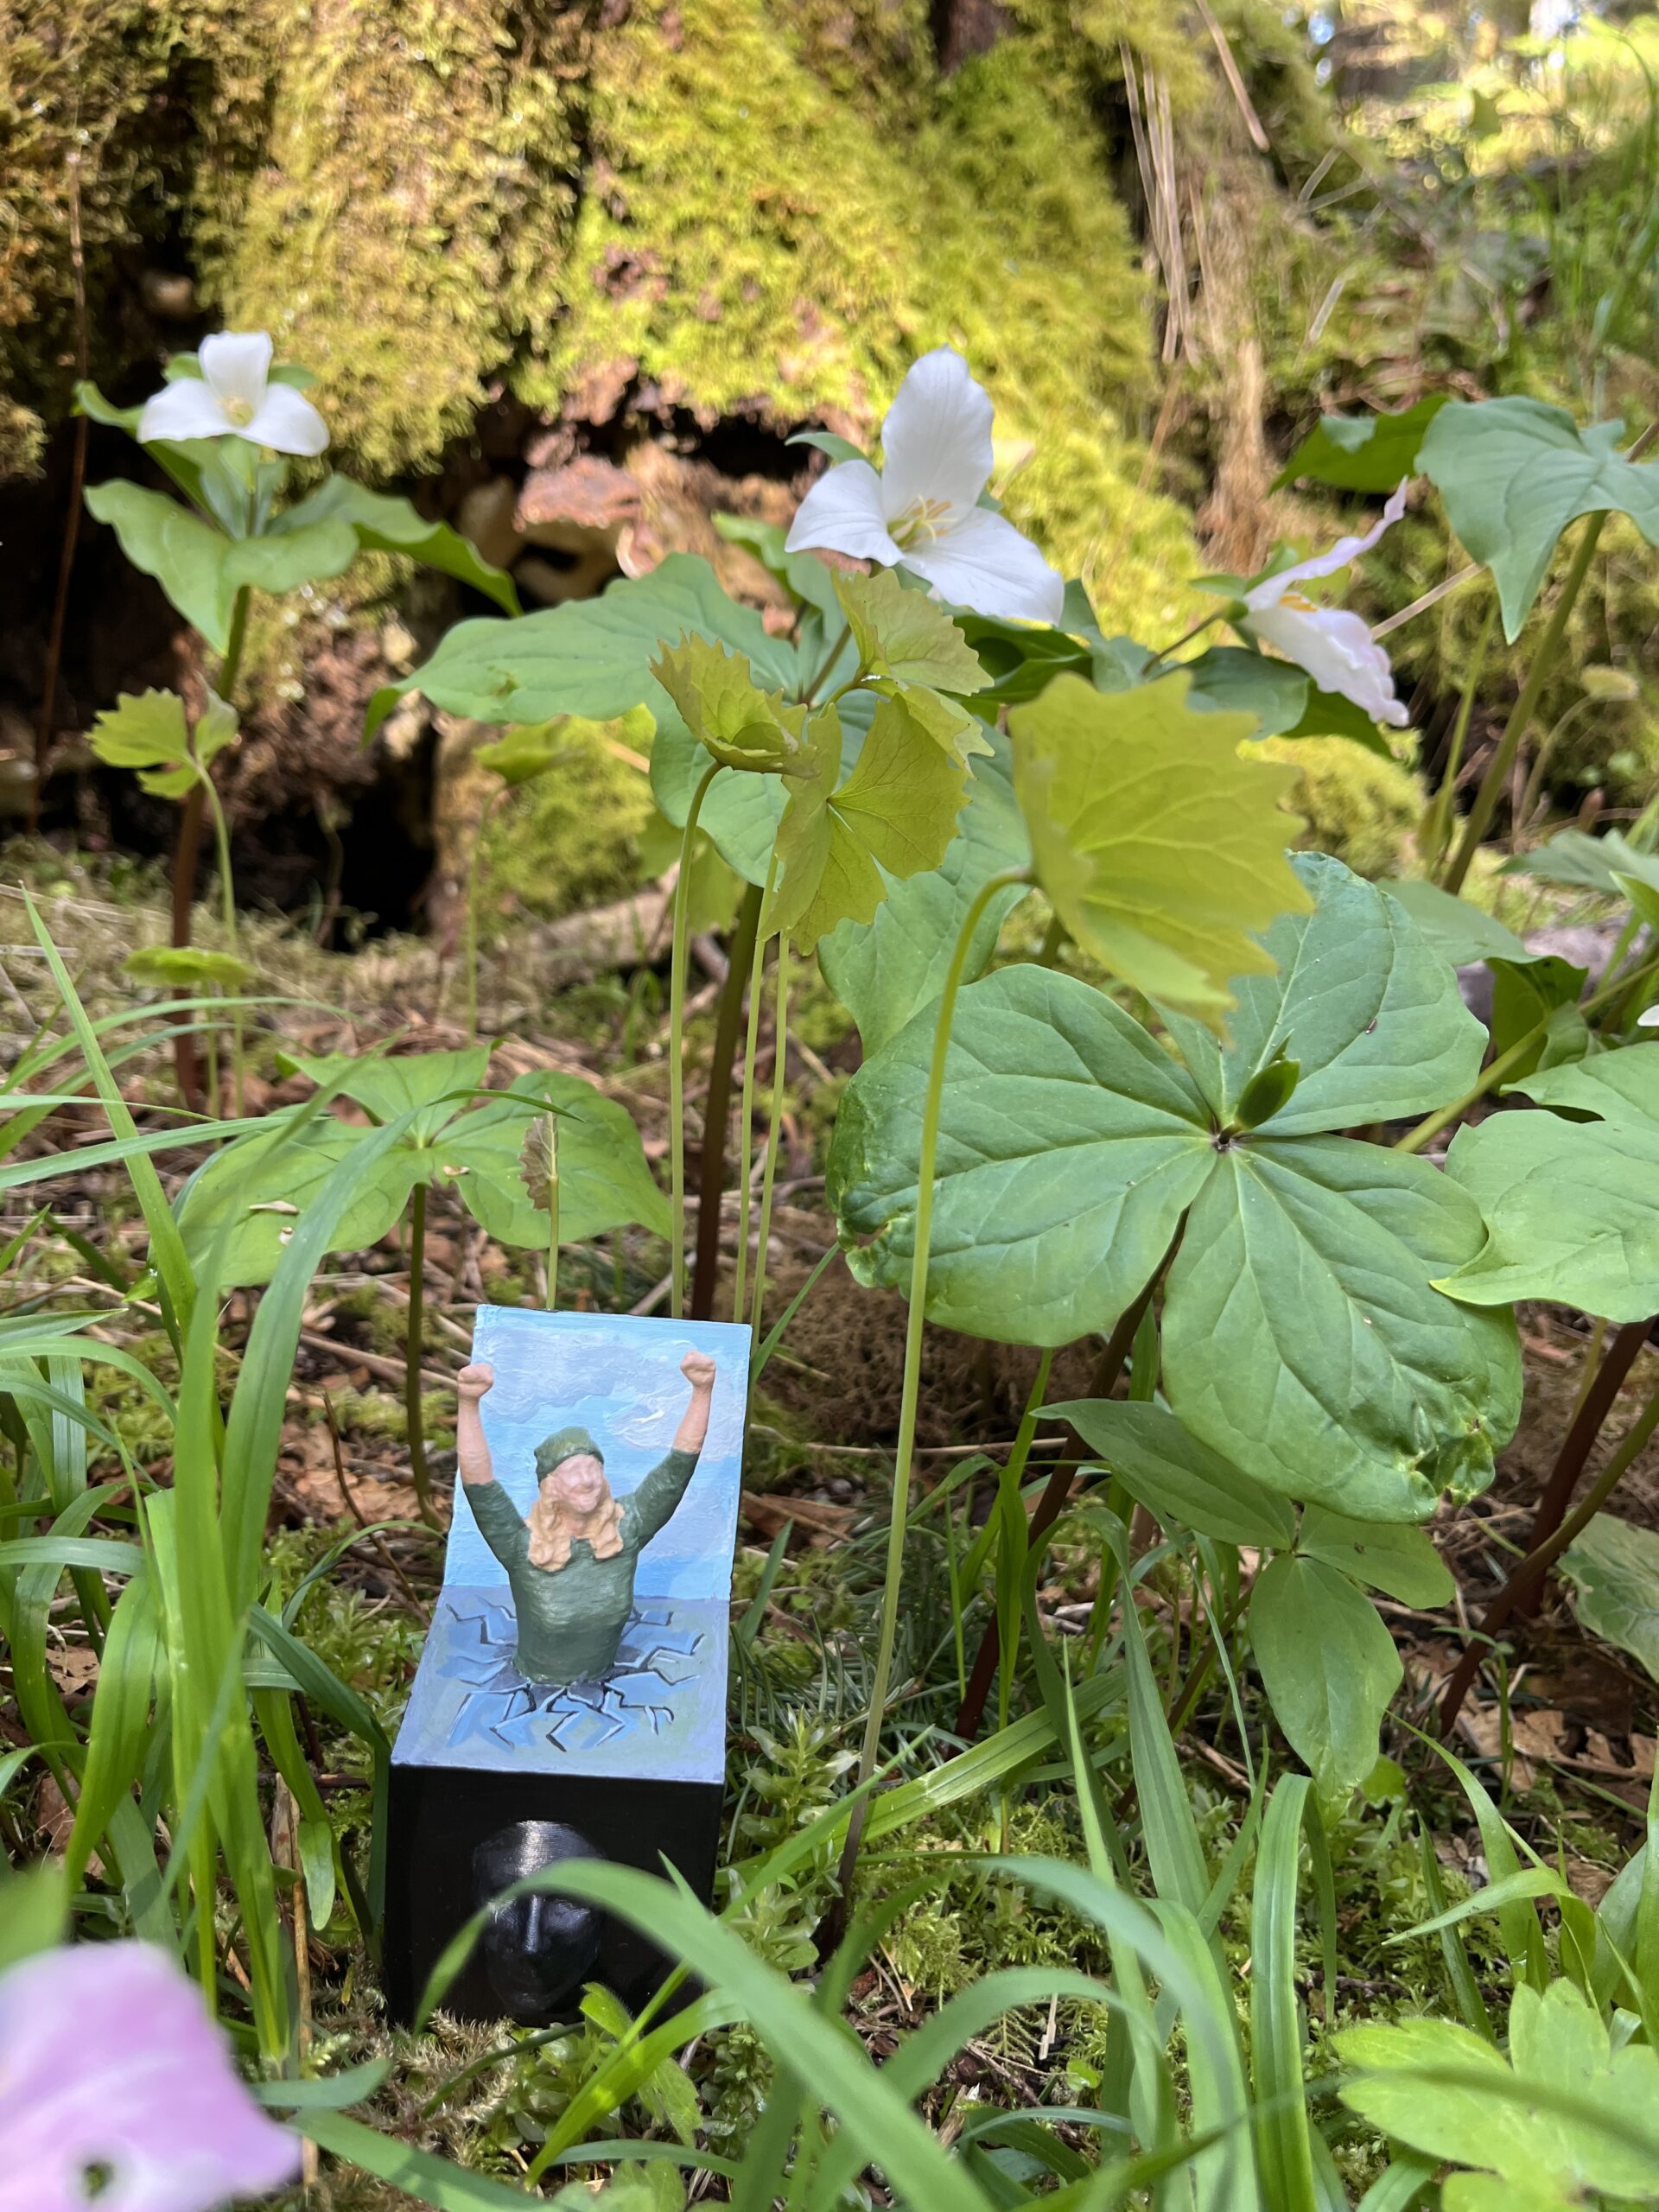

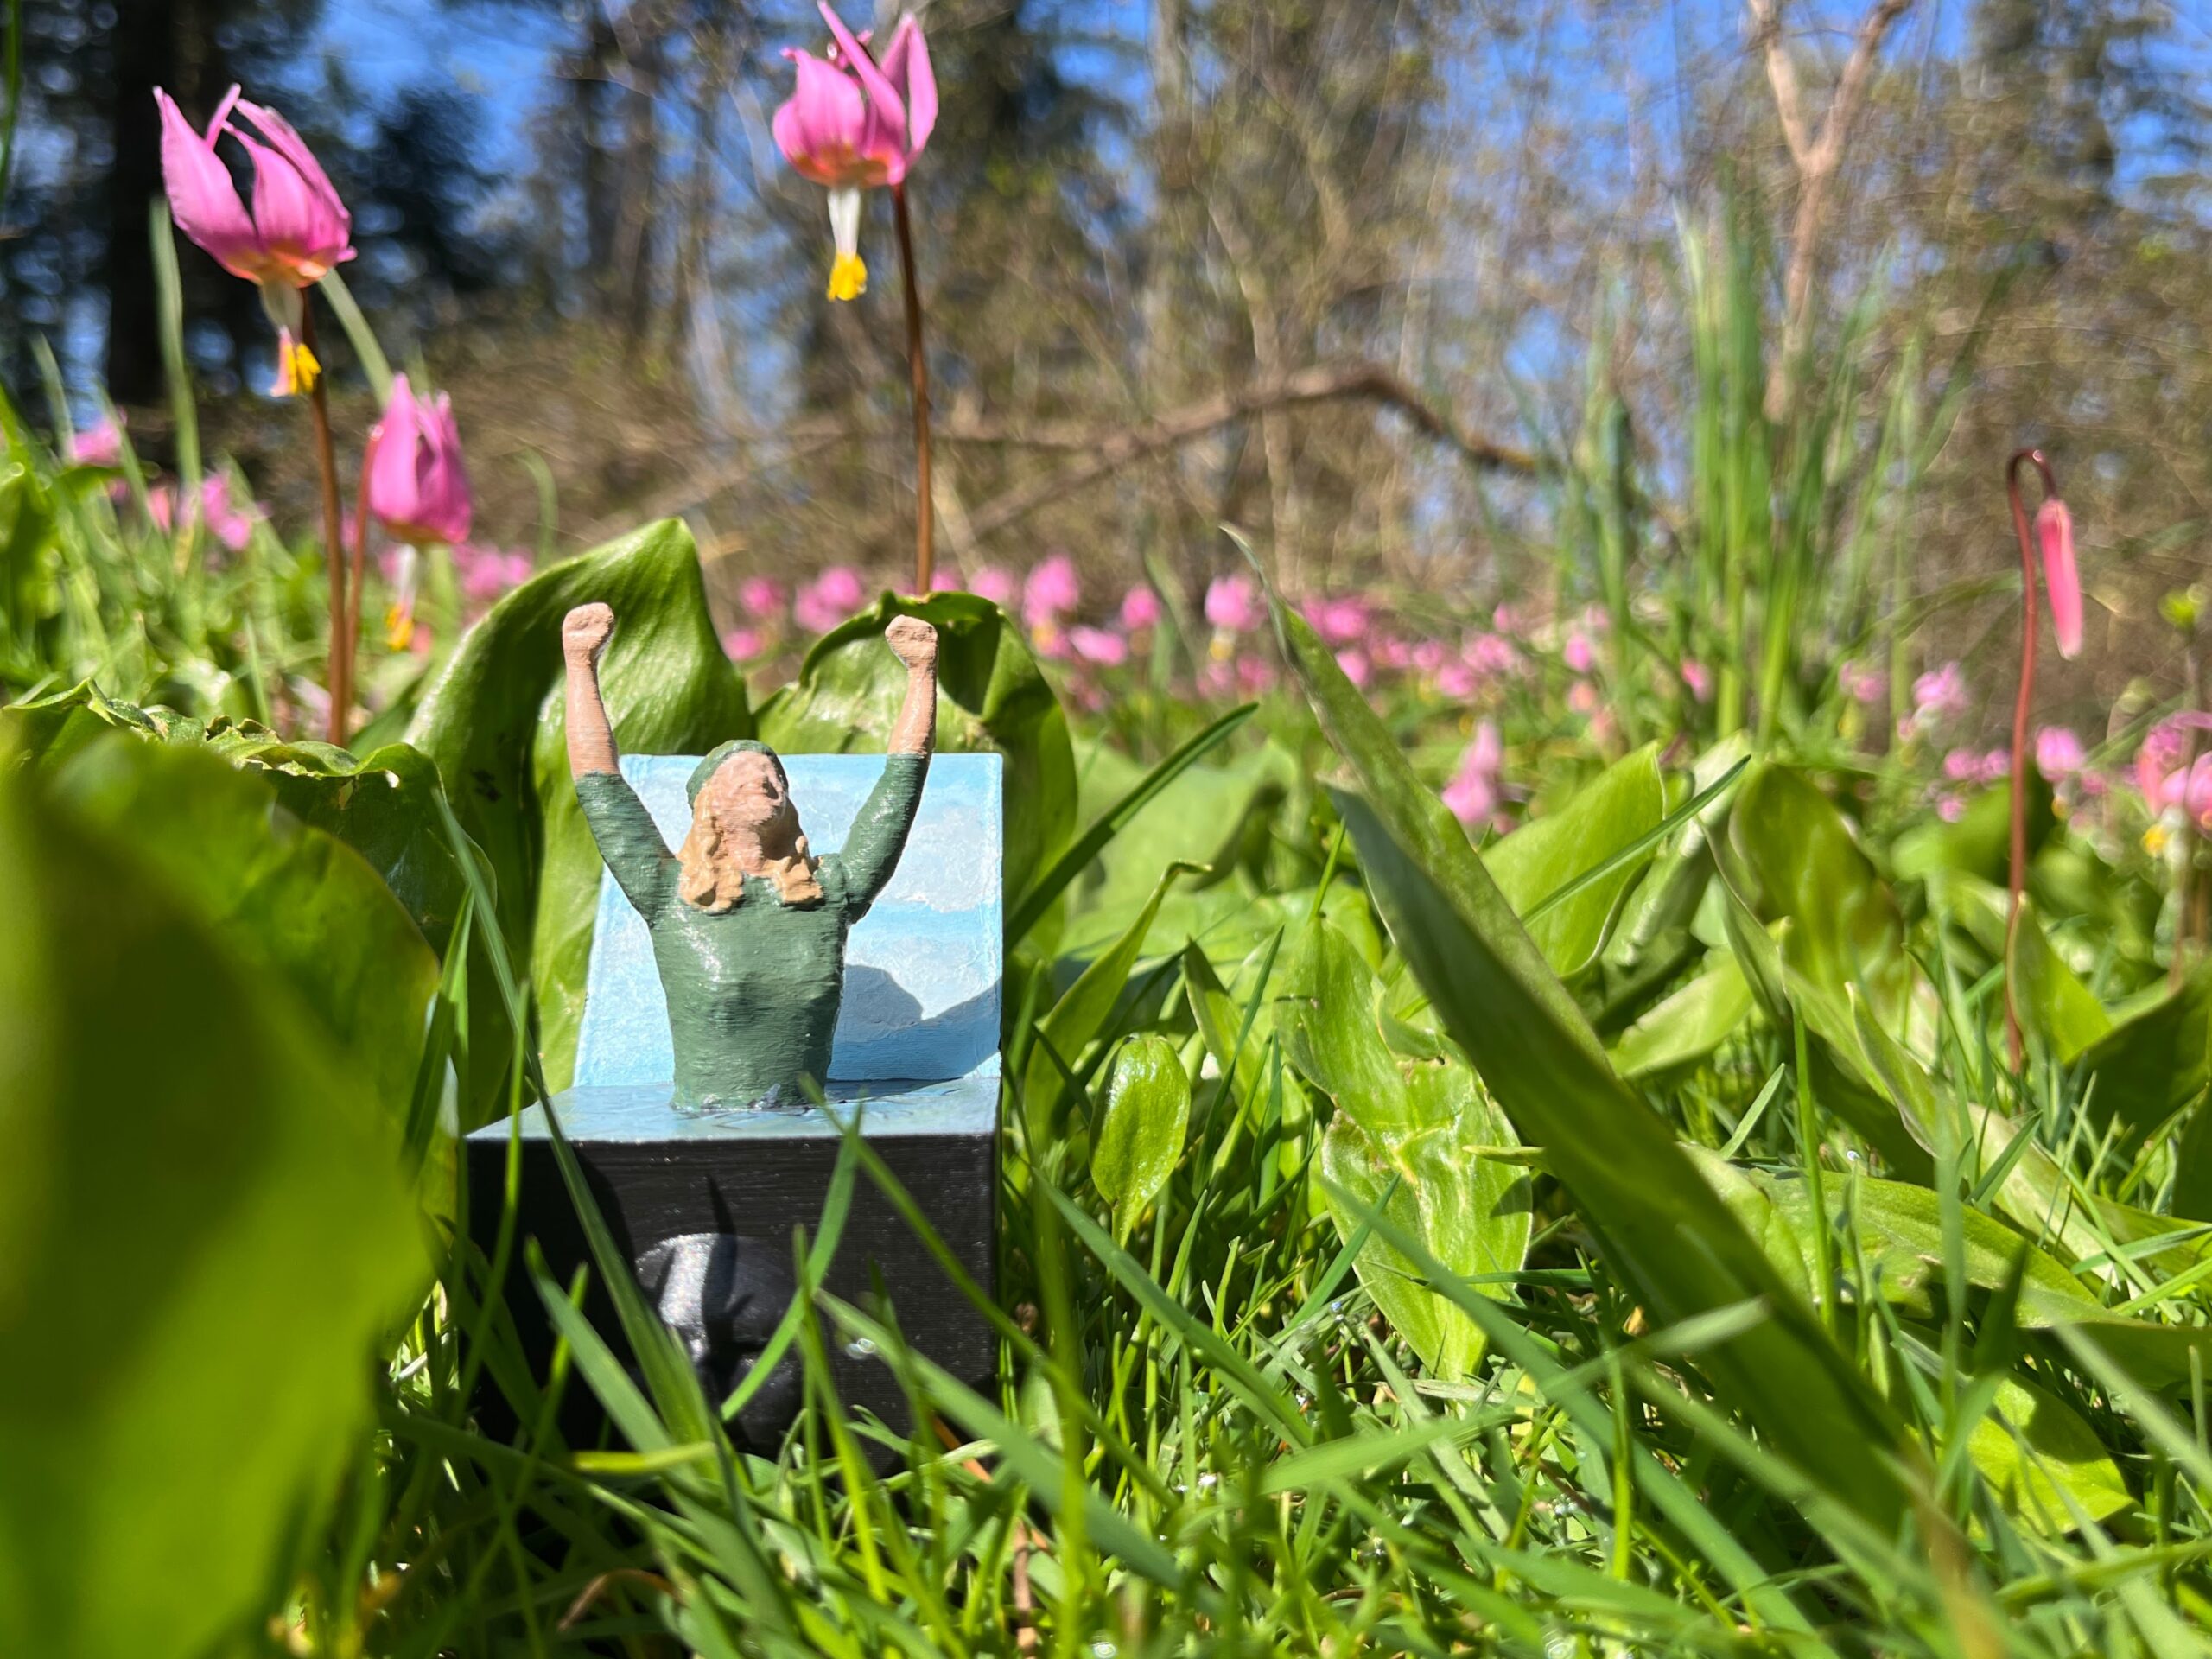
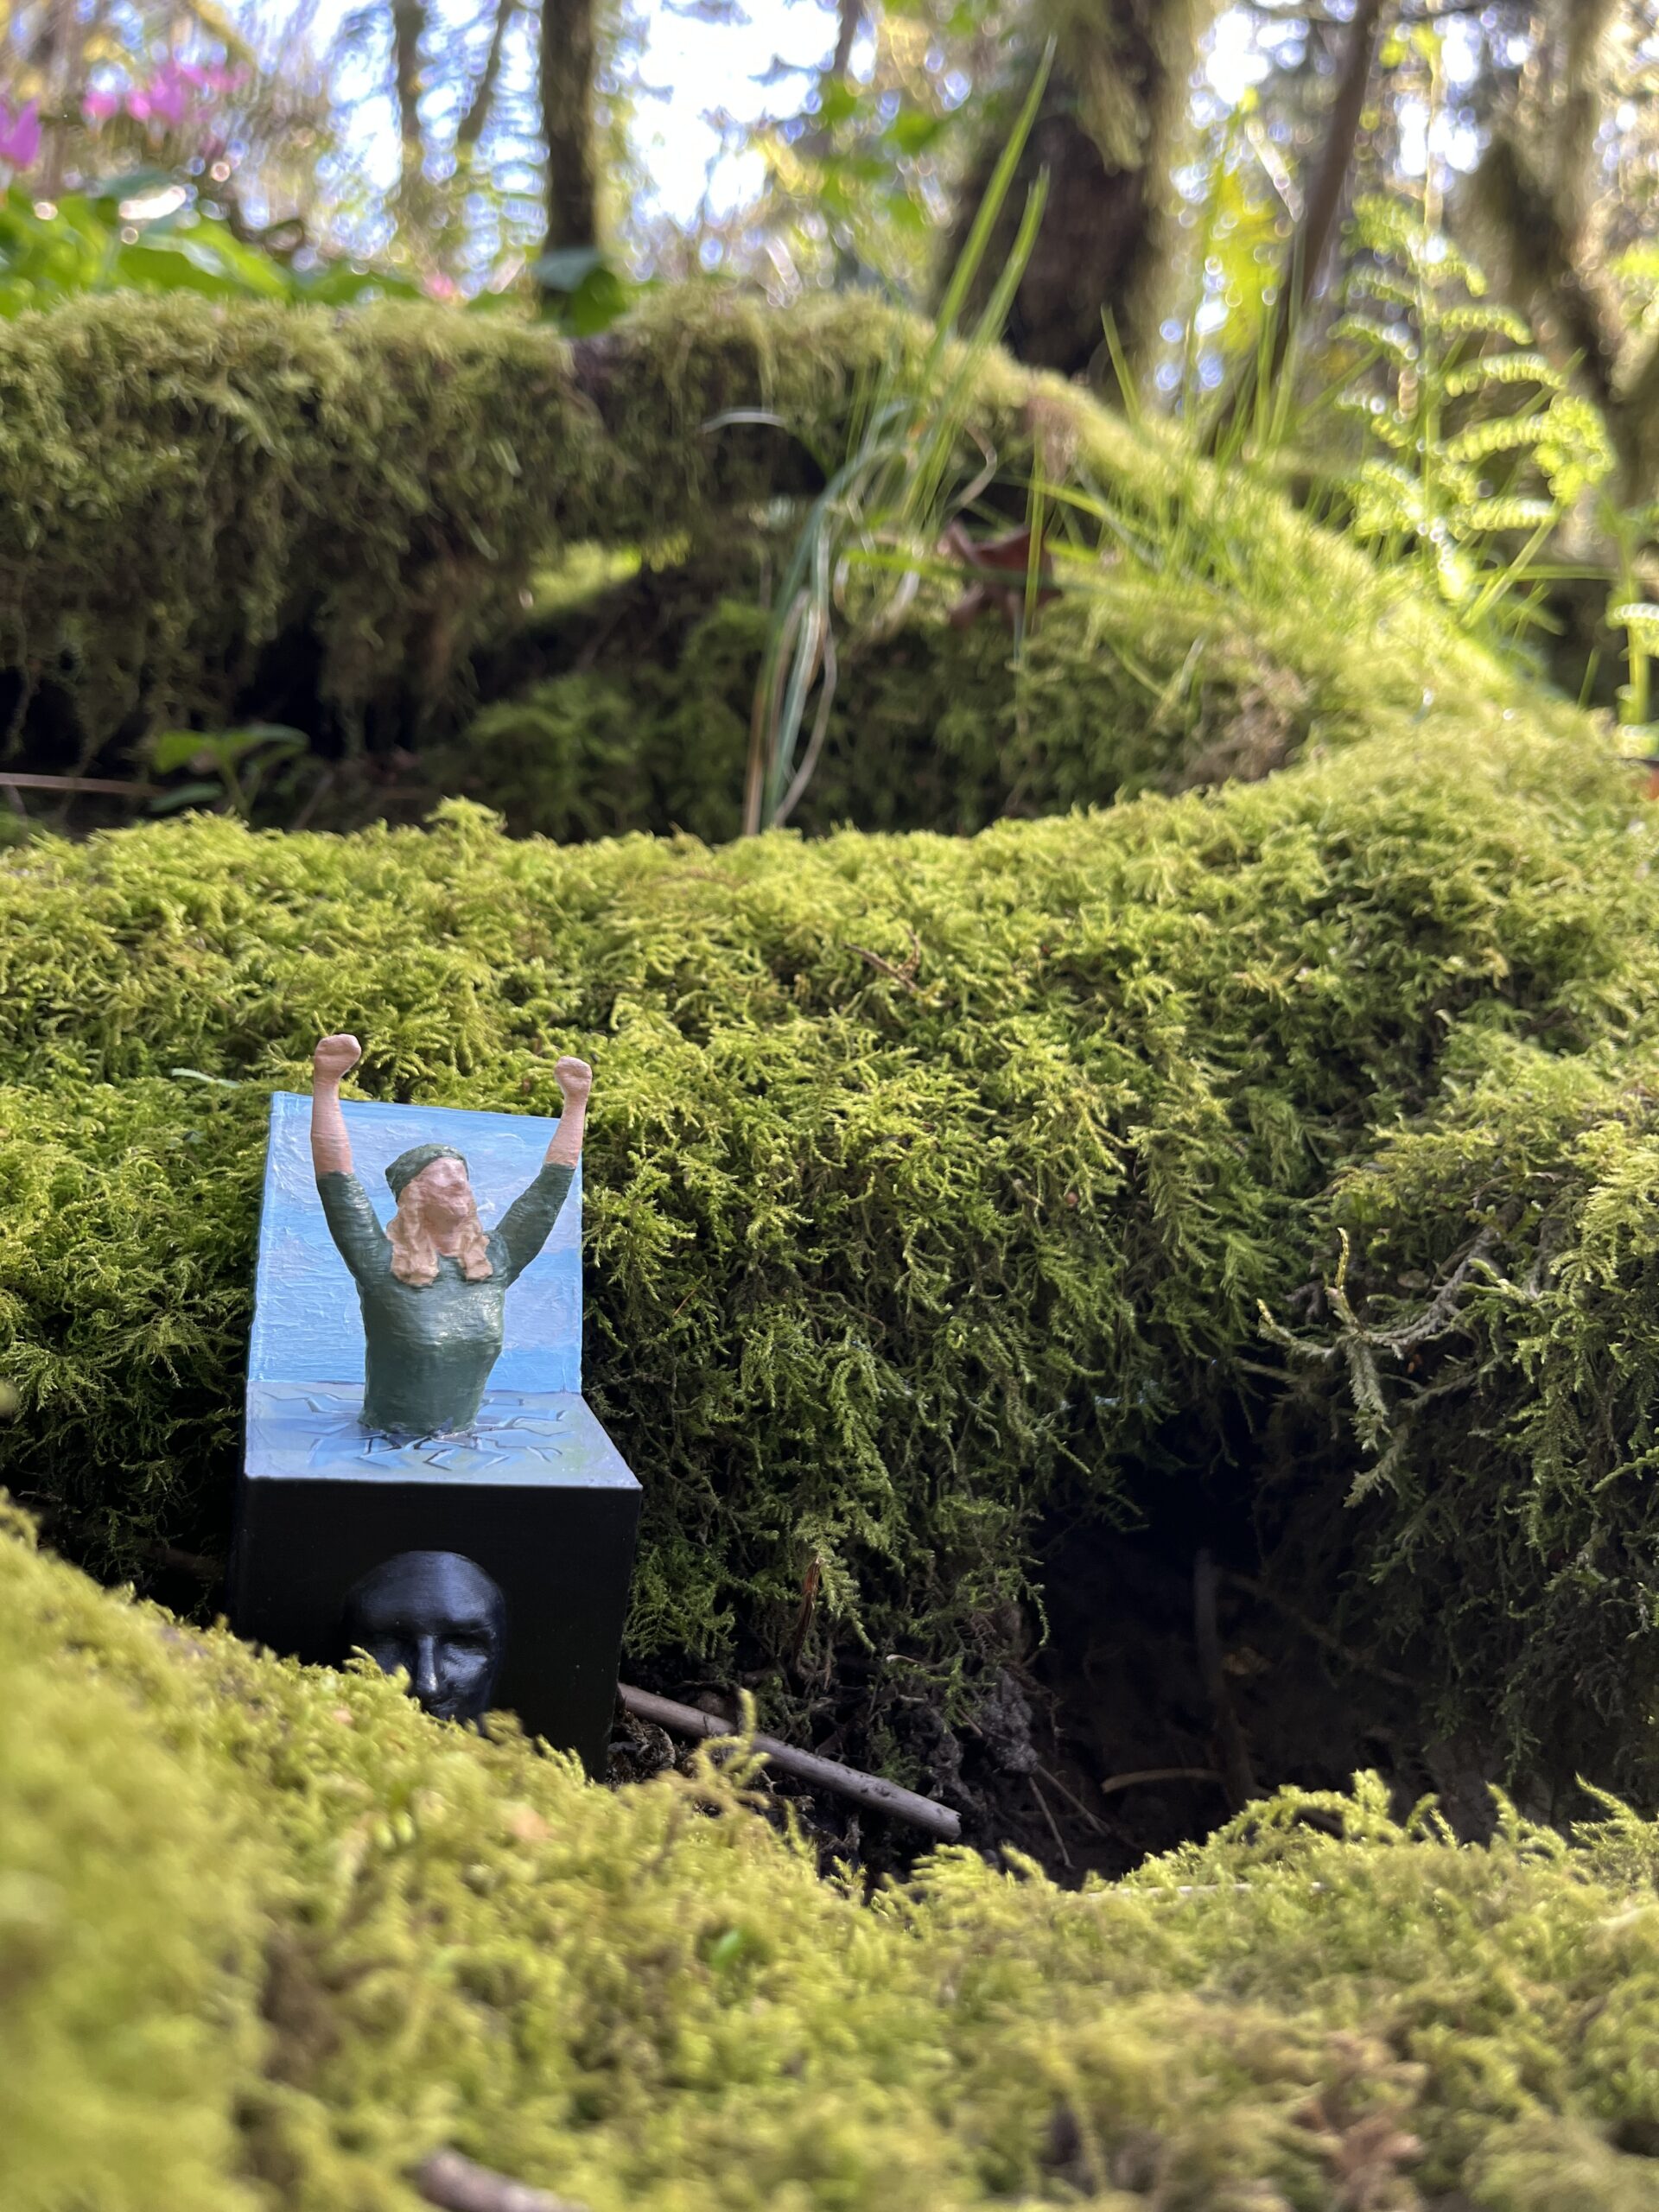
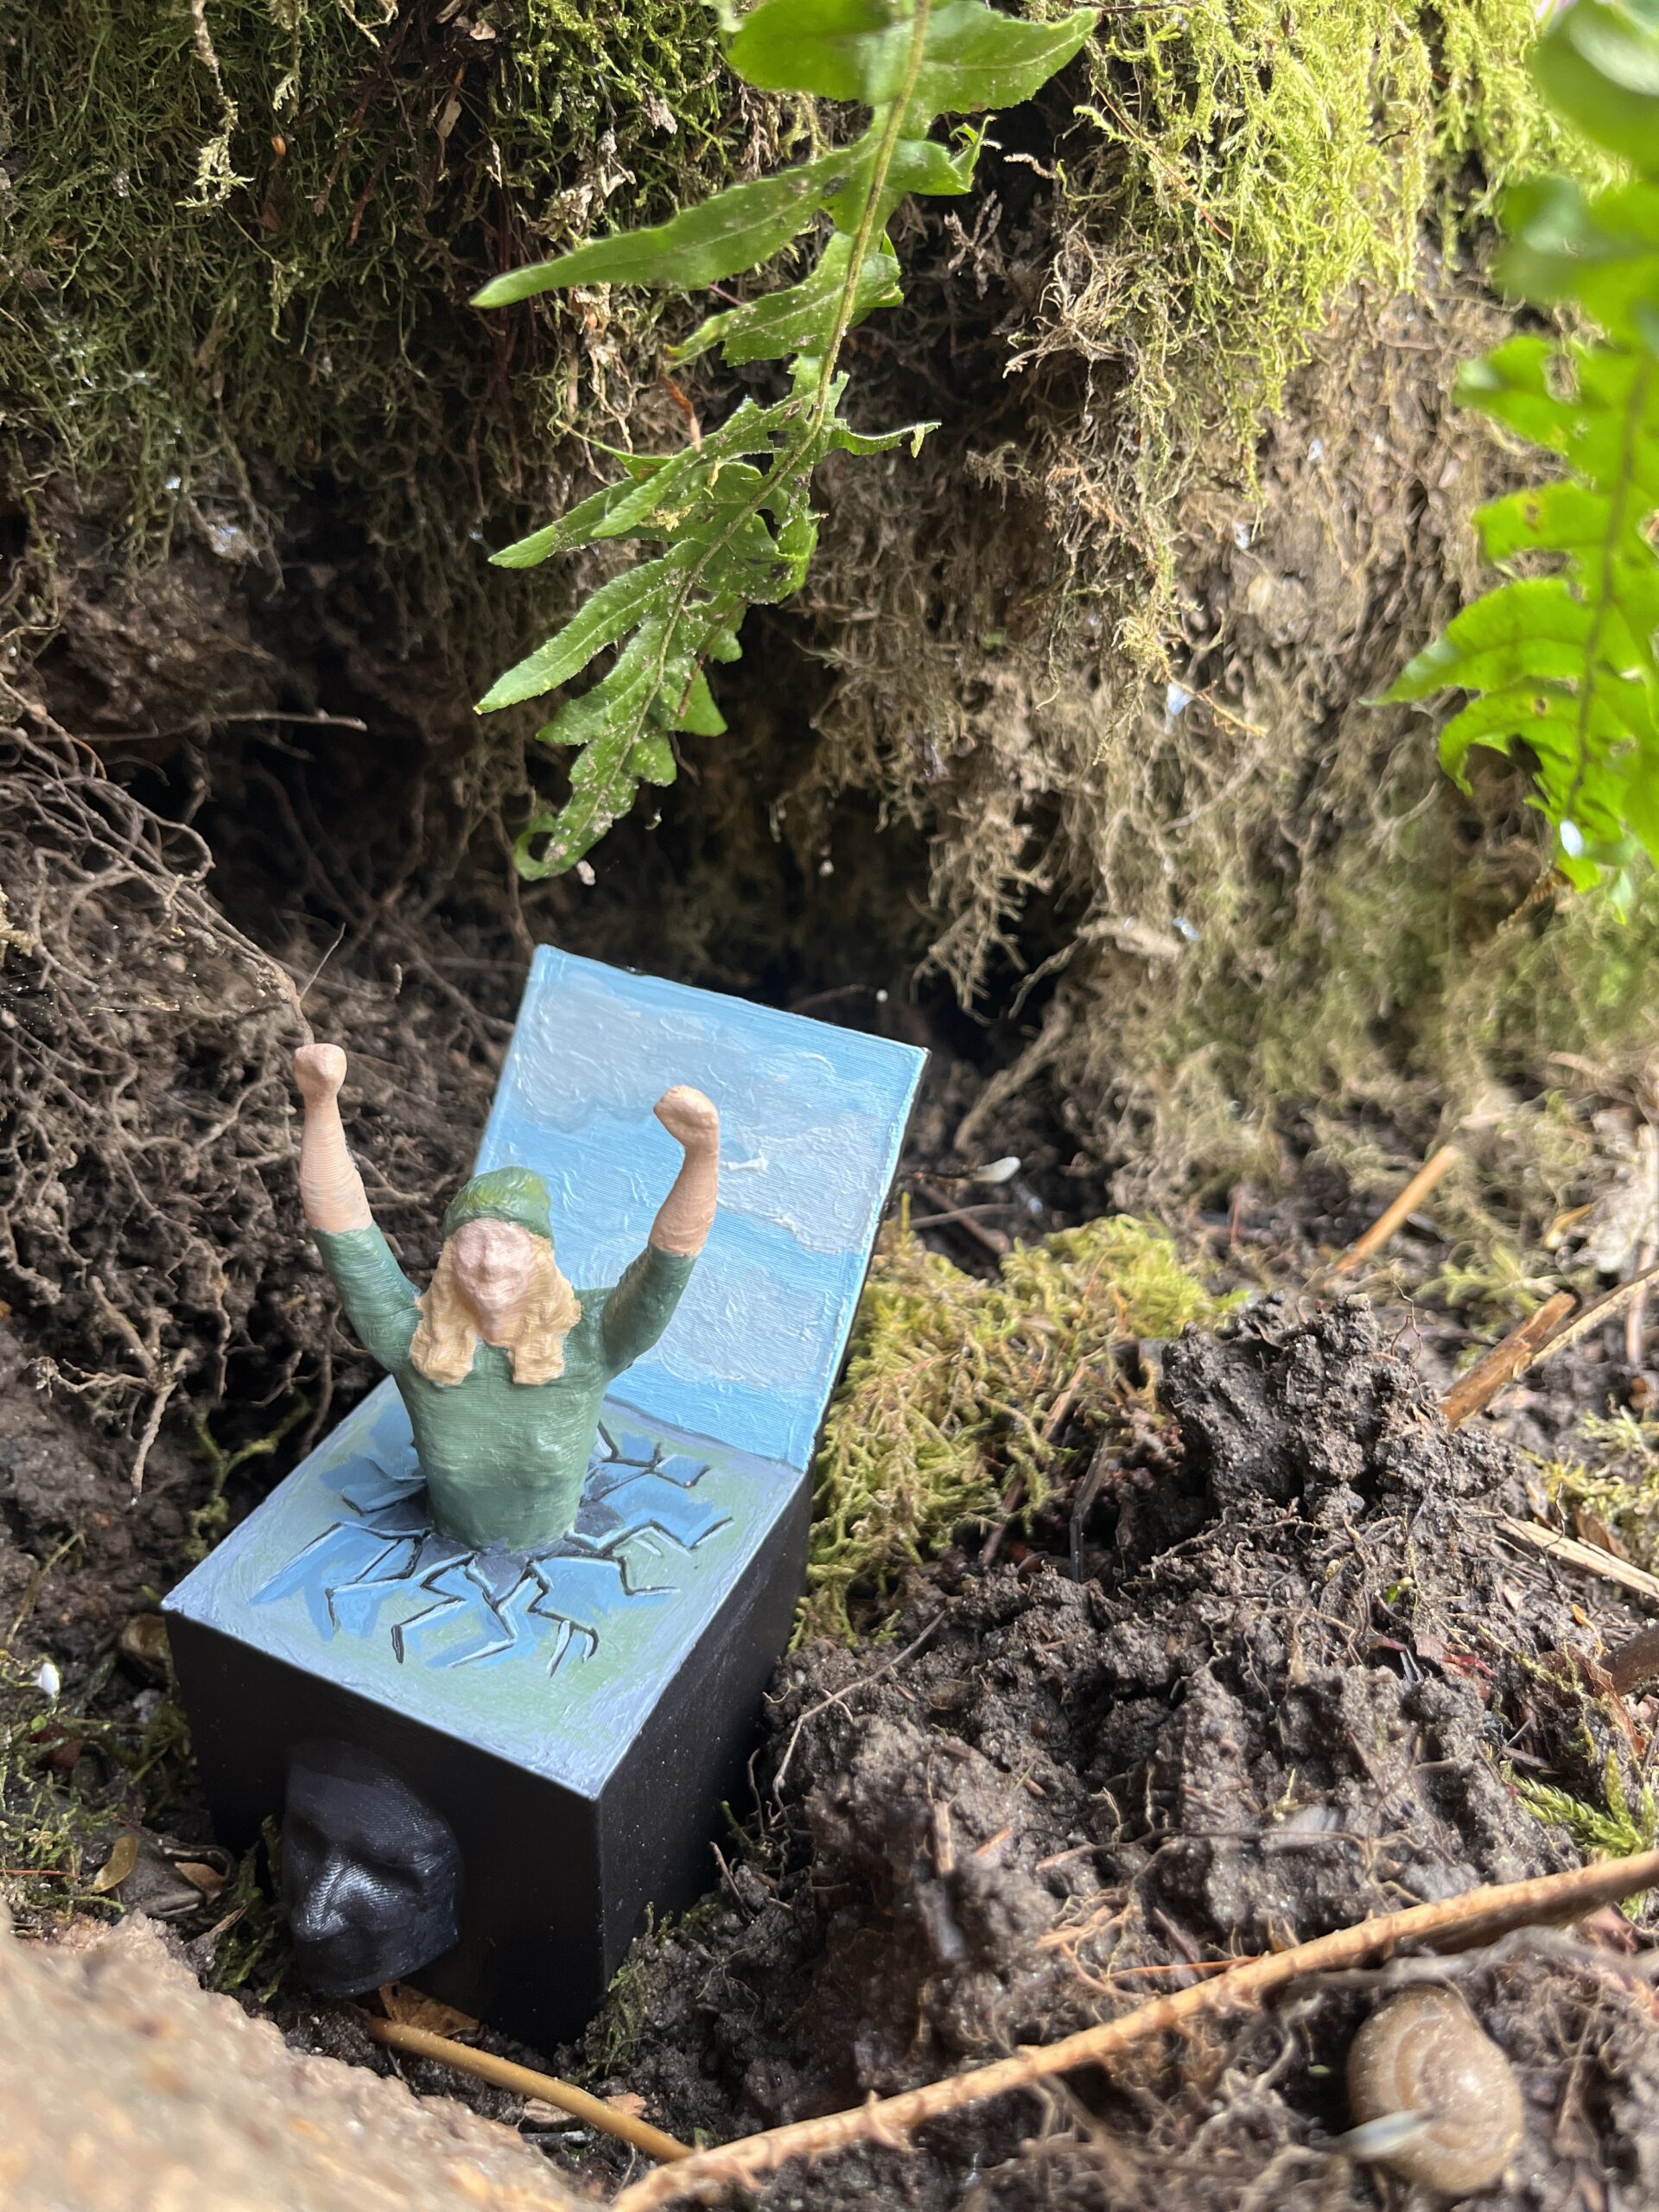
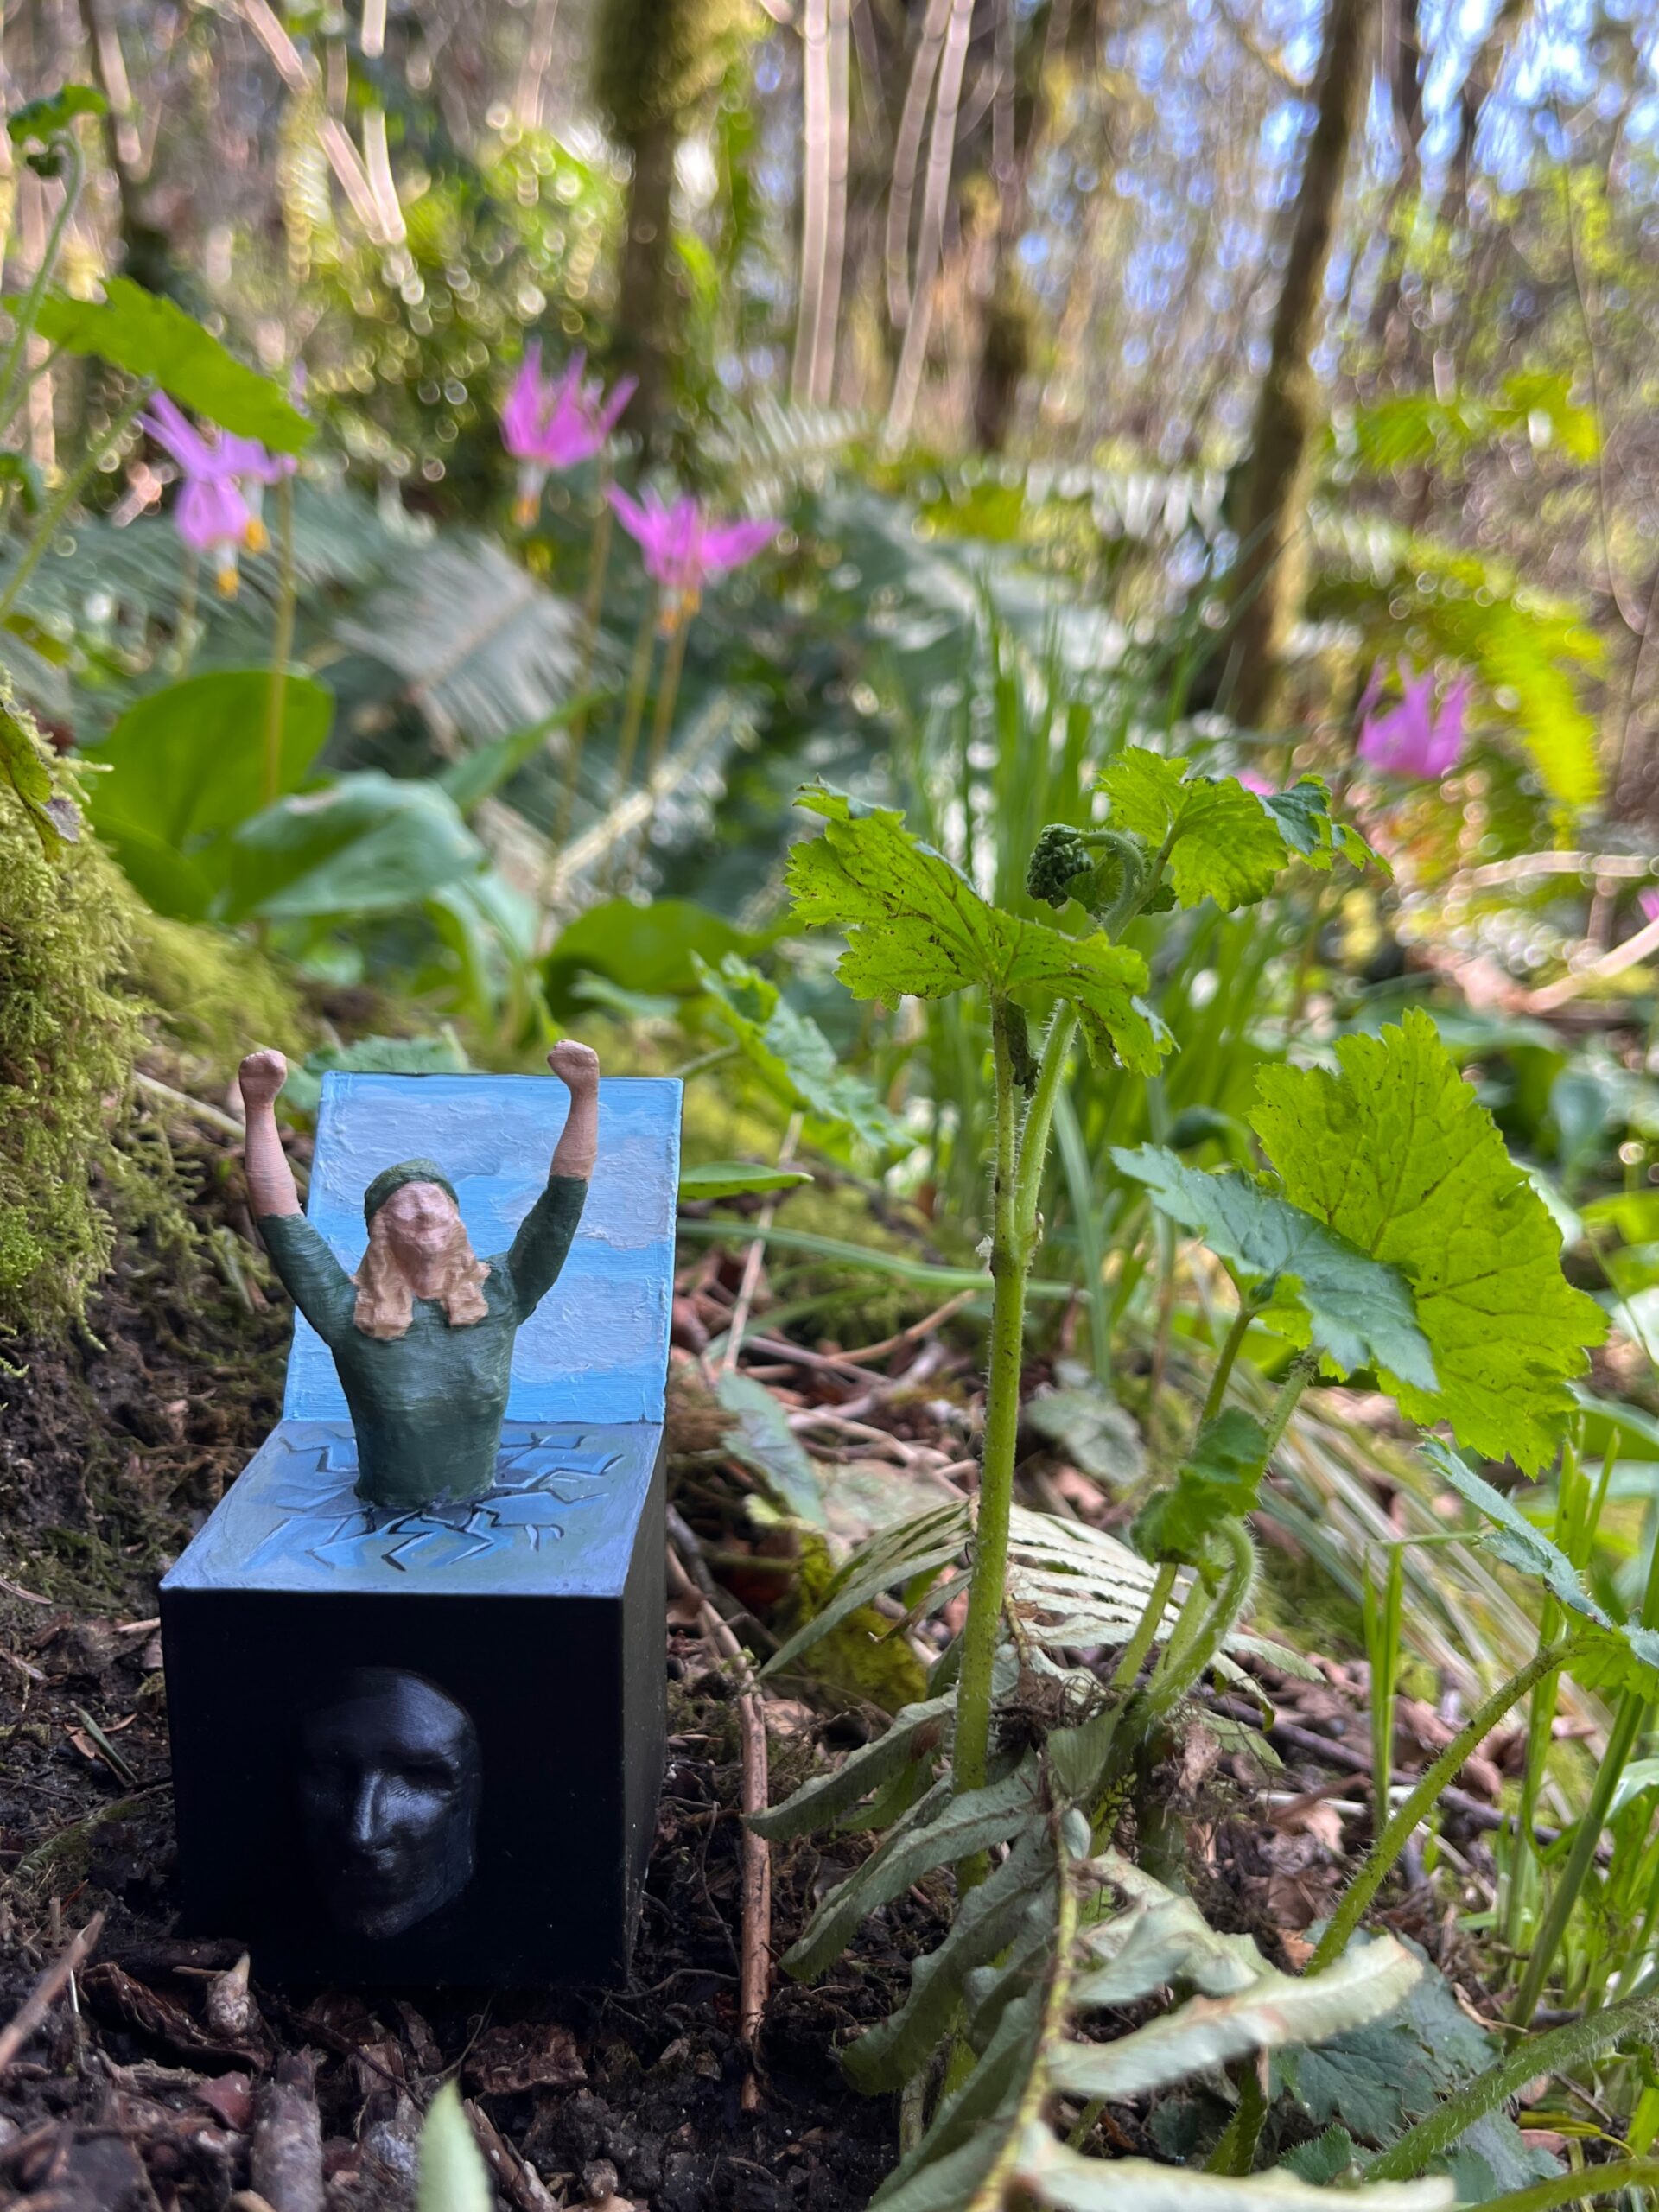
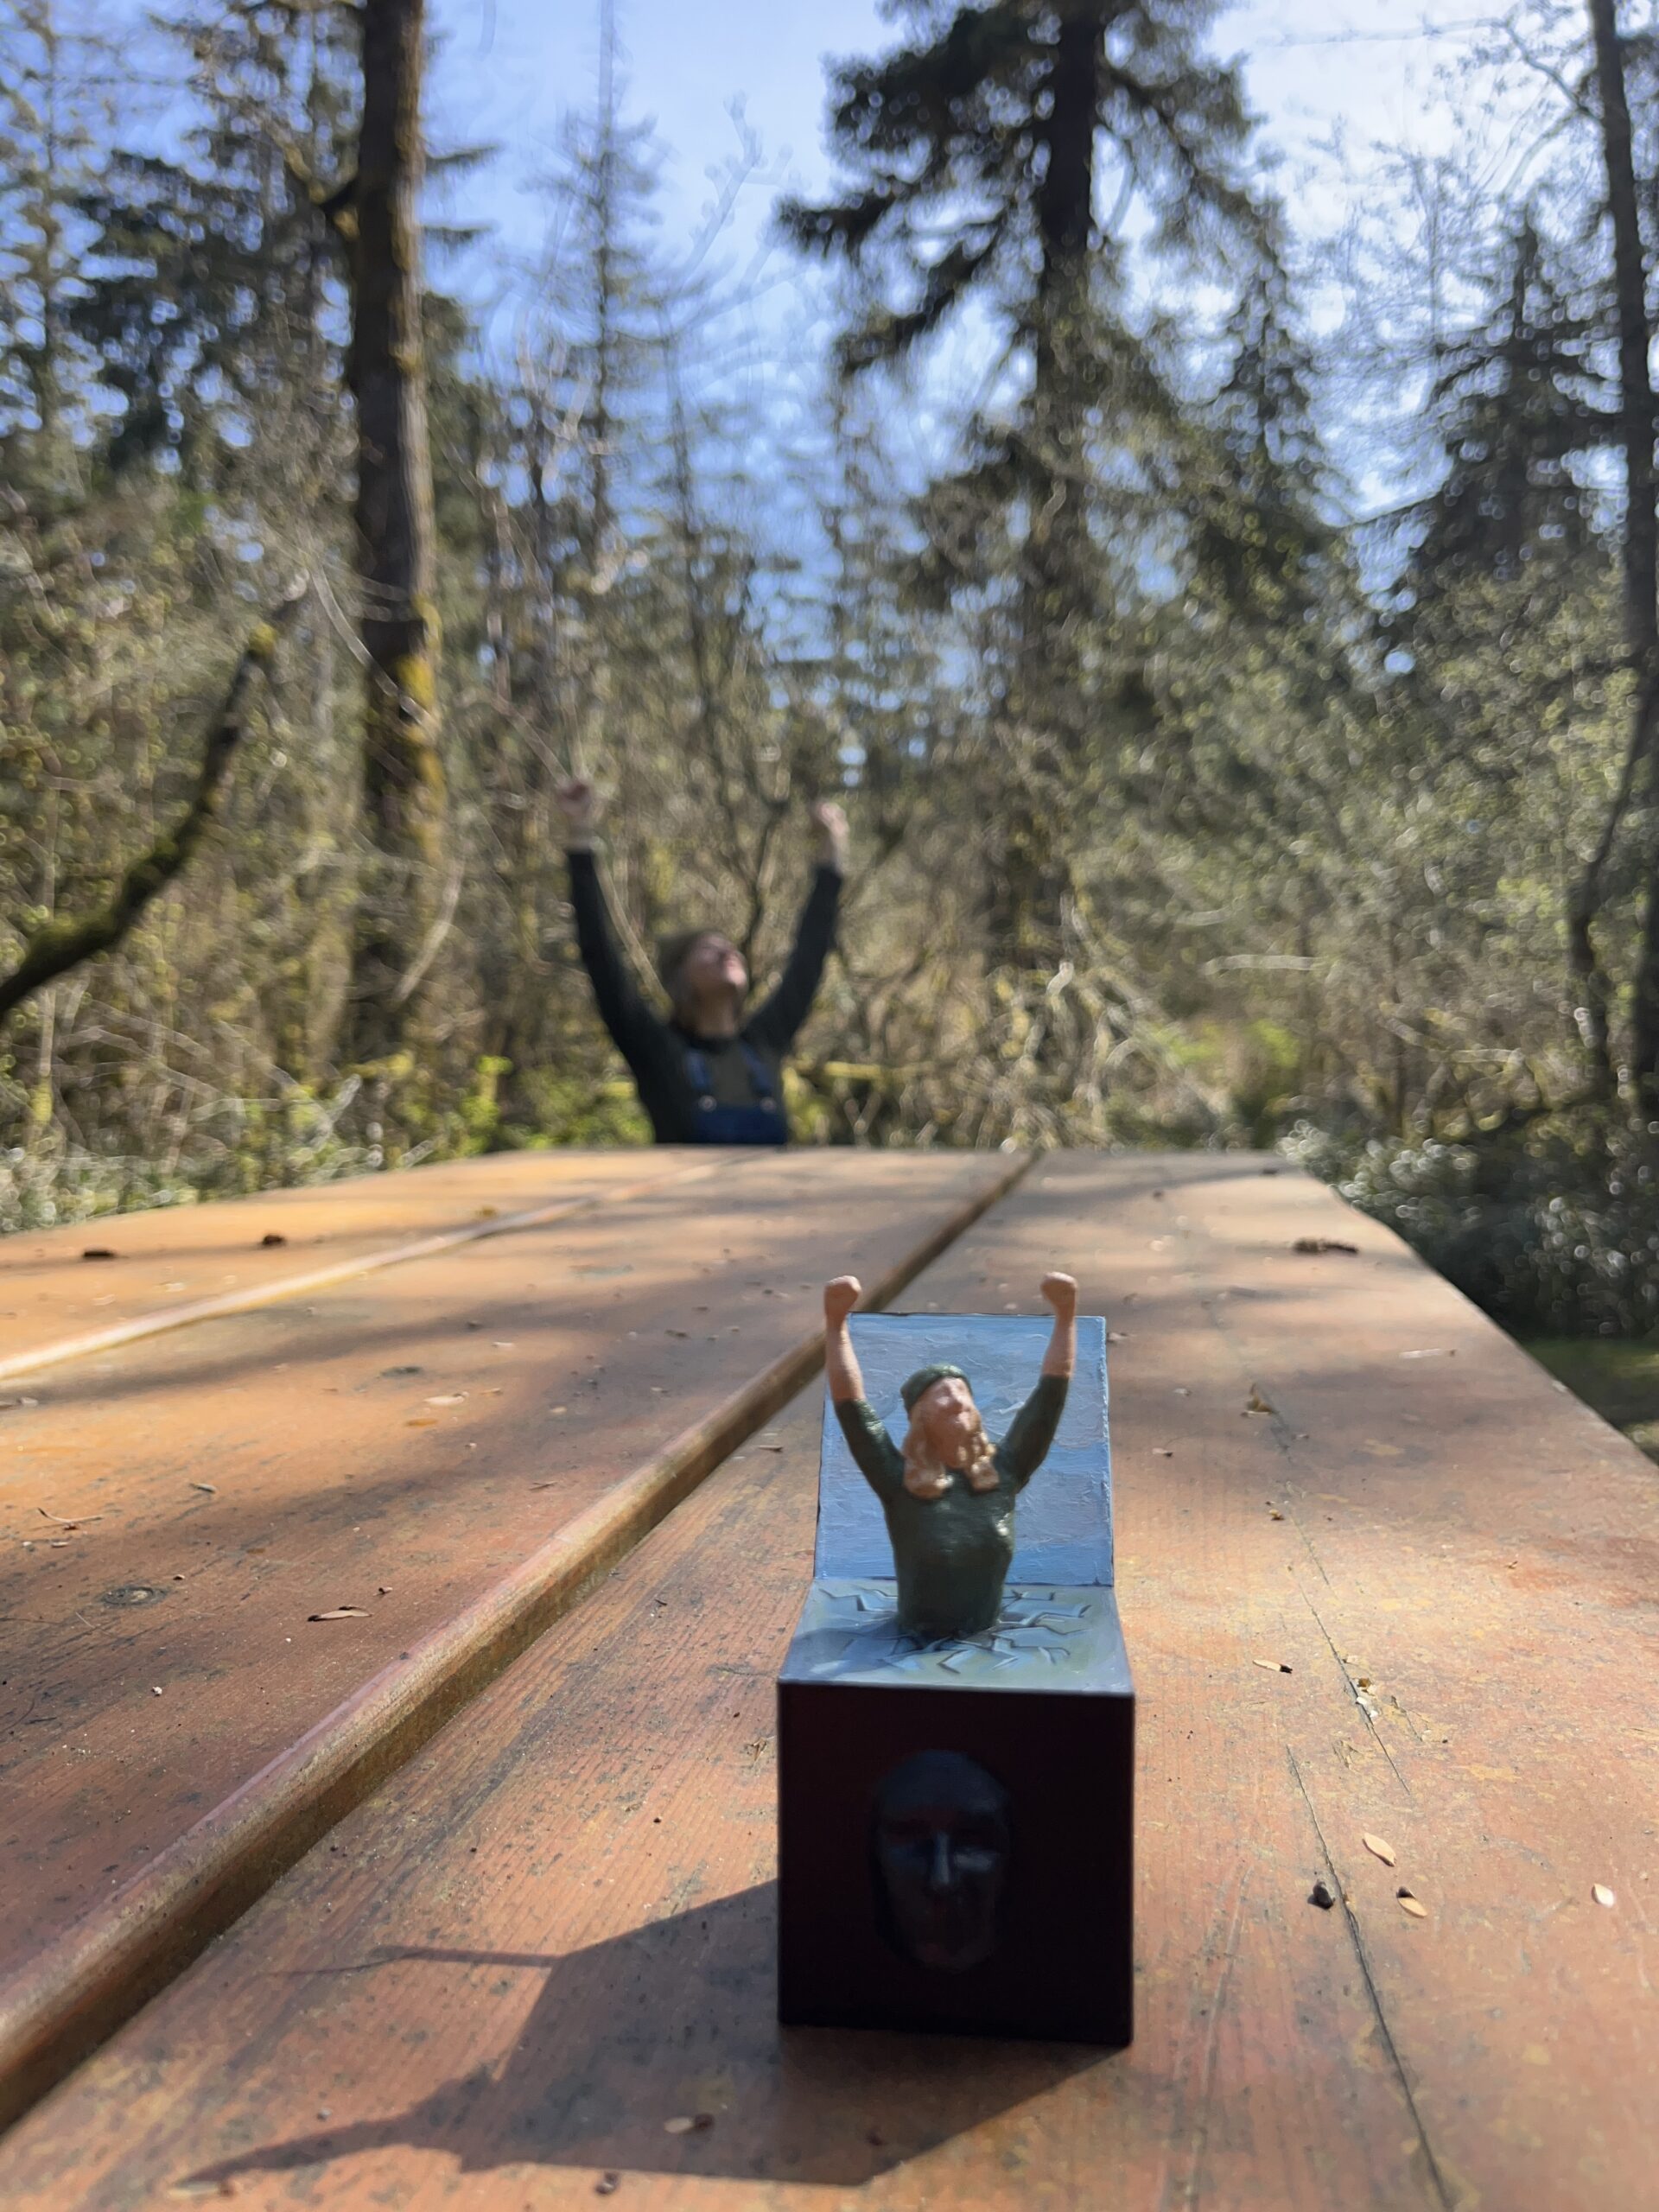

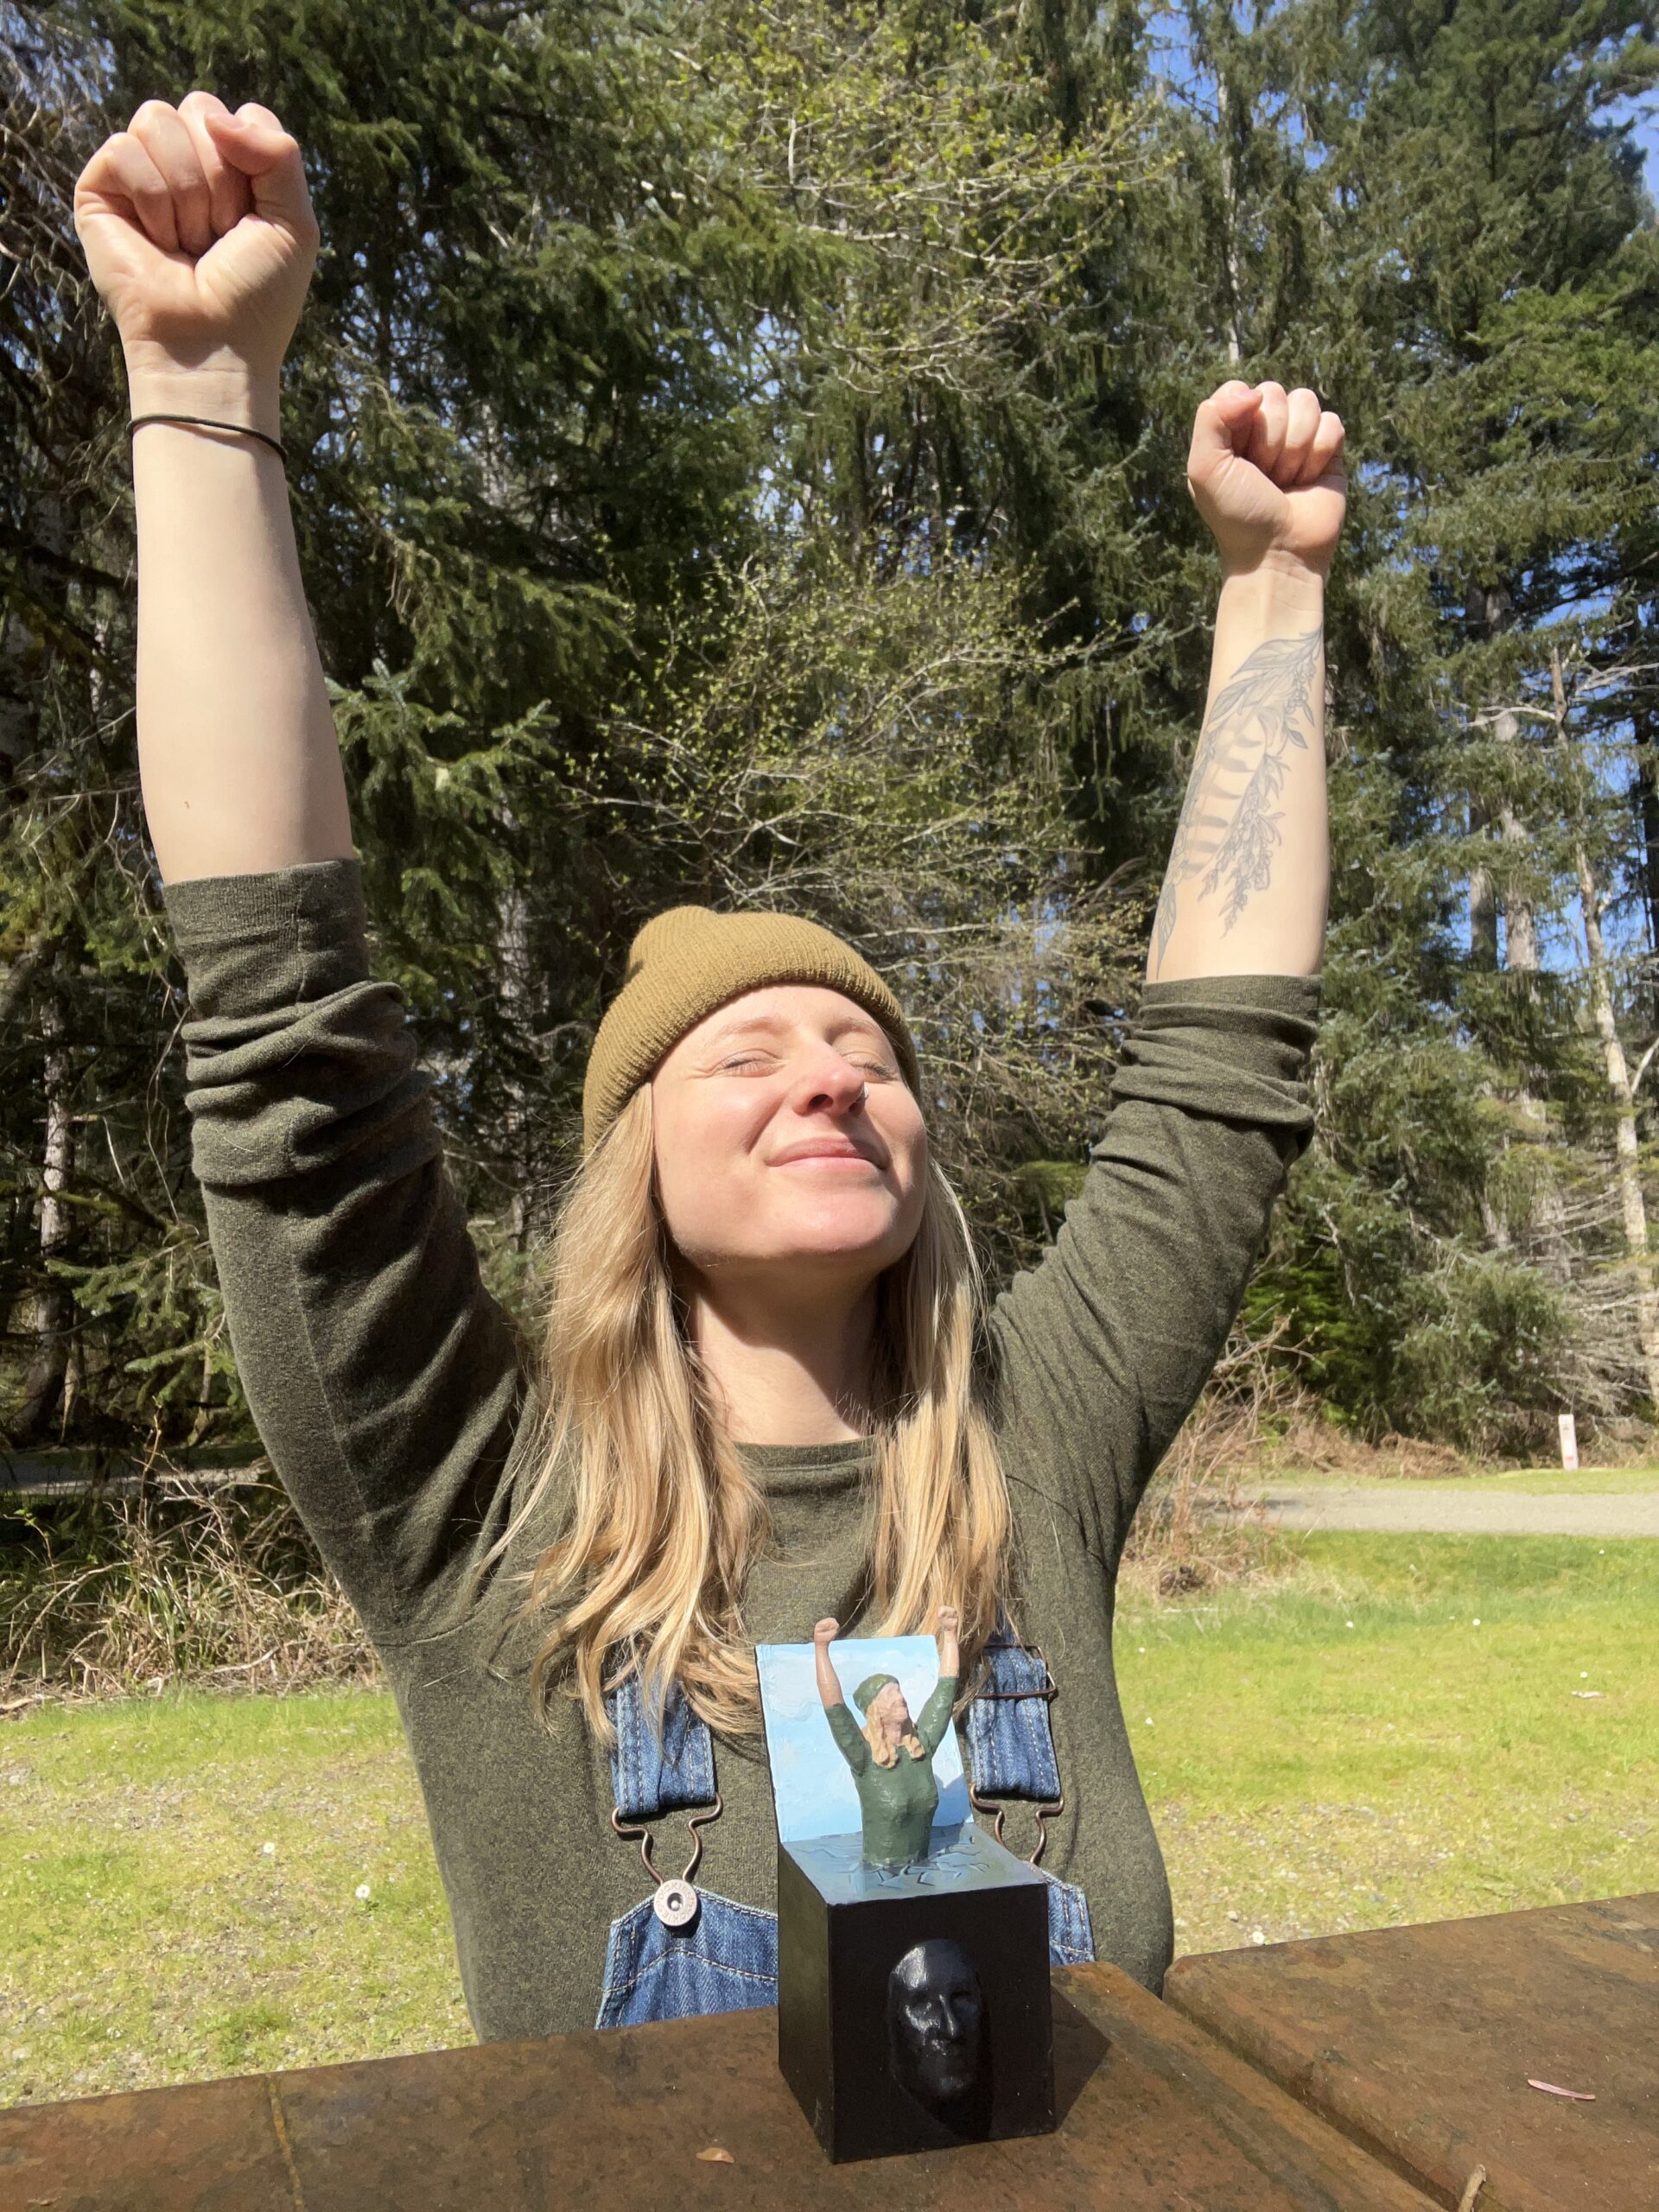
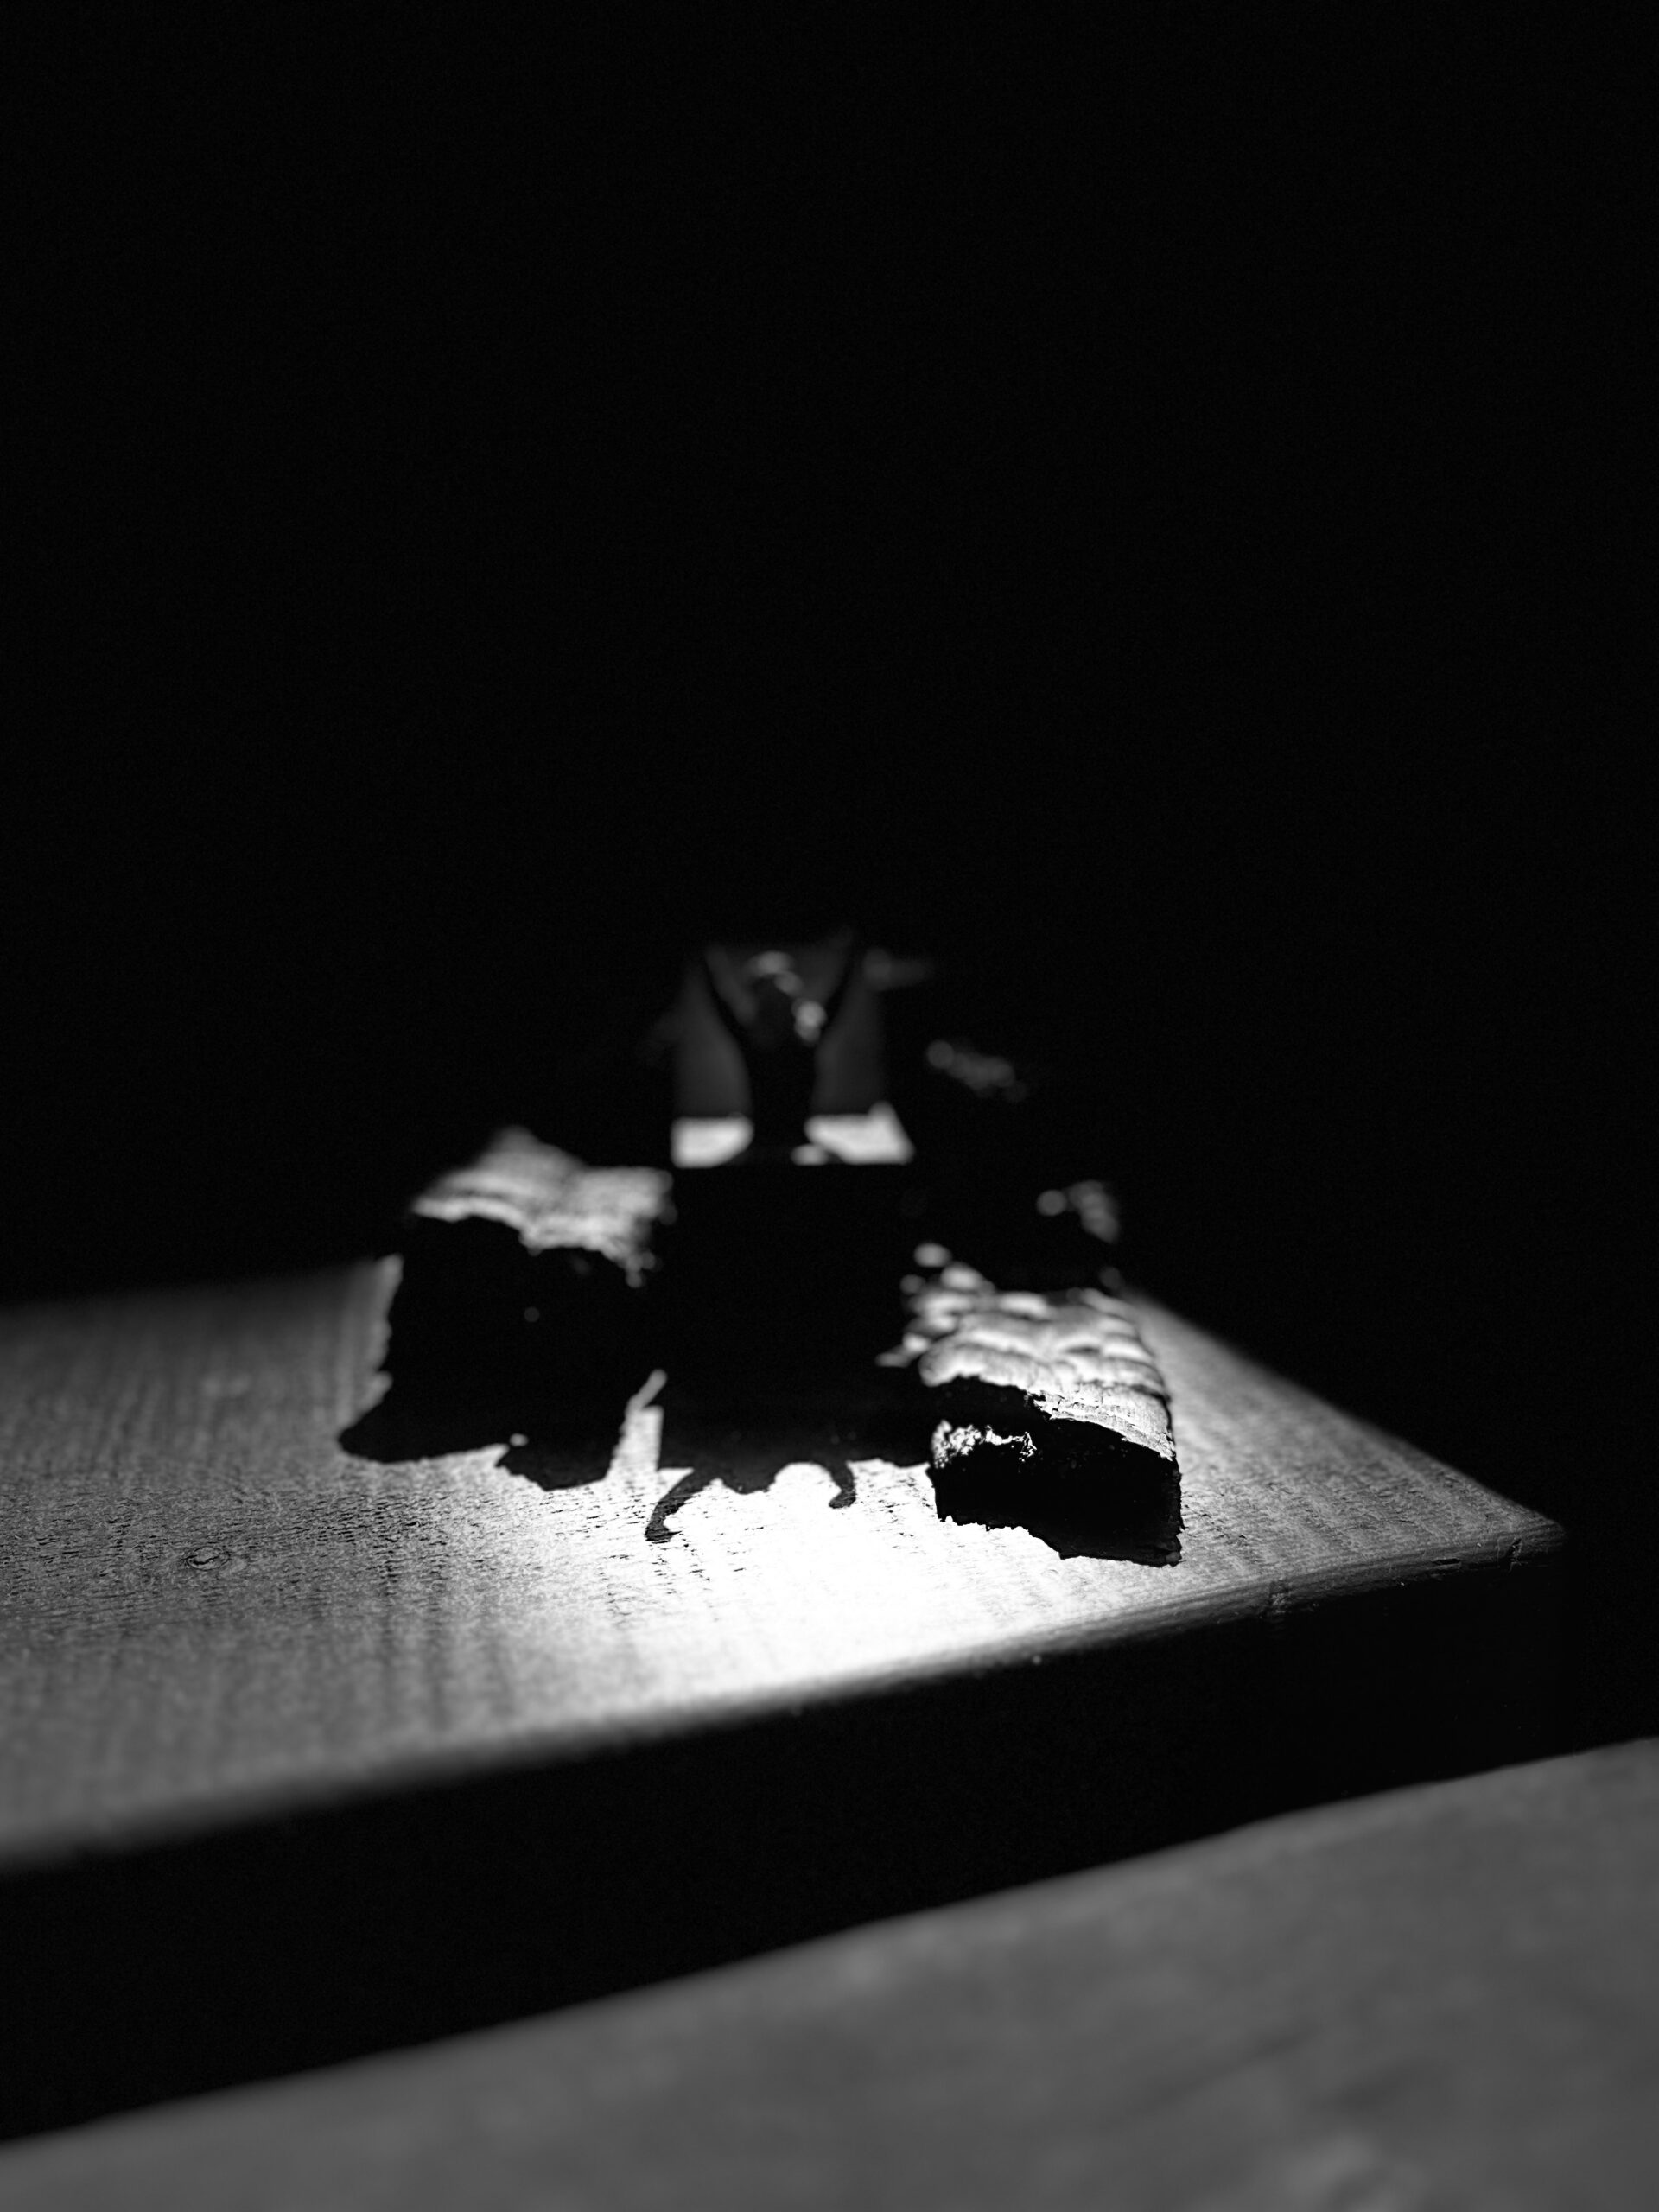
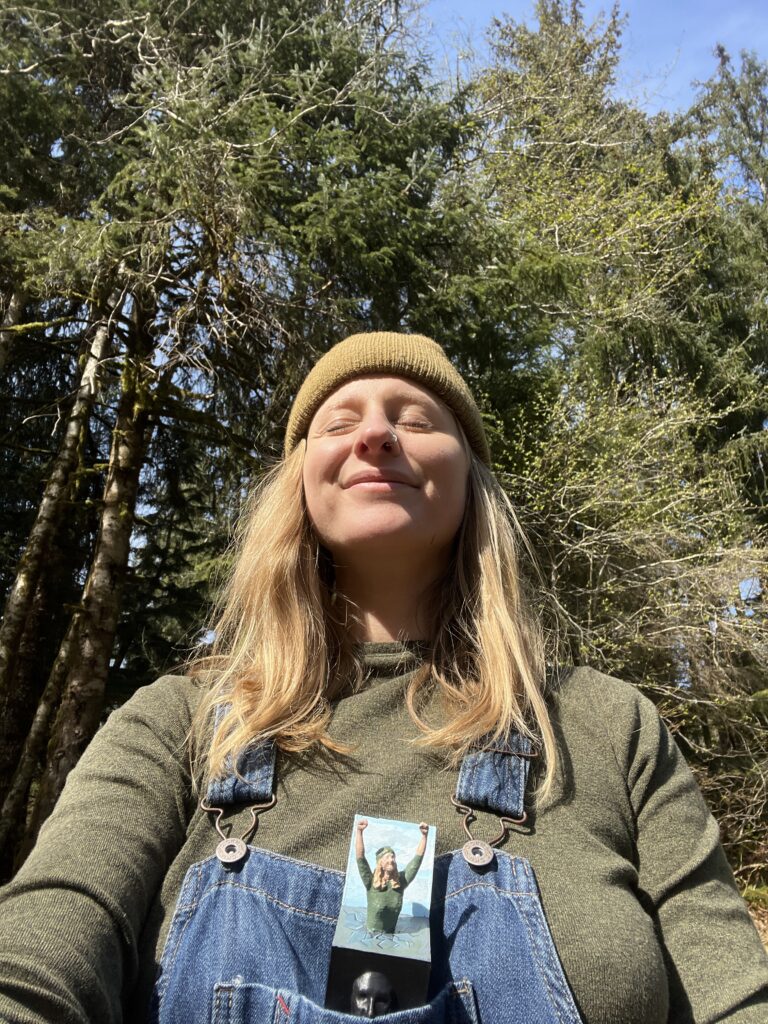

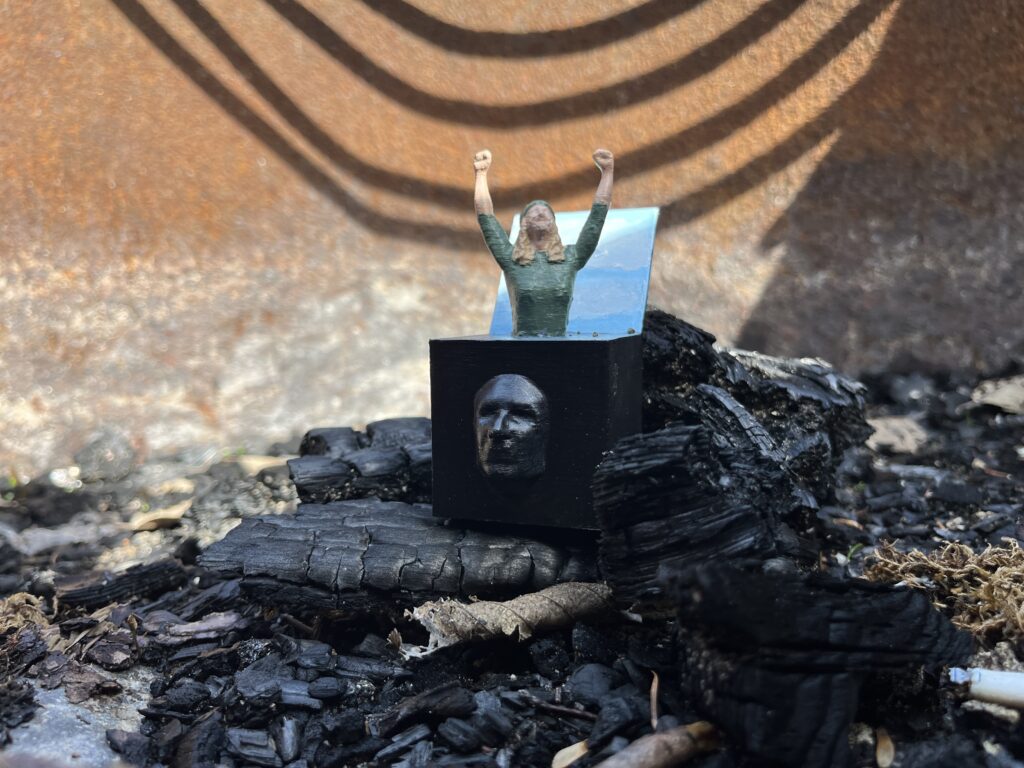
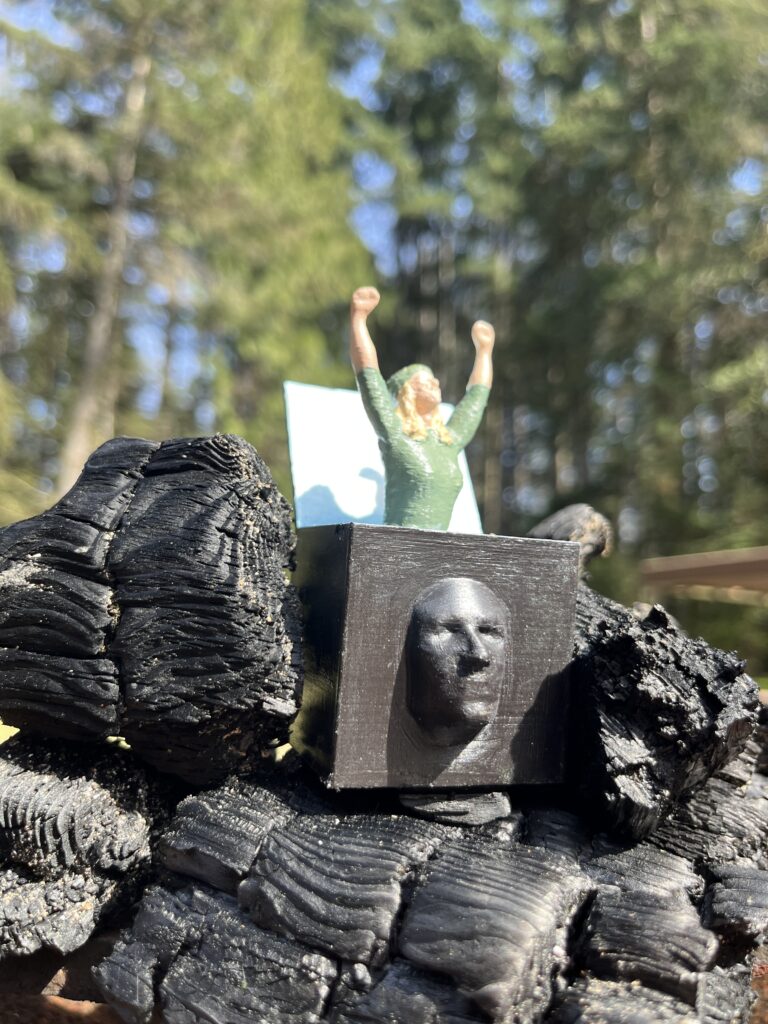
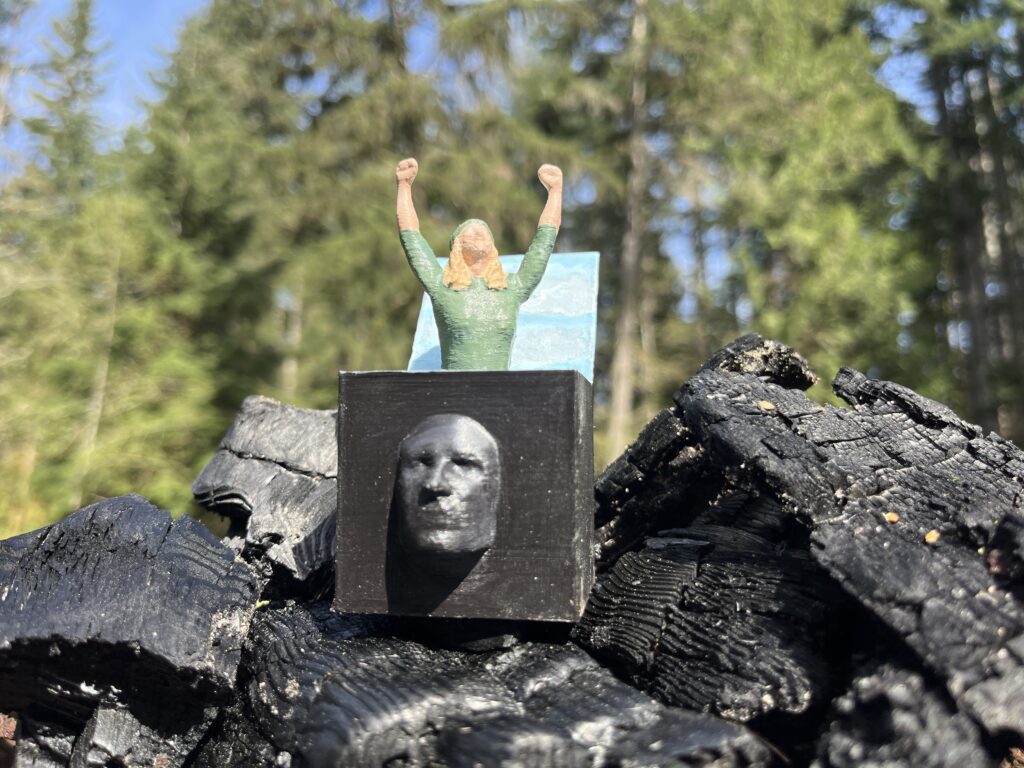
Photographing this model brought a whole new element to this project that was unexpected. Exploring the environment and looking for settings that would align with my work. I decided that since I’m breaking free, I would choose a location that was one of my favourites: Miracle beach provincial park. I found that the charcol, the muddy swamp, the dark caverns below the roots made for dark places to emerge from. The trees tops, the blue sky, the meadows, and the mossy greens made beautiful places to emerge into. It made me reflect on the balance of dark and light in our natural environment and the importance of that struggle and balance.
Metalworking – Making a Monster
I knew right from the beginning of this project what I wanted to create. My idea came to me when I was travelling in Uganda in December. I saw an image of a Pheonix made of cardboard at the bar of the Hostel we were staying at. I had an idea of making a larger than life wing, so that someone could take refuge underneath it. I wanted to make a nook, like the sort of space a child would go when it was hiding or any sort of small cozy place. It would be big enough for one maybe two people to go, but the idea was that you’d feel safe and held. It would be called “under my wing”.
I remember telling my idea to the bartender, we mused about how we could do it. There are lots of spaces made of sheet metal in Uganda. So, using sheet metal was an easy conclusion. I knew that I wanted it to feel cosy on the inside, but hard and protective on the outside. So maybe metal on the outside and cardboard or felt on the inside?
One thing was for certain, I need to first learn how to work with metal, and start with a project that was smaller and more managable for my first try. My first iteration would be a proptotype of sorts, so I could learn about what materials would be best and how to assemble it.
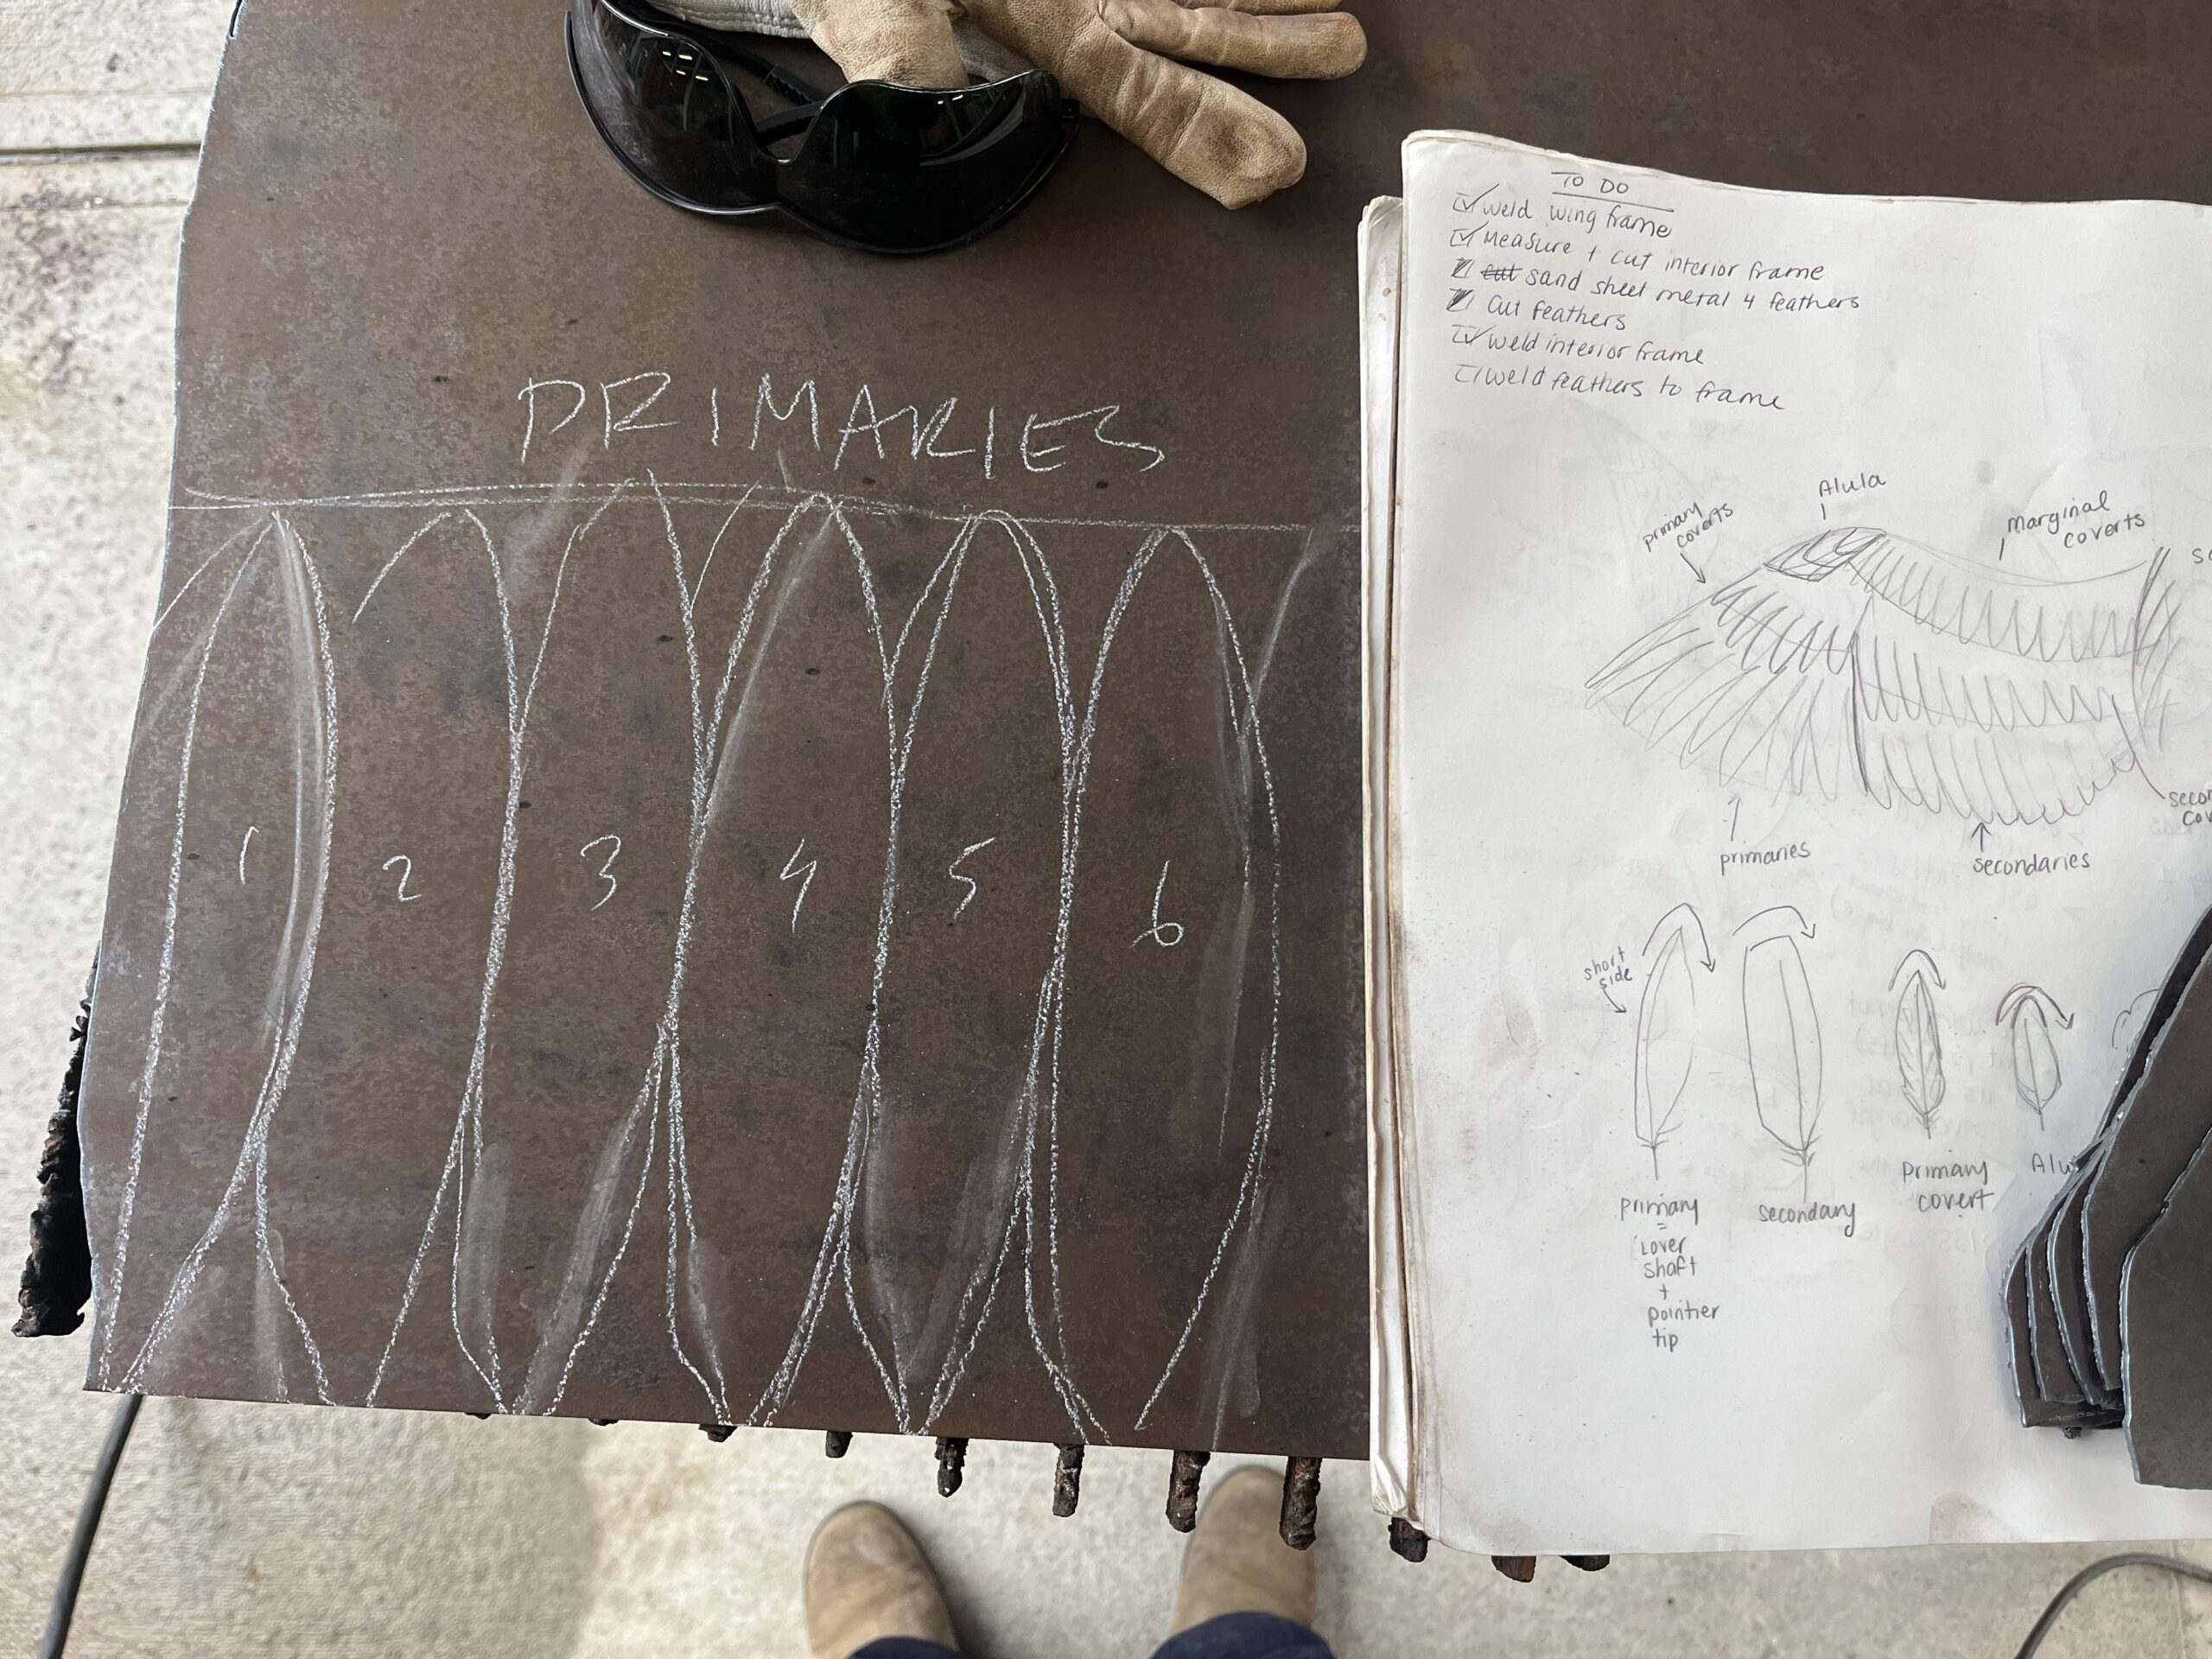
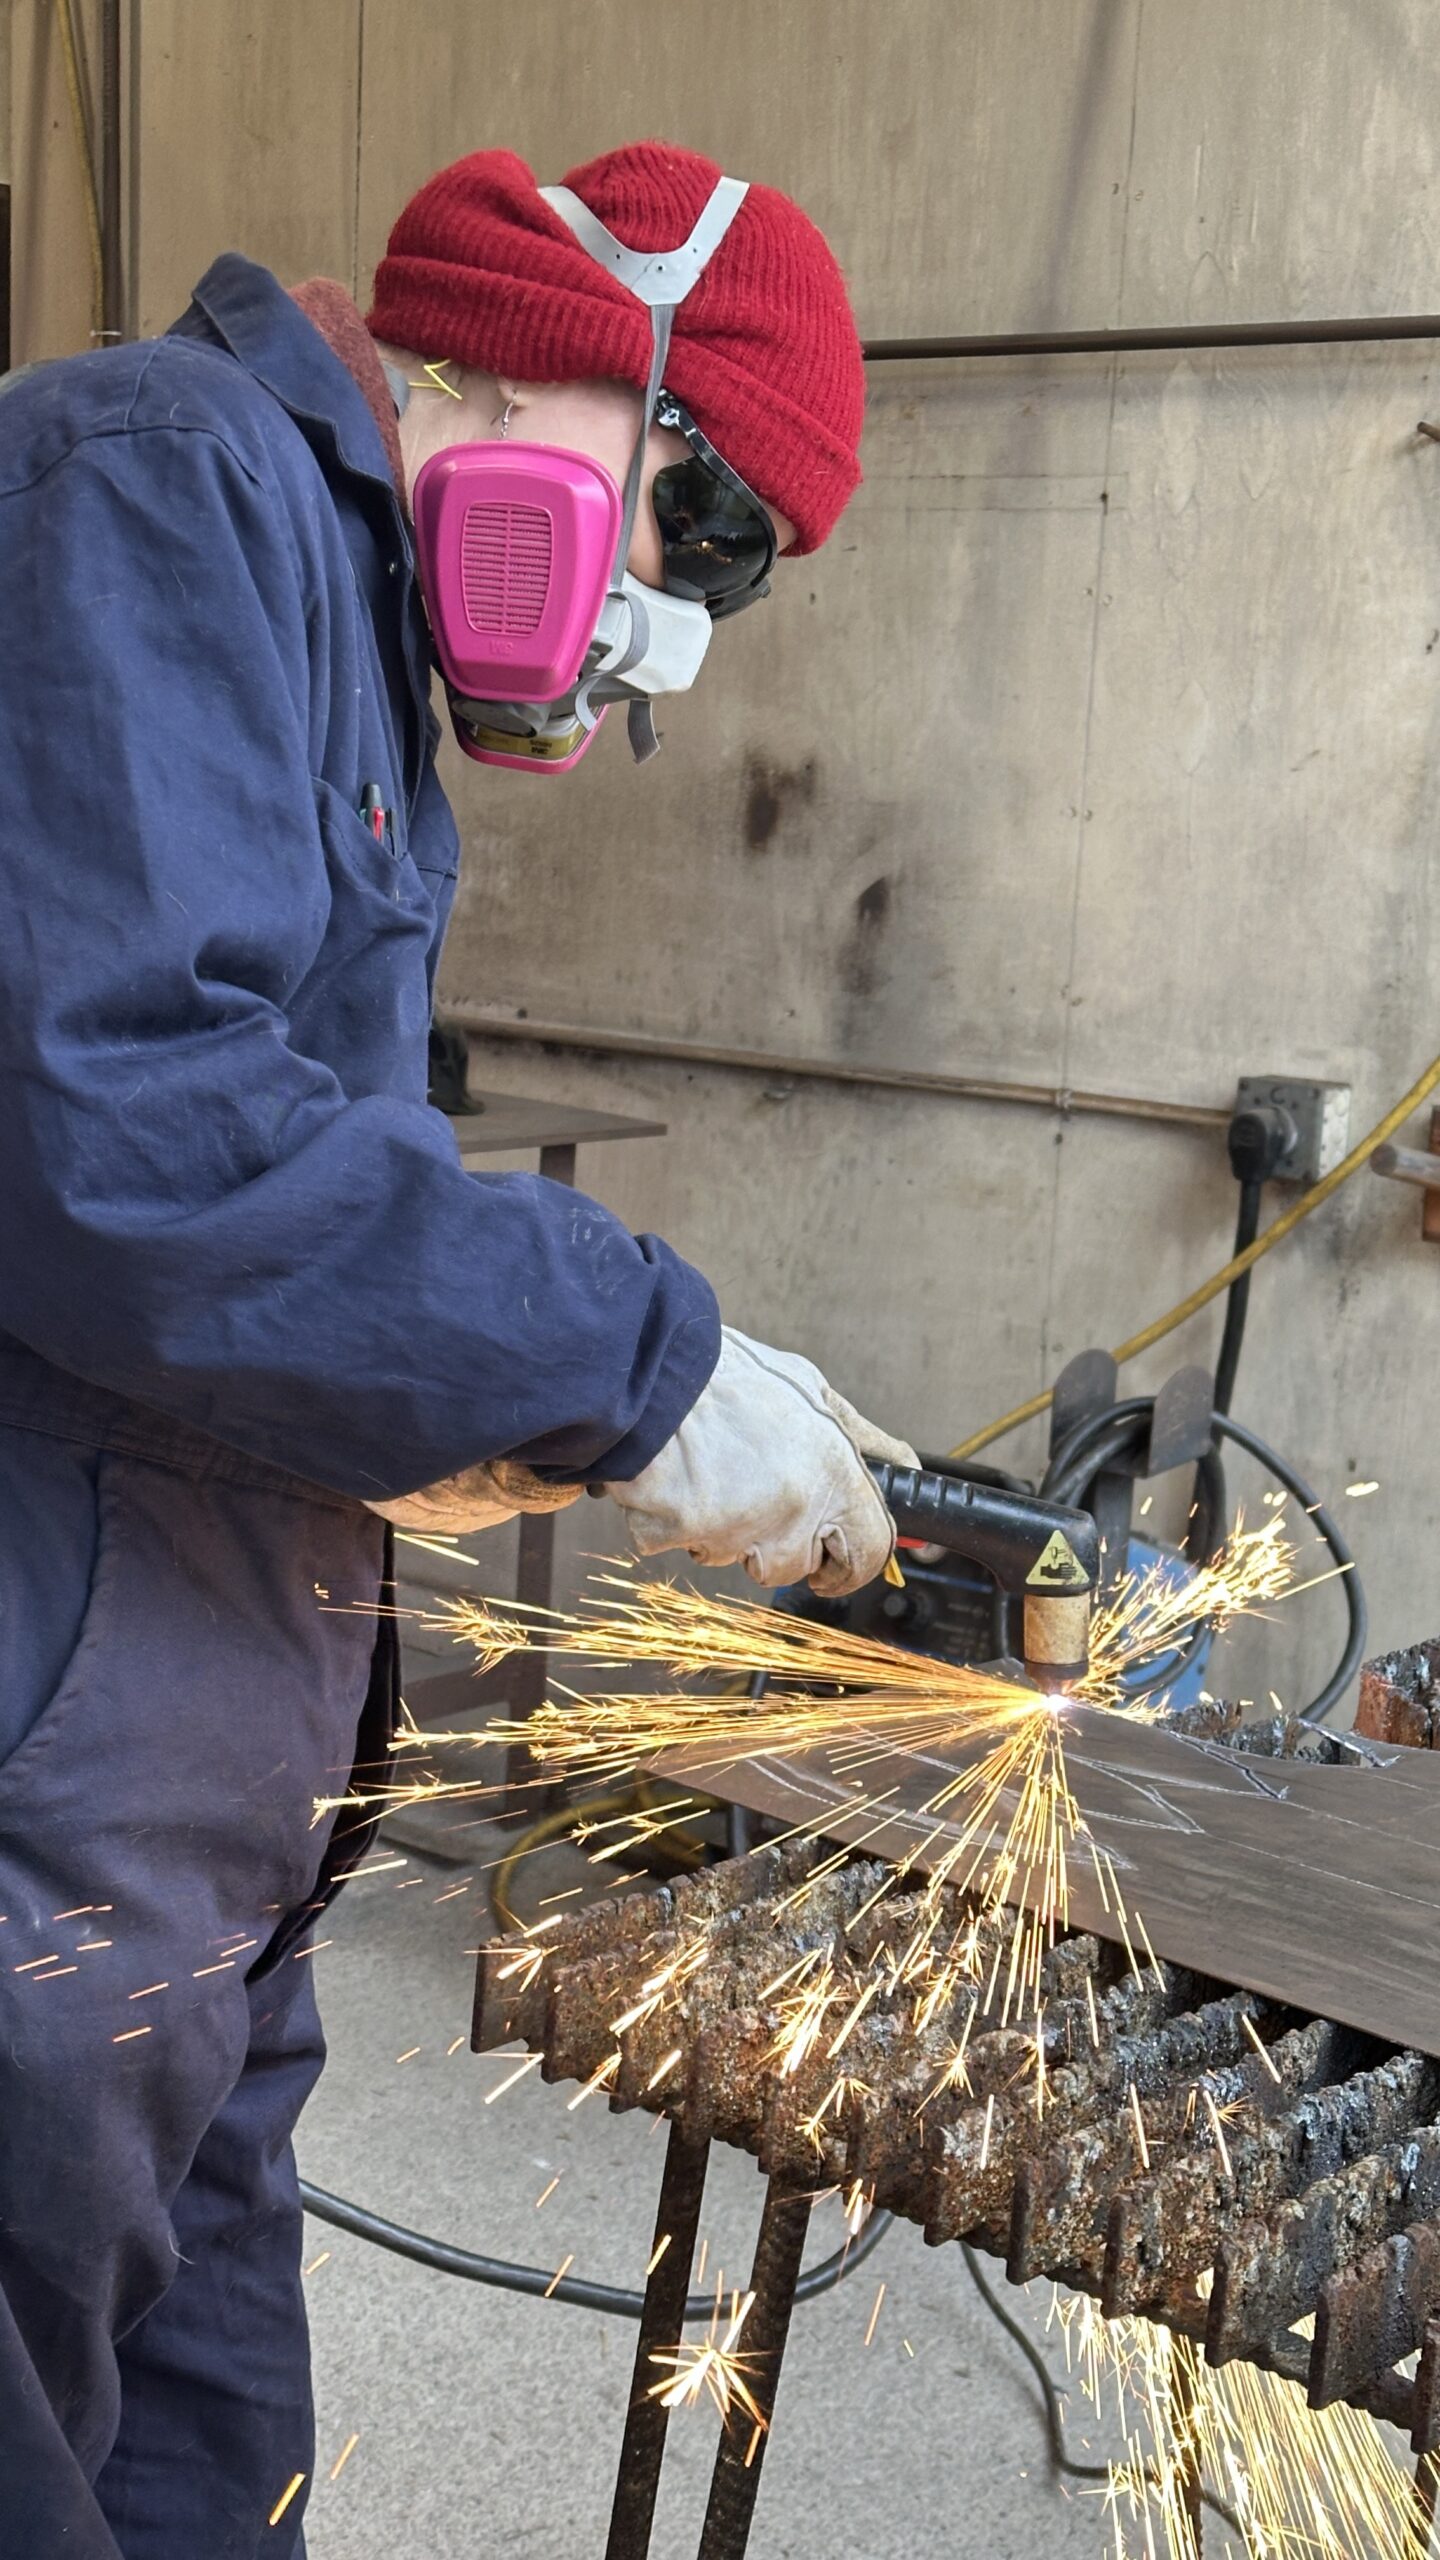
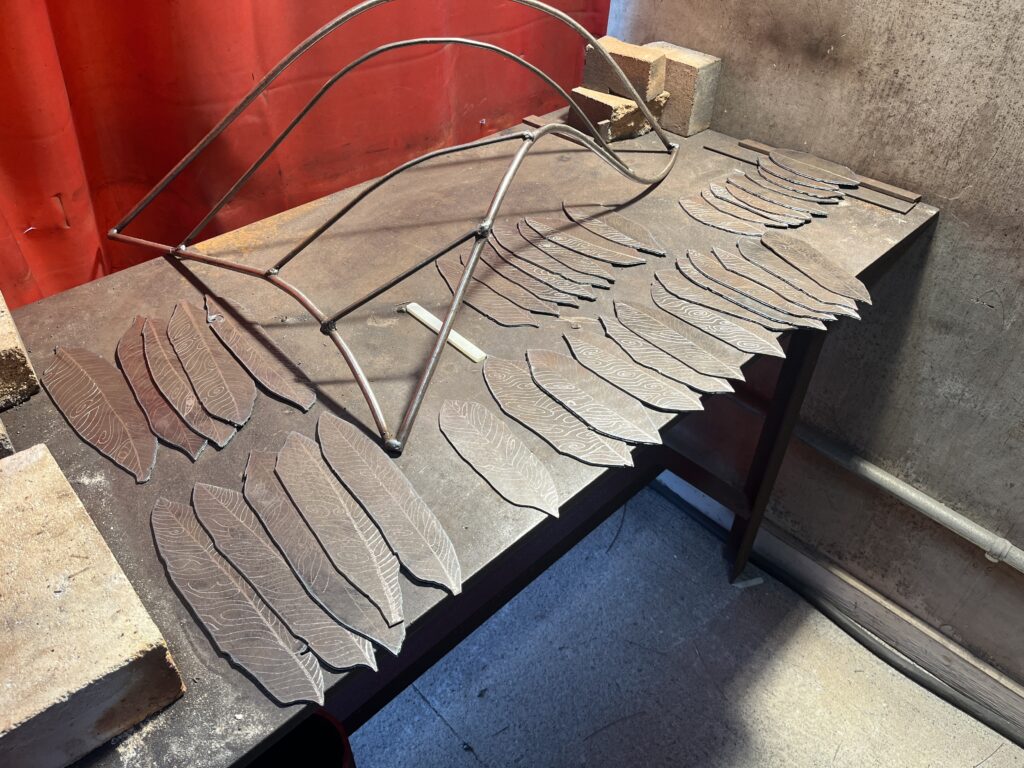
I looked up so imaes of wings, different feather shapes and then decided I would make a frame. I asked for advice from a more experienced metal worker in the program and he recommeneded I layer the feathers like roofing shingles; starting from the bottom and working my way to the top.
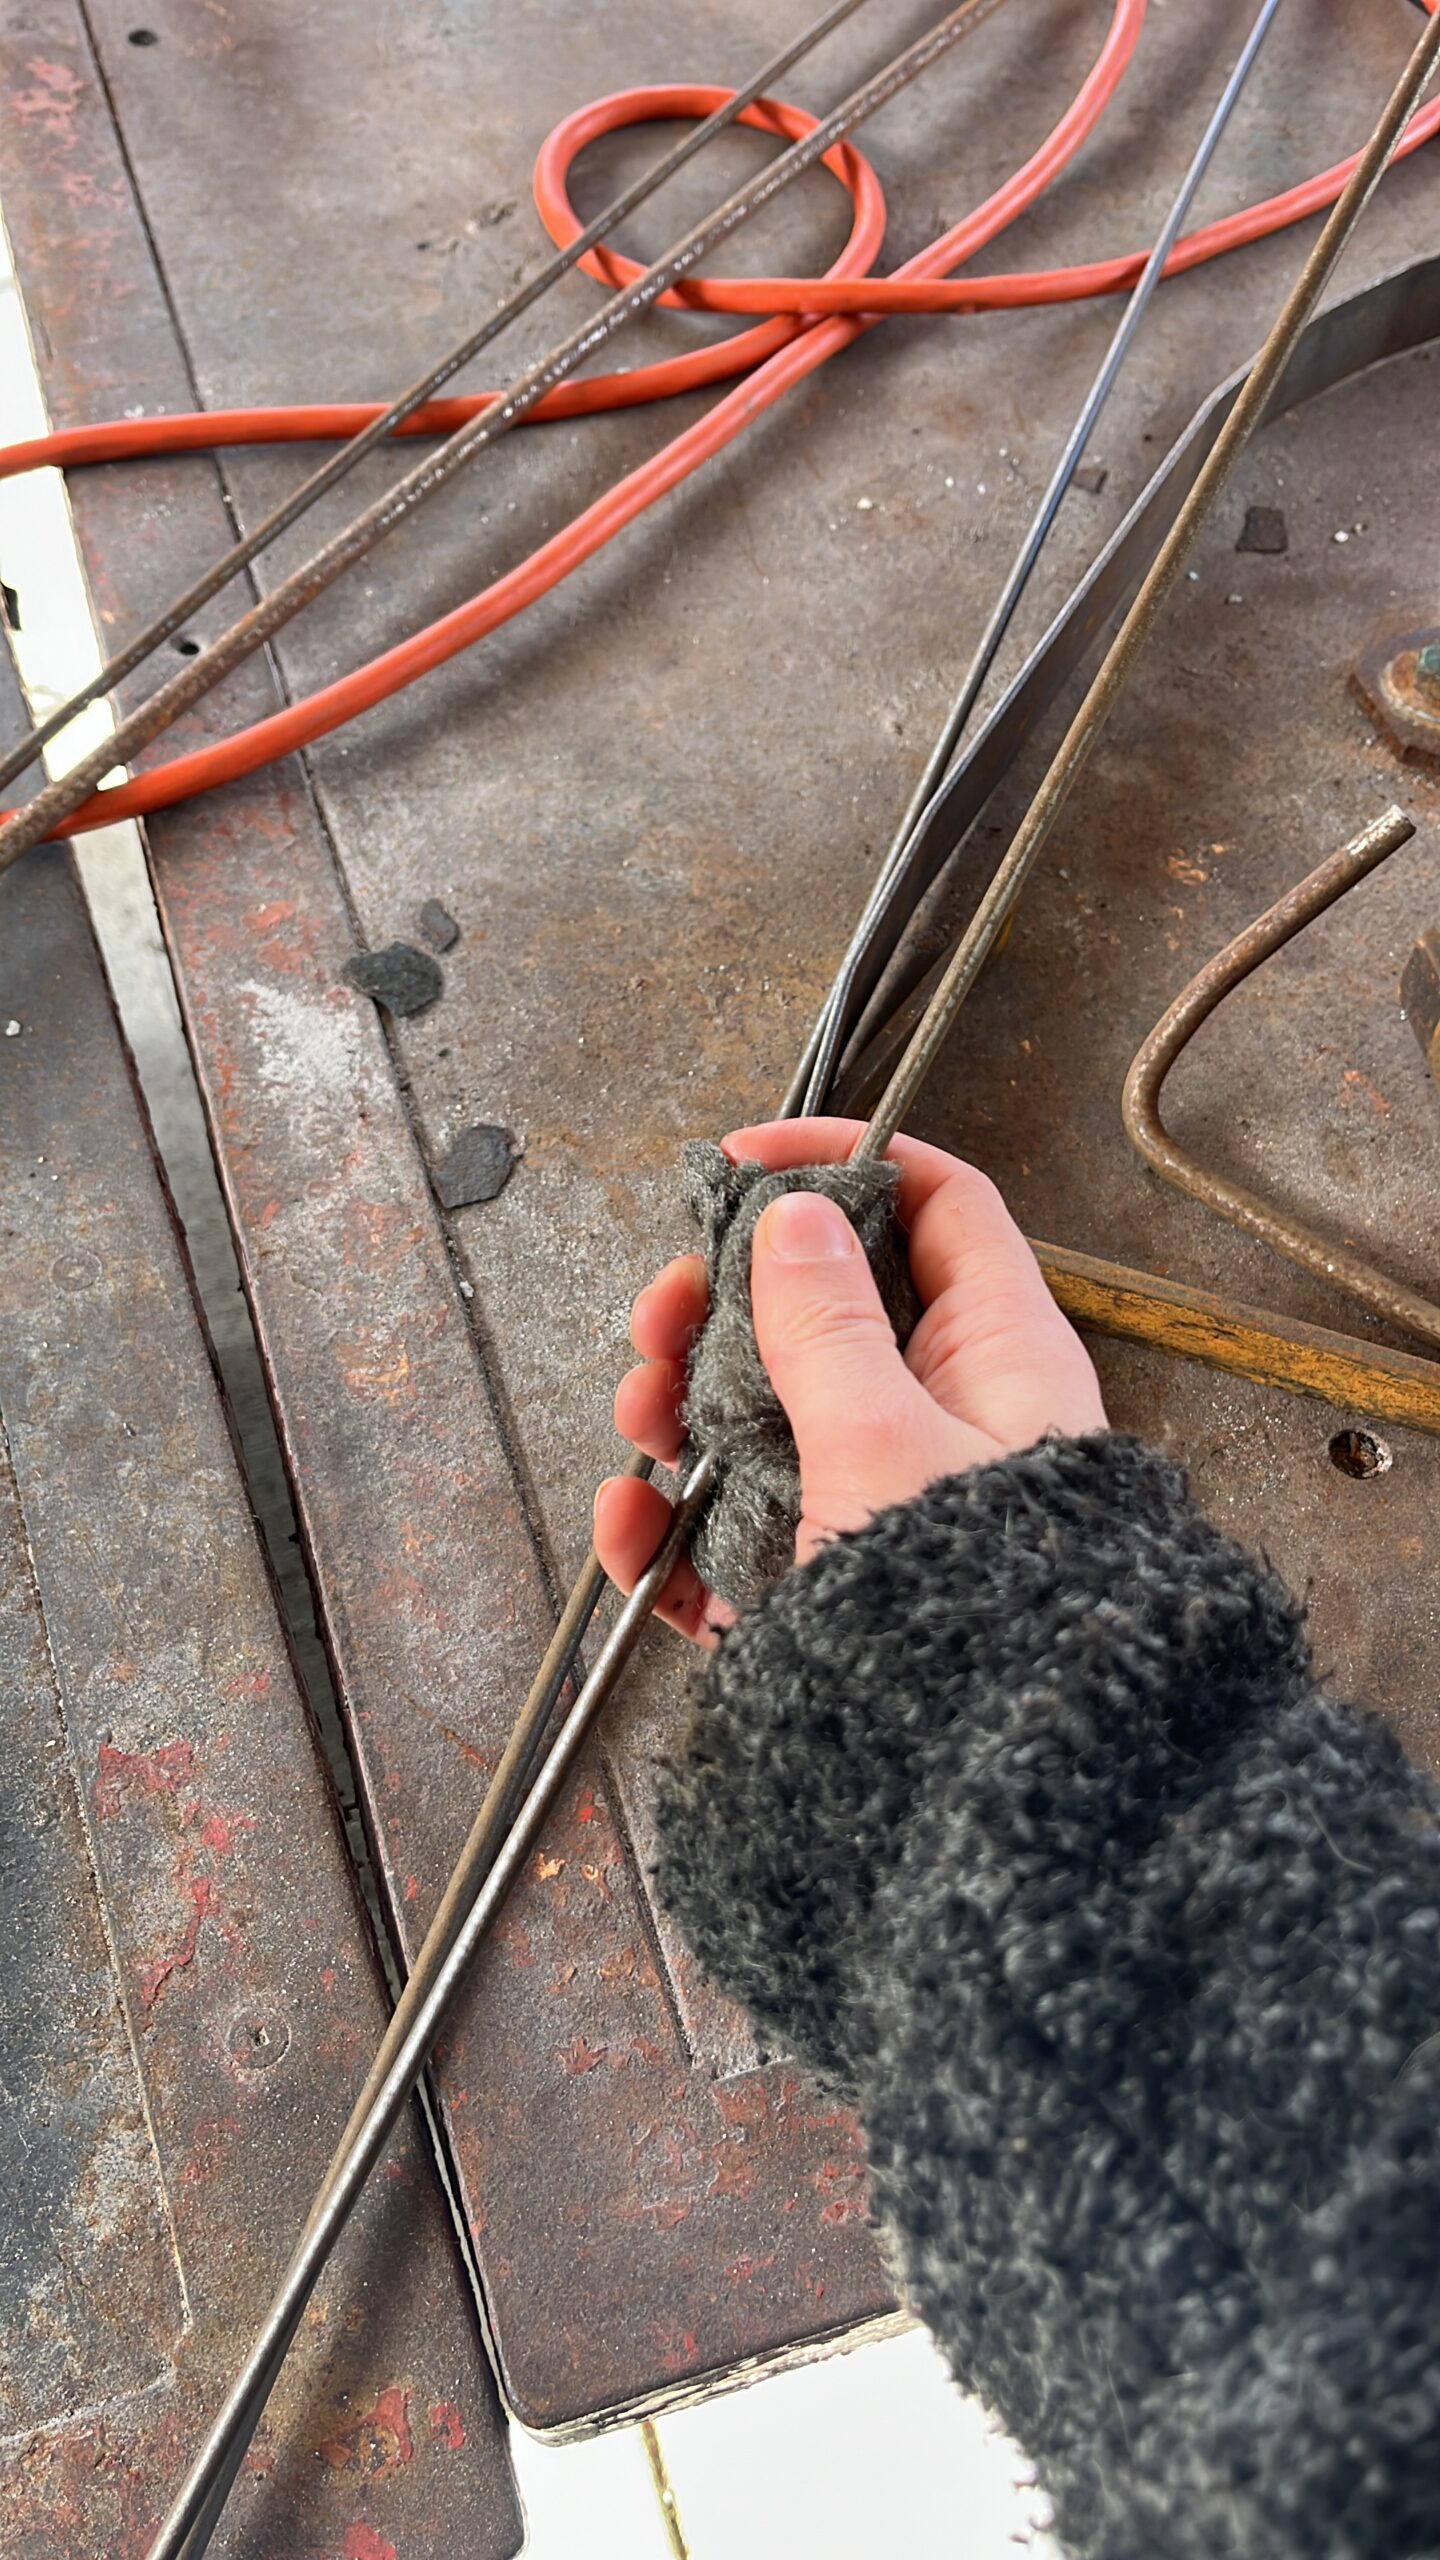
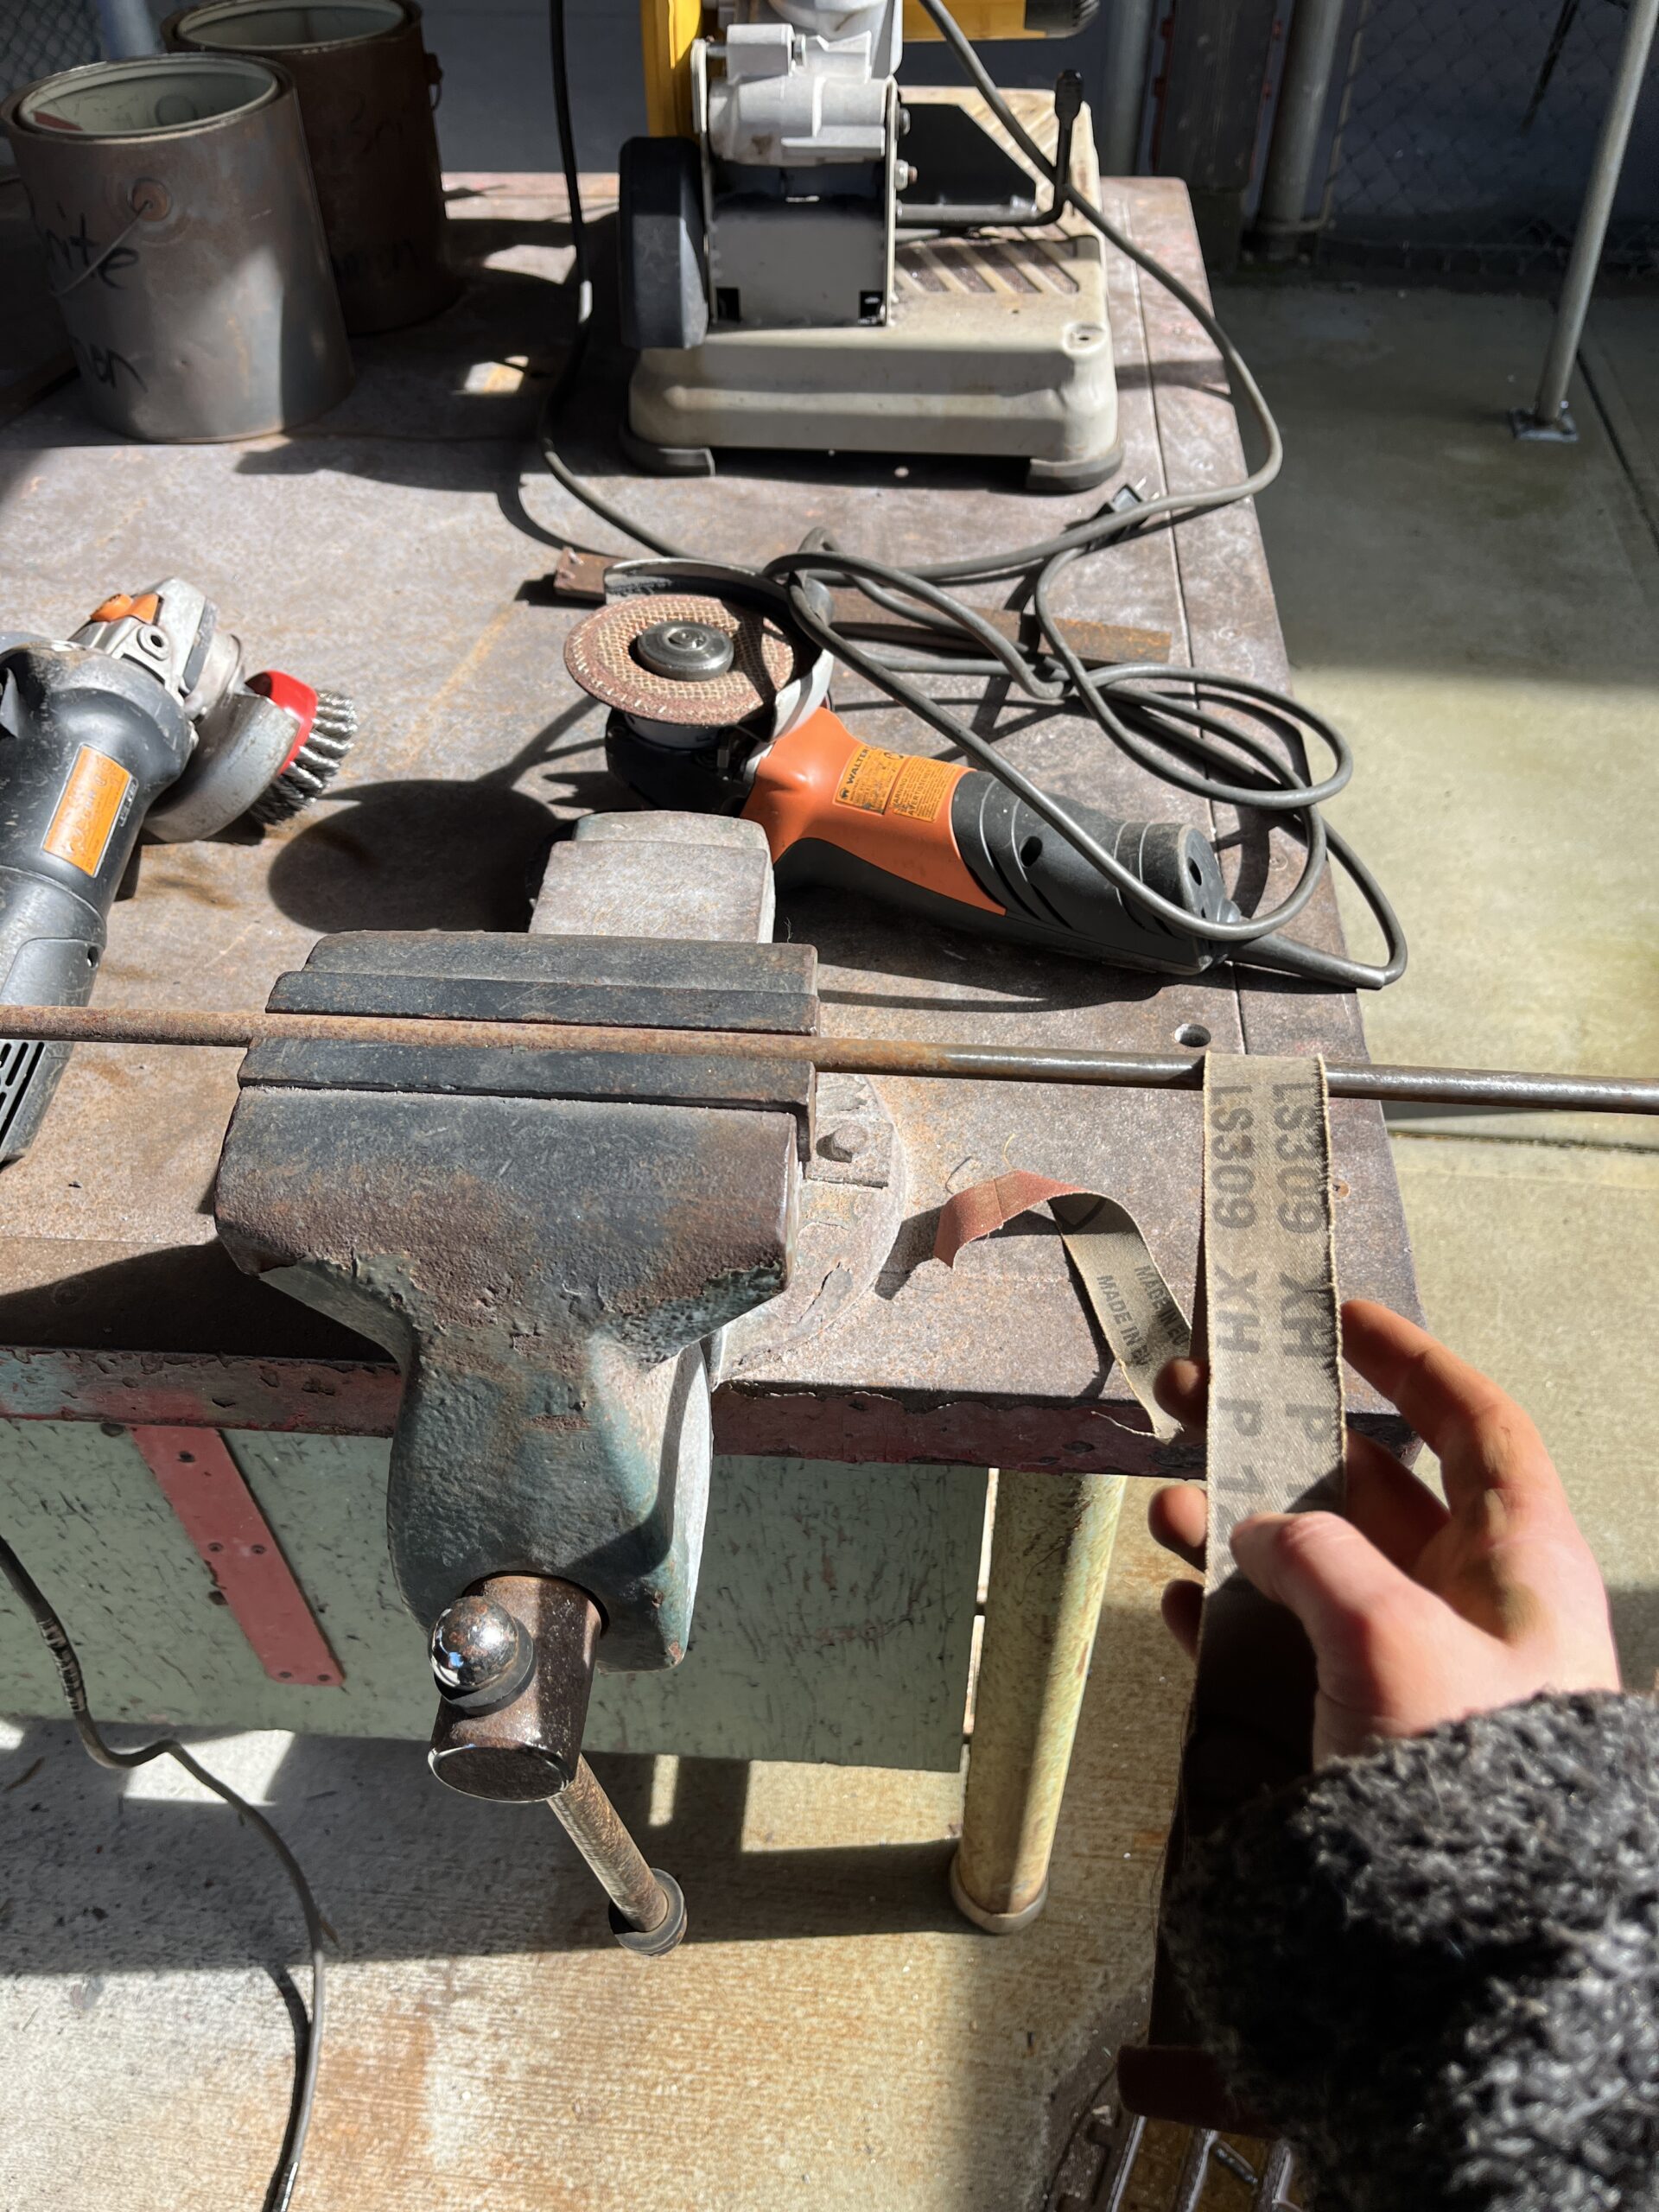
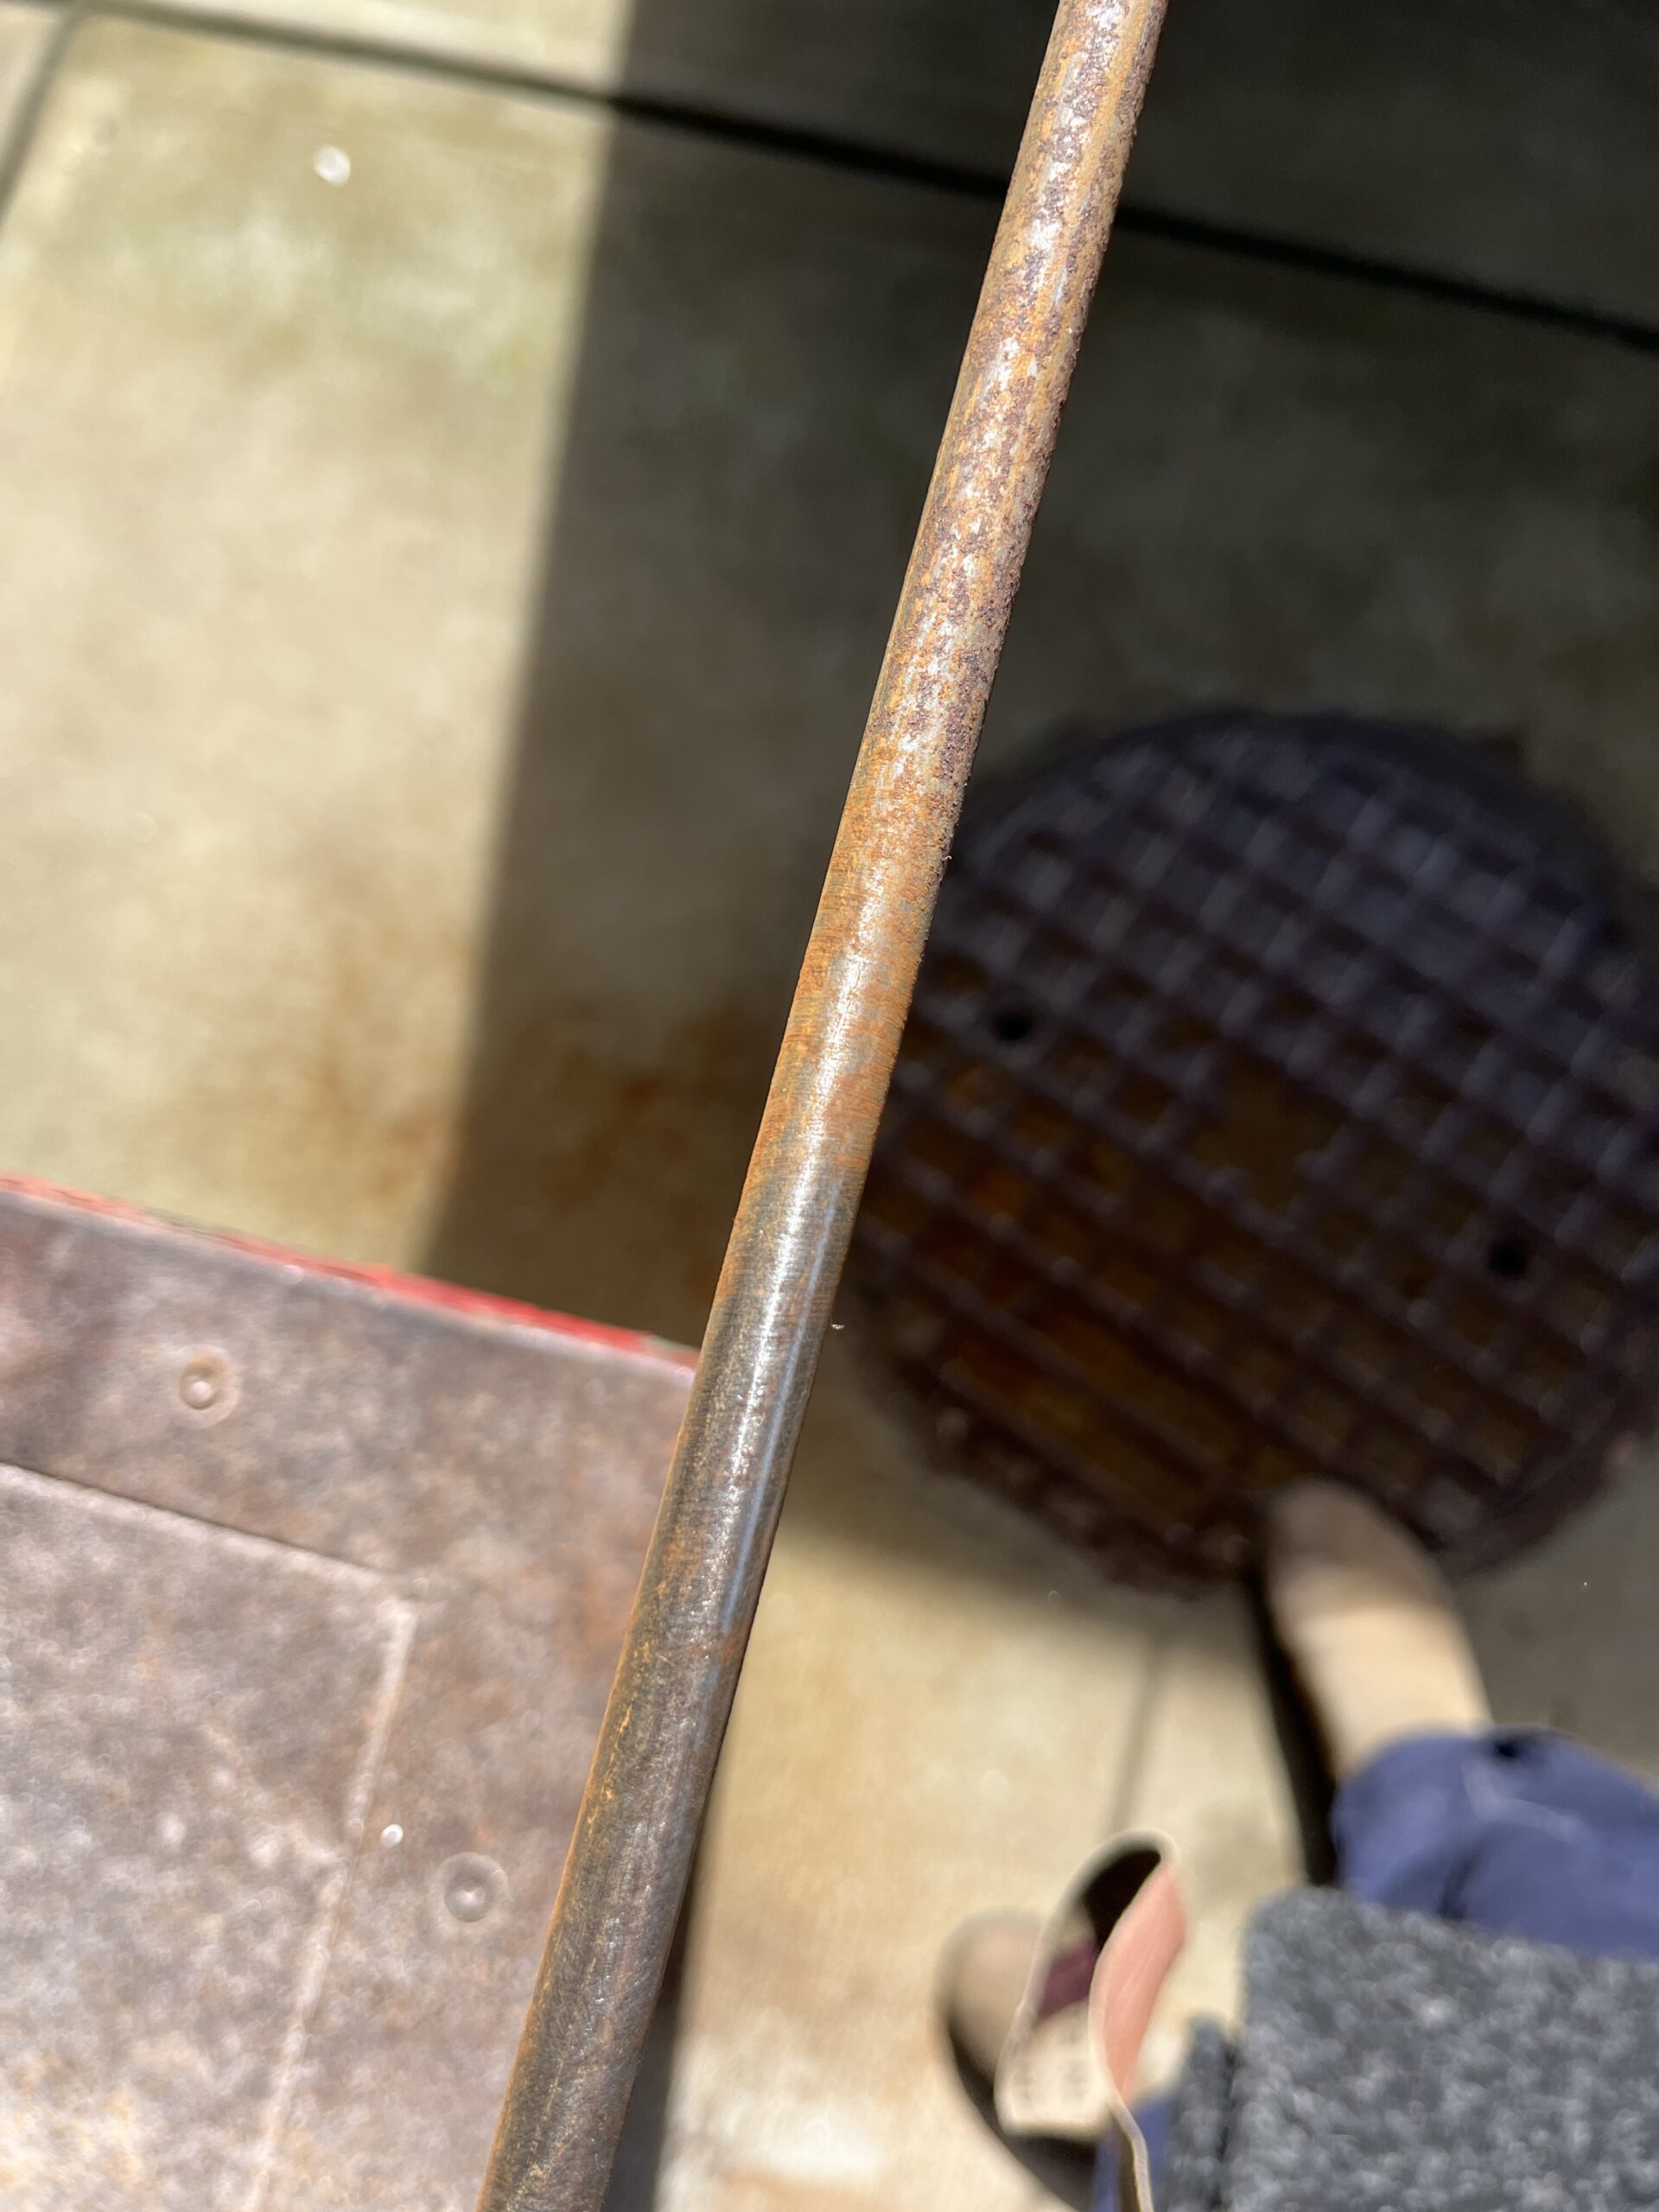
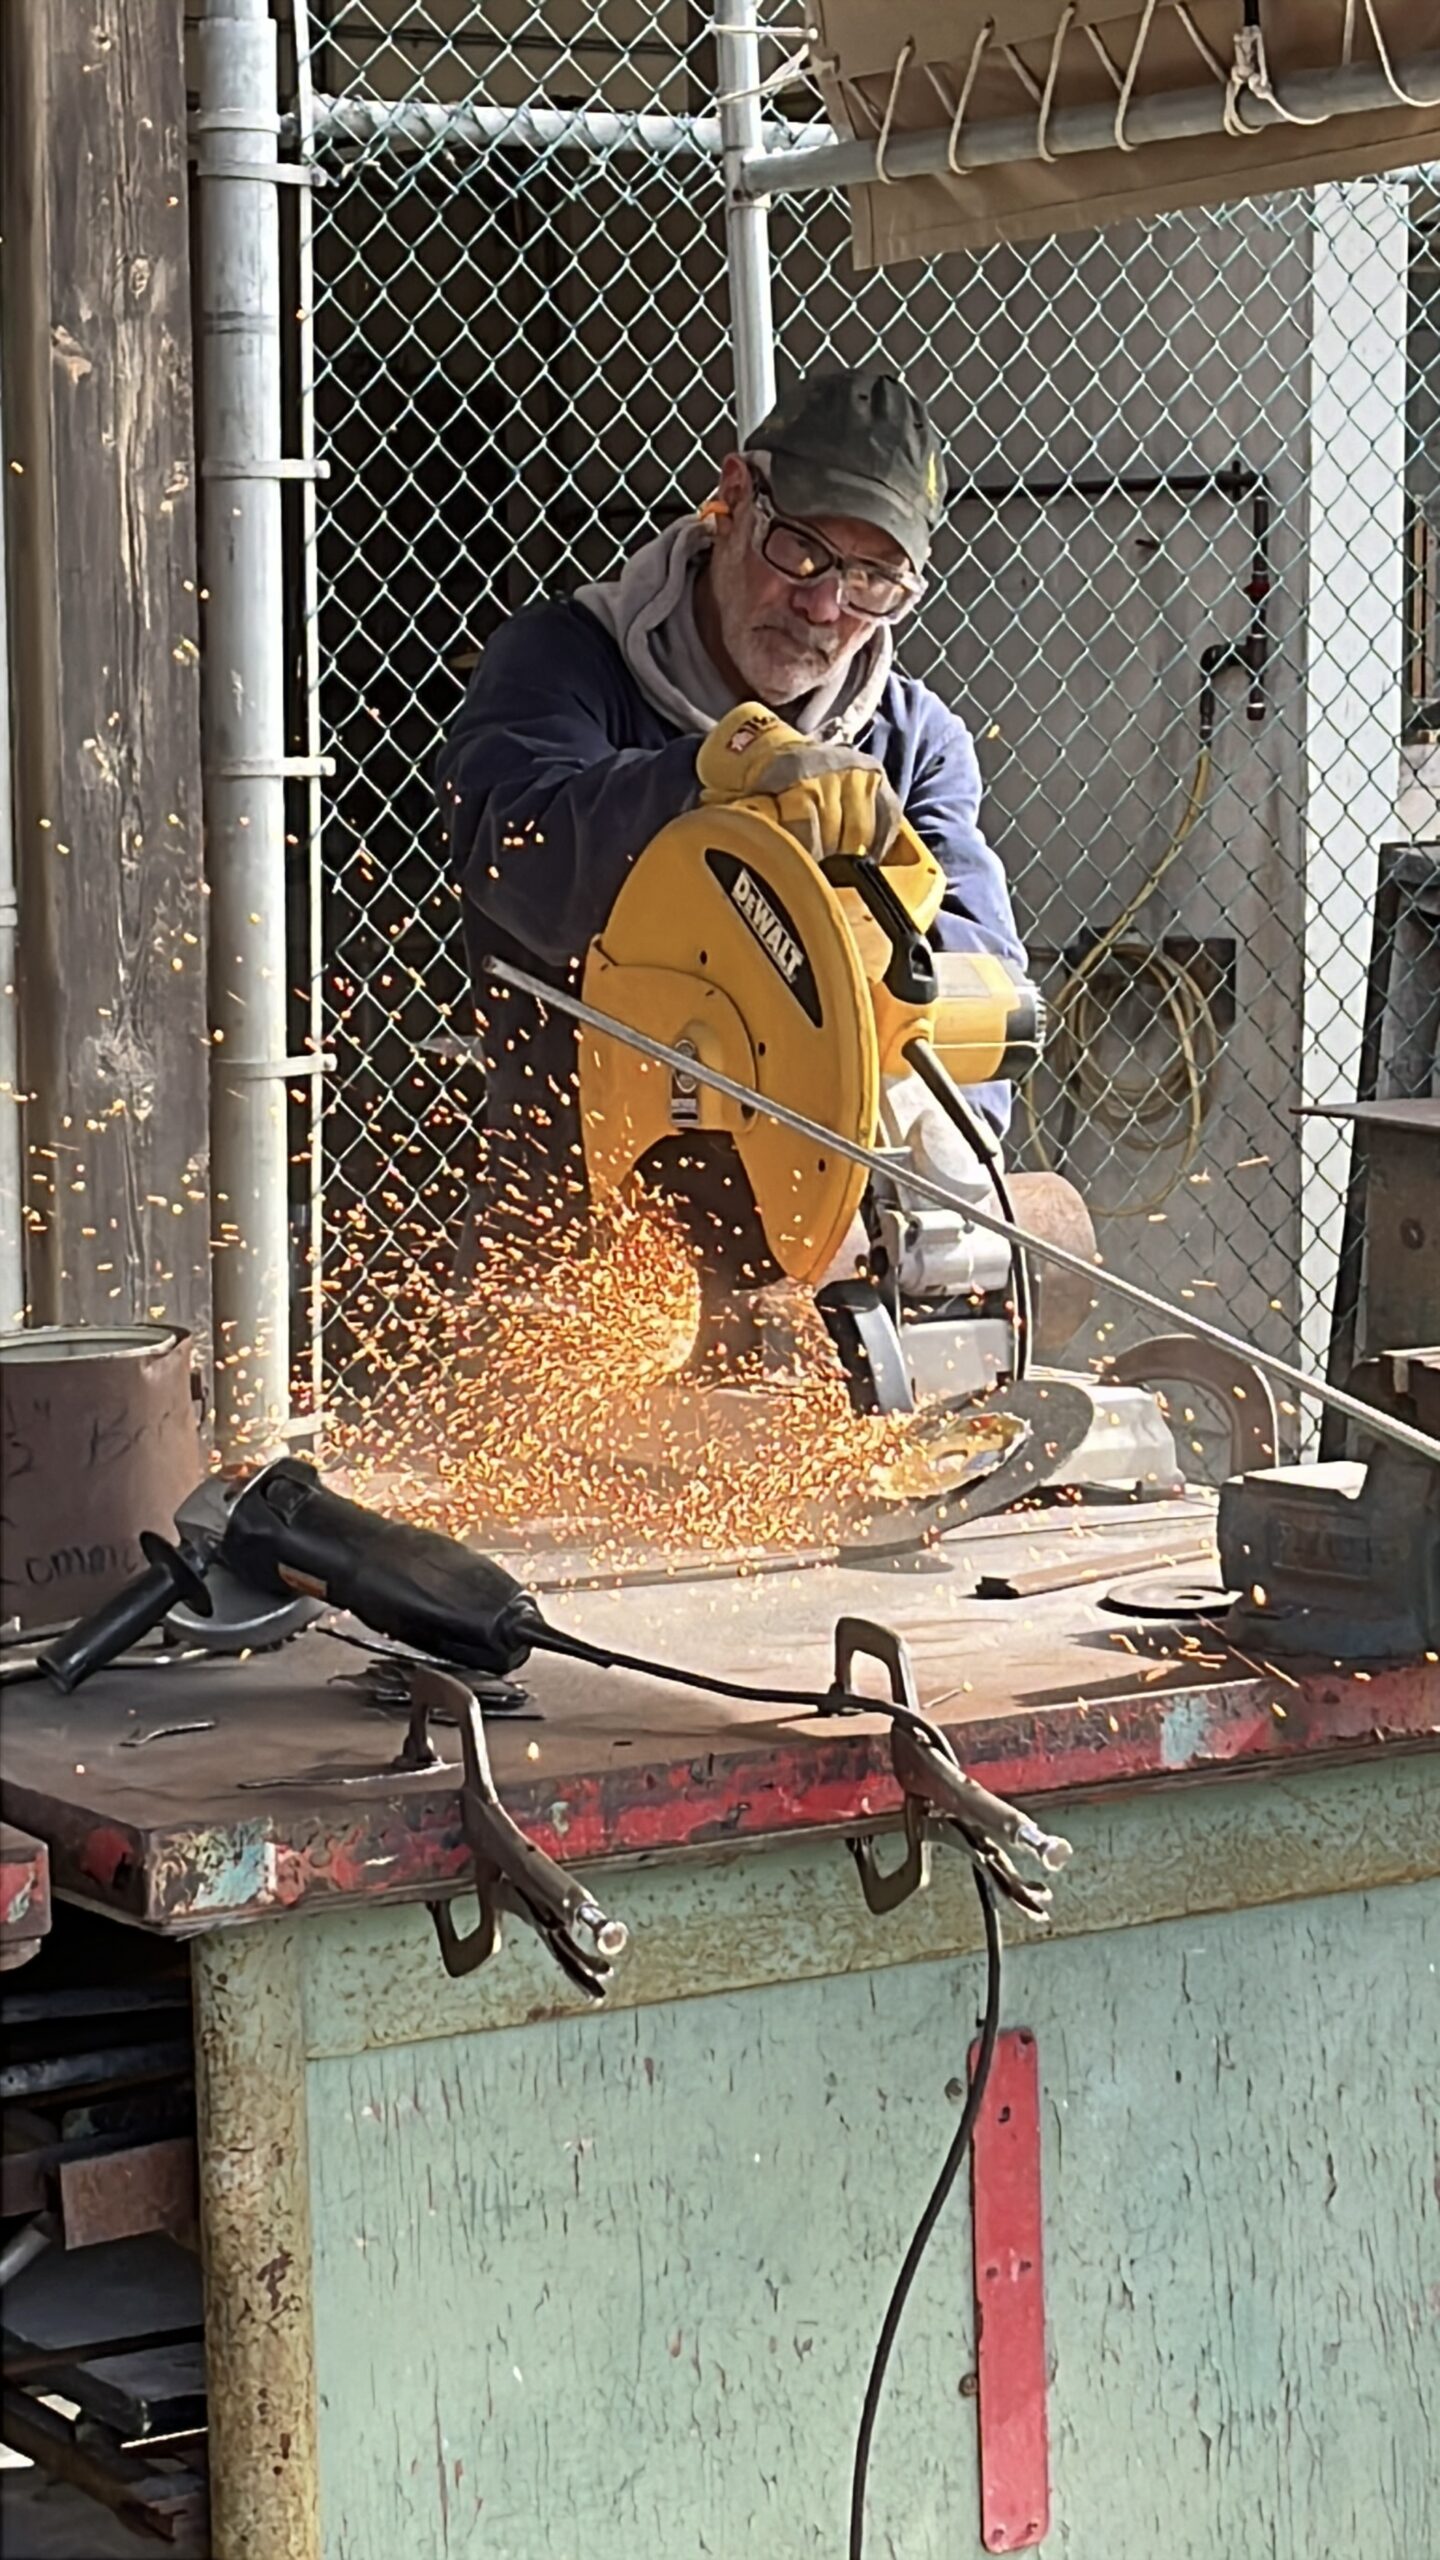
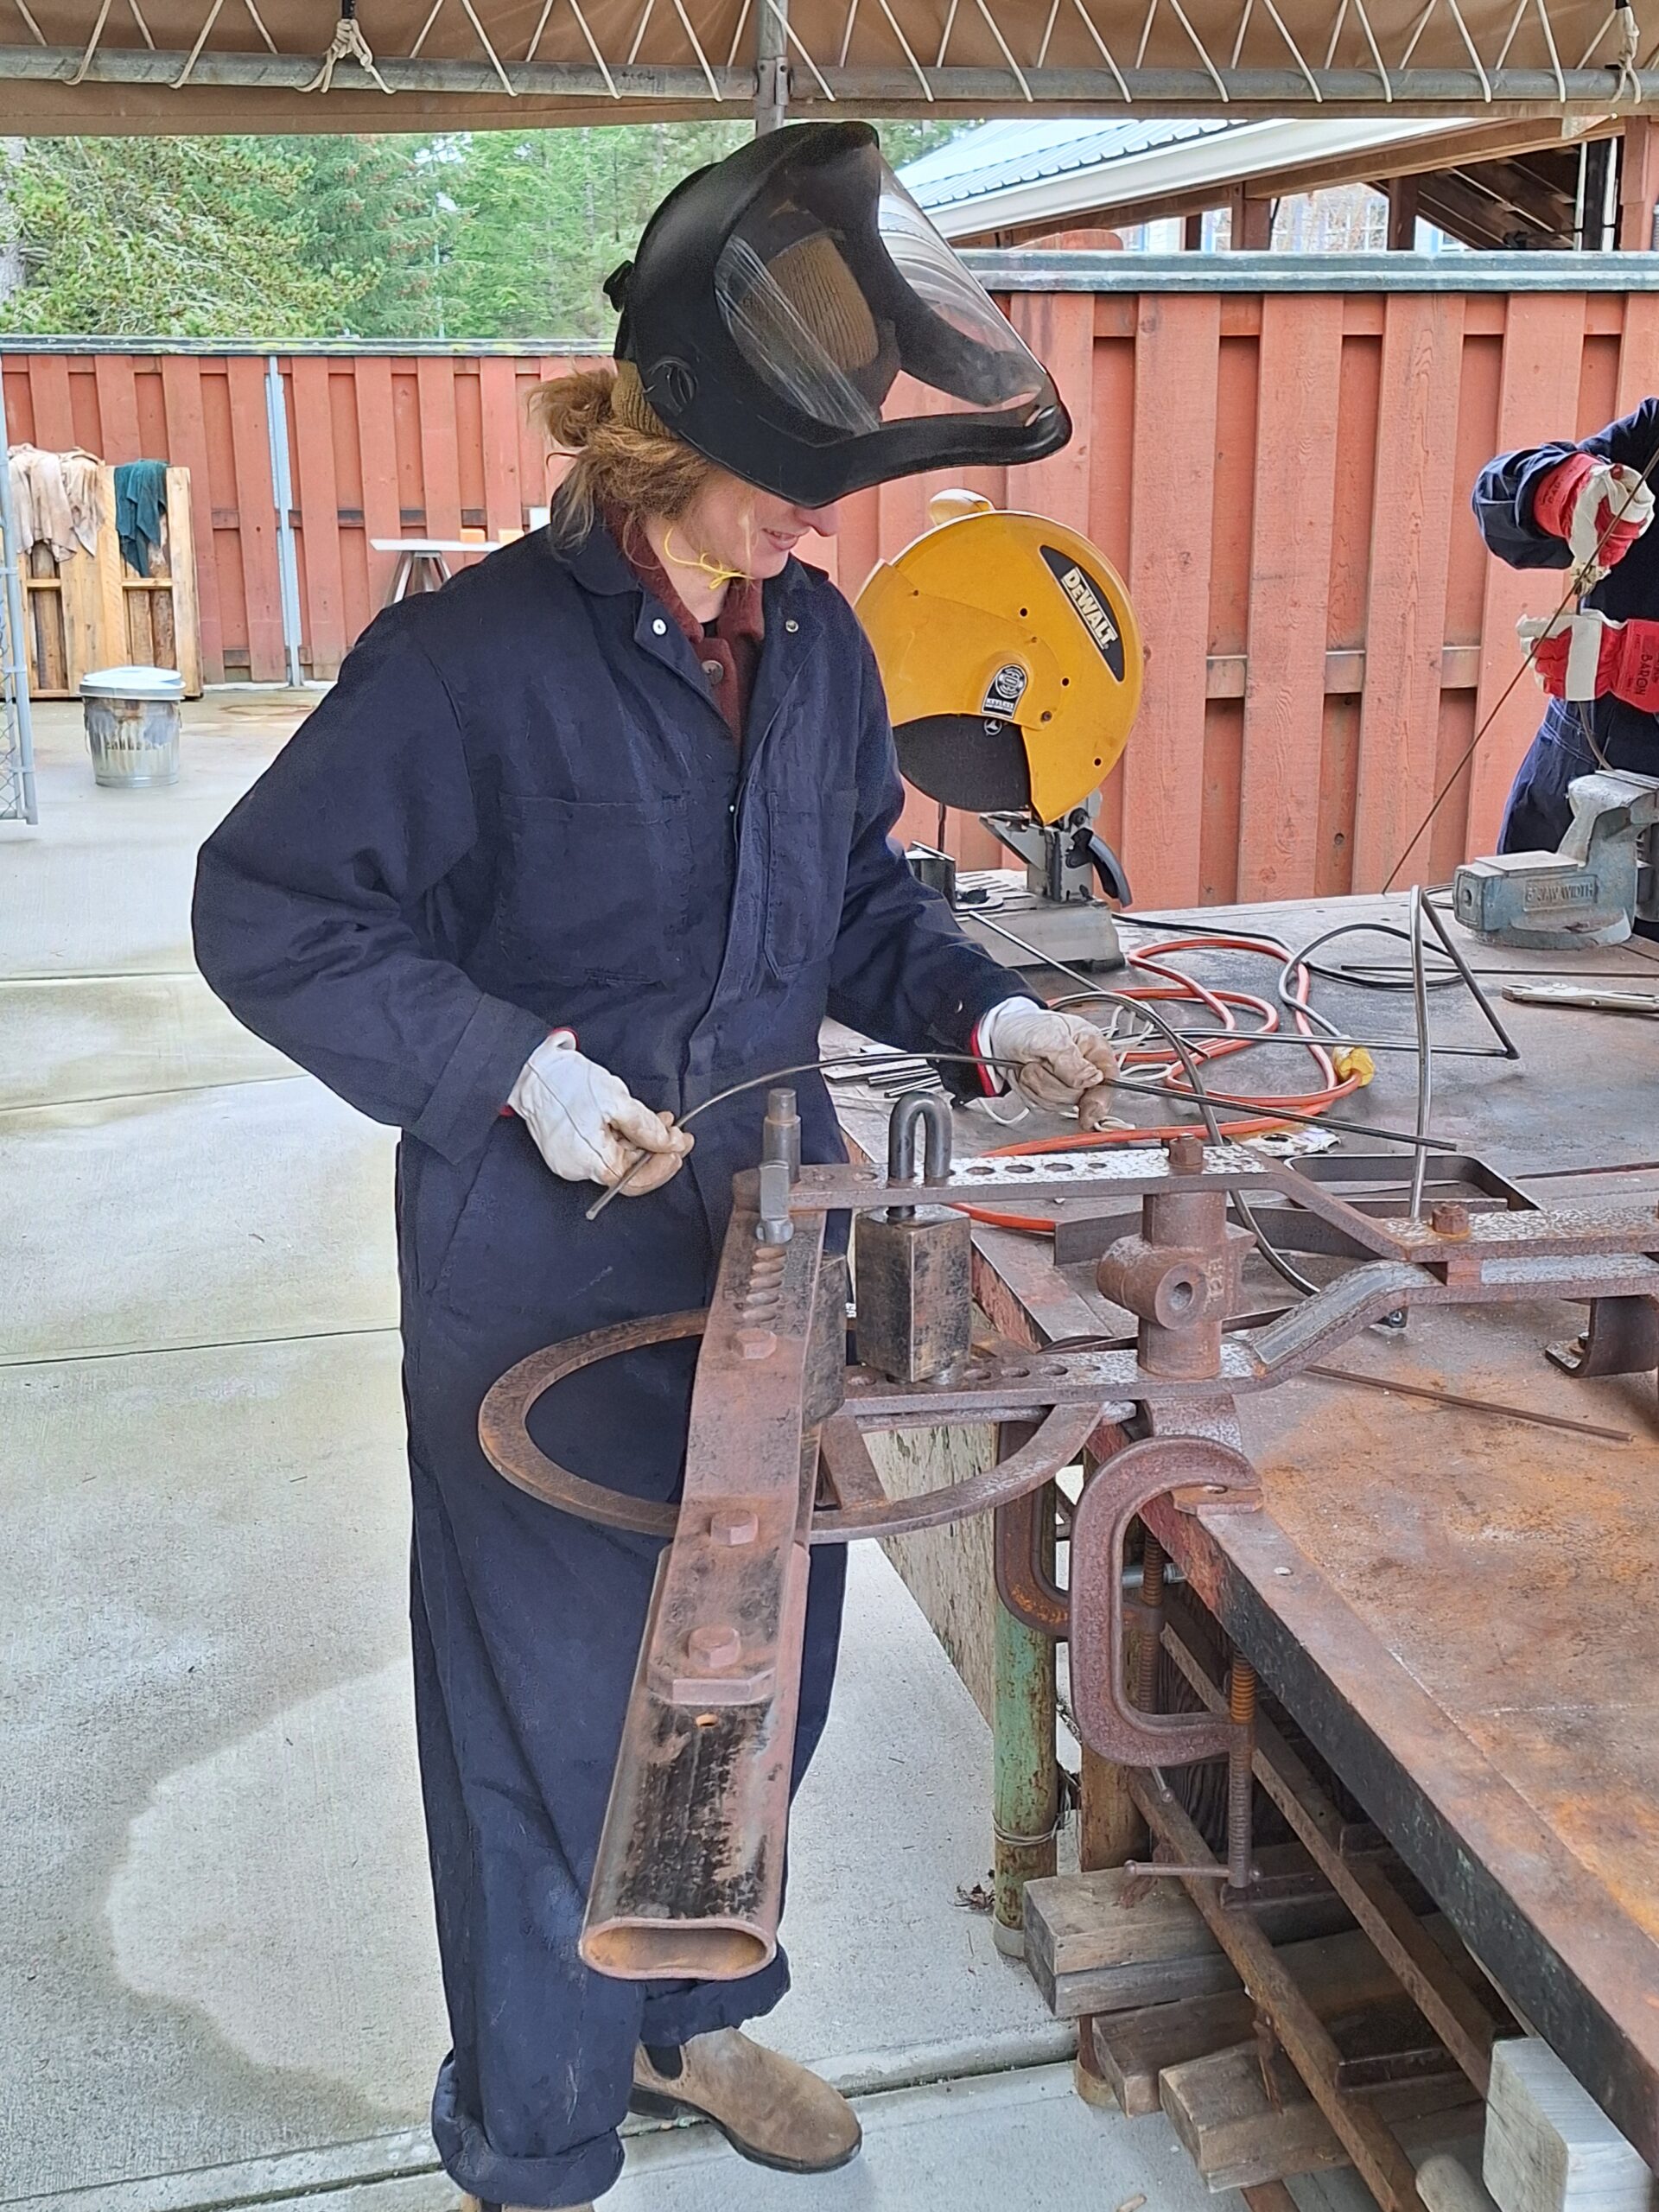
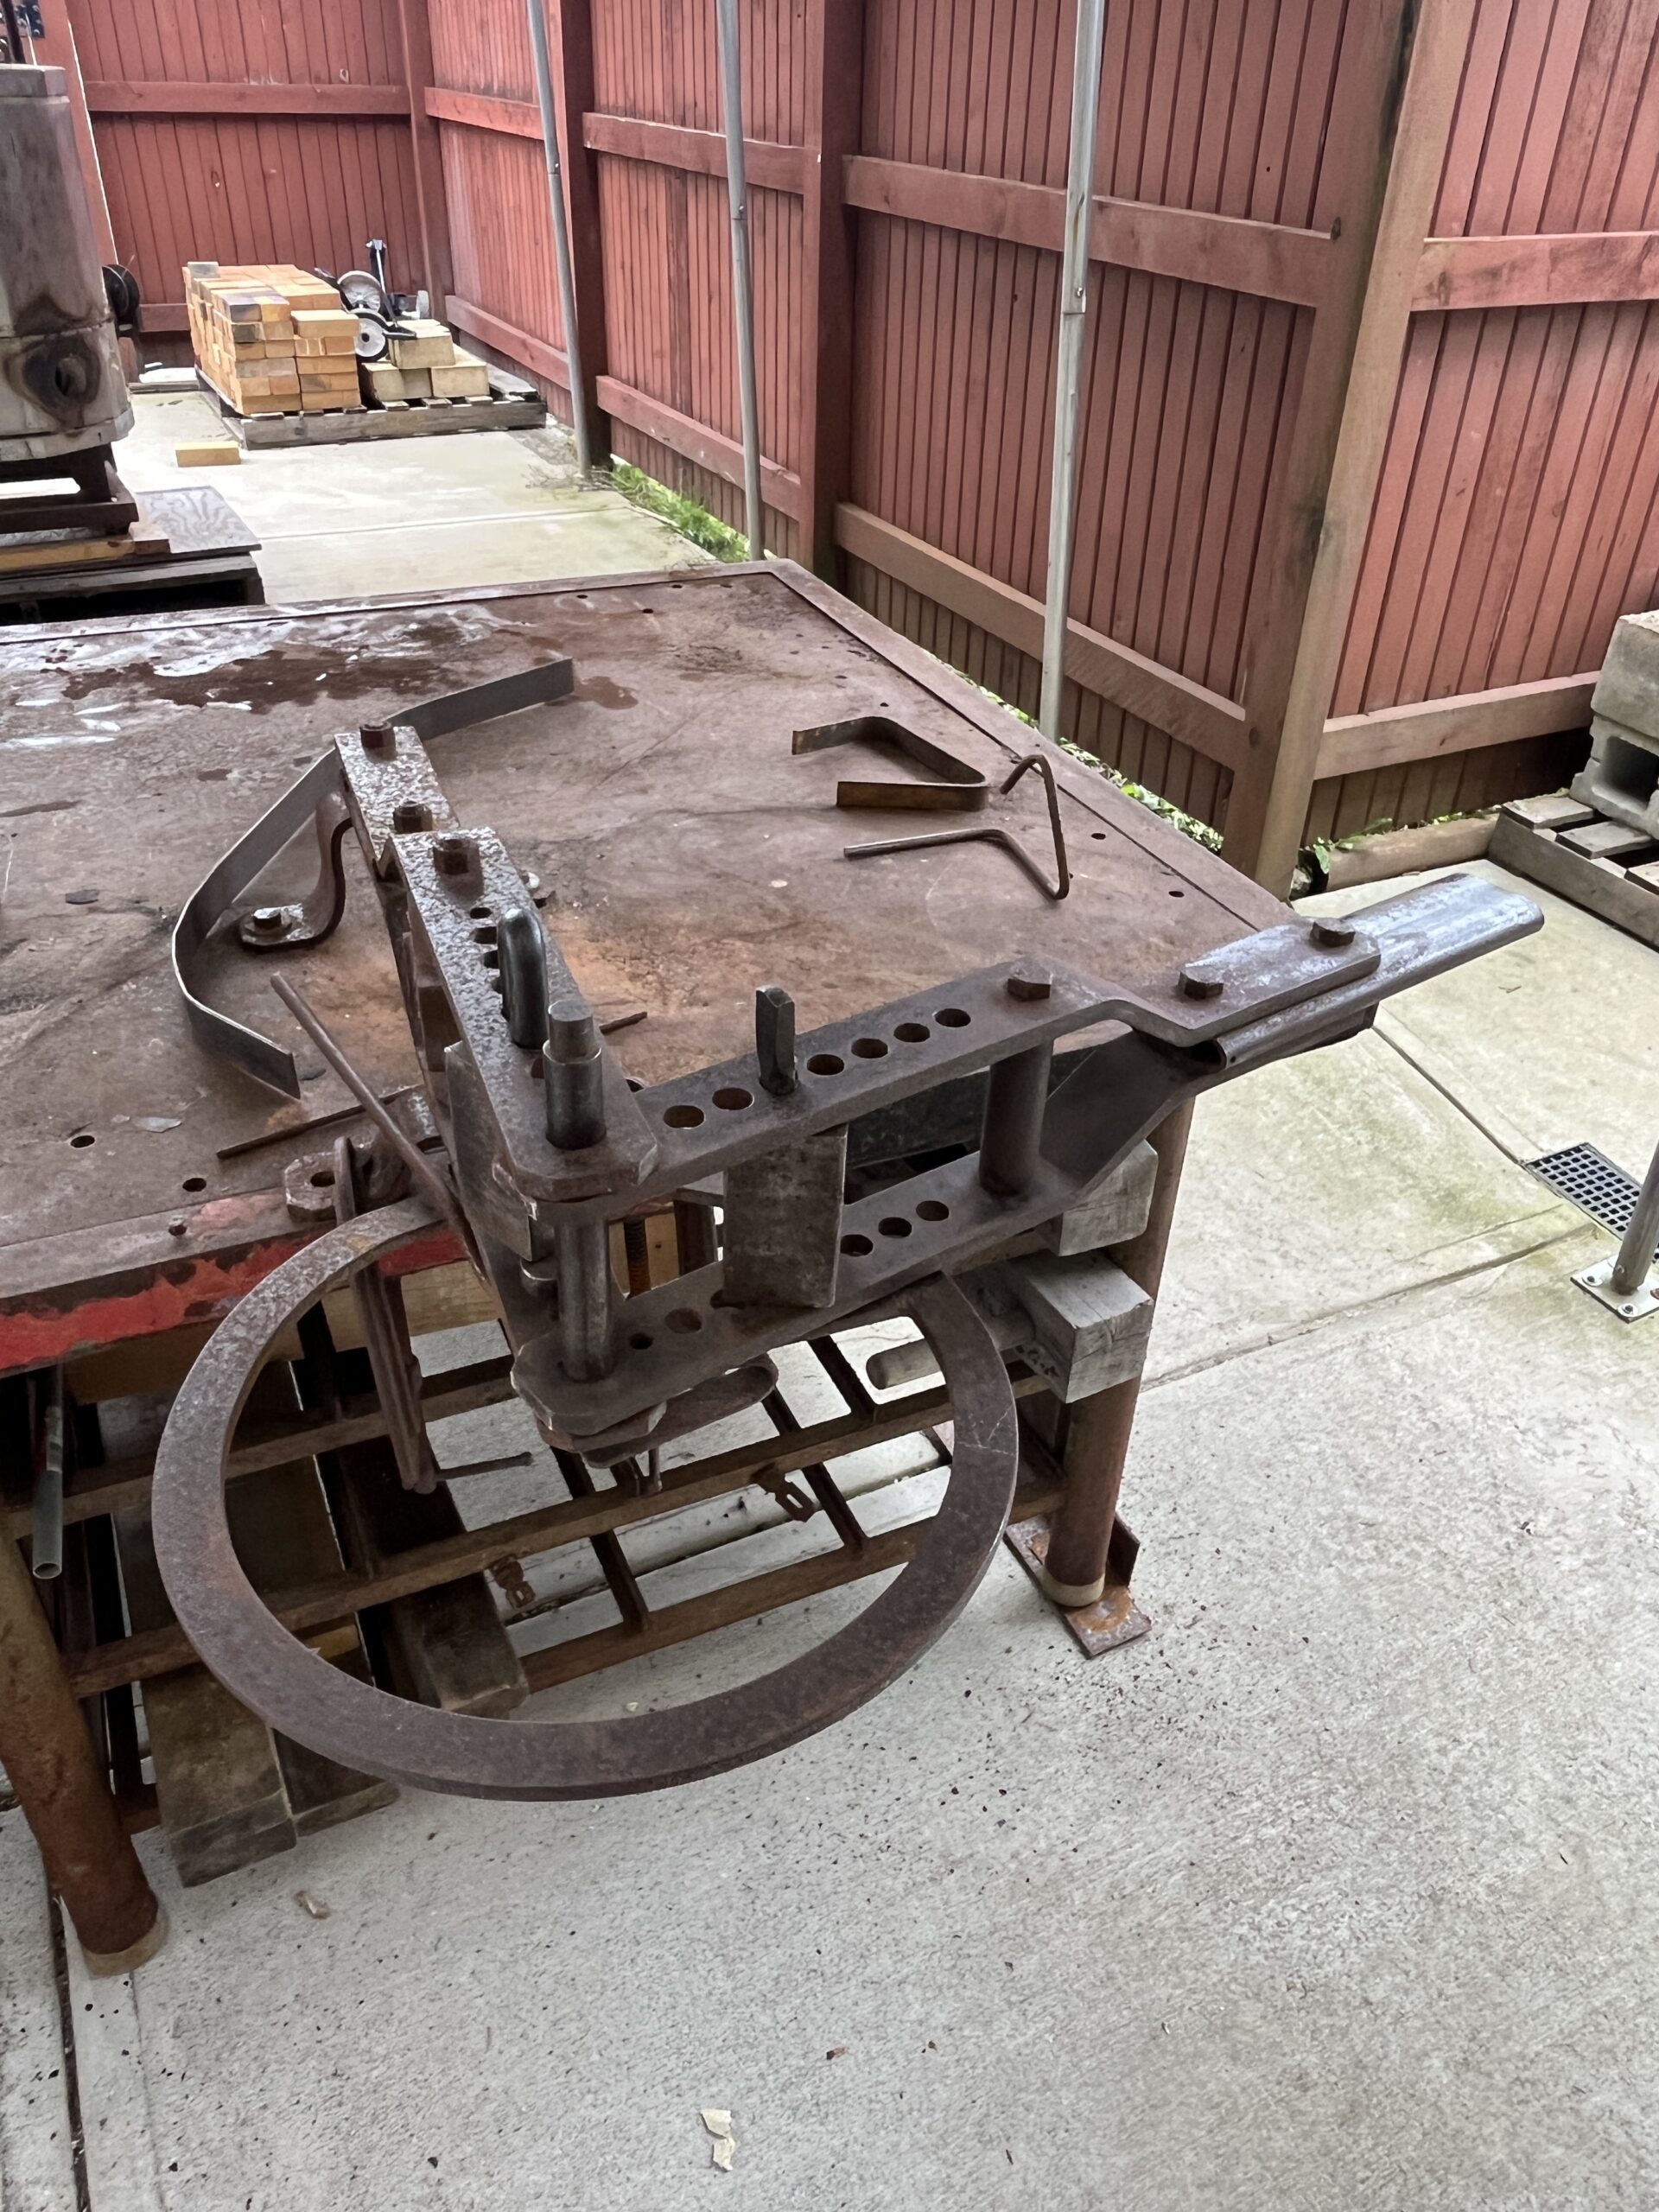
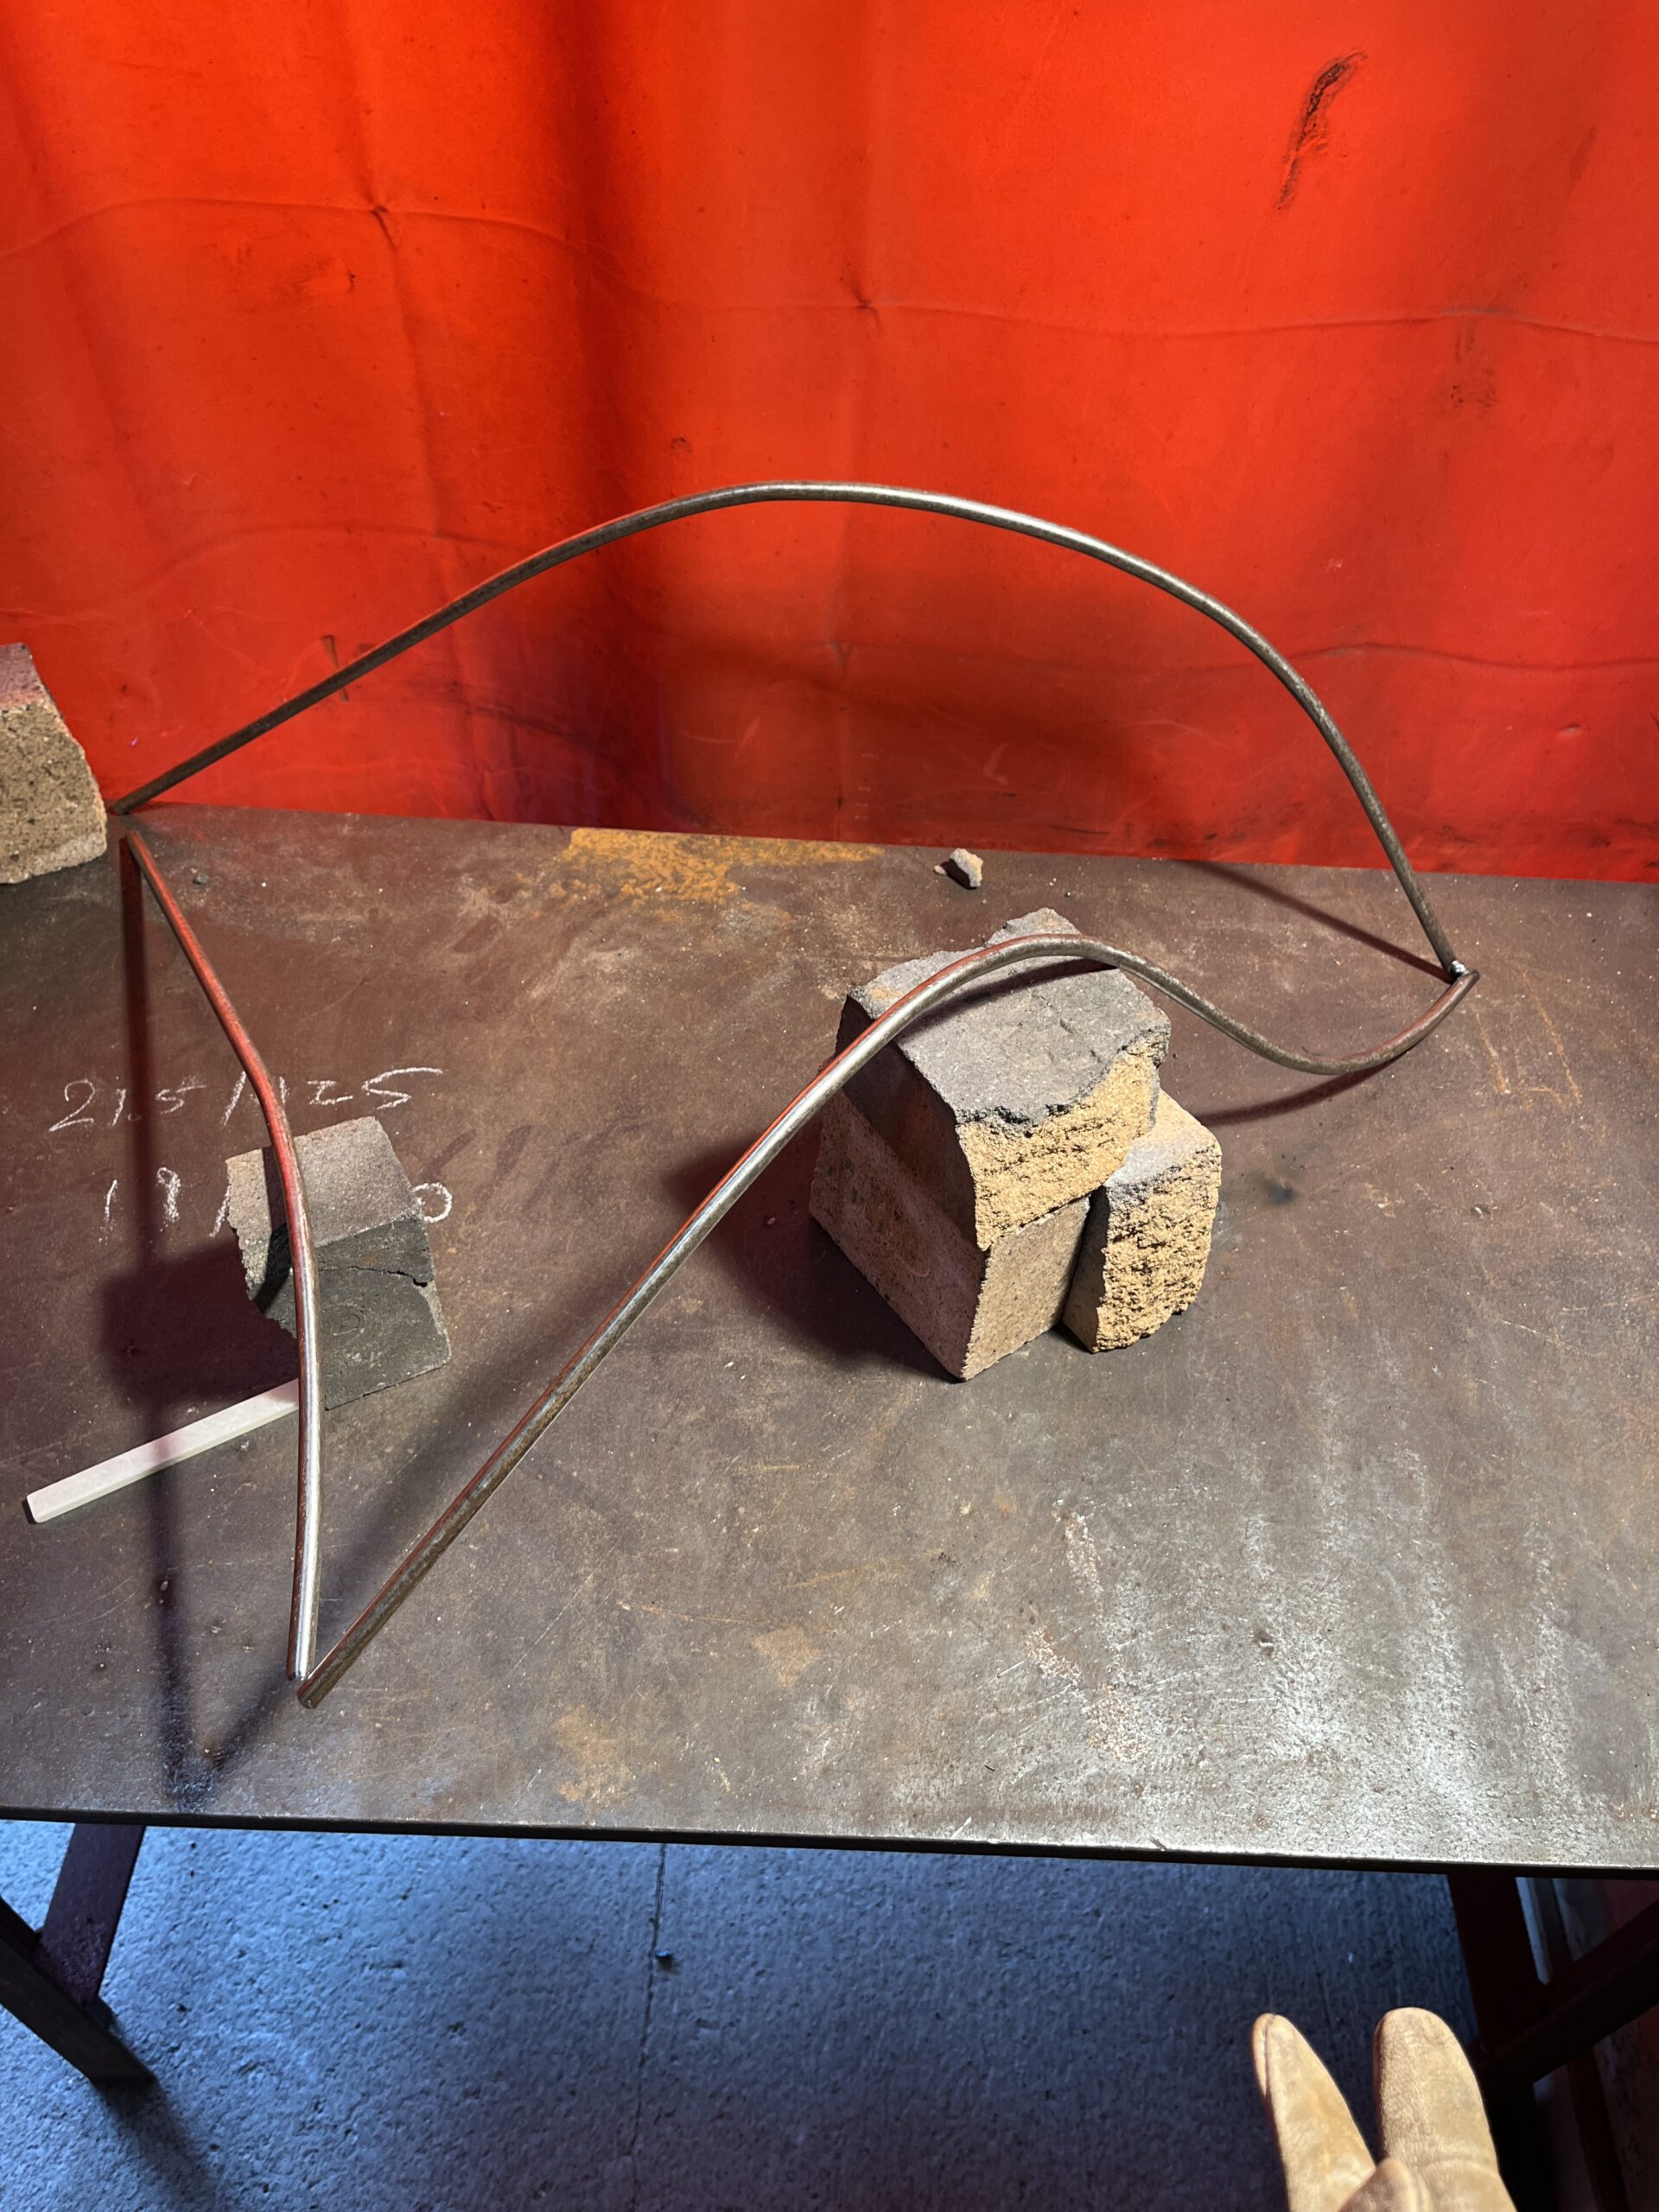
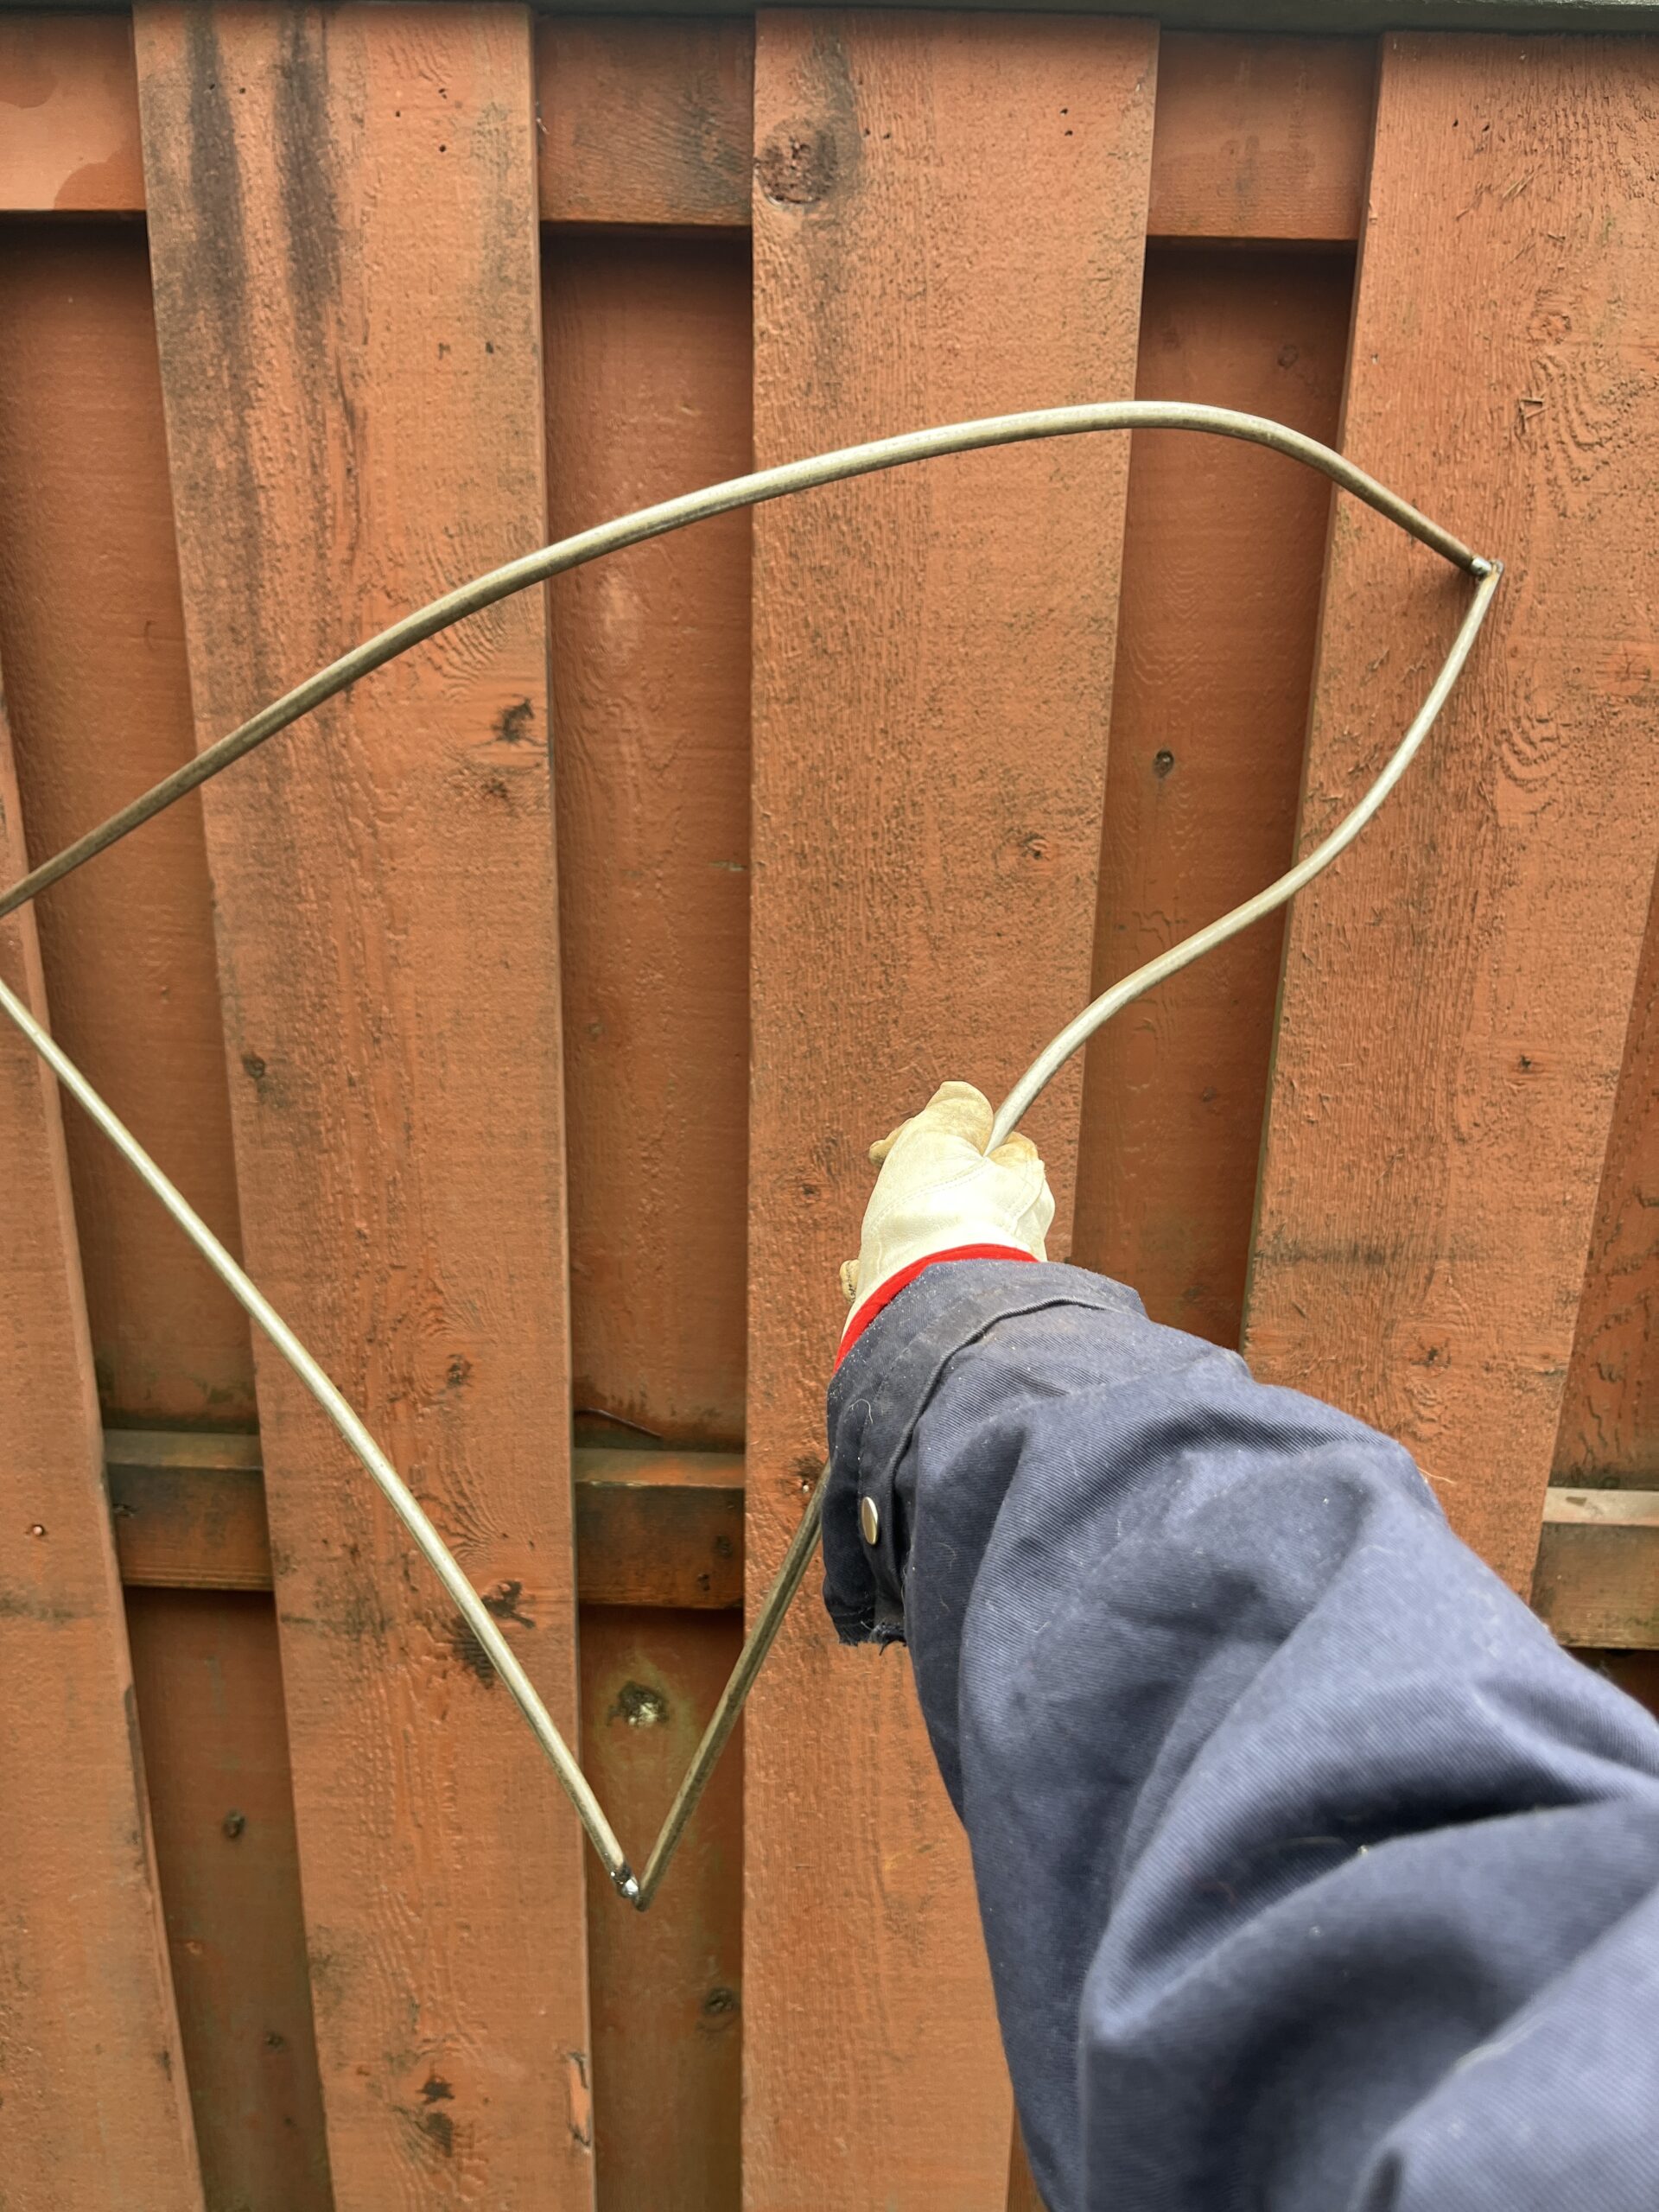
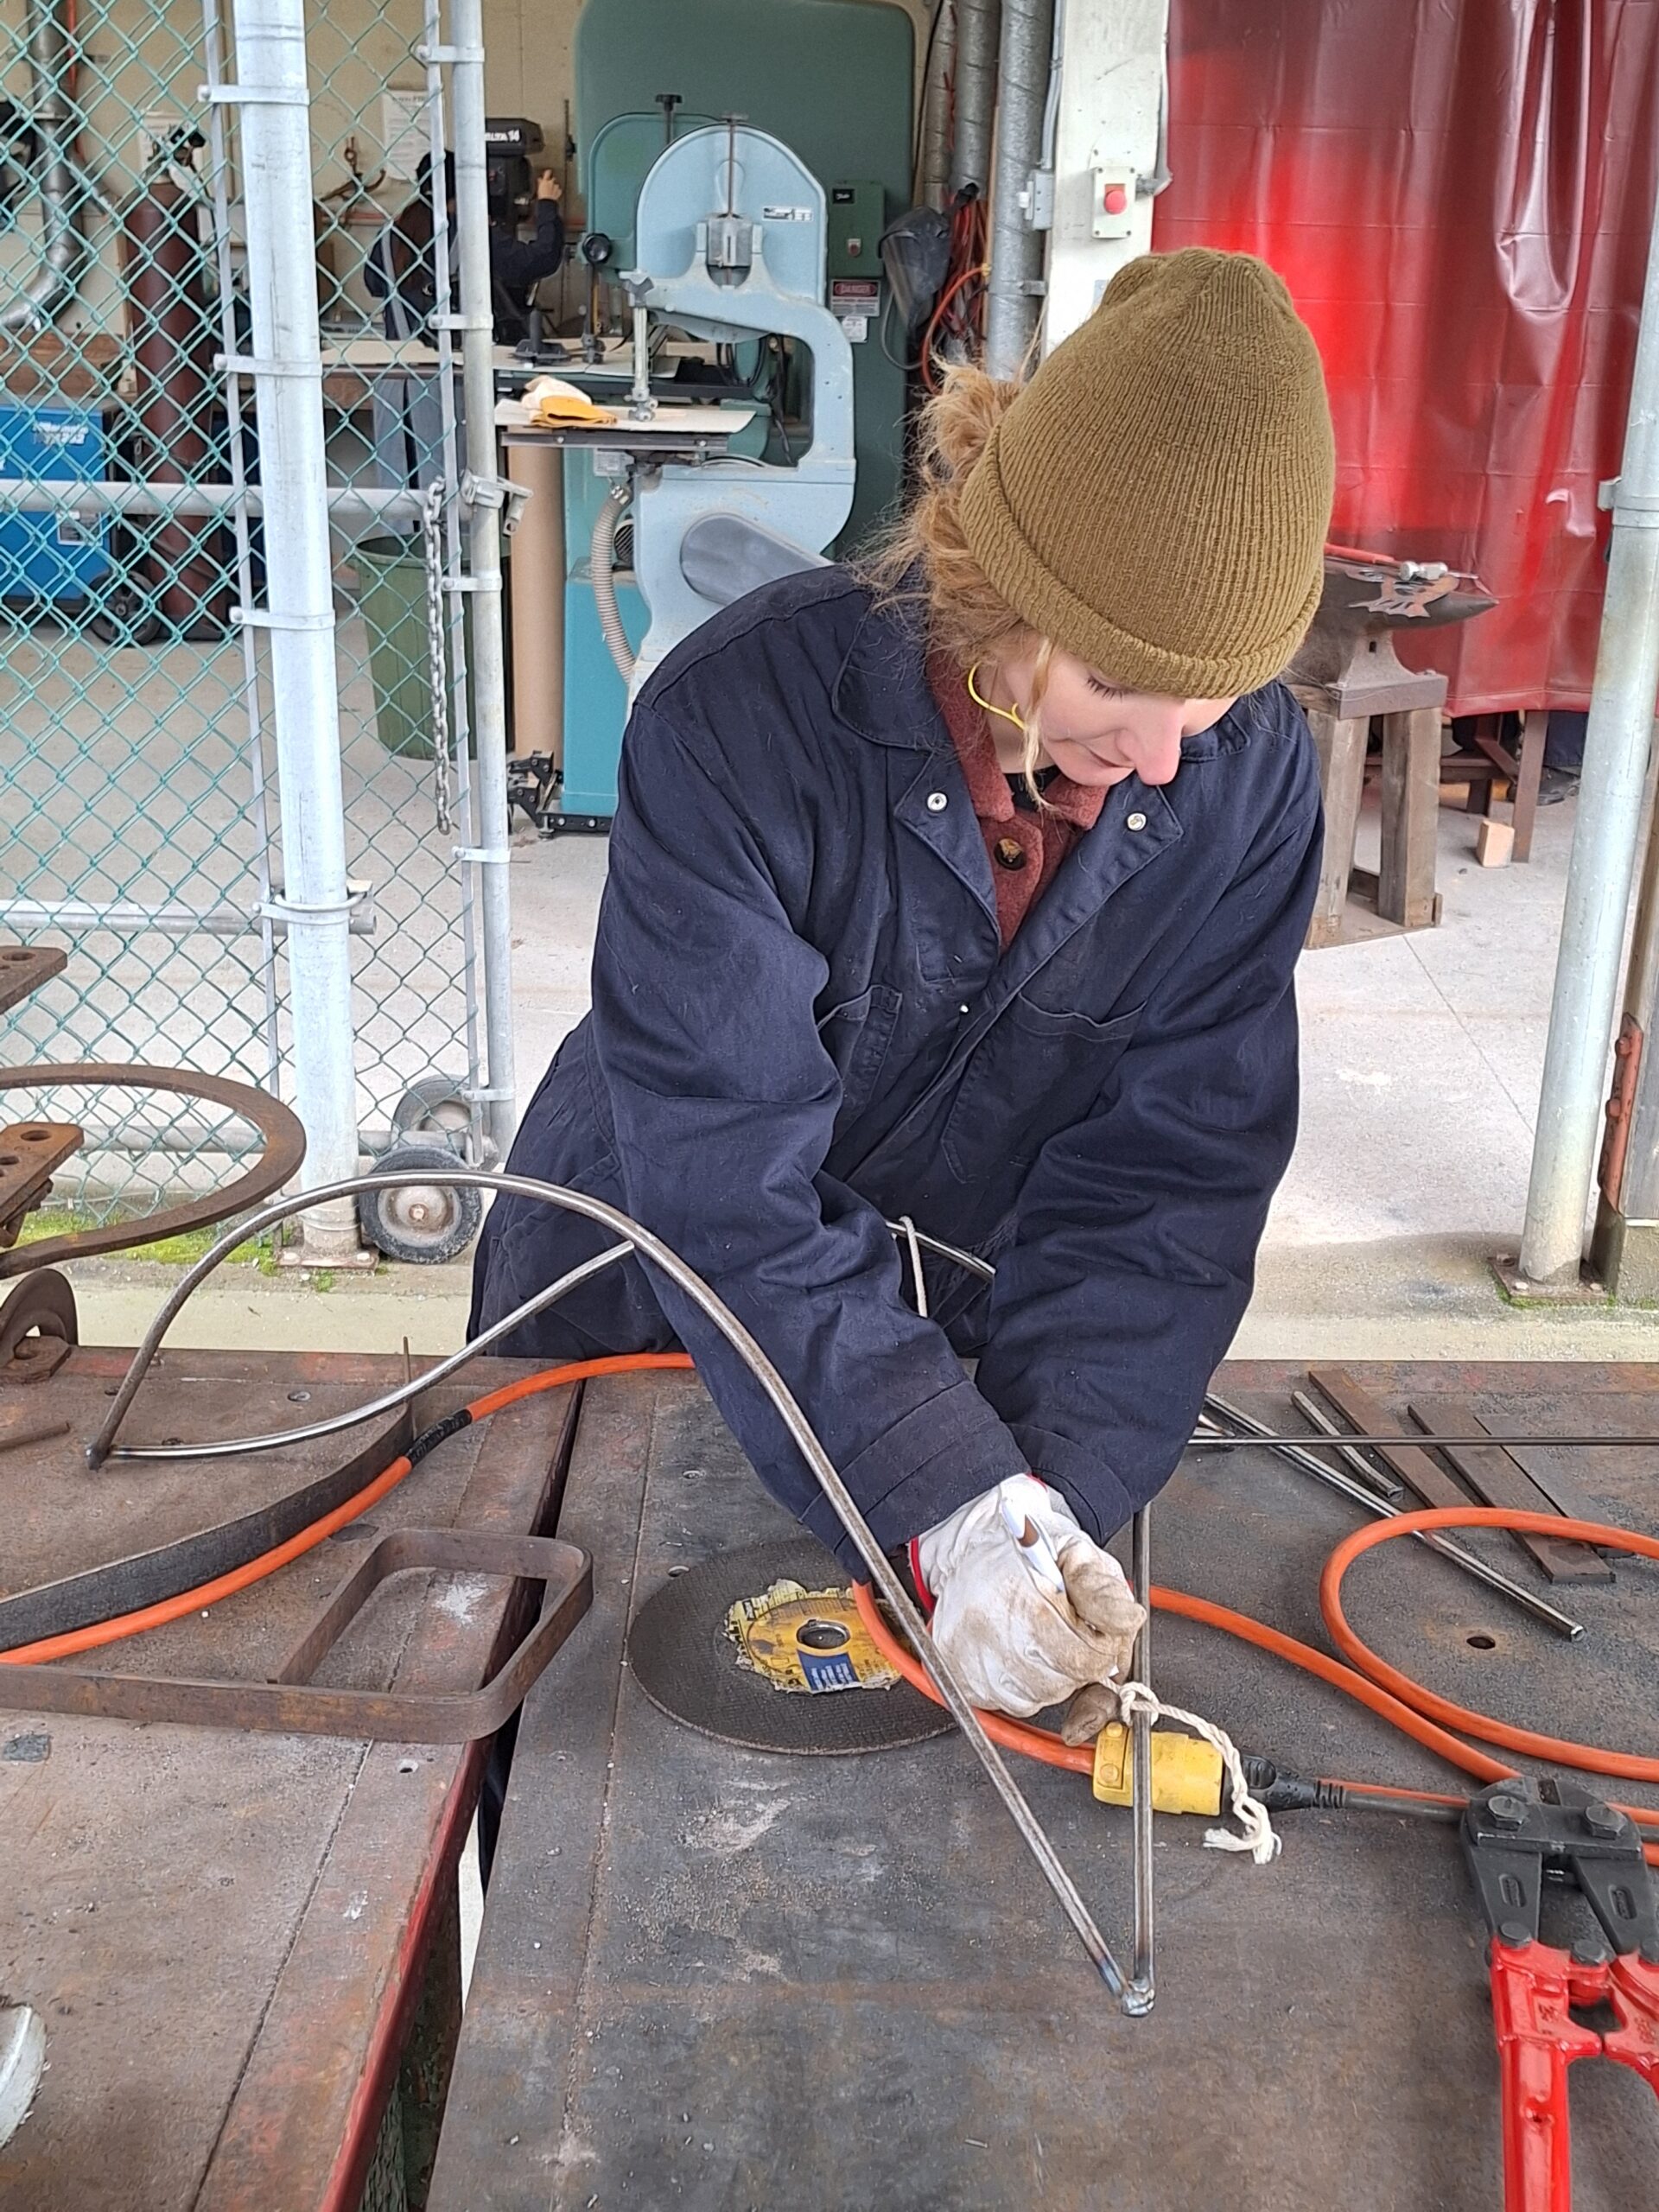
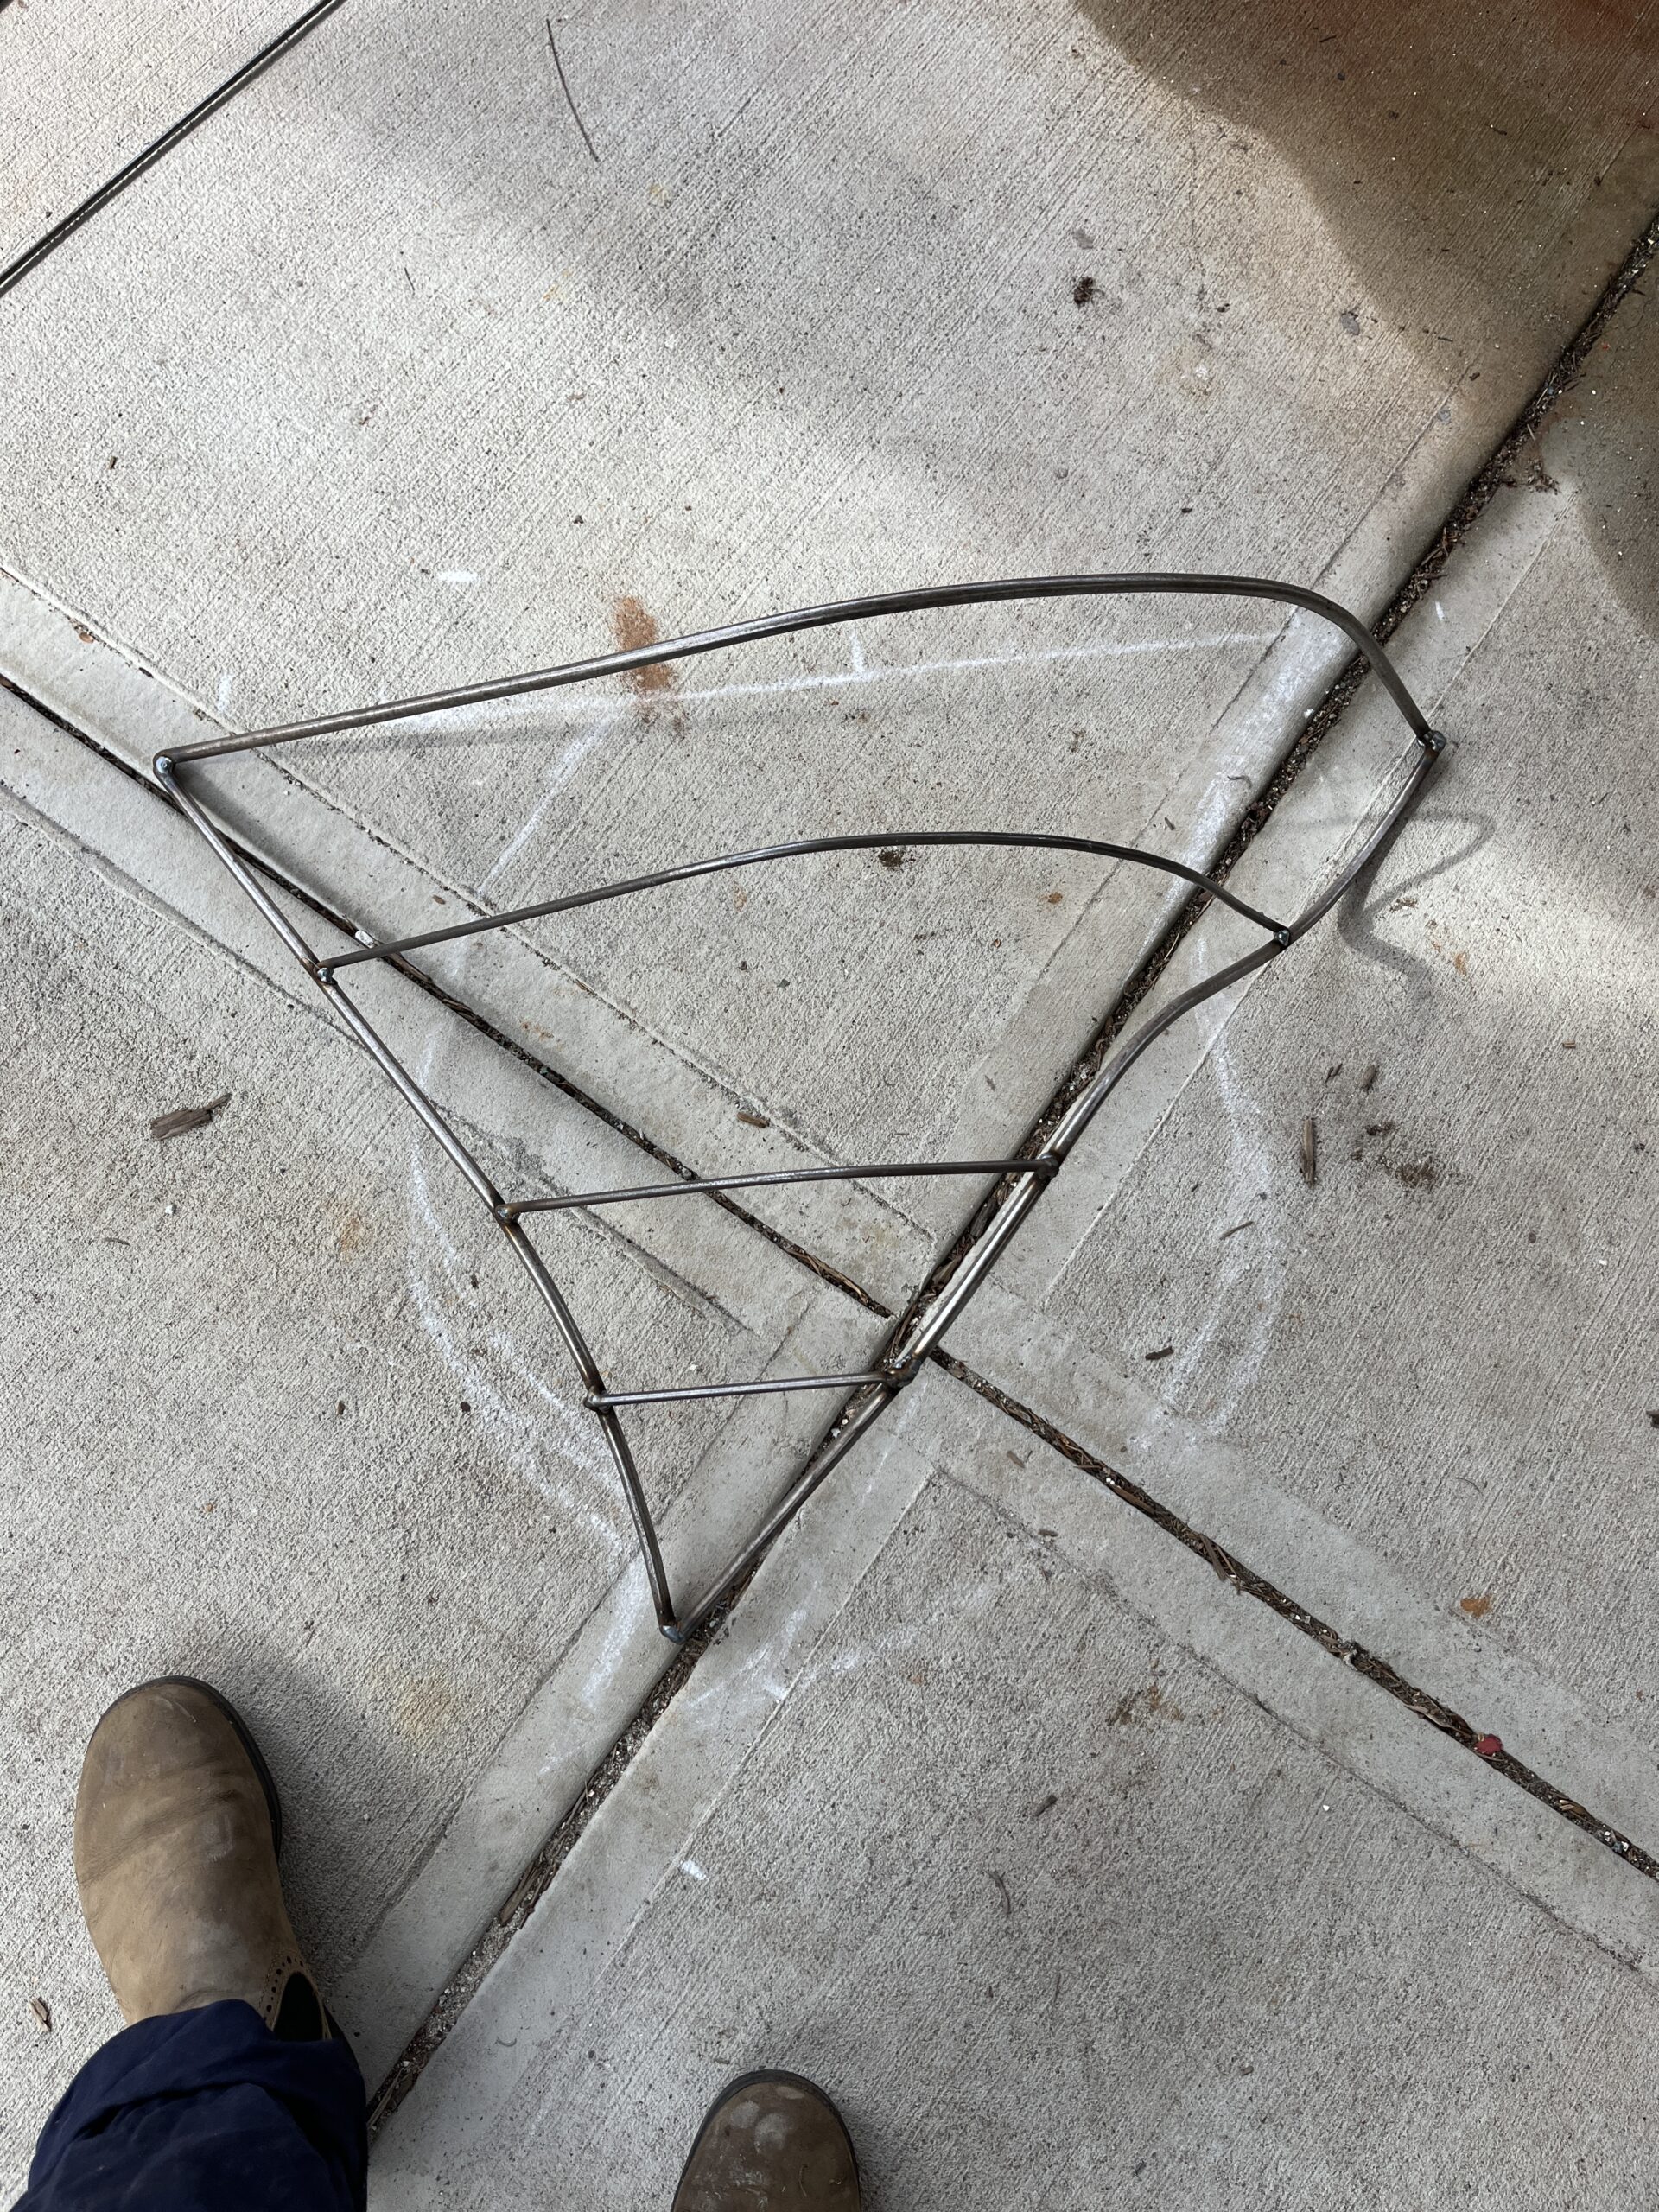
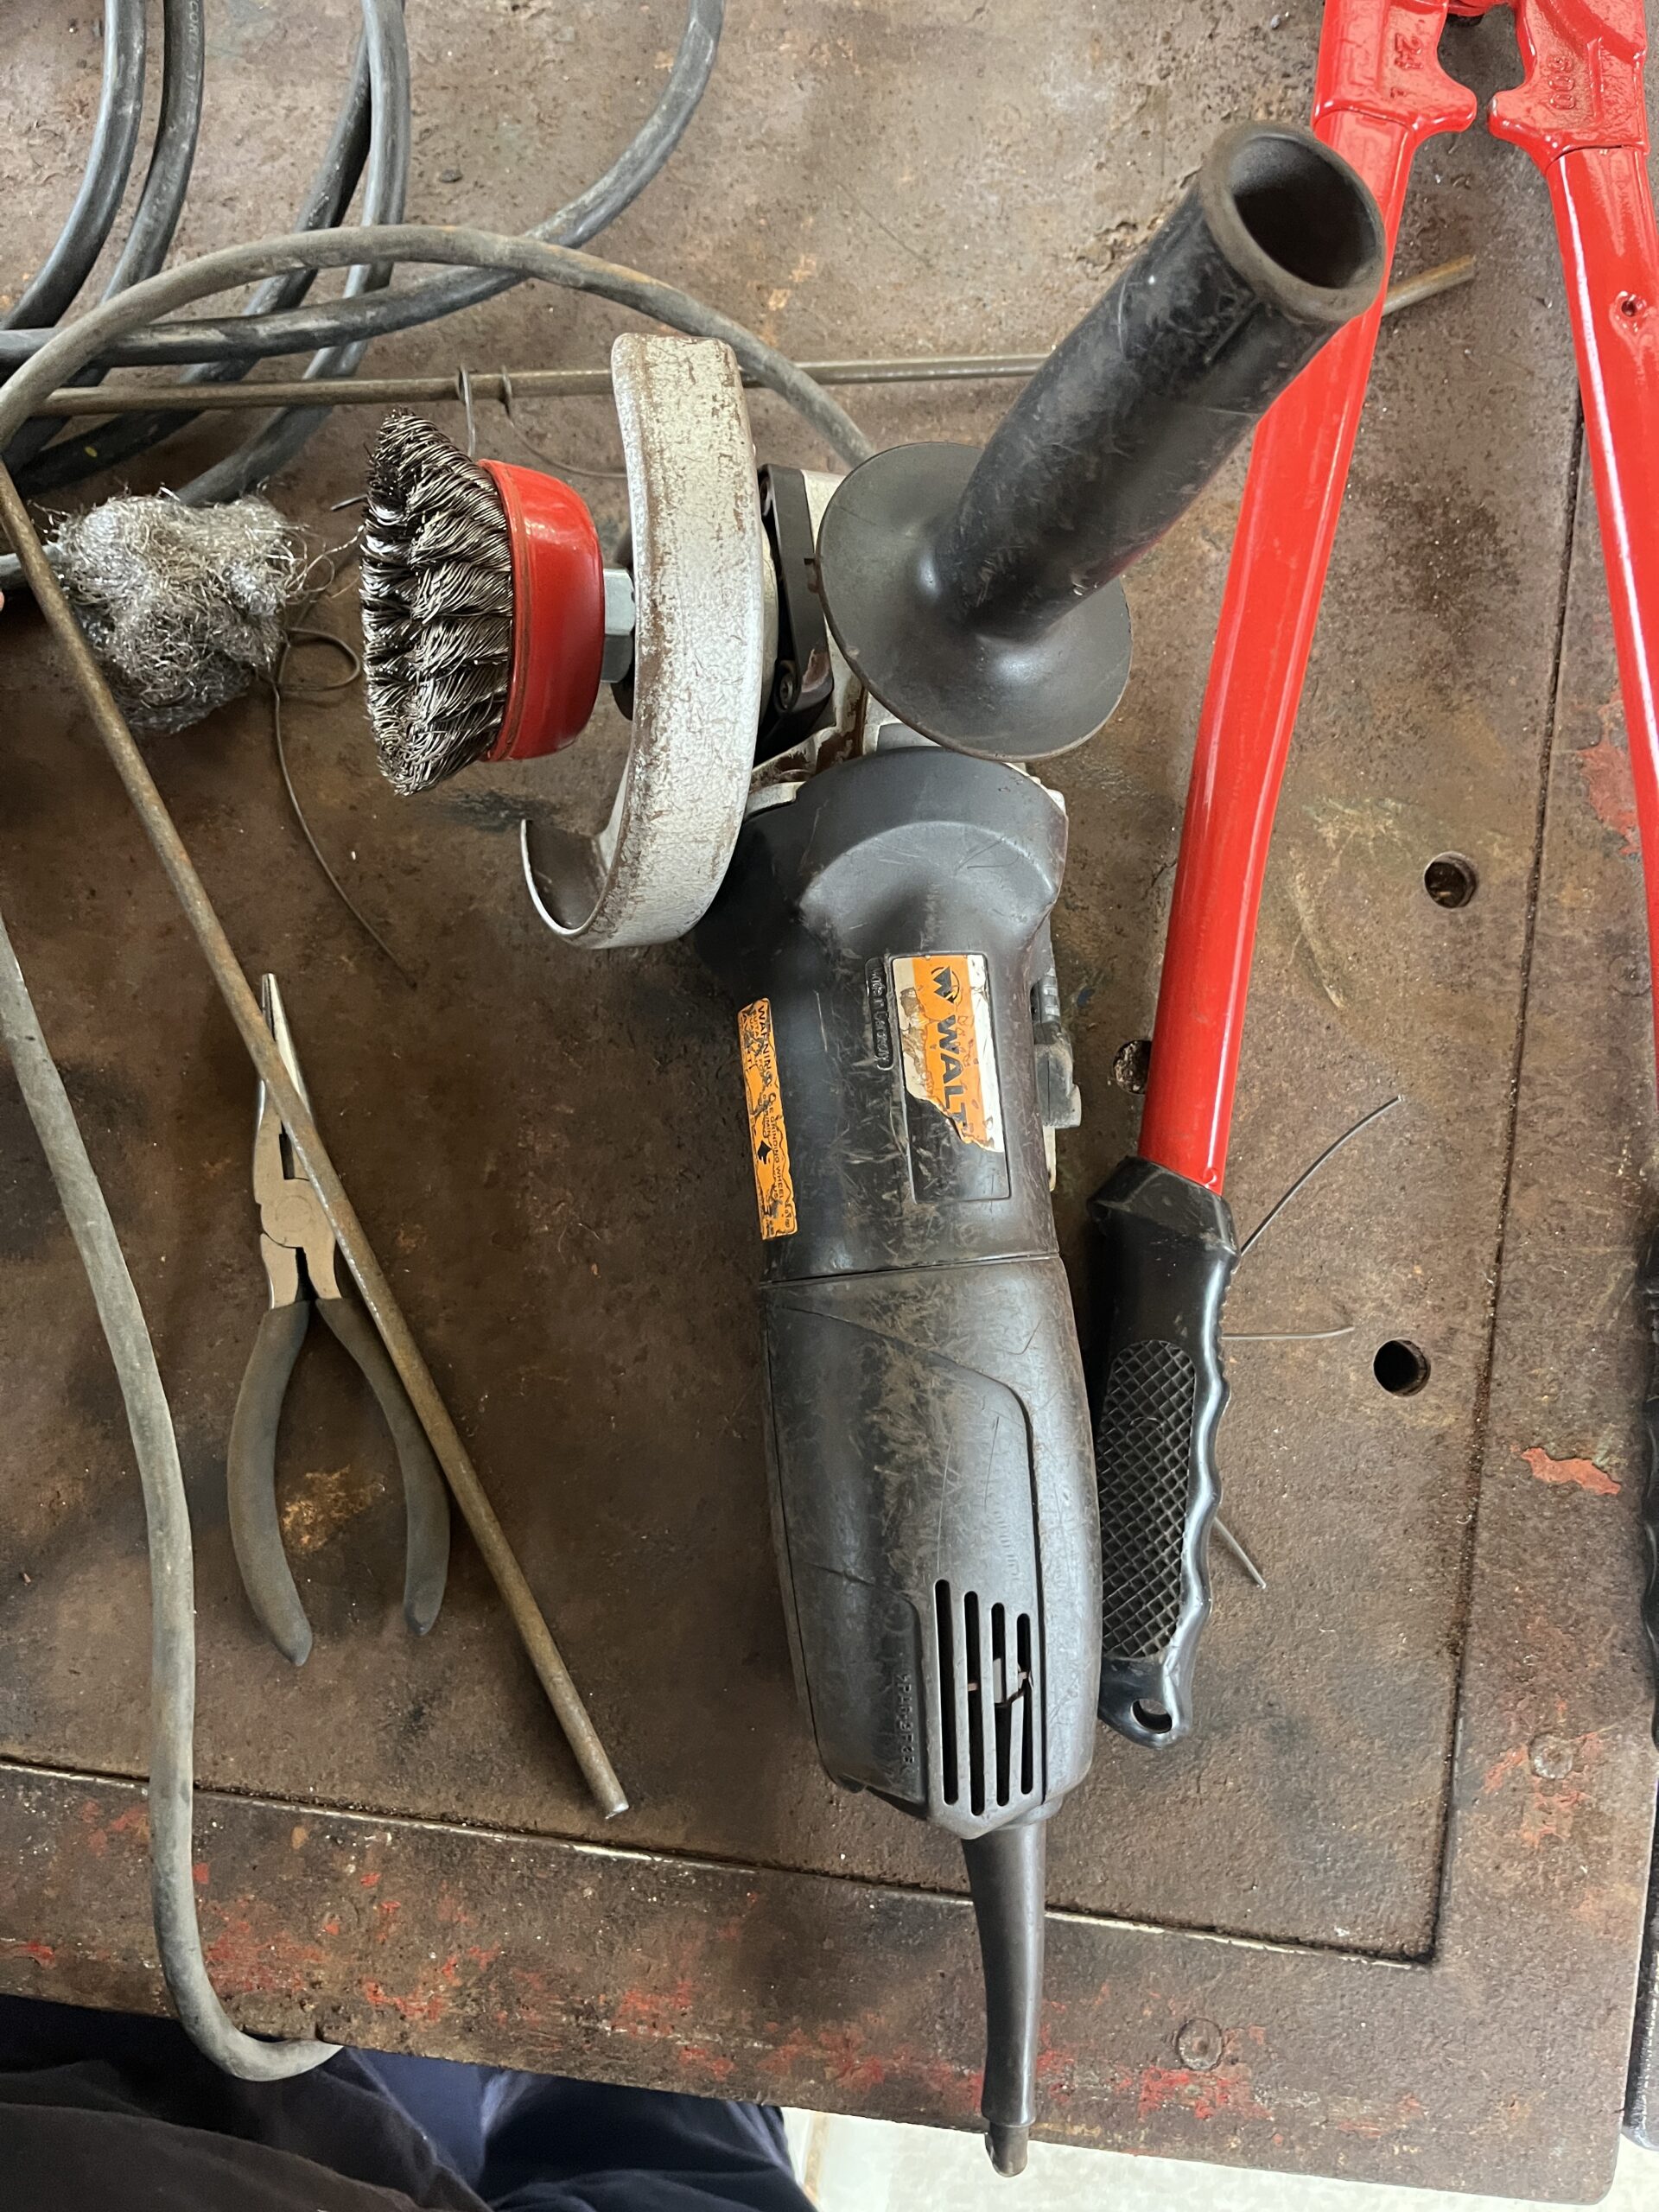
First I started by sanding some steel rods that Jeff gave me. I hand standed with steel wool it and used a vice to hold the rods in place while I sanded it with a strap of sand paper. When the rod was nice and shiny, we cut the steel rods to an appoximate sized based on a sketch I’d done on the cement. I measured the sketch with some rope, and then measured the rope to get an approximate length of the wing. I did this for all 3 sides of the wing. Then I bent them, welded them together, and measured more supports for the inside of the whing where I could attached the feathers. I used the bench grinder to soften the edges of the rods to avoid any dangerously sharp edges while I was doing the measuring, bending and and joining.


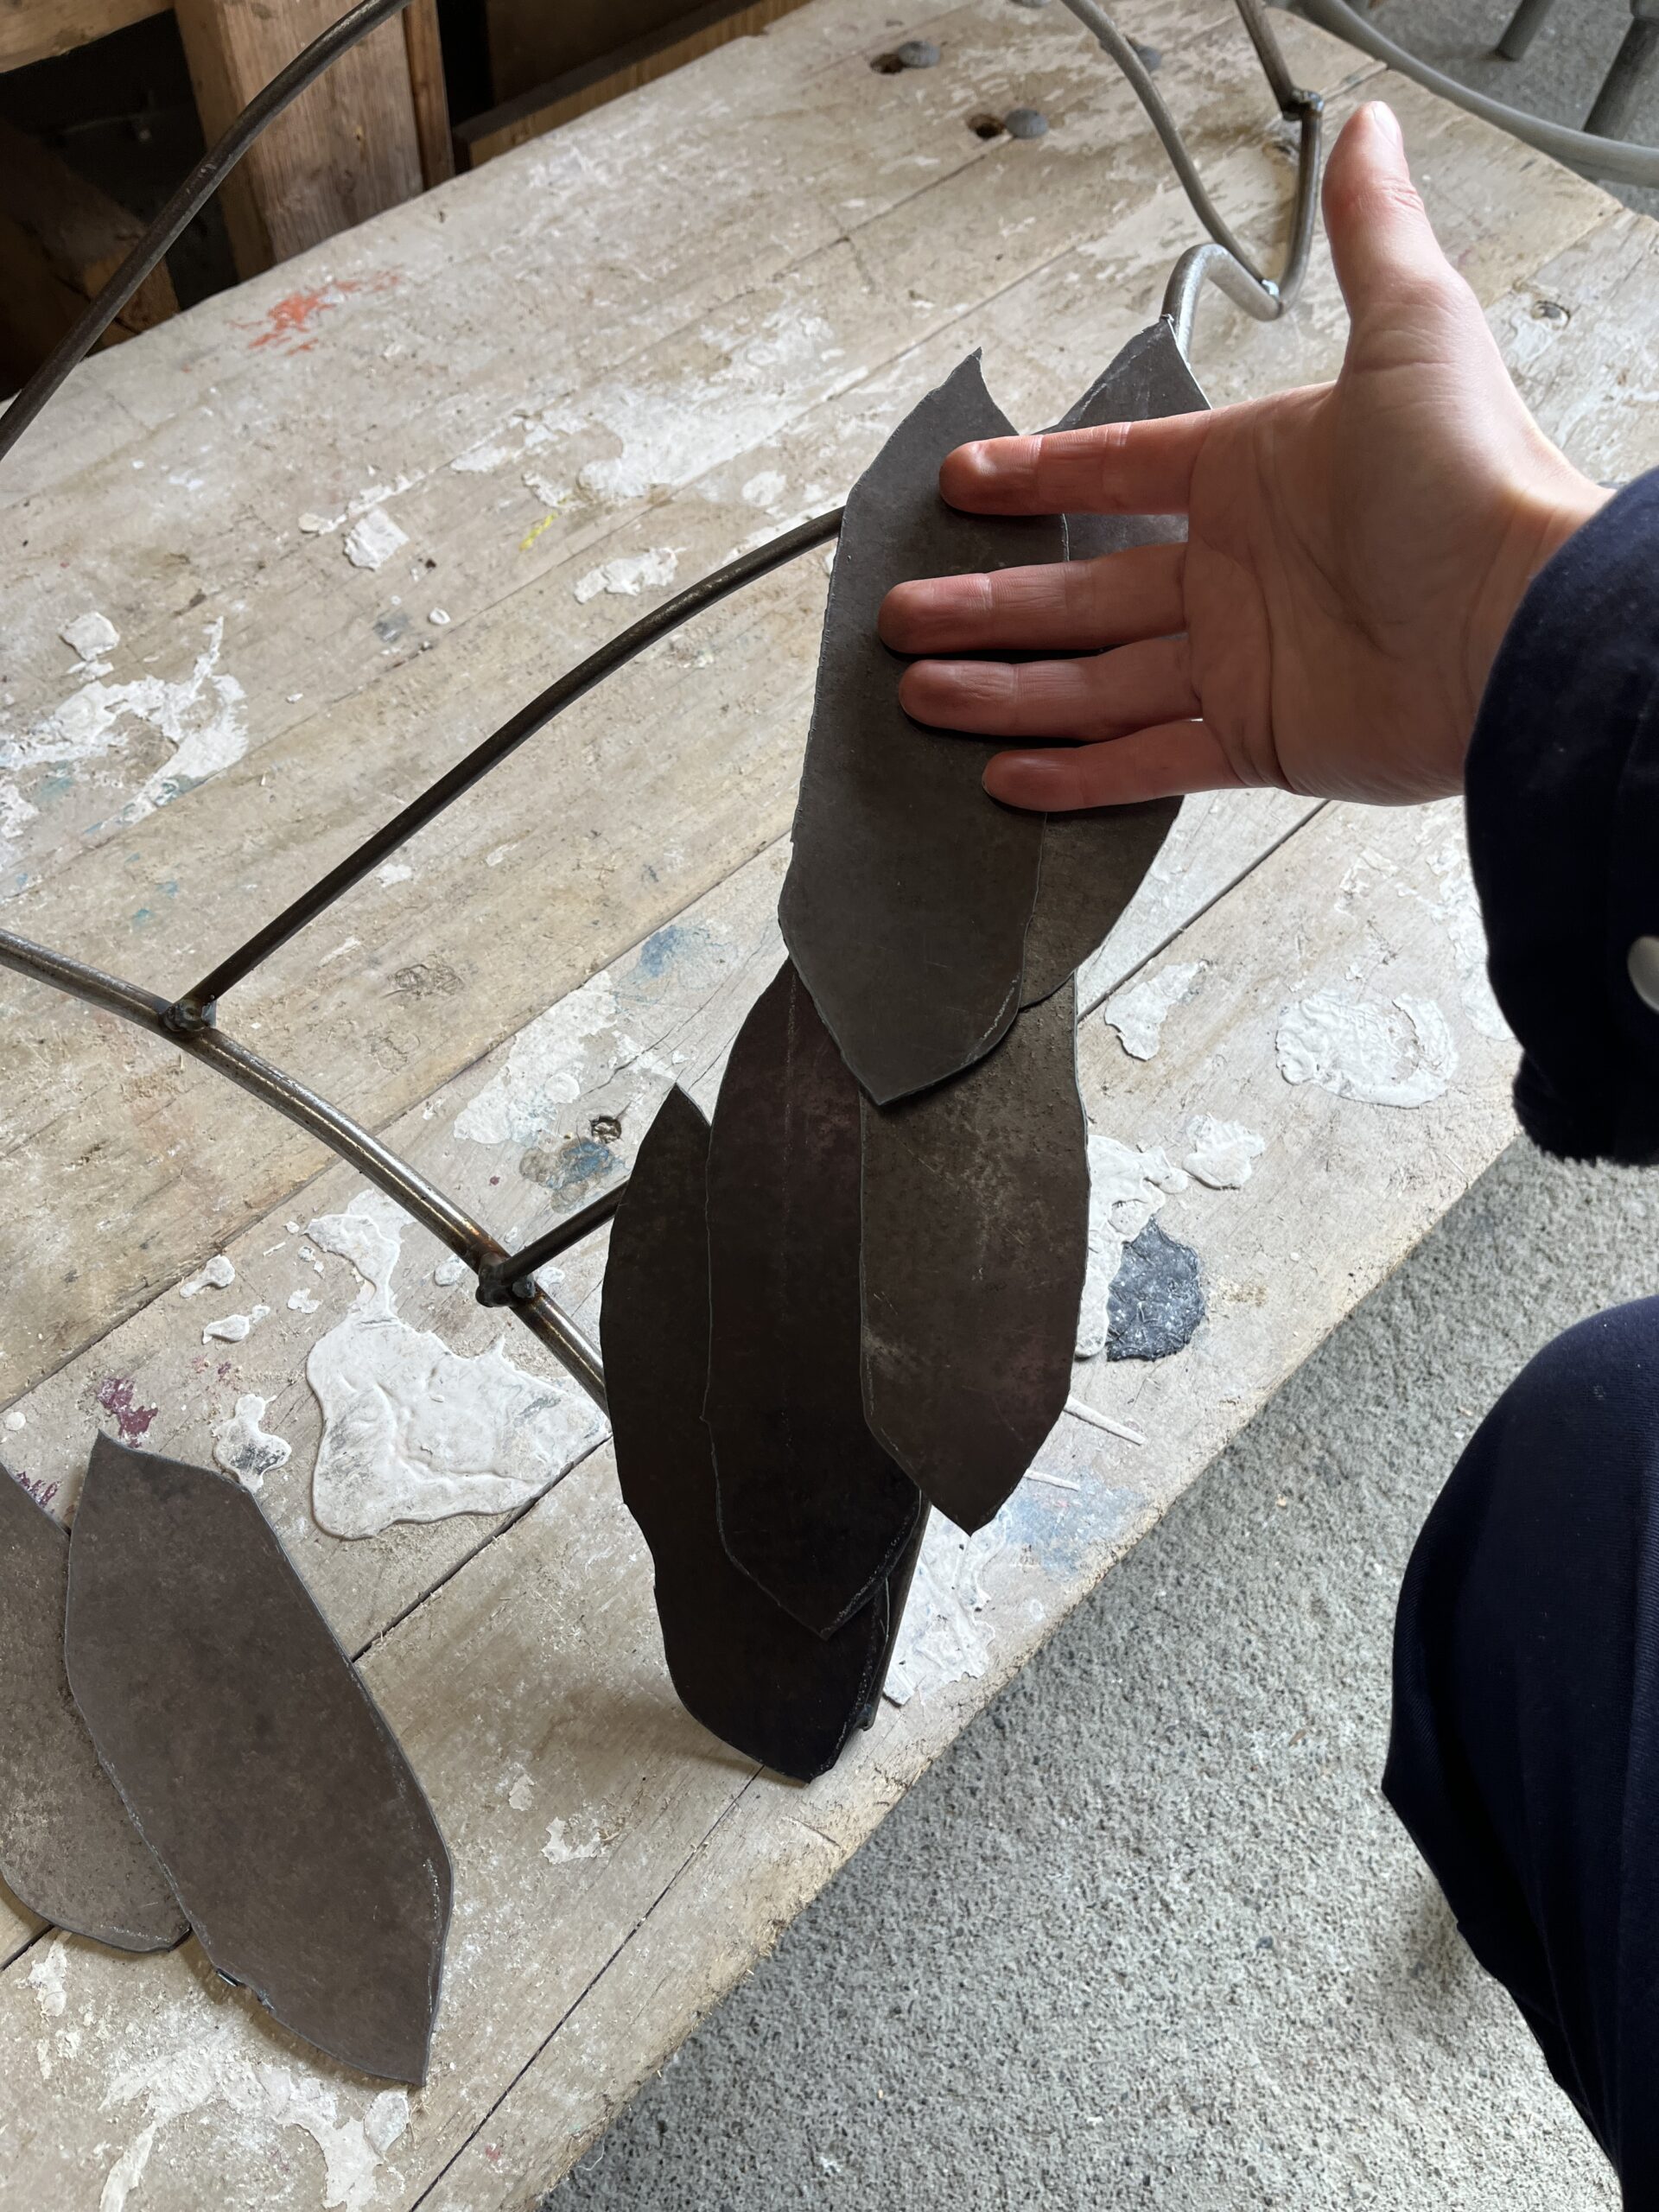
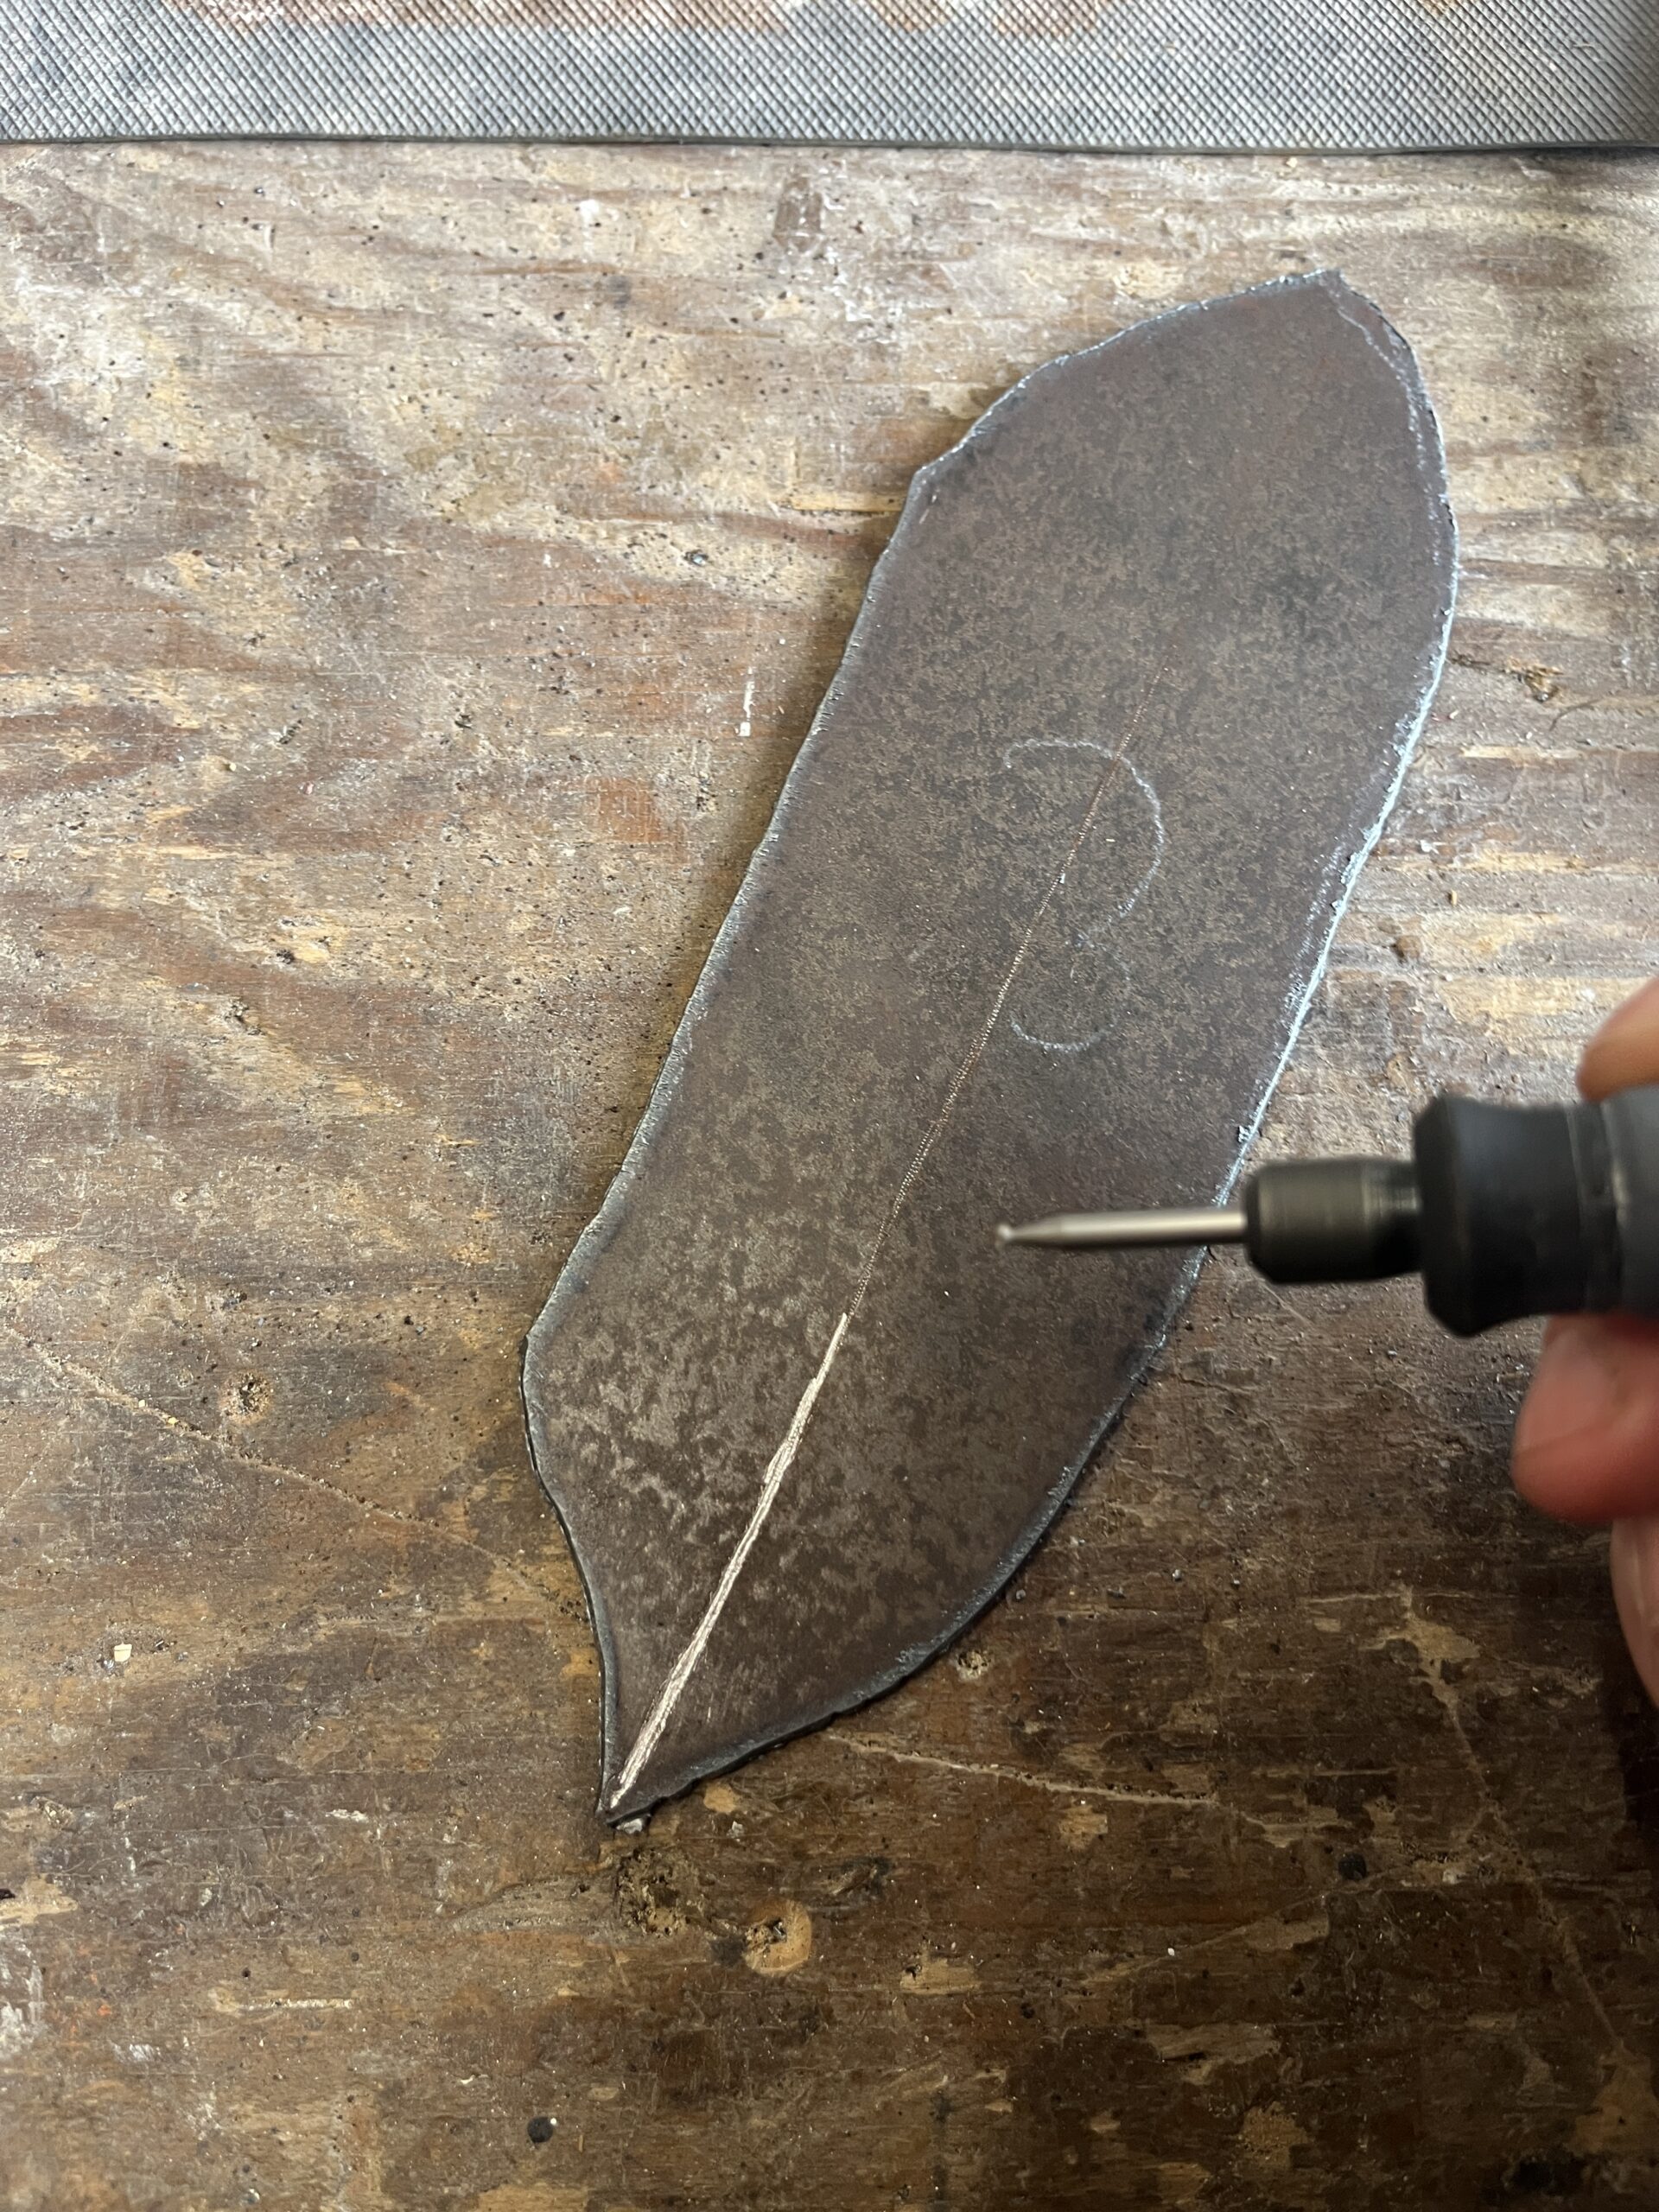
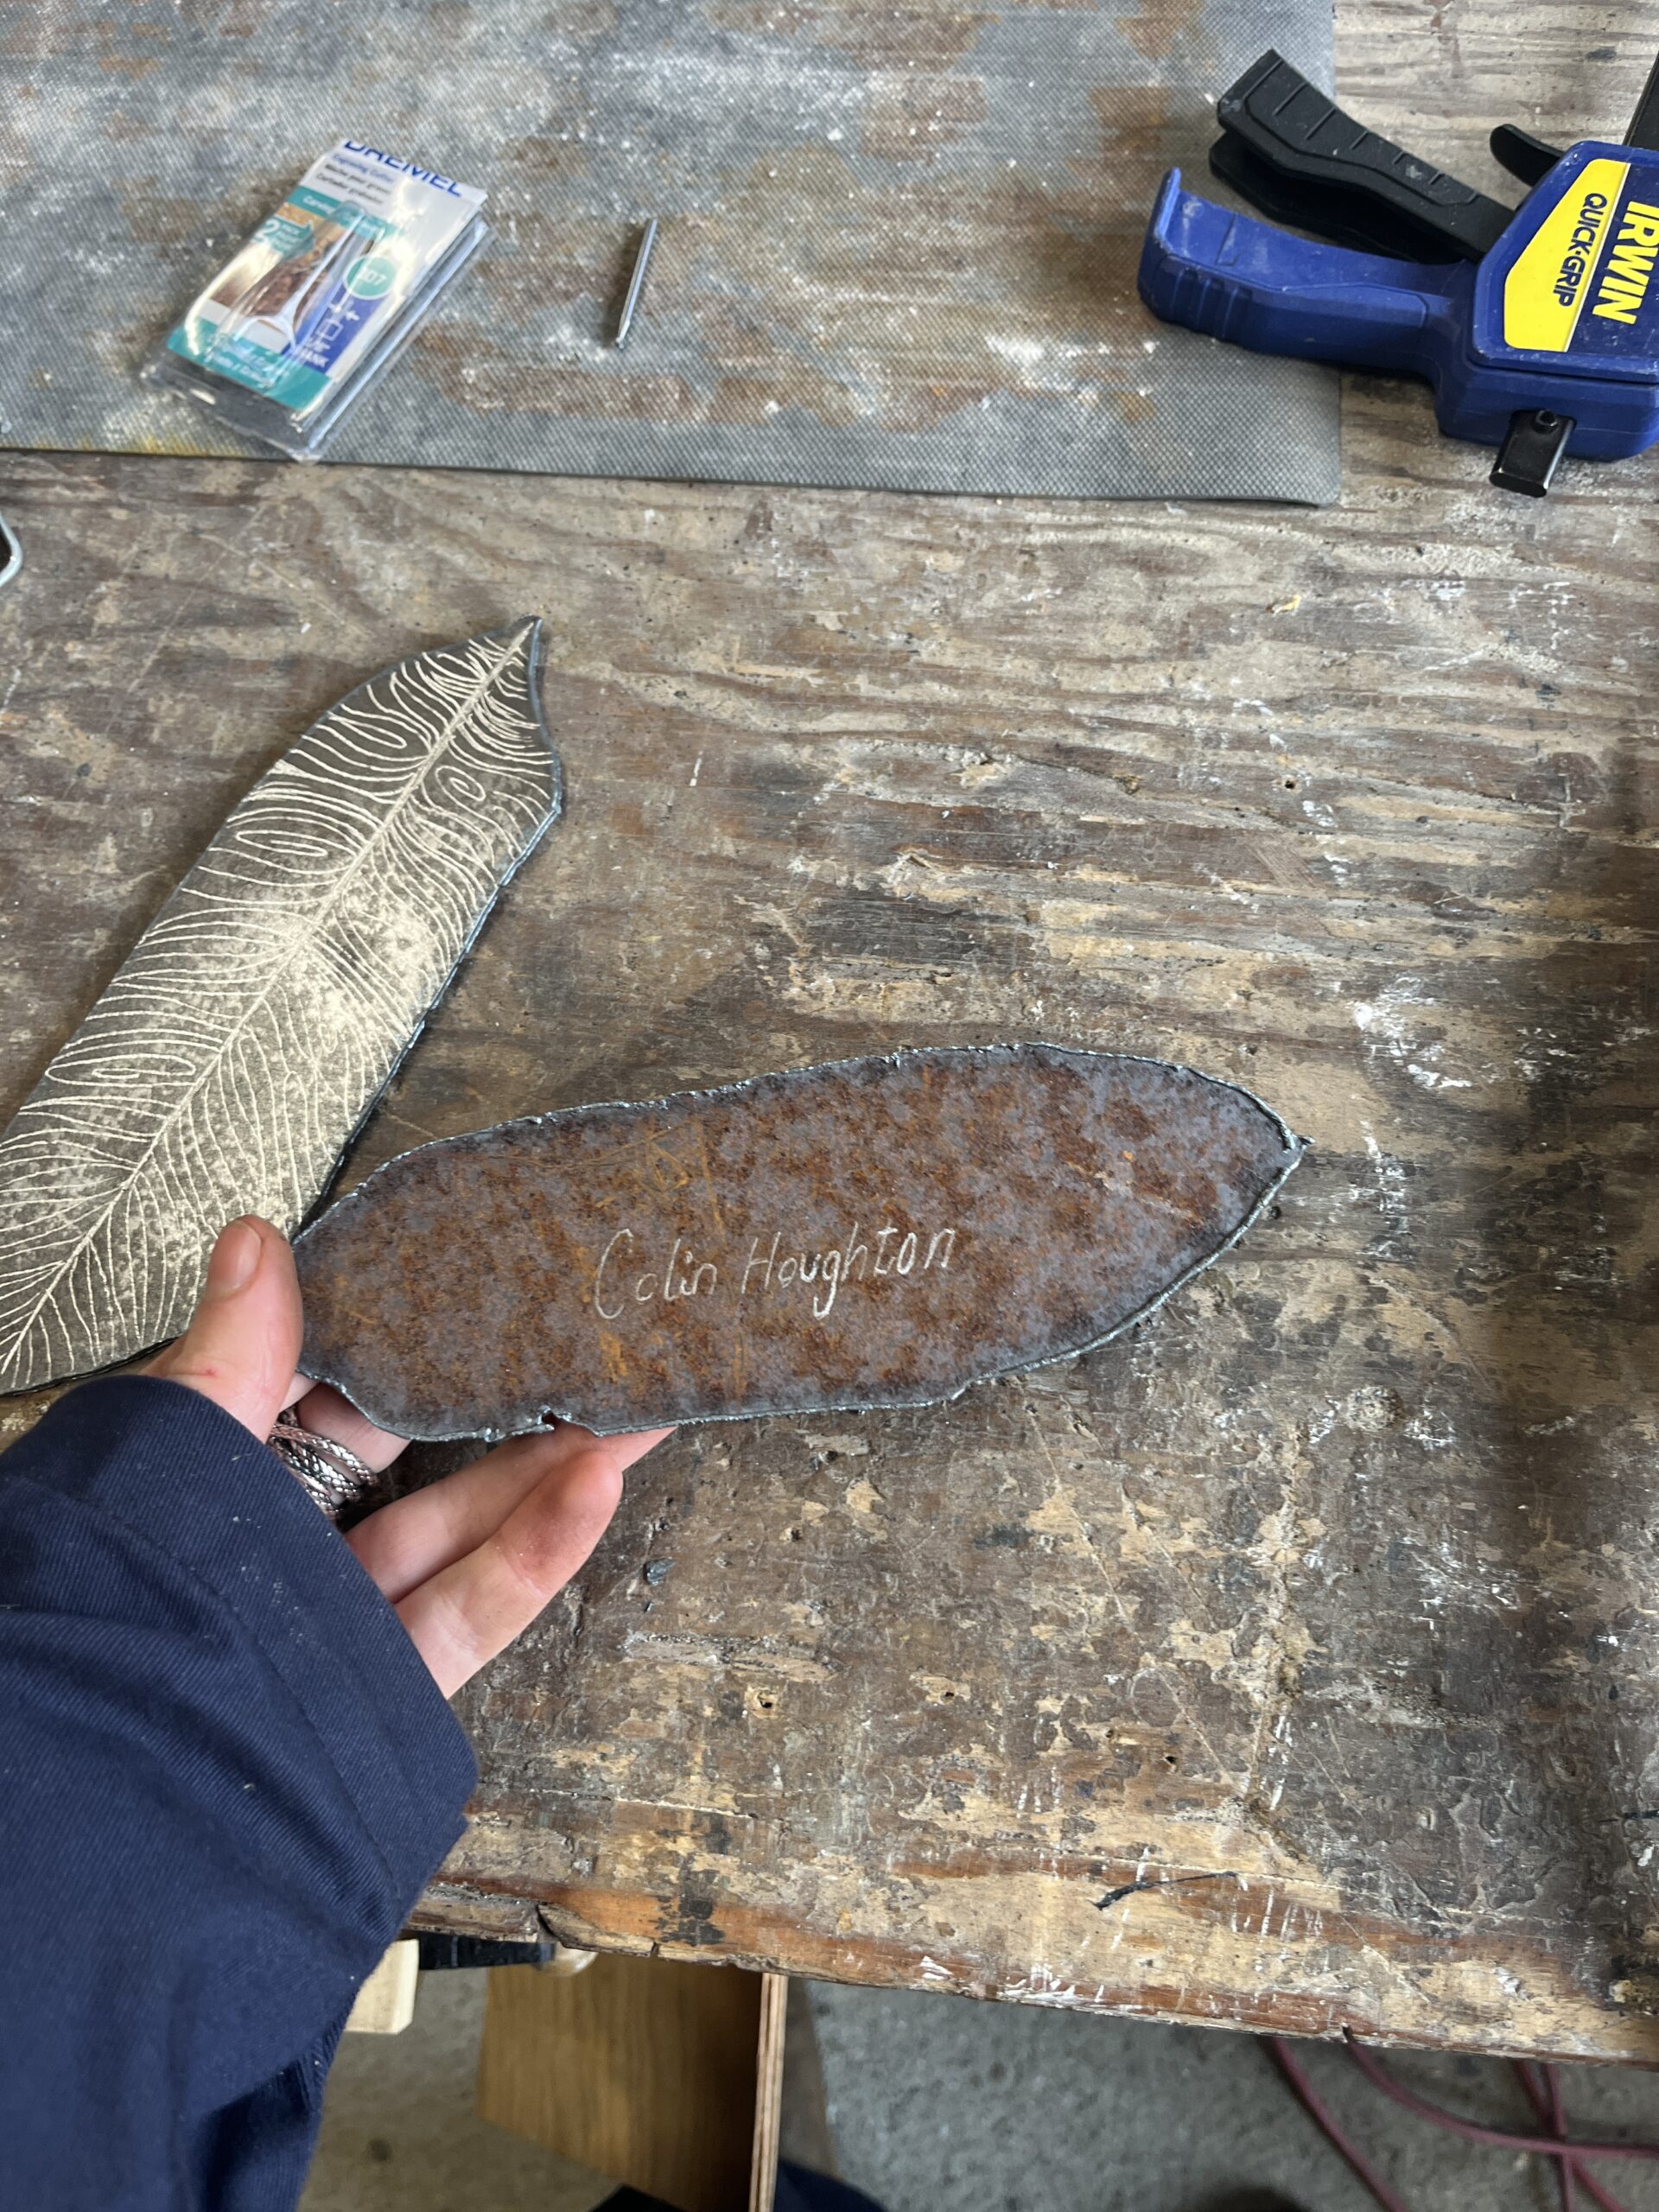
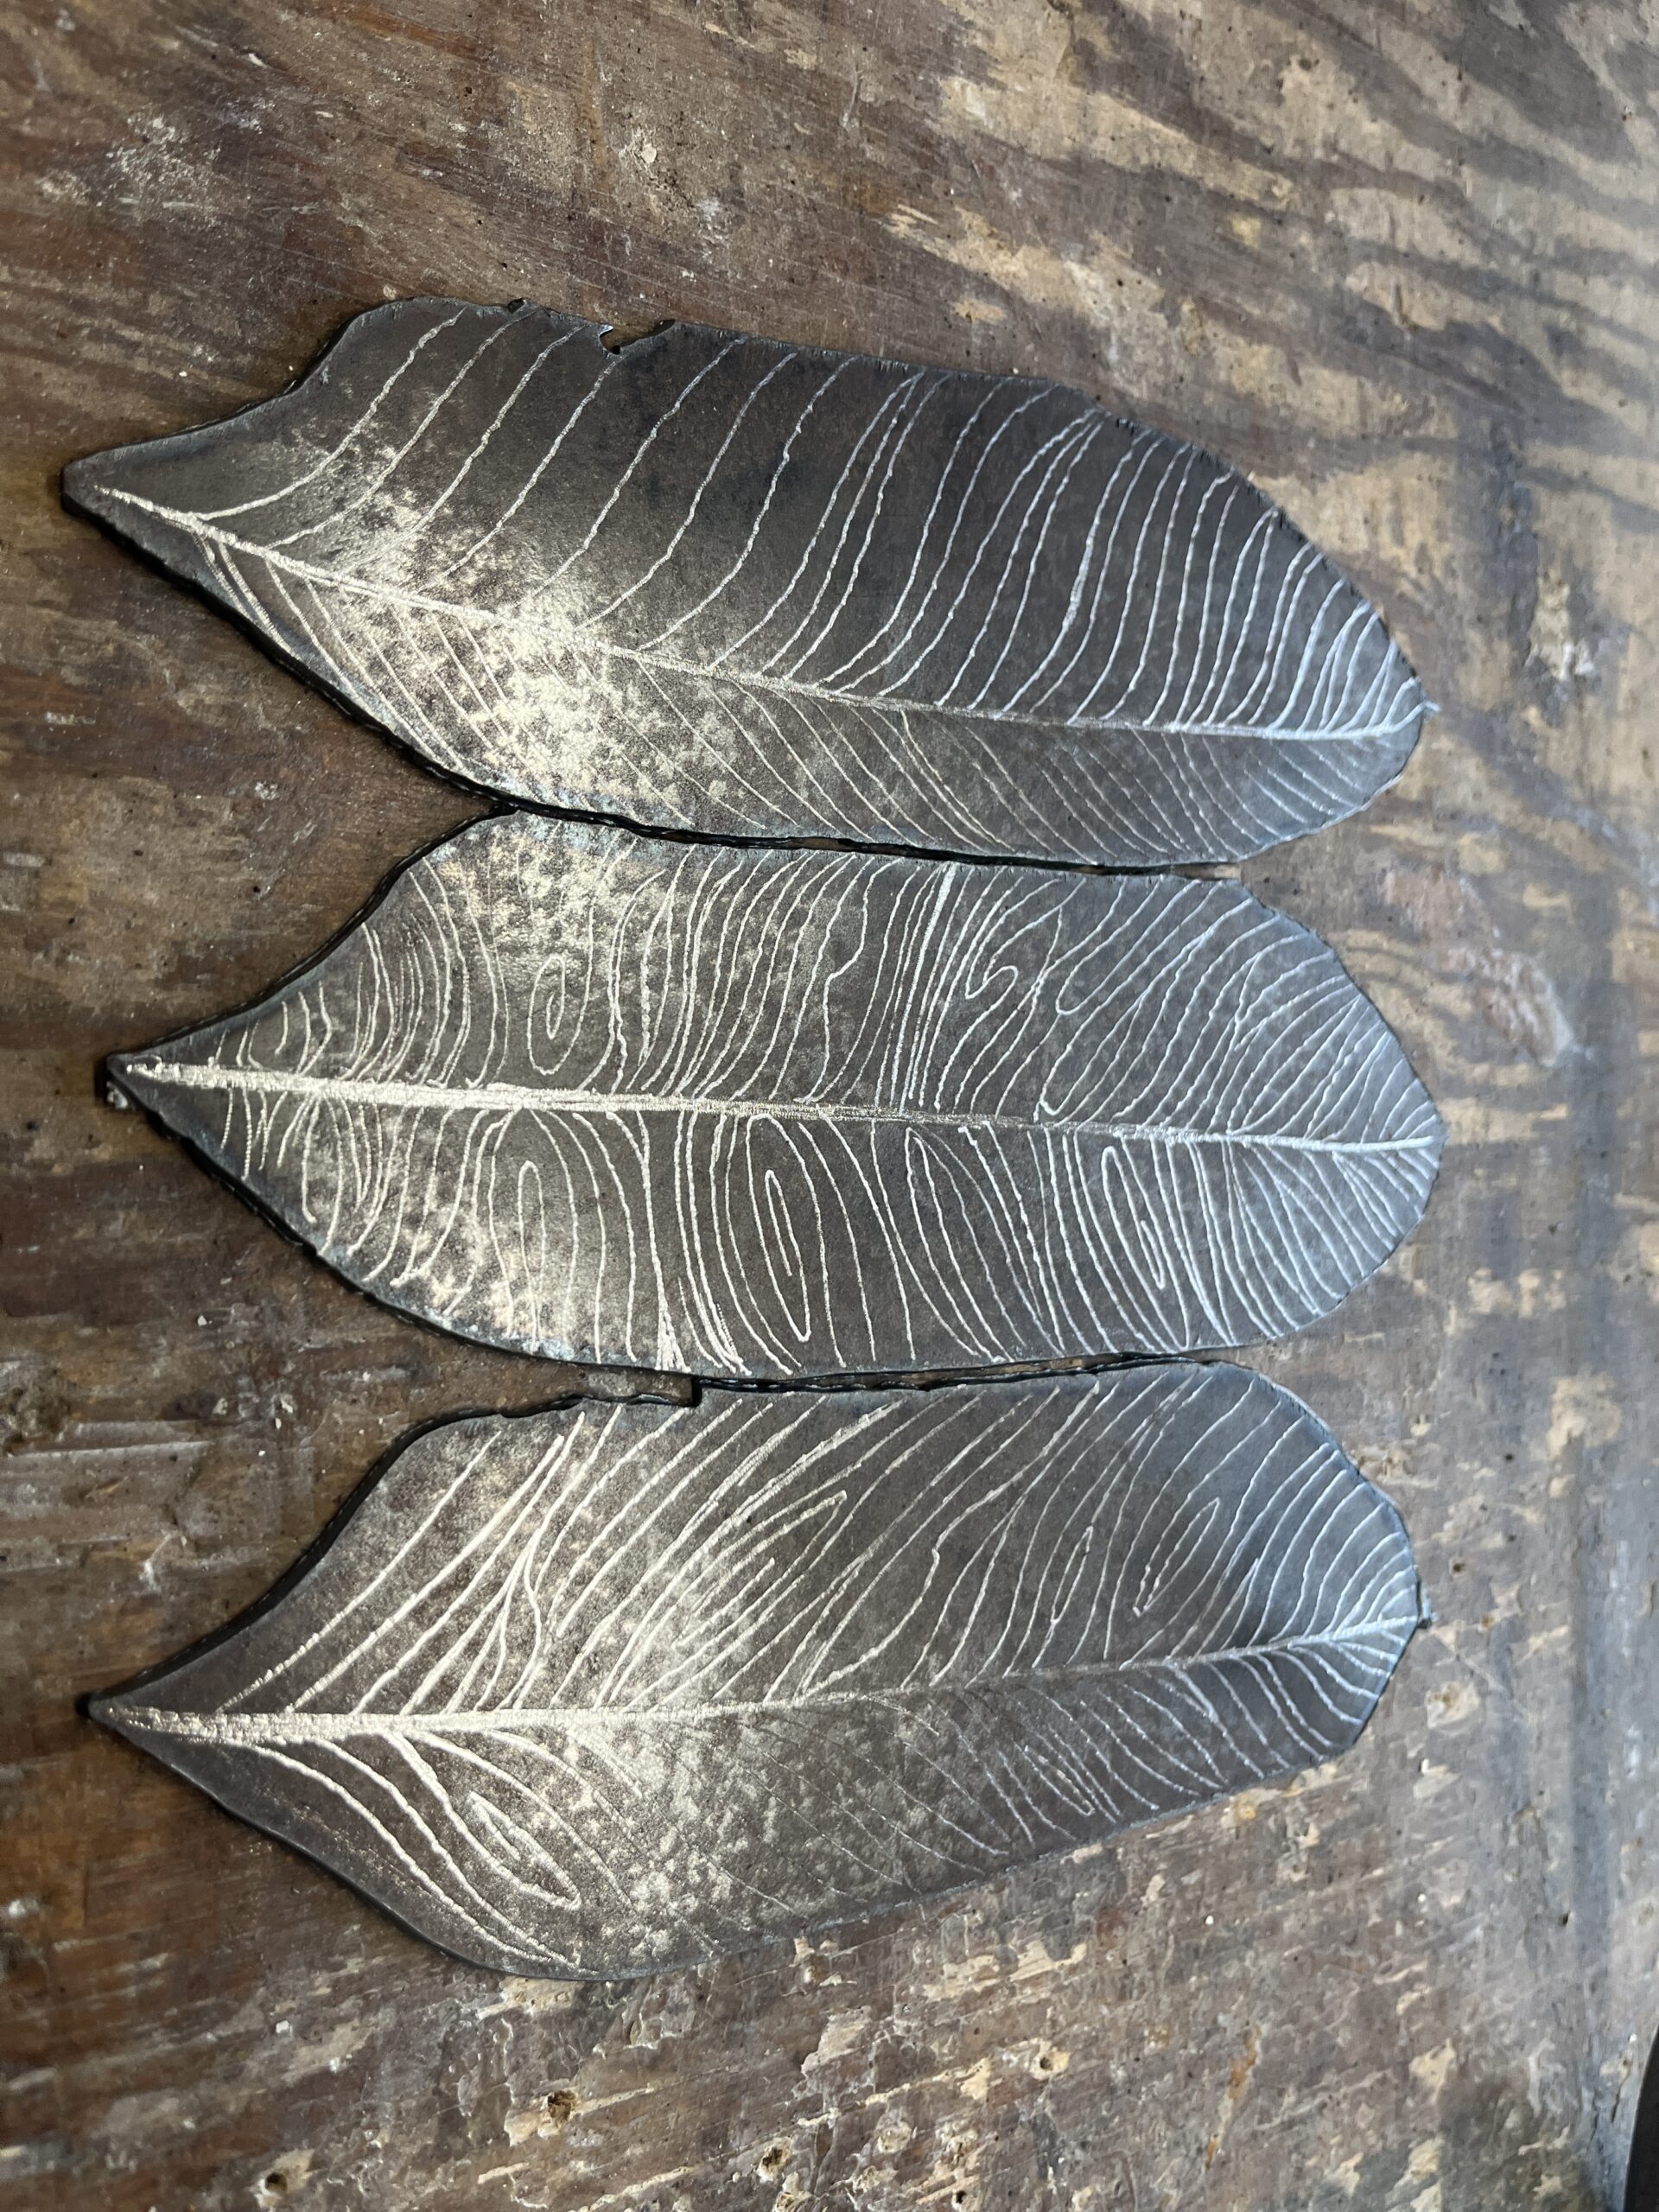
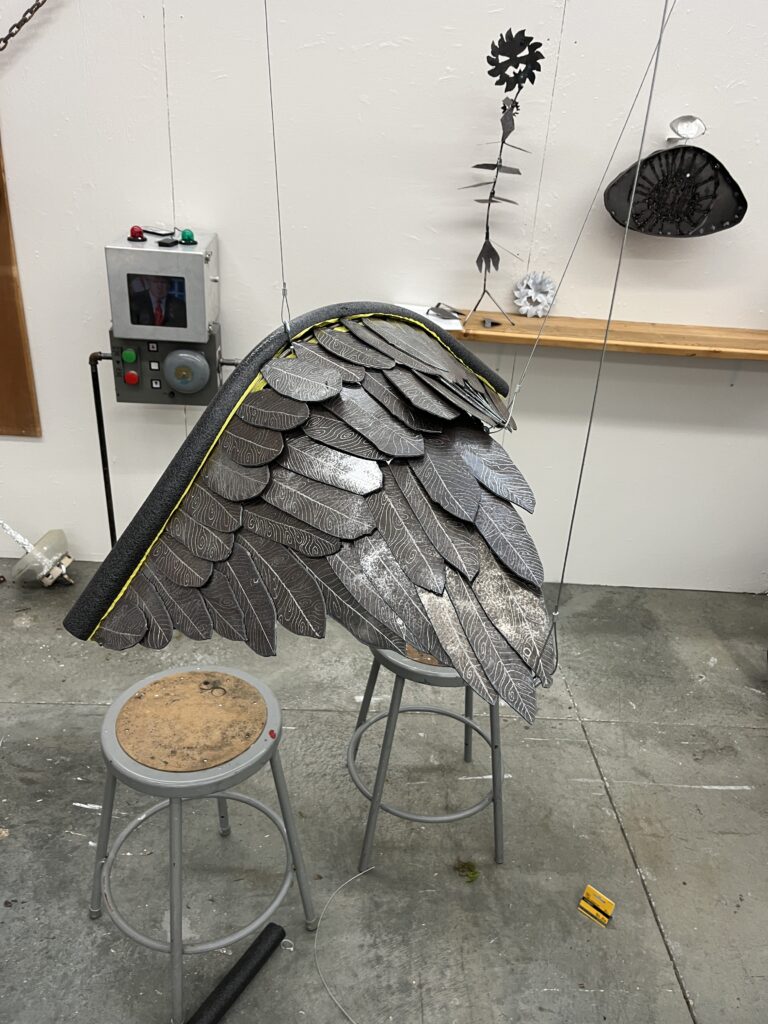
Once I’d completed the frame, I moved onto the feathers. I got a big piece of sheet metal from Jeff. Sanded it down, then used soap stone to draw out my feather shapes based on my research for different feather sizes. Then I laser cut them to size. As I was doing this all, I realized I had a lot of feathers, and really a wing is made up of many feathers. So perhaps this sheltering wing that I was trying to make wasn’t about the protective force of one being, but many. What if each feather represented another person in my life who had helped or protected me in some way?
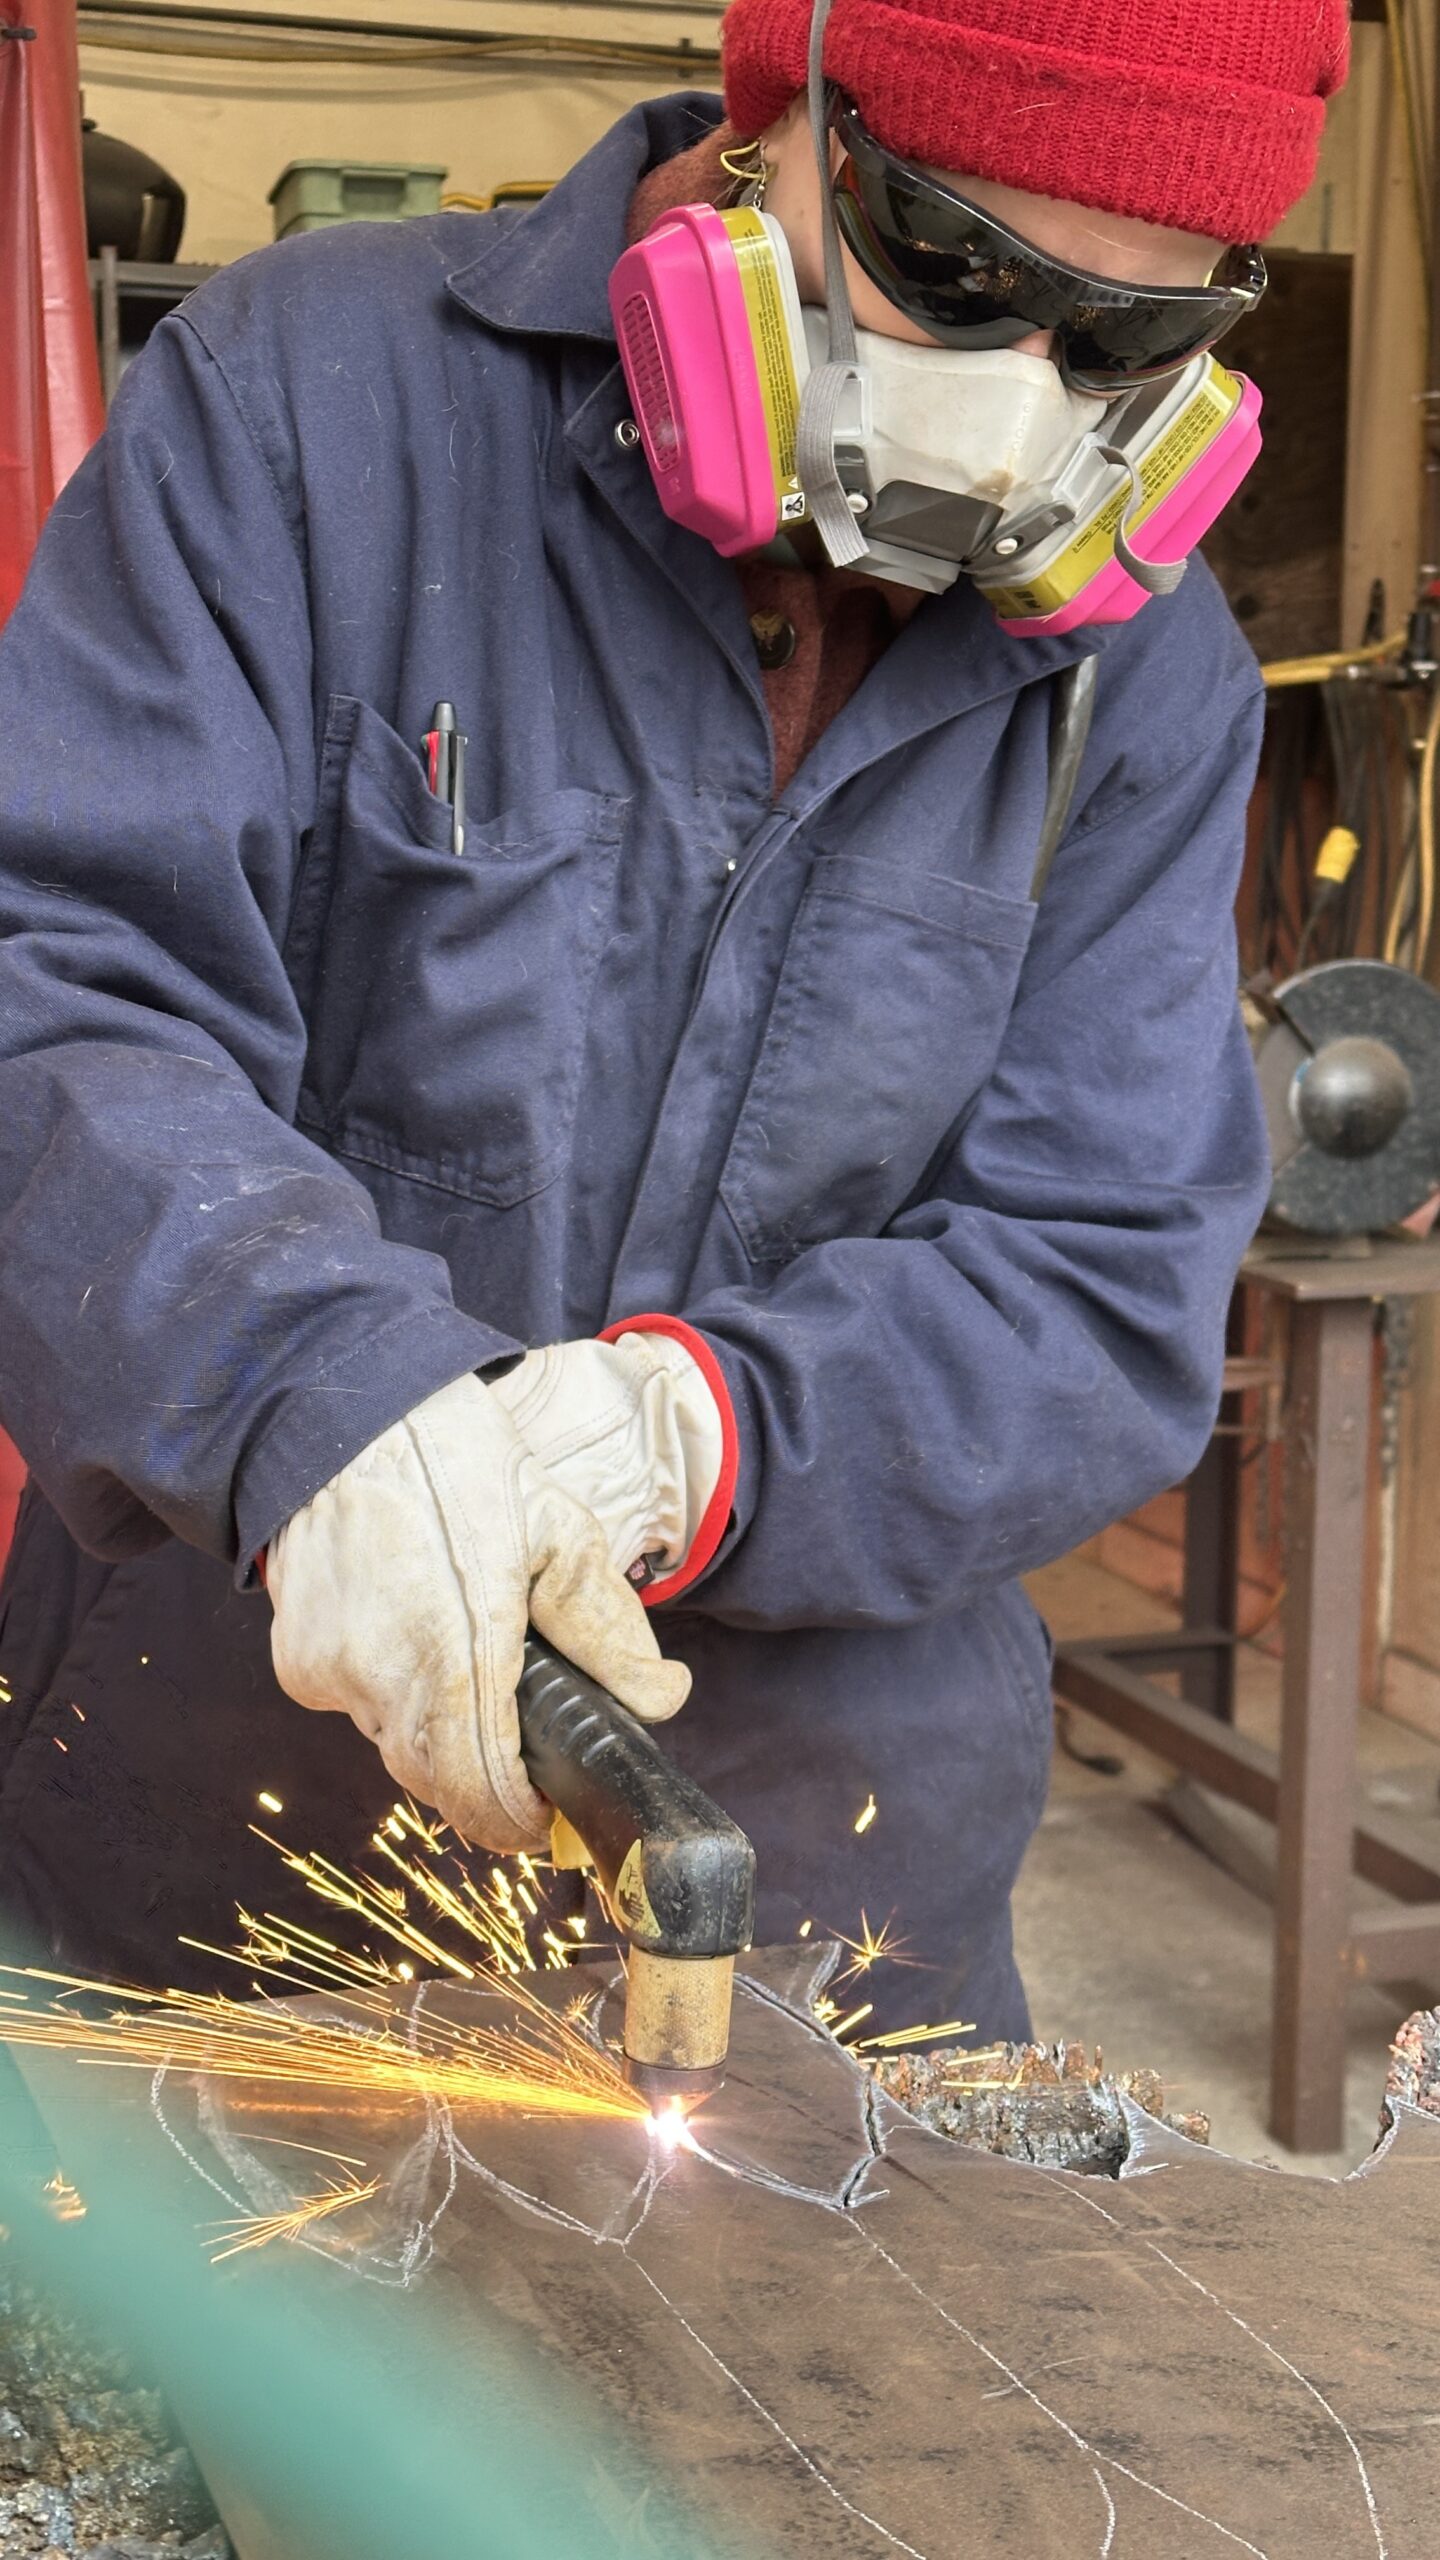
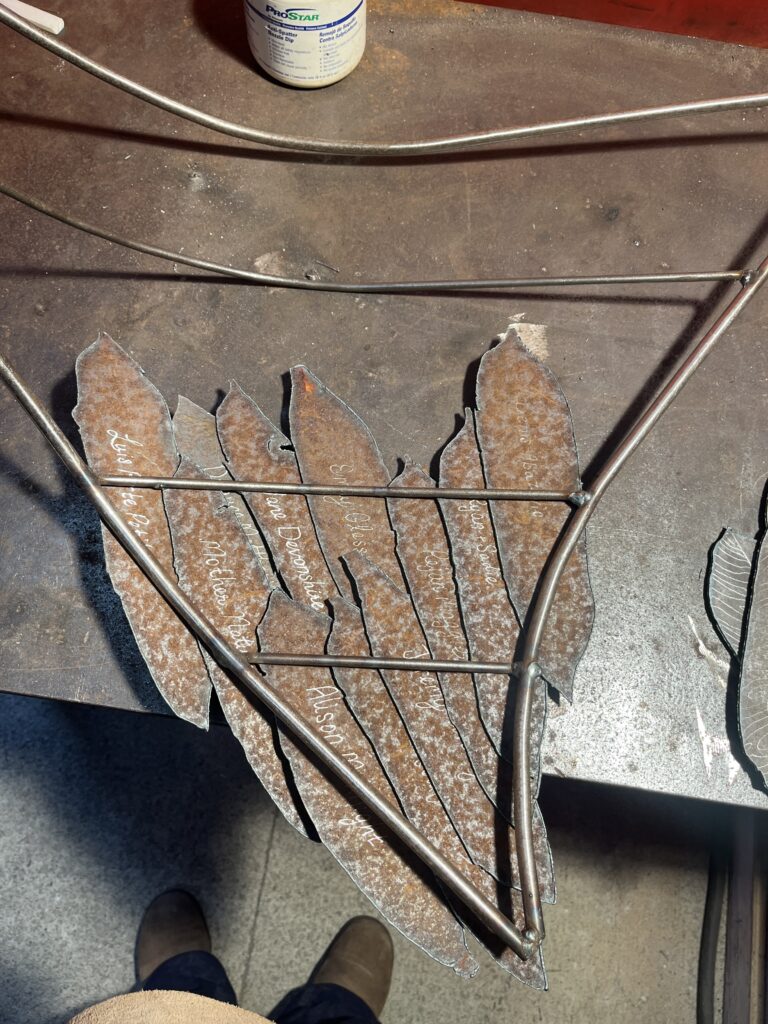
That idea felt true to me. So I decided that I could name the person on the feather. I would engrave their names with a dremmel. But while I was dremelling the first name, my mom’s name, I wondered about engraving a design on the top side of the feather too. I played around with the design and immediately loved it. I knew I wanted make the centre line of the feather somehow, and I’d found that using the dremel to engrave the line was effective. What I didn’t know was that adding each additional line and adding curves and spirals too it would look so beautiful and feel so medatative as well. So I decided I’d do so with each feather.
This took the majority of time! There were proabably 40 feathers or so on this single wing. At the start it was slow. But after trying a few different dremmel bits and getting lots of practice, I was able to do the wings quite quickly by the end of it.

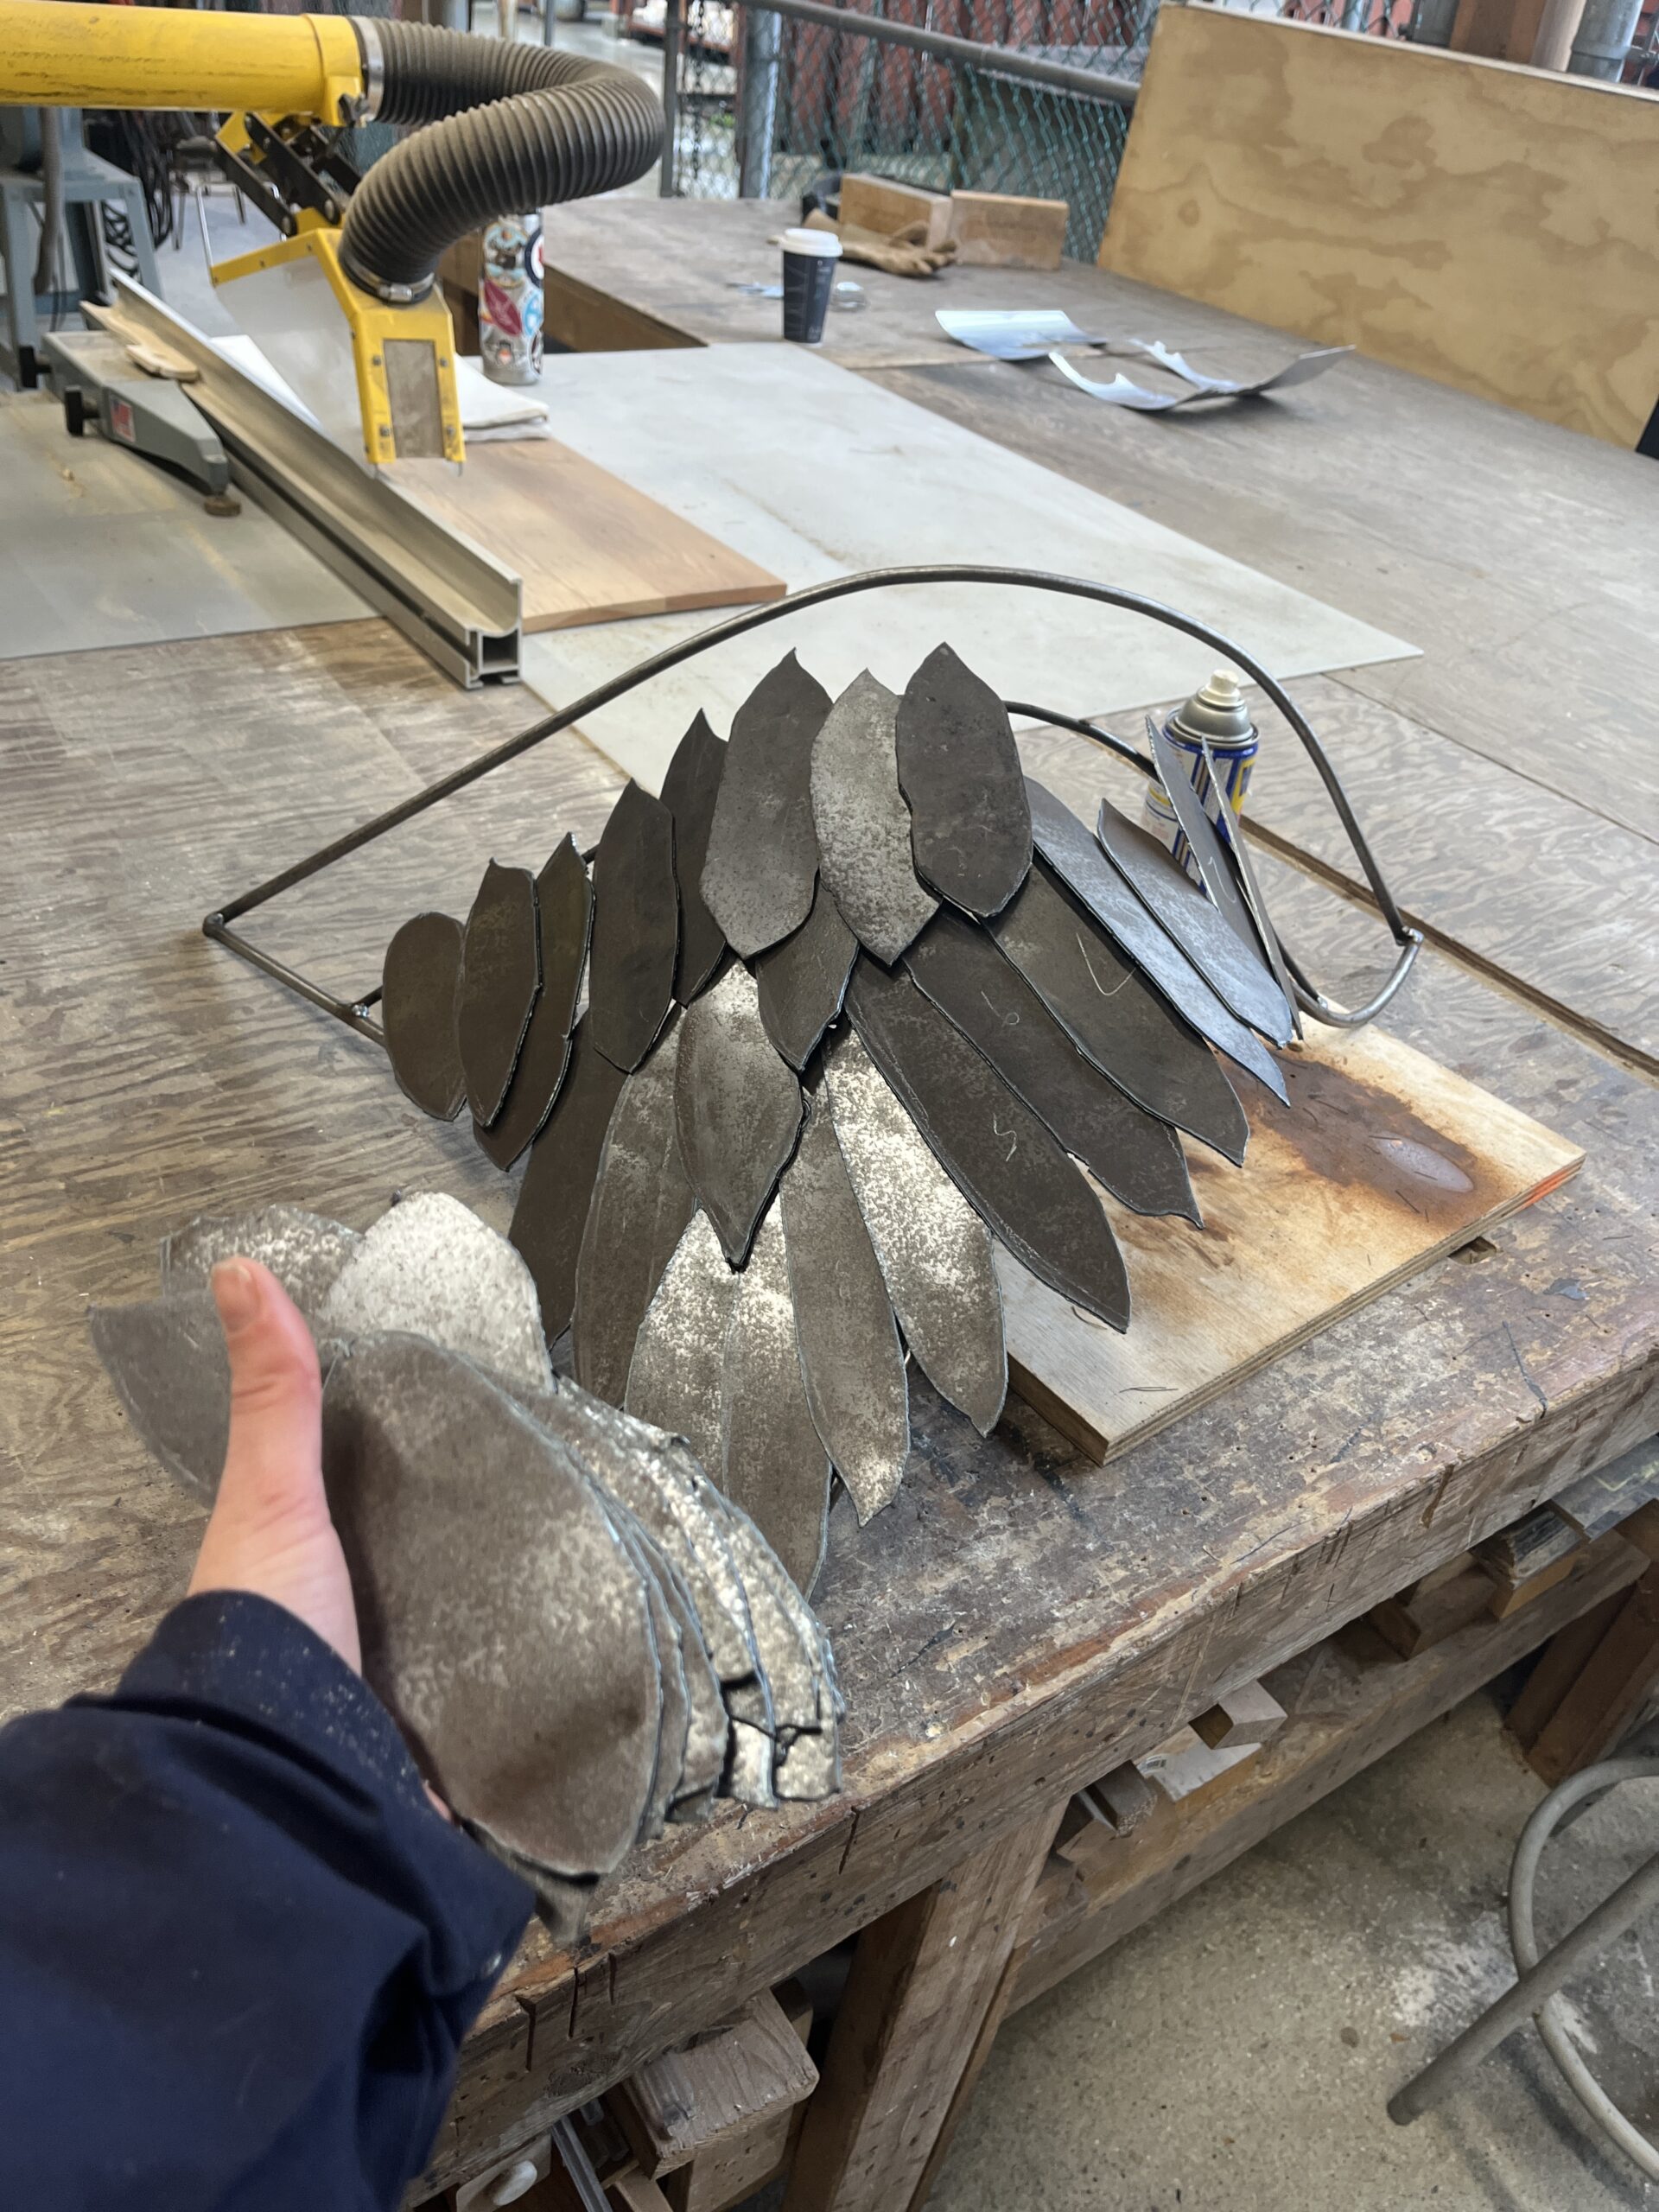
After Jeff saw me using my hands and gravity to try and hold the feather in place to get any idea of the look and how many feathers I would need, he suggested using magnets to hold the feathers in place. He found some and that worked super effective.
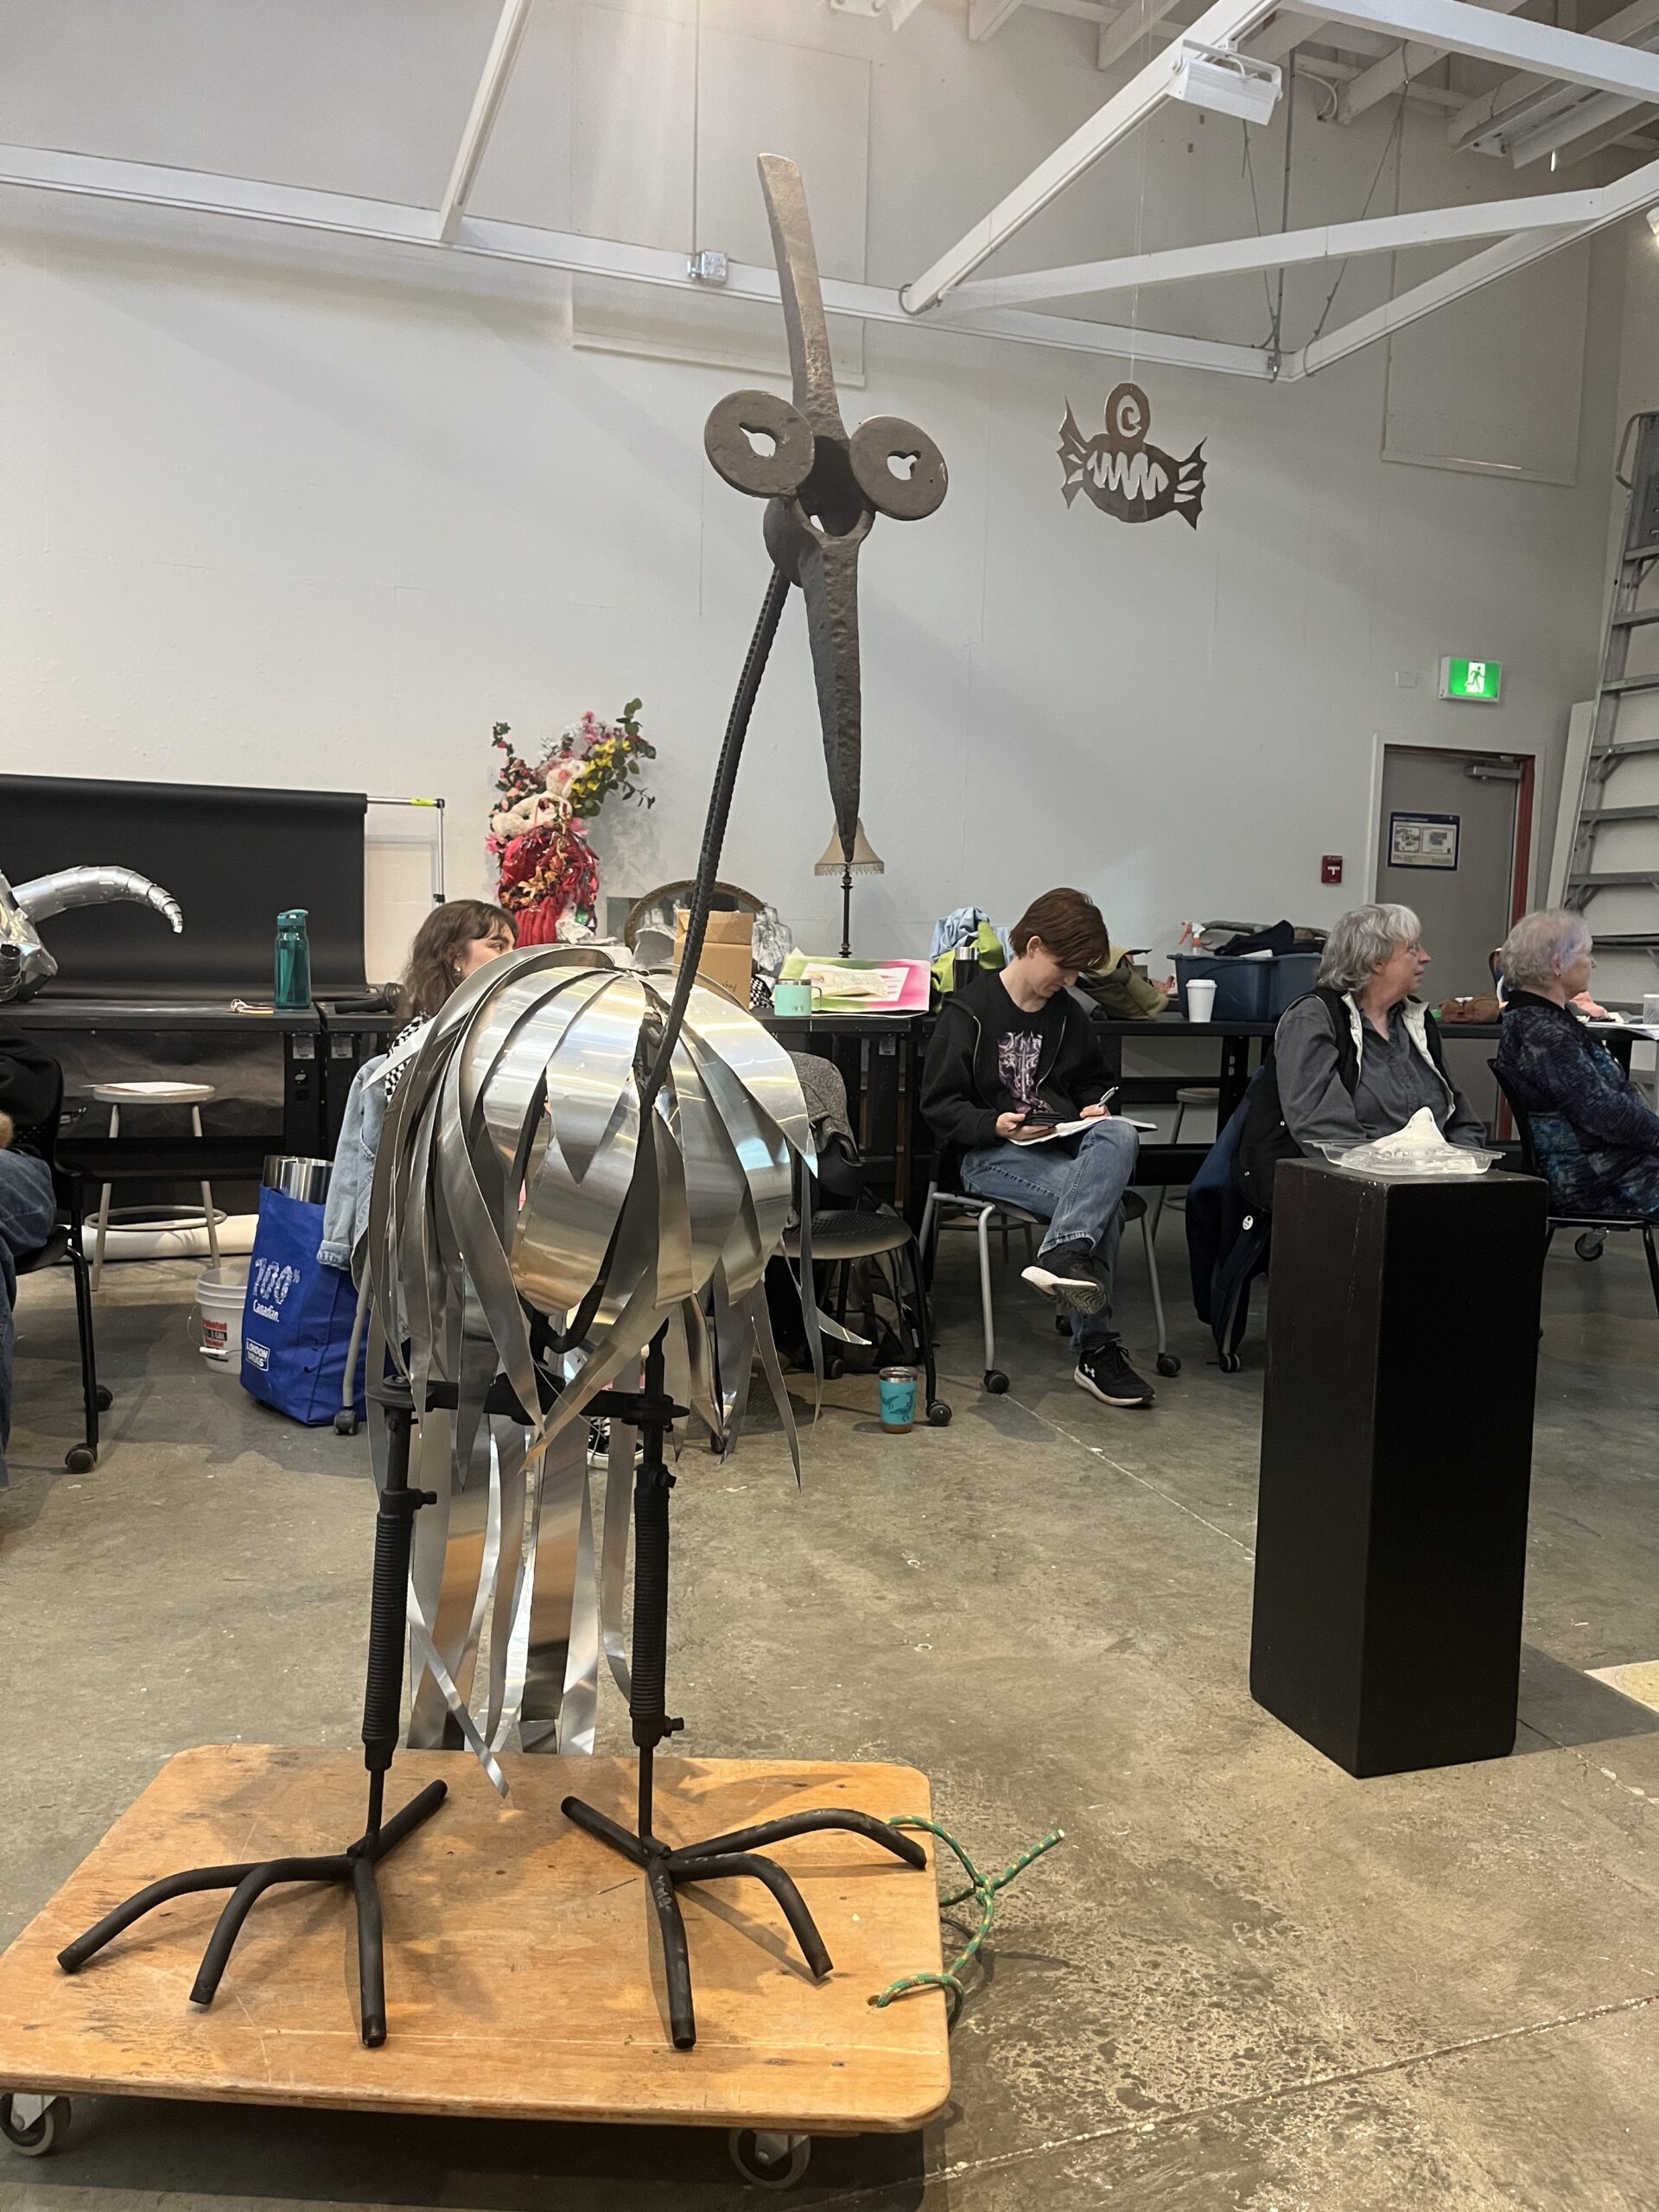
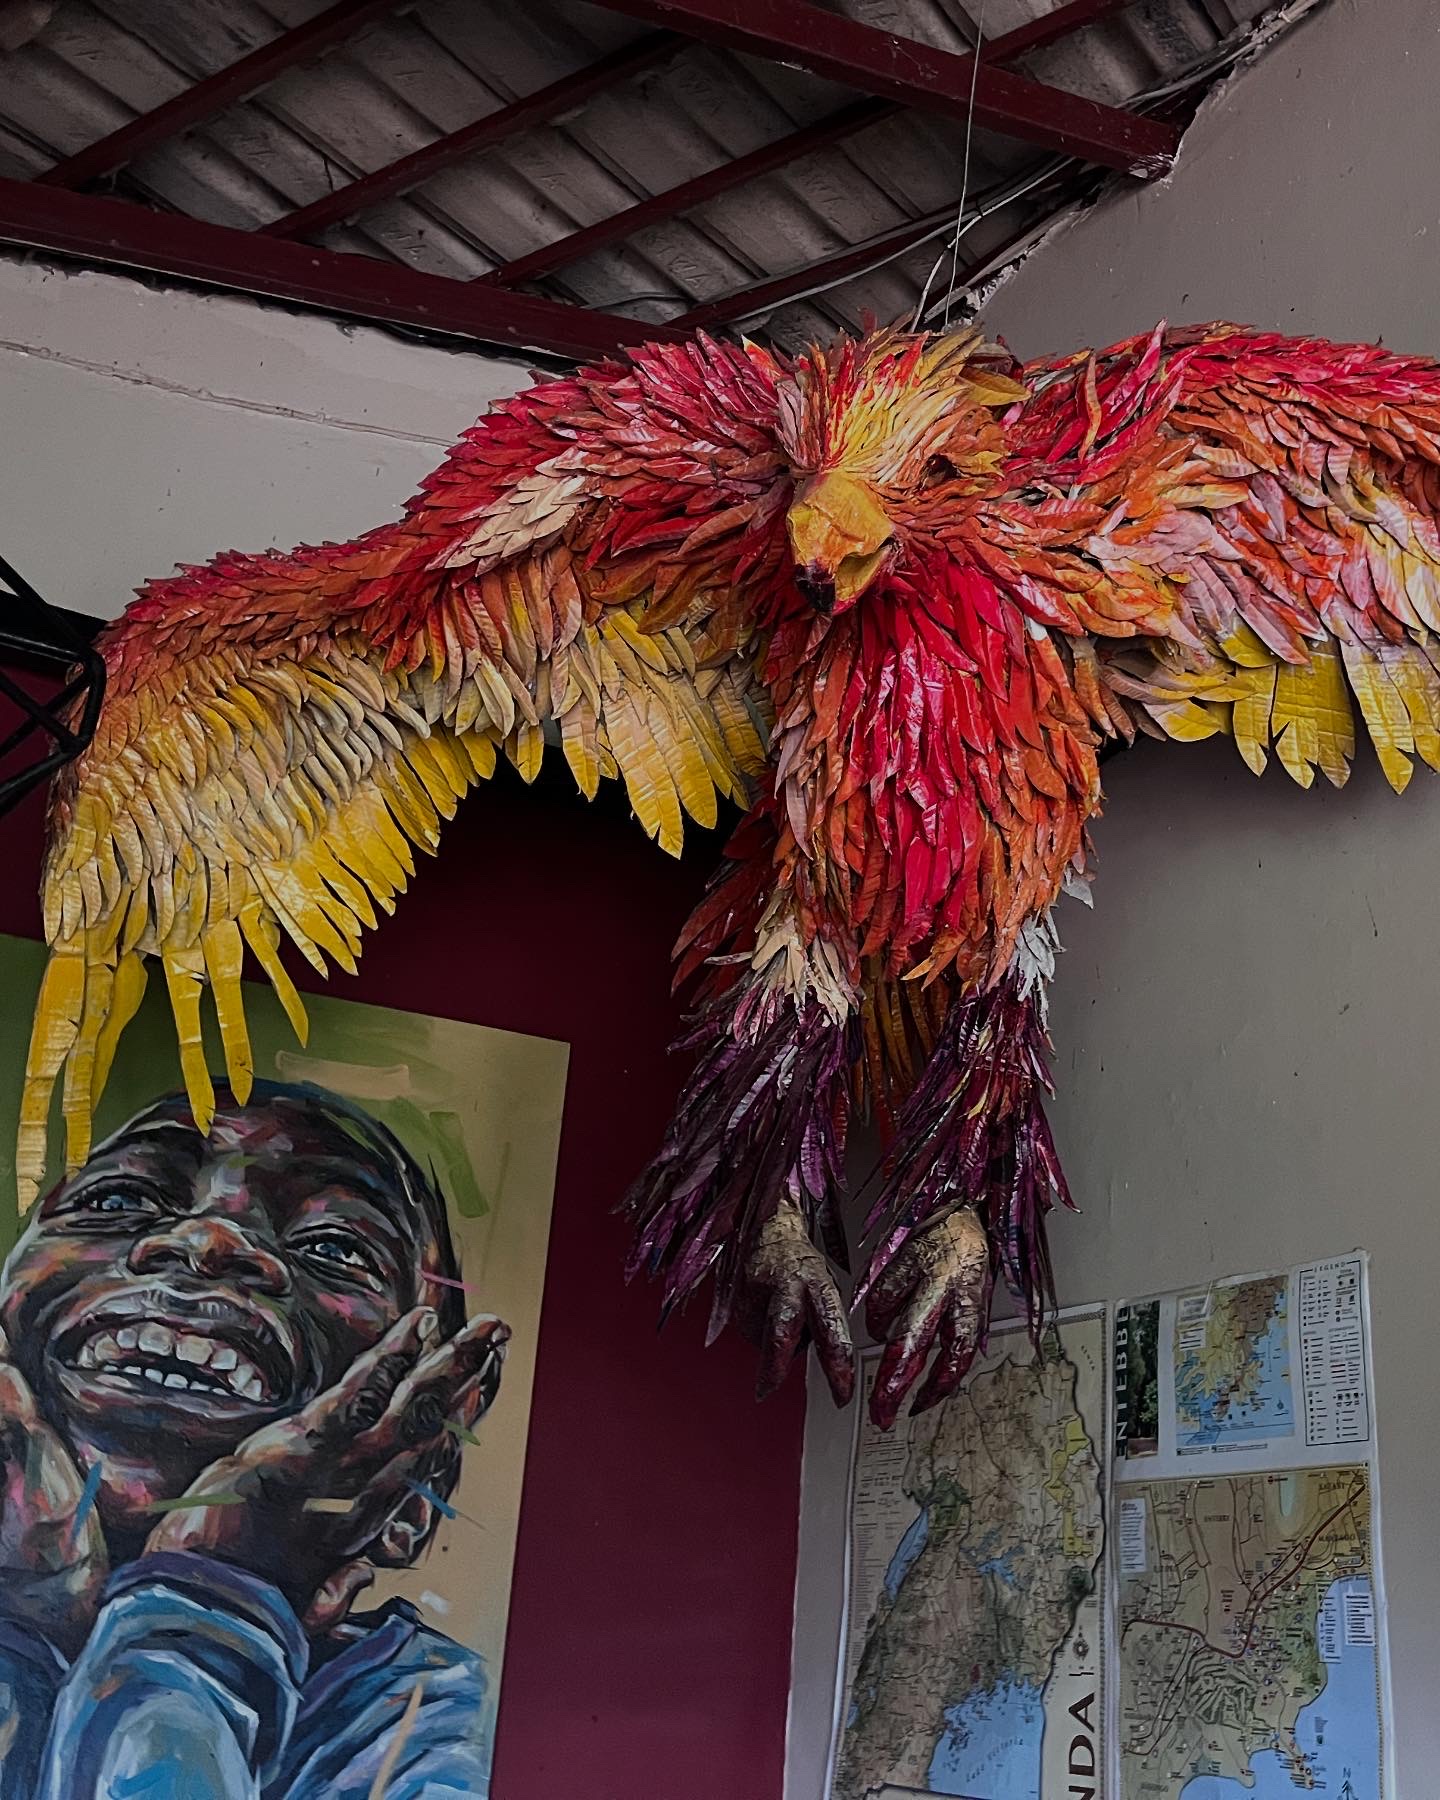
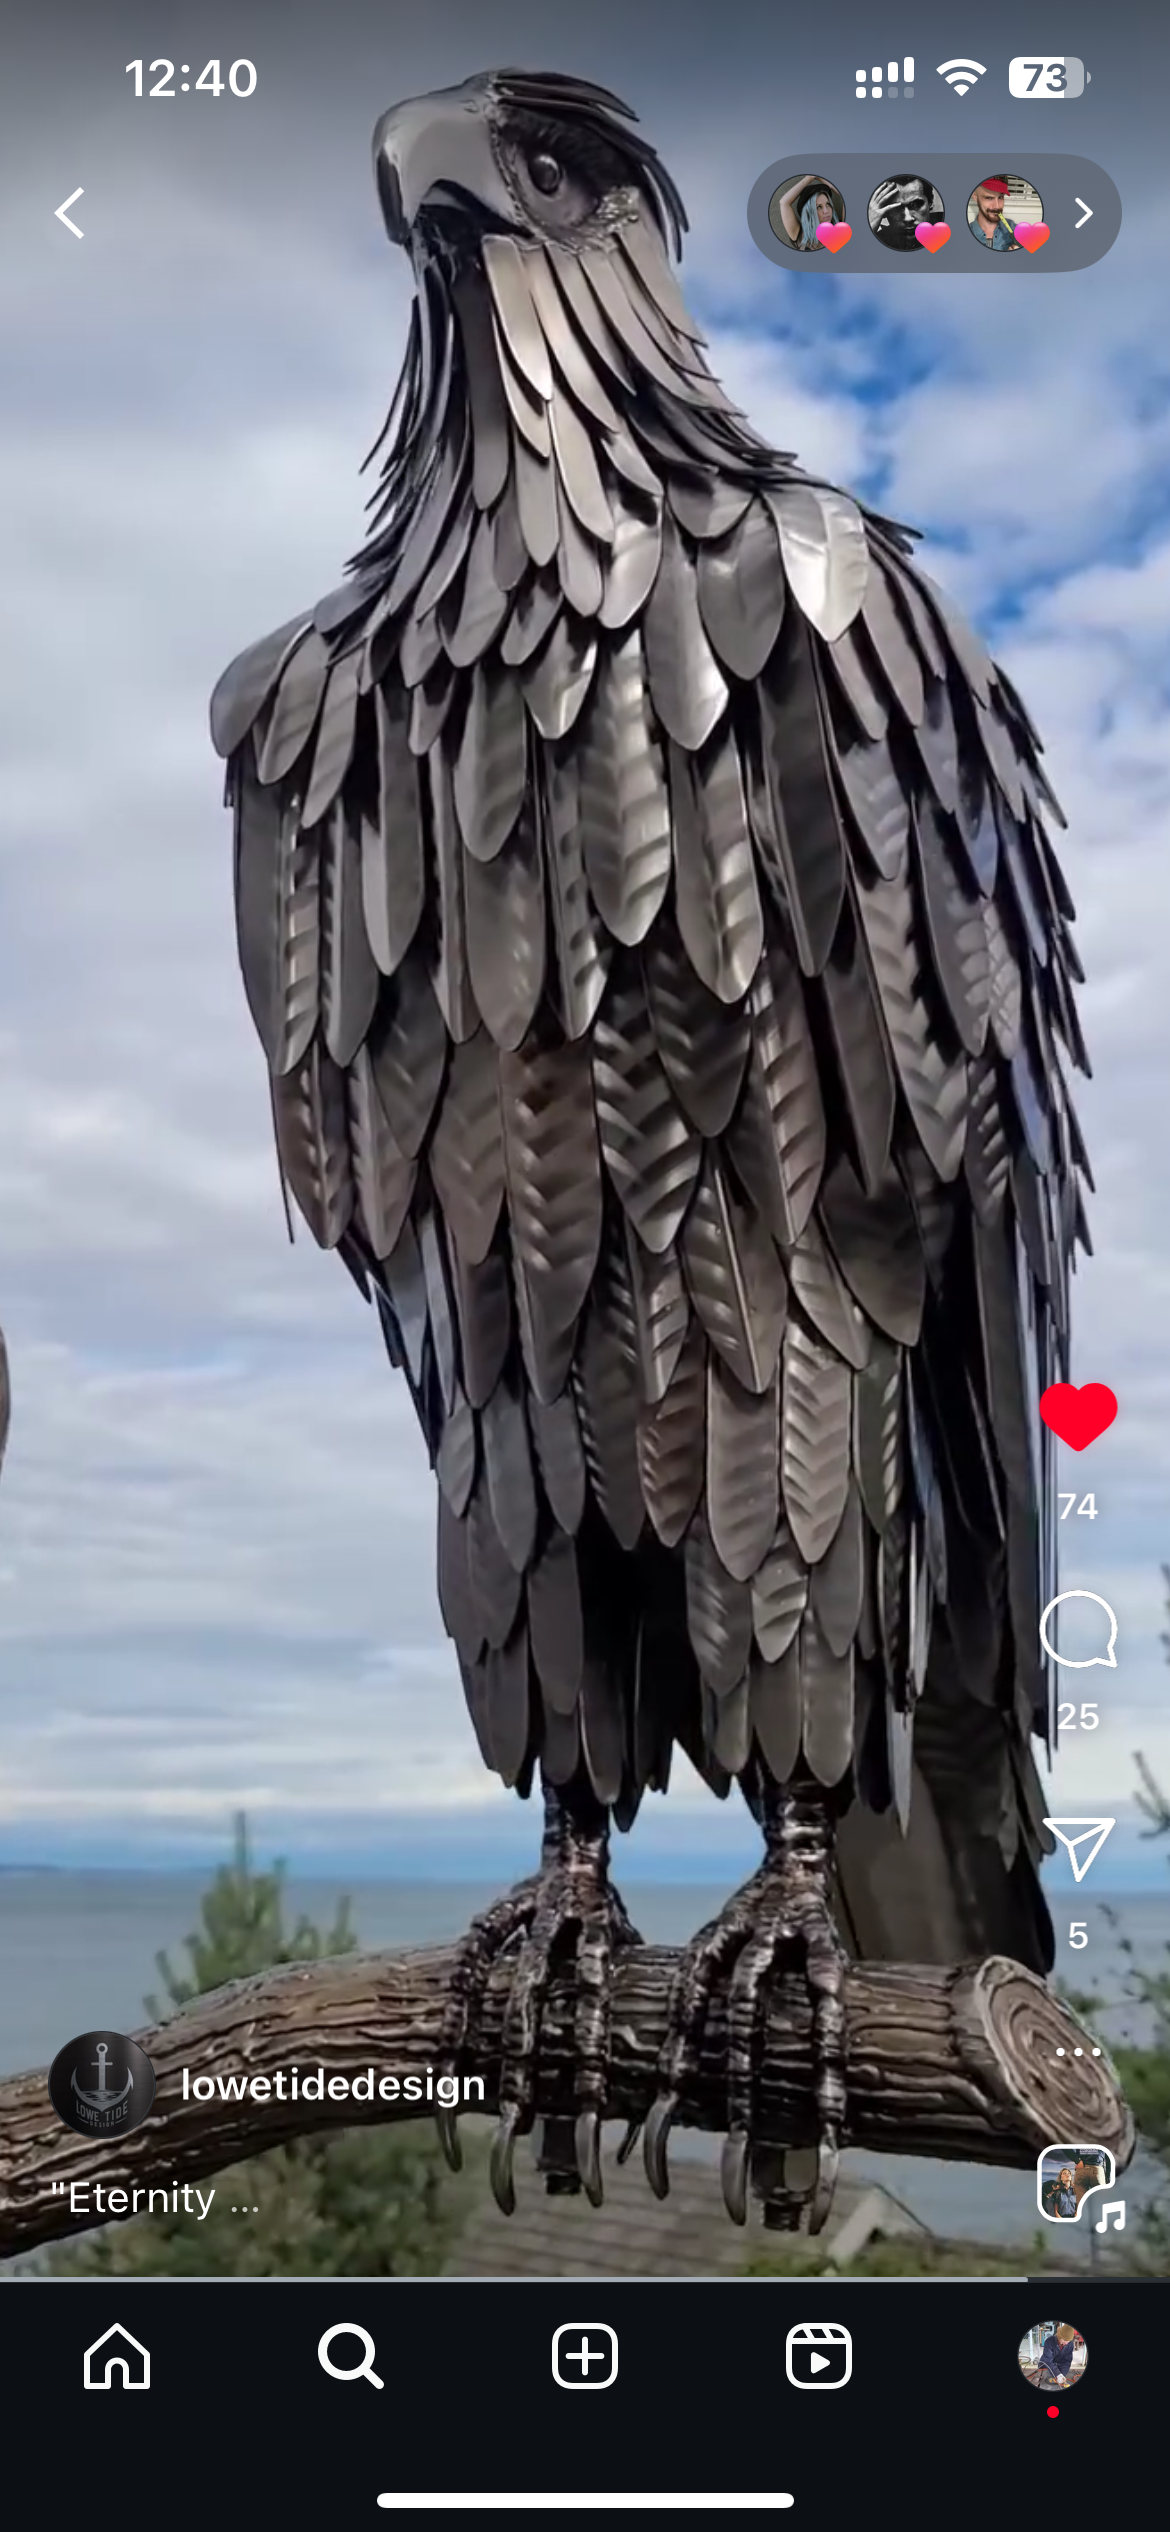
At this point i was really enjoying the process and I started wondering about other local artists and where I might be able to do more metal work after the class finished. I looked up a few art studios and makers spaces but none of them offered metal working spaces. Then I wondering about connected with a local artist who might be willing to share his space and perhaps be the mentor I was looking to replicate with the project. My favourite local artist discovered was Lowe Tide Design. His bird is pictured below. I sent him an email through his website but never head back. But I followed him on social media. I’ll reach out again and see if there is an opportunity to check out his workshop later!

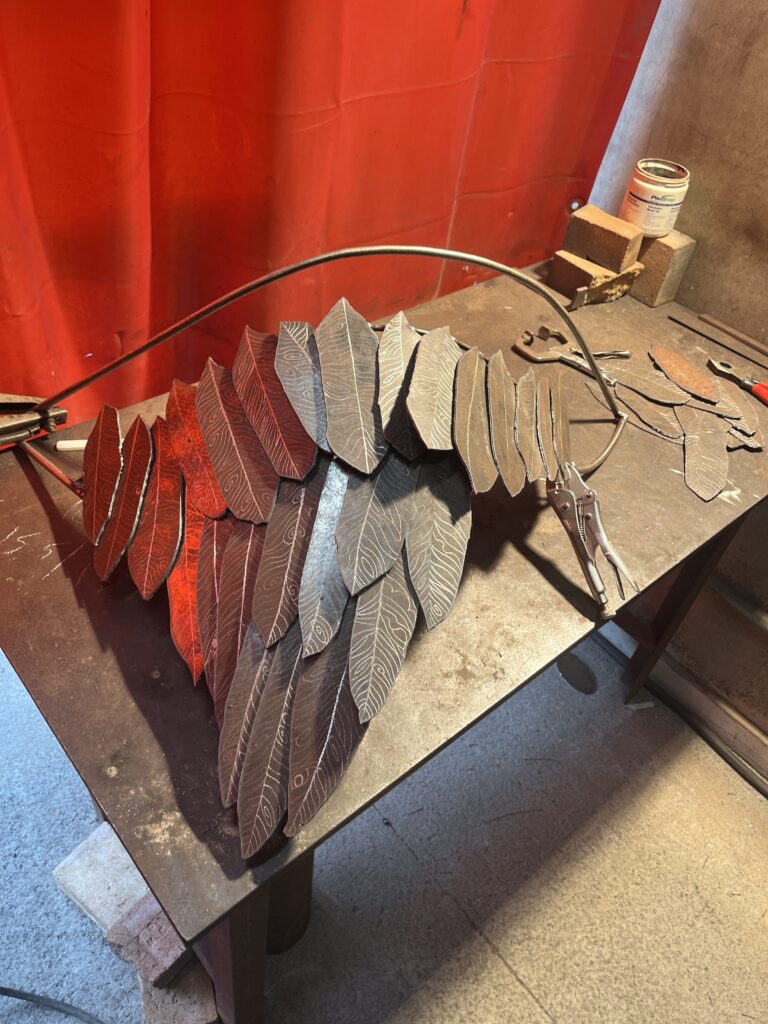
I went back a few times to make more feathers and continue to dreamel the design and the names on each one. Eventually I was able to start welding the feathers to the frame. I tack welded each and tried my best to layer the feathers so that they wouldn’t show the connecting points. After doing a layer or two, I’d flip the wing and tack weld the back to add additional connection points. The last weld at the top of the wing showed the welding points because there was nothing on top to hide the connection points. I tried to smooth the edges but this was proving difficult with the dremmel bits. Angela and Jeff suggested putting something protective on the edge to avoid anyone getting poked from the display. So I went and bought some pipe insulator from Home Depot. In the photo below the yellow stick tape still shows the connection point. I didn’t remove it because I wanted to see if I could paint it to make it look nicer.
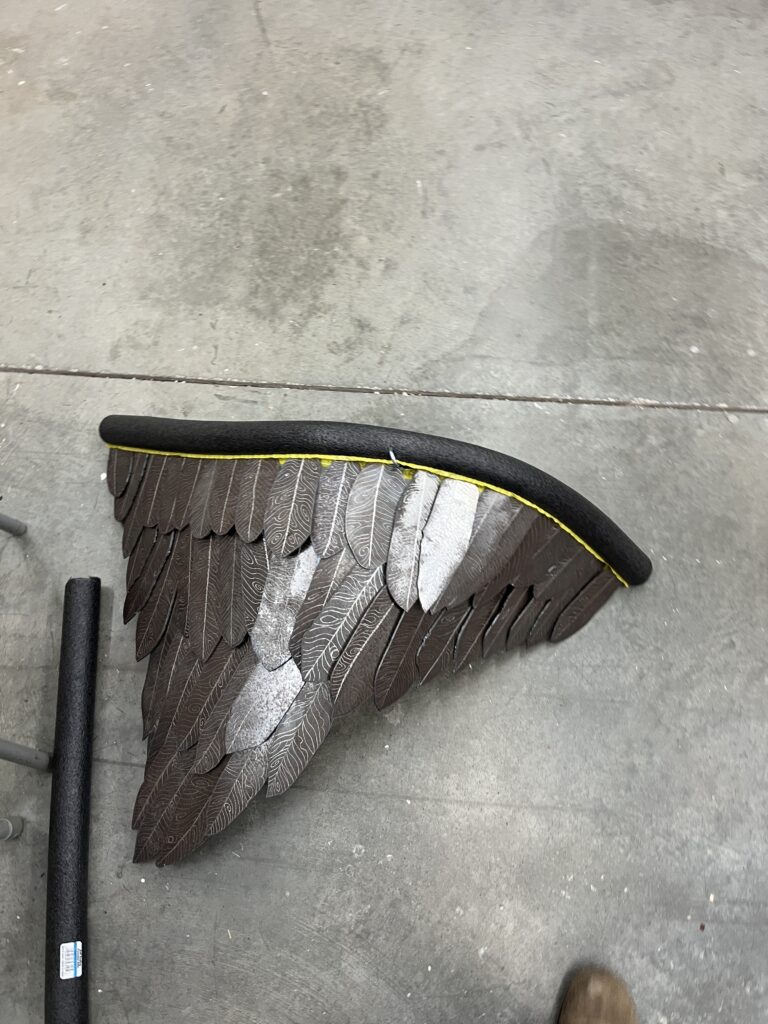
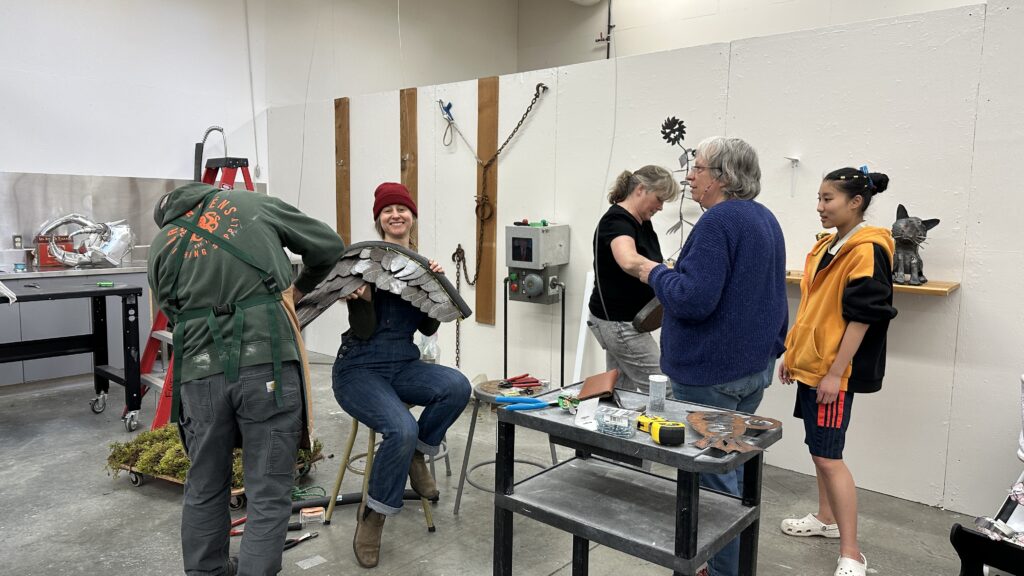
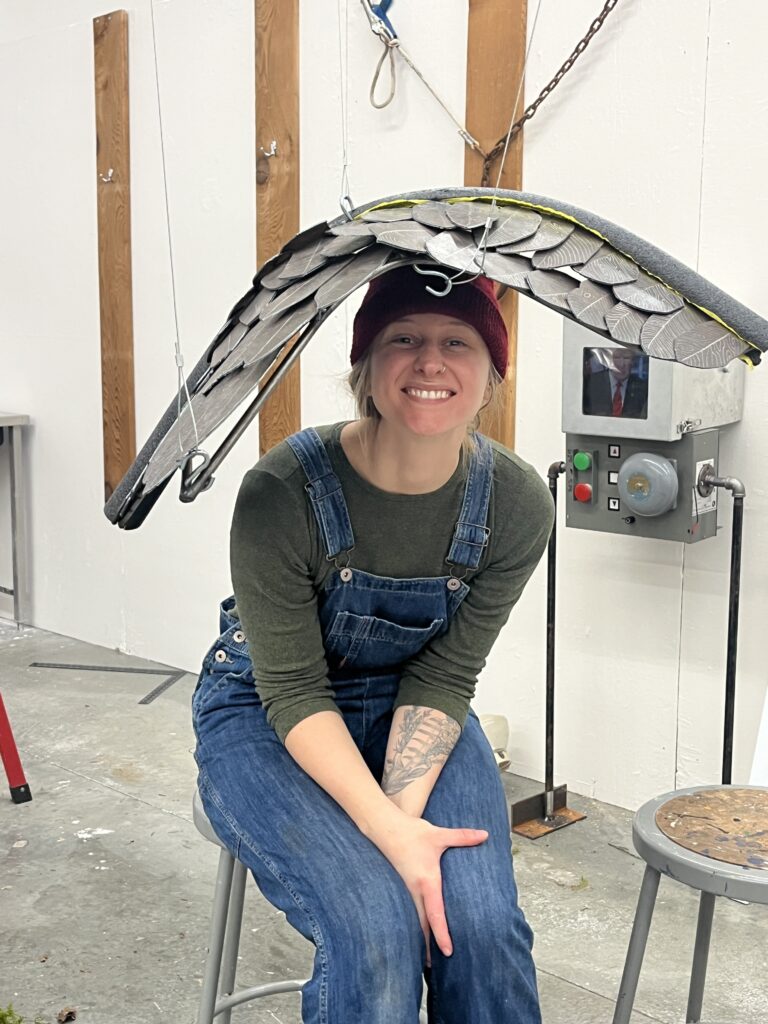
For the display I bought 1/16 steel wire and used some clamps to create loops either end. Then I used S hooks to connect the wing to the metal frame that is attached to a pully system from the ceiling. Fortunately this was already in place so all I had to focus on was the connecting points. With some help measure and holding the wing I was able to do this in about 2 hours. Then I took a stool home and spray painted it place so It could be in the display. Here people can sit under the wing, or rest the wing on their shoulder and feel it’s weight.
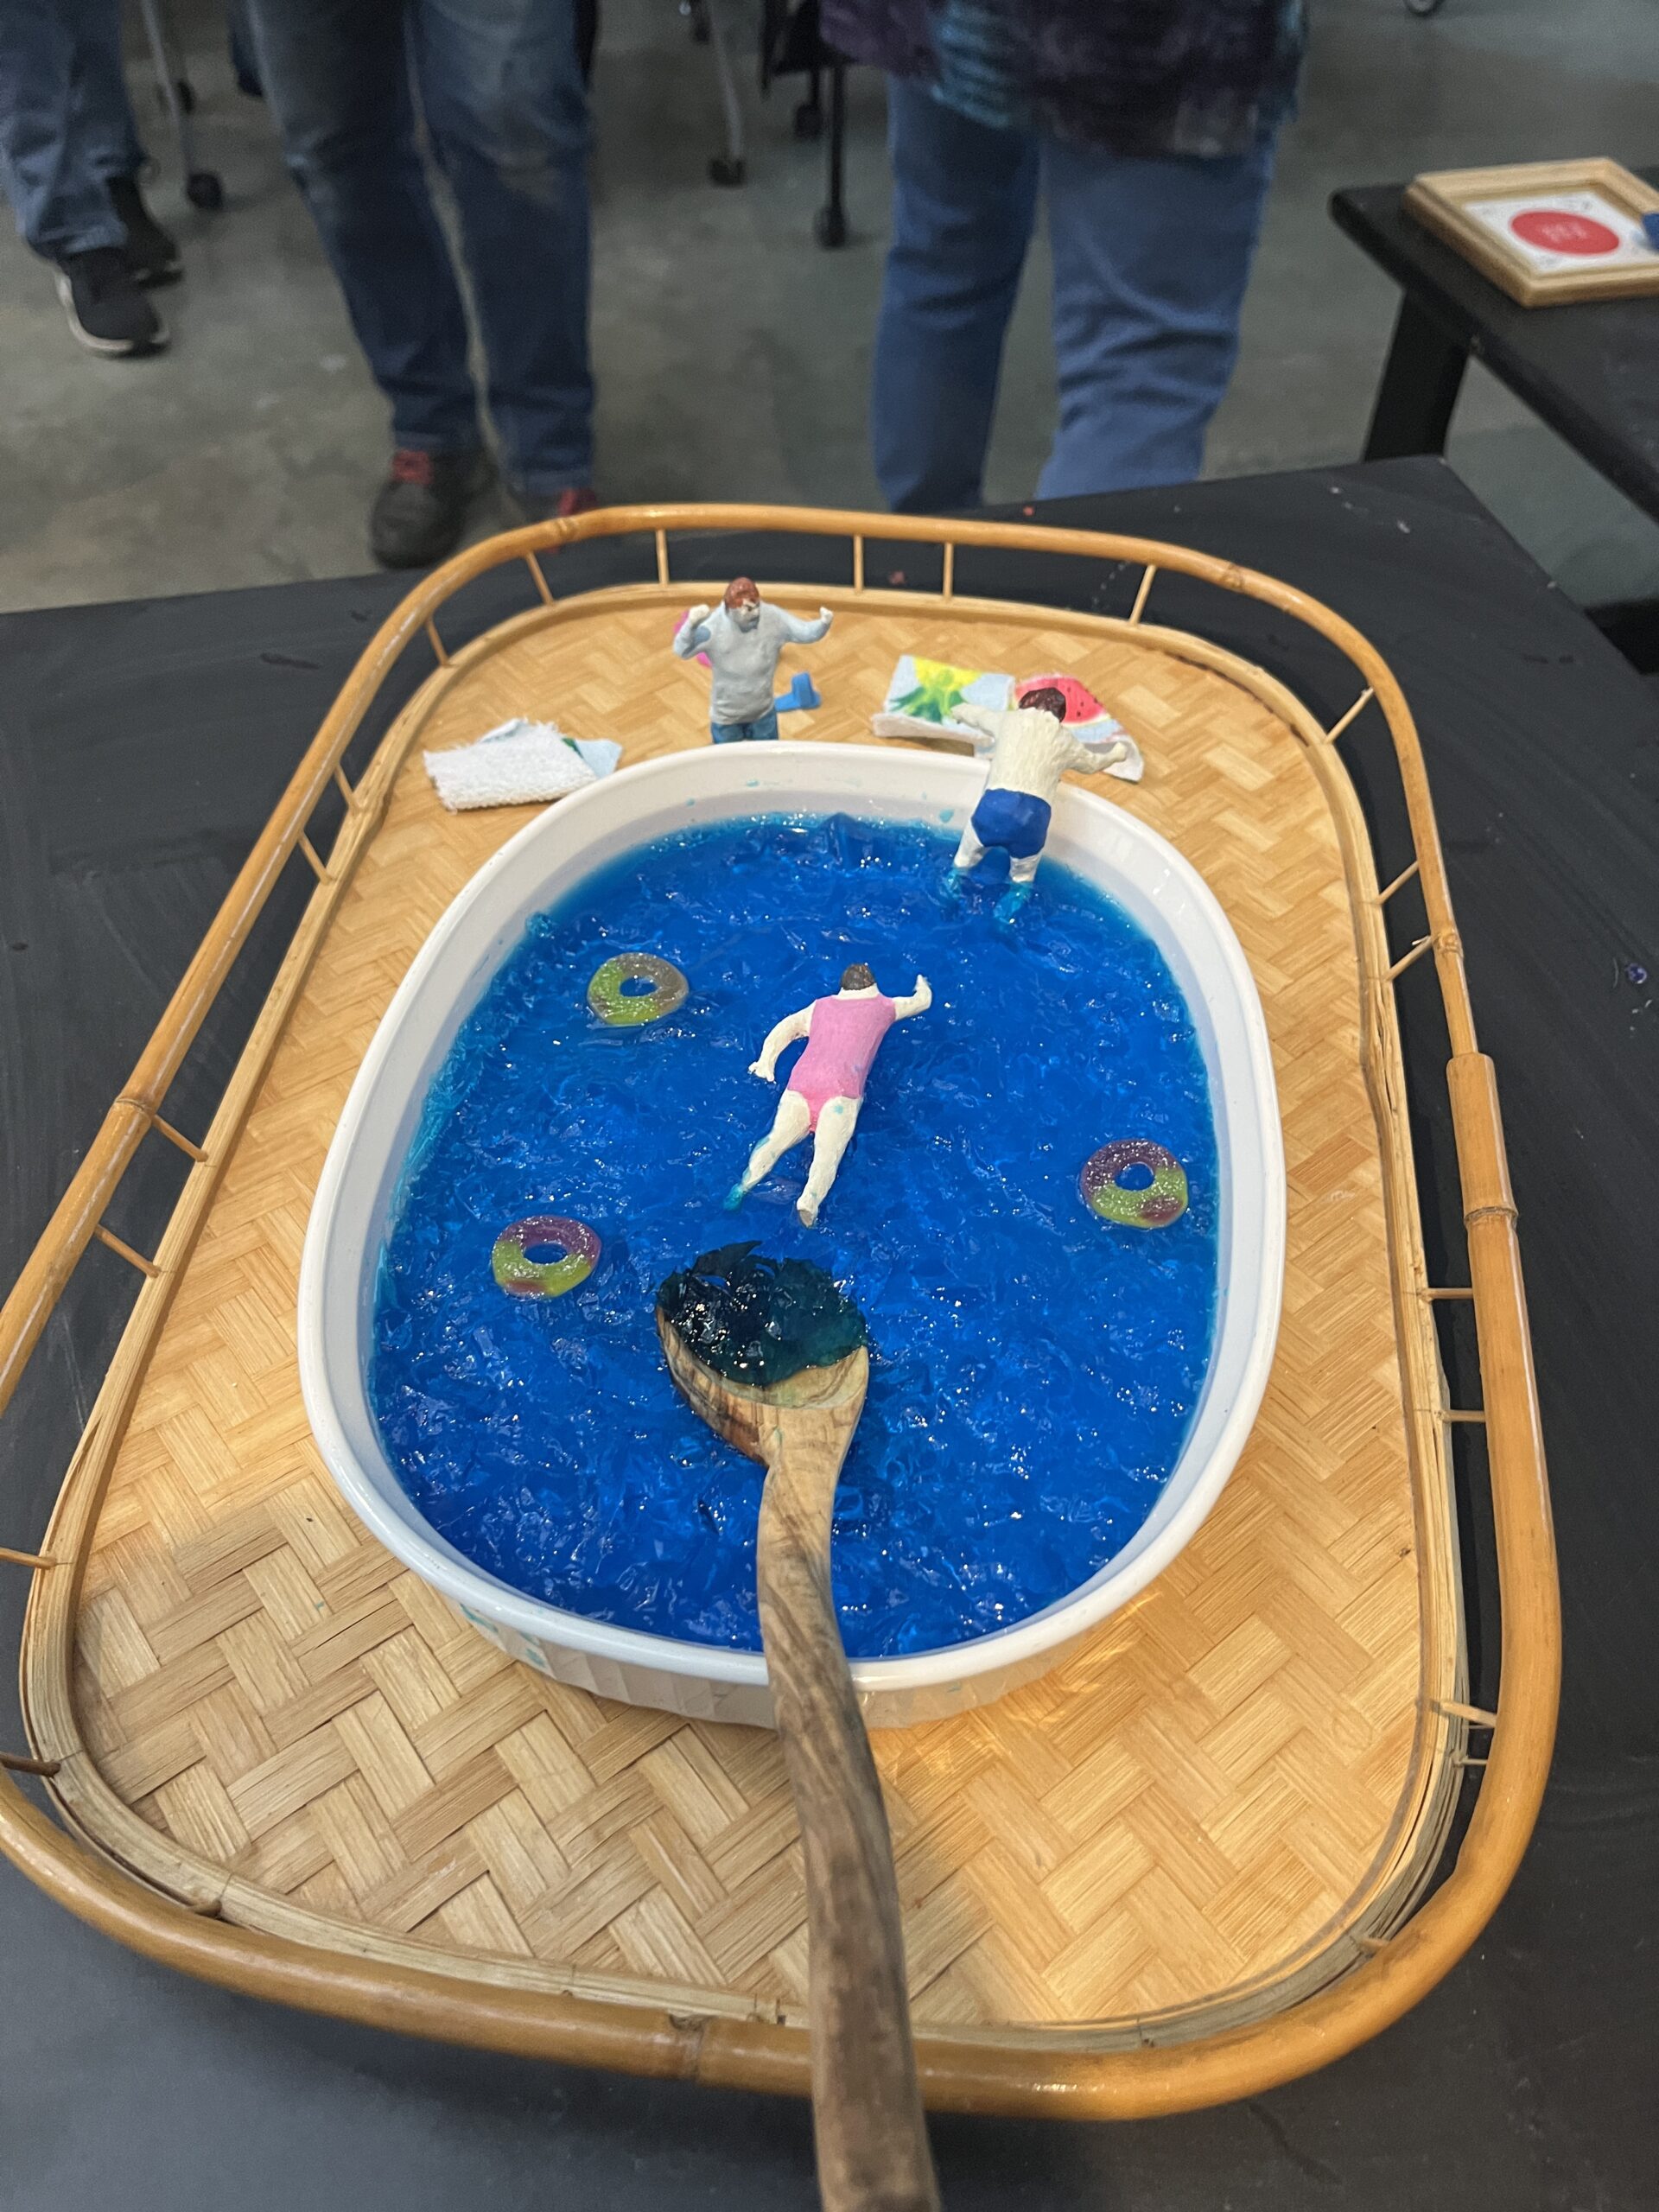
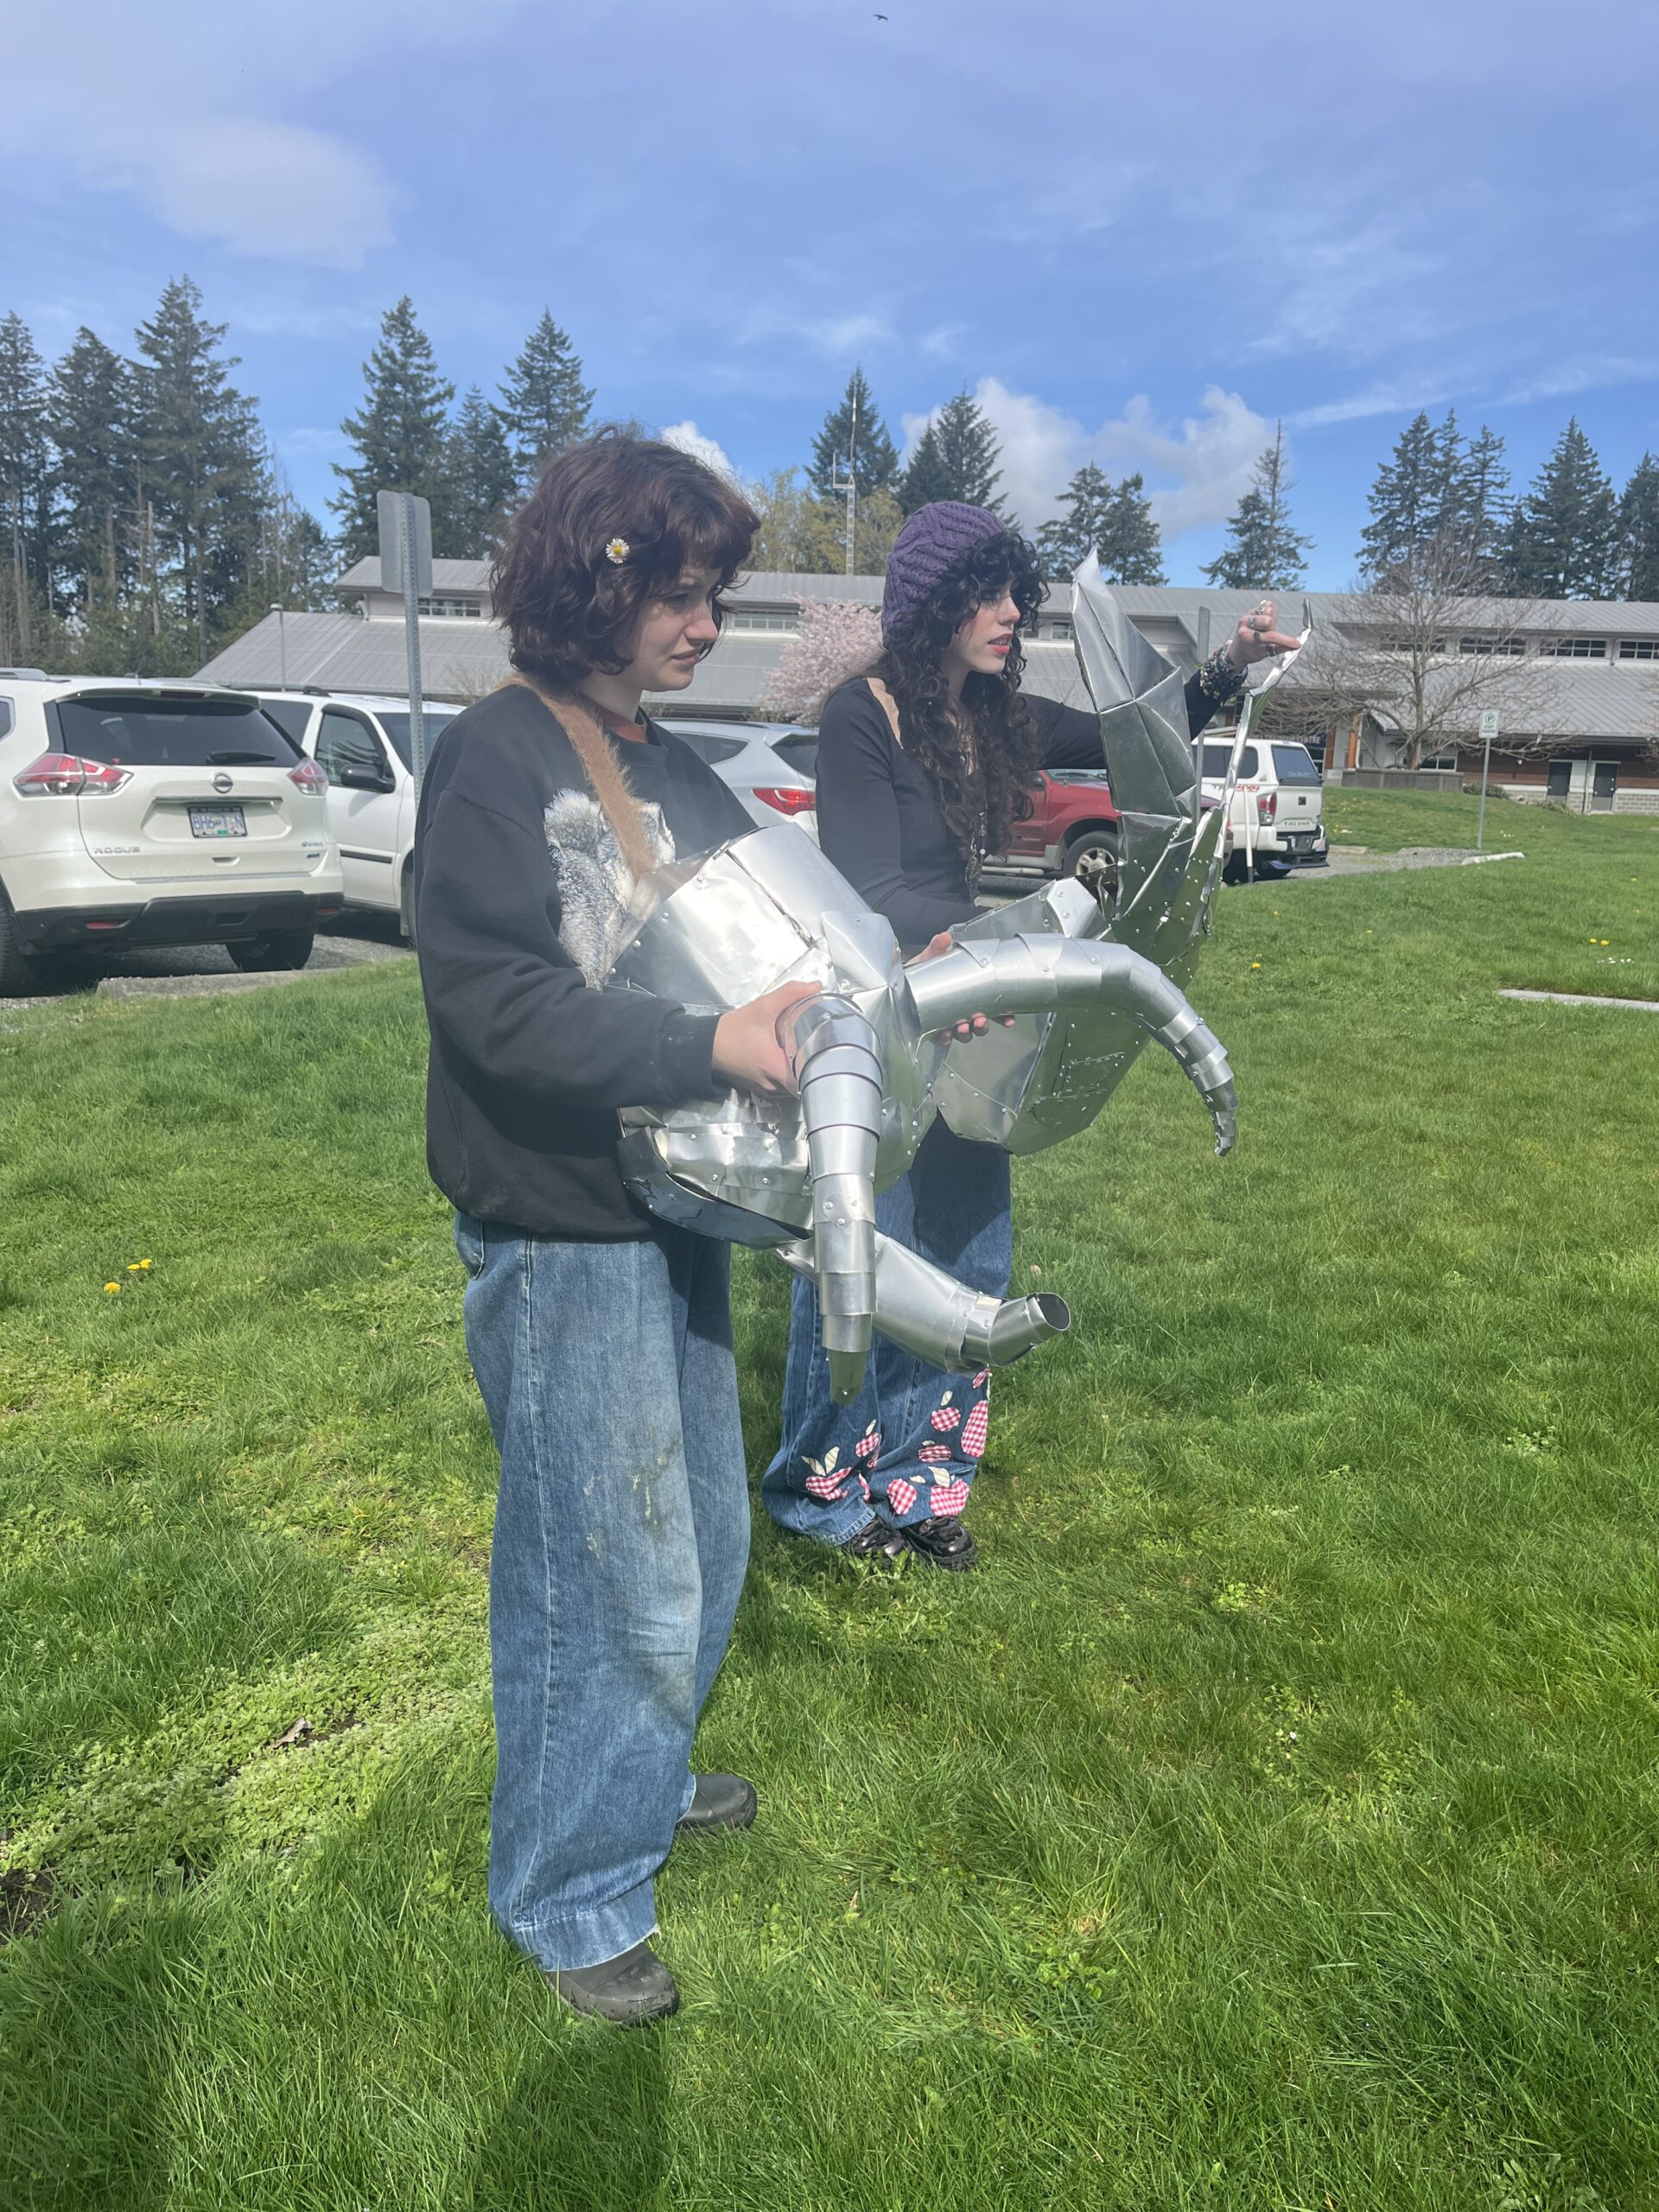
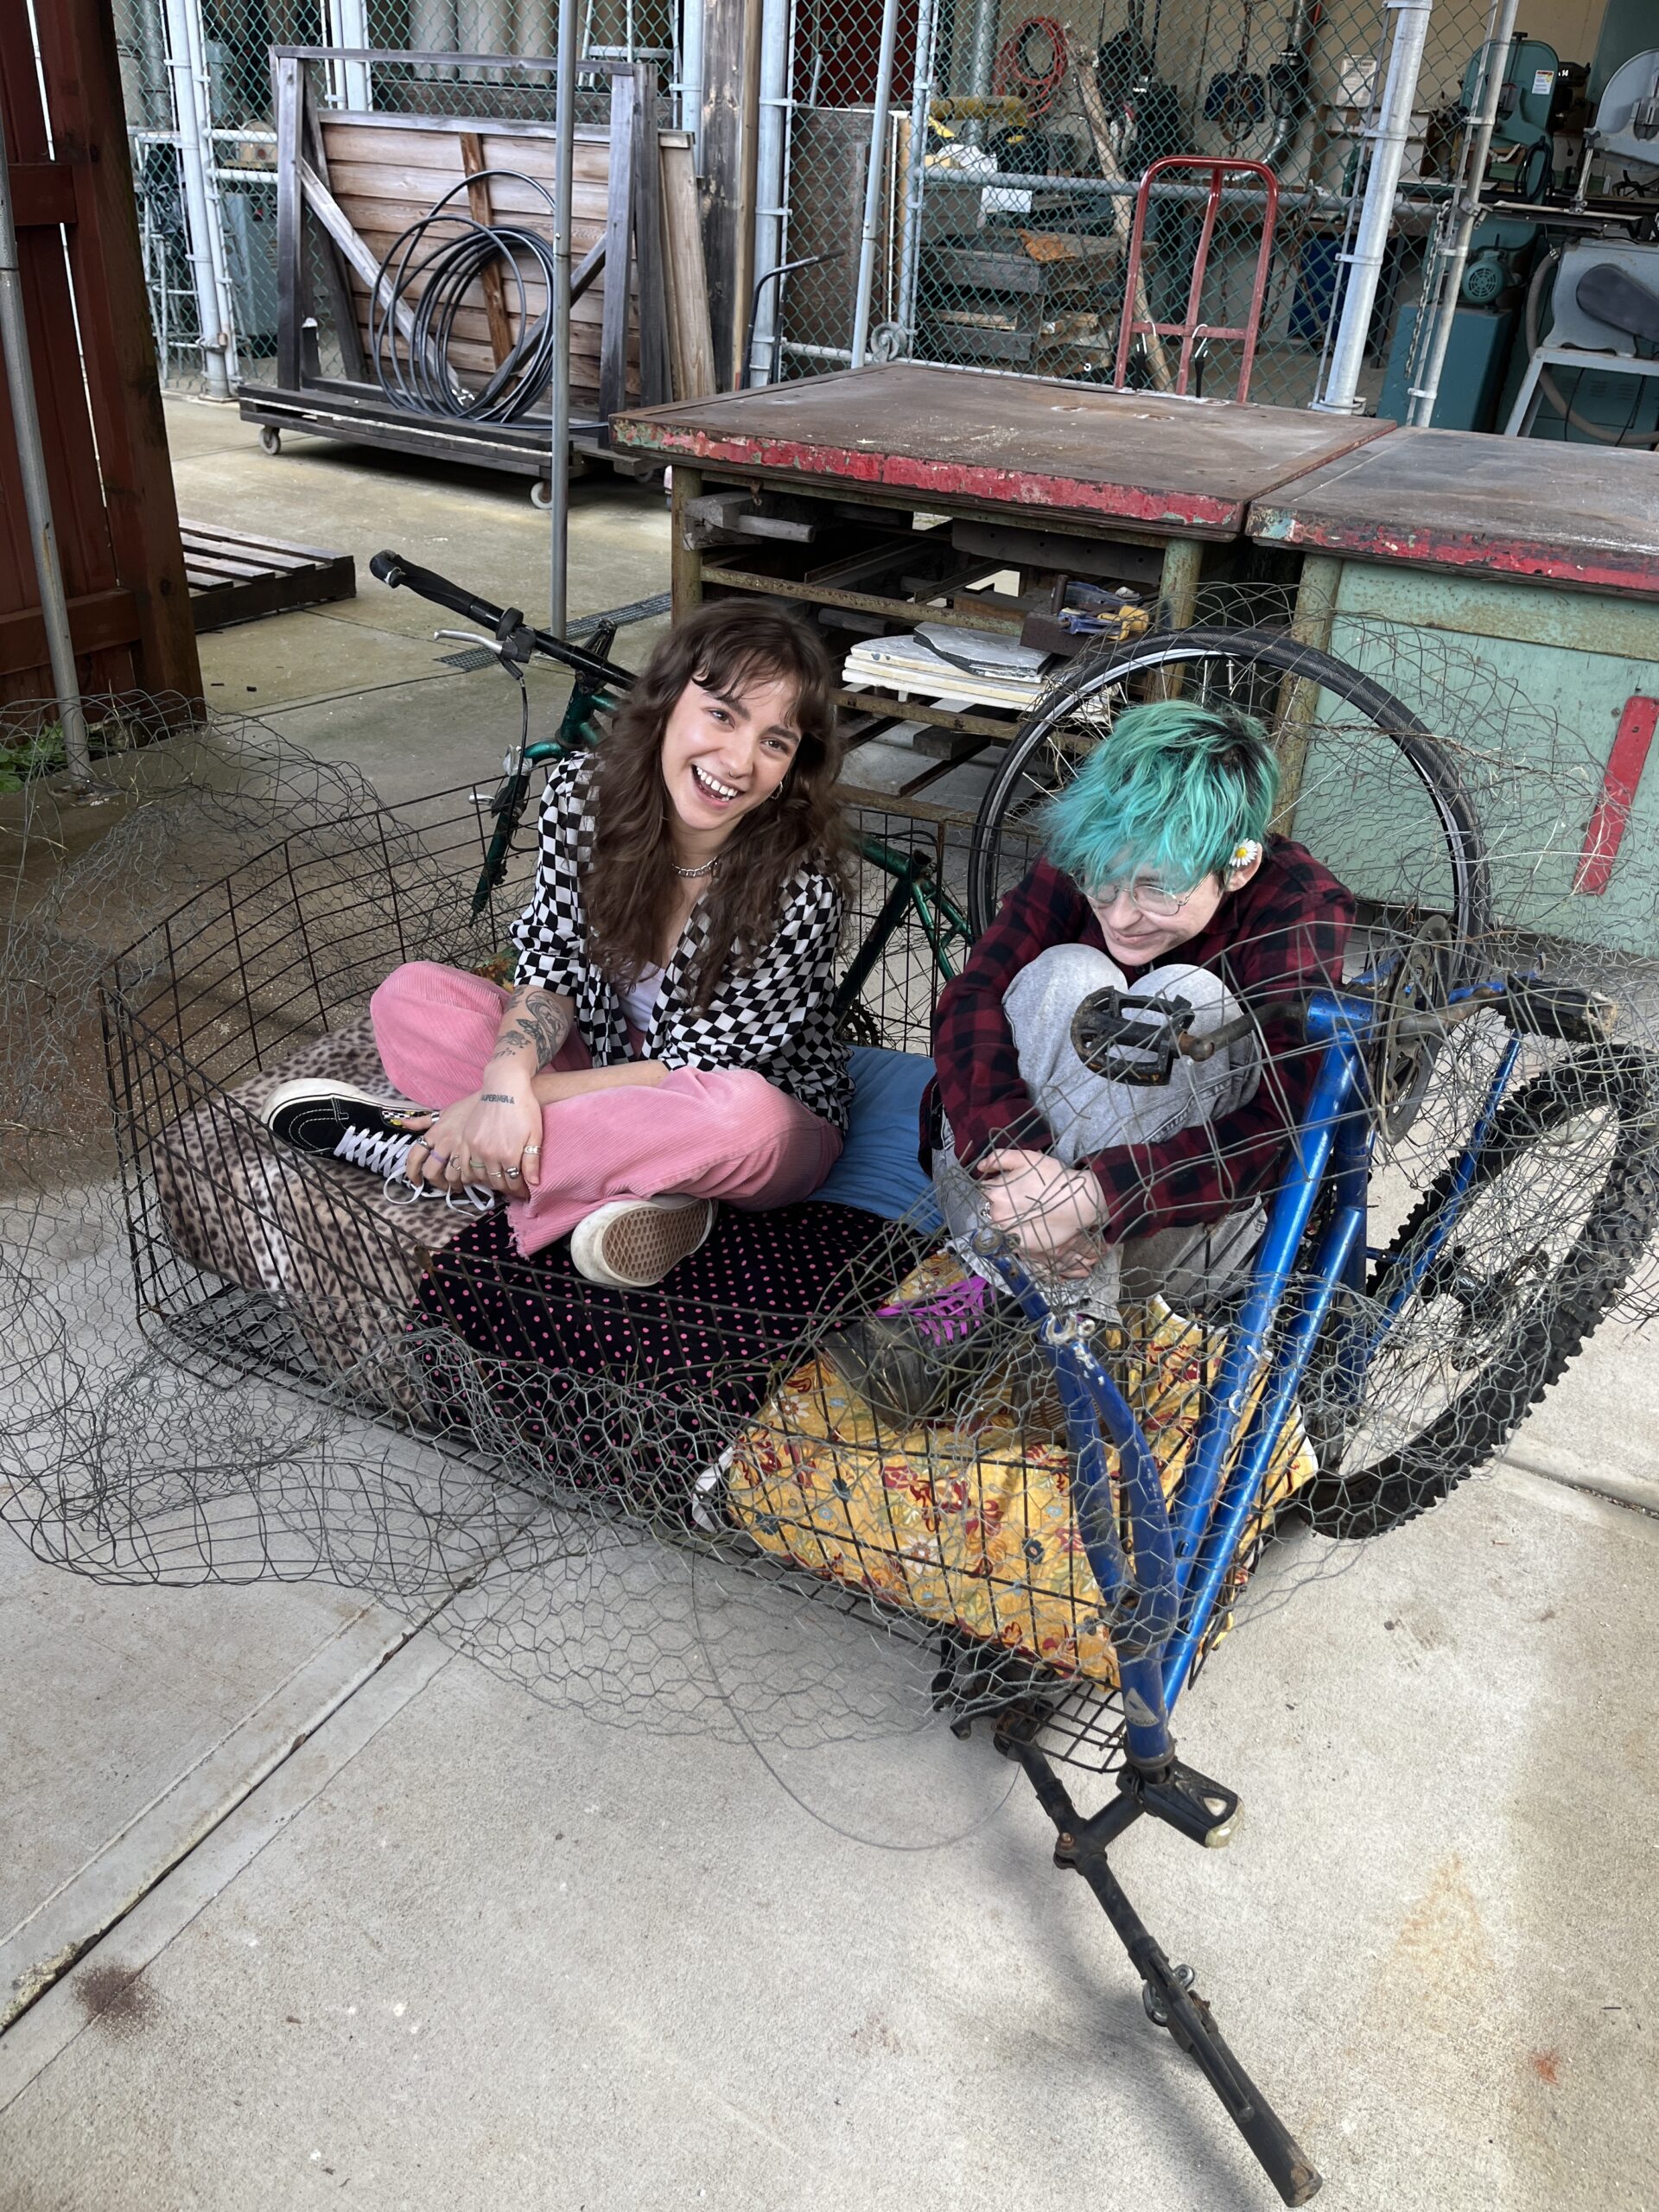
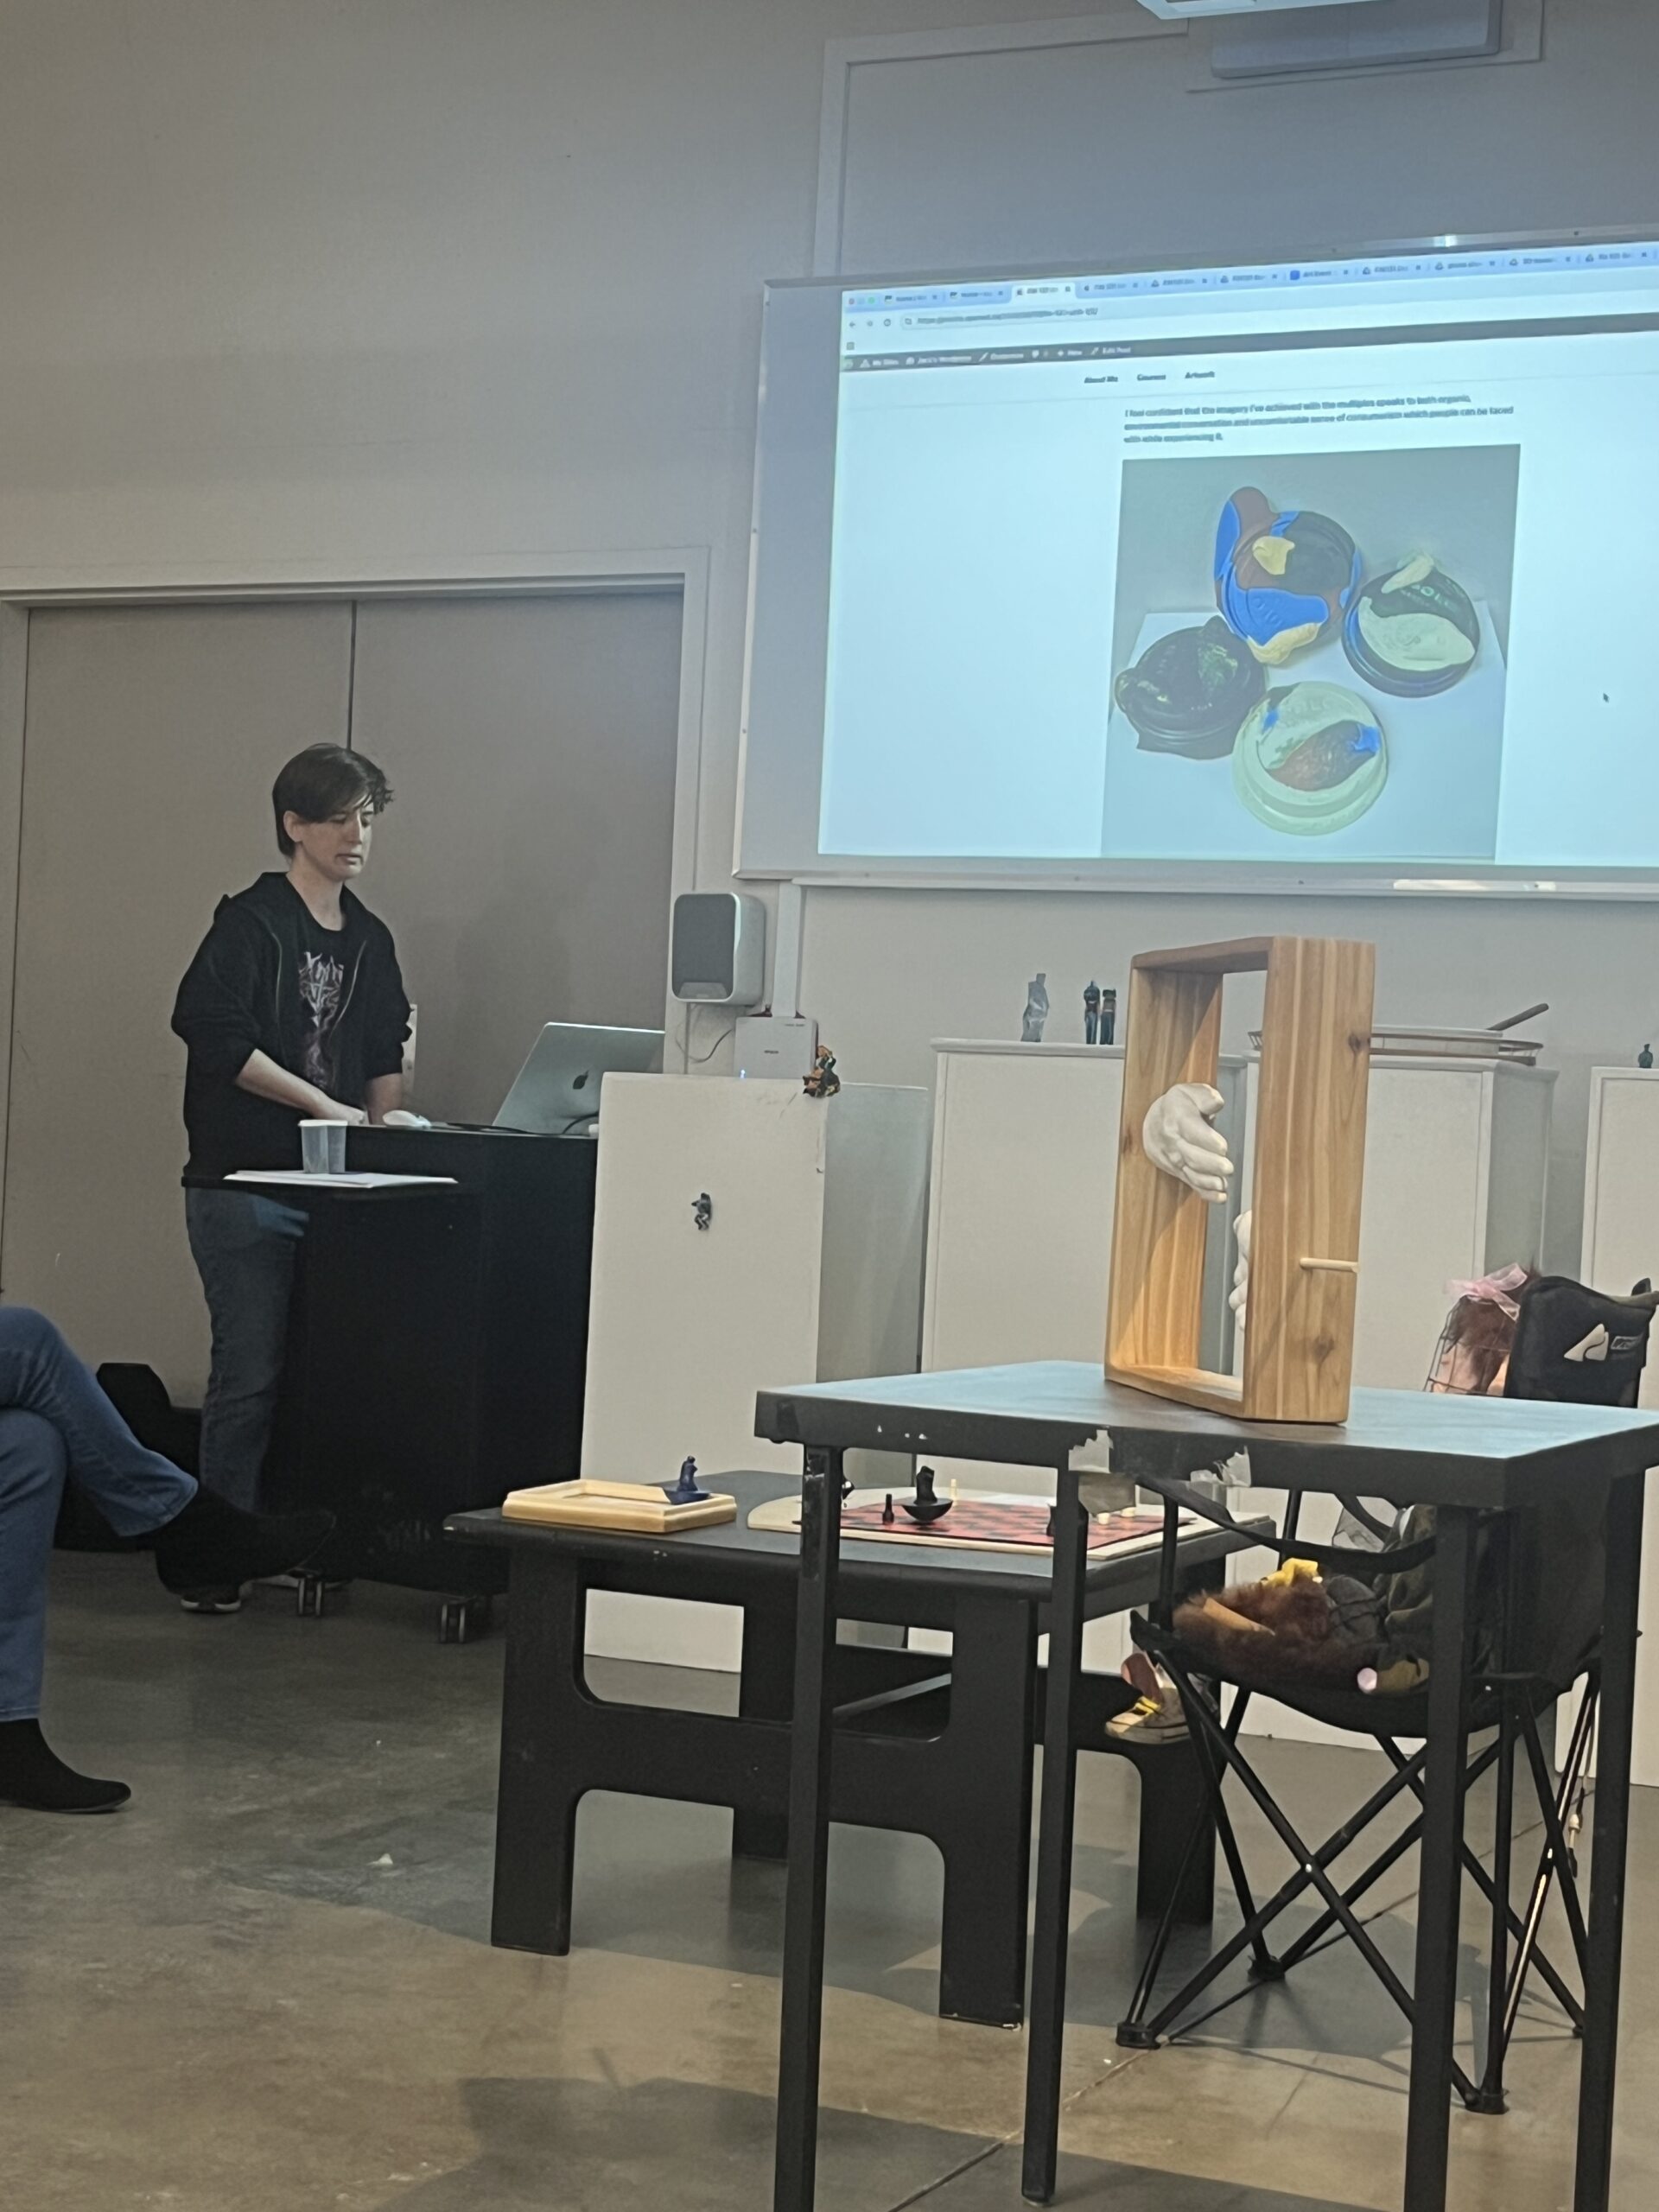
Below pictured are some other great ideas and works made by classmates for this project!