Paper Bag Photos


Reflection
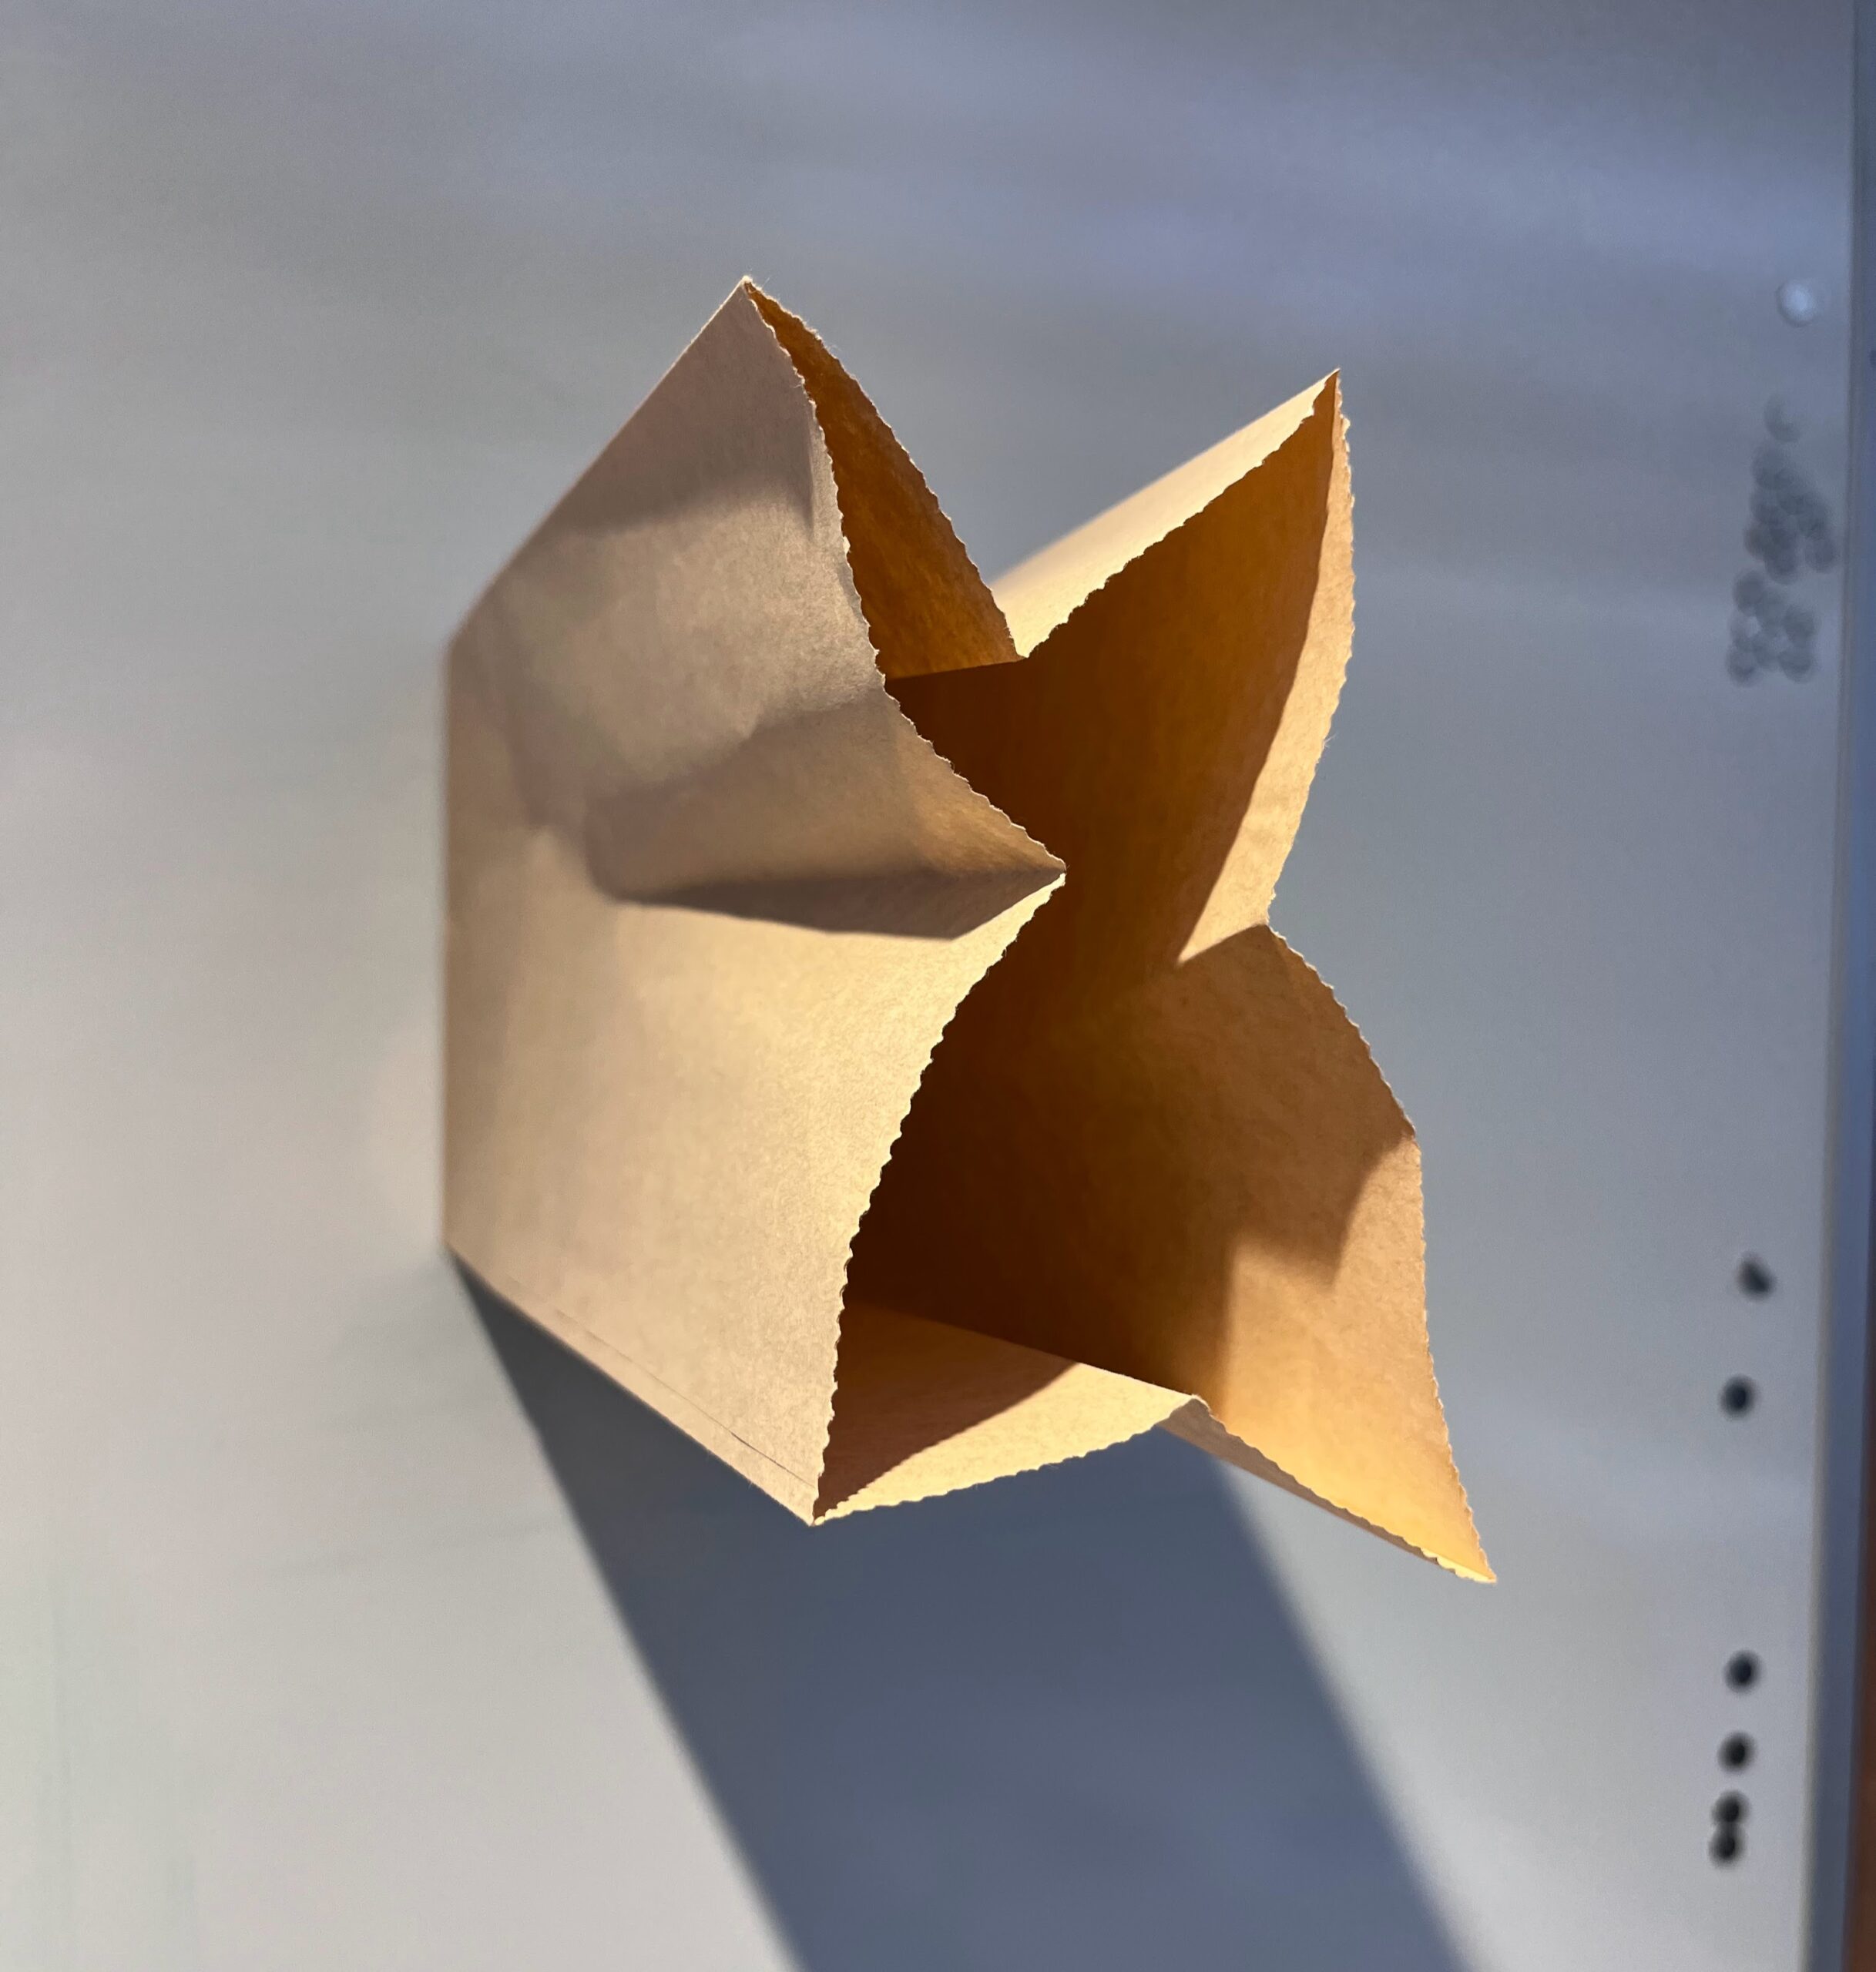
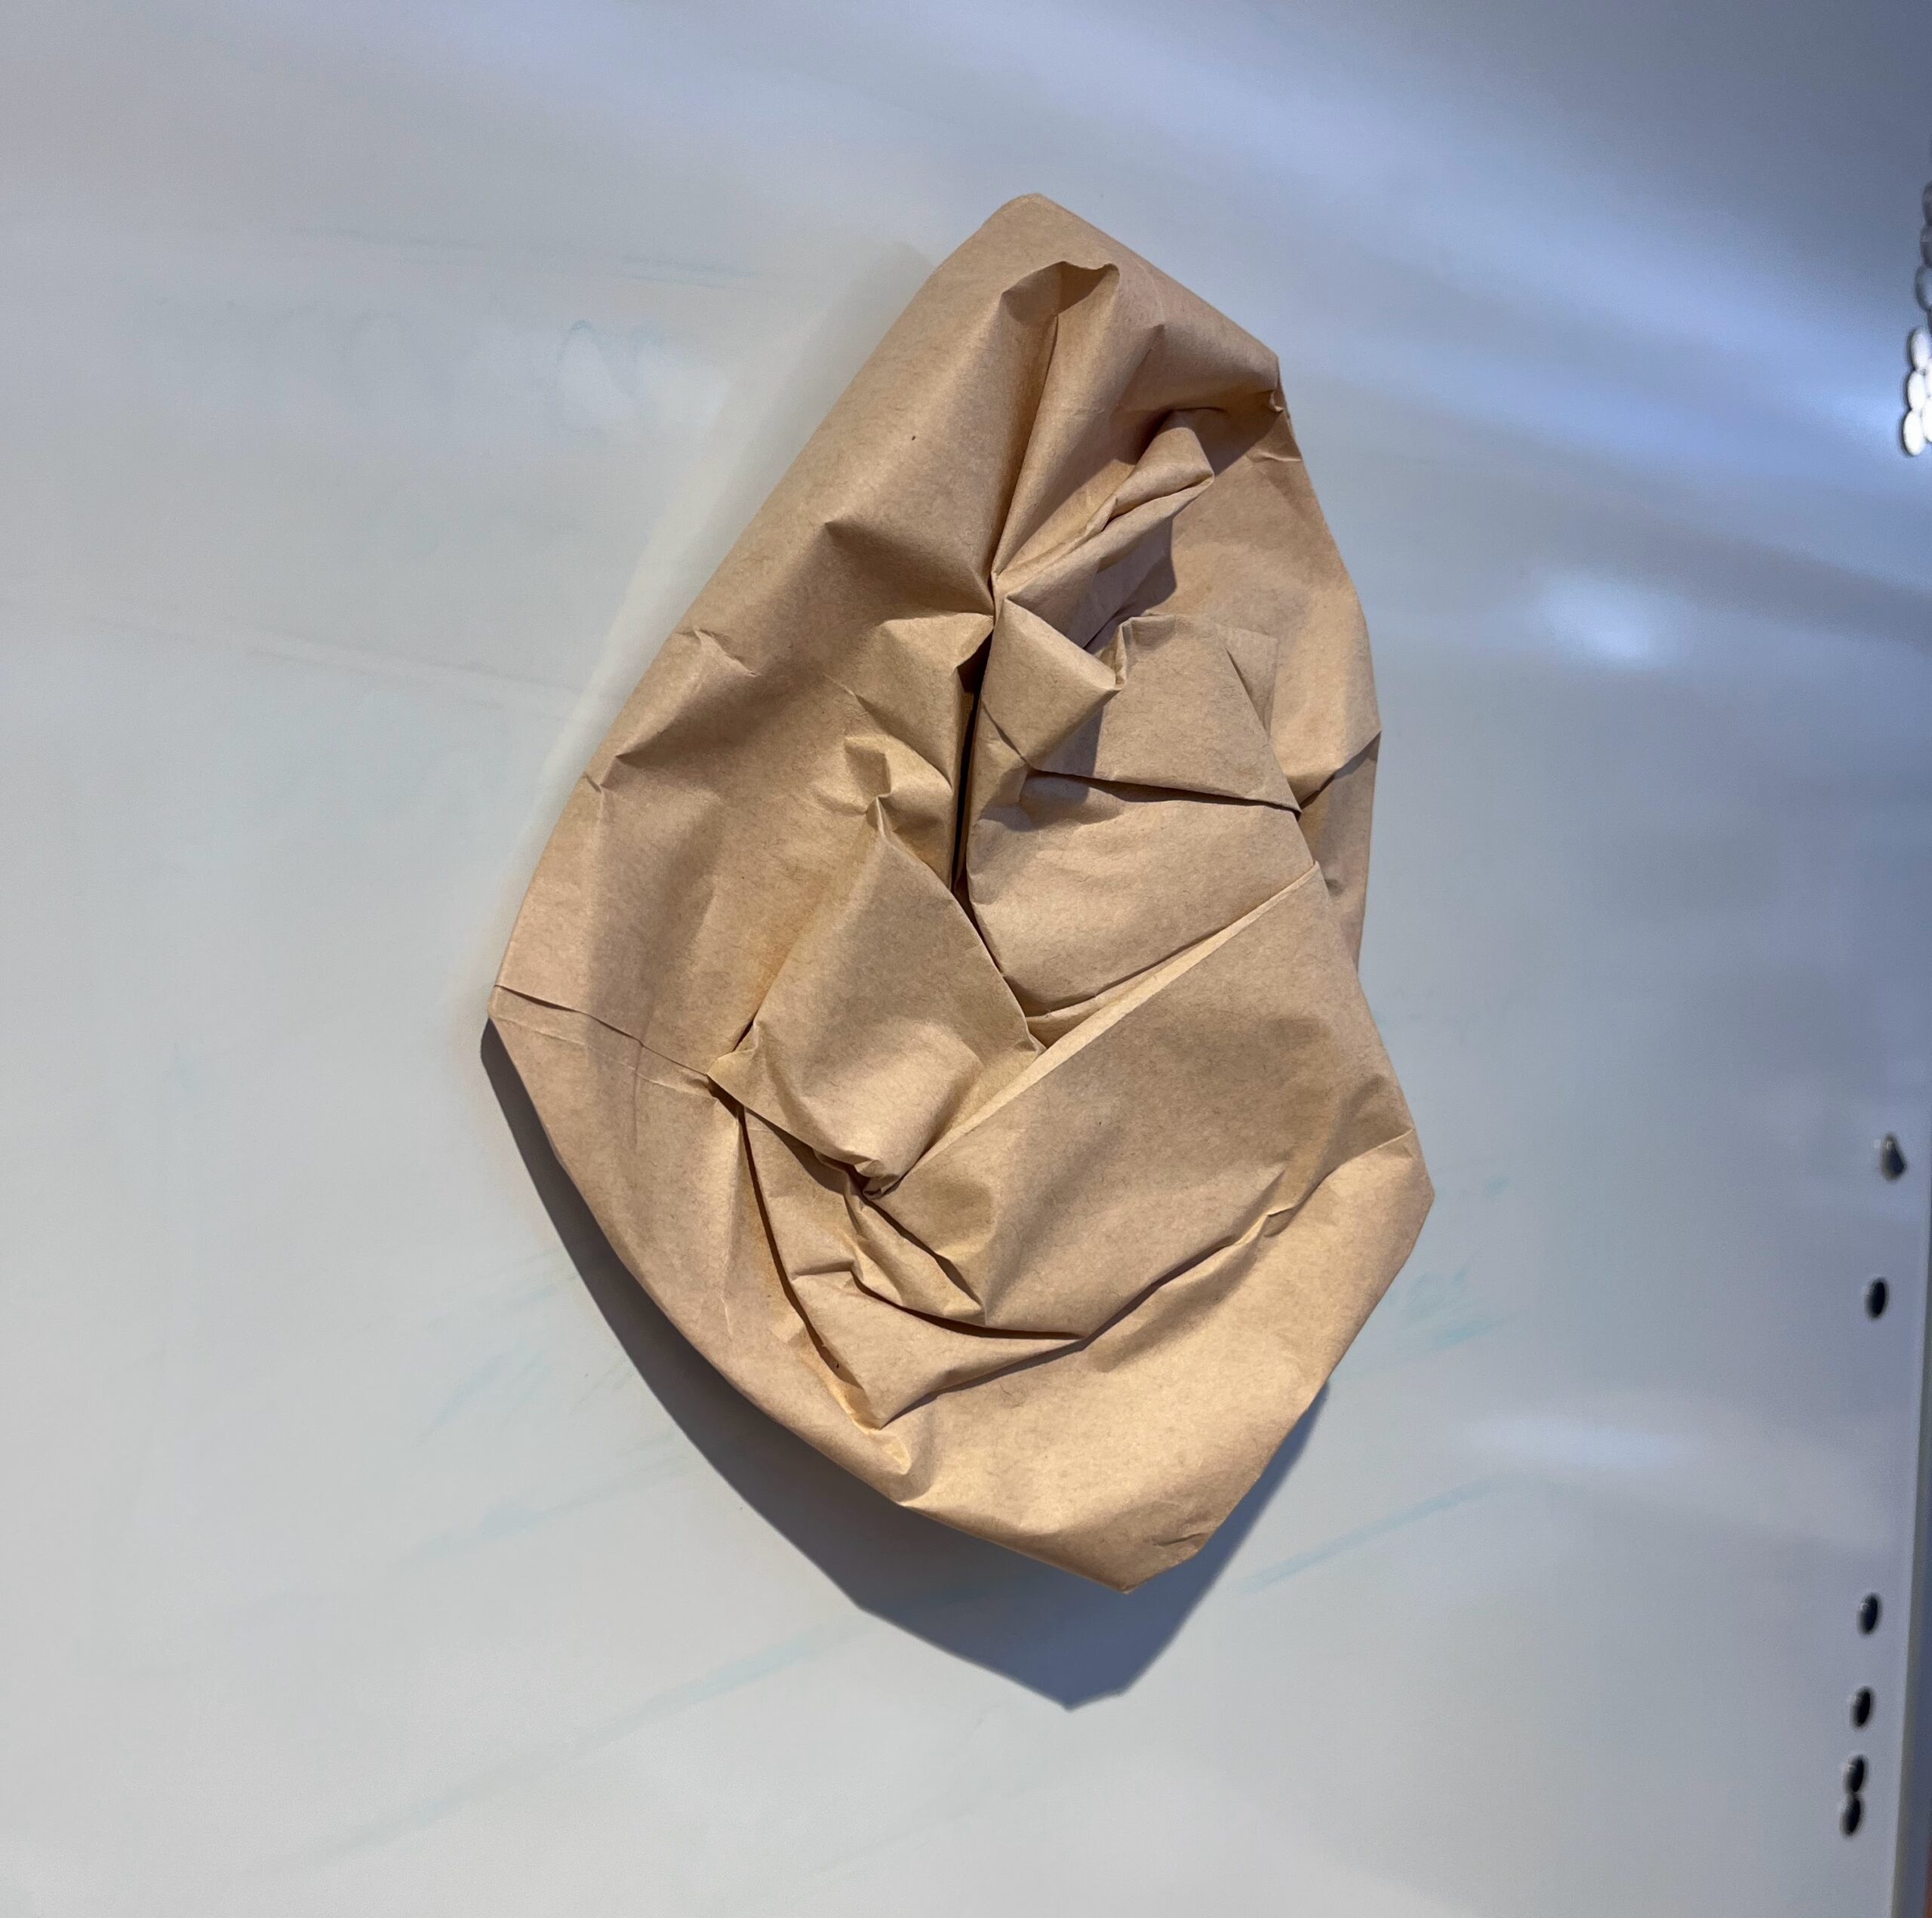
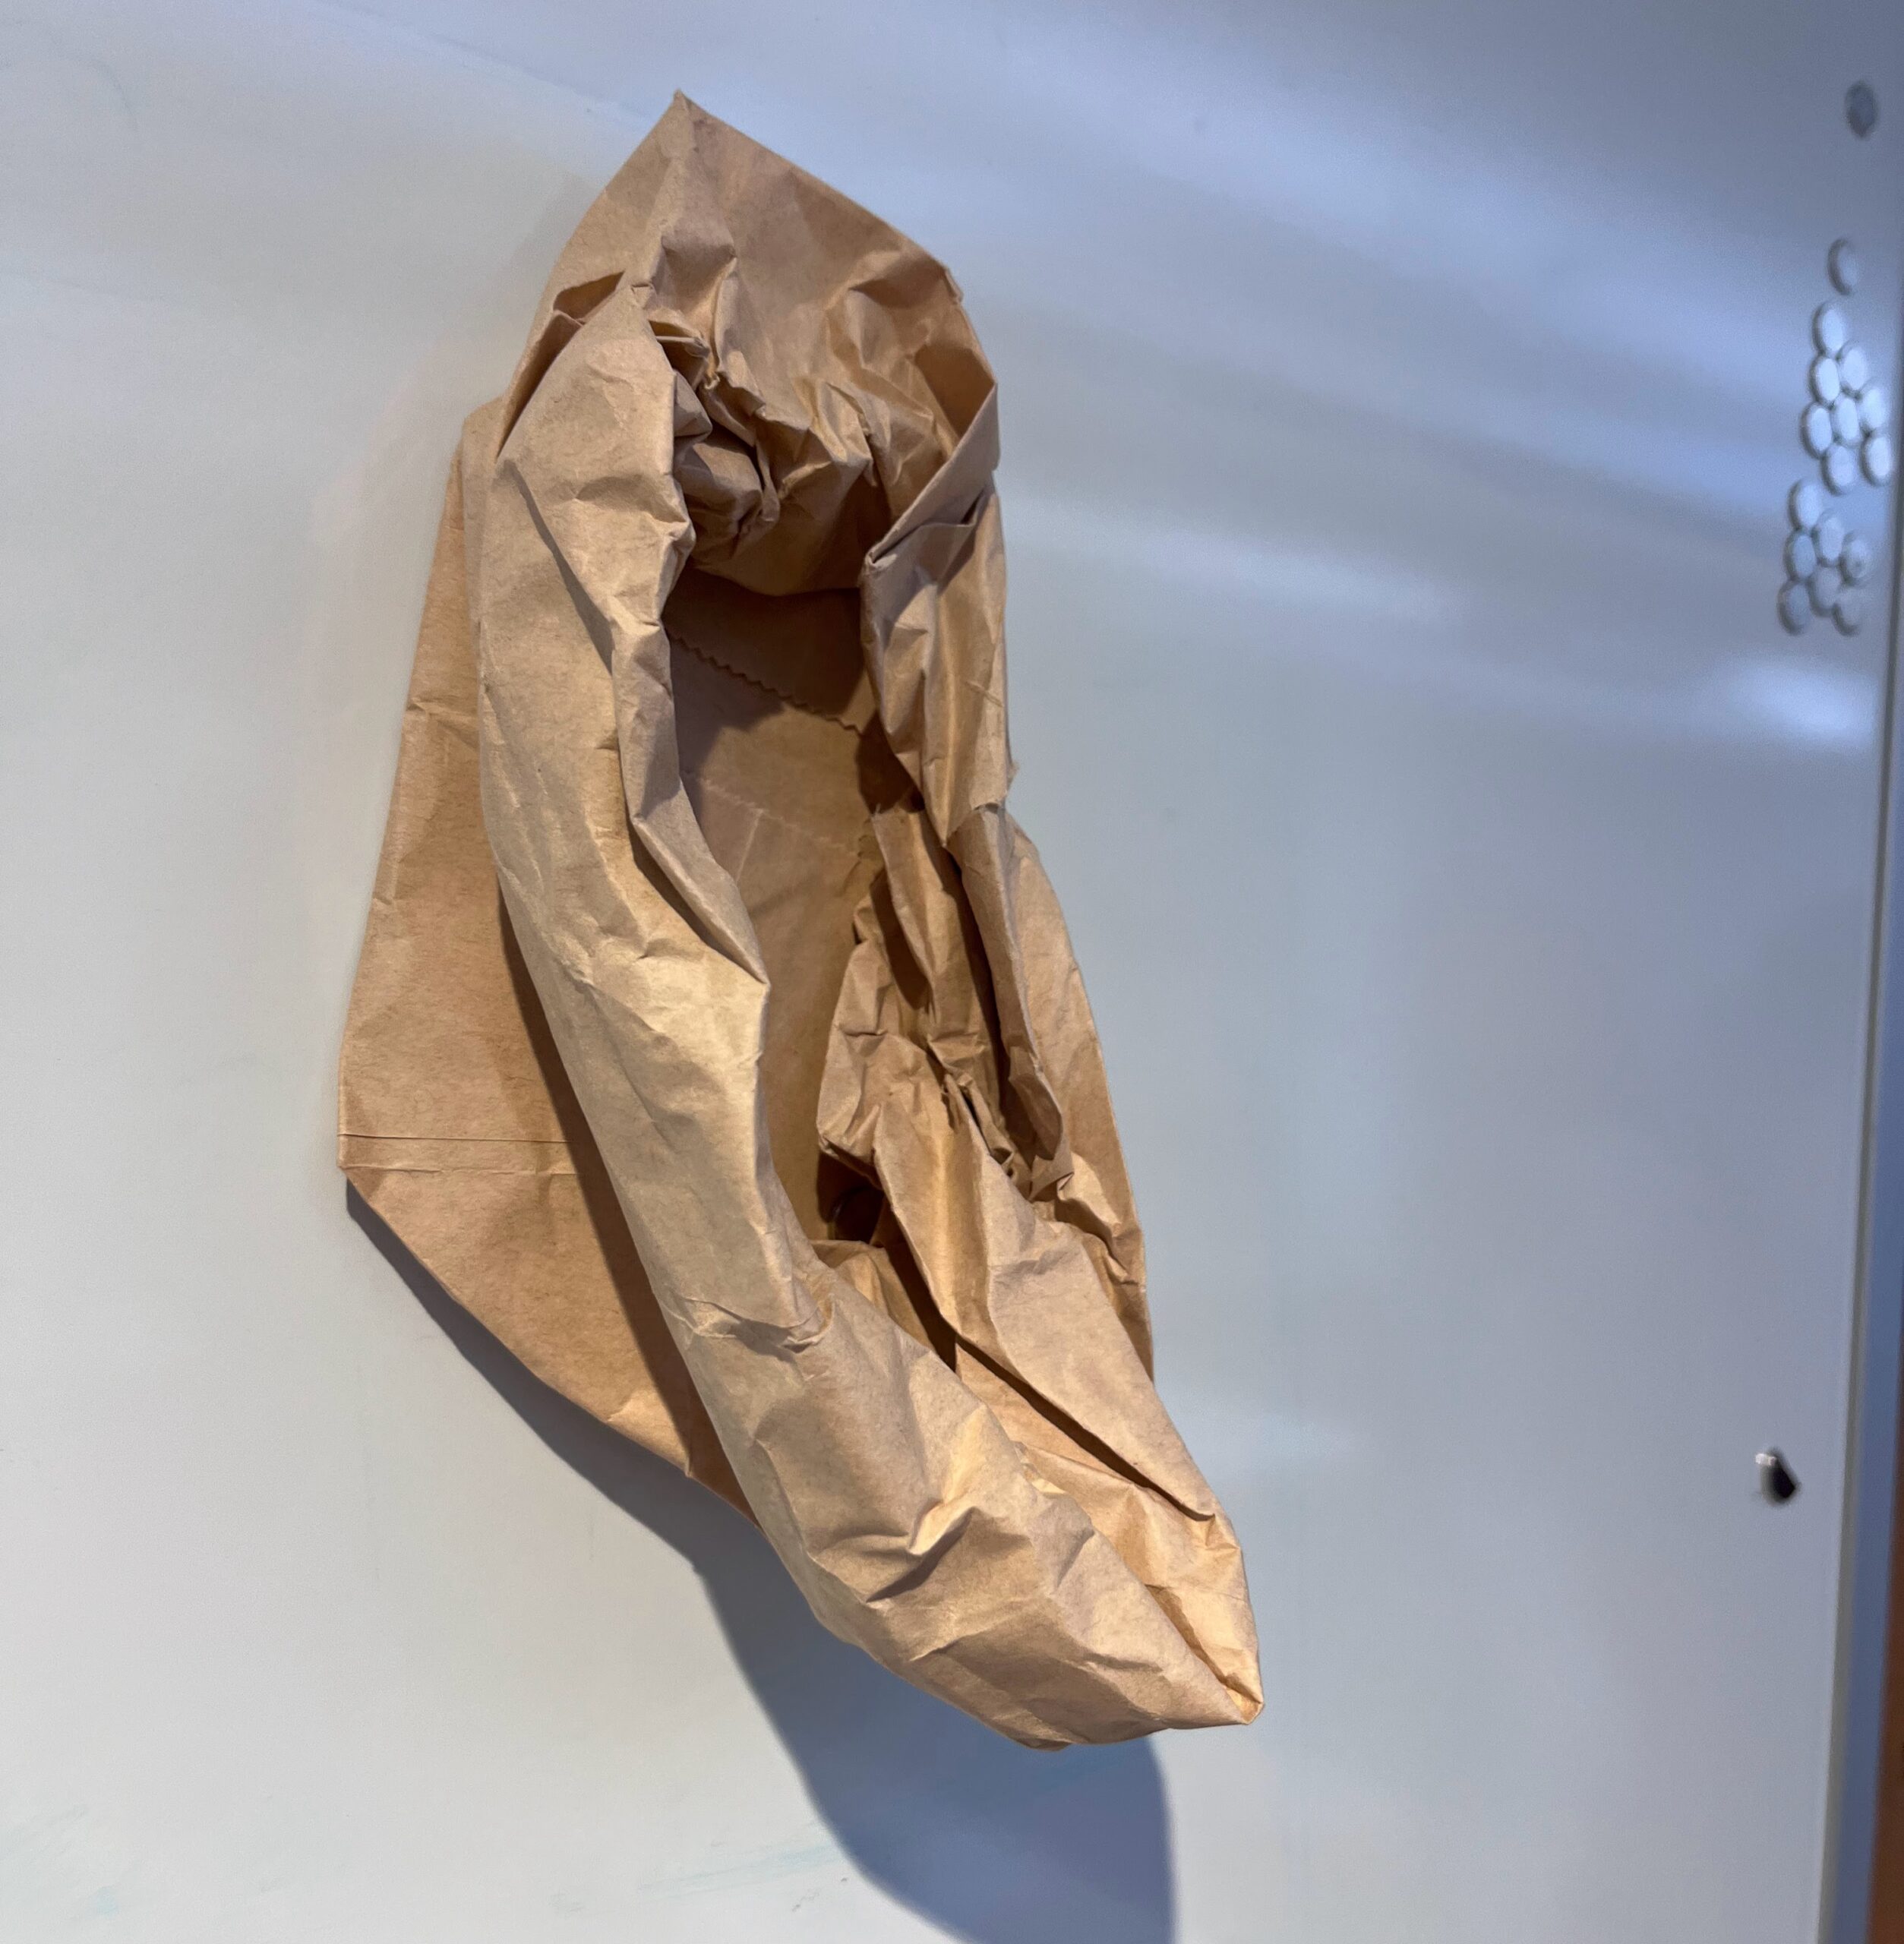
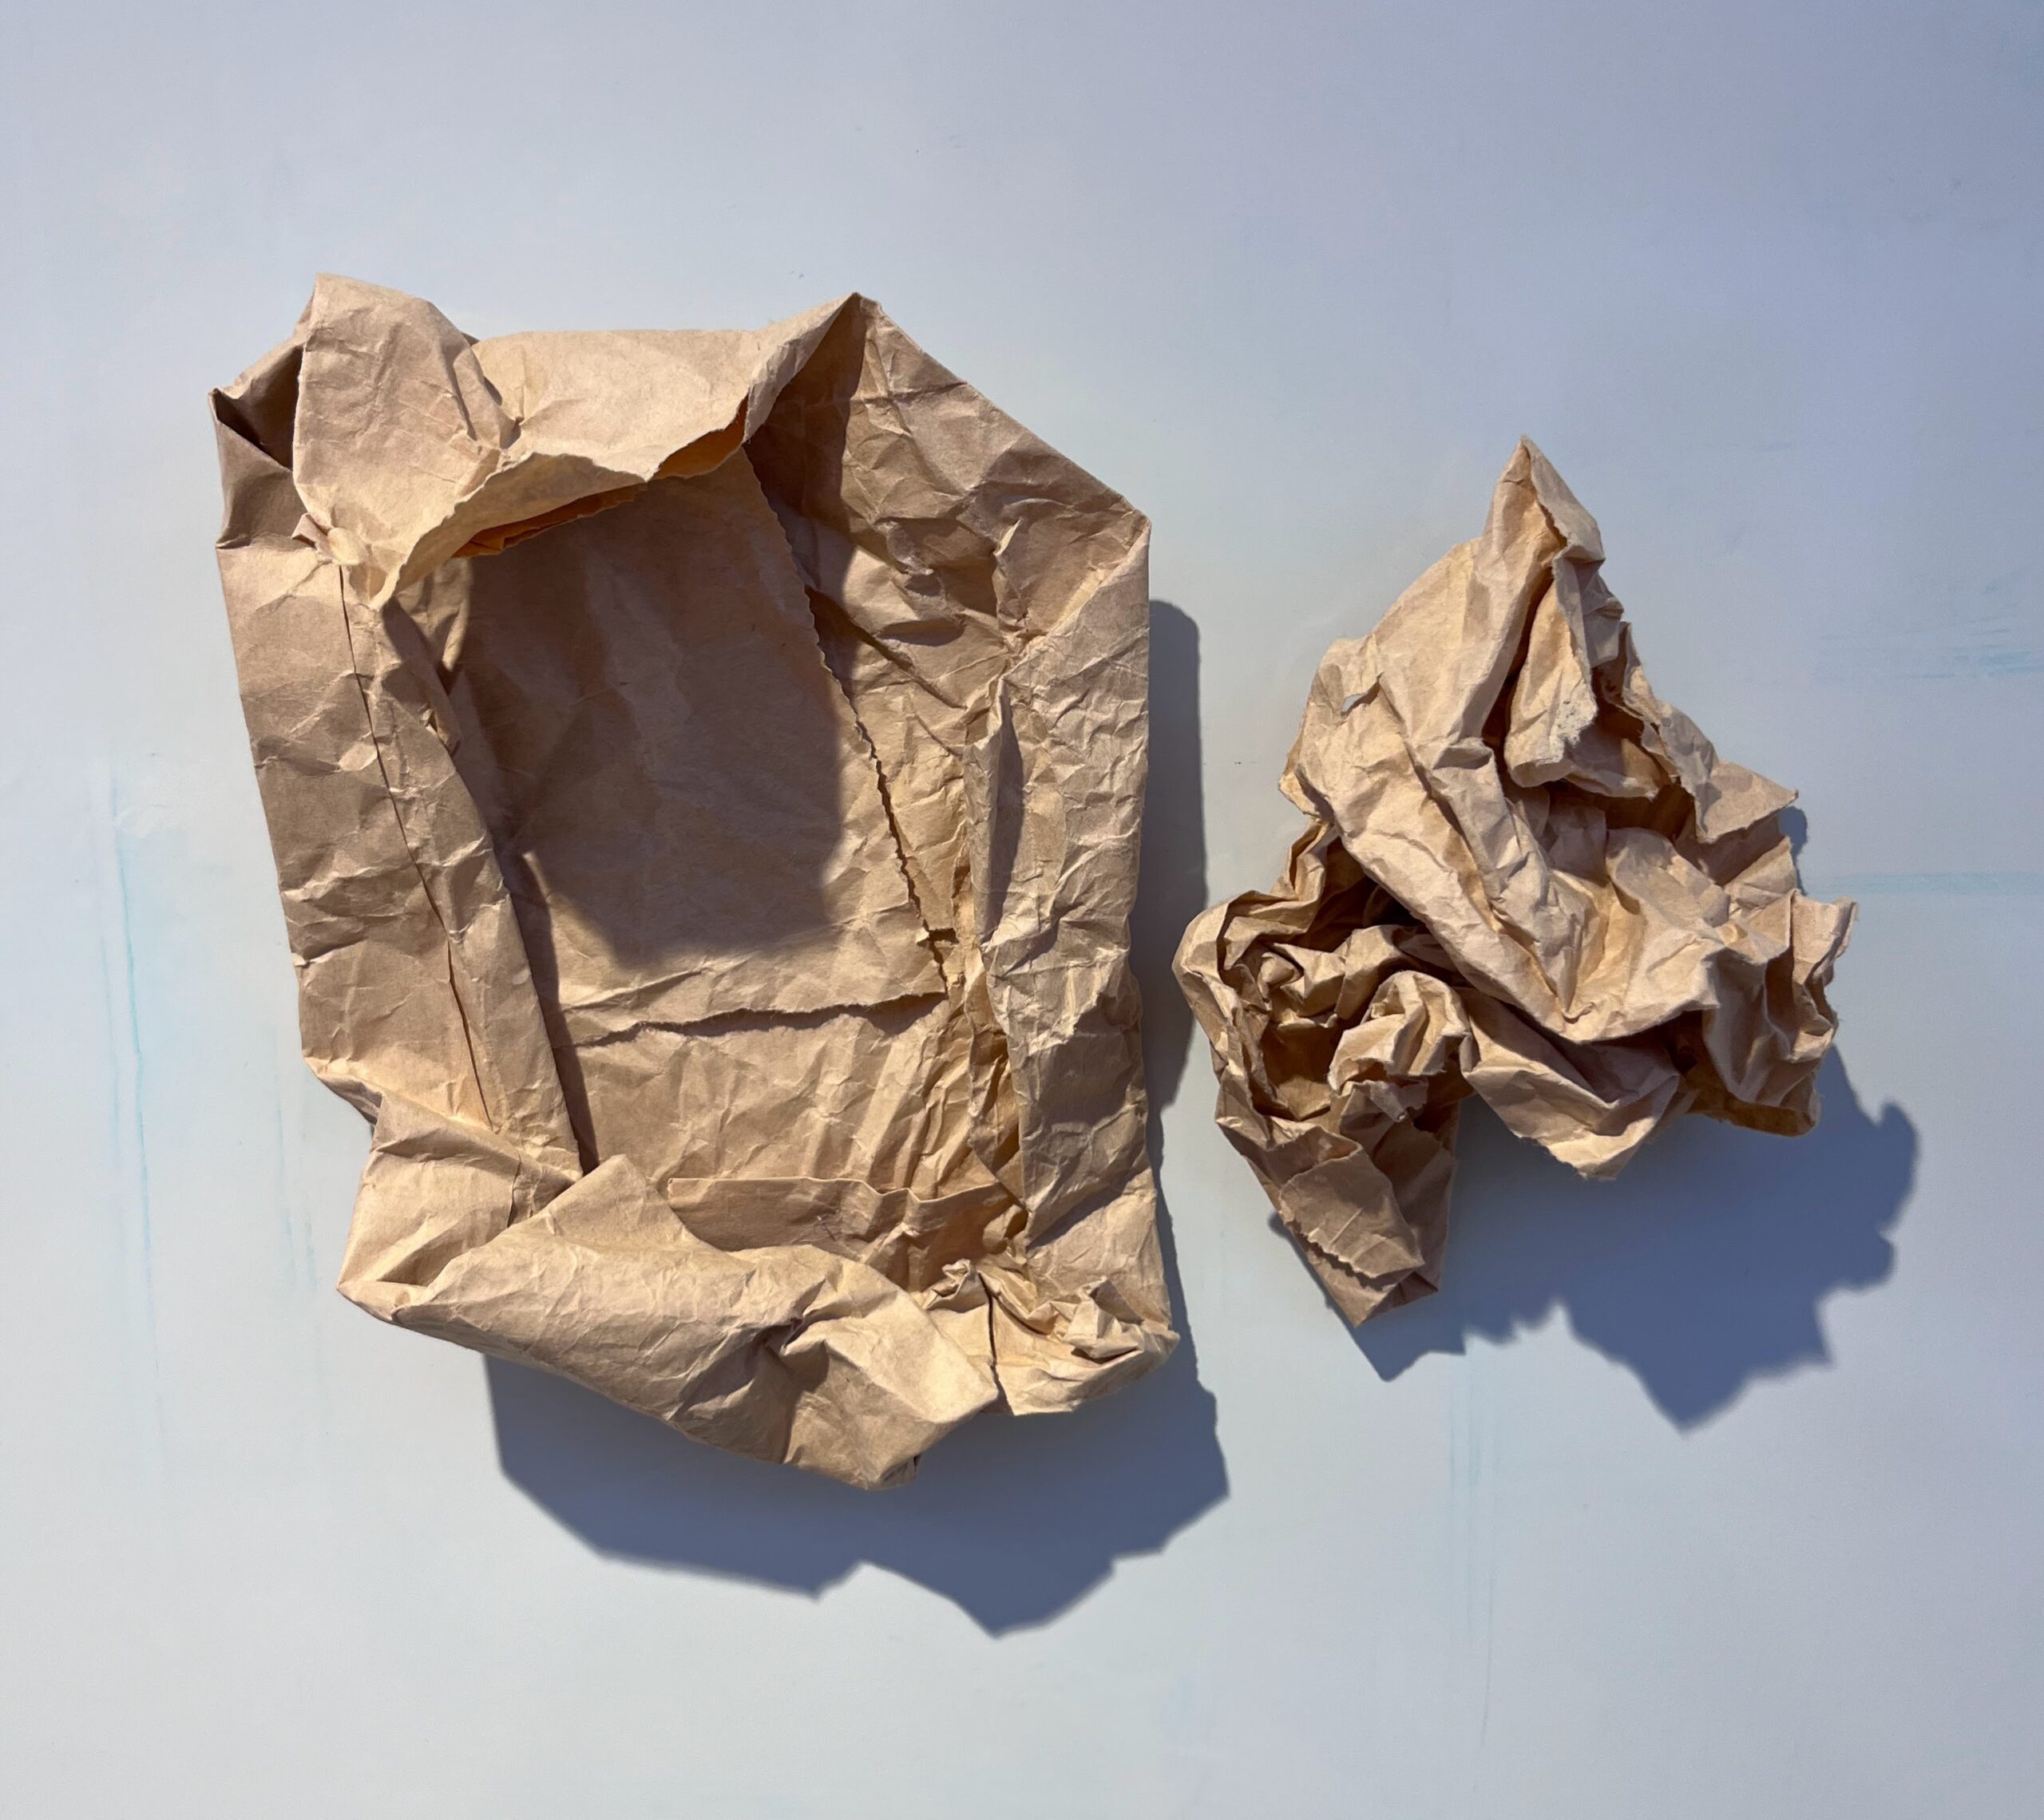
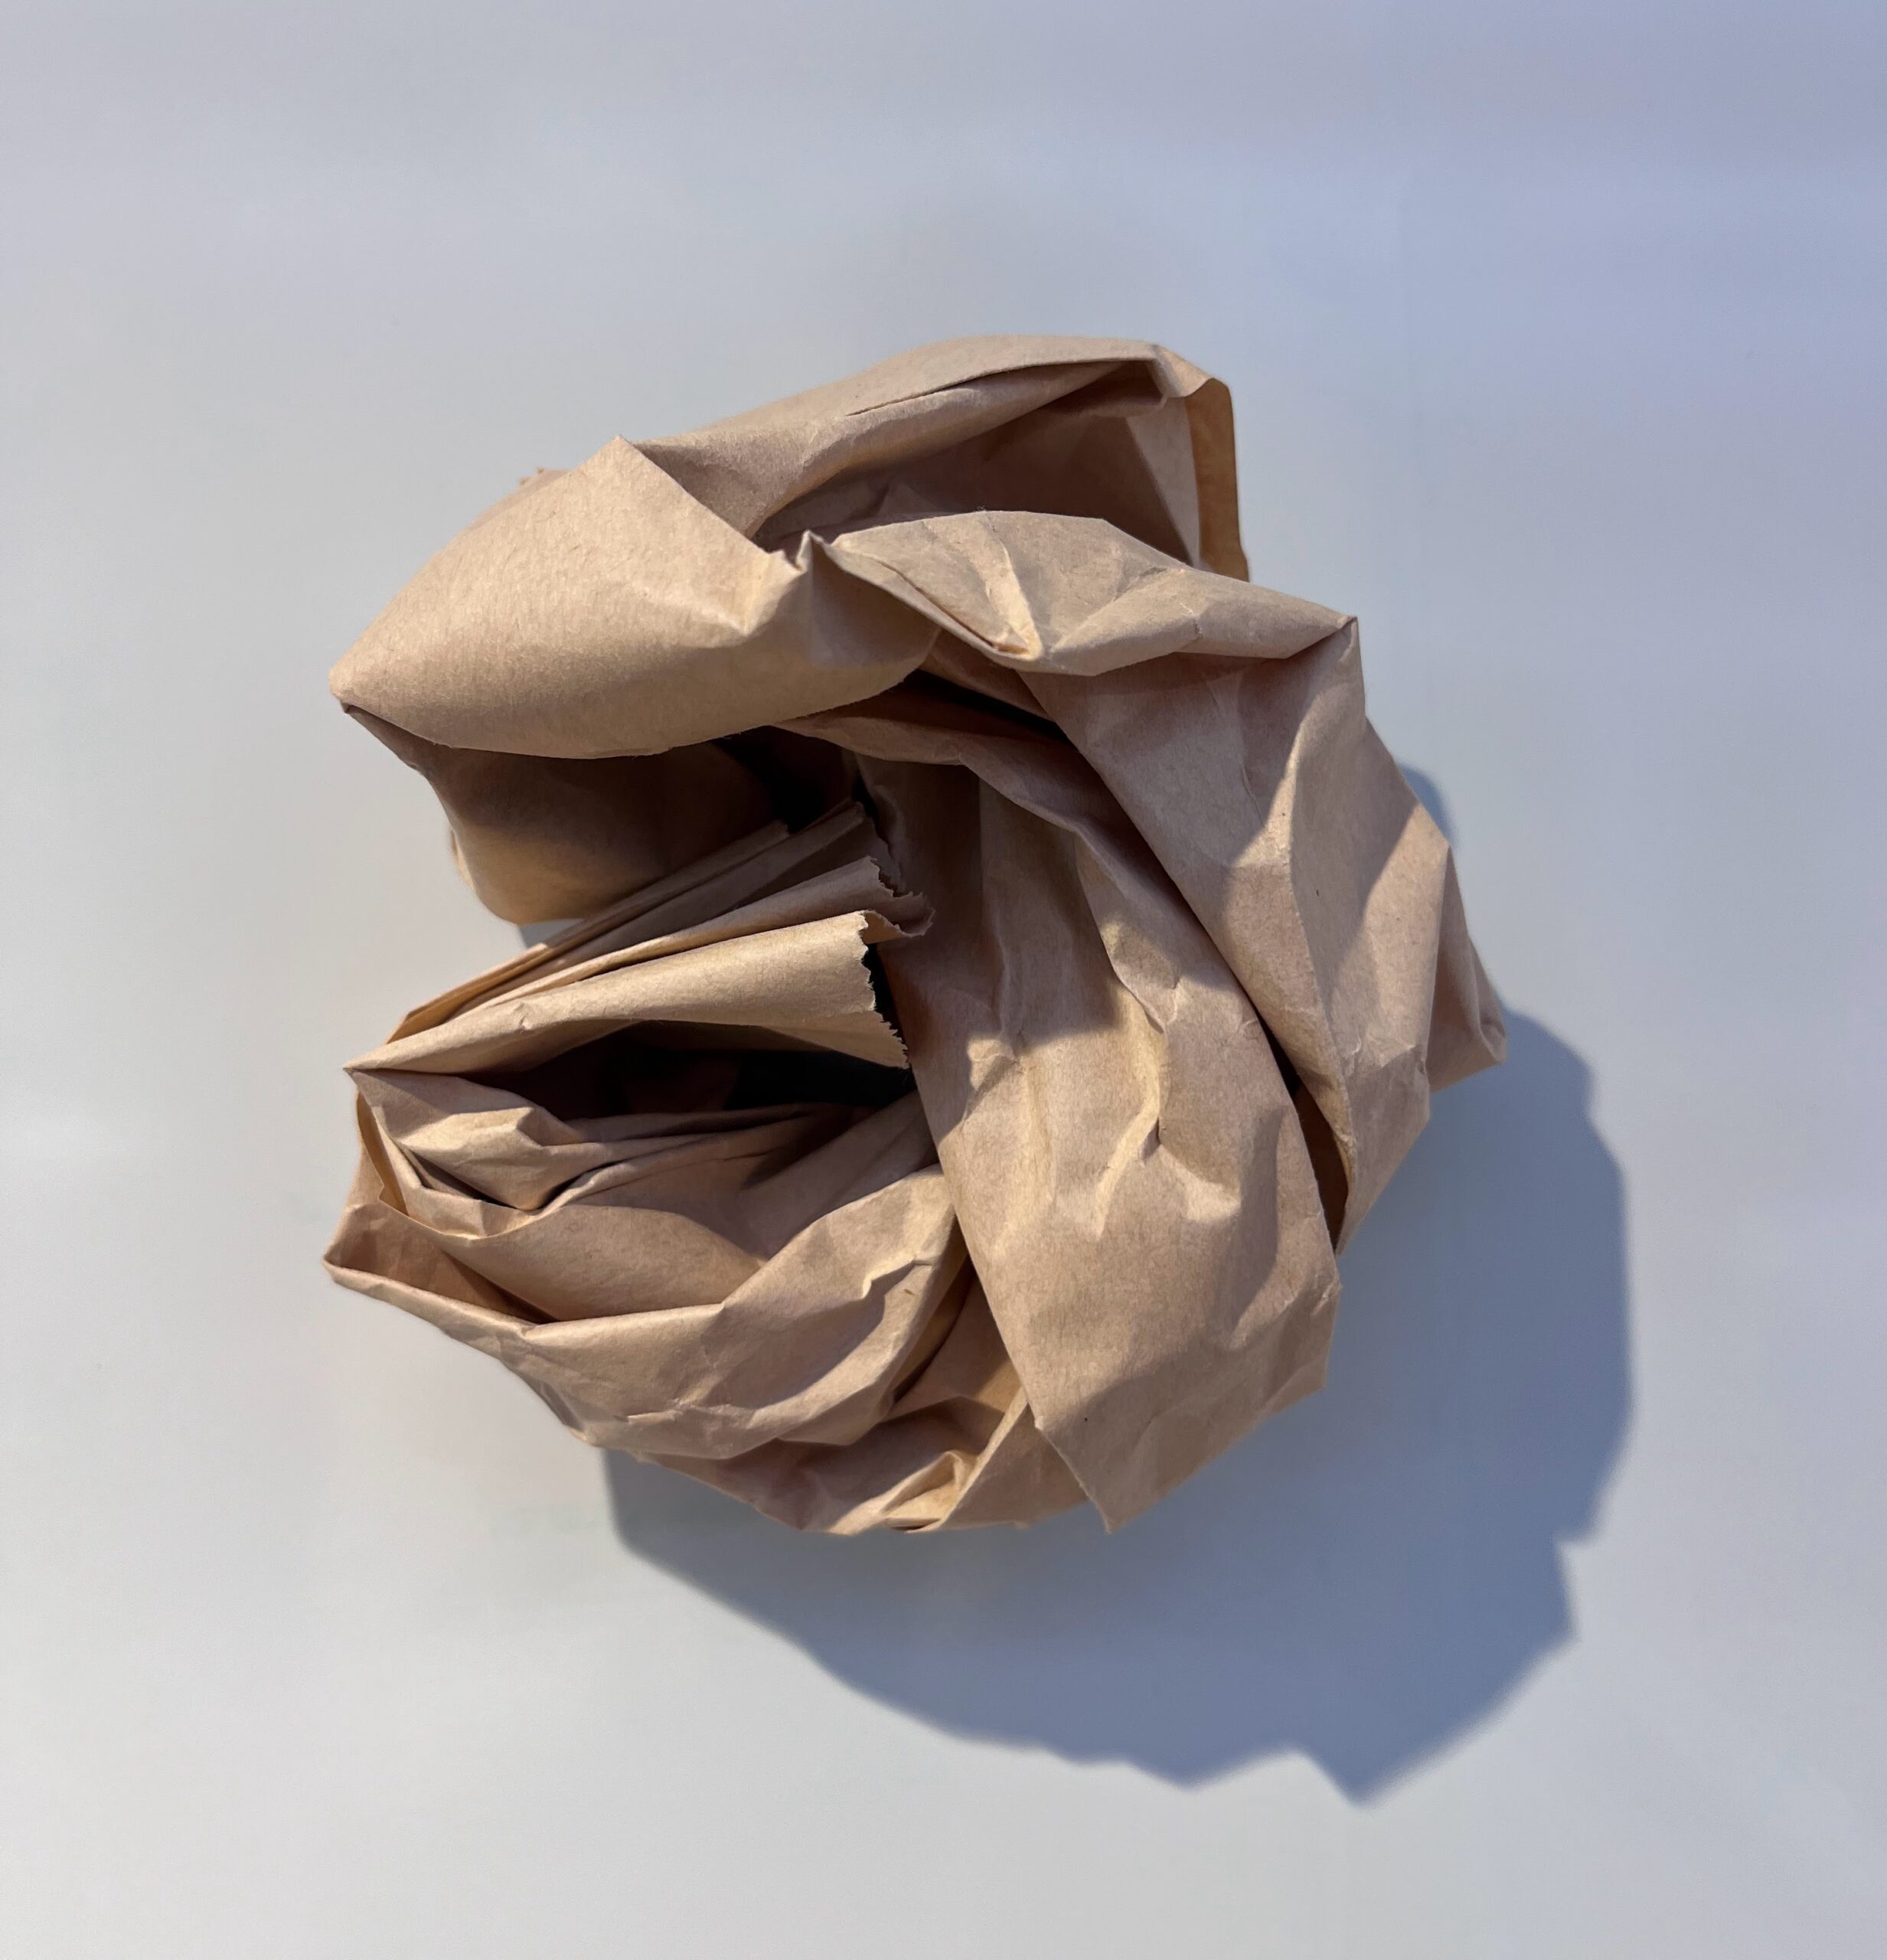
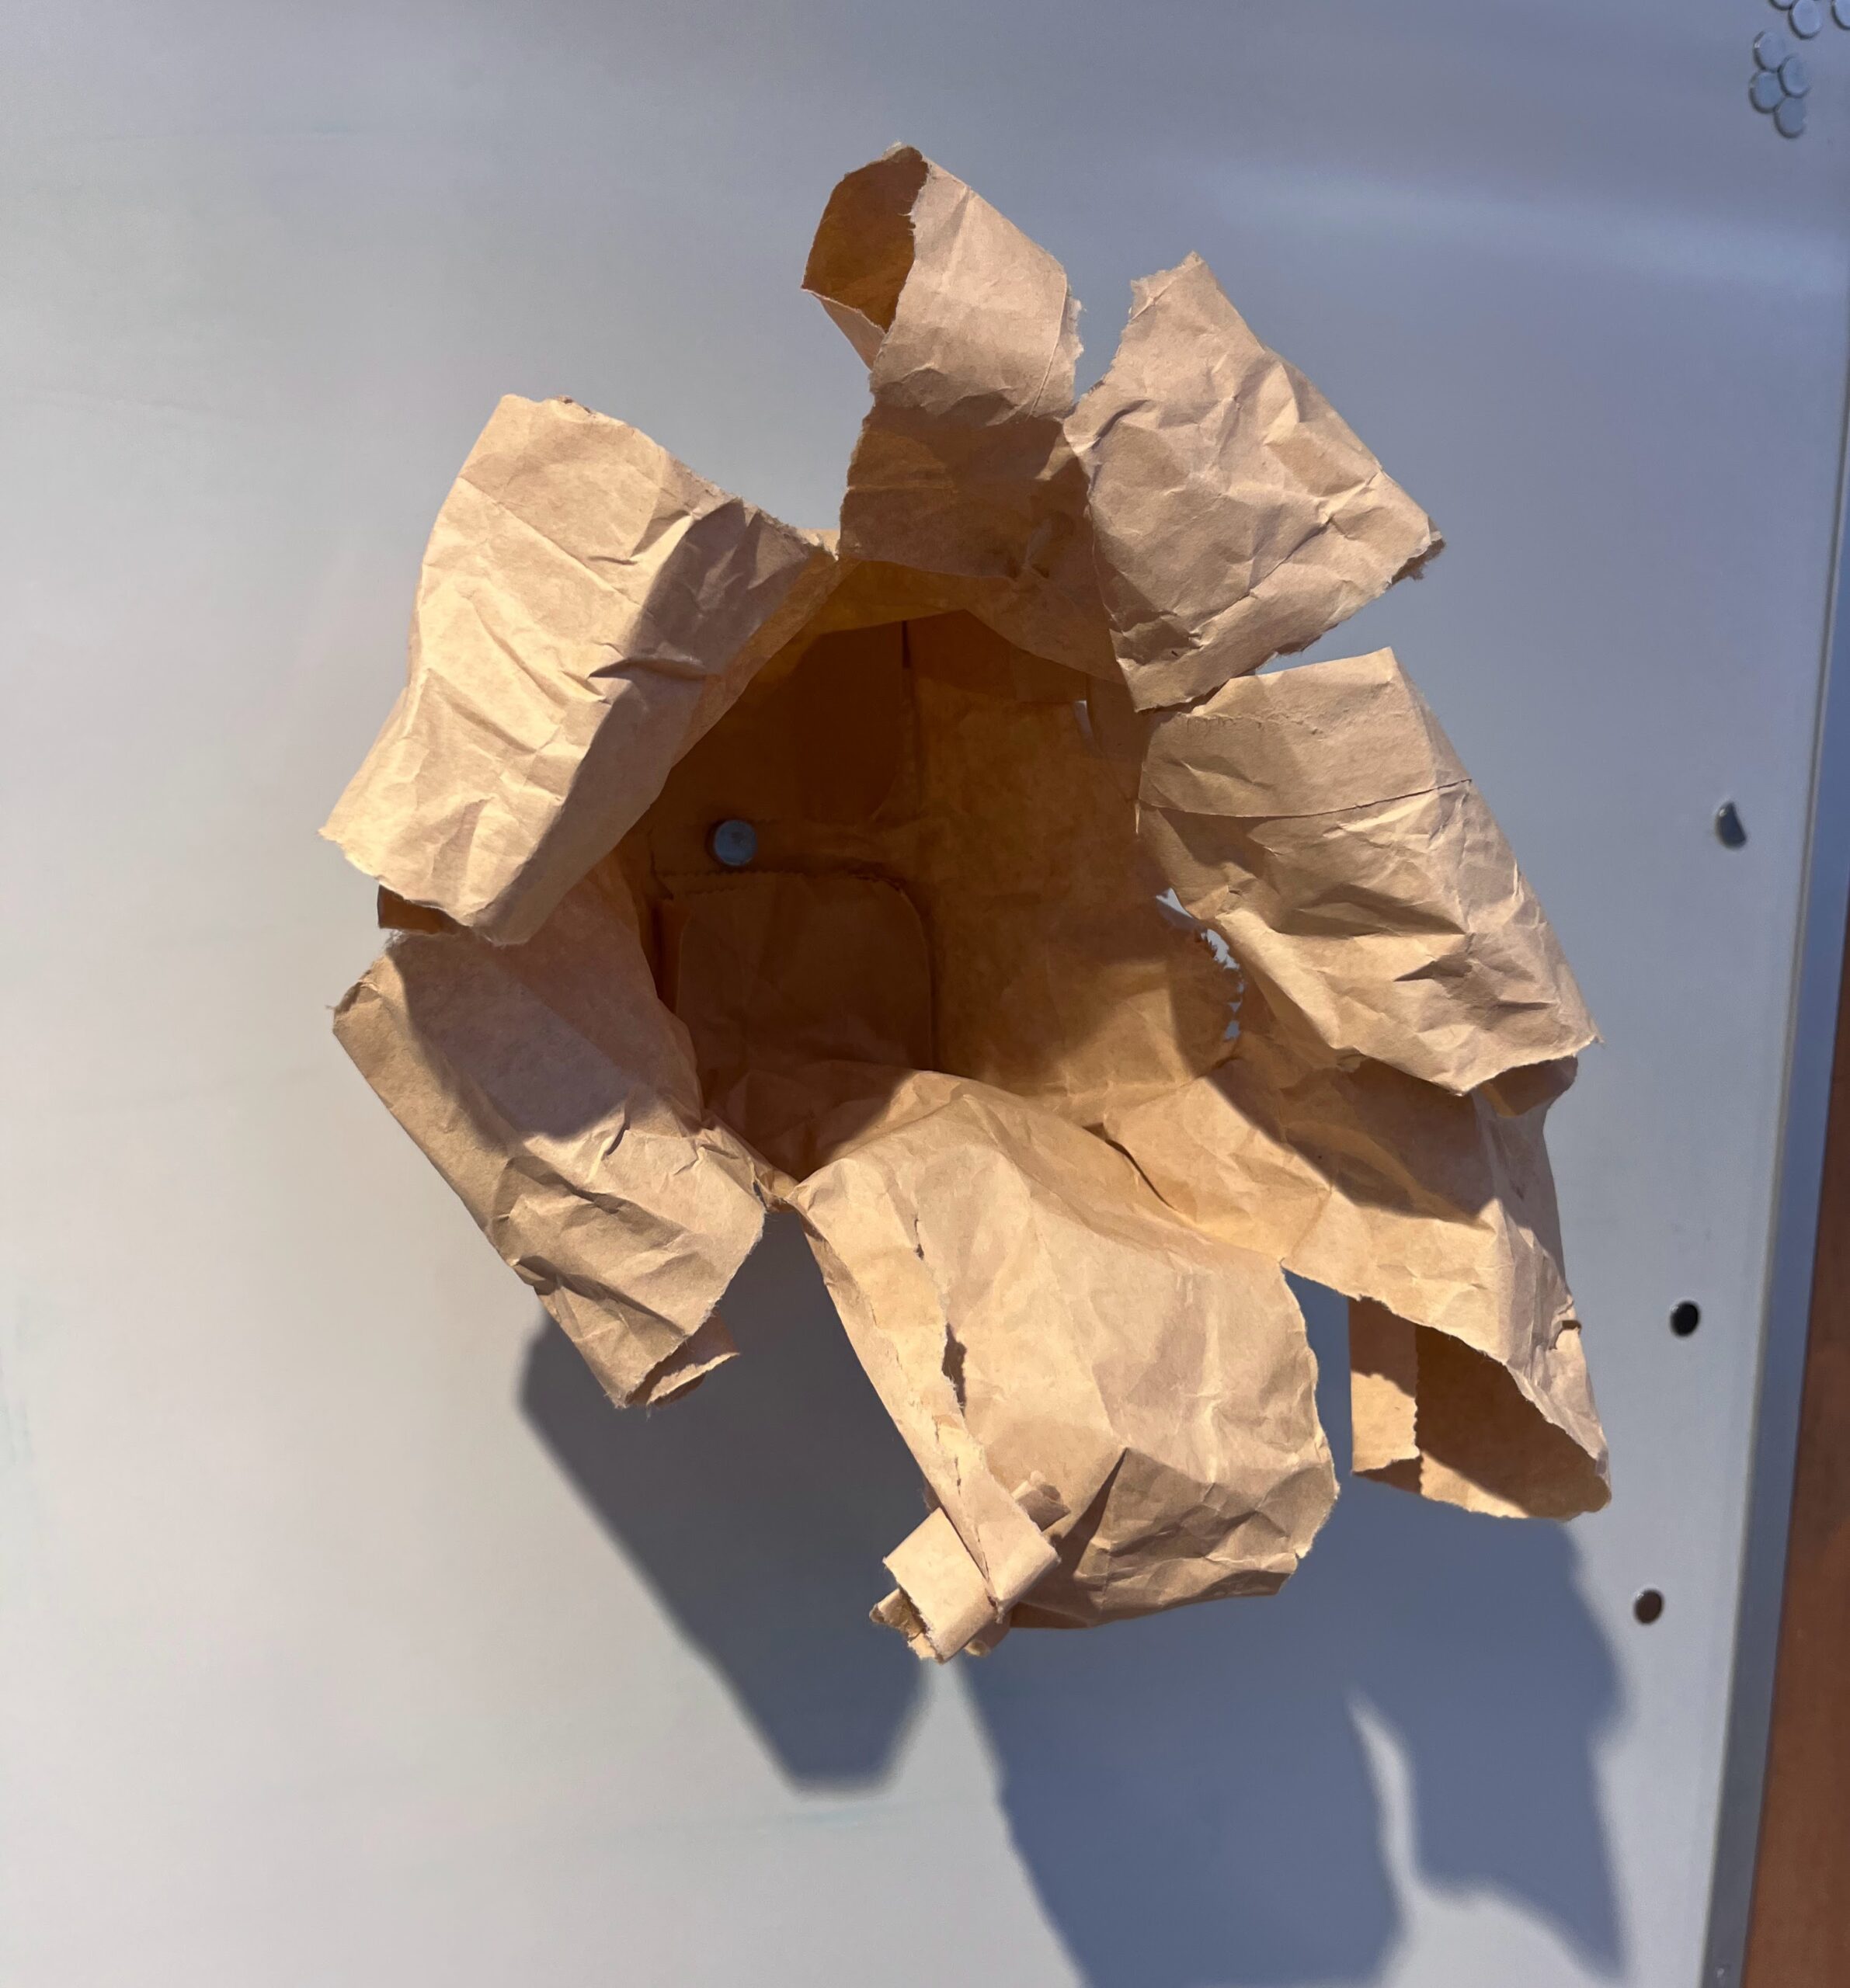
When I first started to play with the bag I was very careful and calculated with my folds. I knew that once the bag became crumpled it would be impossible to get back to the smooth surface from which it came.
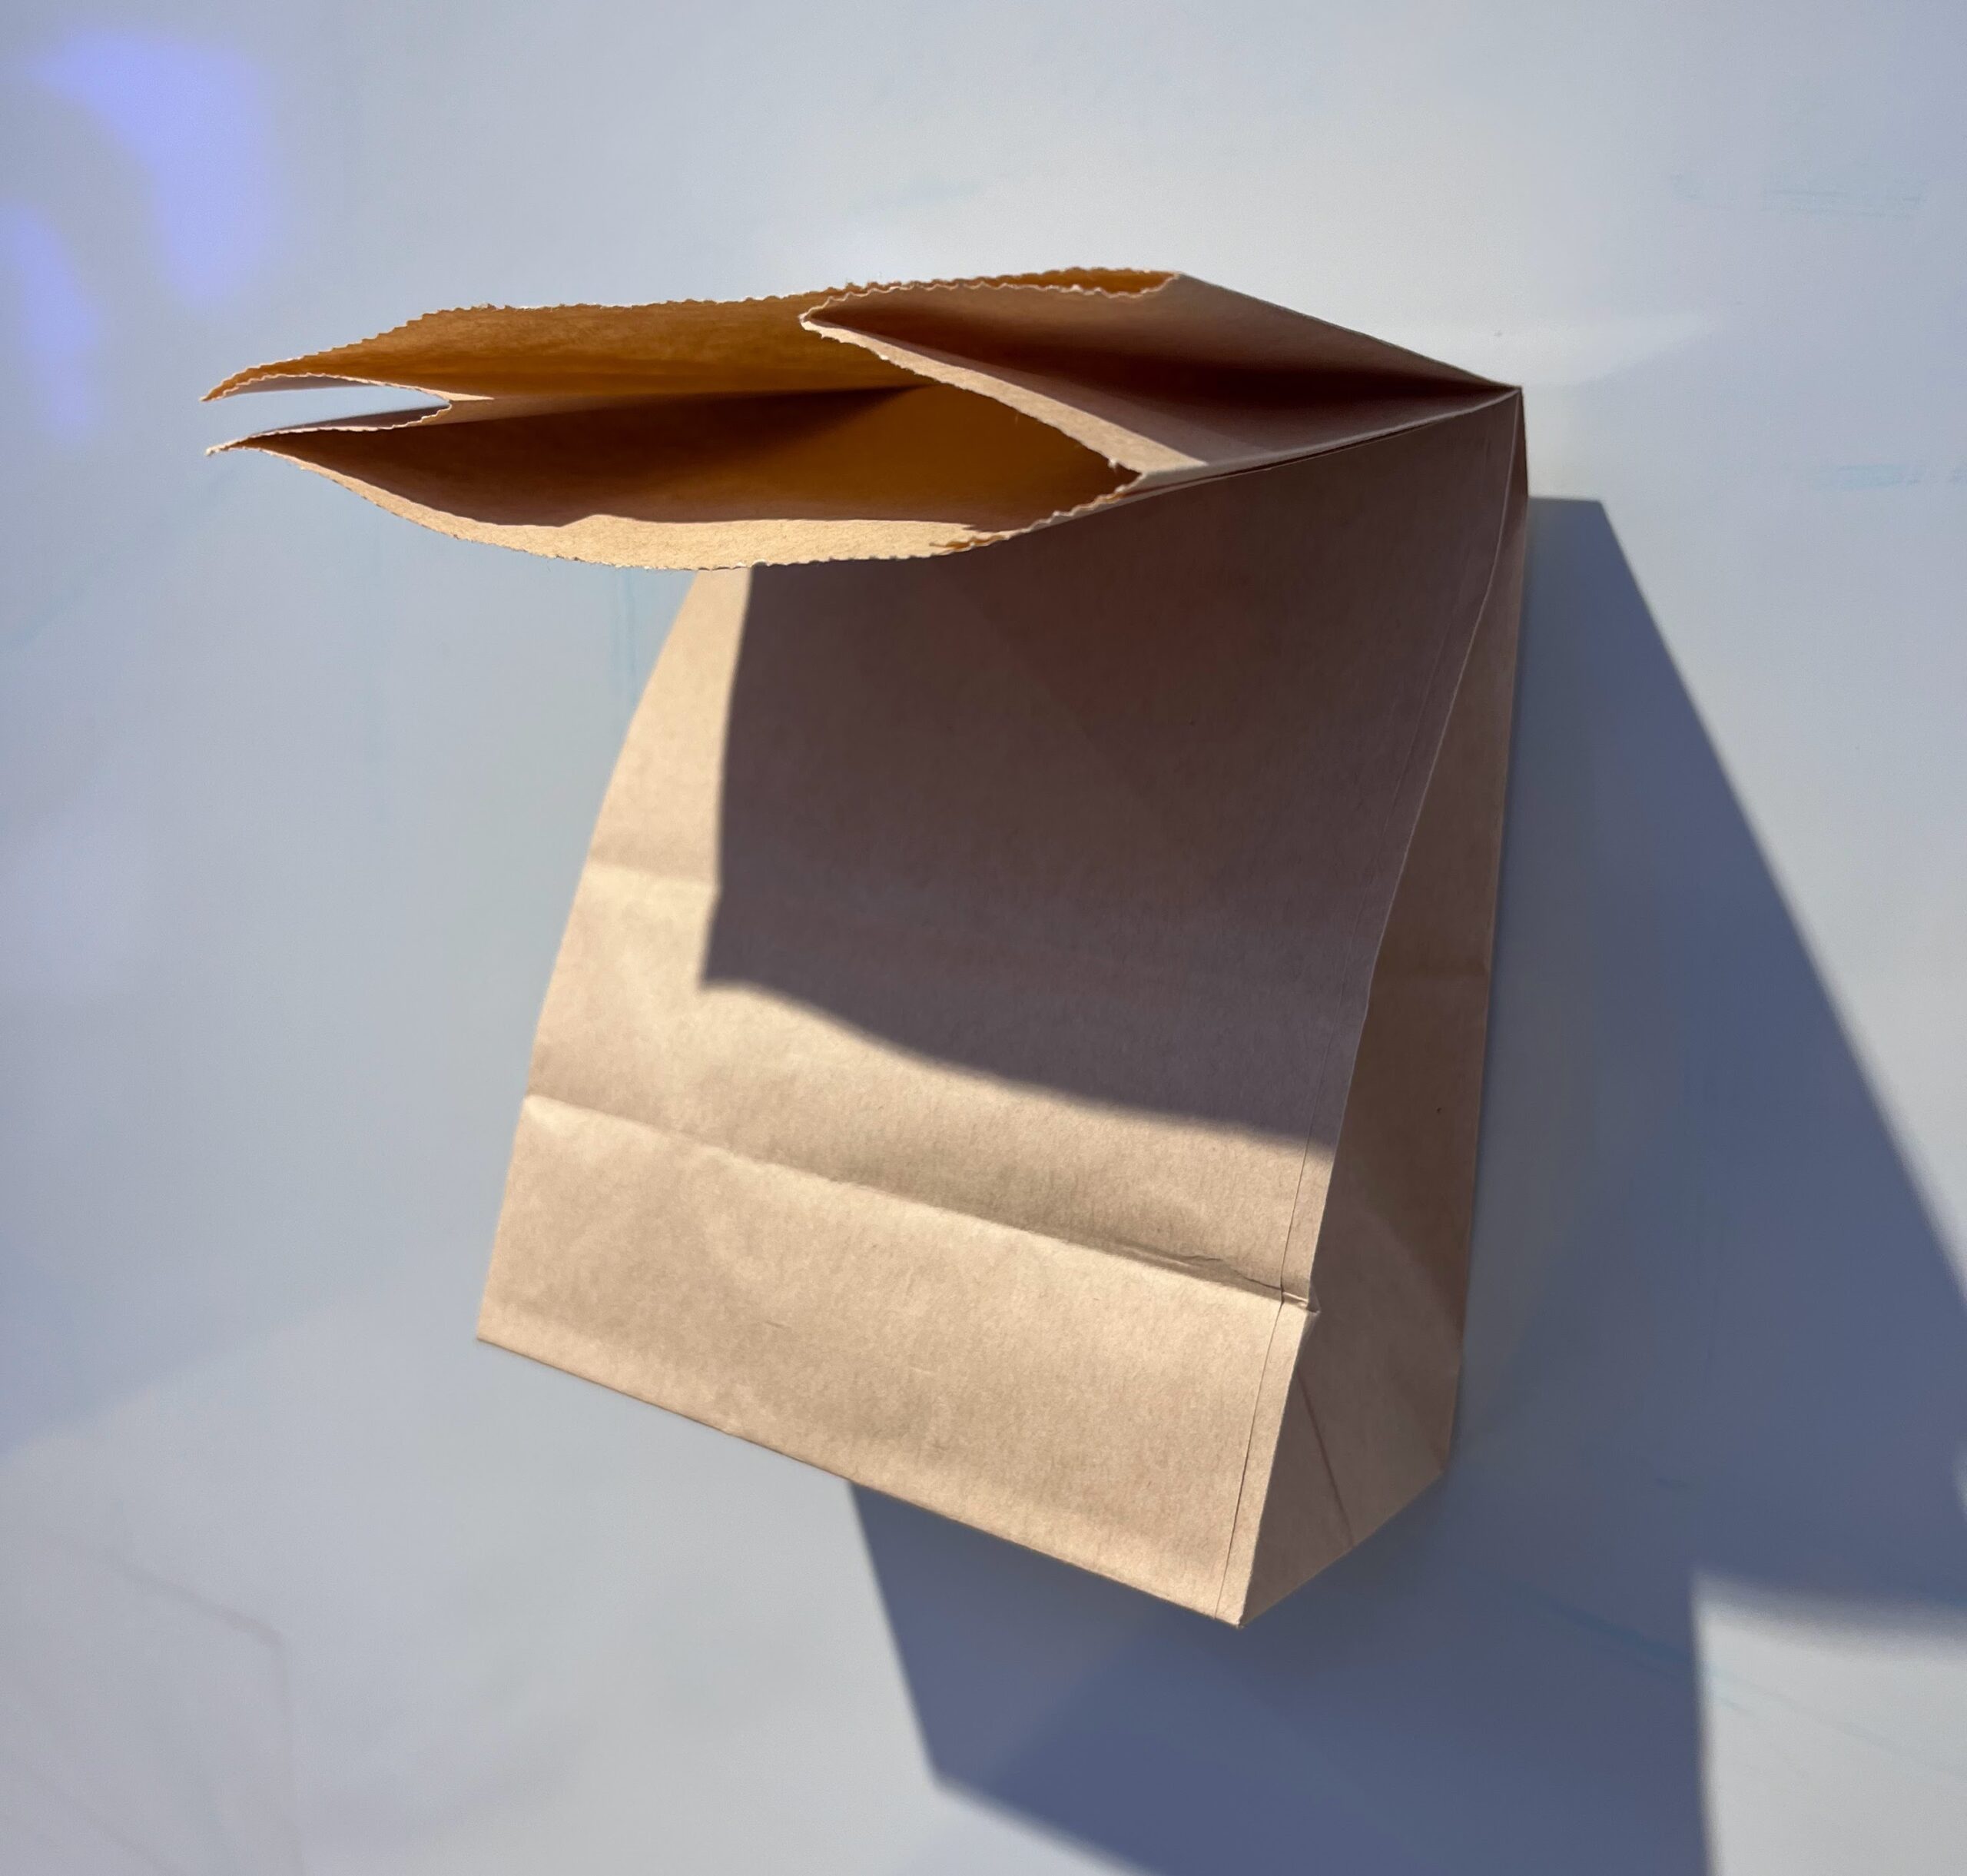
Encouraged by prompts from the teacher to follow natural gestures like folds and twists and standing straight up, I started there. First the stand, then the fold, then the fold and twist. After moving through these variation, I wasn’t quite sure what to do next. My brain was certainly in analytical mode and I was running into a bit of a block.
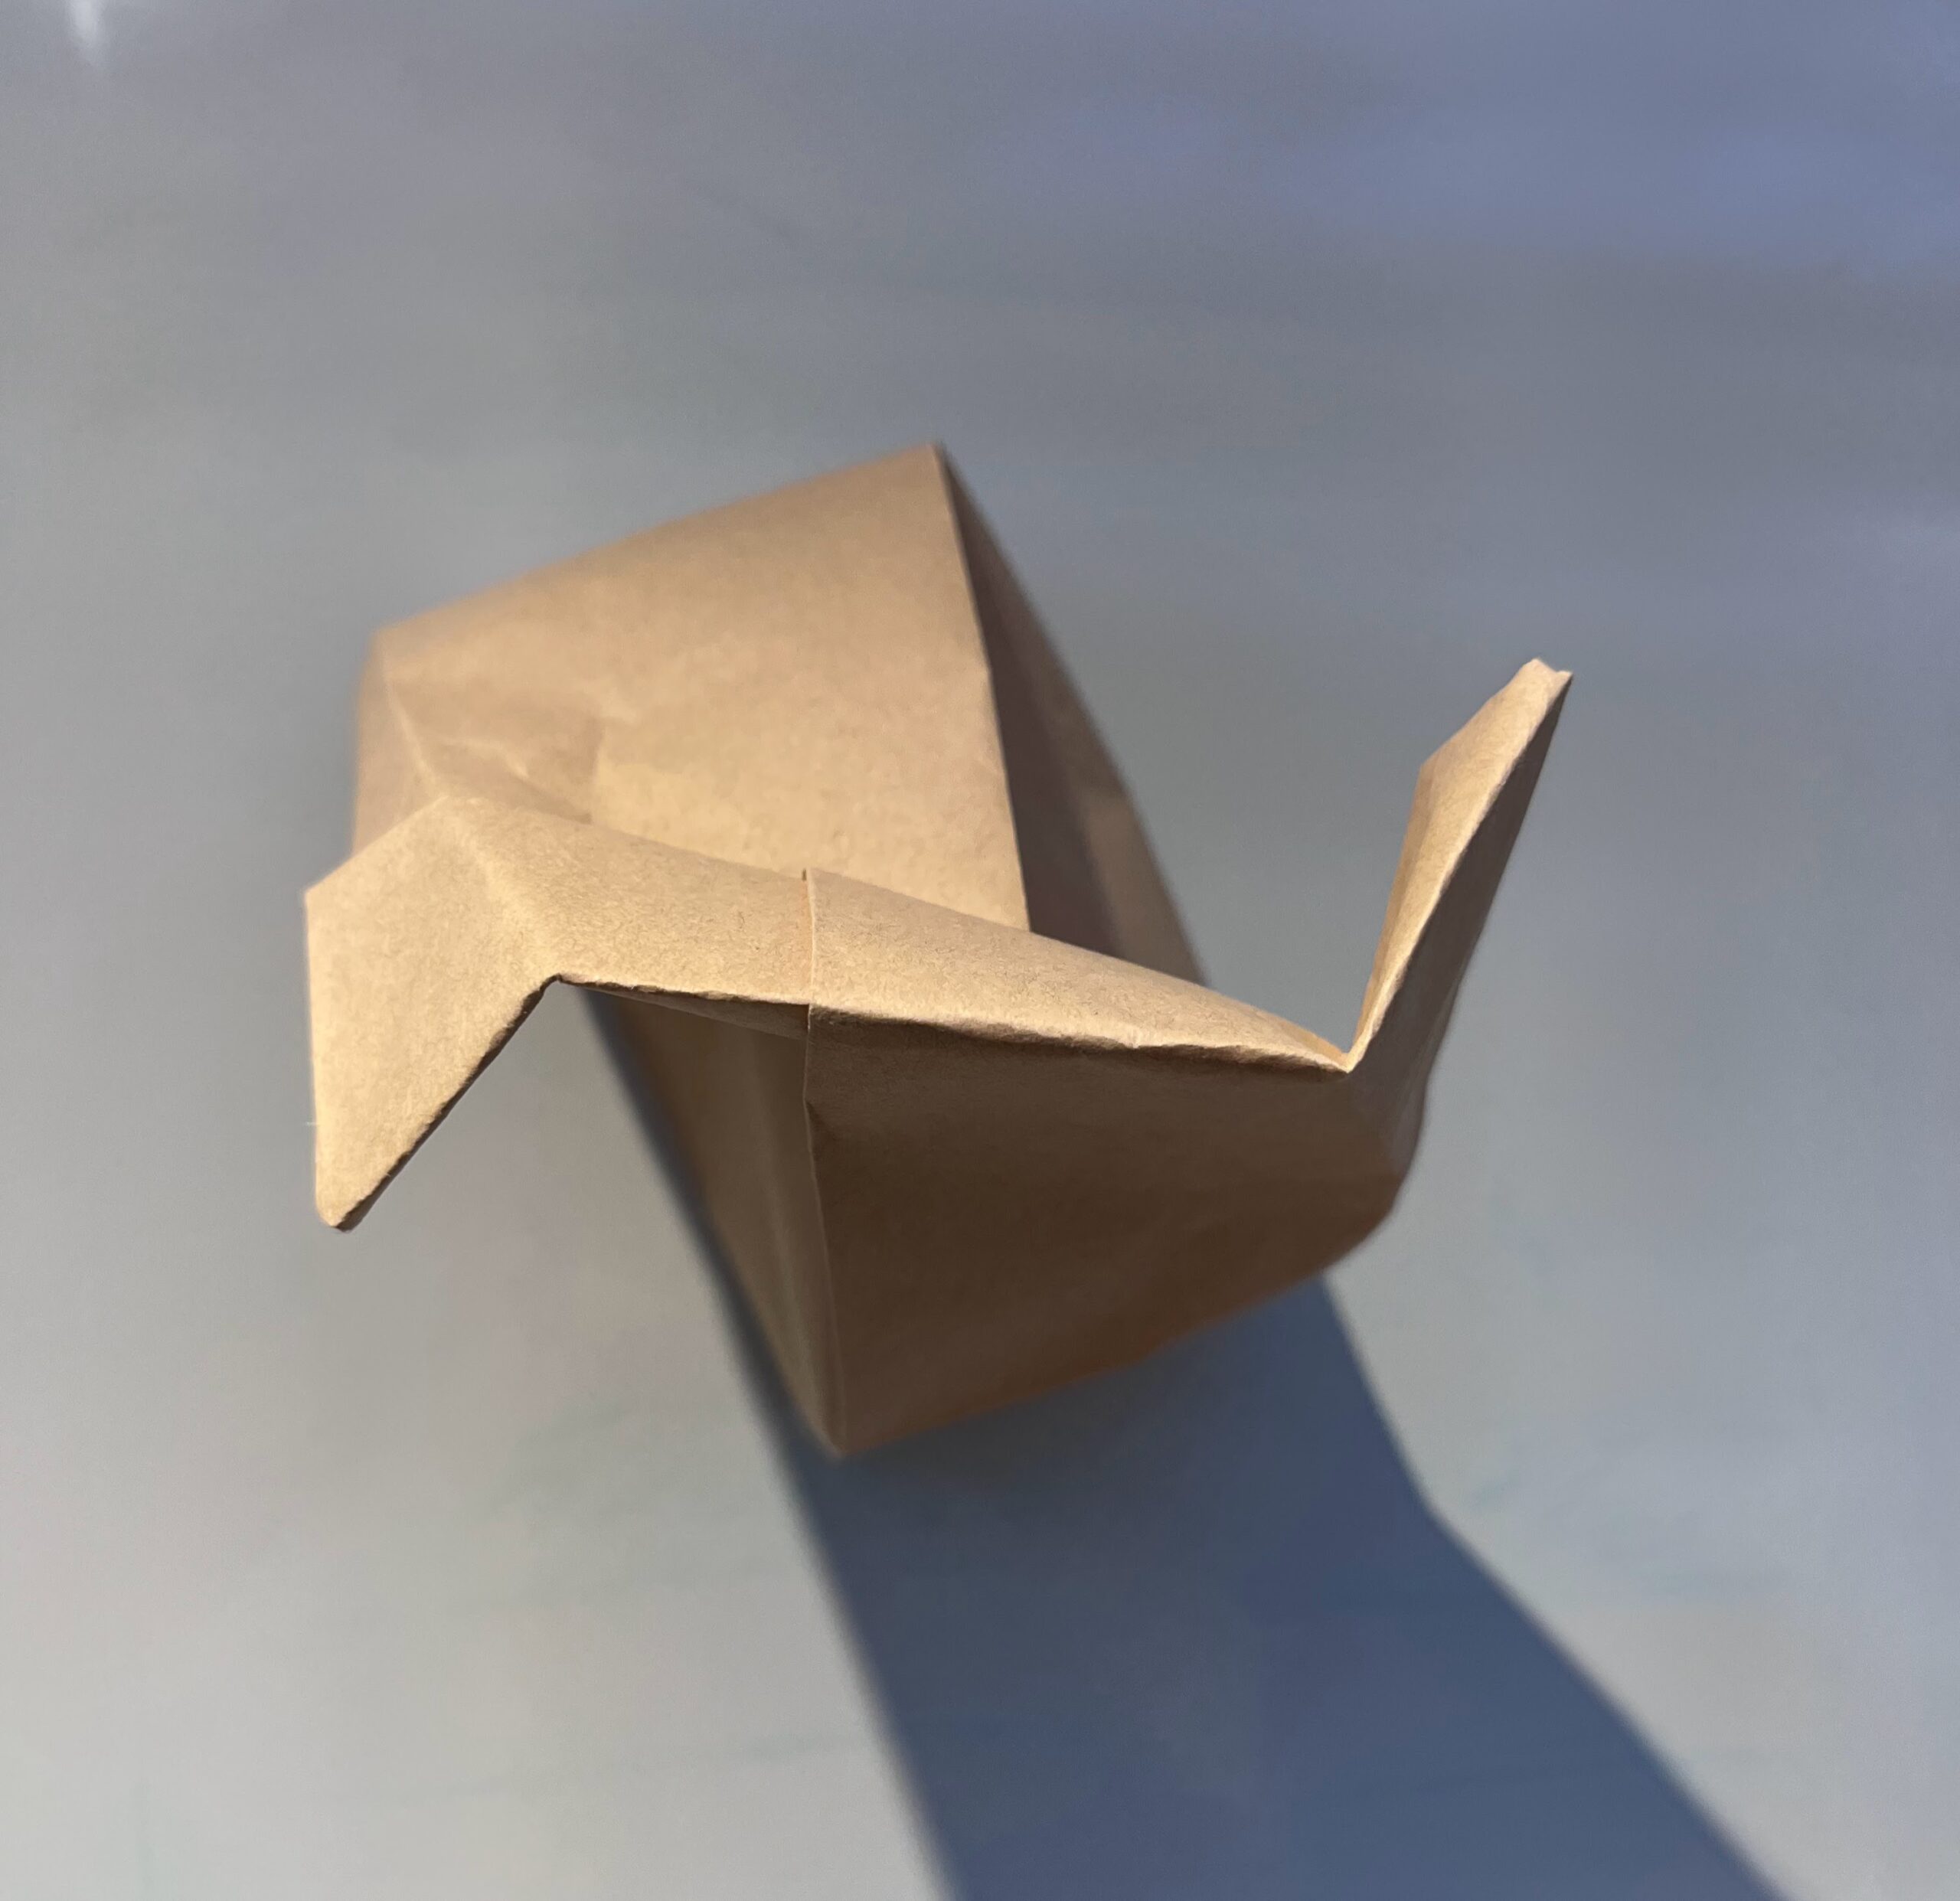
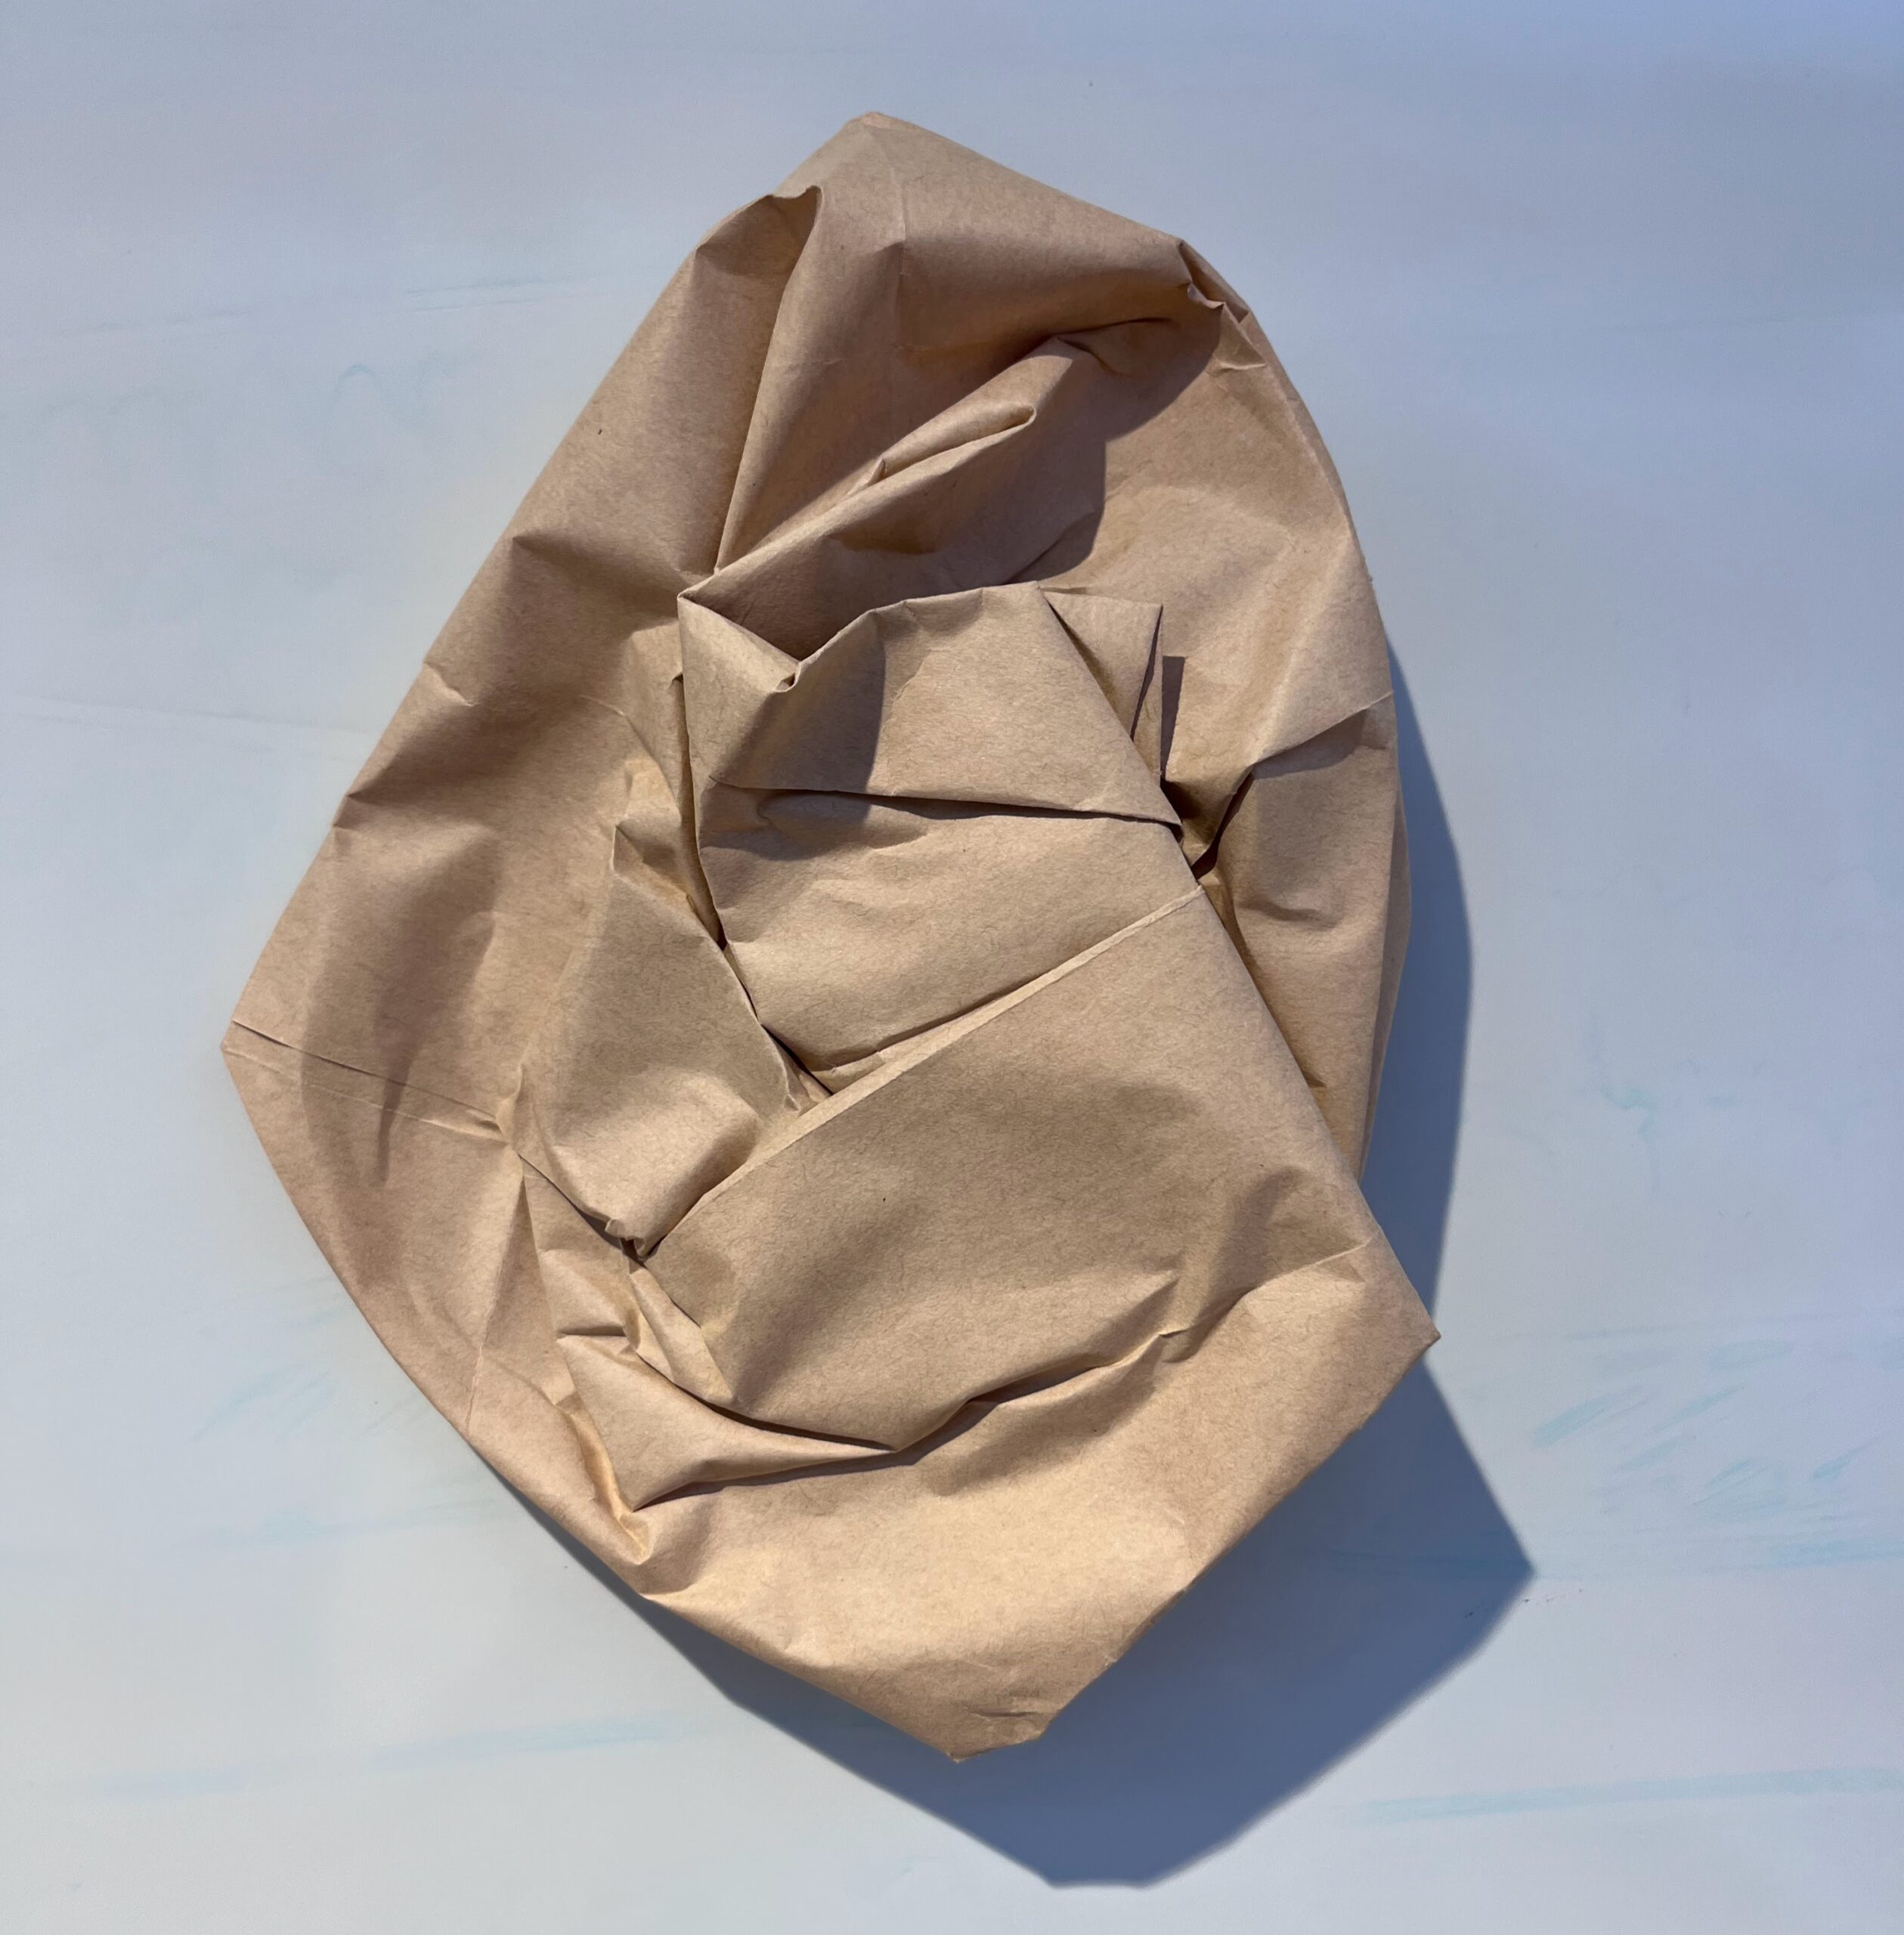
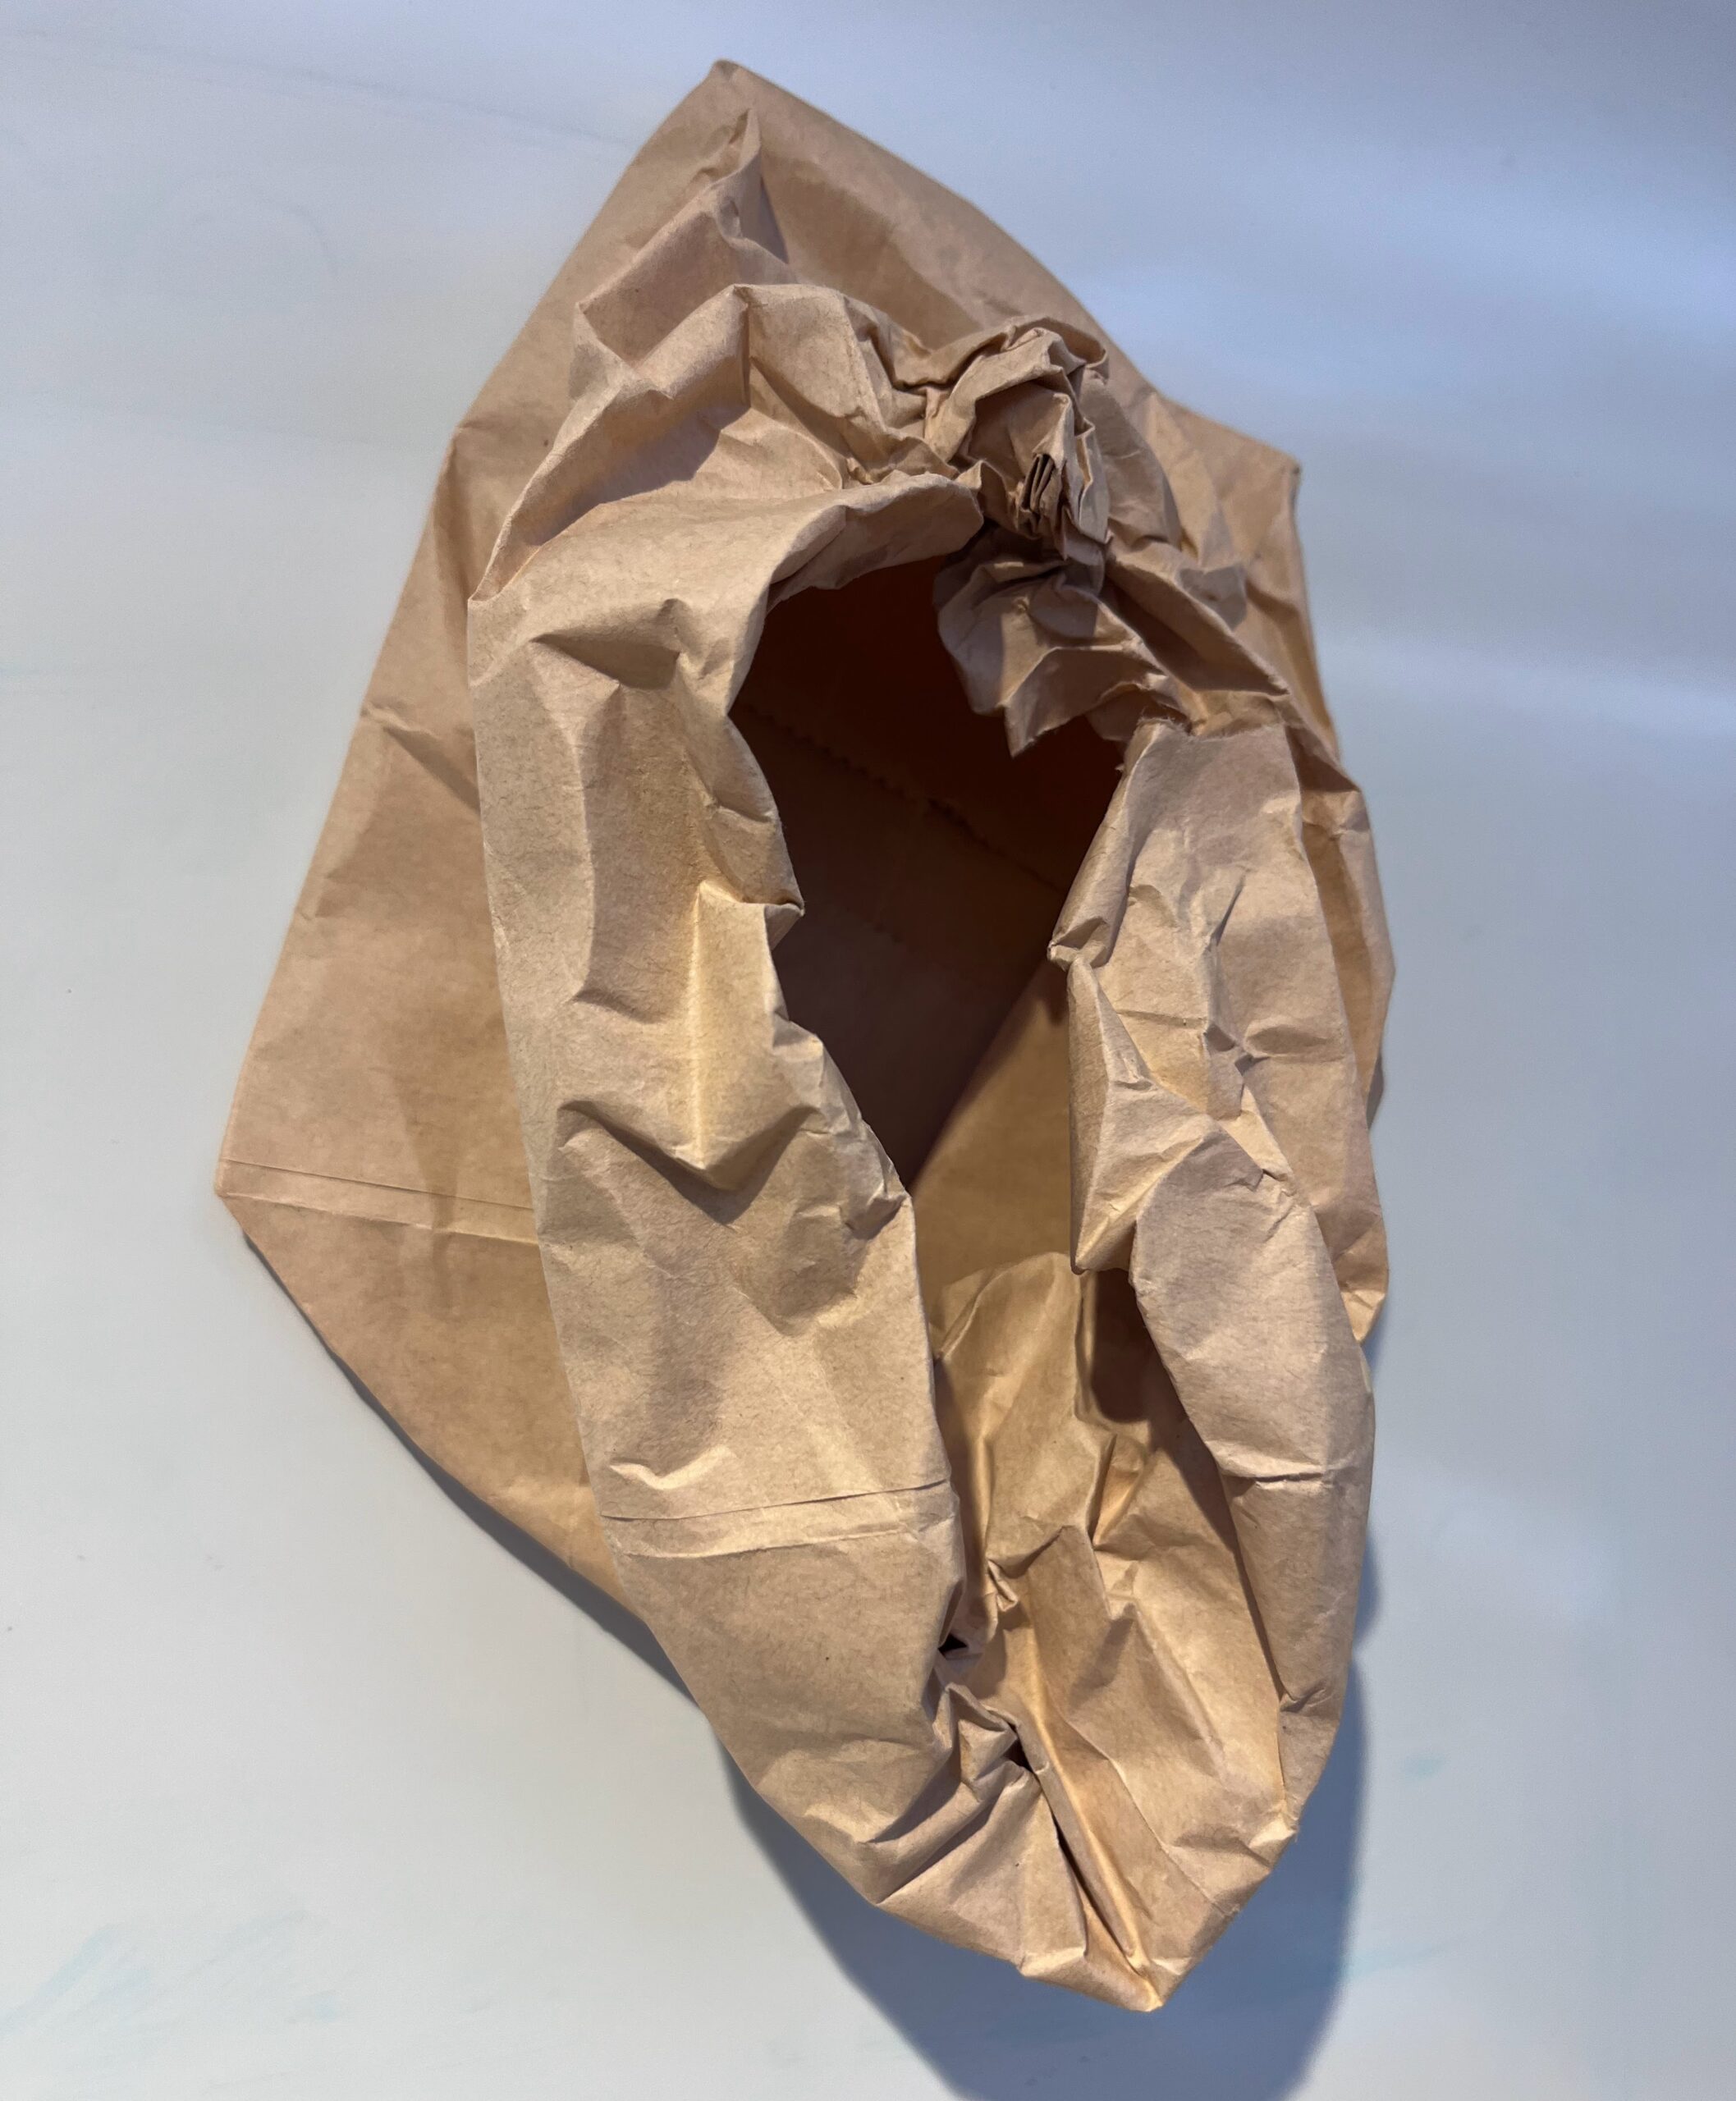
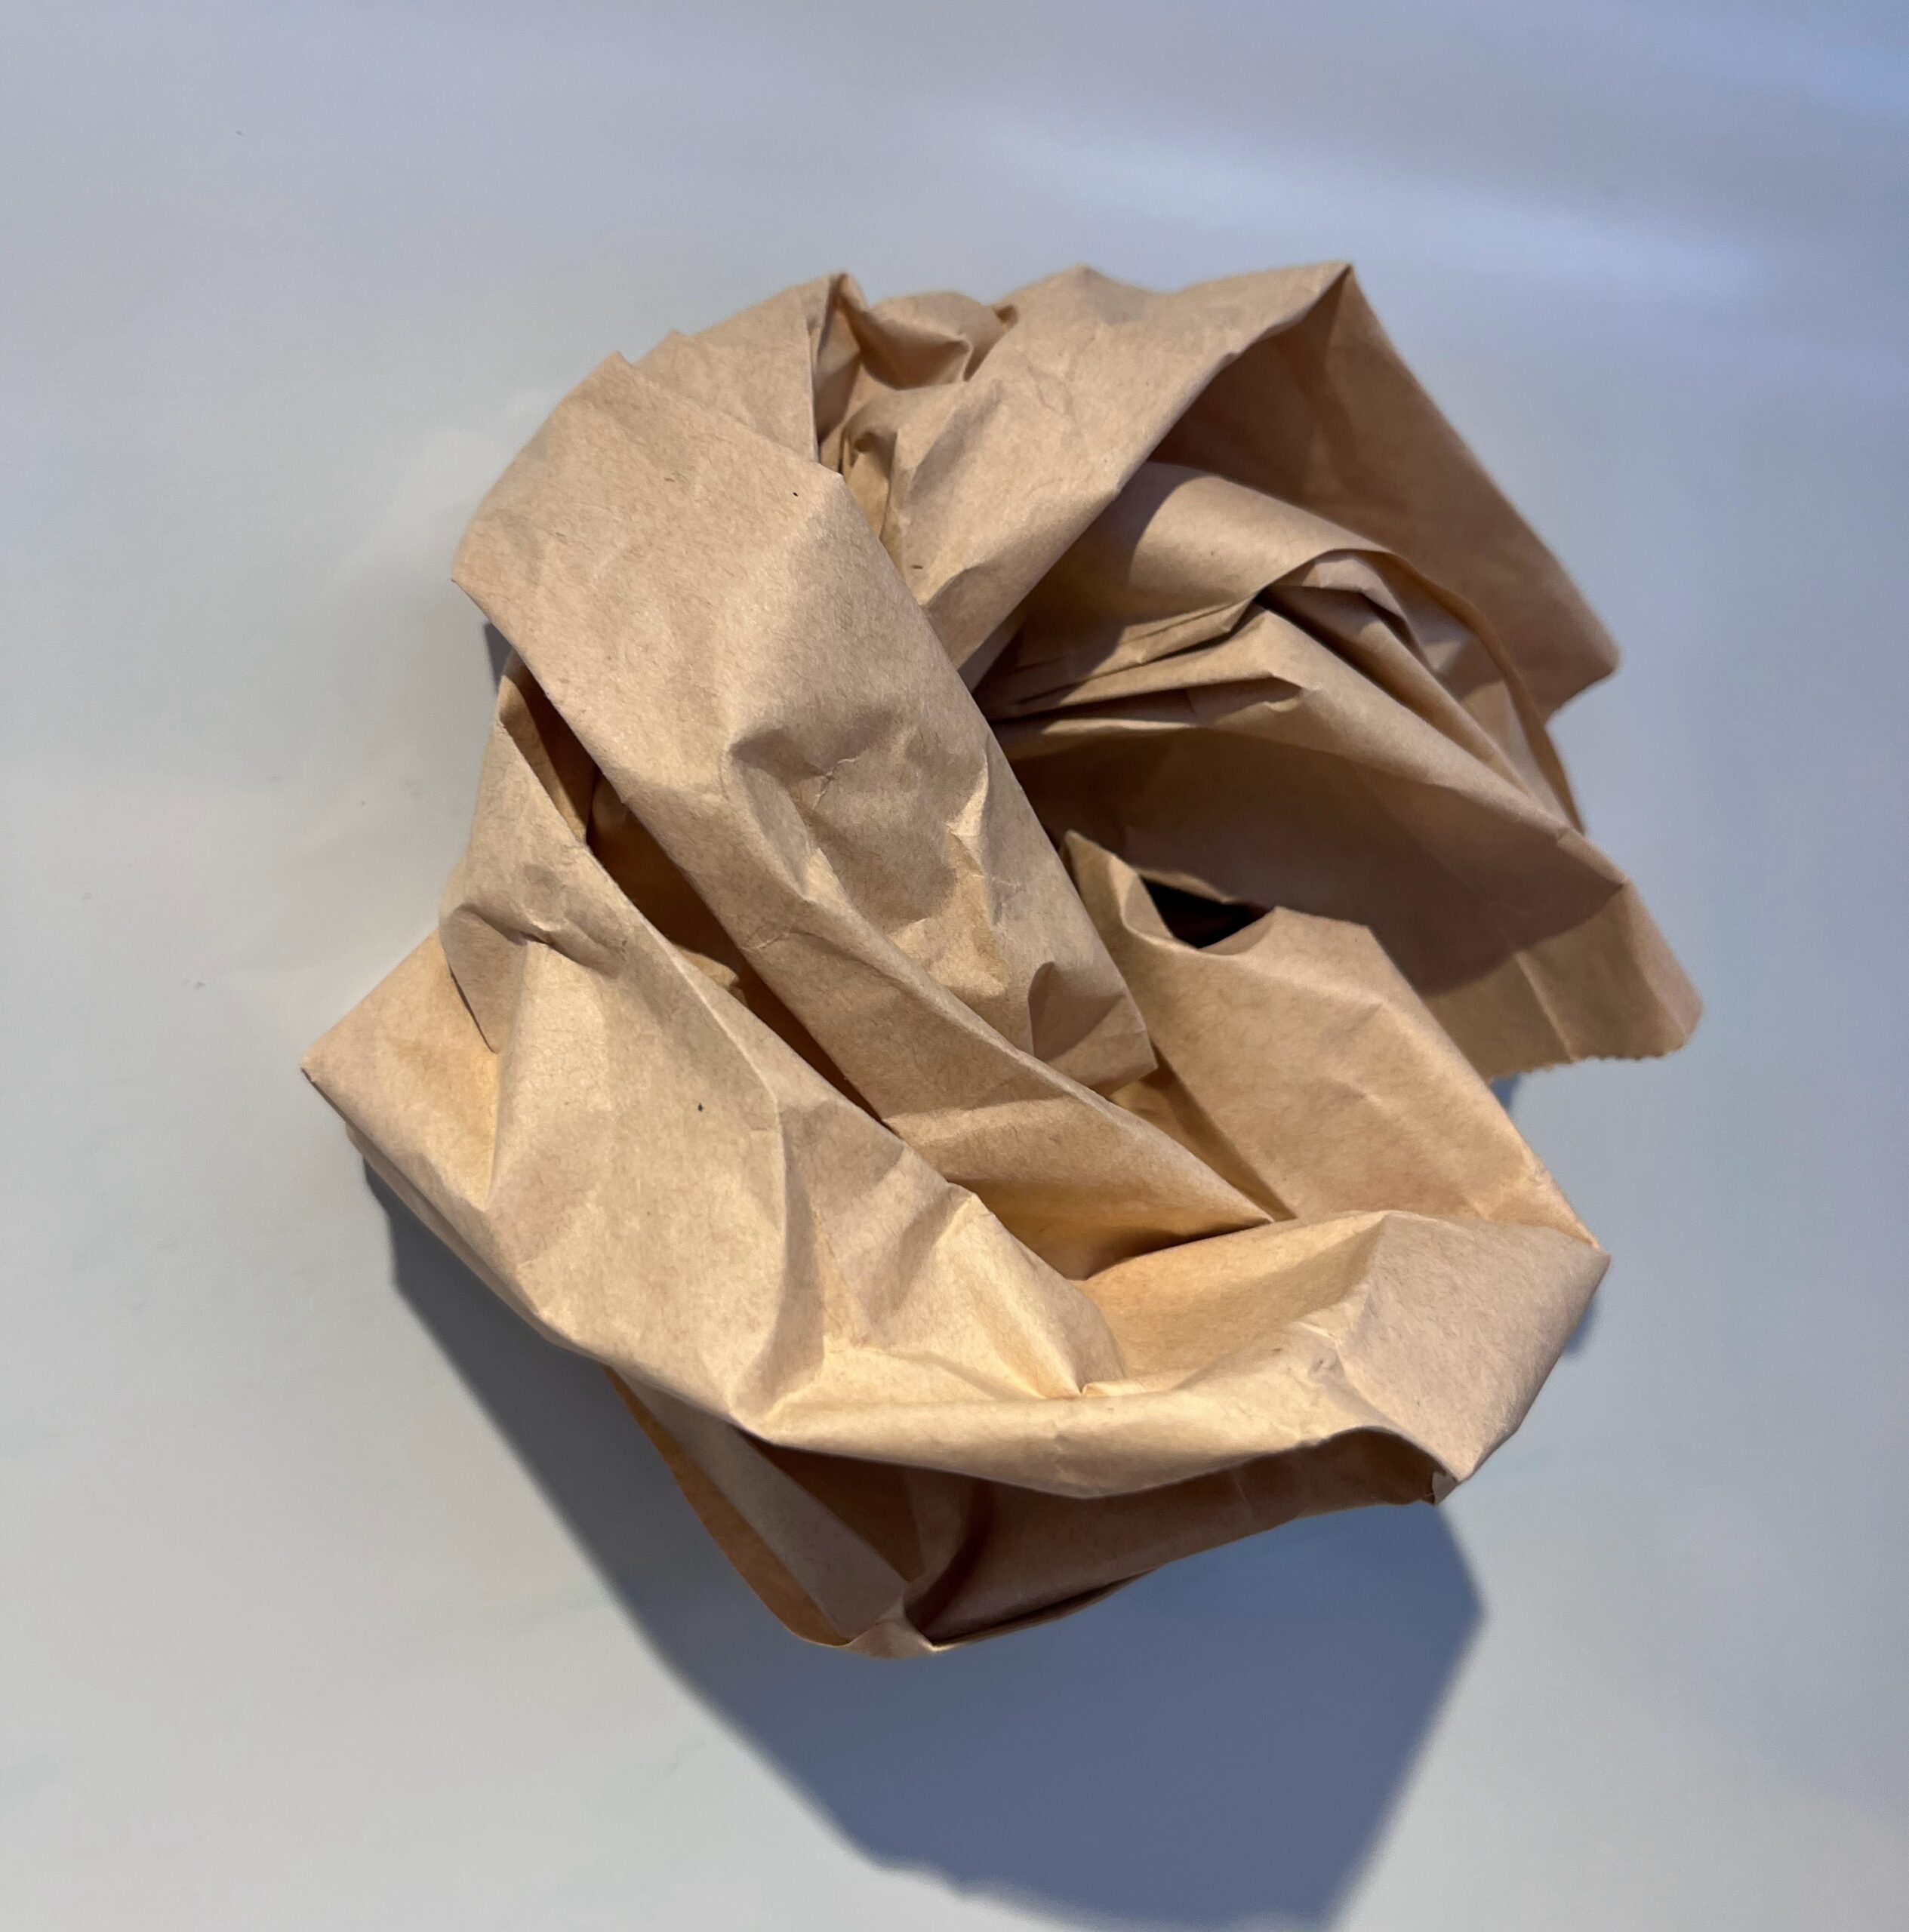
I looked around the class and saw that people were just having at-her! Ripping and crumpling. Then I remembered what Angela said, “try not to think about it, be intuitive, play!” So I decided to follow my classmates and flattened the folded twisted shape.
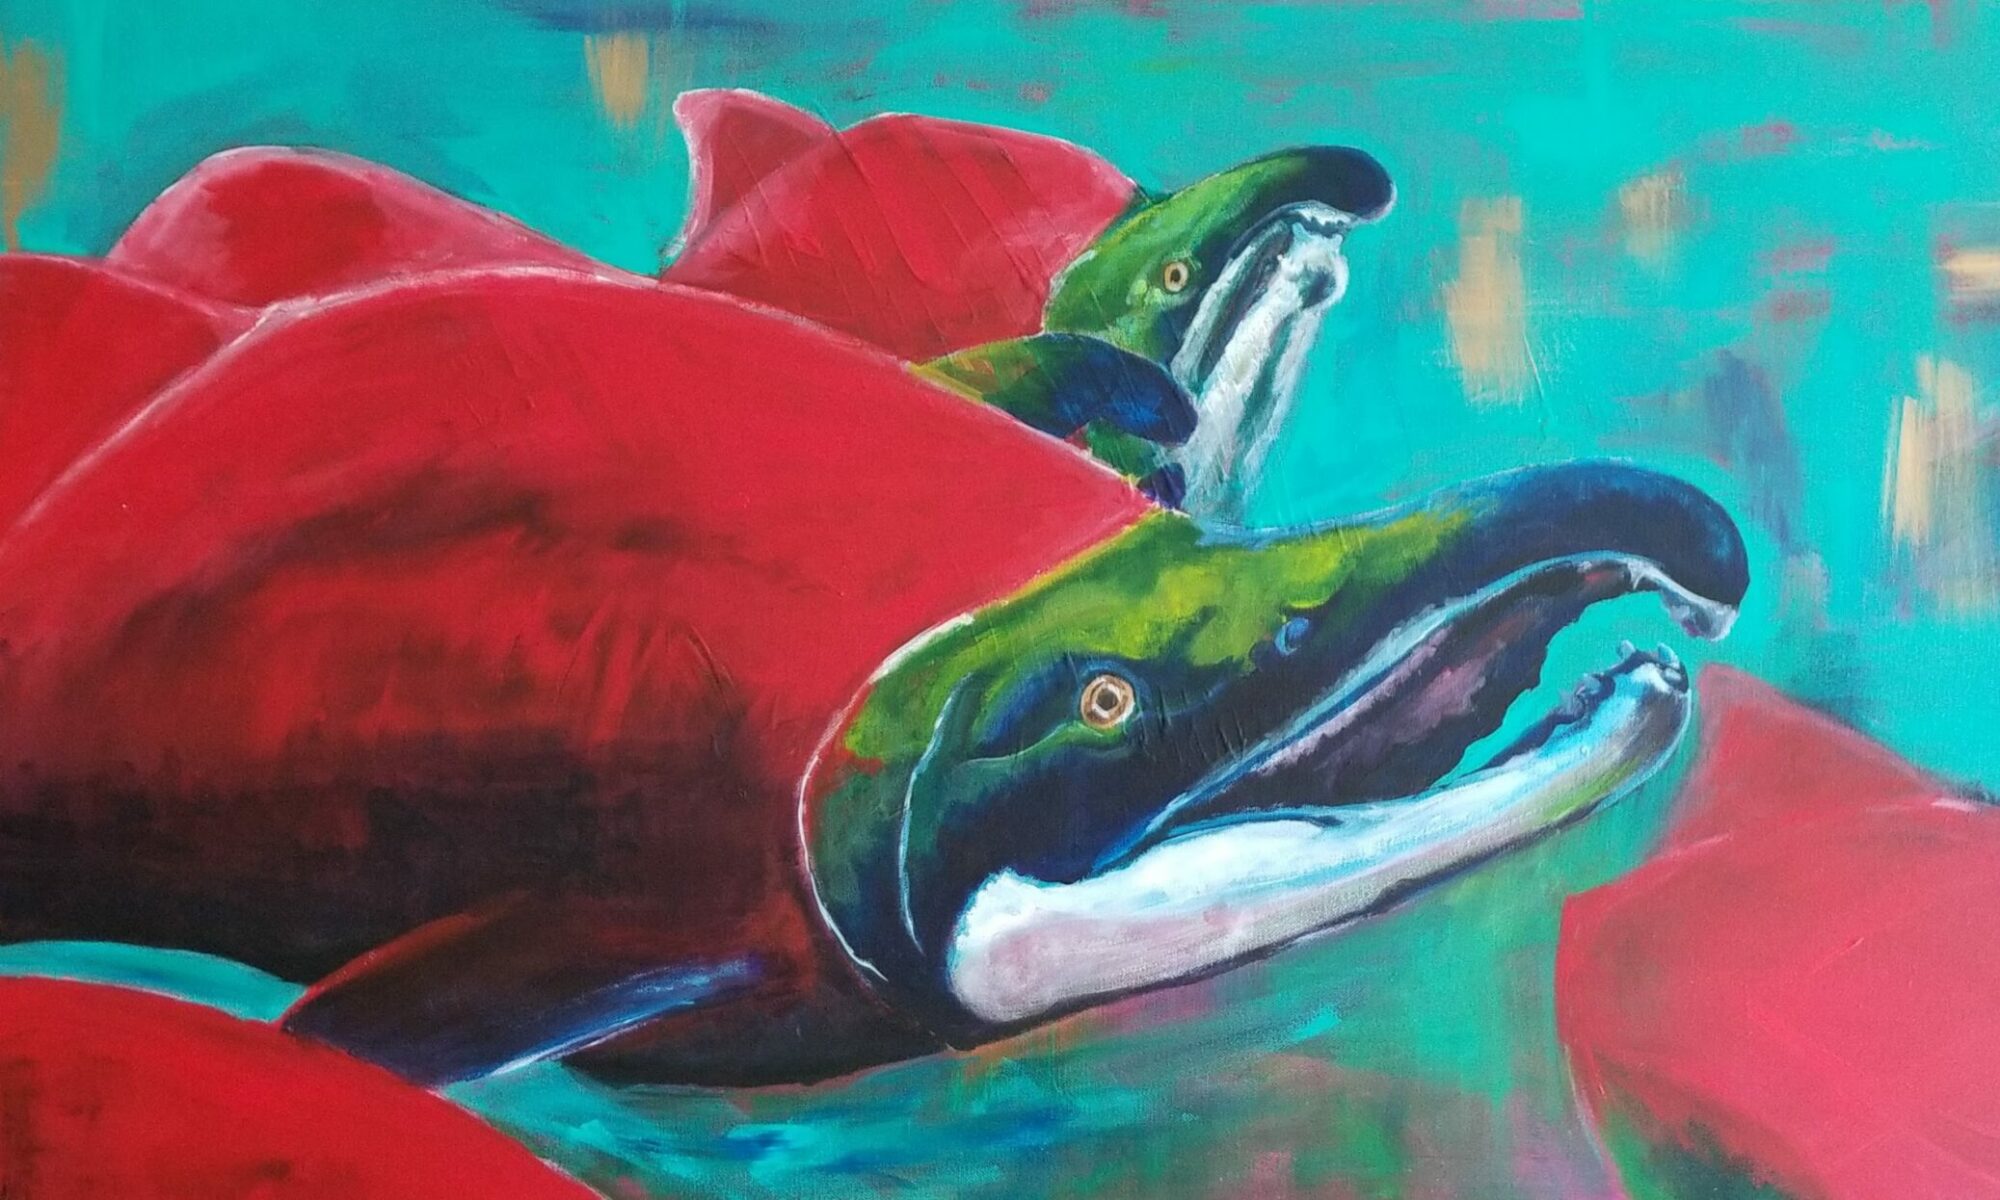
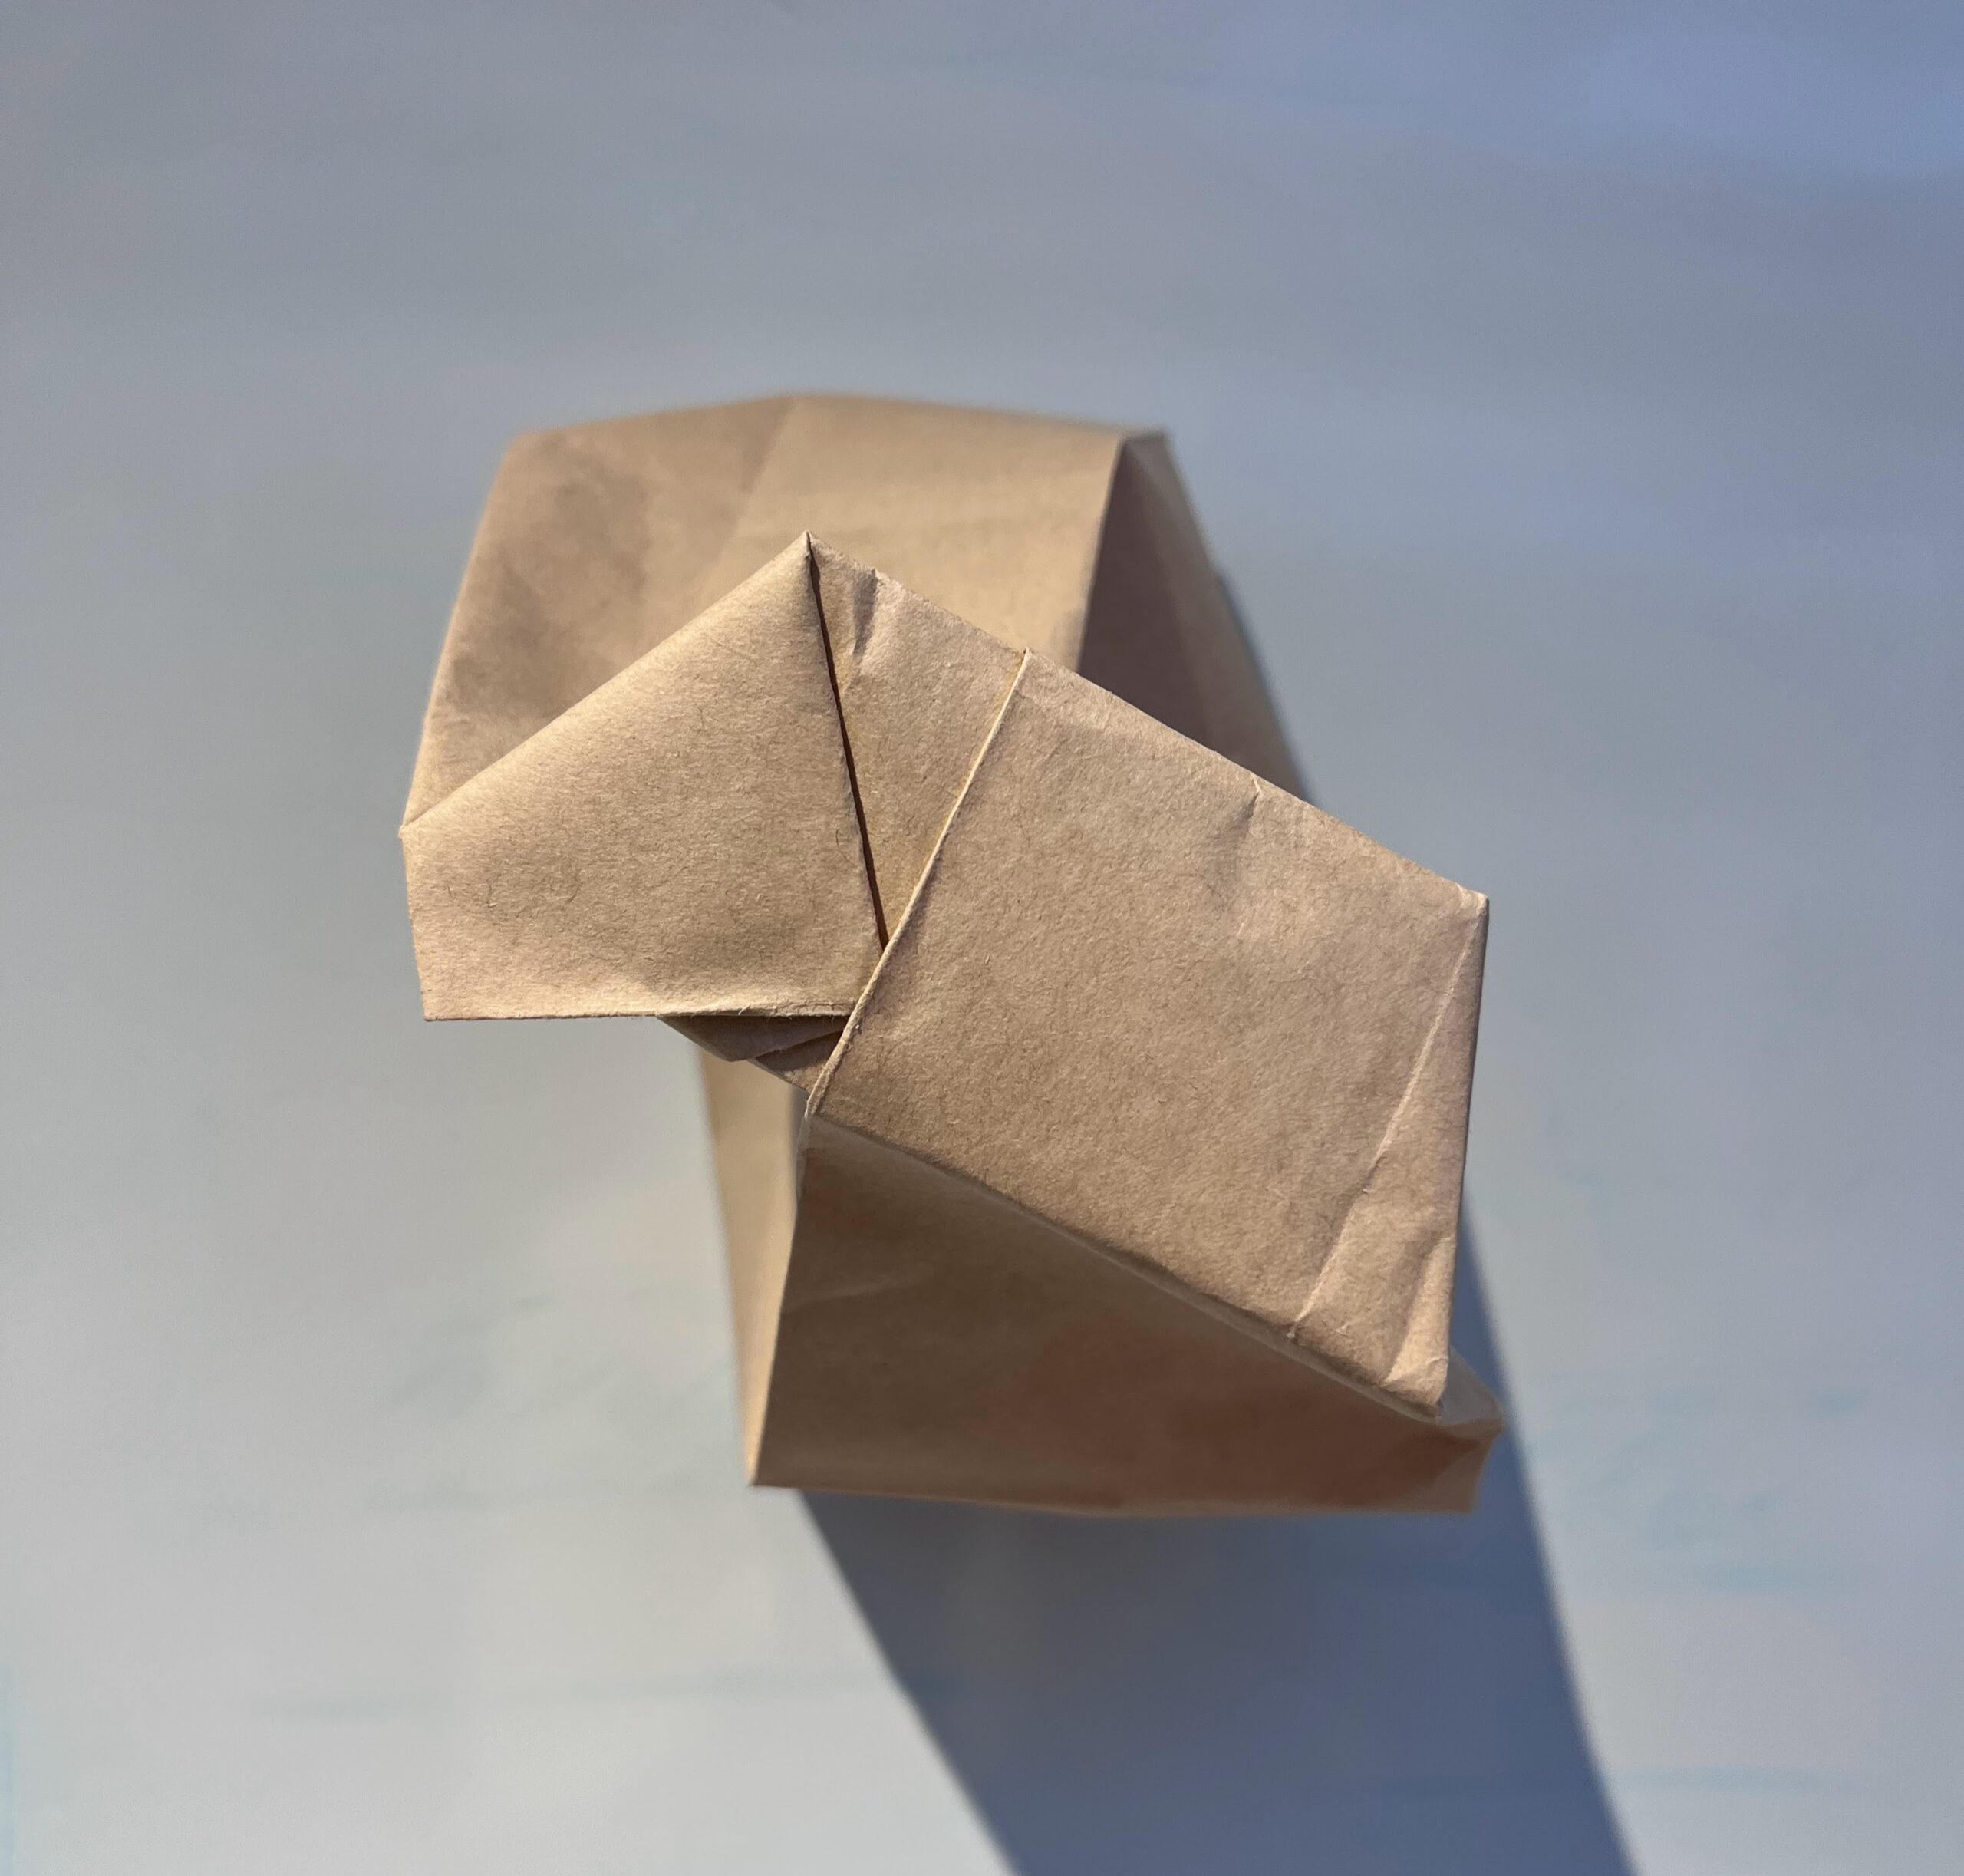
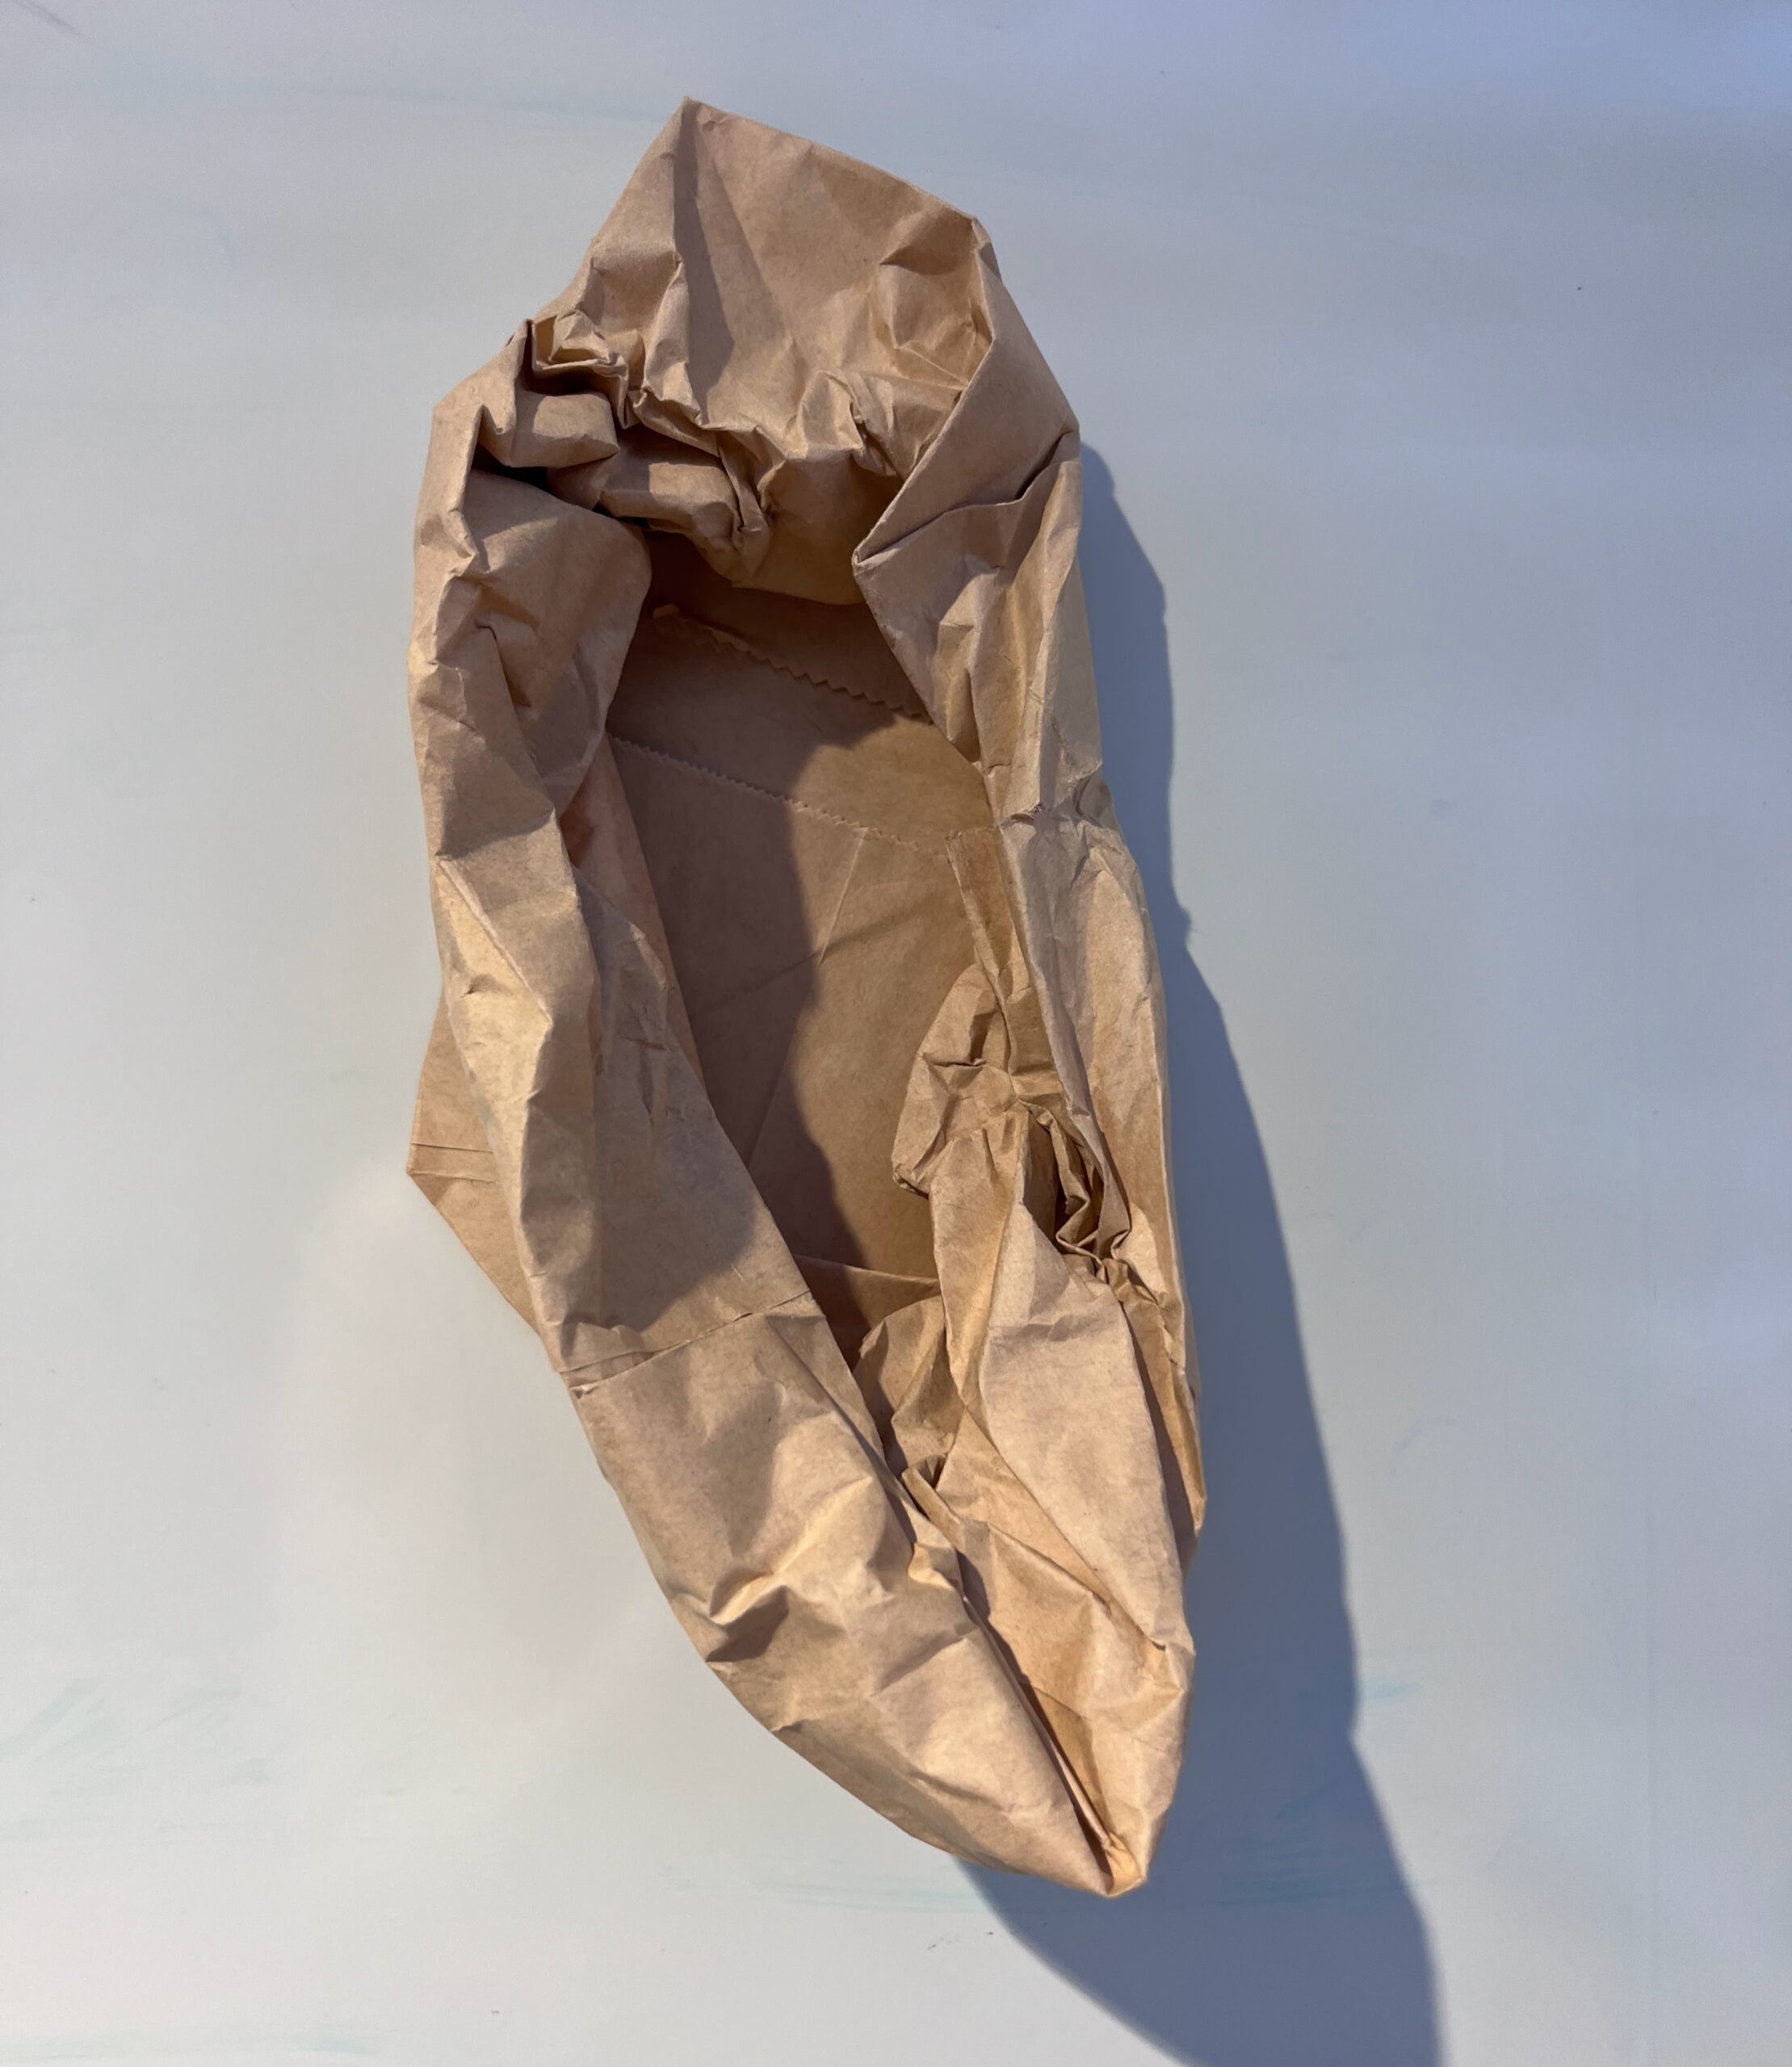
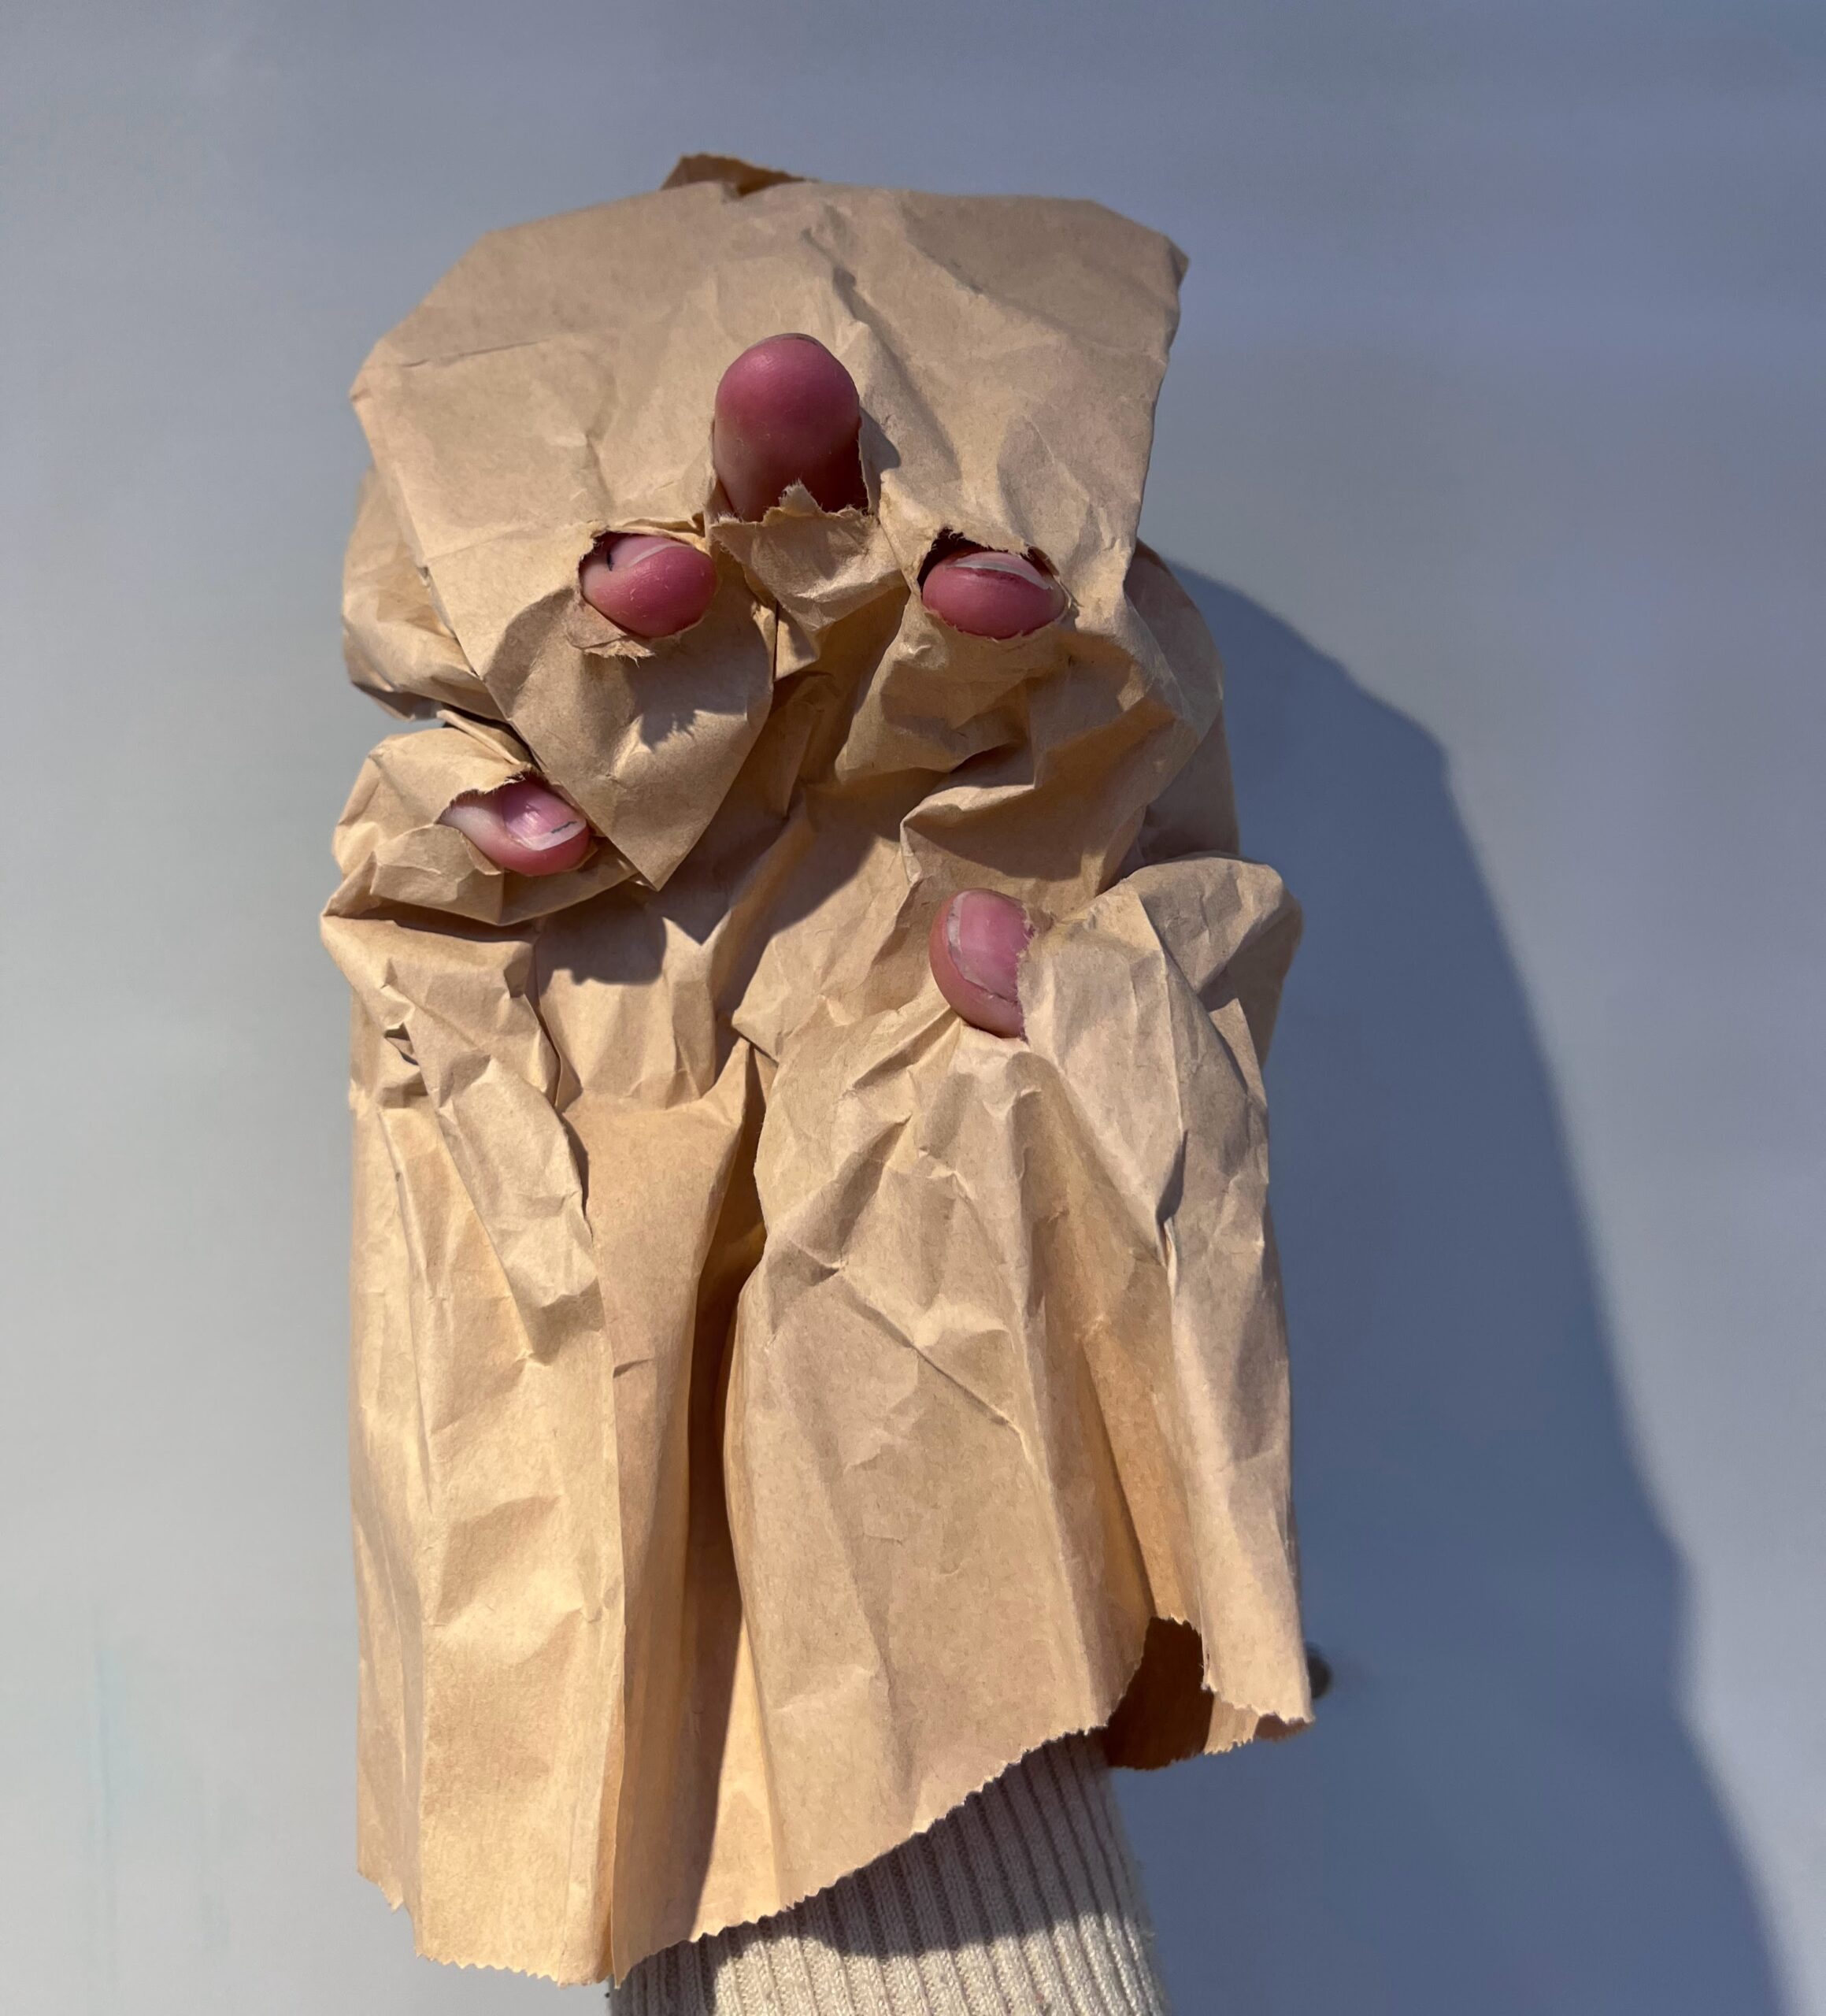
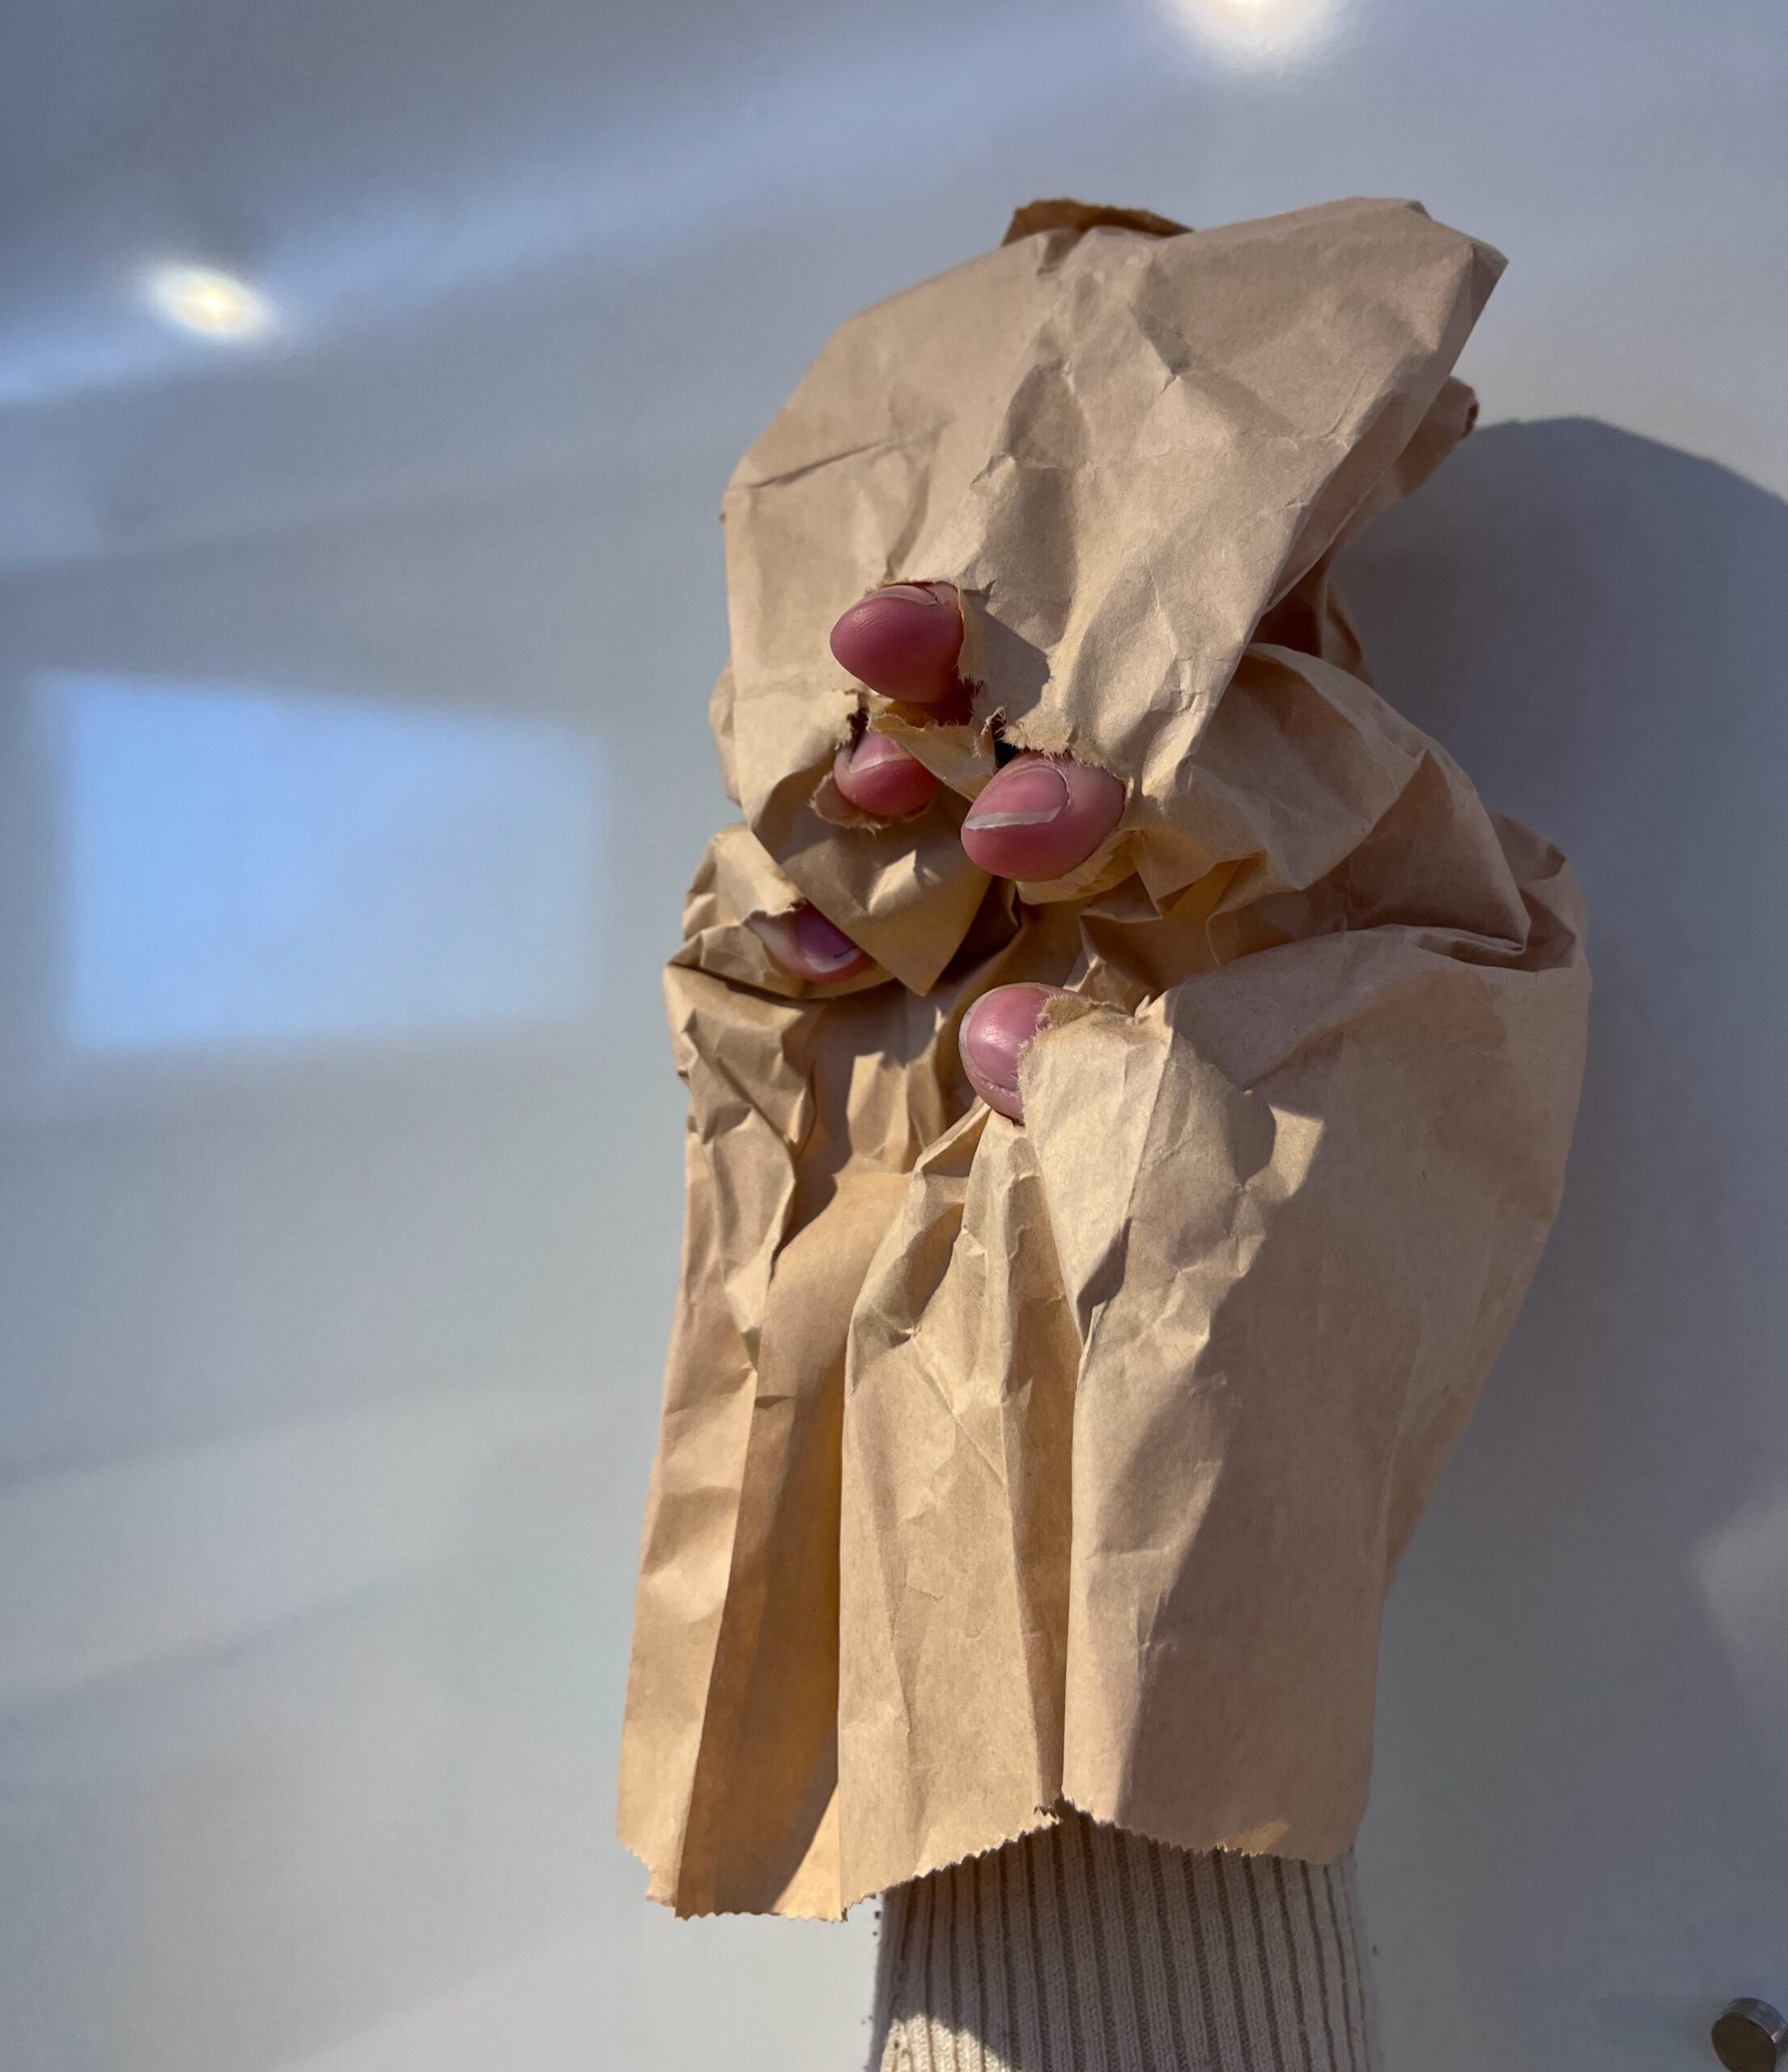
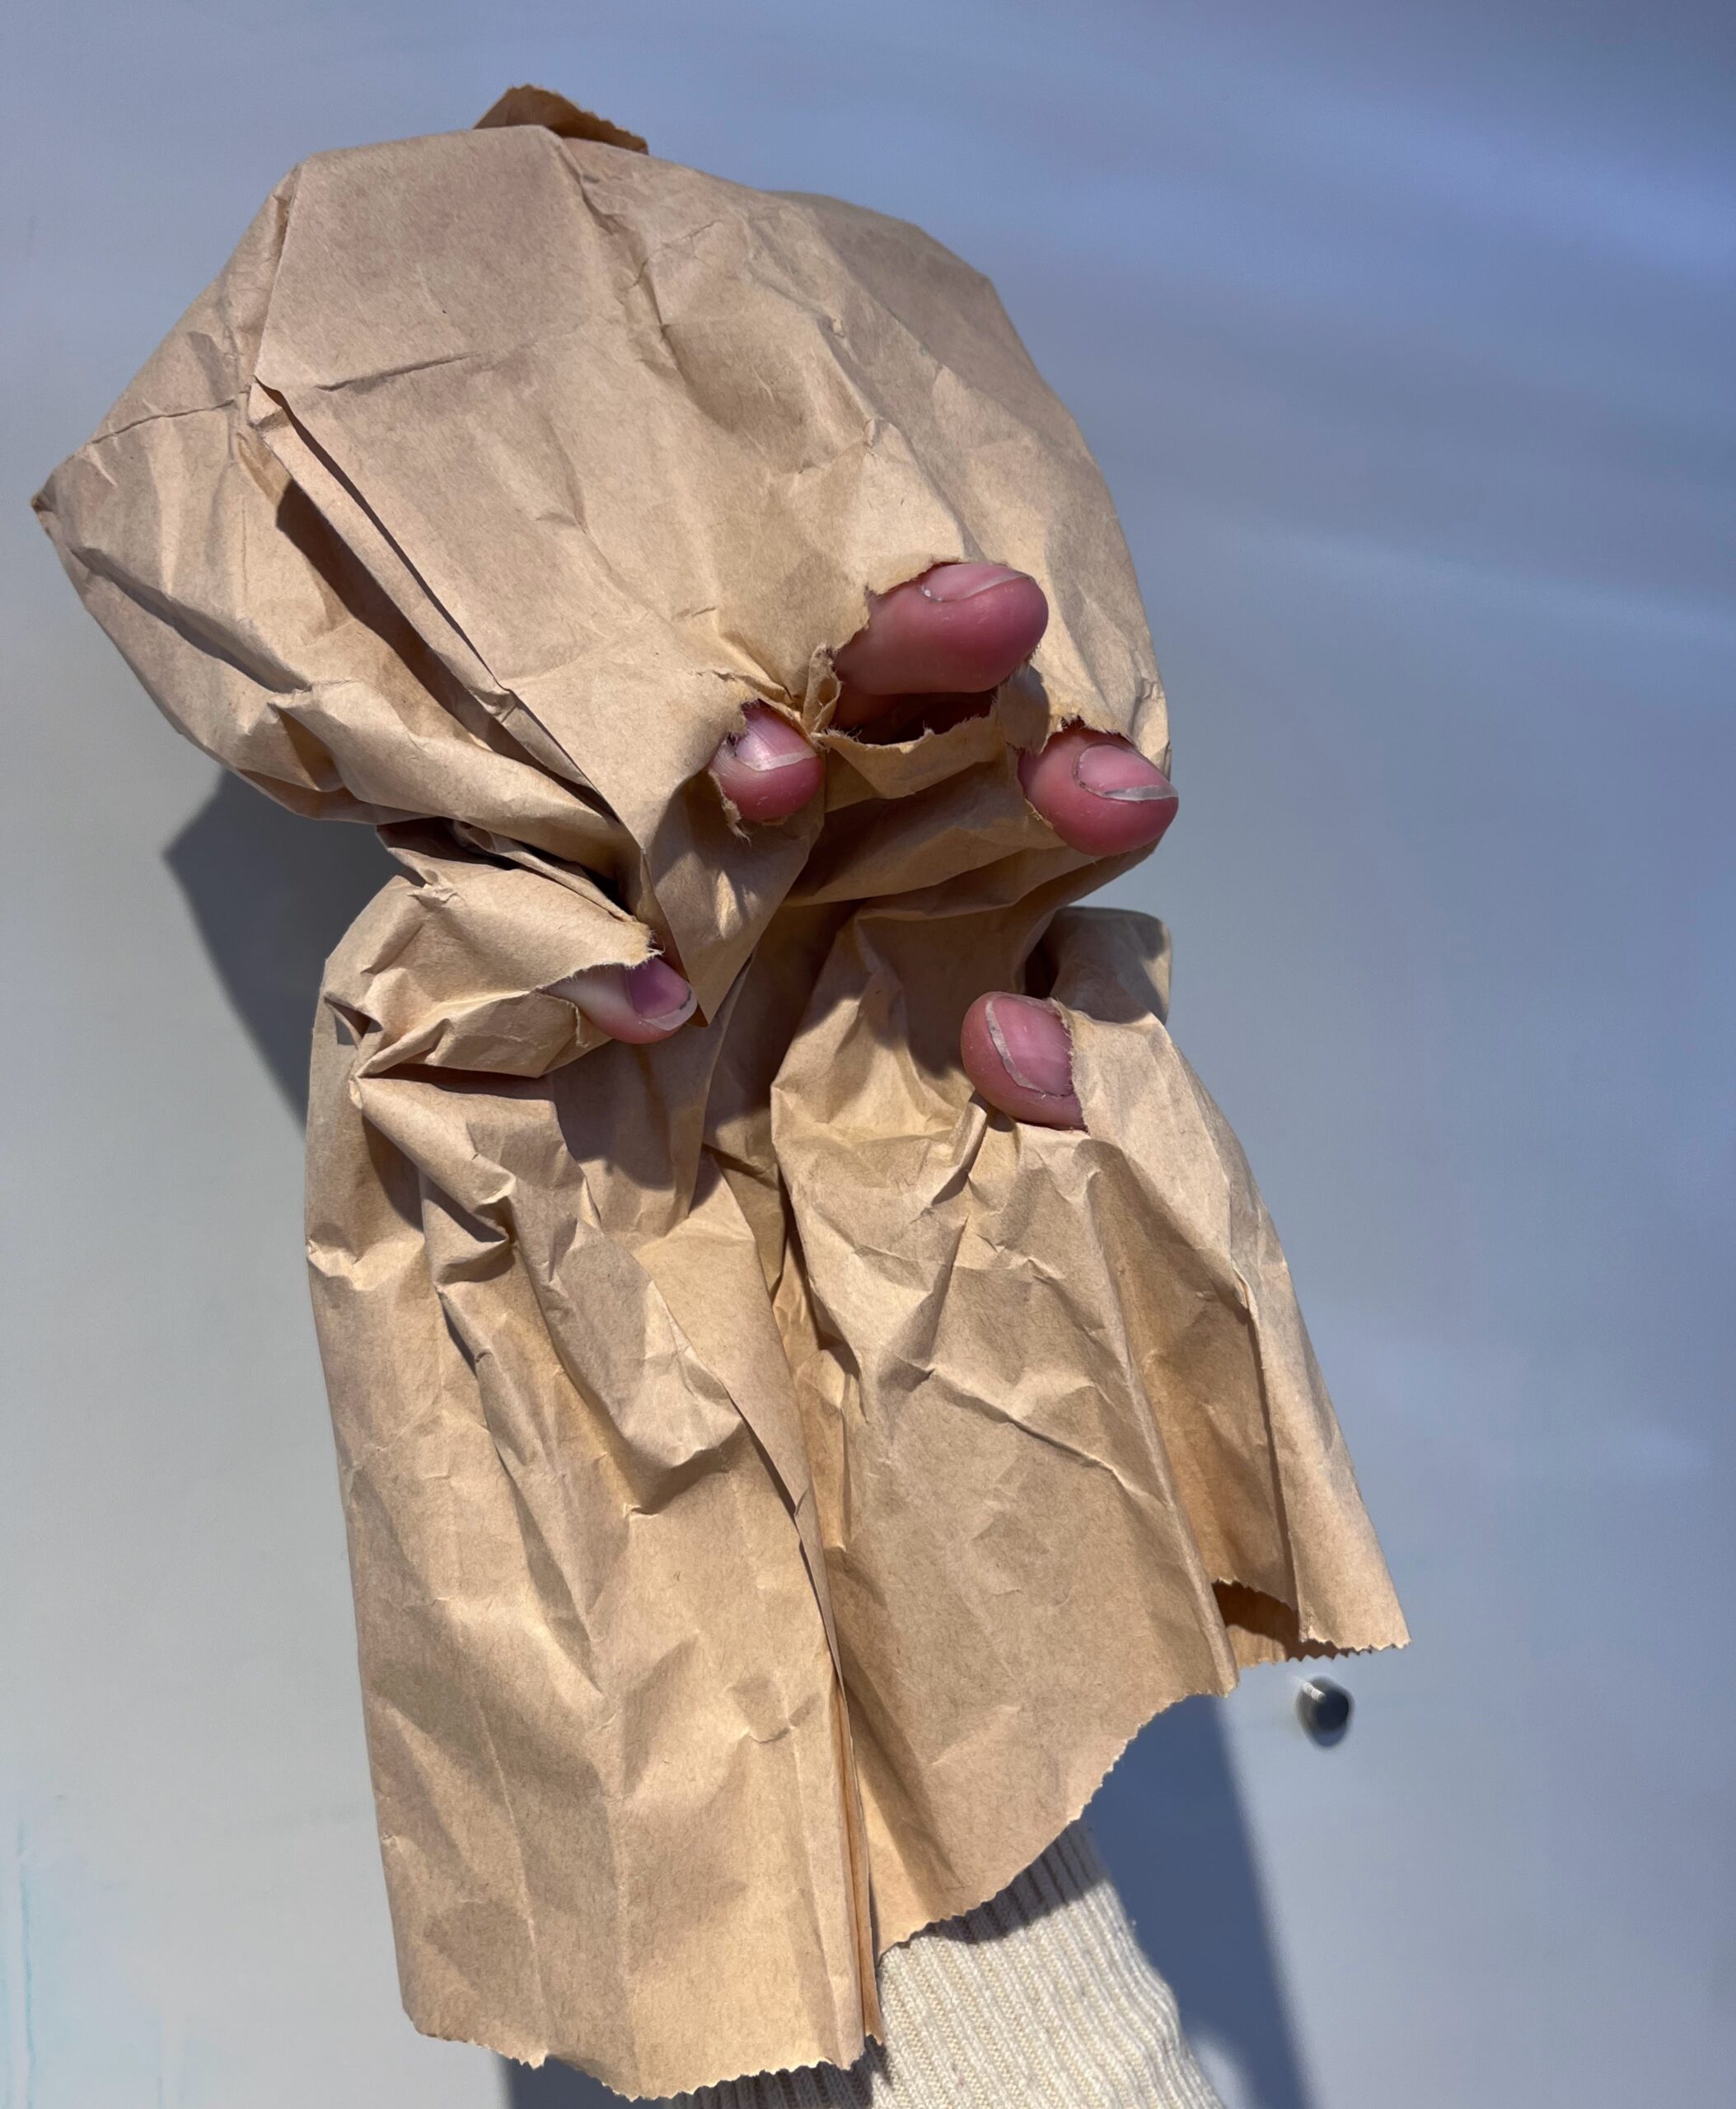
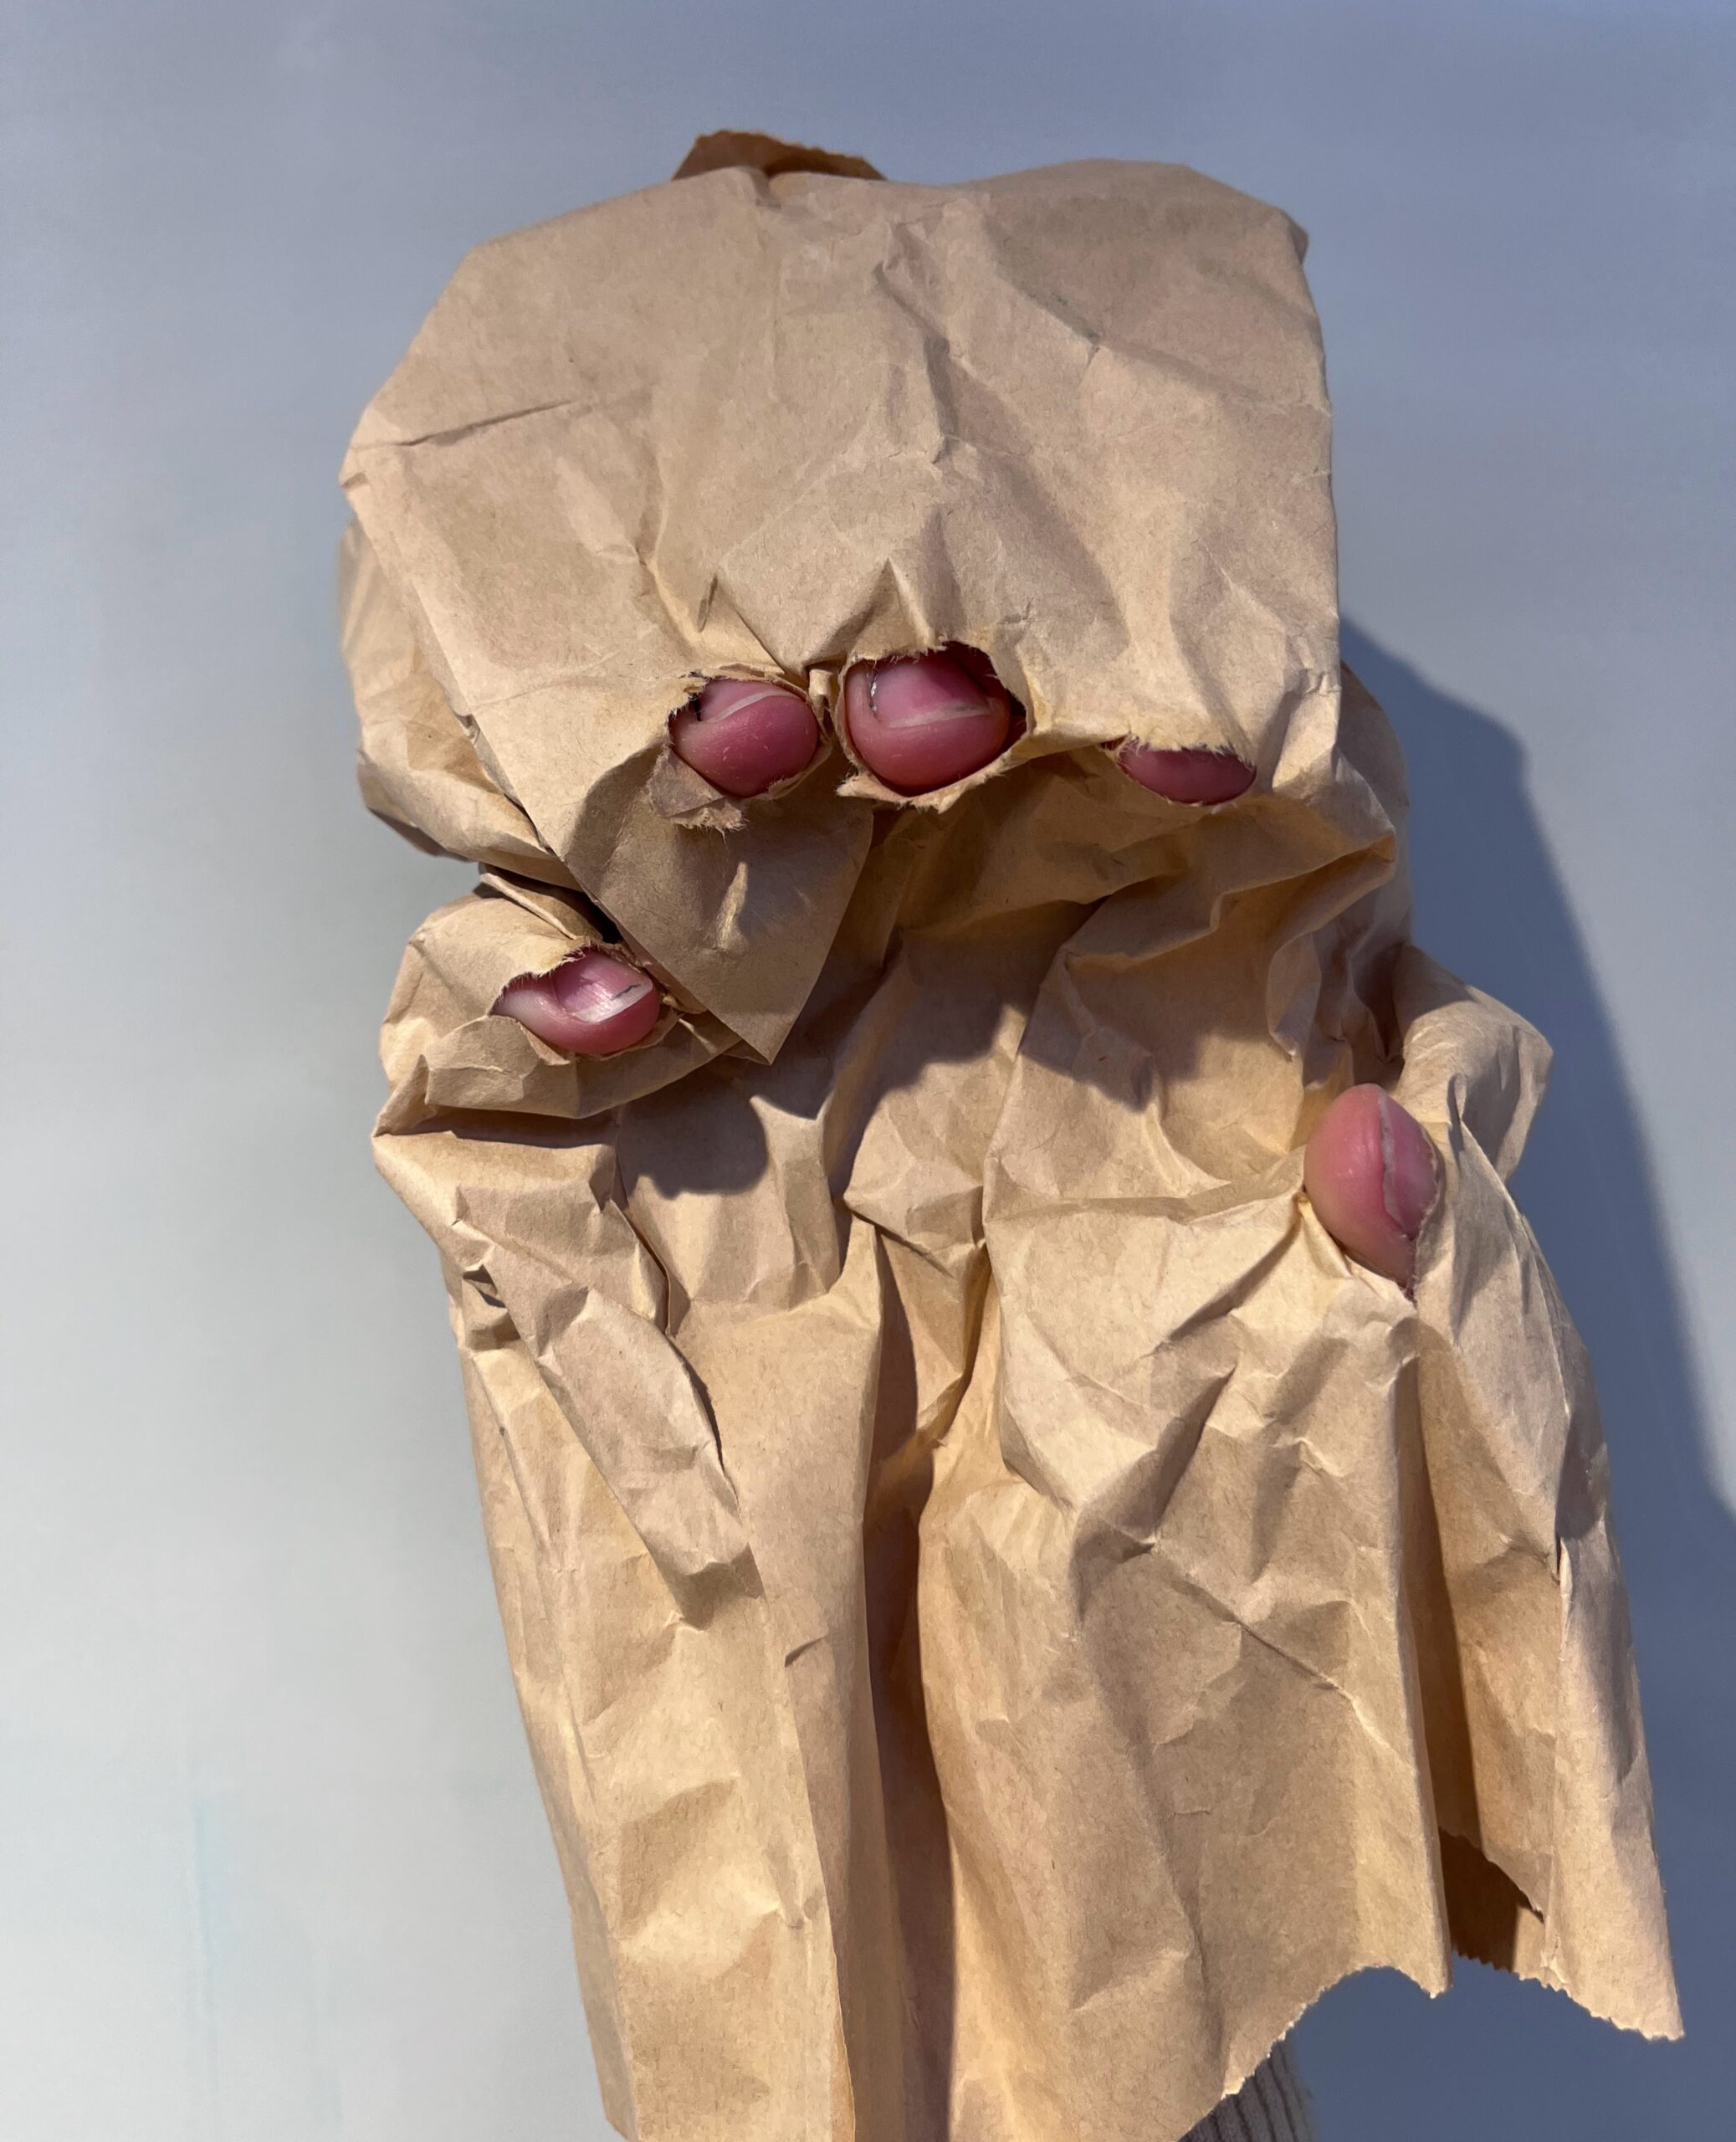
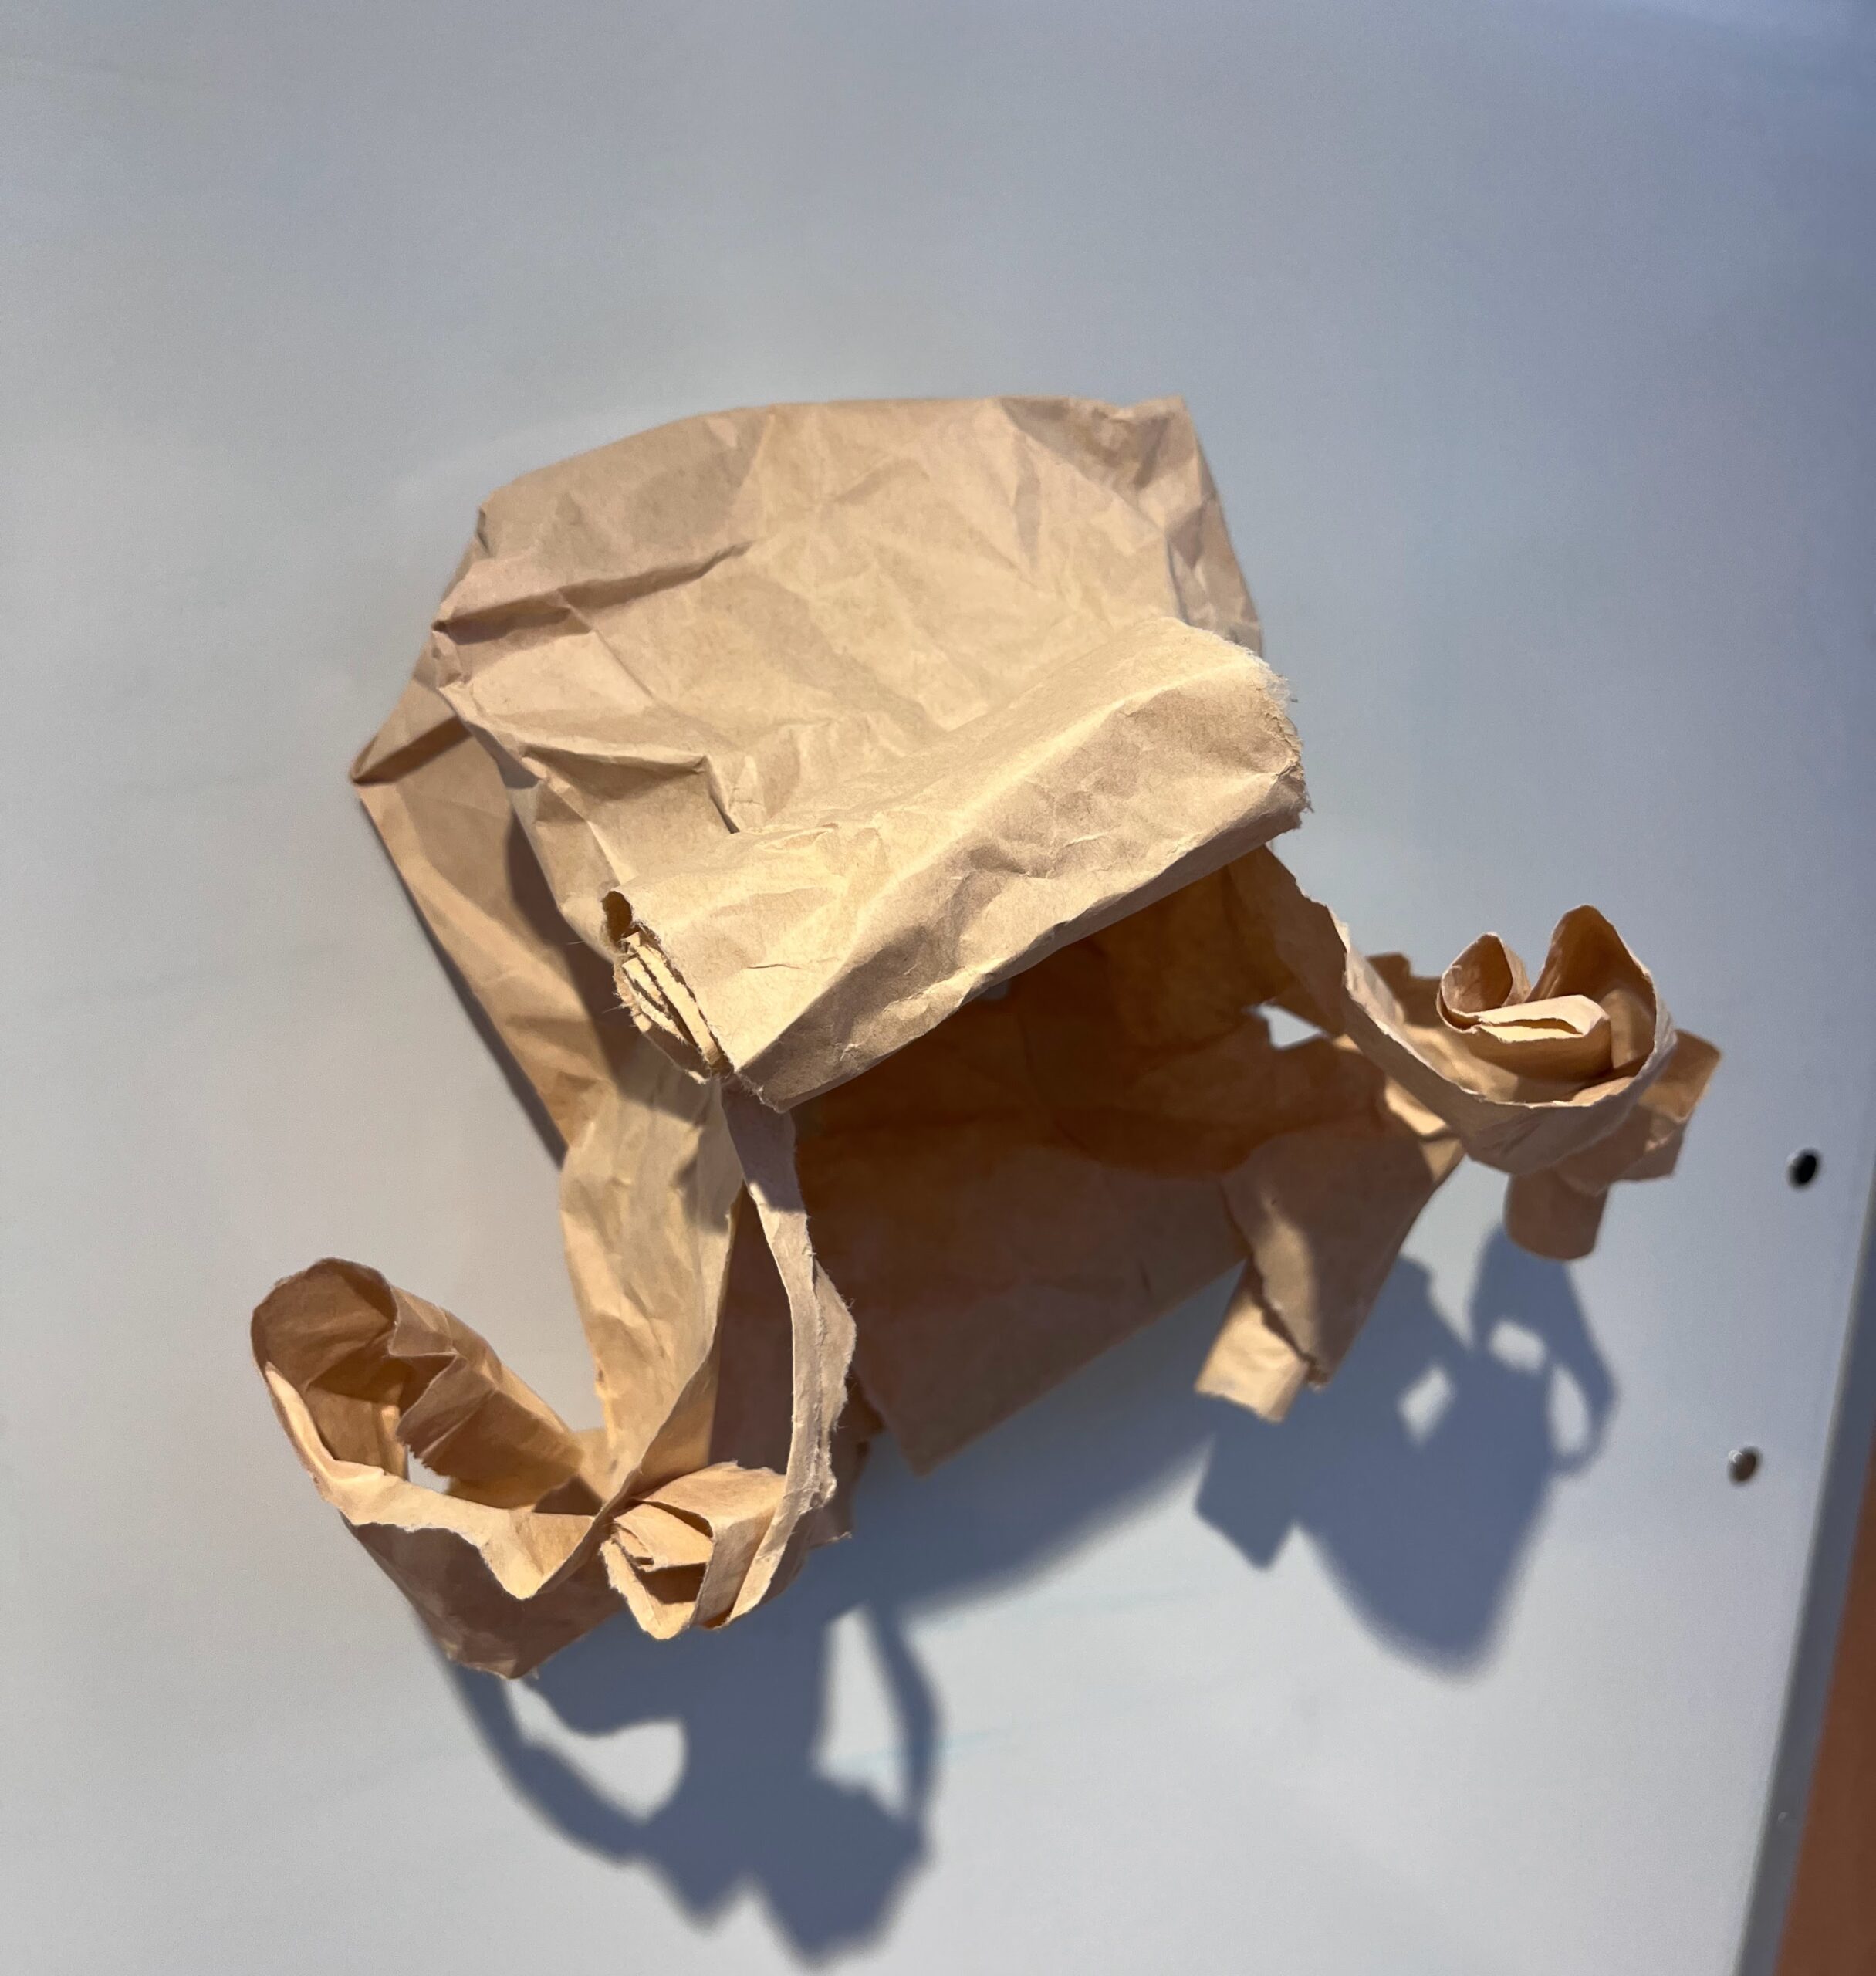
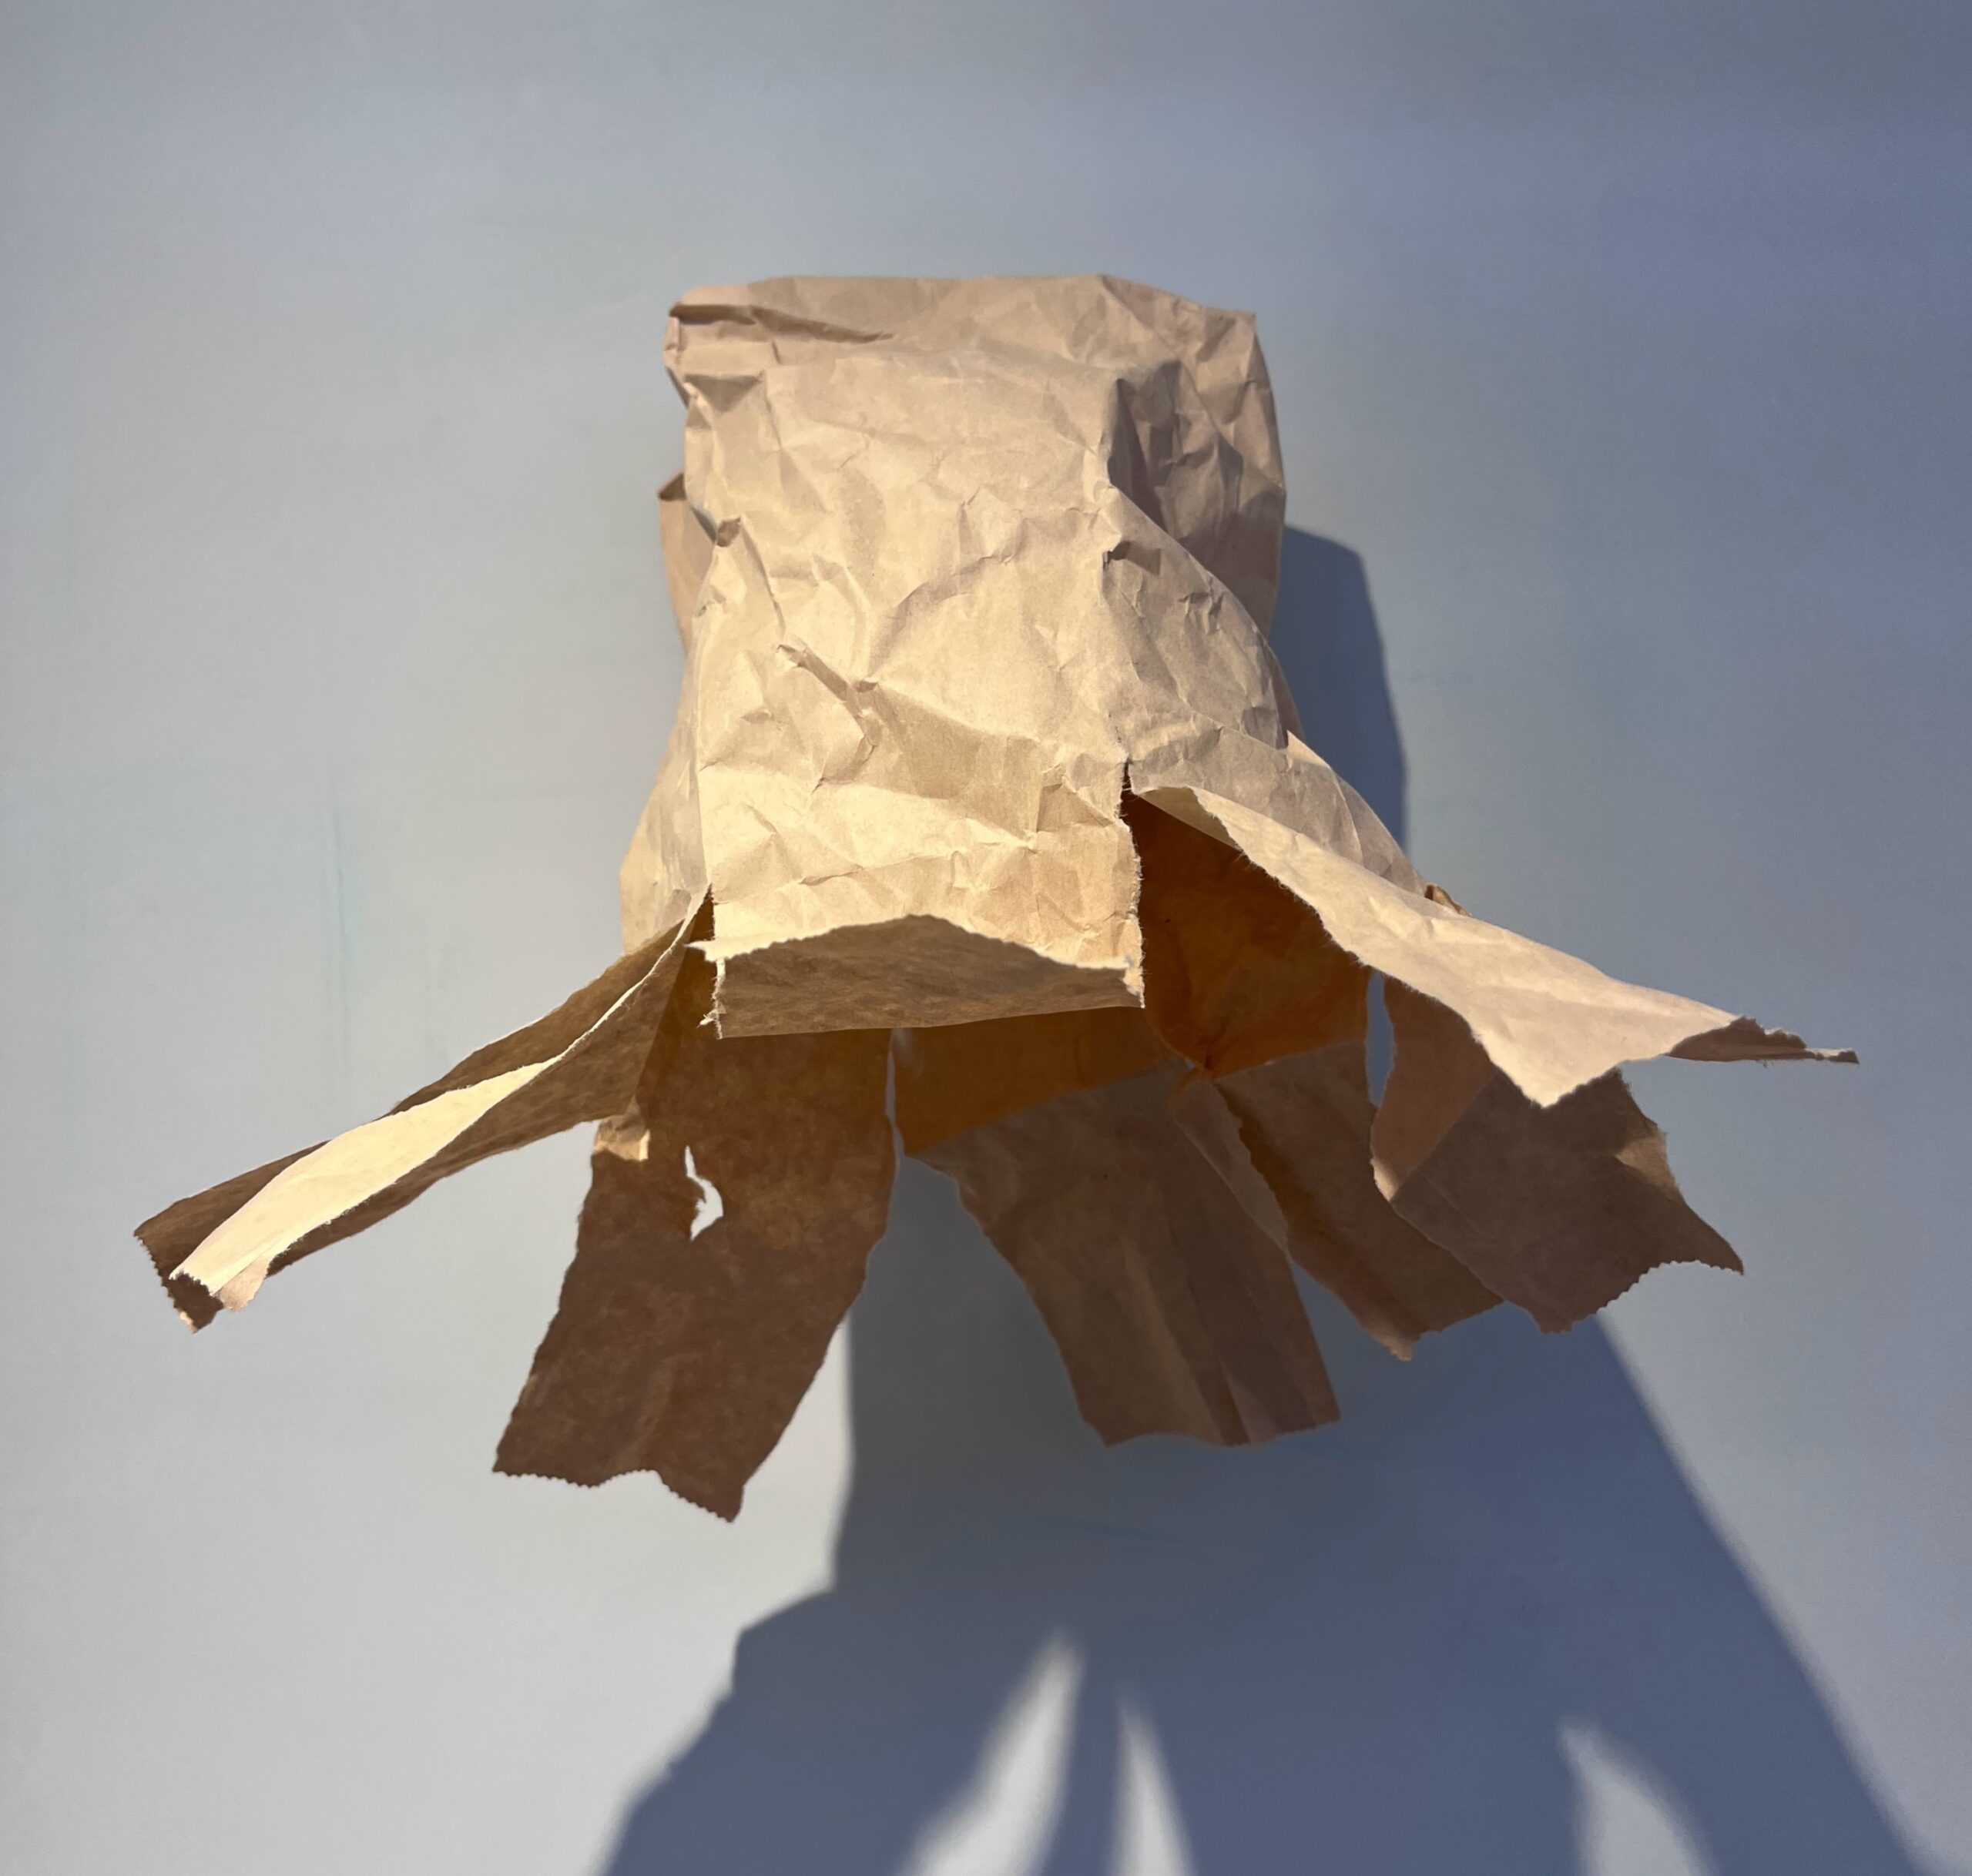
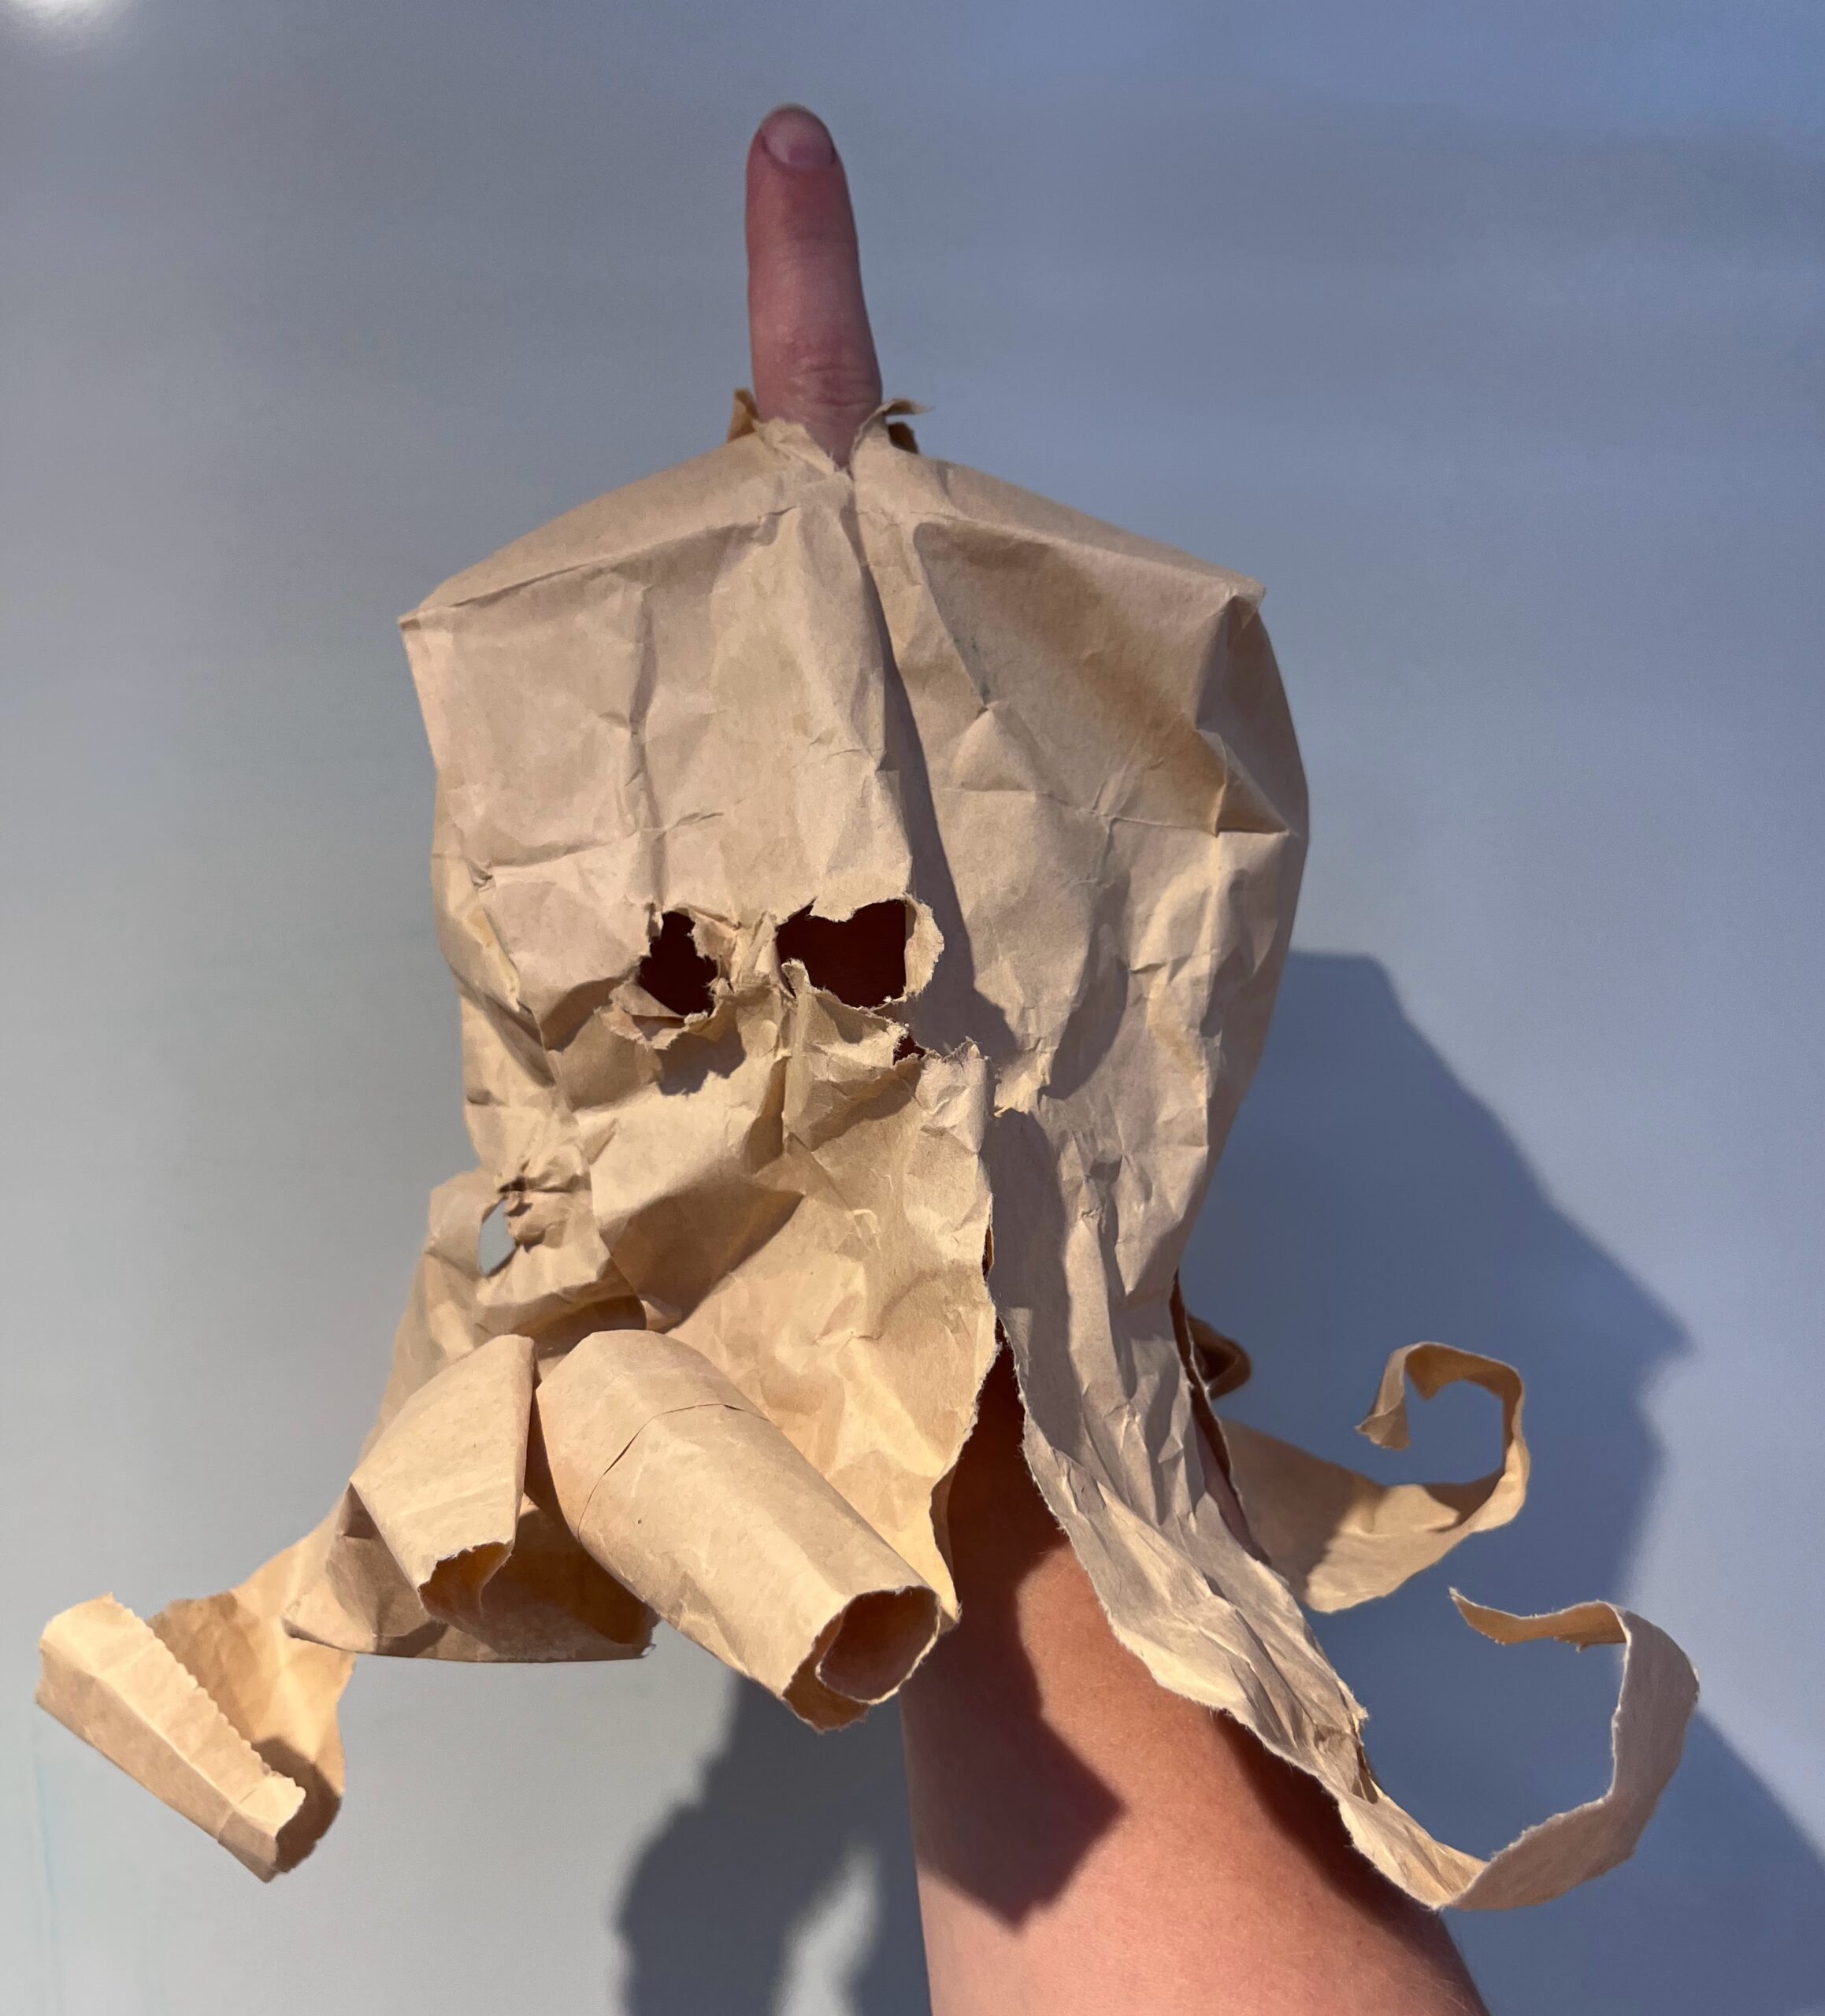
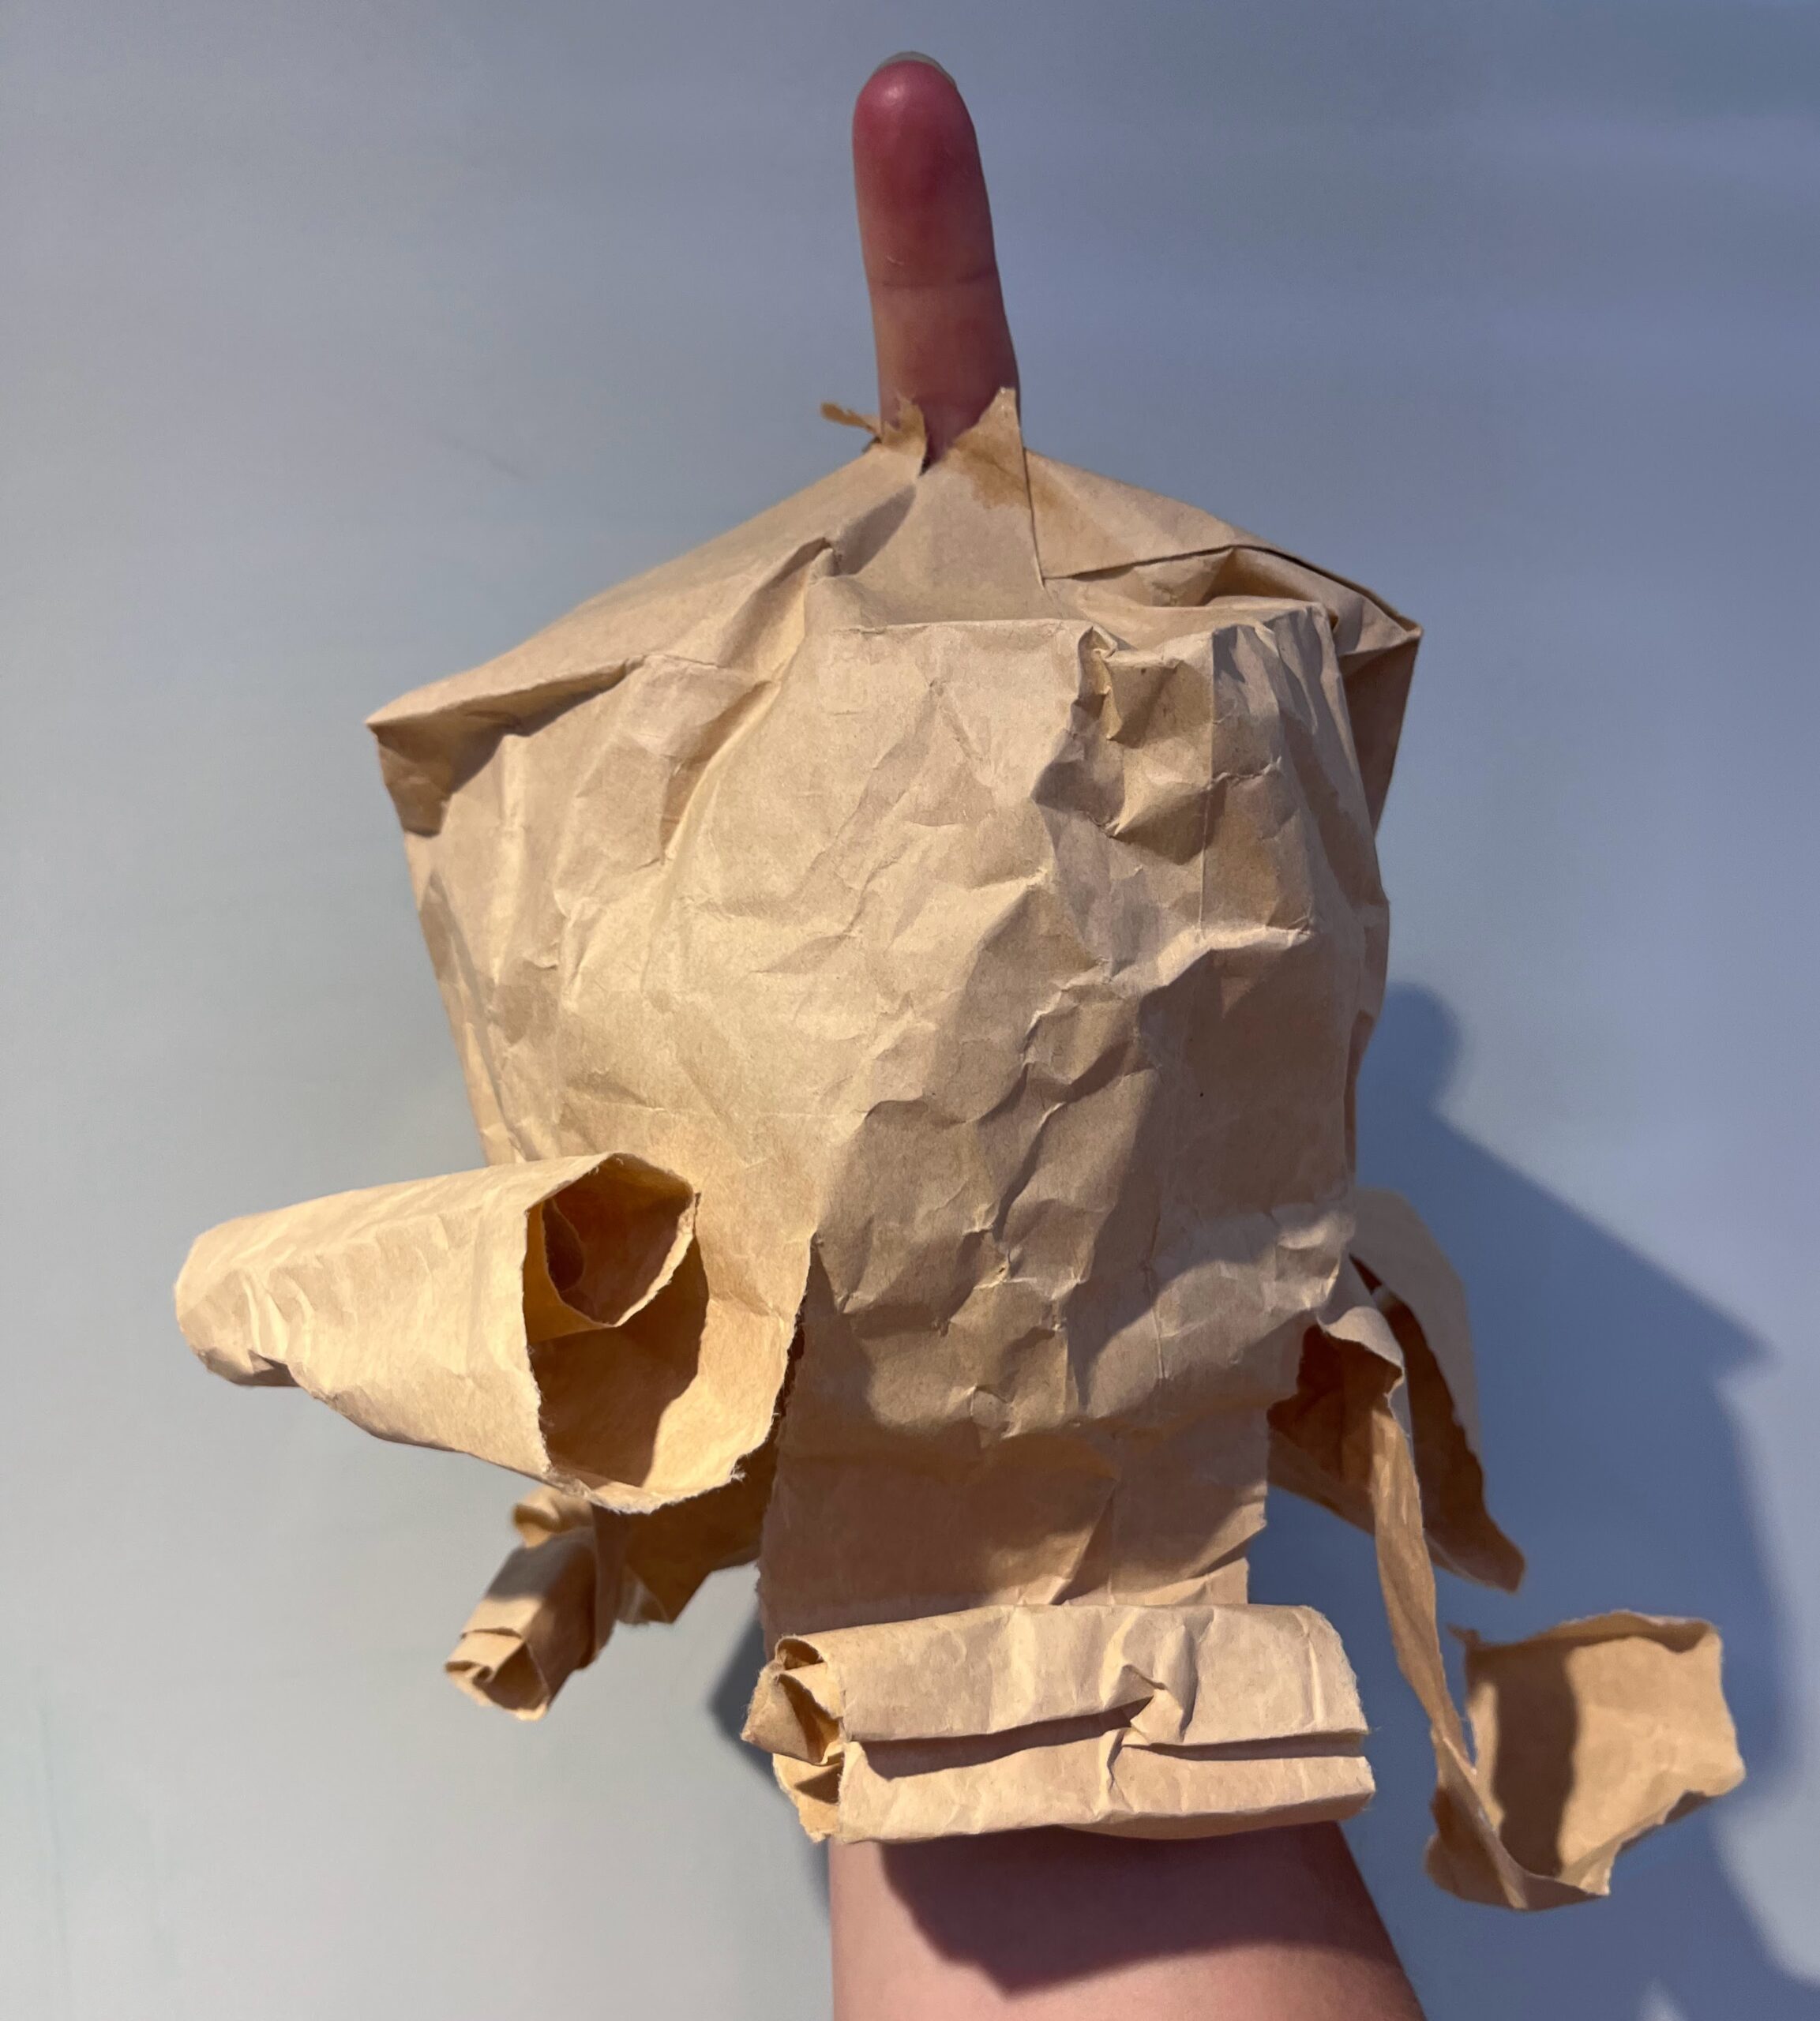
Then came the vagina. I wanted to play with the concept of a bag being a place to hold something. So I had the bag holding another part of itself, the sailboat, then the hand. I had the idea for the hand emerging from the bag after the presentation of examples in class. But the rest was just an exploration and flow.
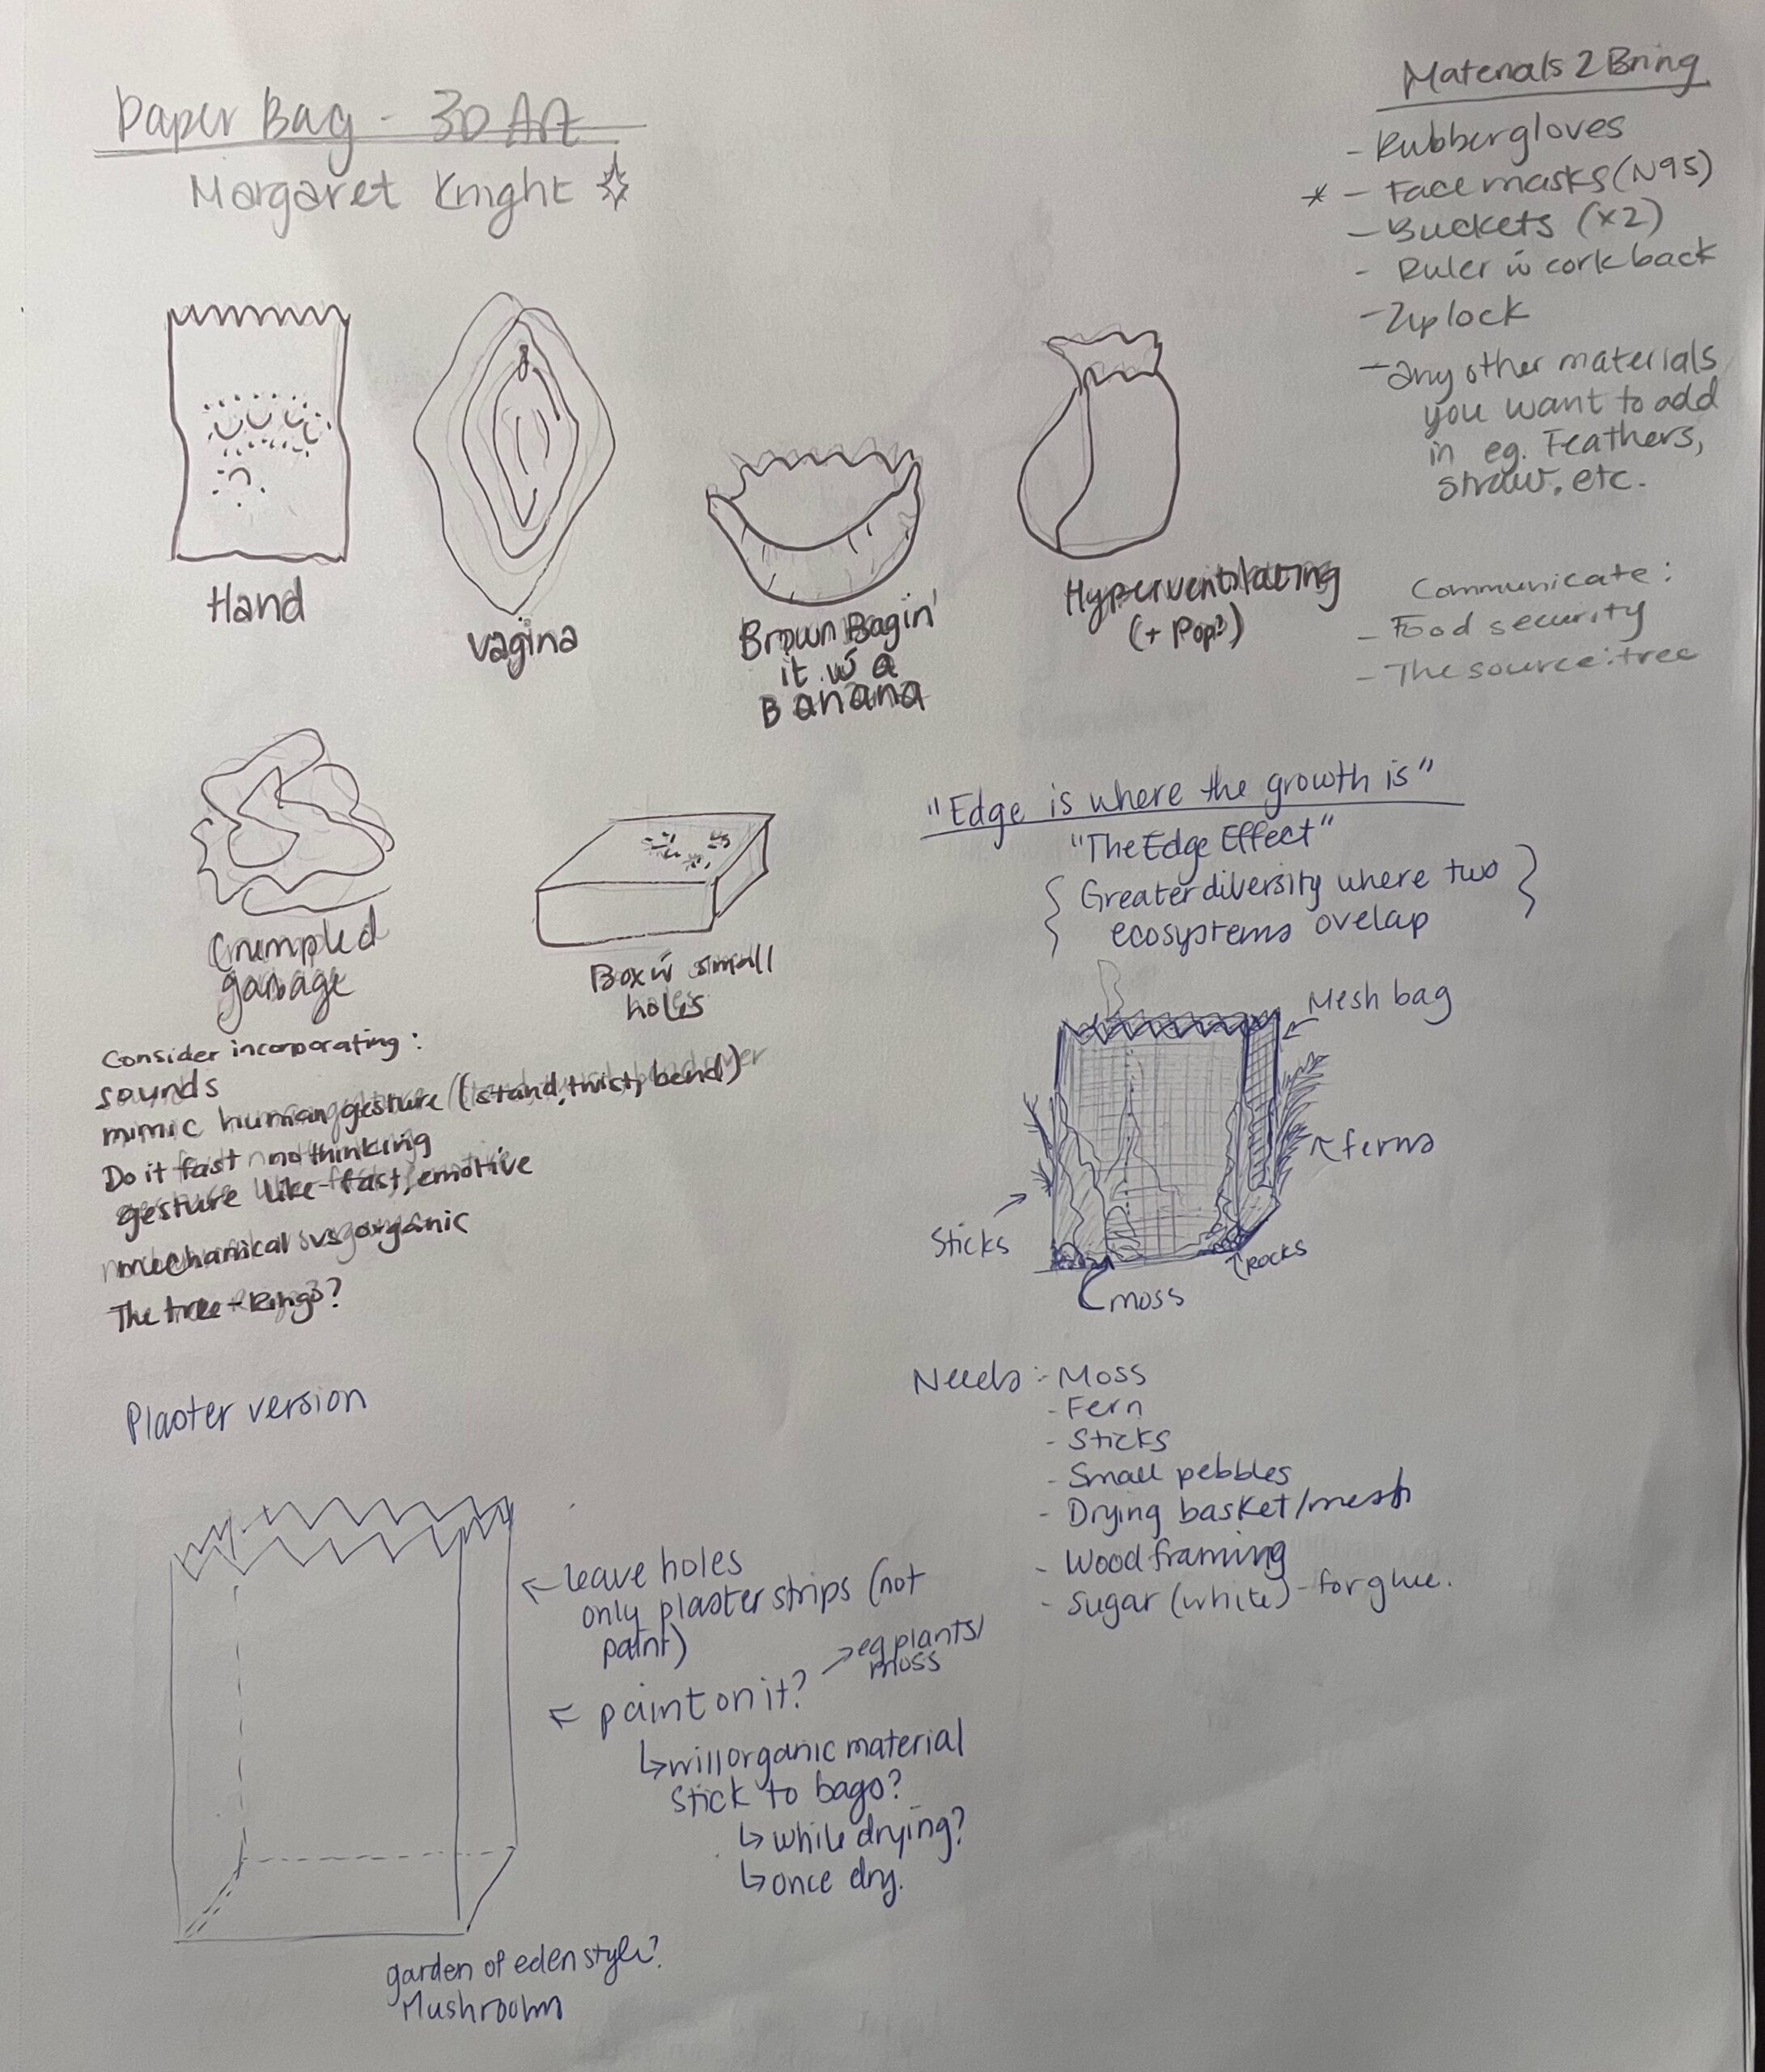
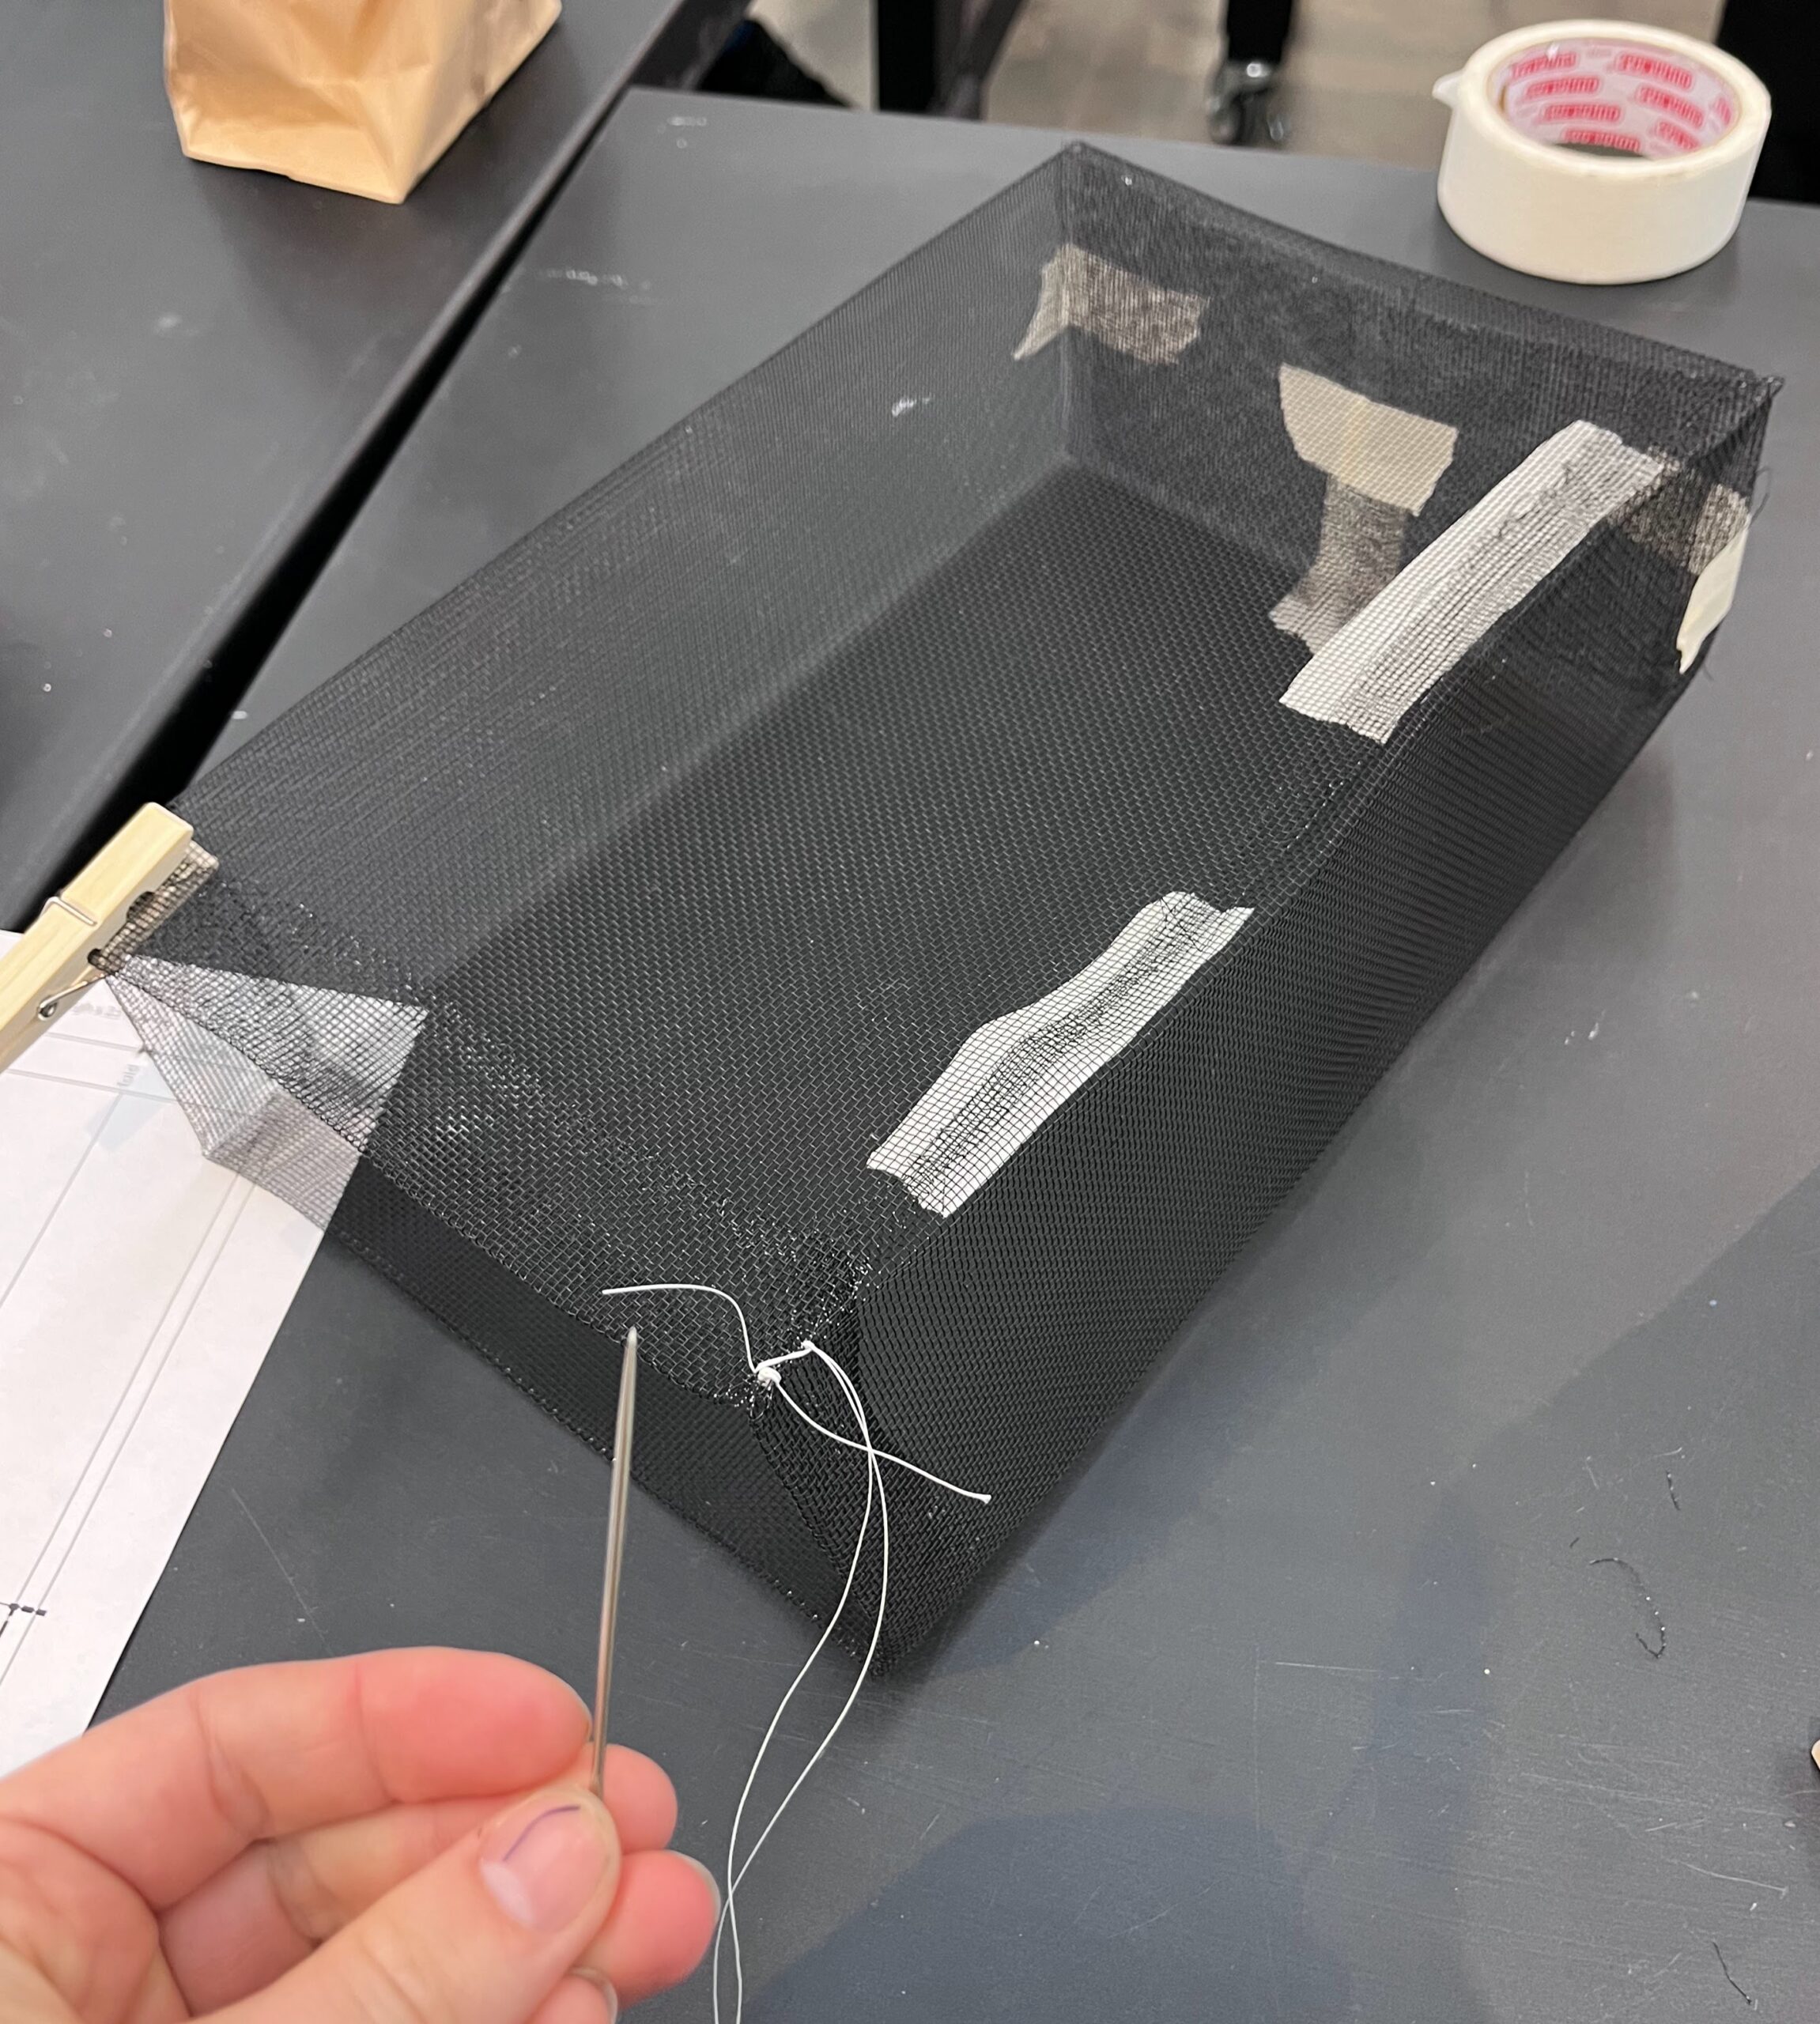
Once I started to stitch the bag I had to start making decisions. And it started with “what colour stiches do I use? White or something less visible?” I weighed me options. If it was white it would have high contrast with the black mesh. It would have to be something that is intended to be seen. It would emphasize the edges. If it was dark, I could perhaps focus more on the shape of the bag. I thought about “emphasize the edges” and remembered what I learned studying permaculture “edge is where the growth is”. The “Edge Effect” is the 10th permaculture principle and the concept that describes how there is a greater diversity of life in the region where the edges two adjacent ecosystems overlap, such as land/water, or forest/grassland. At the edge of two overlapping ecosystems, you can find species from both of these ecosystems, as well as unique species that aren’t found in either ecosystem but are specially adapted to the conditions of the transition zone between the two edges.
I liked it. There was definitely space for creativity here. So I decided to go with the white stitches.
Process Blog
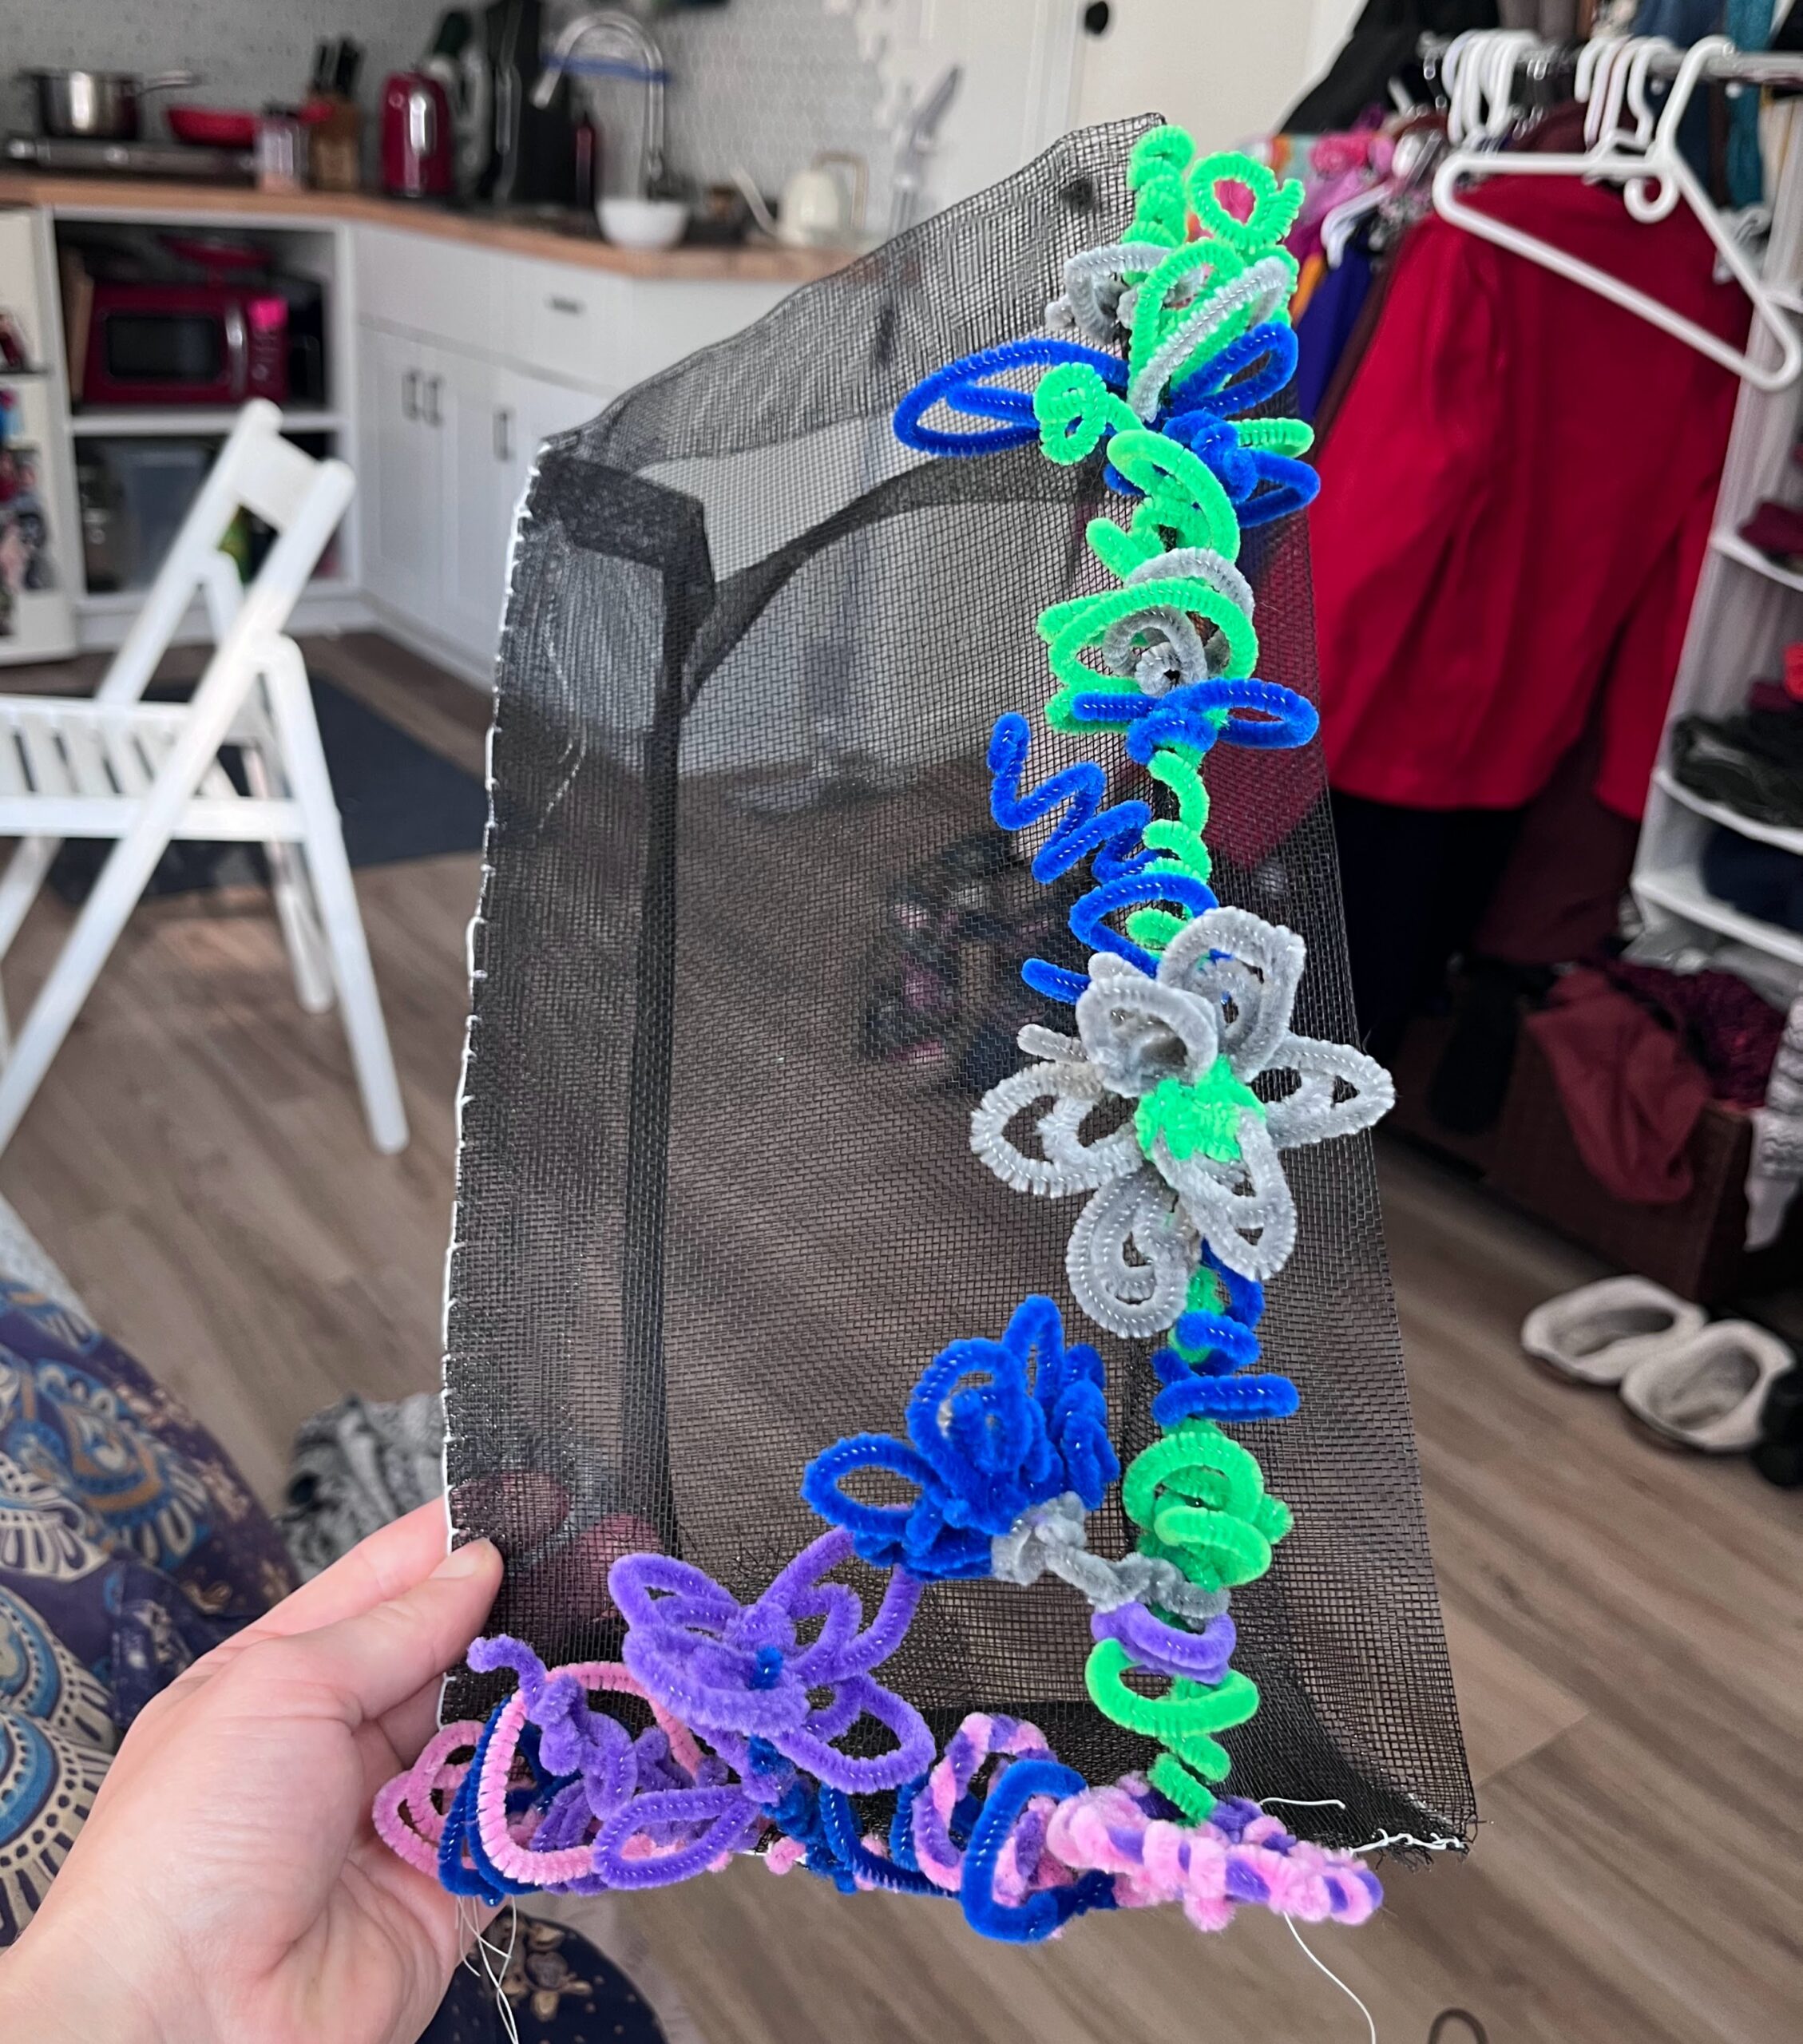
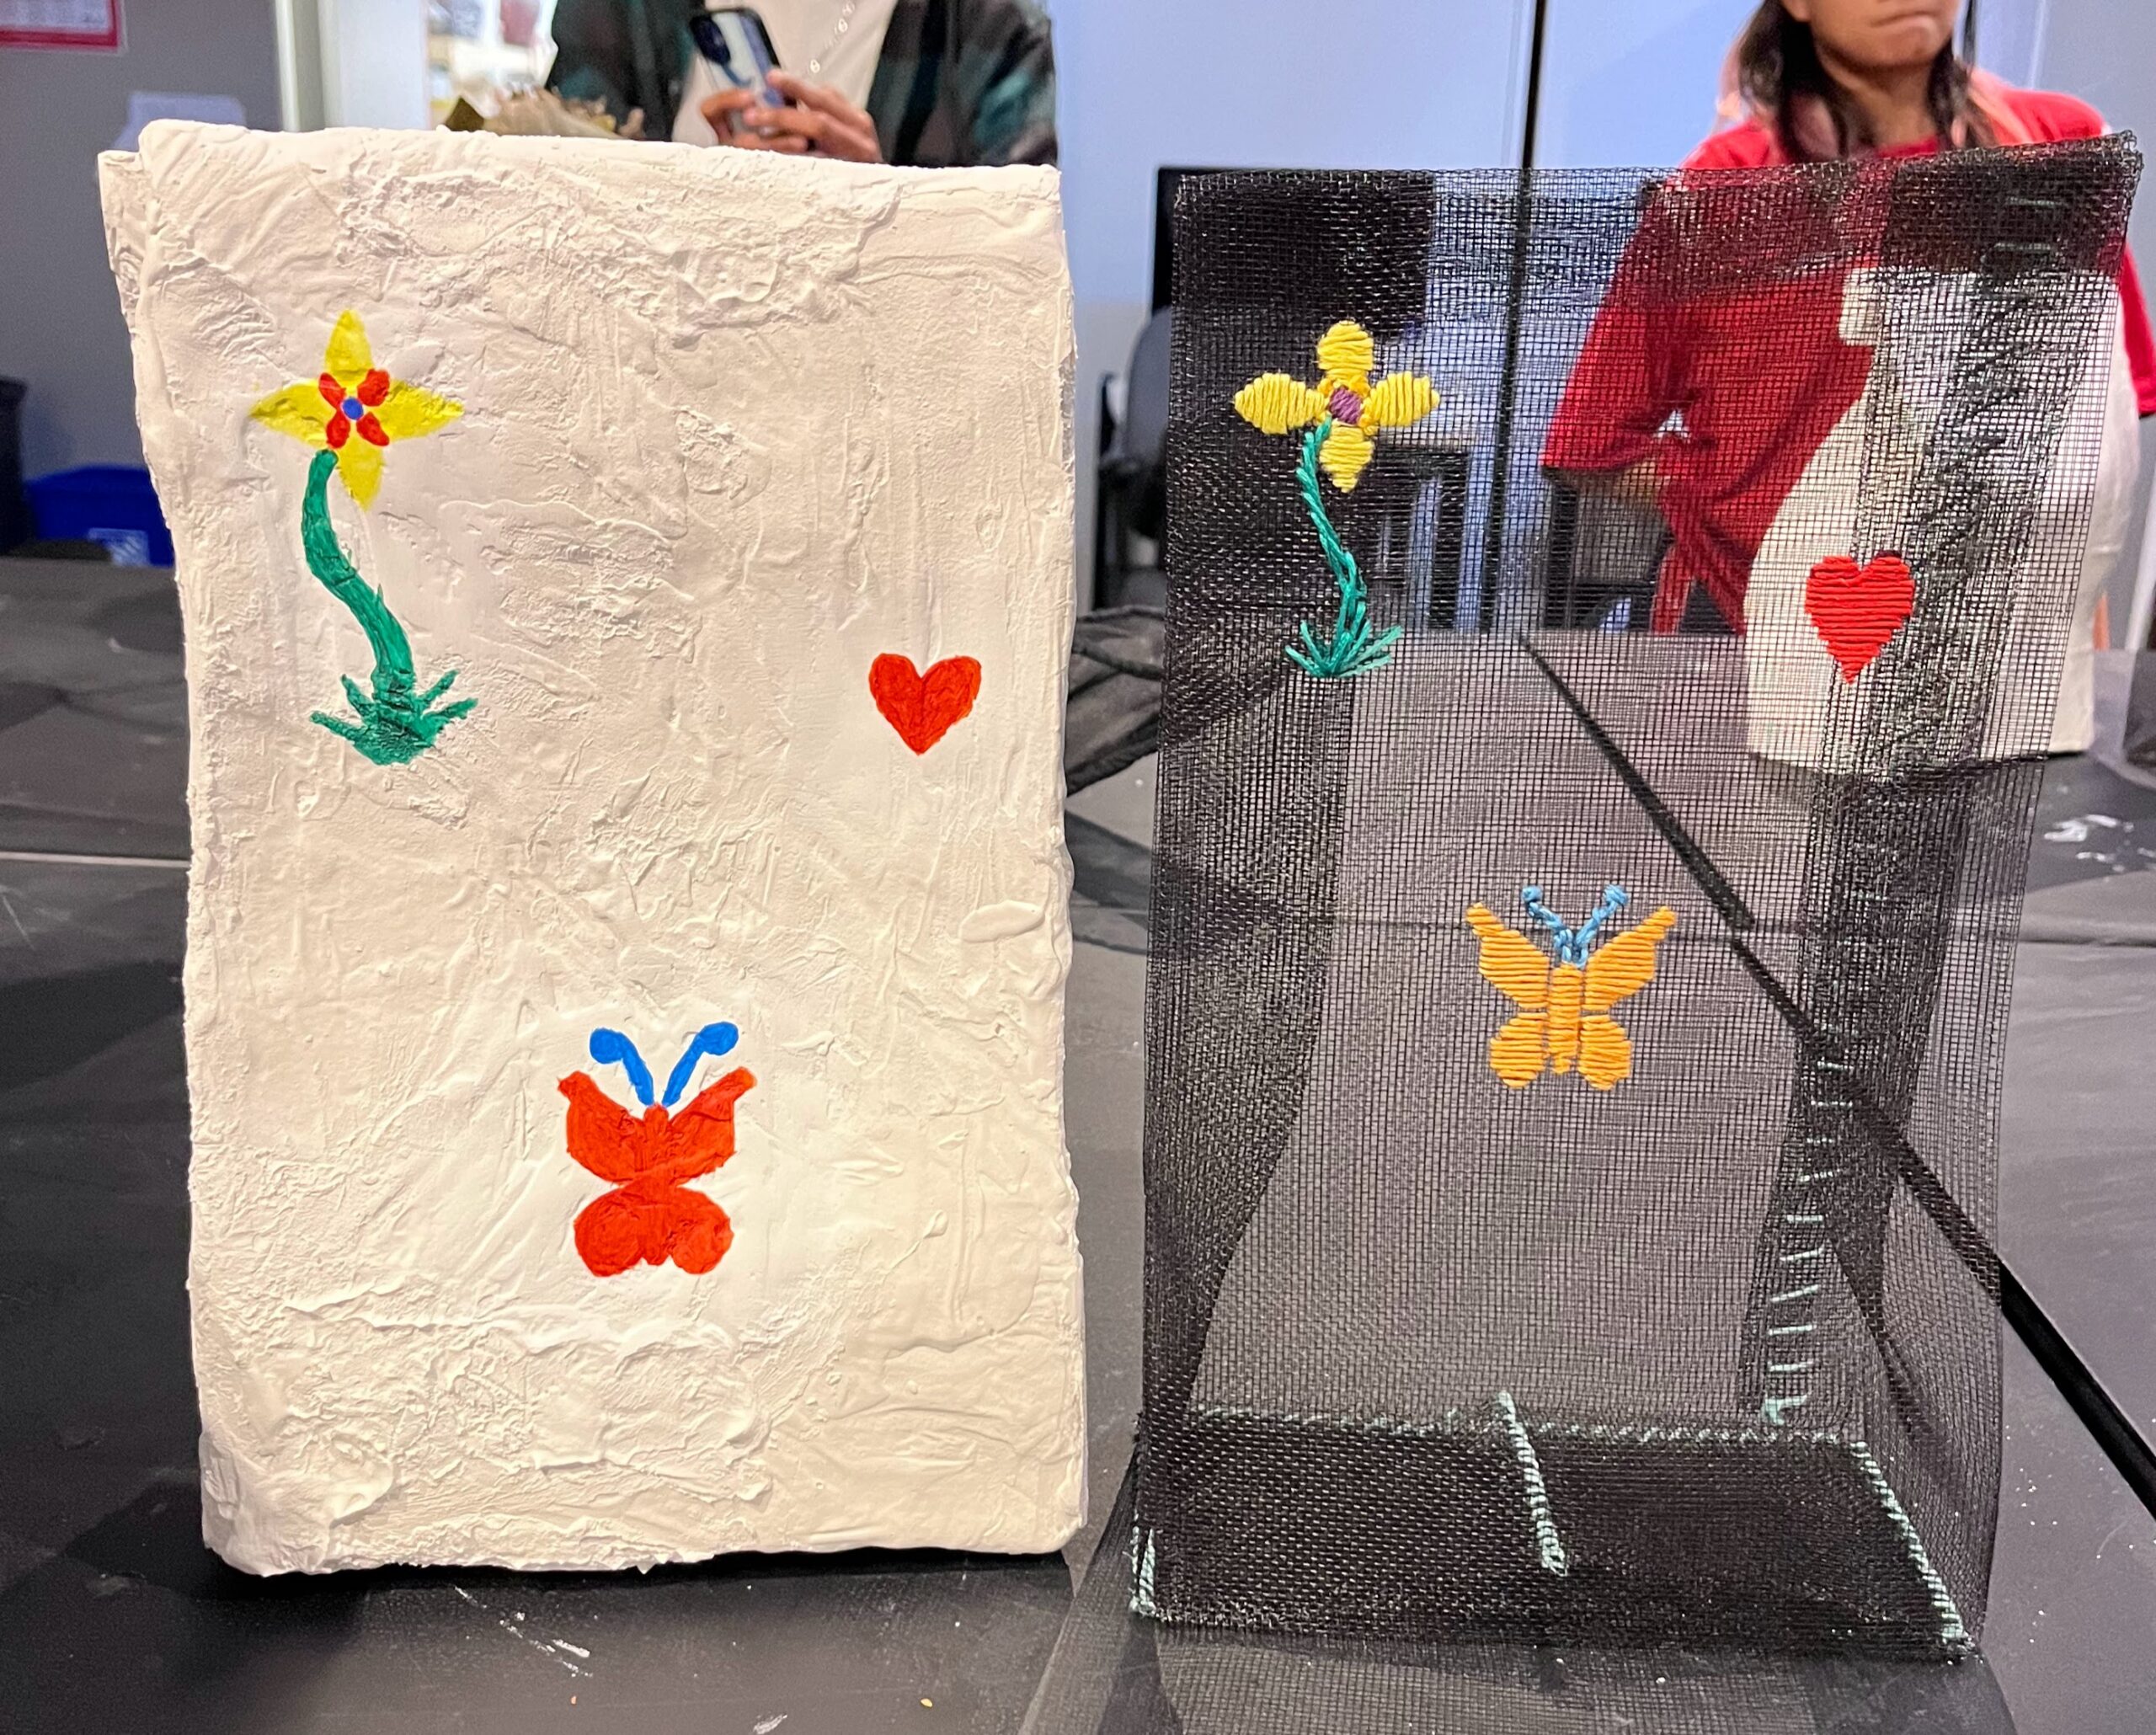
After stitching the bag I got pretty sick and was fortunate enough to have a couple of days off of school. Thursday I stayed in bed all day and watched Sabrina the Teenage Witch and looked for materials I had at home to create the “edge effect”. As you can see the “prototype” image above, the pipe cleaner was what was handy. While the pipe cleaner was workable and easily threaded through the bag, the florescent colours and pastic look left much to be desired. The following week I showed my bag to Angela, feeling unsure where to go next. She recommended using a more organic material. “Like what?” I asked. She recommended moss. So I spent the rest of the class researching how to process moss.
I learned that moss can be kept alive or can be treated to keep it’s colour and form but be essentially dead. The former required more work but both could be used in art projects. I also learned that there is an organic moss glue that is made by a company in the USA. It was only $35 dollars, but twice that much in shipping costs. So that idea was out. I looked at how to make organic glues and saw a recipe that was very close to paper mache, but worried about it’s adhesive ability to a mesh bag. I also learned that there is a type of moss spore you can buy that can be sprayed on called “moss graffiti”. That sounded pretty cool. I love the idea of writing words with most and then taking care of it so that it grows into a living installation. I’ll have to remember that for a future project. In the meantime, I decided to take an easier route and found a youtube channel that instructed on how to collect moss and dry it for floral arrangements. It was quite simple and required drying the moss for later use. That seemed like the most direct route.
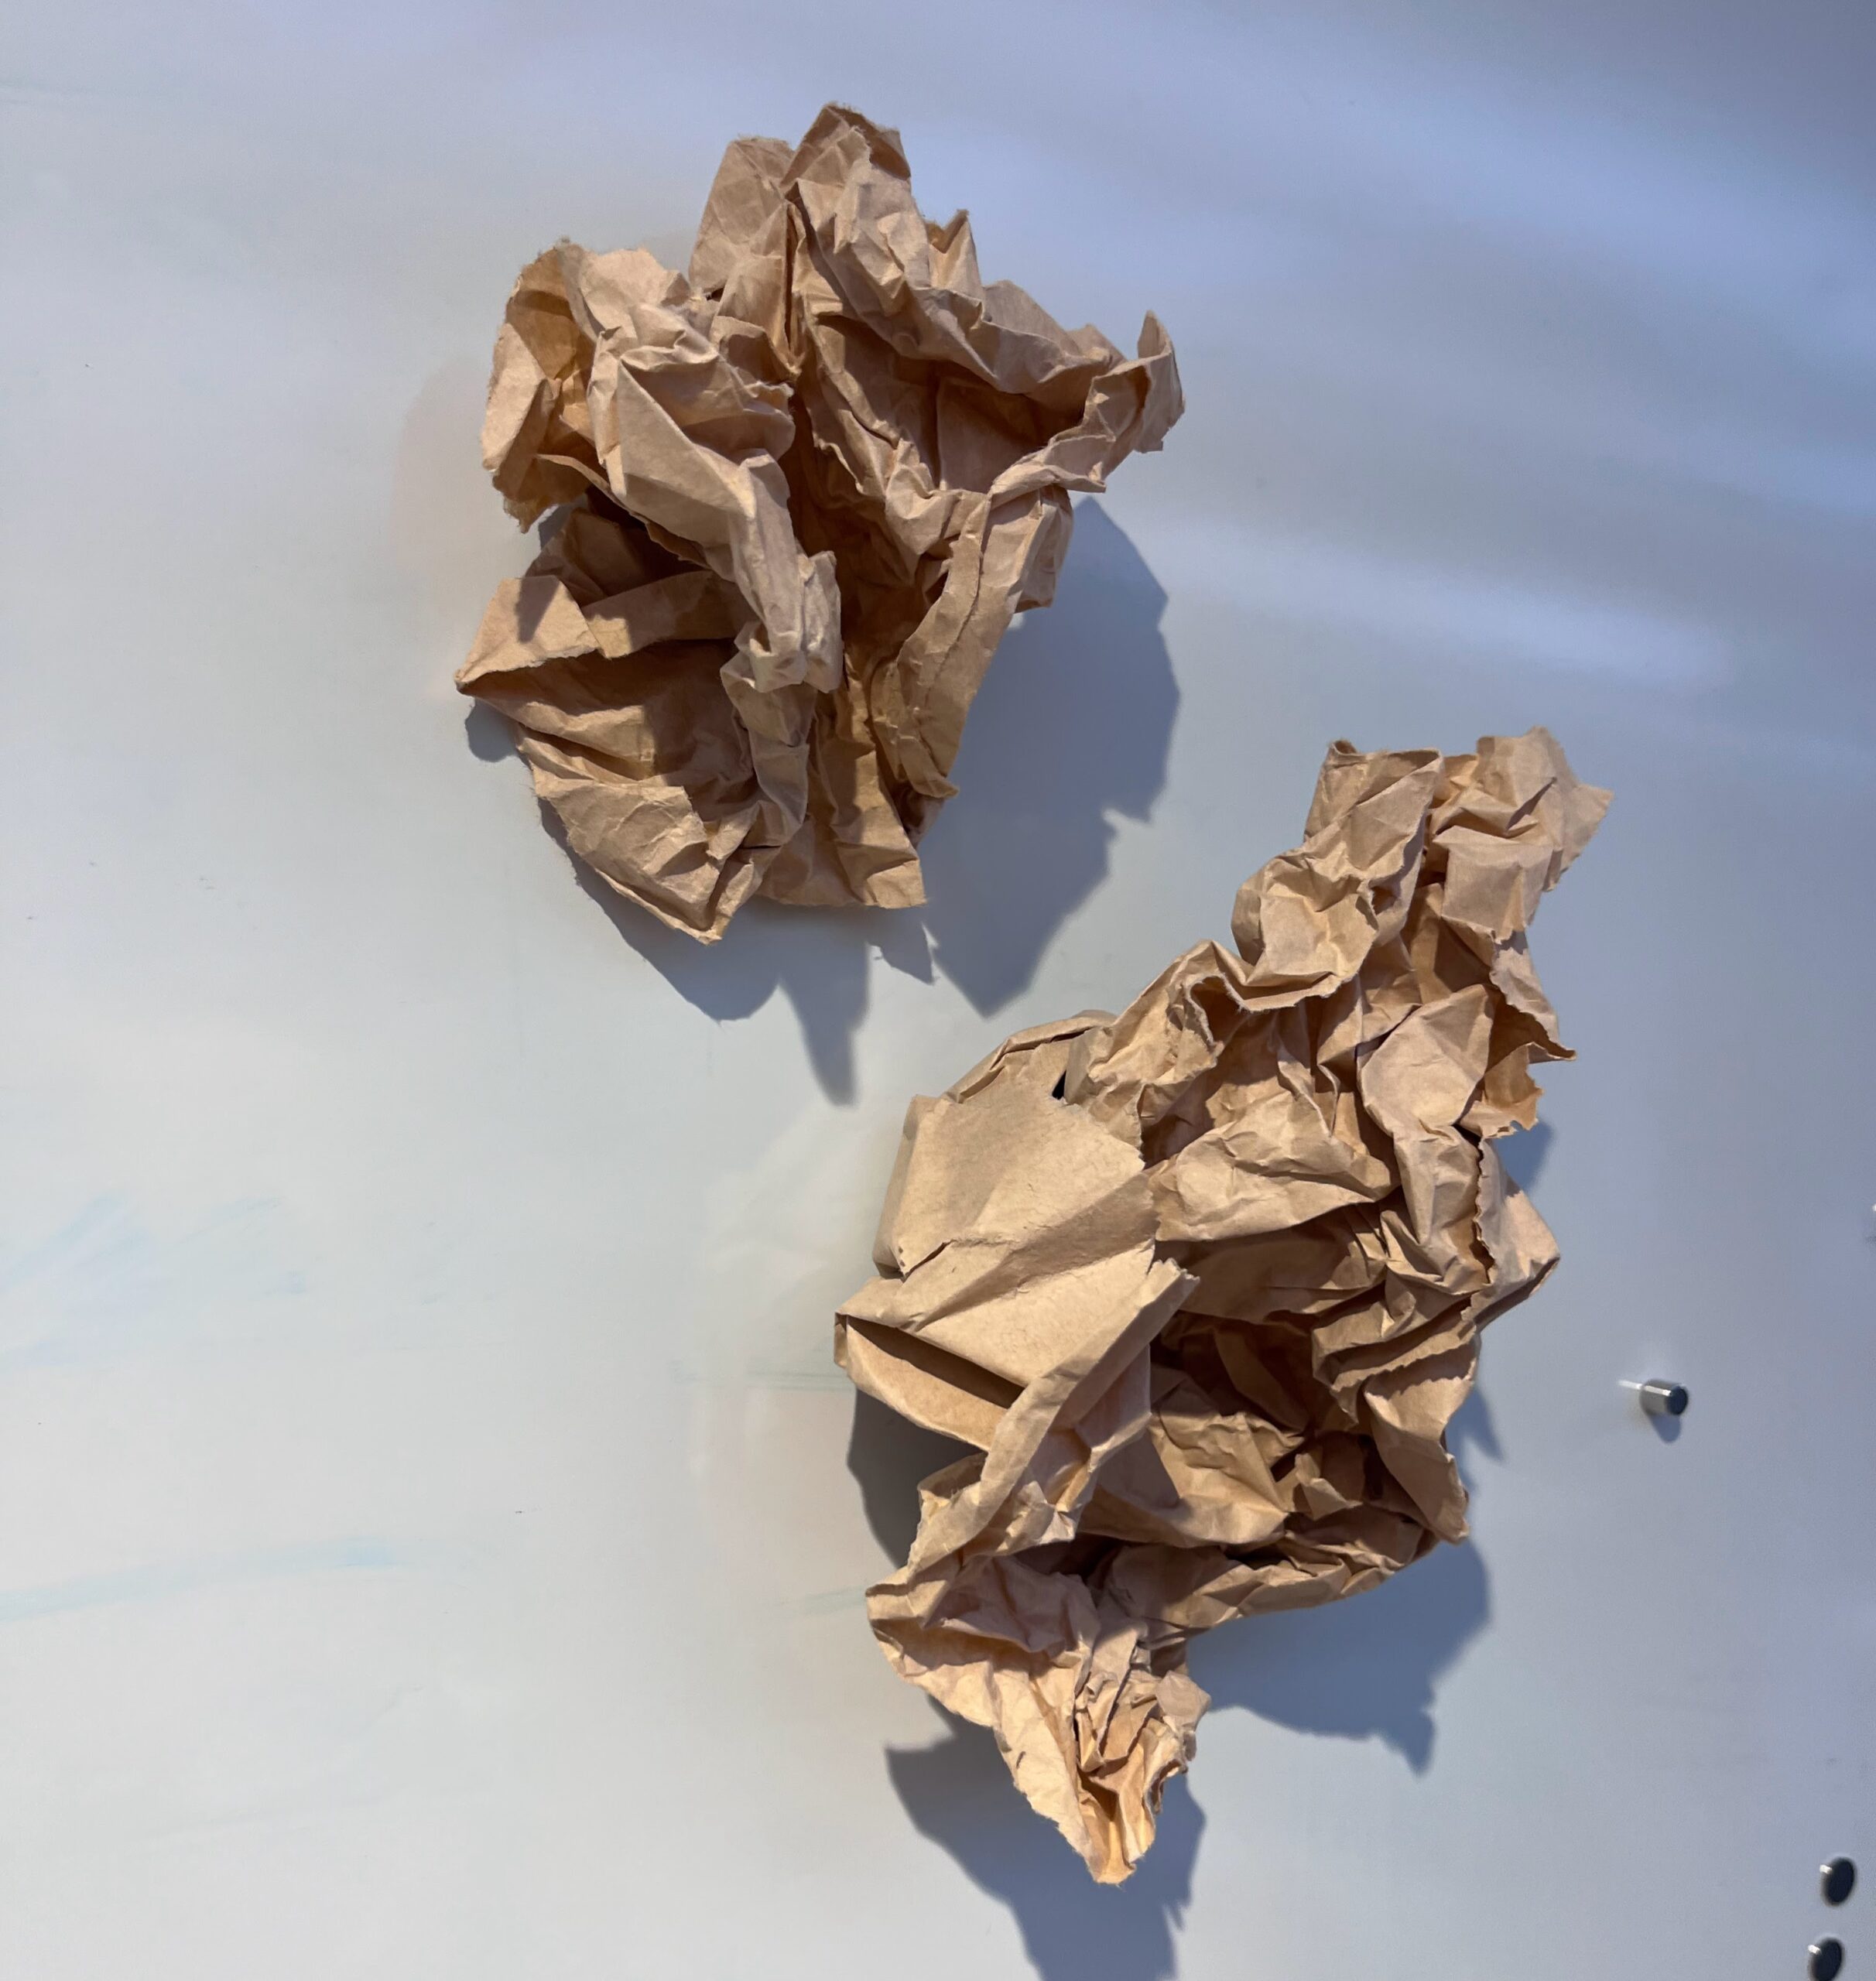
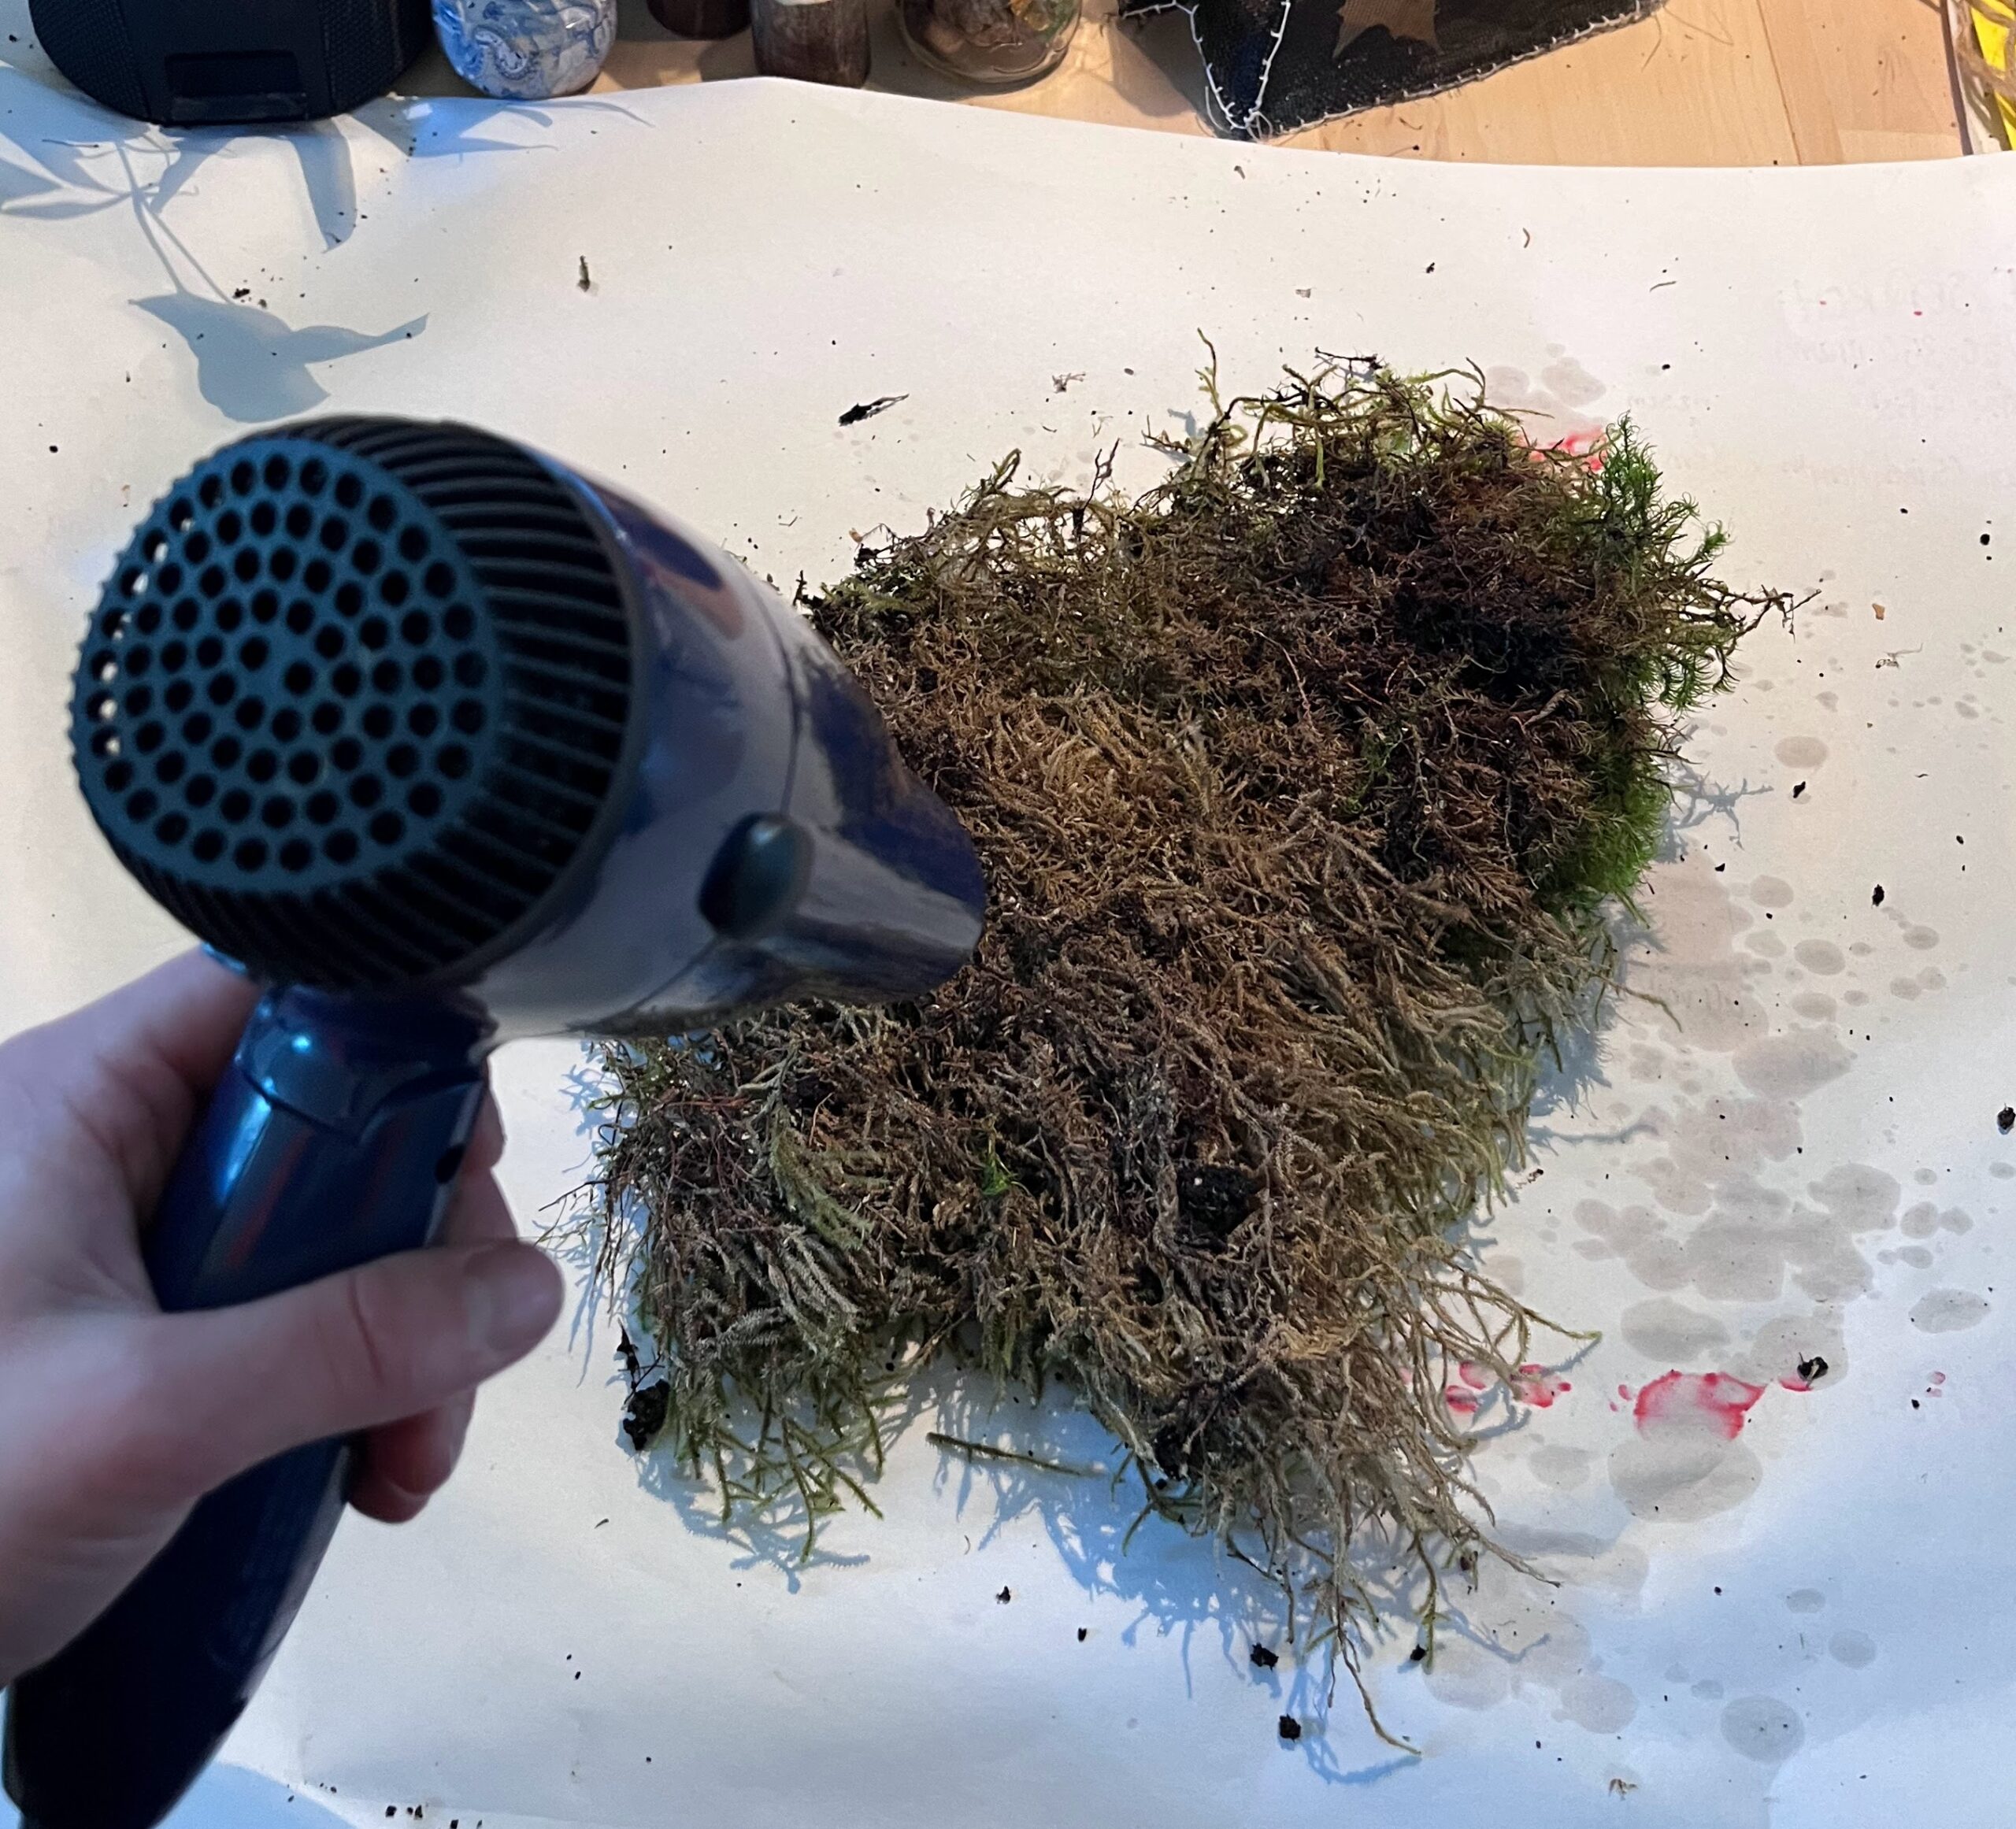
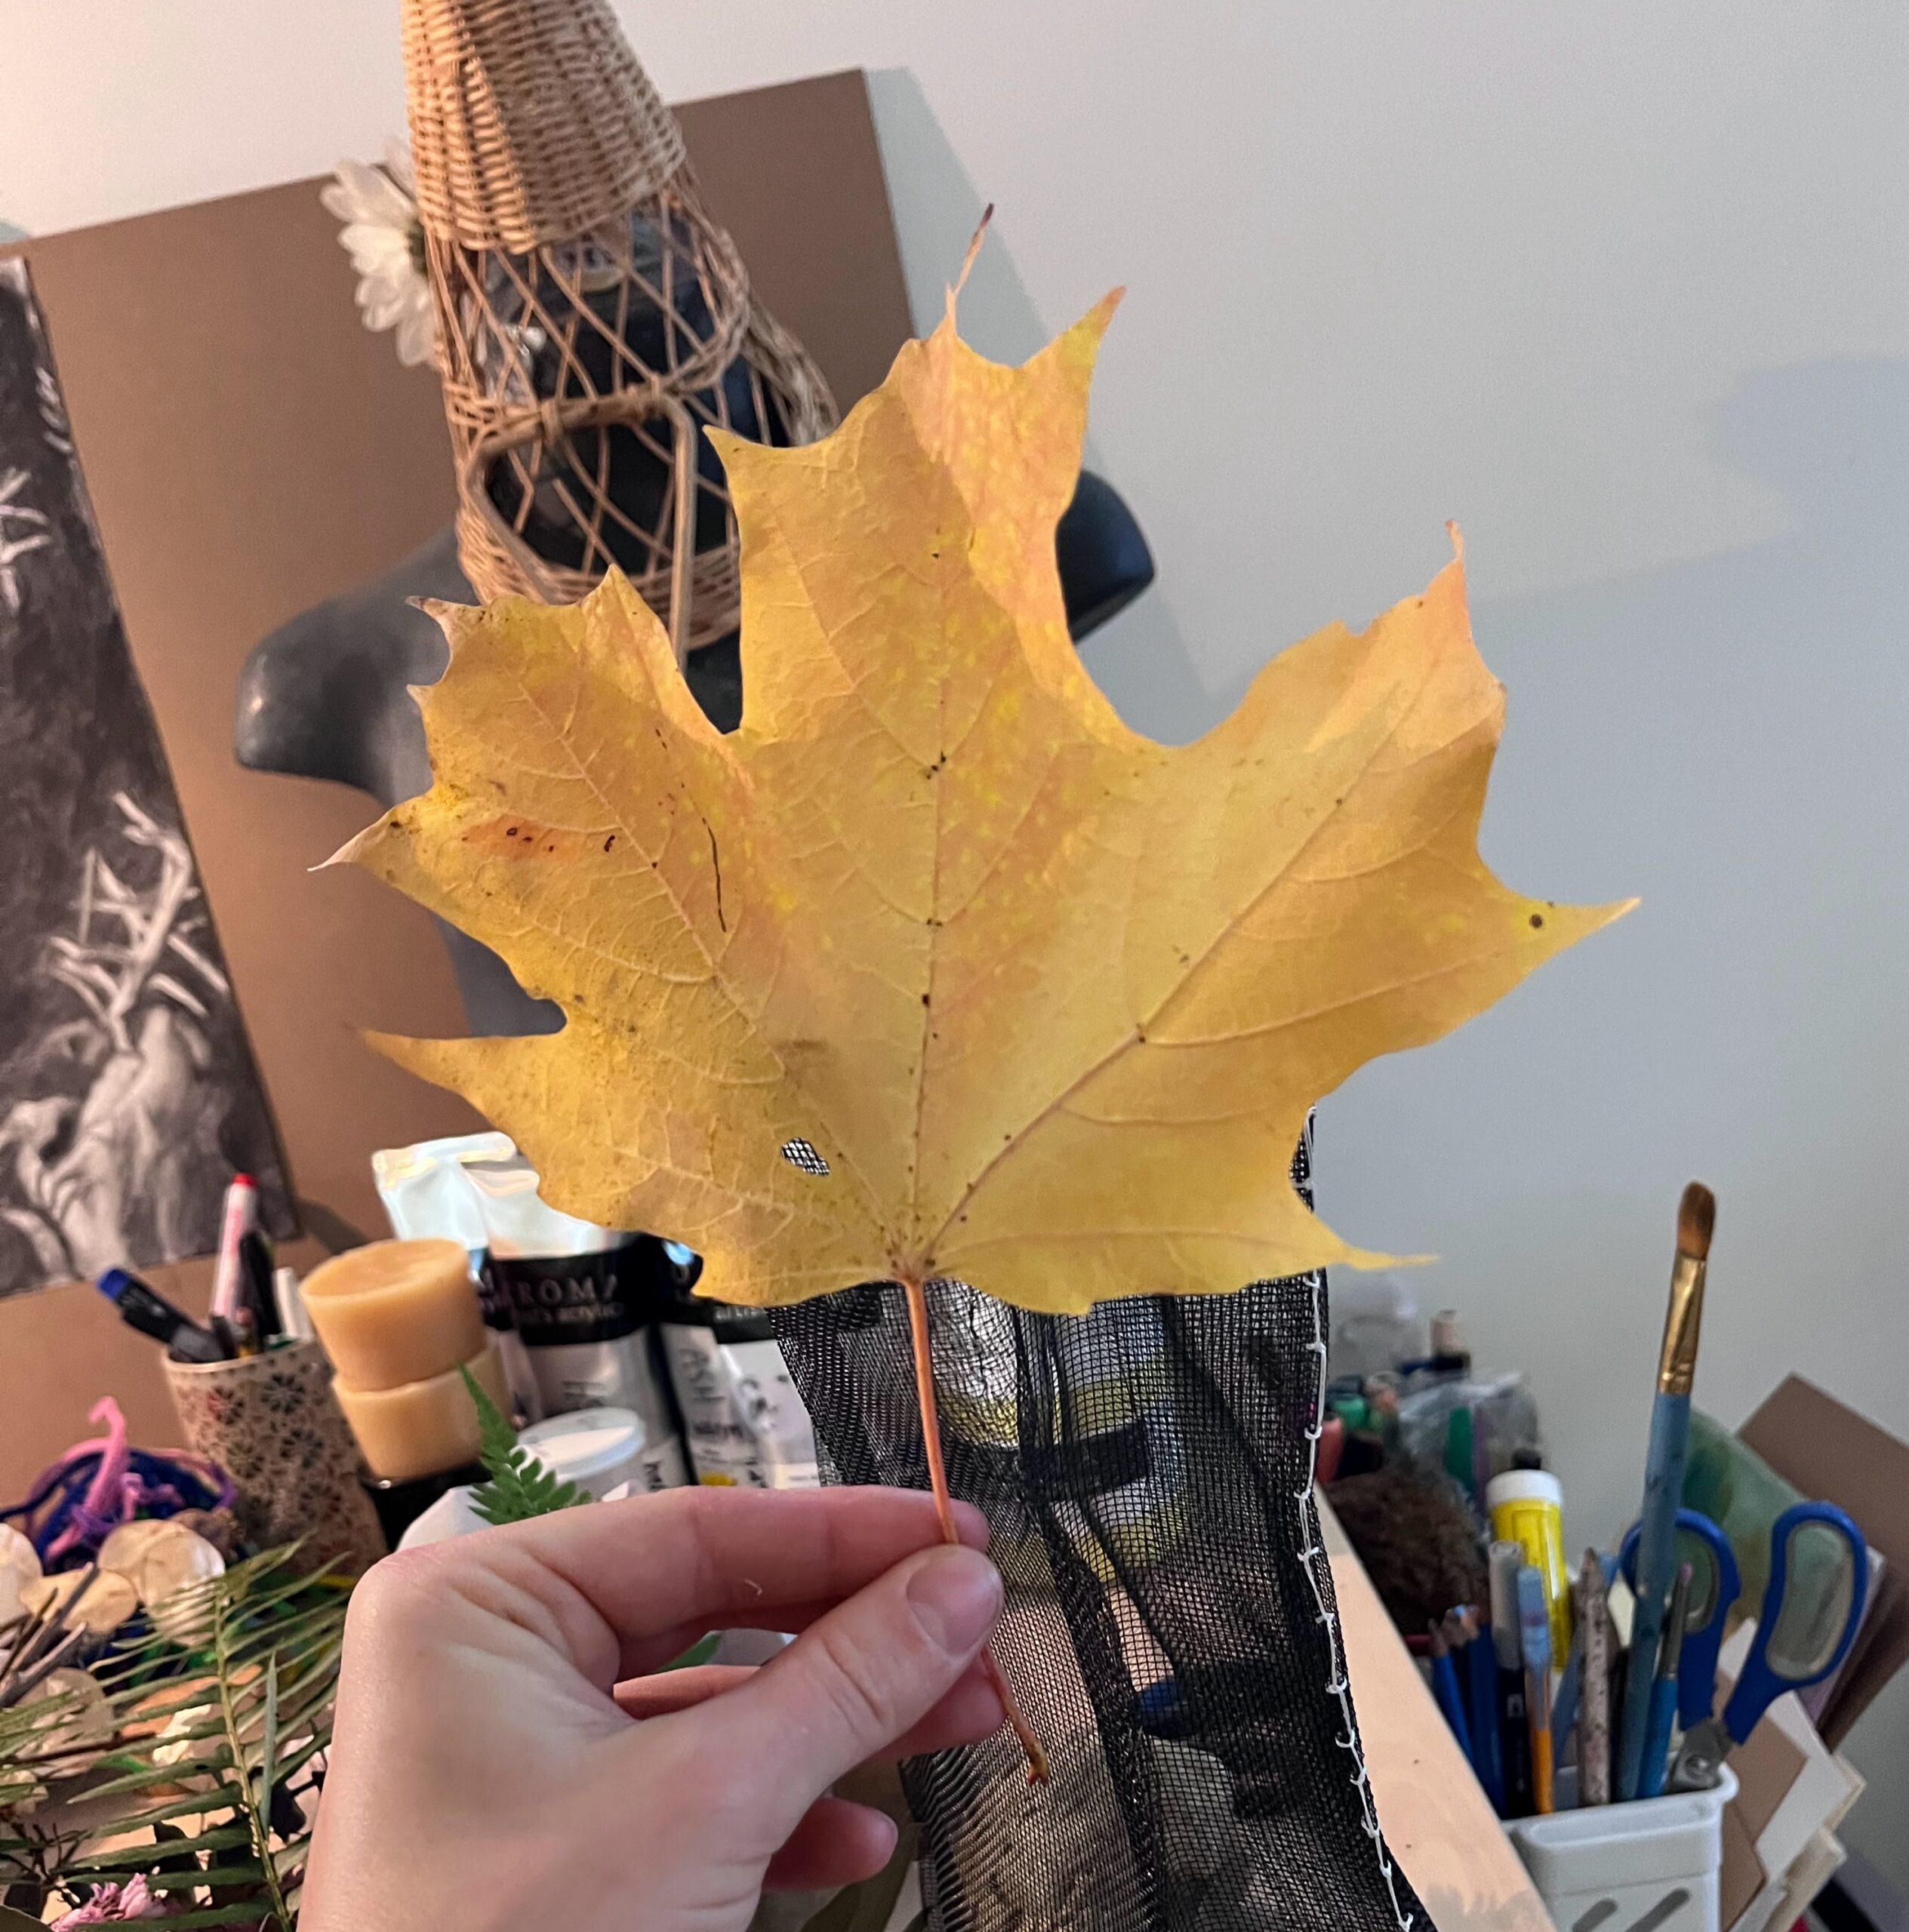
I decided to get started at collecting the moss and upon my walk in the woods near my house I found some beautiful fern leaves and bright fallen maple leaves. I would also need something to weigh the bag down while I decorated the mesh bag and took some rocks as well. Then I brought it all home and began to dry the moss. (Pictured above).
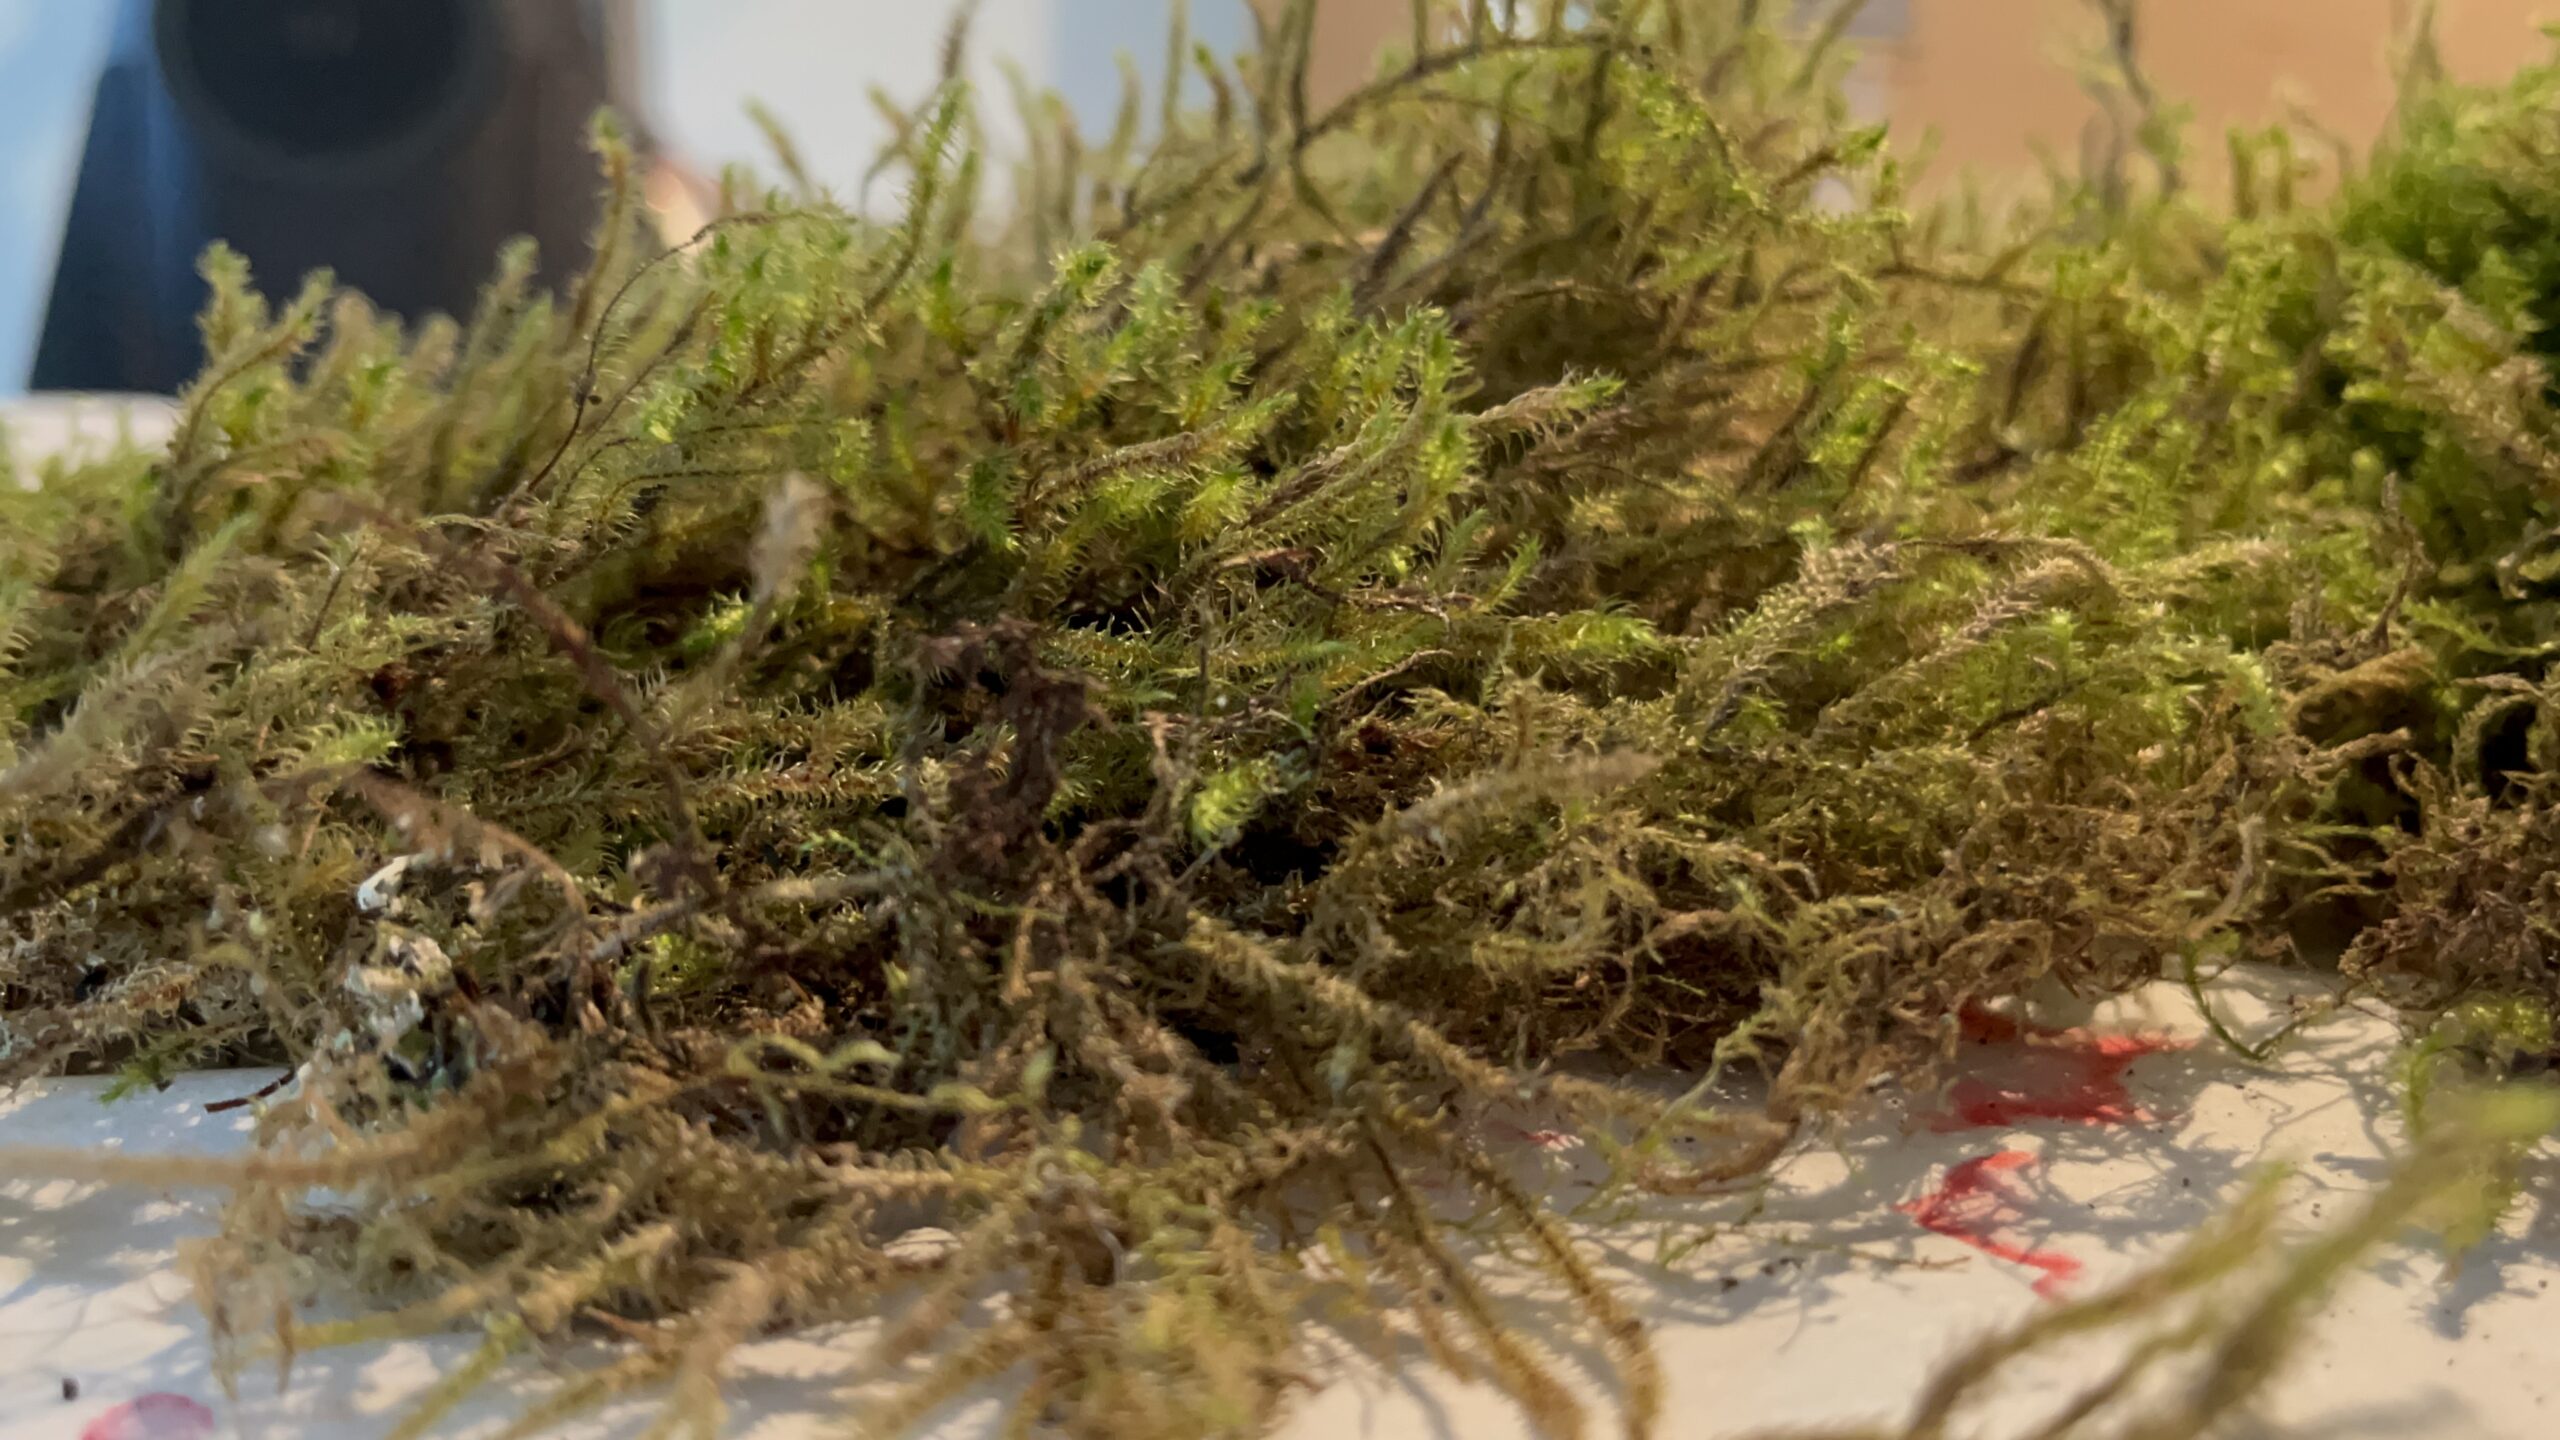
As I dried the moss and studied my objects I realized just how incredible nature is at creating edge. The moss, arguably the best at doing so. Both the moss living on the edge of trees and rocks, it collects water and houses insects that thrive. Mosses survive on the thin layer of water and dirt that gathers on the surfaces of the rocks and trees as well as the light that cascades onto surfaces. This is the epitomy of “edge effect” and I witnessed how else it cultivates edge while I dried it. I saw many wood bugs and other unknown insects scurry away and I captured them with glass to set them free outdoors.
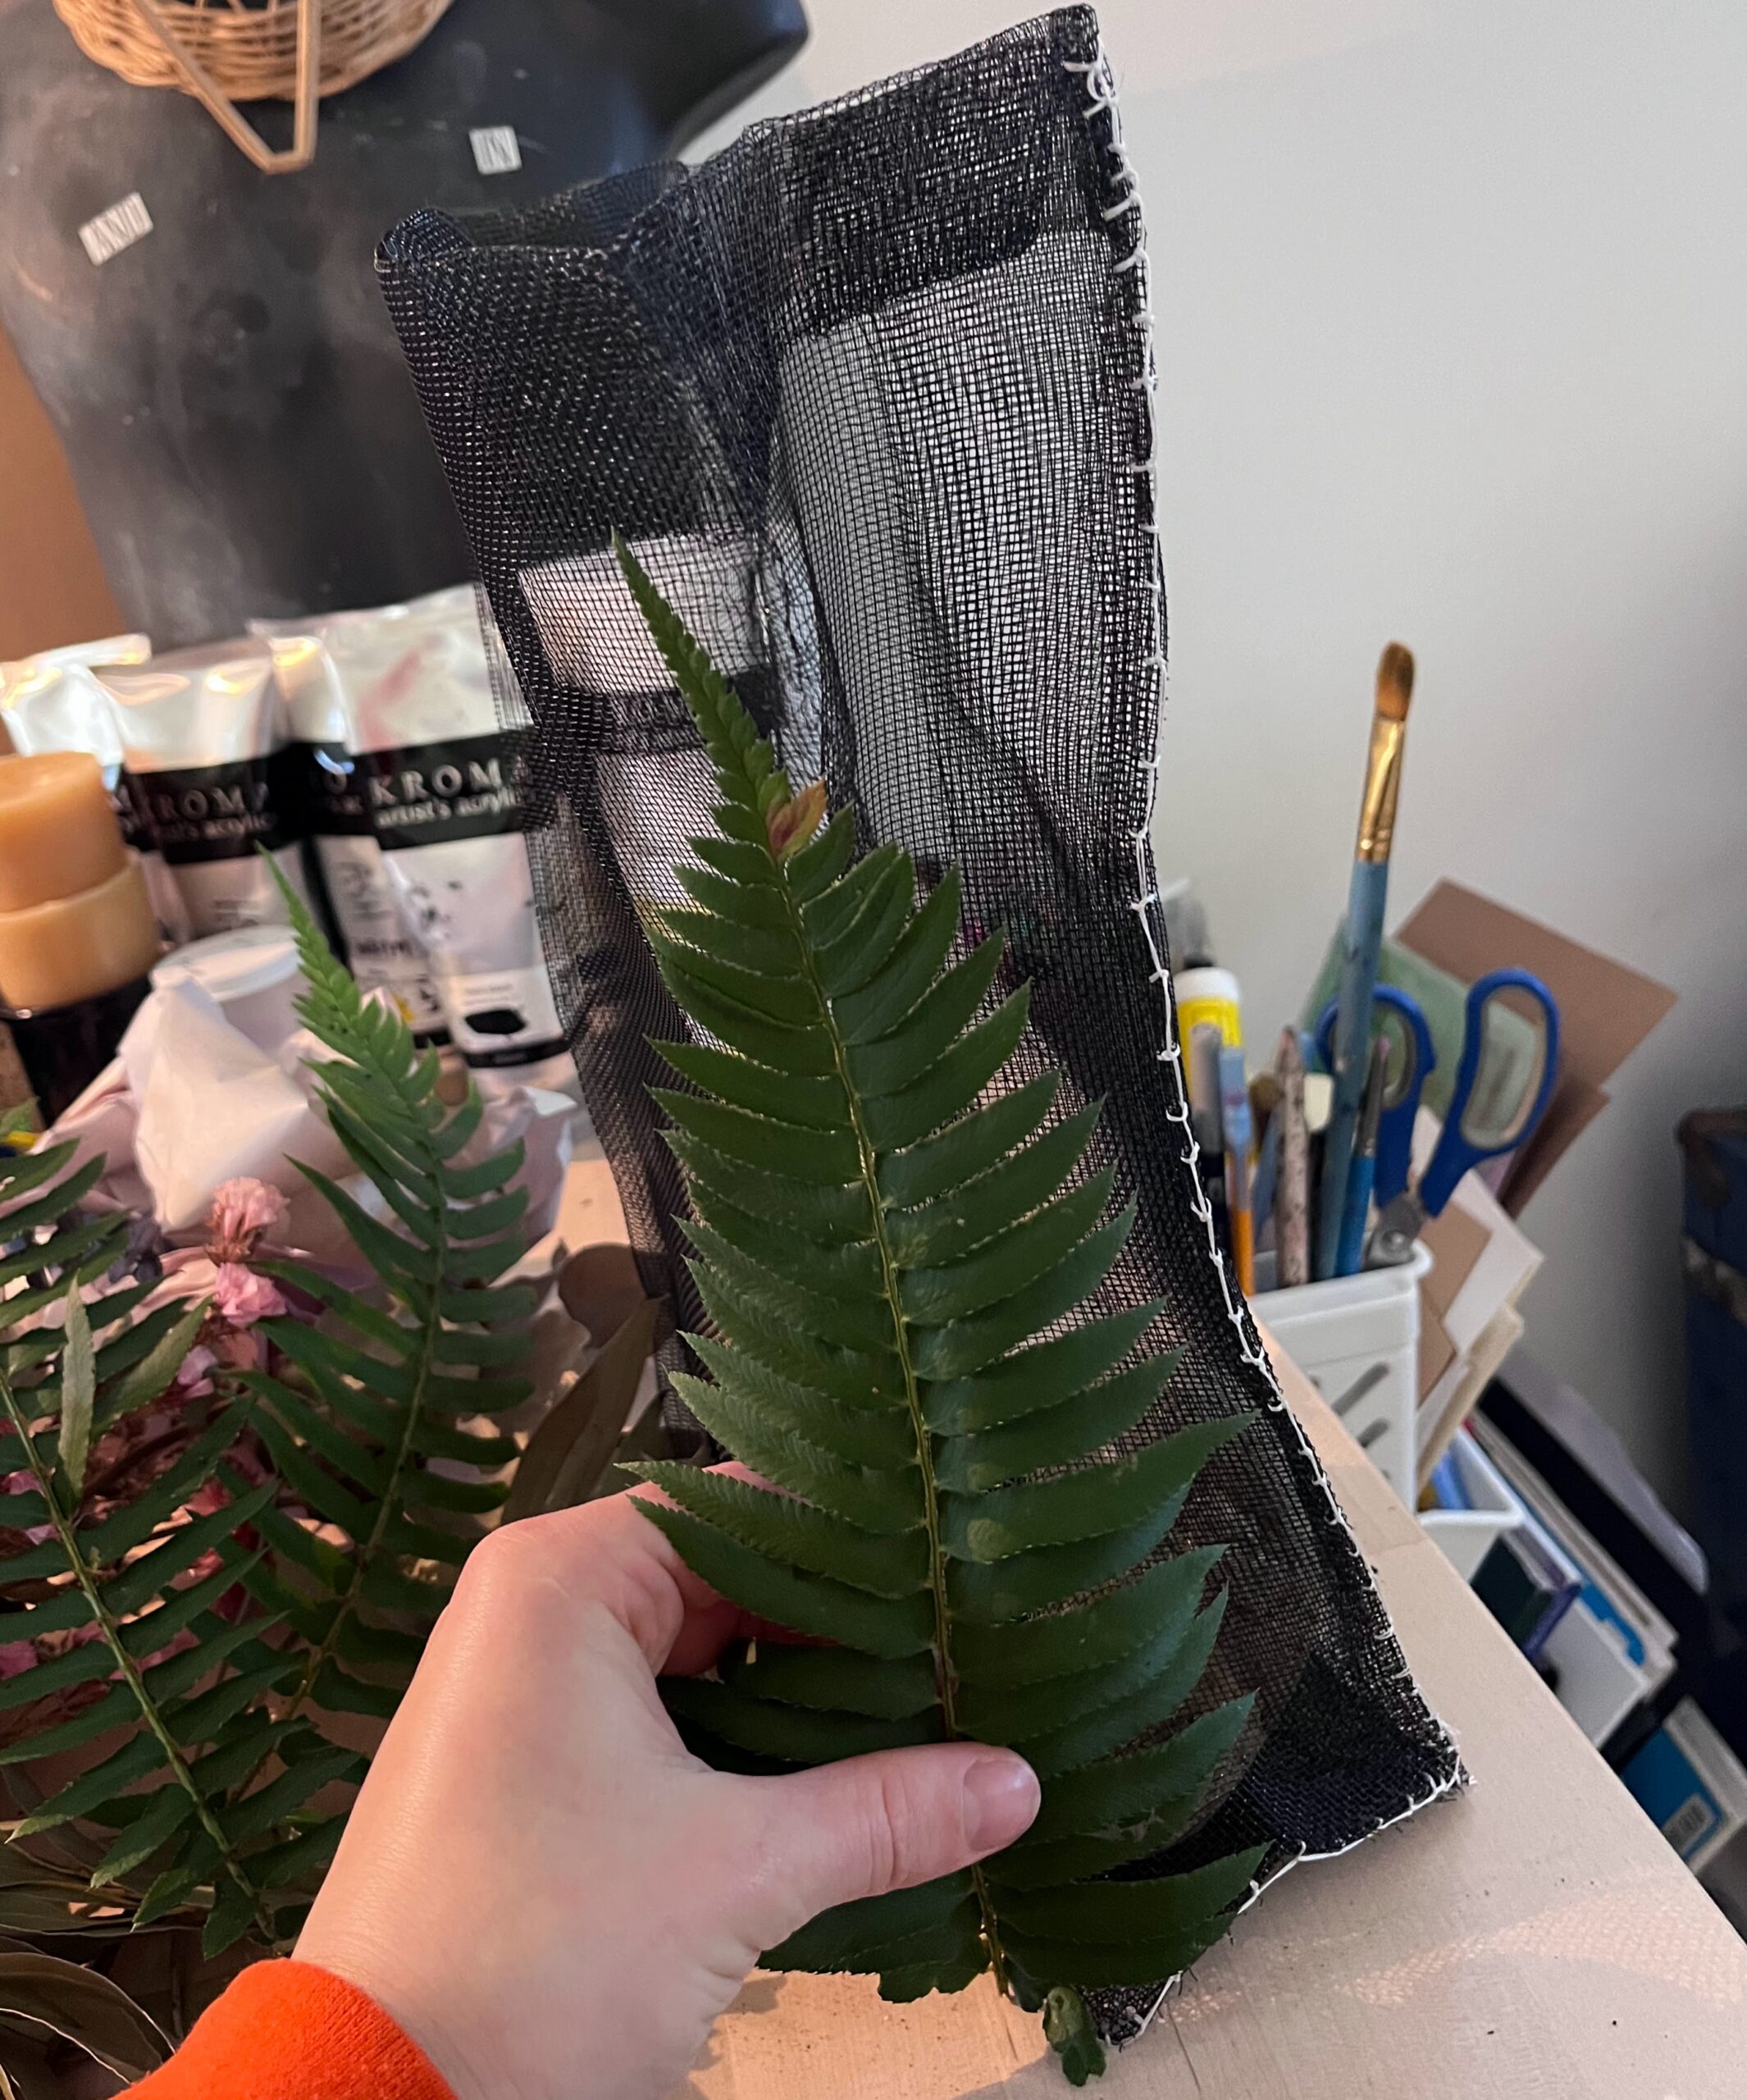
But the maple leaf and the fern were no exception to the incredible design of nature. They too were covered in edges and I thought about how these many edges helped in creating greater folds and surface area for capturing light, wind, and beneficial insects or bird. Nature really is the best designer.
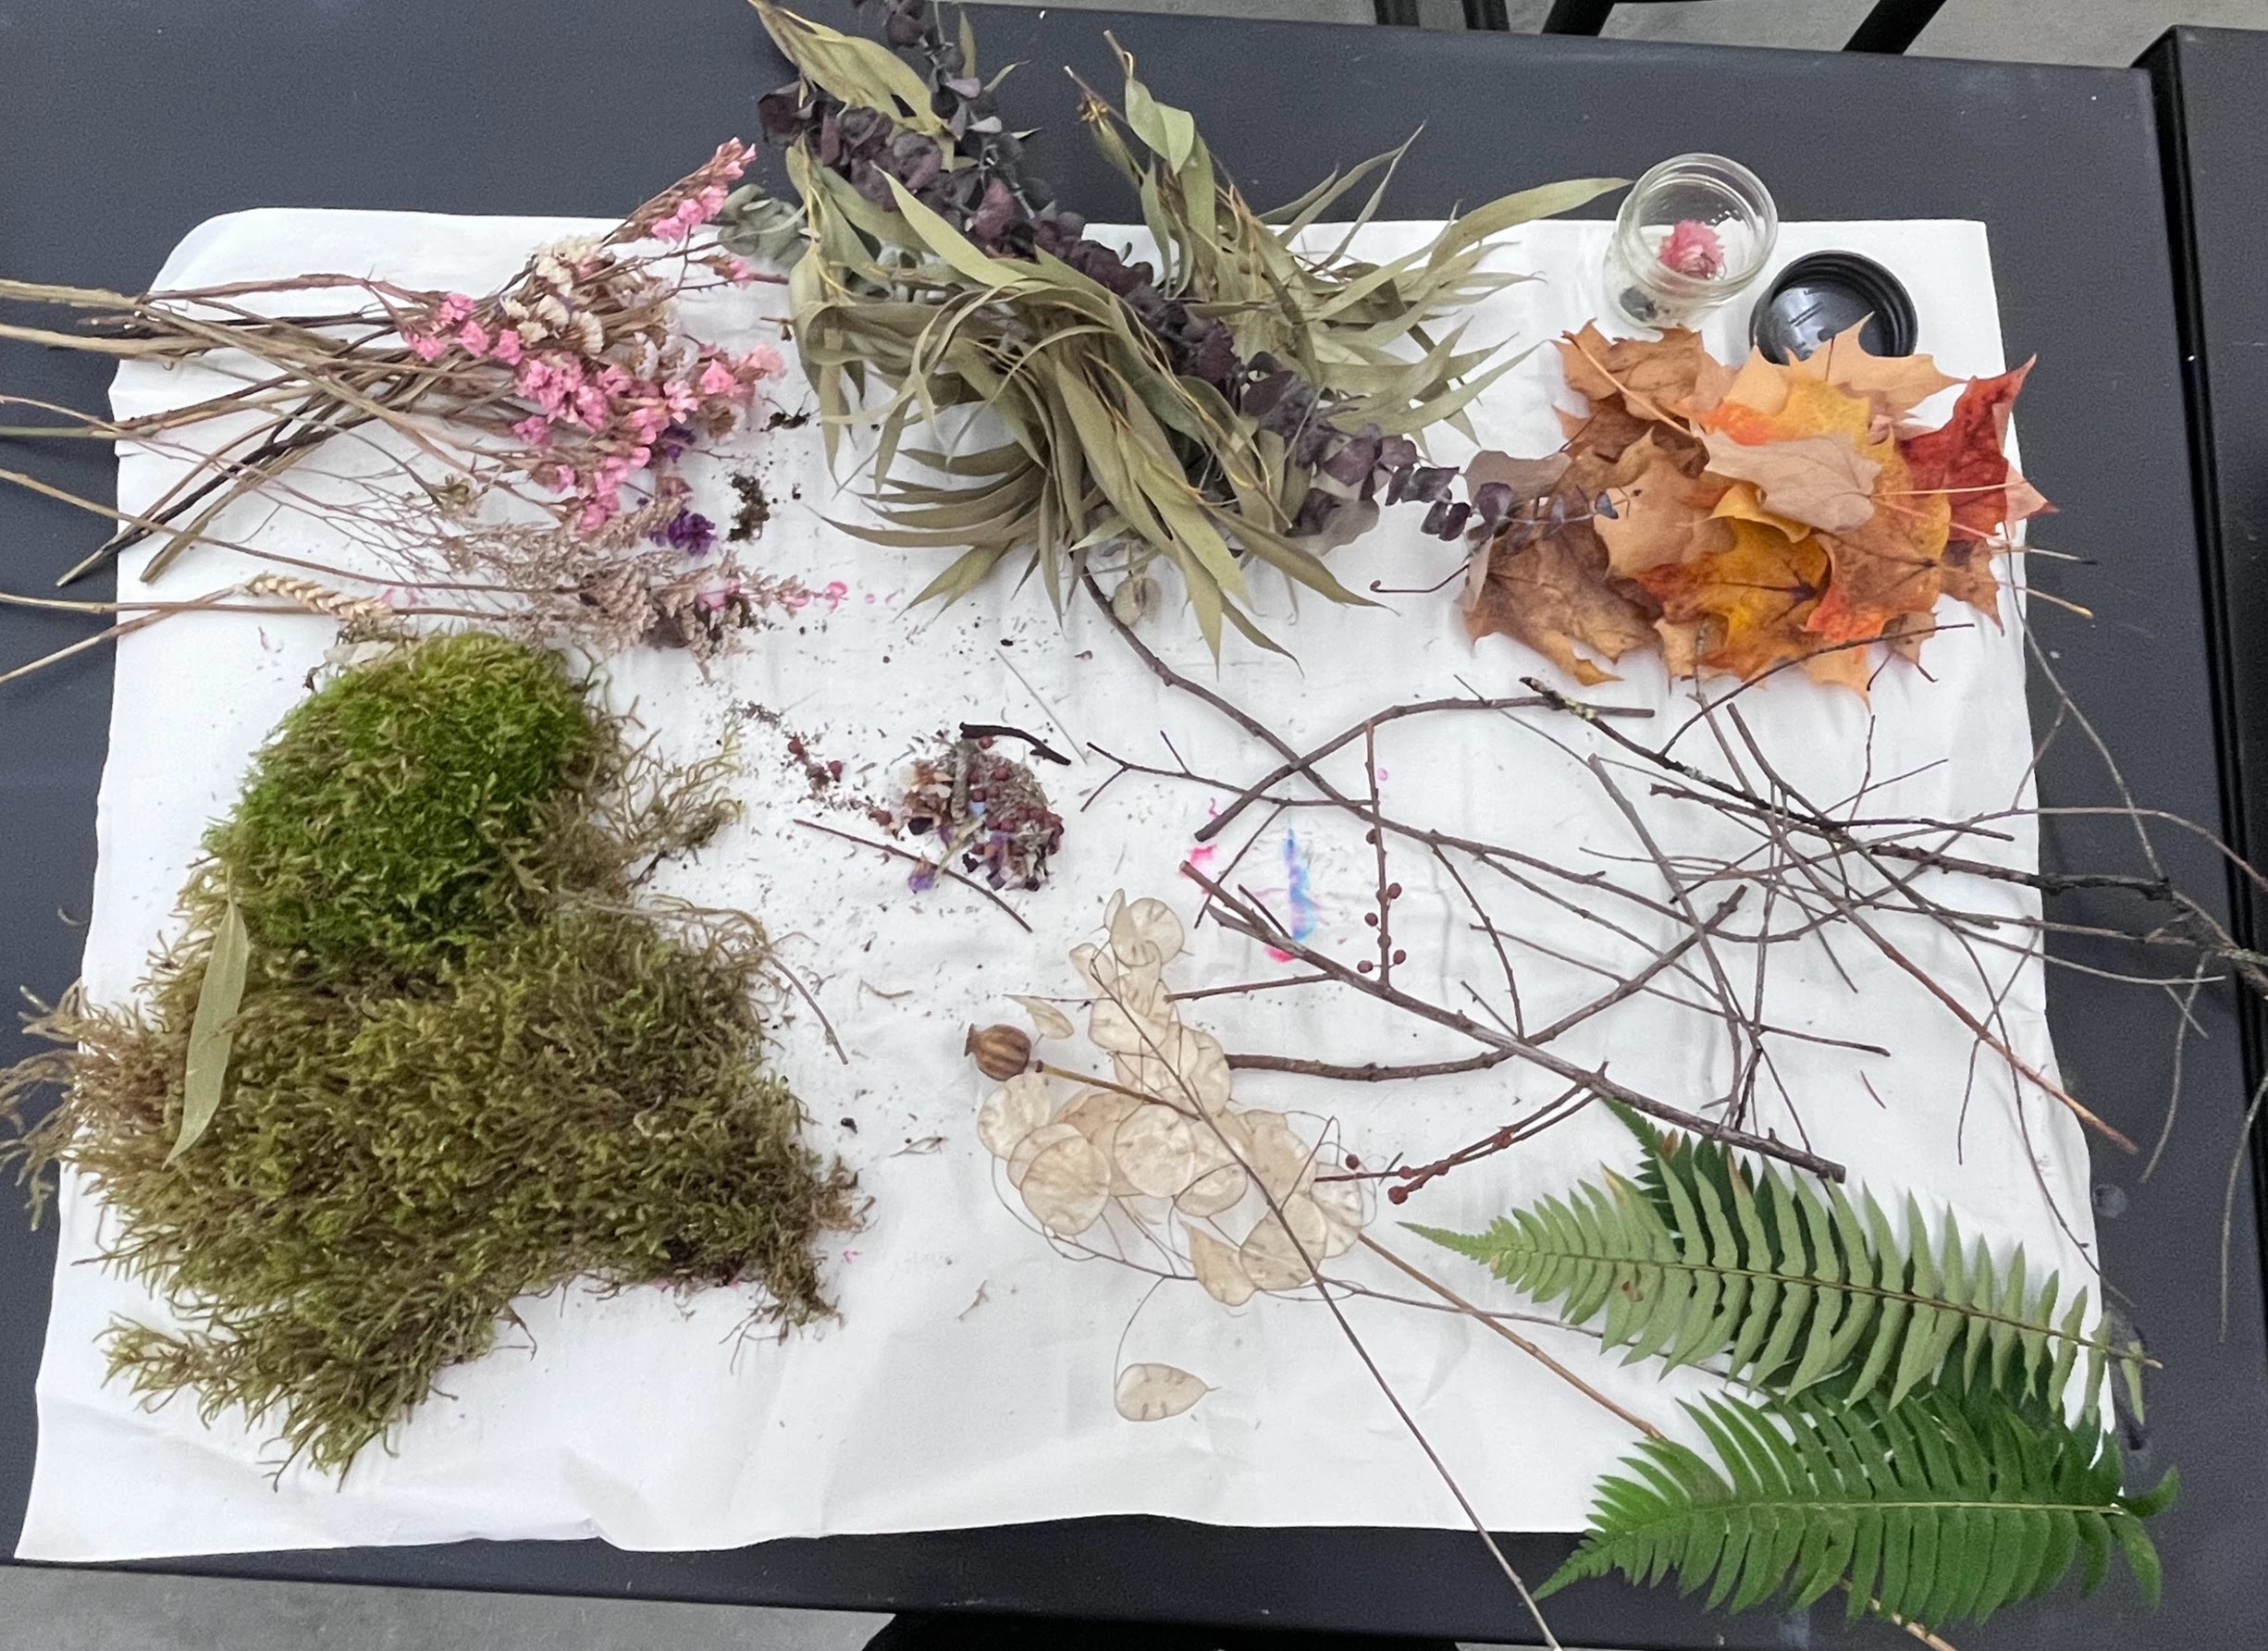

As I considered my materials and took photos of my bag I realized I already had some really beautiful dried flowers and plant matter in a dried bouquet sitting on my desk. I decided that along with some sticks found on the walk to the car could also add to the edgy scene being constructed on my bag, so I brought them with me for the assemblage.
I took my chosen materials and arranged them on the bag before glueing with hot glue. I decided hot glue would work fine and would be easy to pick off should I decide to compost my artwork following the end of the project. Content with the results, I moved onto the plaster bag.
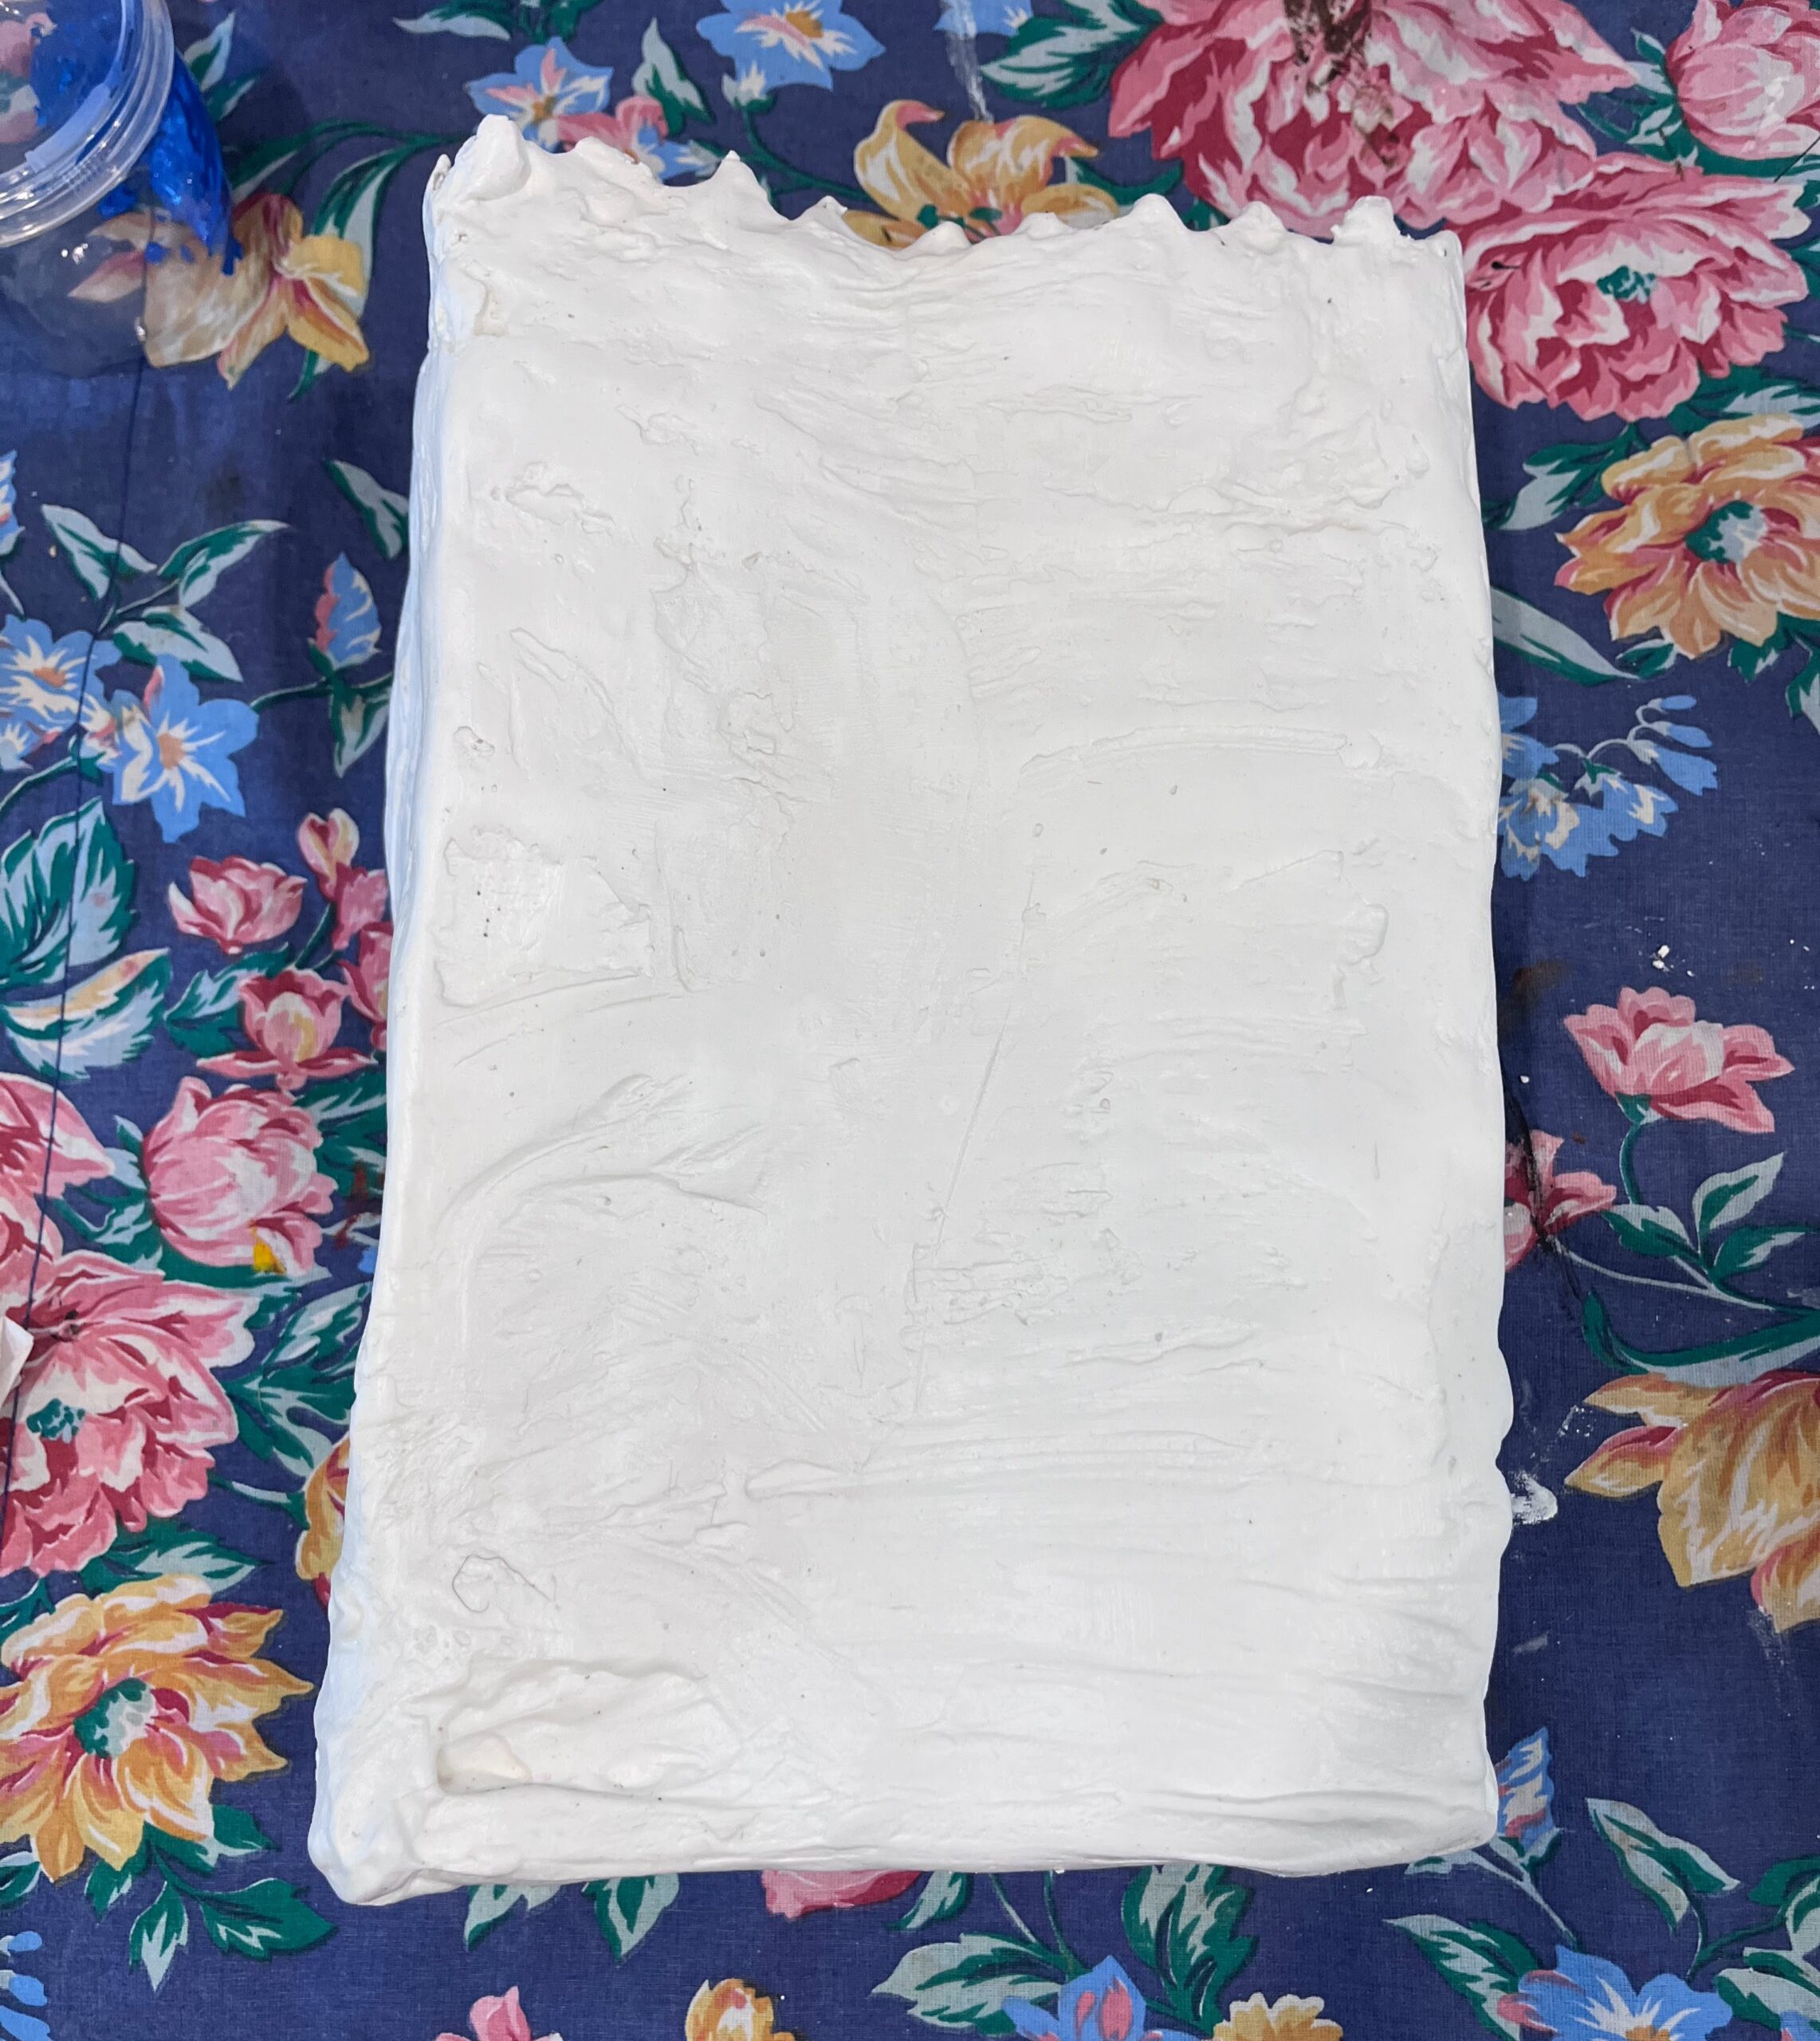

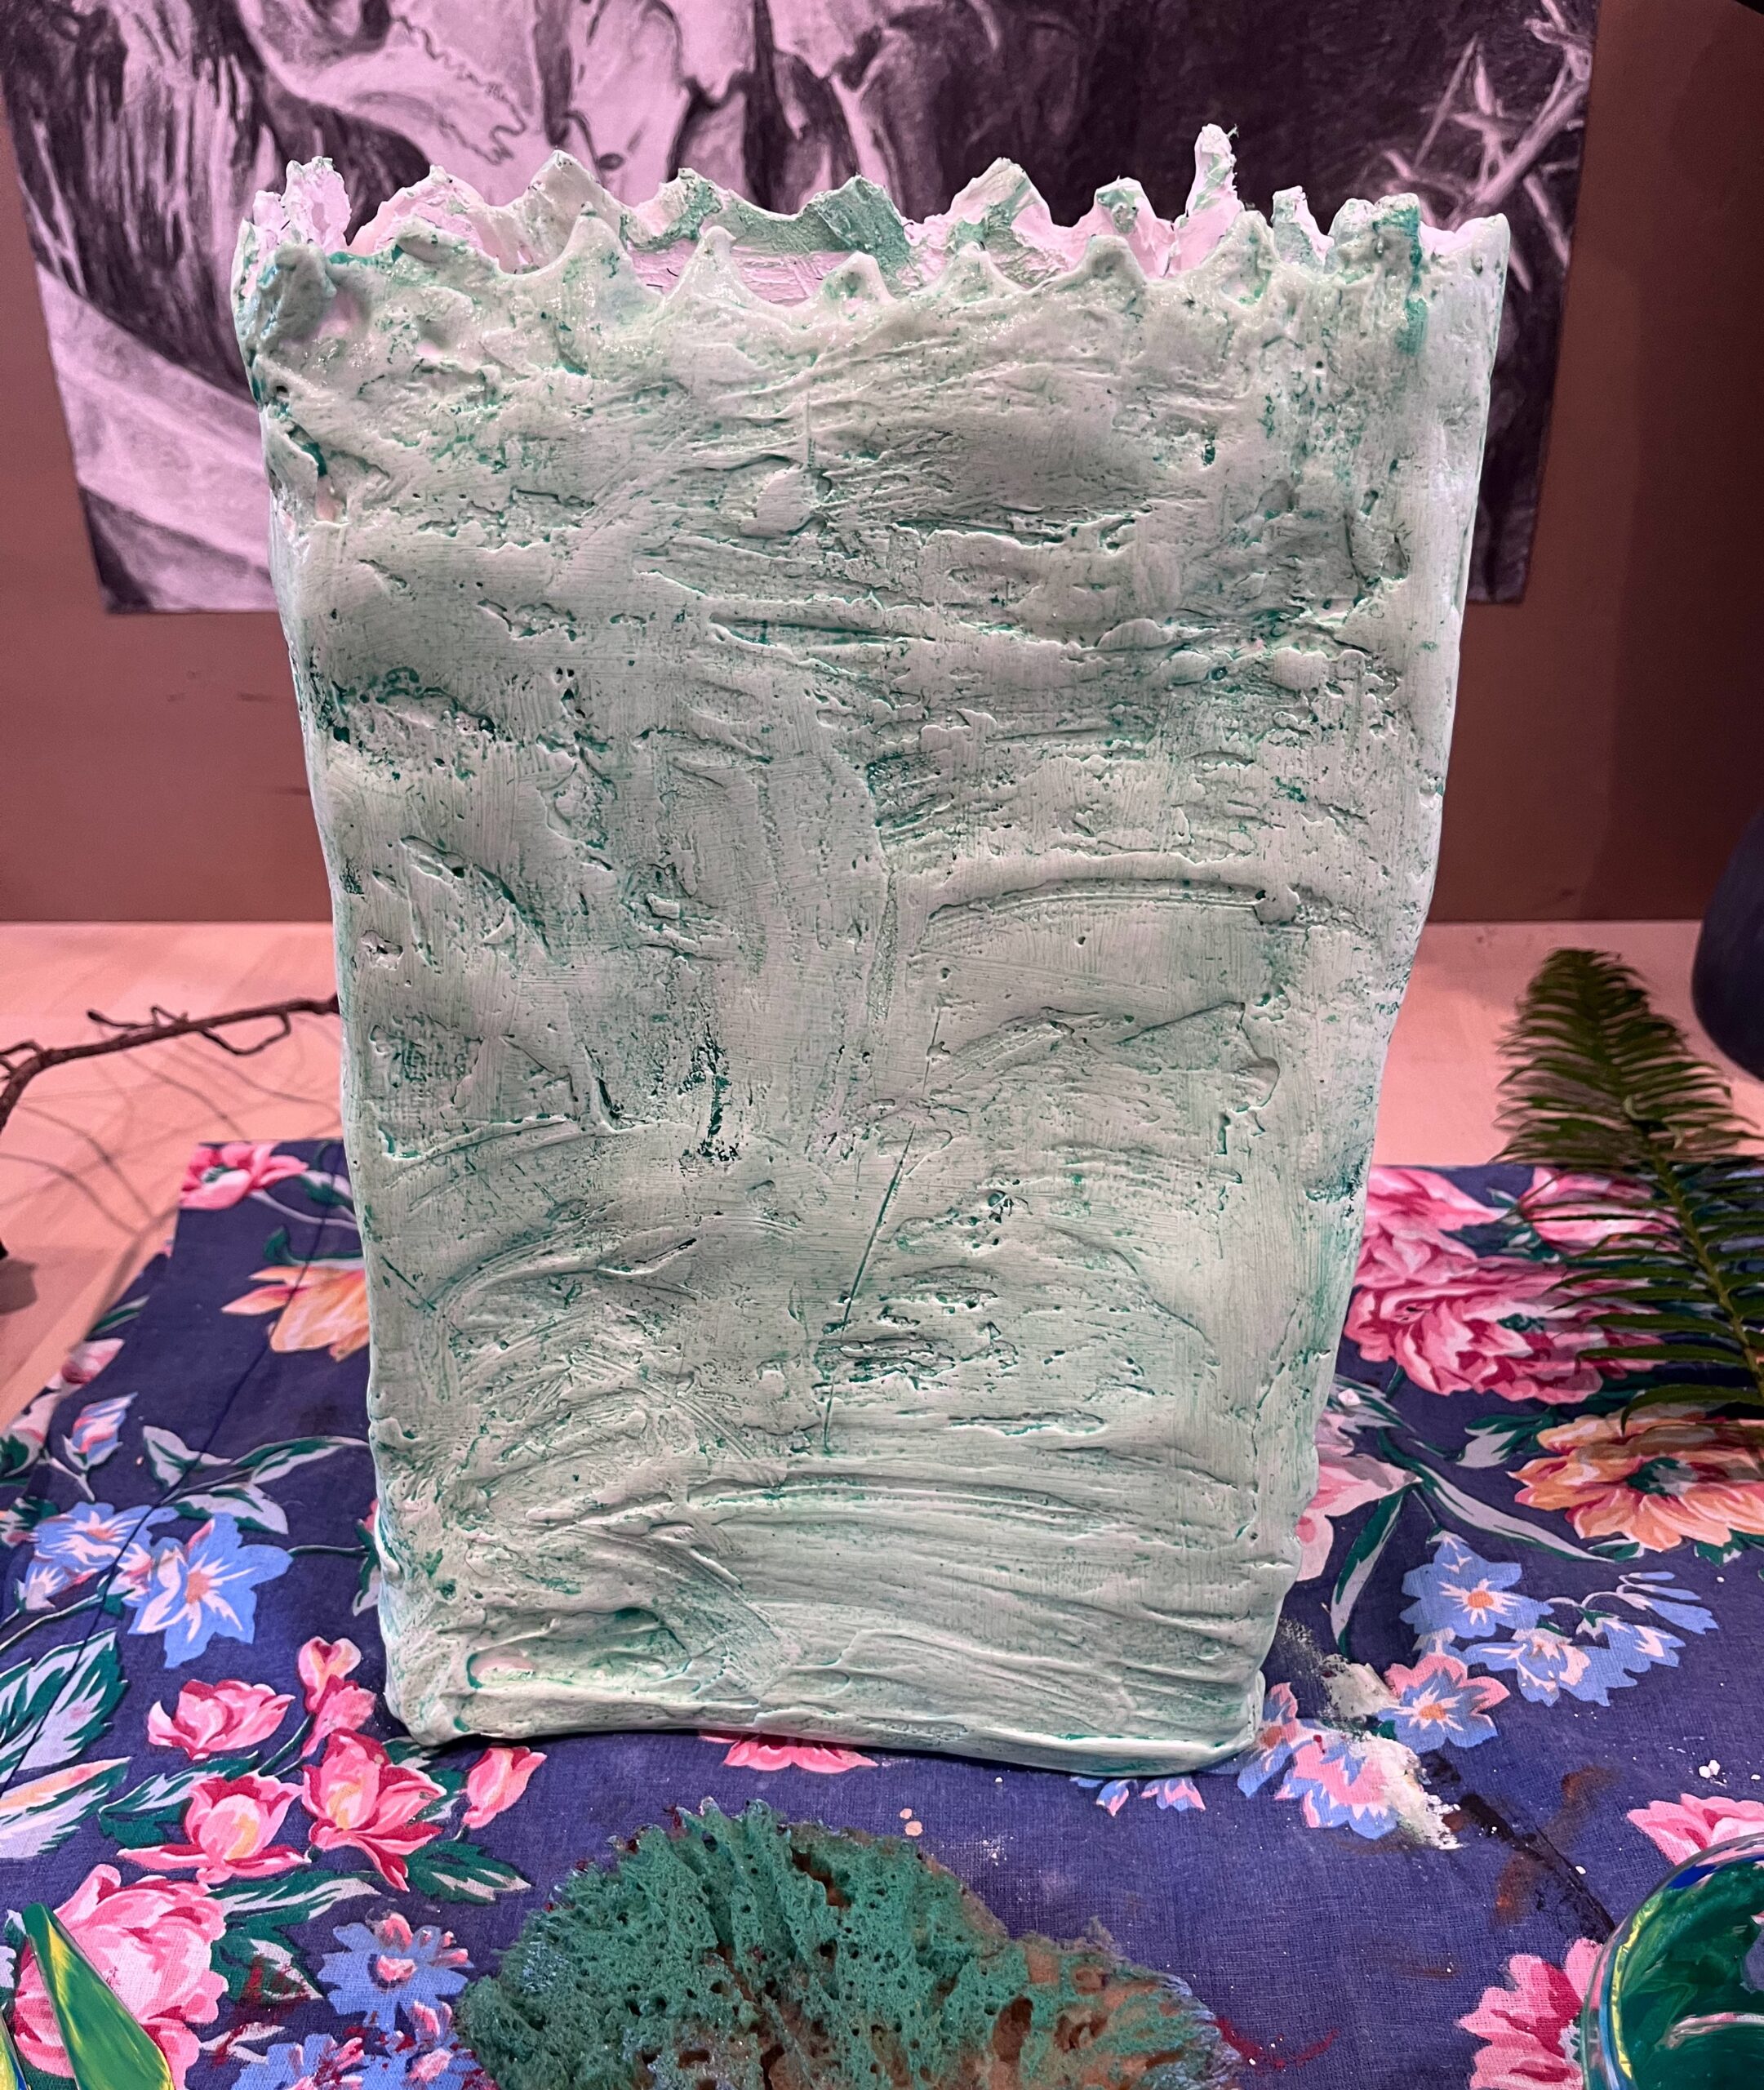
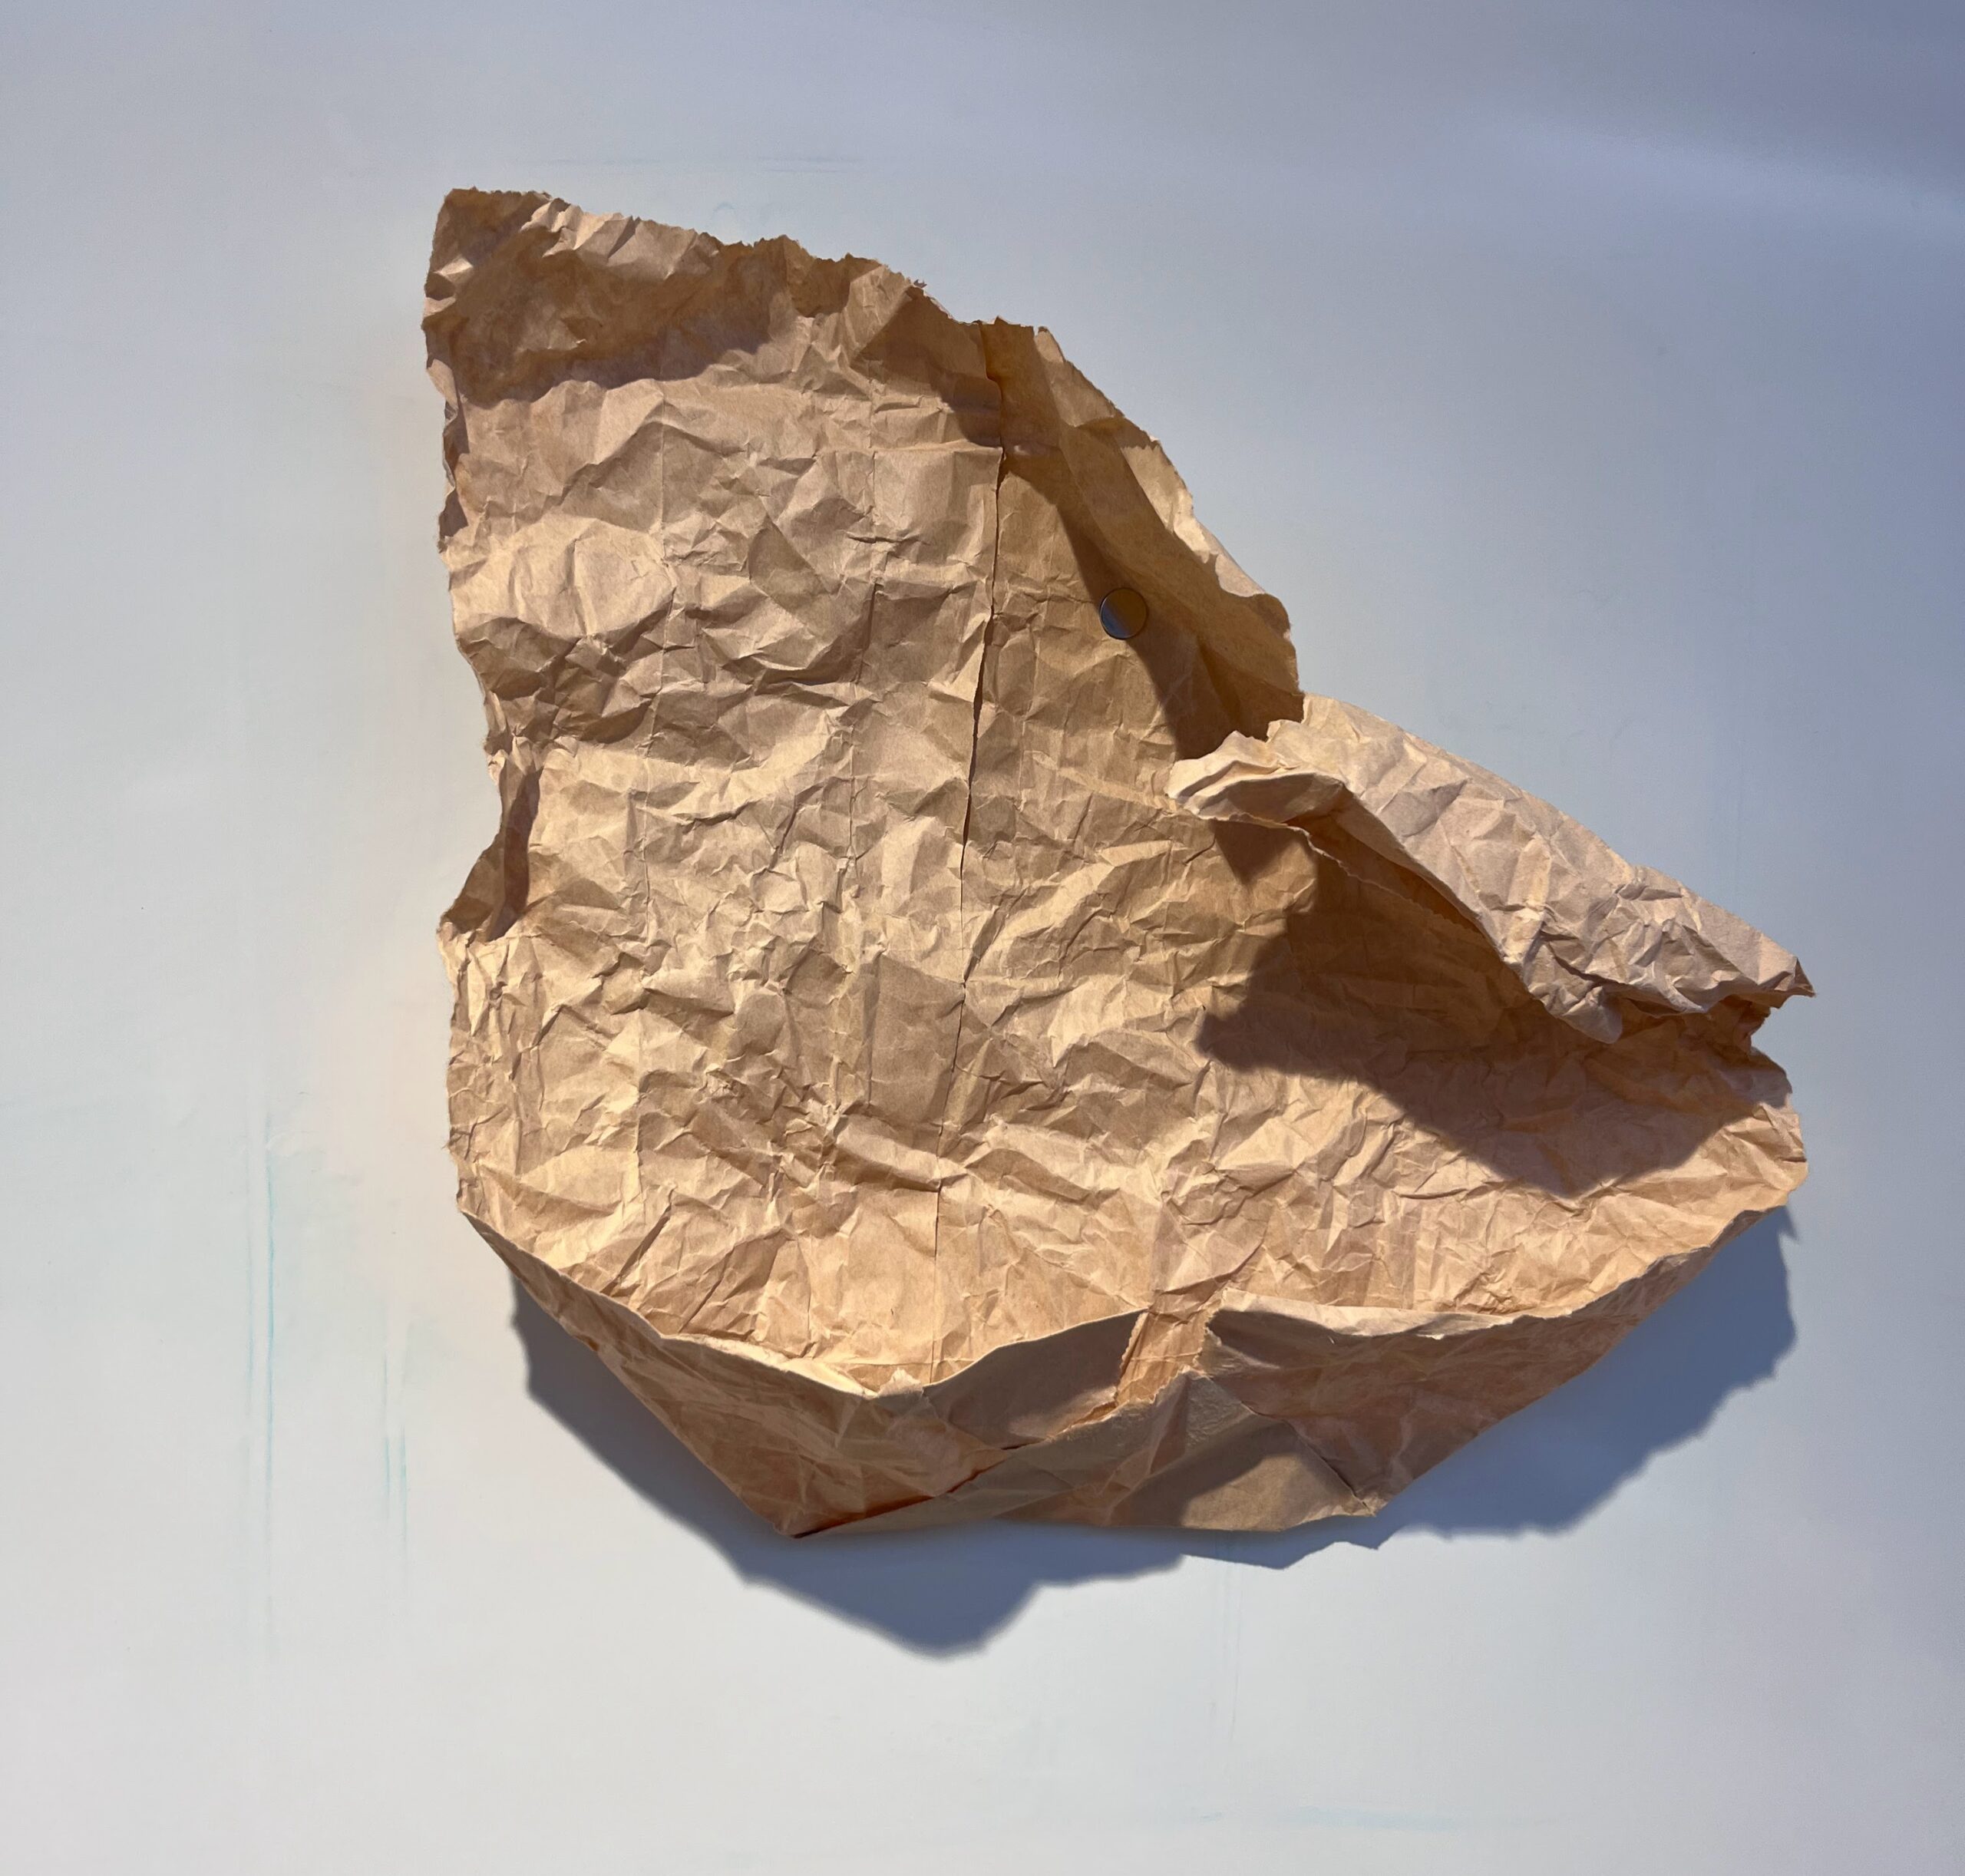
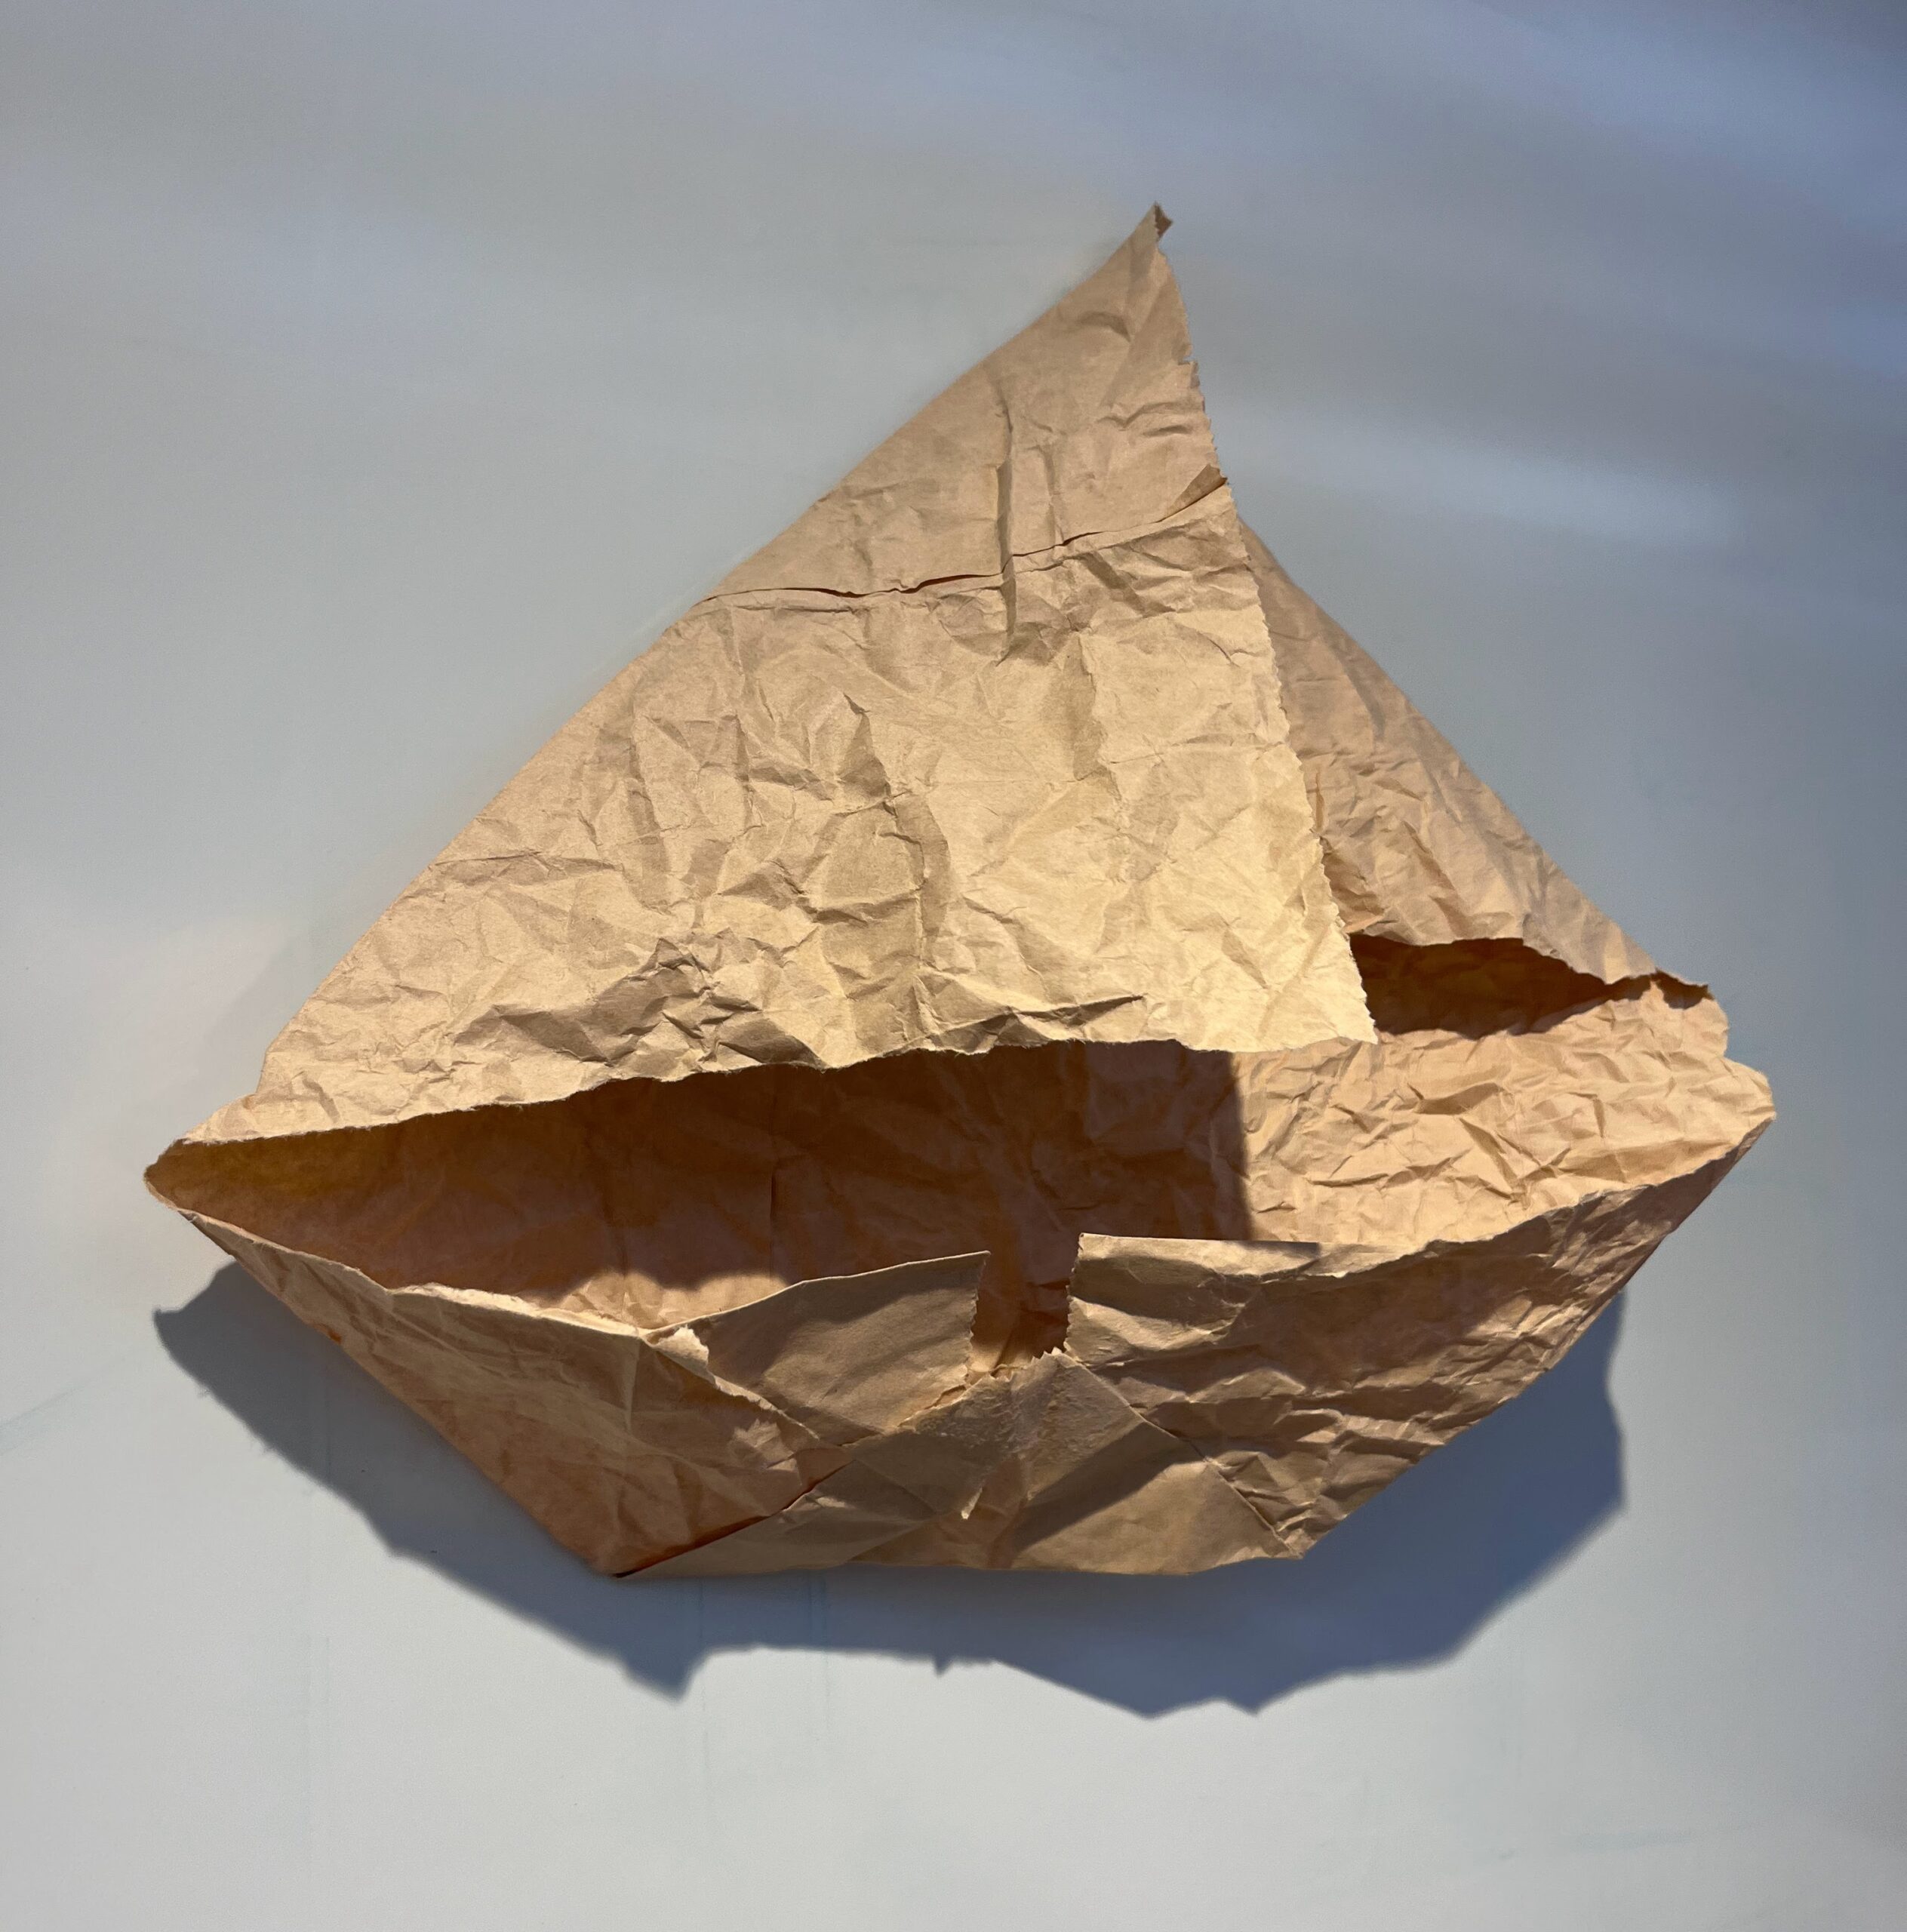
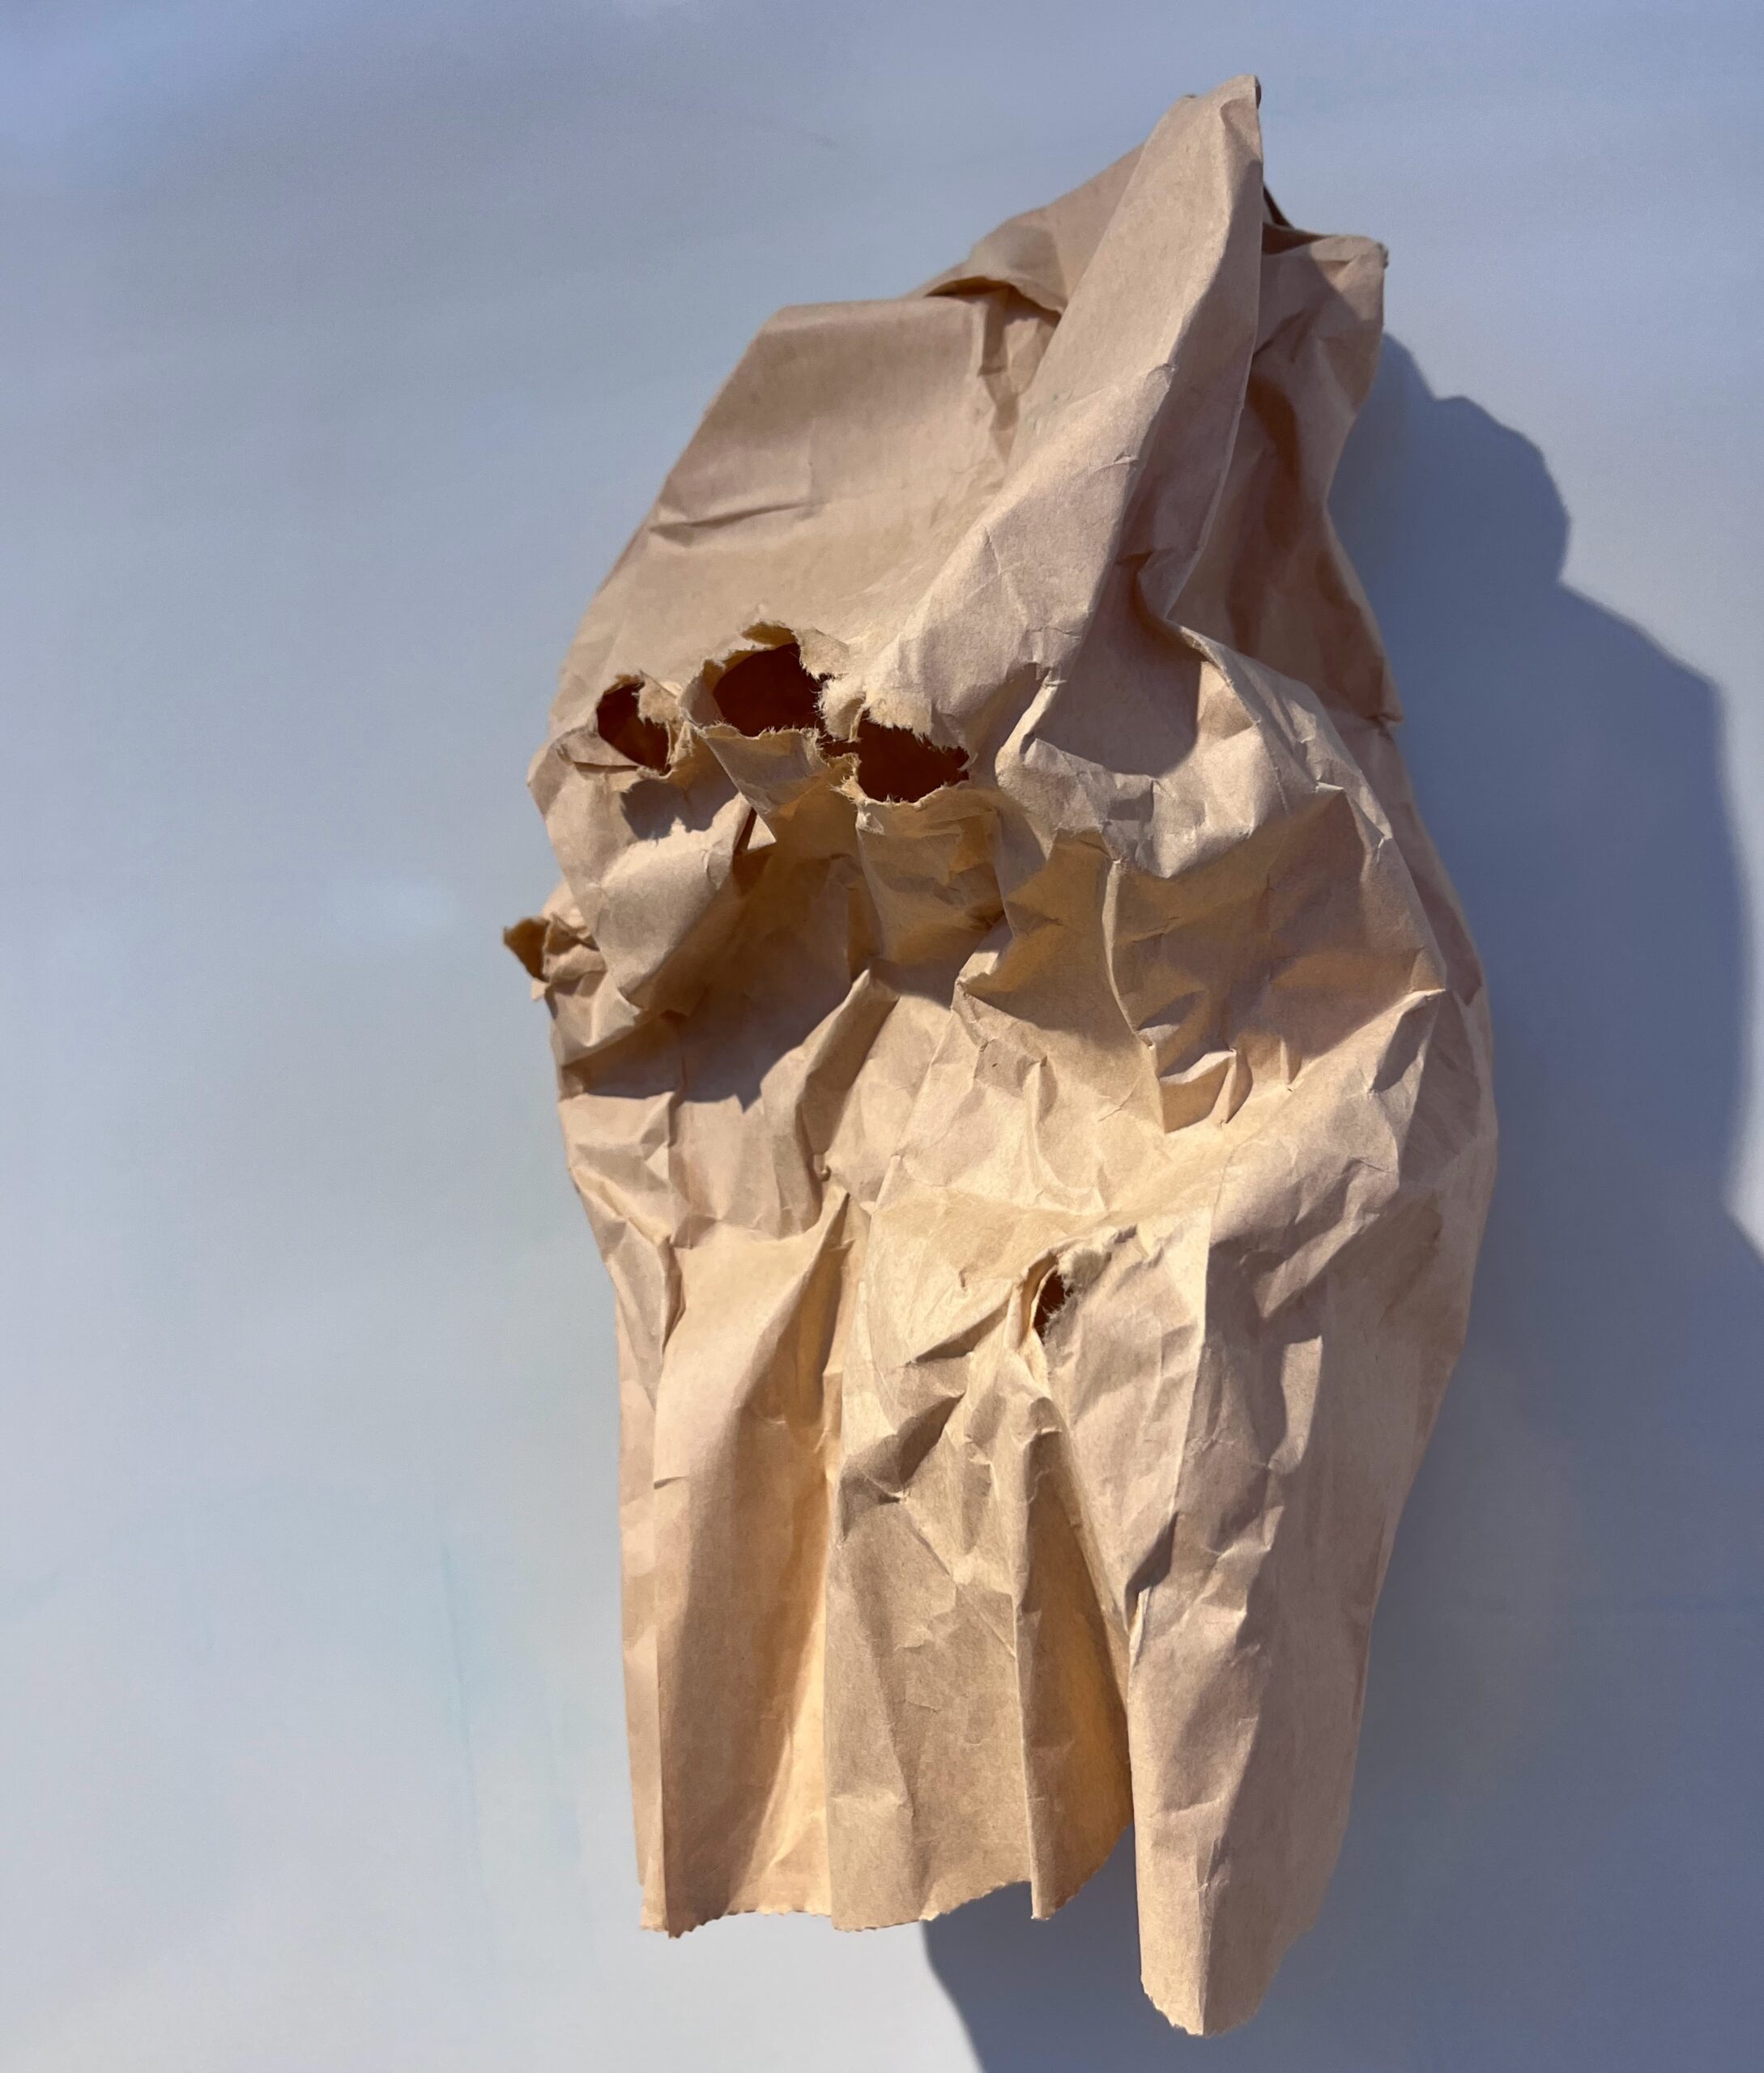
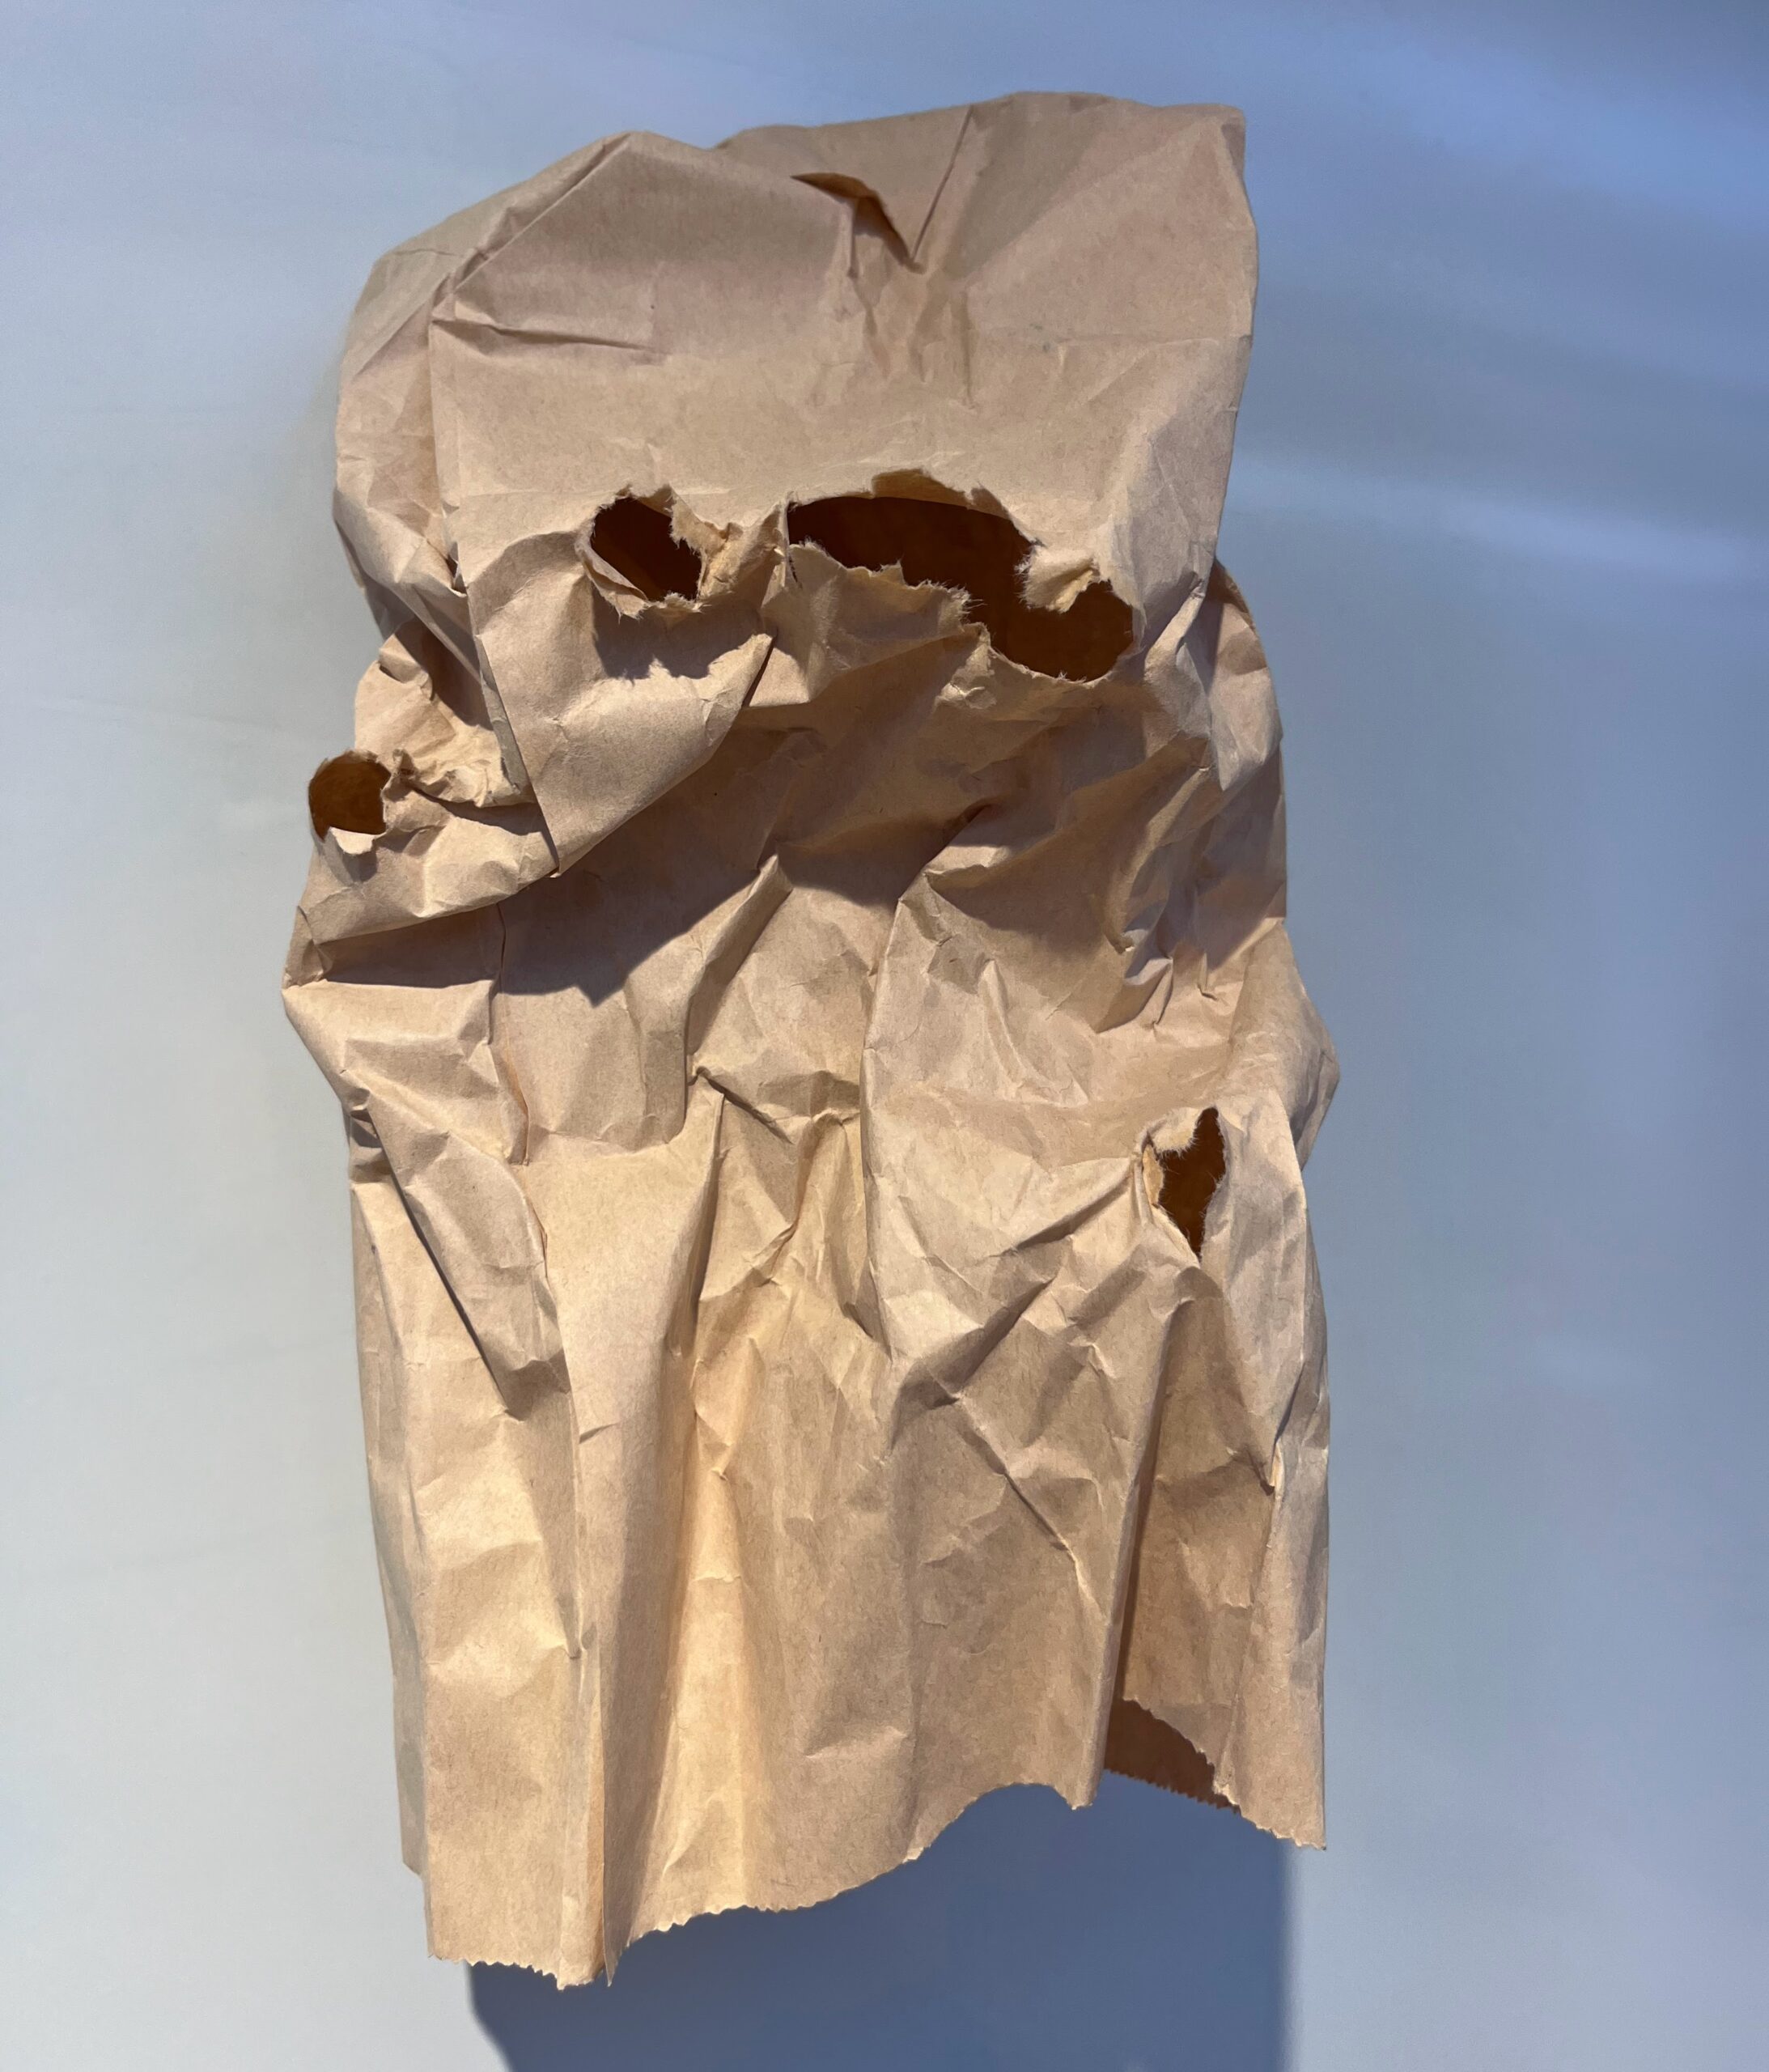
After spending so much time thinking about the mesh bag, I started to feel a little blank about the plaster bag. There were so many directions I could take it. One think I new for certain was that I wanted the top of the bag to be cut like triangles to imitate the way a traditional paper bag looks. I plastered the bag and pondered weather I would smooth it out or leave the textured finish. I decided on the texture as that looked more organic.
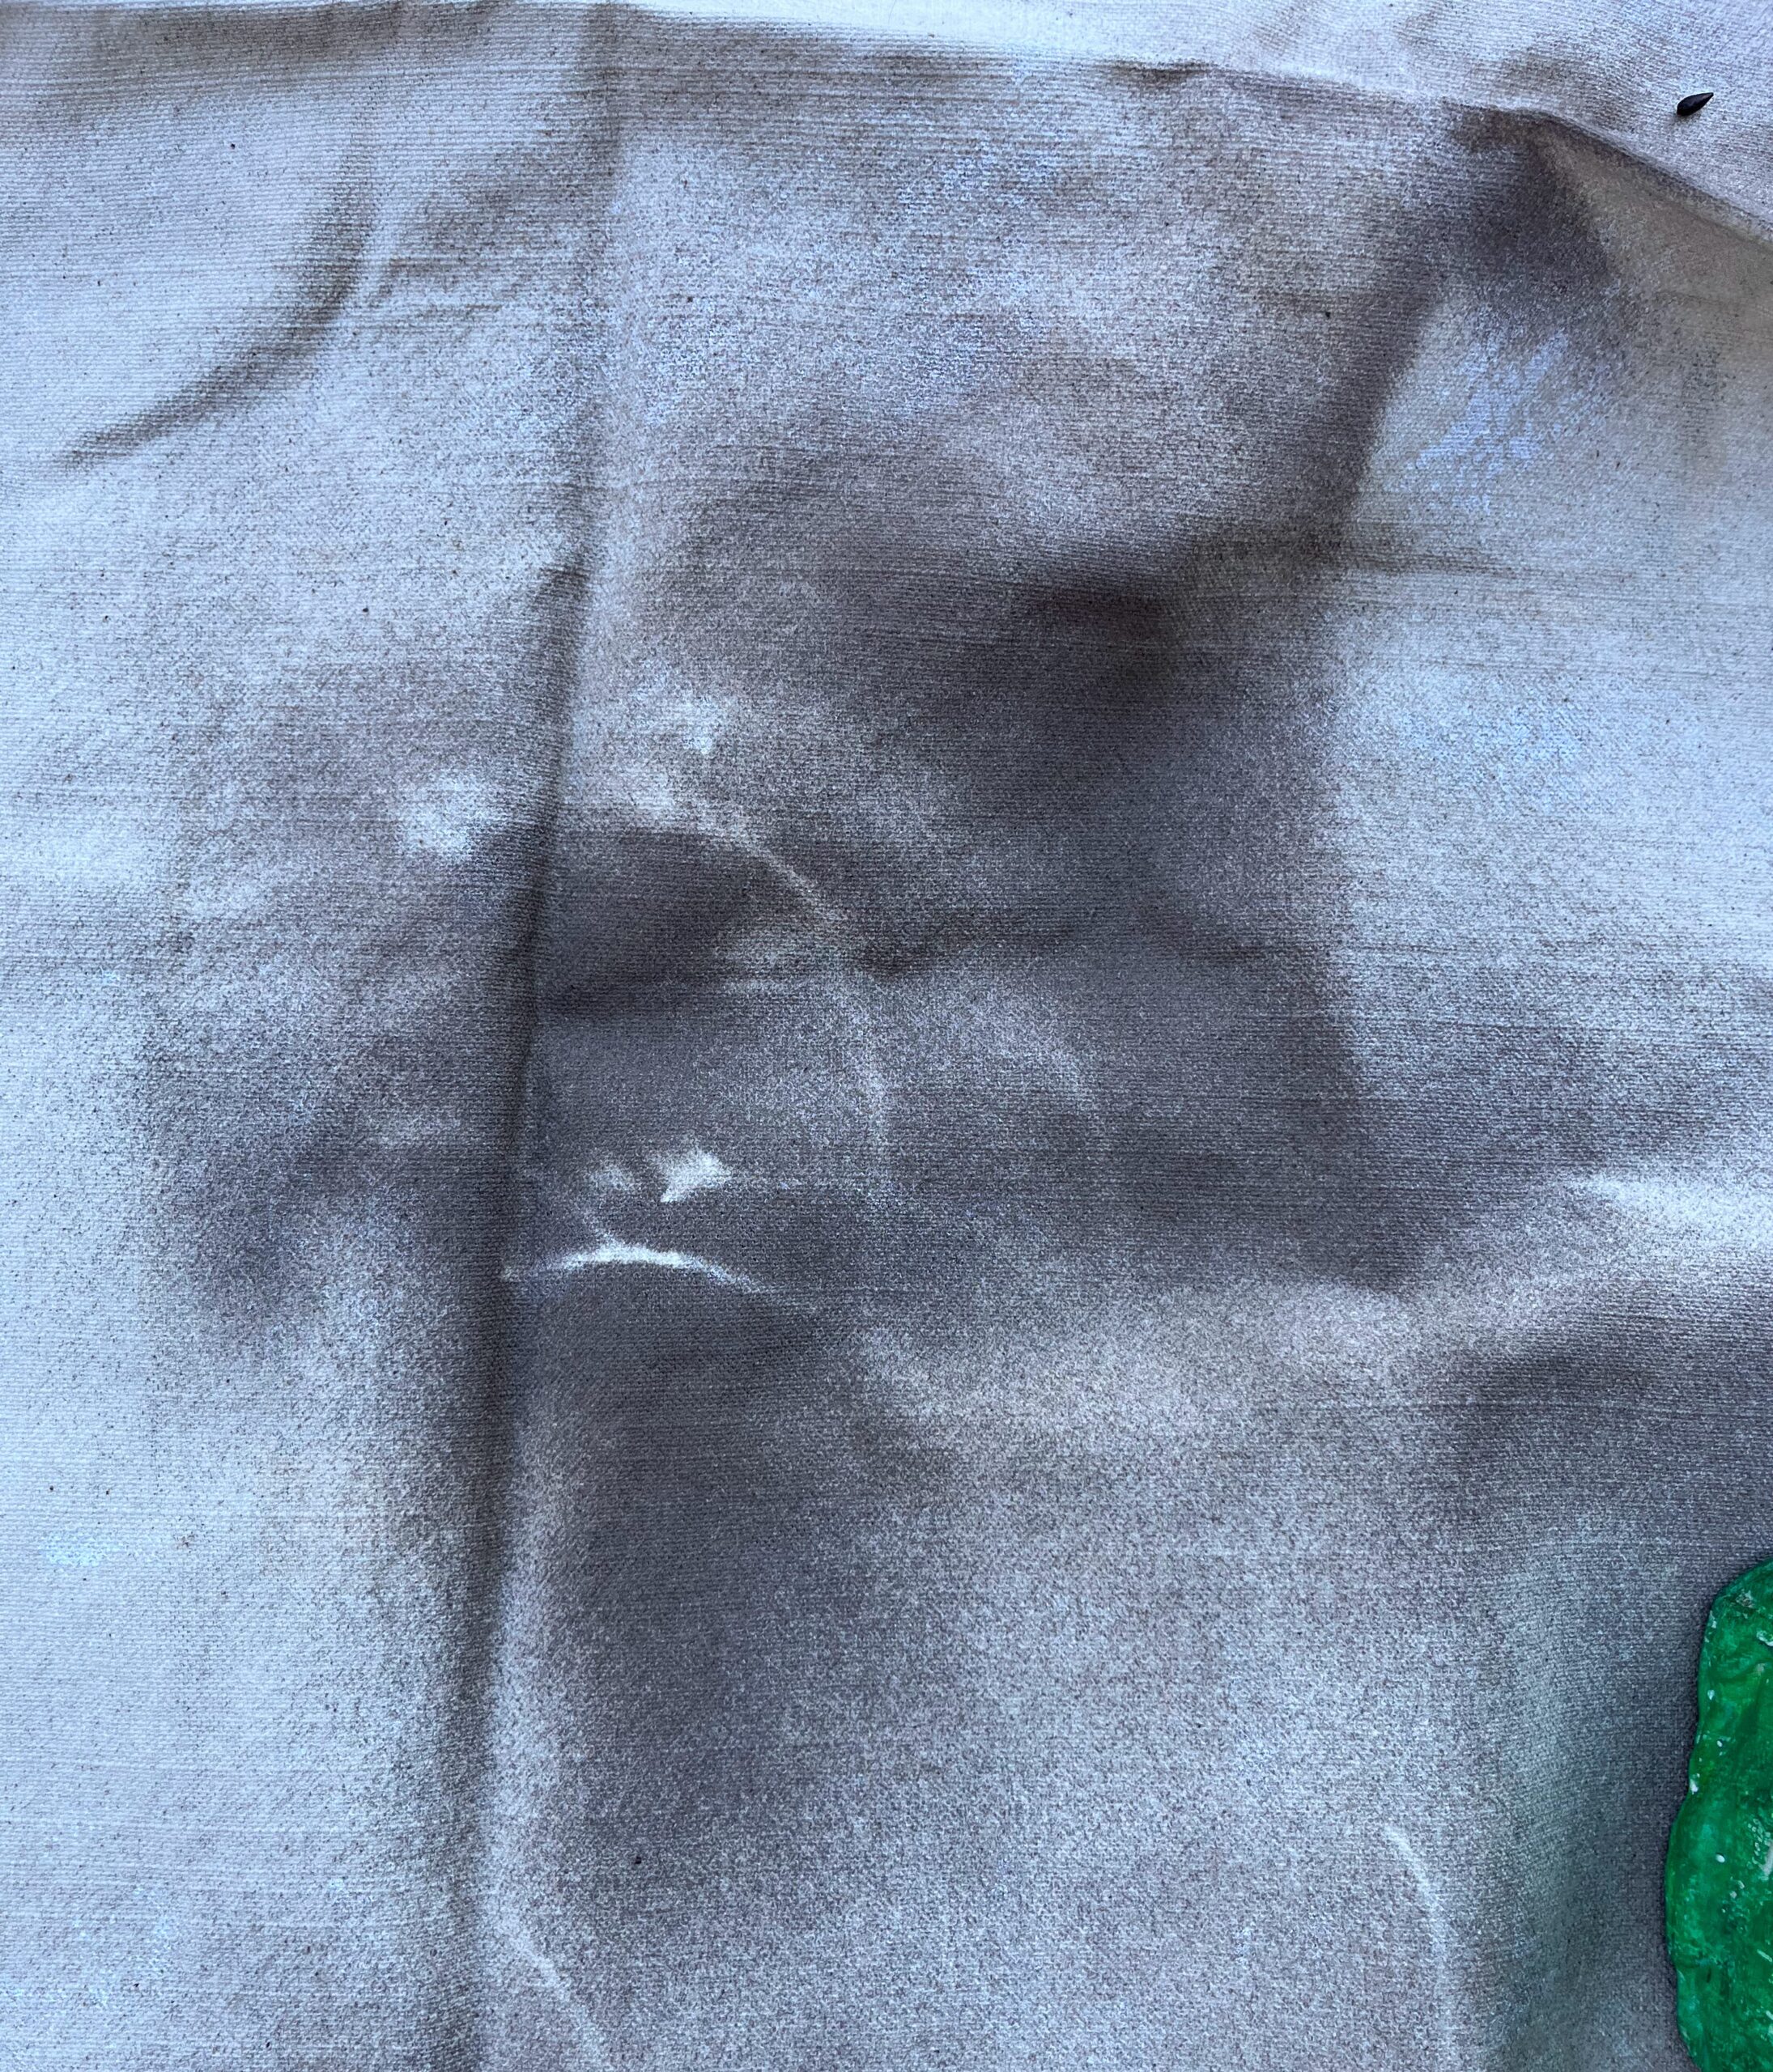
As I pondered my next step I examined my bag and noticed that the gloves I had been wearing while plastering left a decorative print on the bag. I considered this. While it didn’t exactly fit in with my theme, it did leave an interesting mark. I thought about other interesting marks that could be made with the plaster, perhaps a shoe-mark or a paper towel? I decided that could be explored further in a future design.
I knew one thing for certain, I didn’t want the stark white uniform plaster colour. I wondered if I should paint decorative designs on the bag like nature scenes, or if I should sponge it with different textures and make it more abstract. I reflected on it with a fellow classmate and decided a nature stencil might leave a more natural looking effect. I asked Jeff how to prep the plaster for painting and he said any paint medium would do. That night I prepped the bag with my medium.
I remembered a video I saw on Instagram of an artist taking a stick, drenching it in paint, and then slapping the stick on the canvas to give a print with a gesture like effect. I wondered if I could do something similar with ferns and twigs and acrylic paint. So I thought I’d start by painting the fern leaves a deep green colour but I hesitated stamping the fern on the plastered bag. If it didn’t work, there might be no going back. The green would be on there forever. I tested it out on the newsprint I had, but saw very little identifiable marks come onto the paper. I thought about if I could do it on the plaster, and figured I could try and paint over it in another colour if I needed. So I took the freshly painted fern and stamped it carefully onto the bag. It looked nothing like a fern. I examined the shape of the fern and wondered if I tried the other side if it would work better. Nope.
So I took a sponge and rubbed the green paint around the entire bag. It left a fairly faint green. I thought about what it might look like to make a gradient. The earth’s surface is an edge, and that’s where we see the most life. Perhaps I could make it greener near the bottom to reflect this sense of vitality. I took a paint bursh and thickened the paint near the bottom of the bag. Then I decided to move onto seeing if I could slap the stick on the plaster to create a stamp effect.
I considered my subject. I would need a lot of paint to douse the stick in to give it the effect I needed. Also, my surface was uneven, would it even work? What colour should I do it in? I pondered and decided to use a more reliable method – a stencil. I dug in my paint drawer for a colour I could stencil on top and found a deep earthy brown. Perfect. I tried a stencil on the canvas drop sheet and liked the powdered and faint effect of the stencilled tree branch. It looked ghostly and faint. It reminded me of the ghostly screen print of Marilyn Monroe in Andy Warhol’s Marilyn Diptych. I had been studying that painting for my Art History class and thought the effect could allude to this same idea – trees were harvested, and died, for the making of this bag. It was perfect. So, I set out to stencil the bag and with that, completed the work.
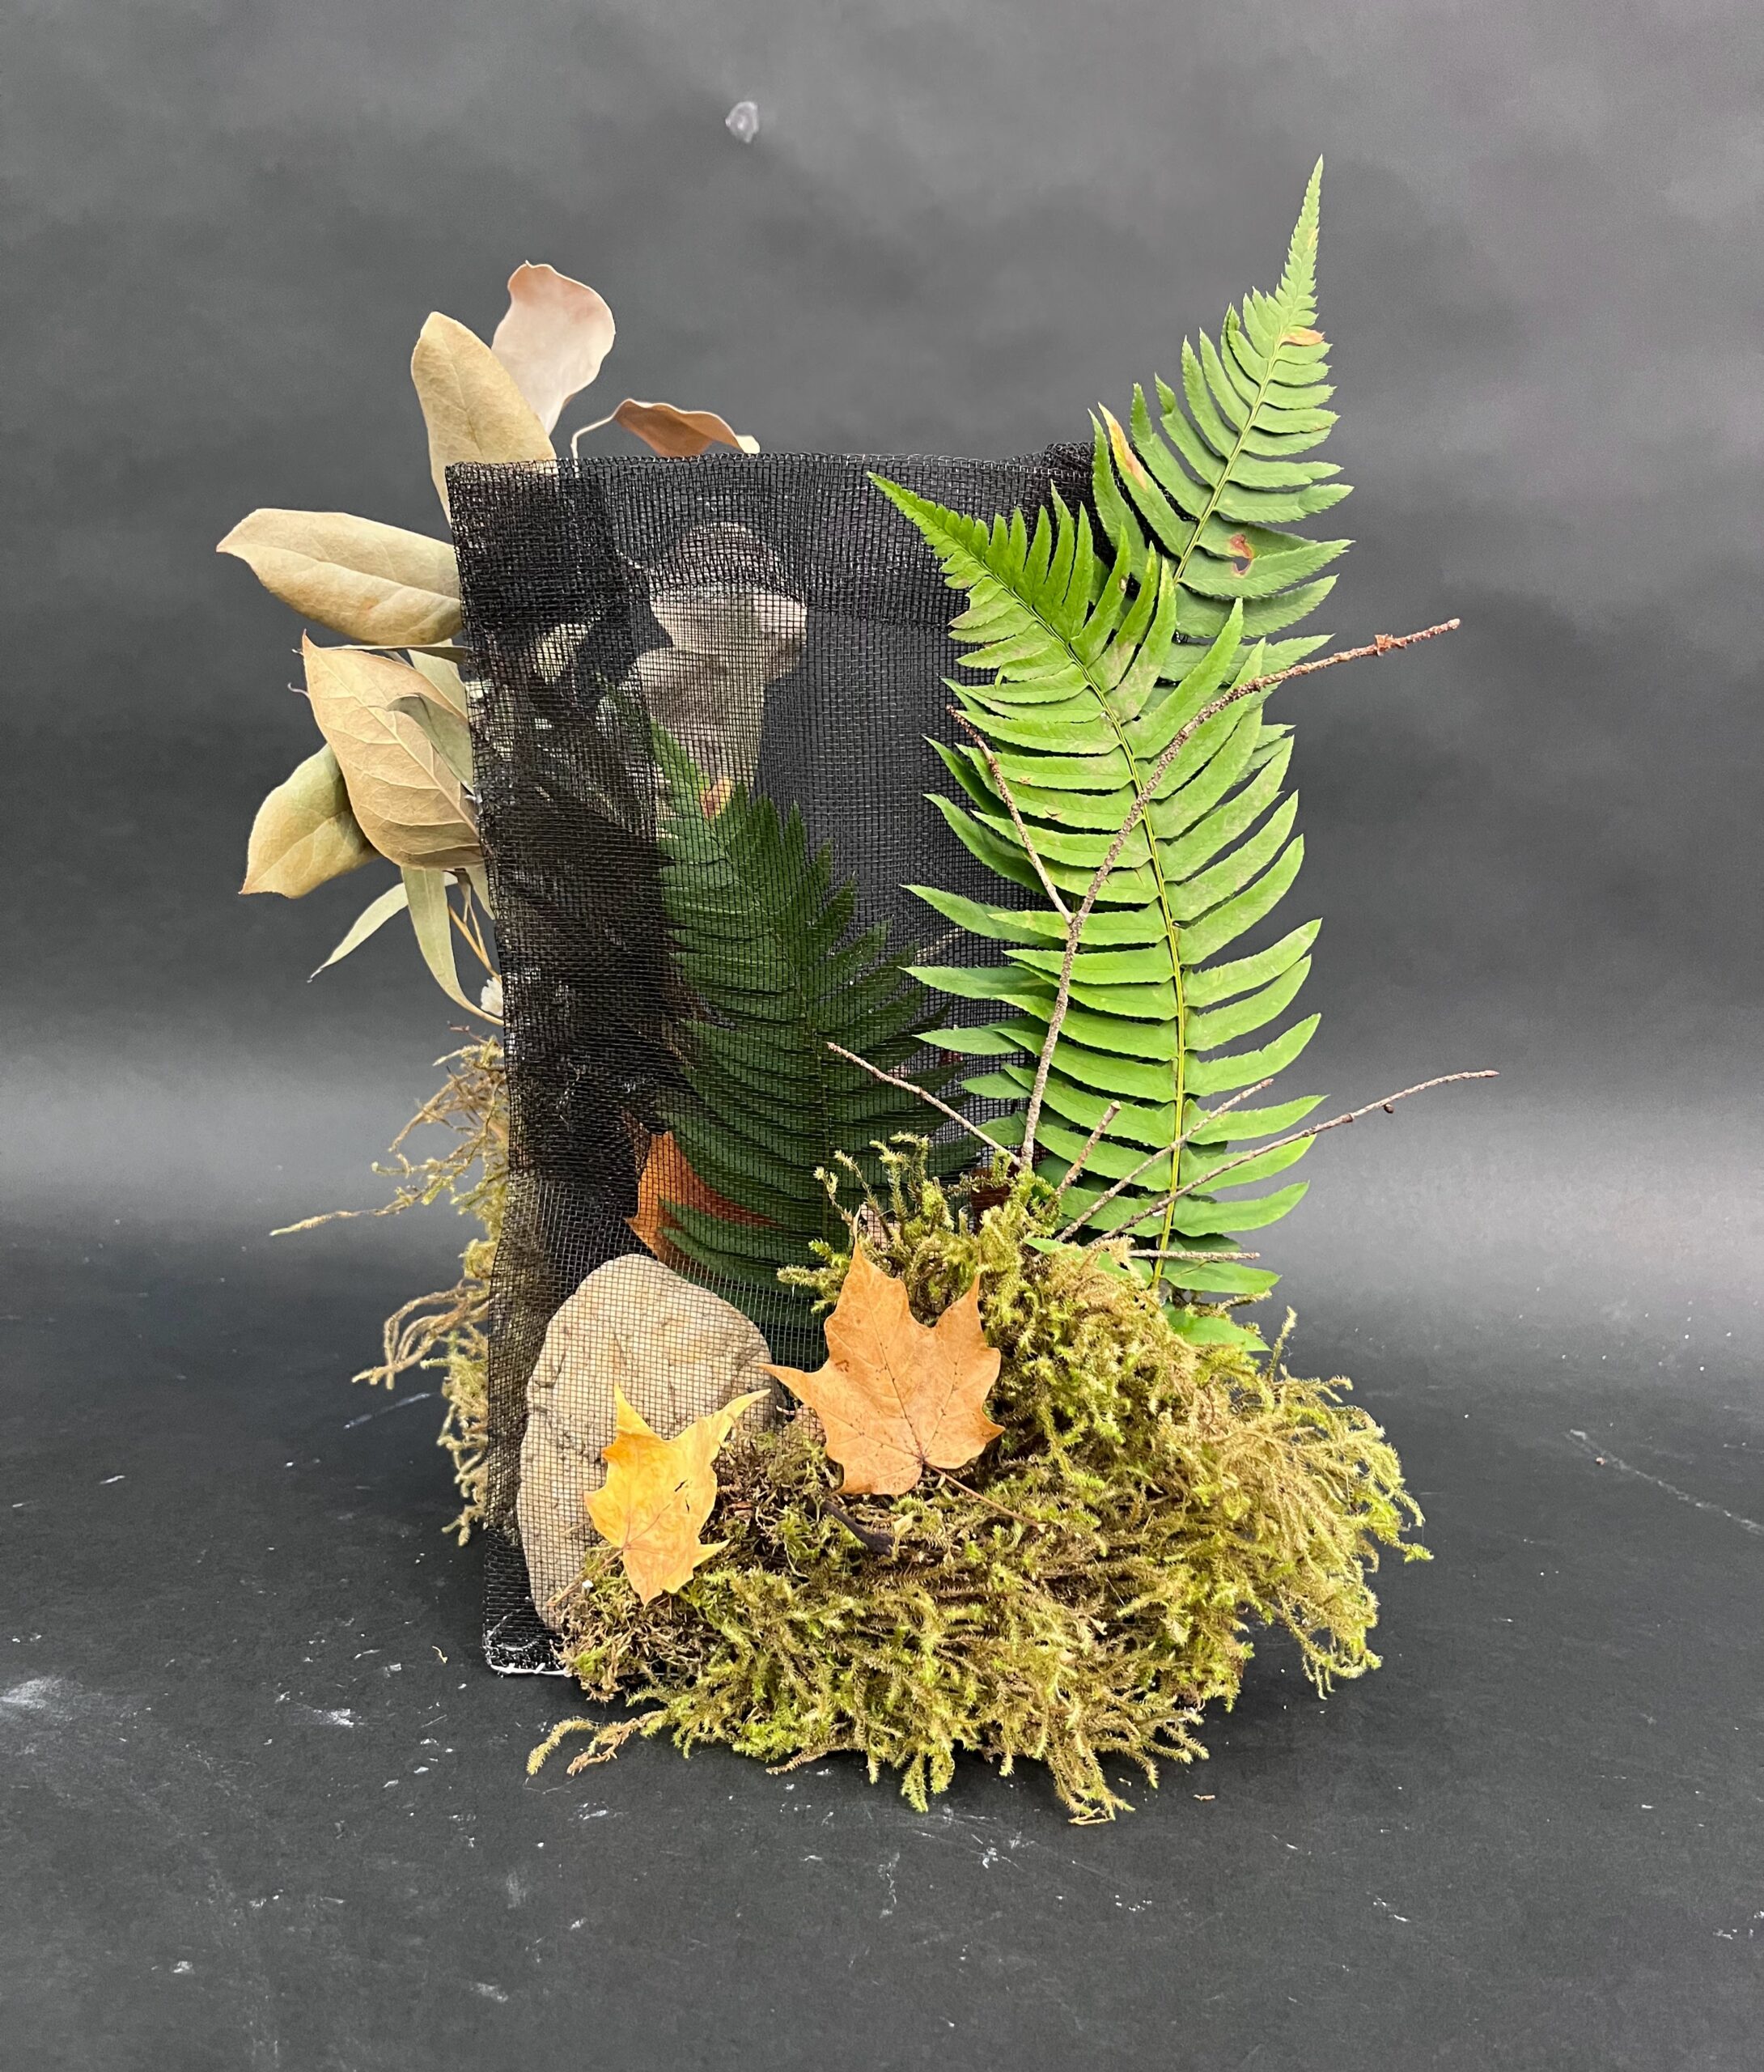
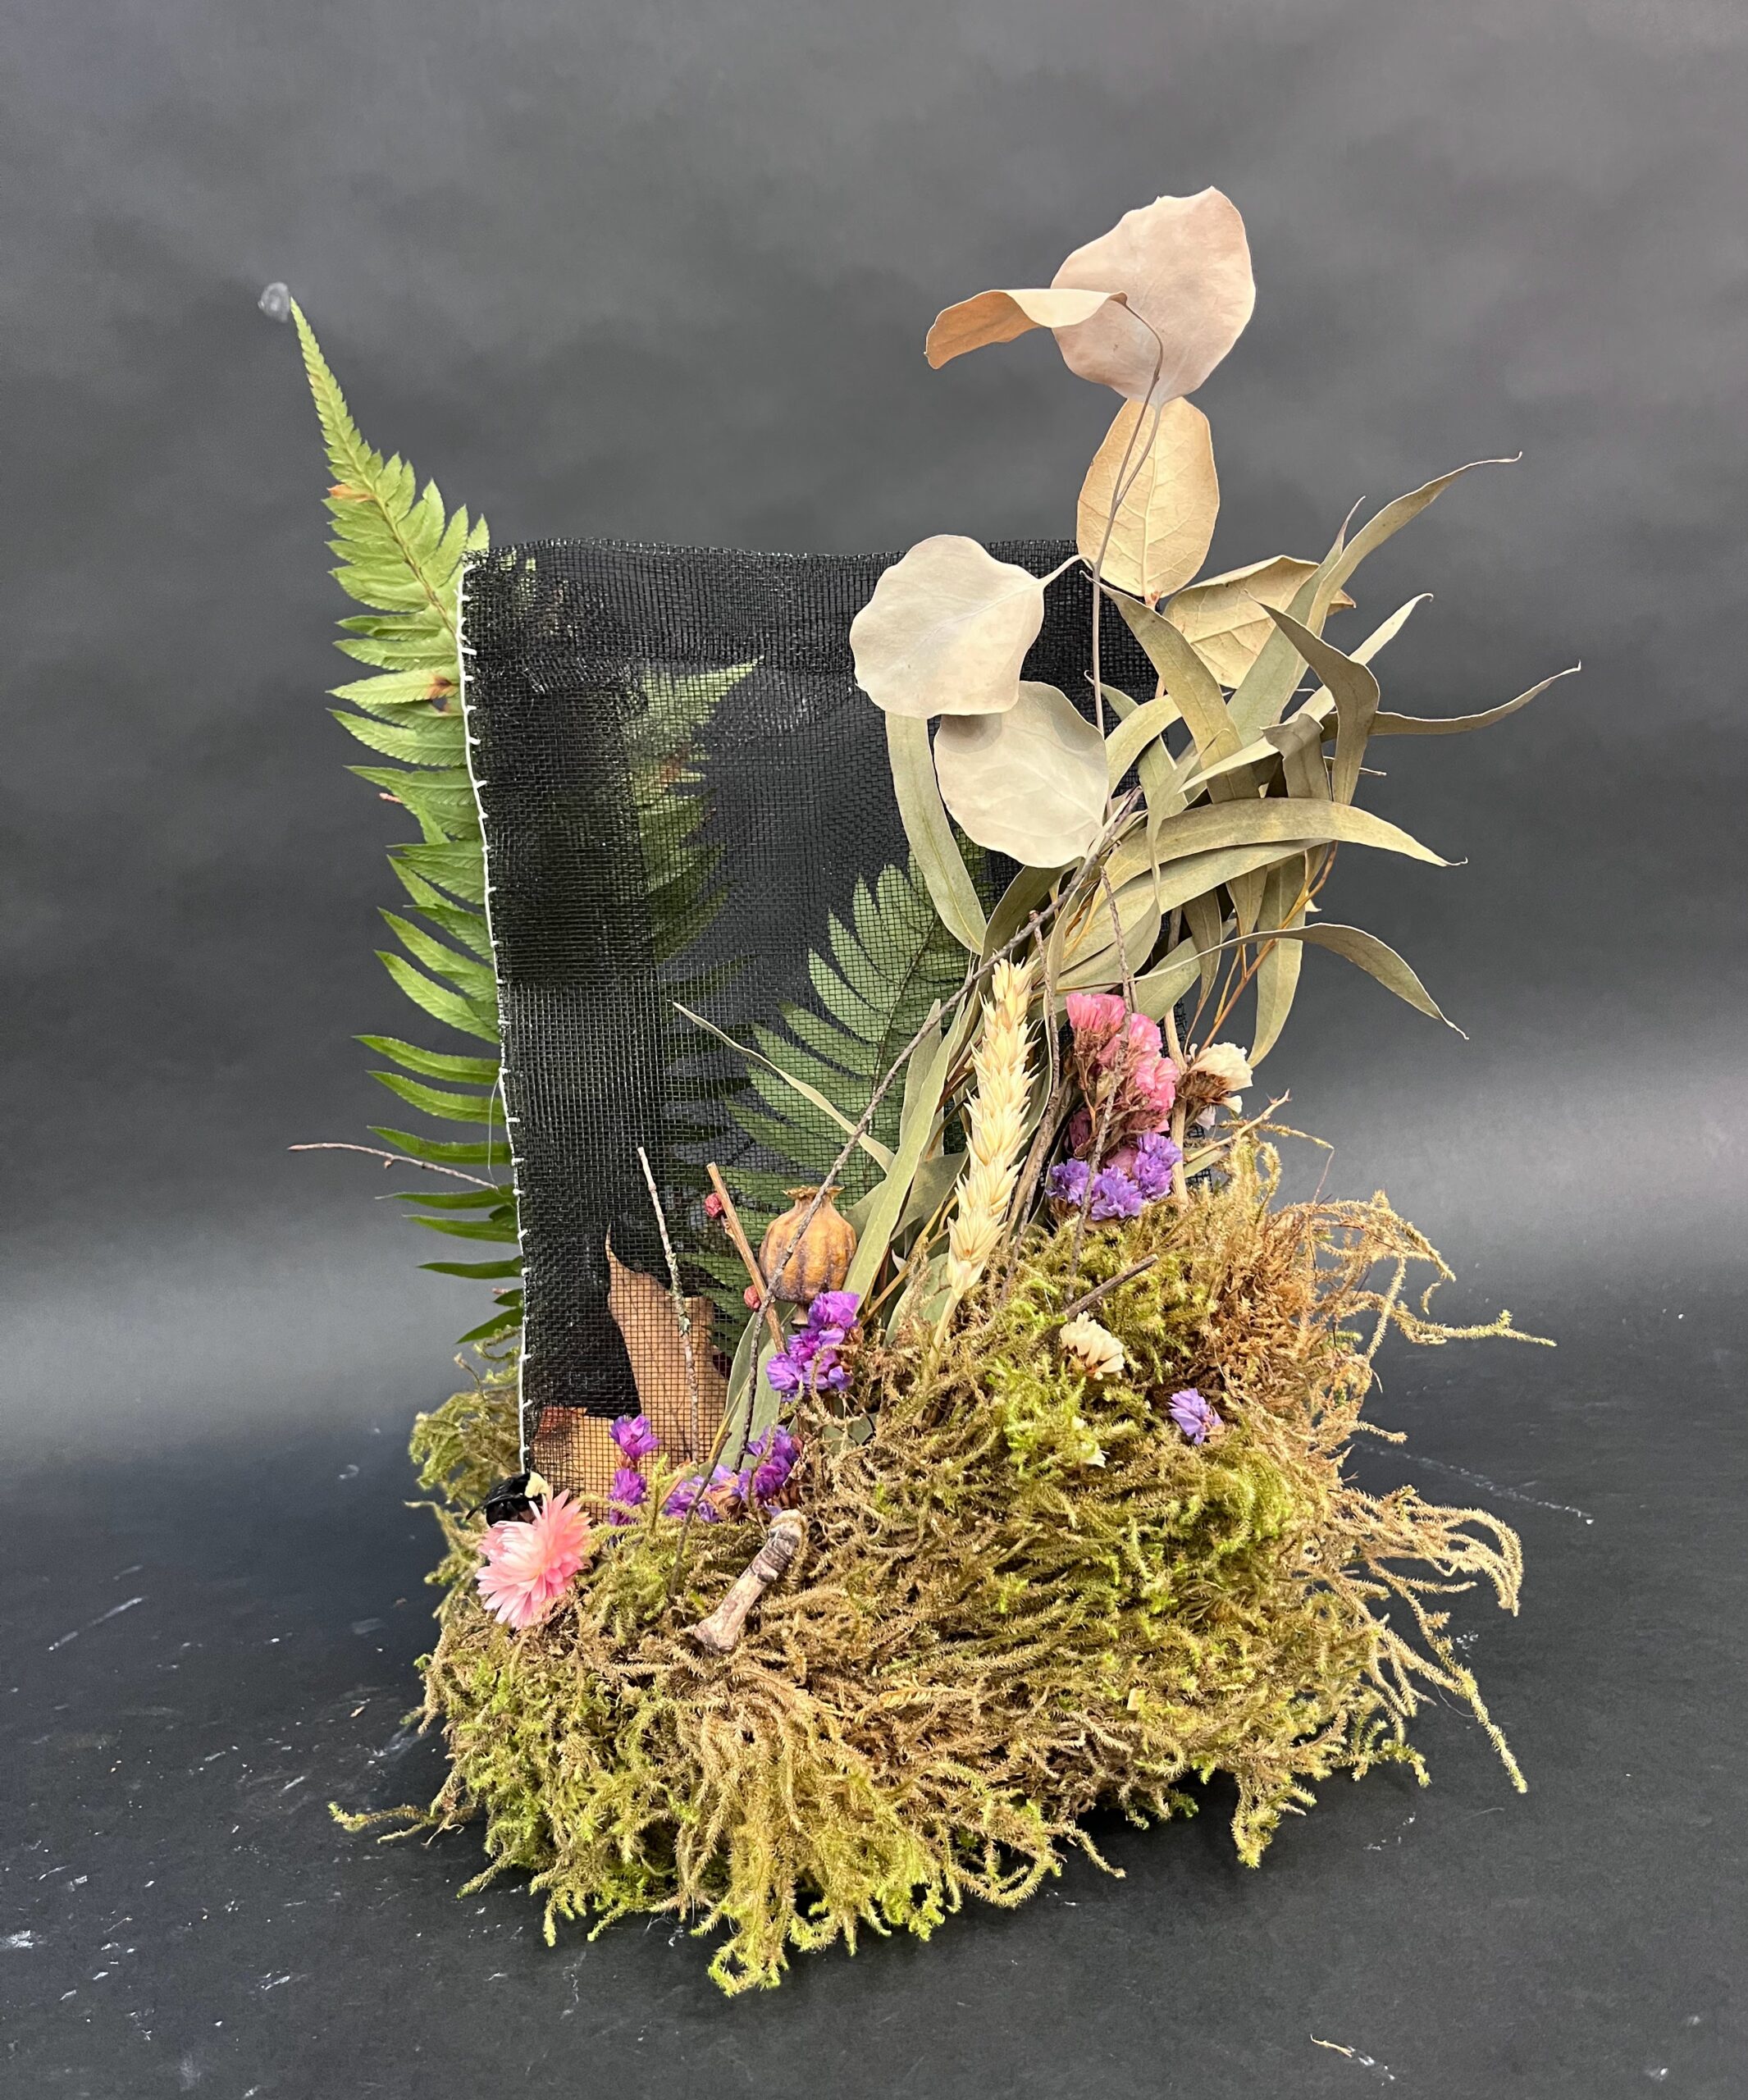
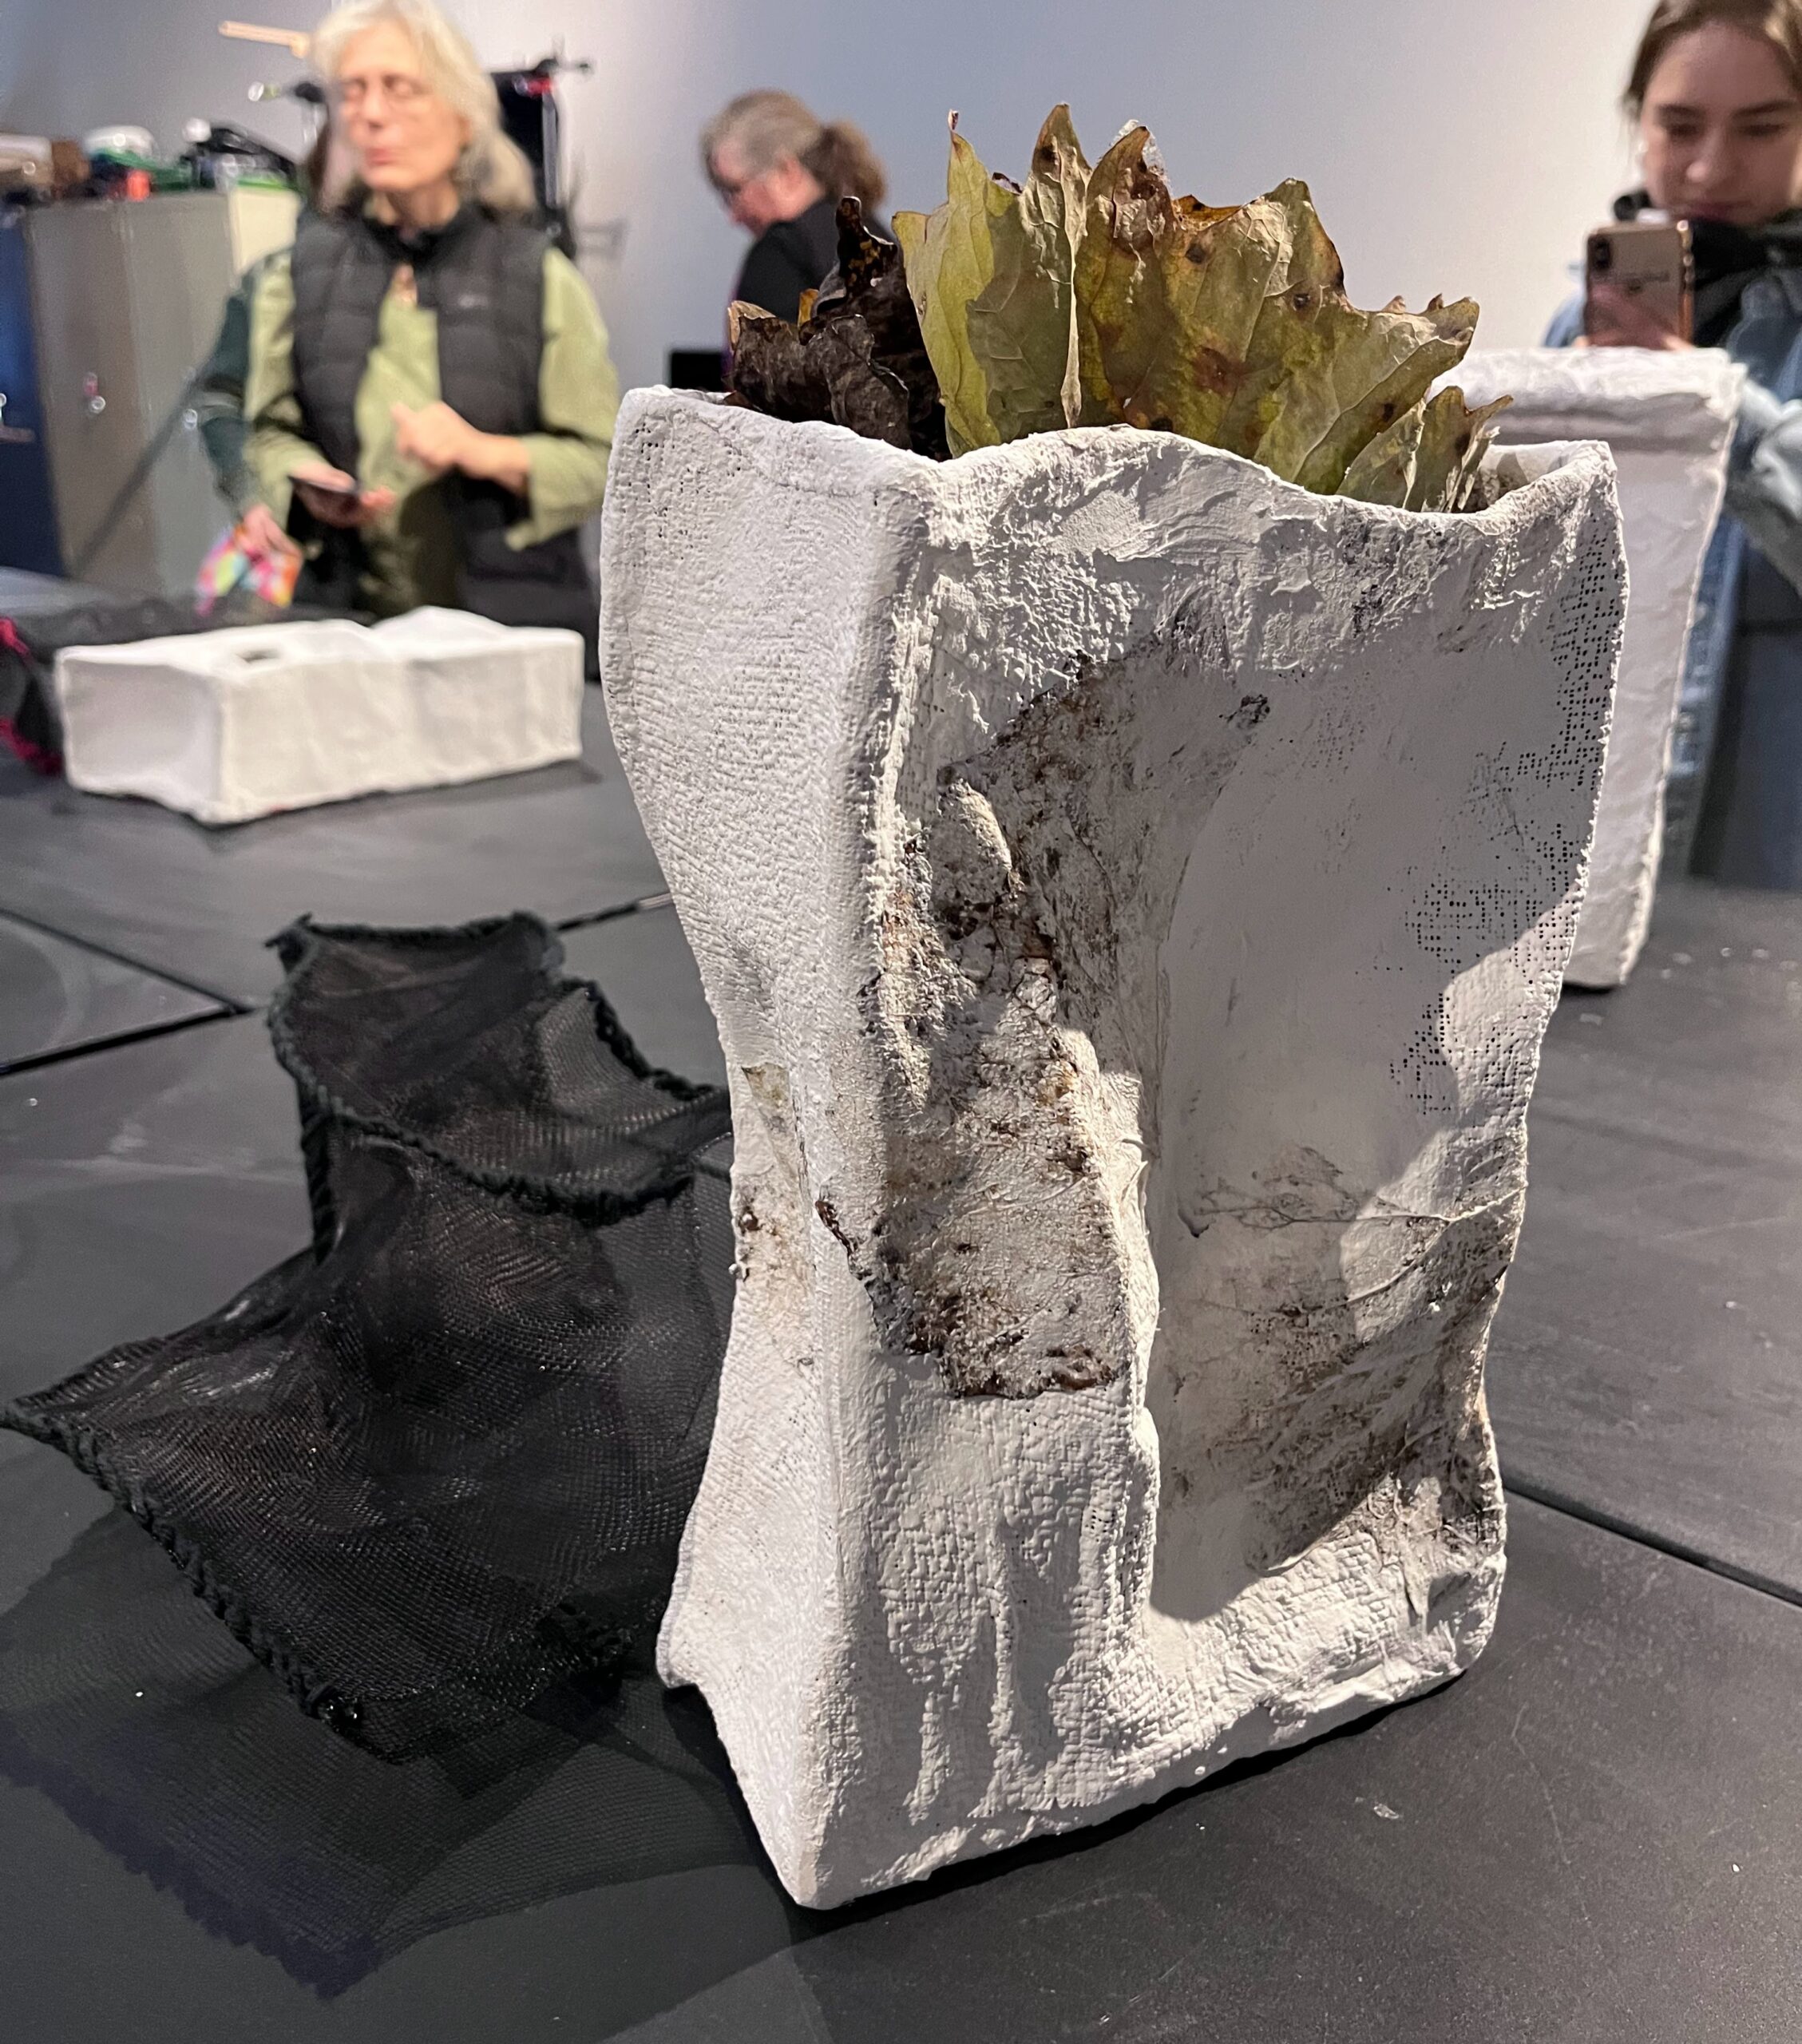
Above you can see the finished bag for my Mesh Bag project. Each side is slightly different showing a variety of materials: twigs, rocks, leaves, ferns, stones, dried flower, a dead bee, dried berries and more. It’s a chaotic and busy tapestry held together in a subtle pattern the way nature does.
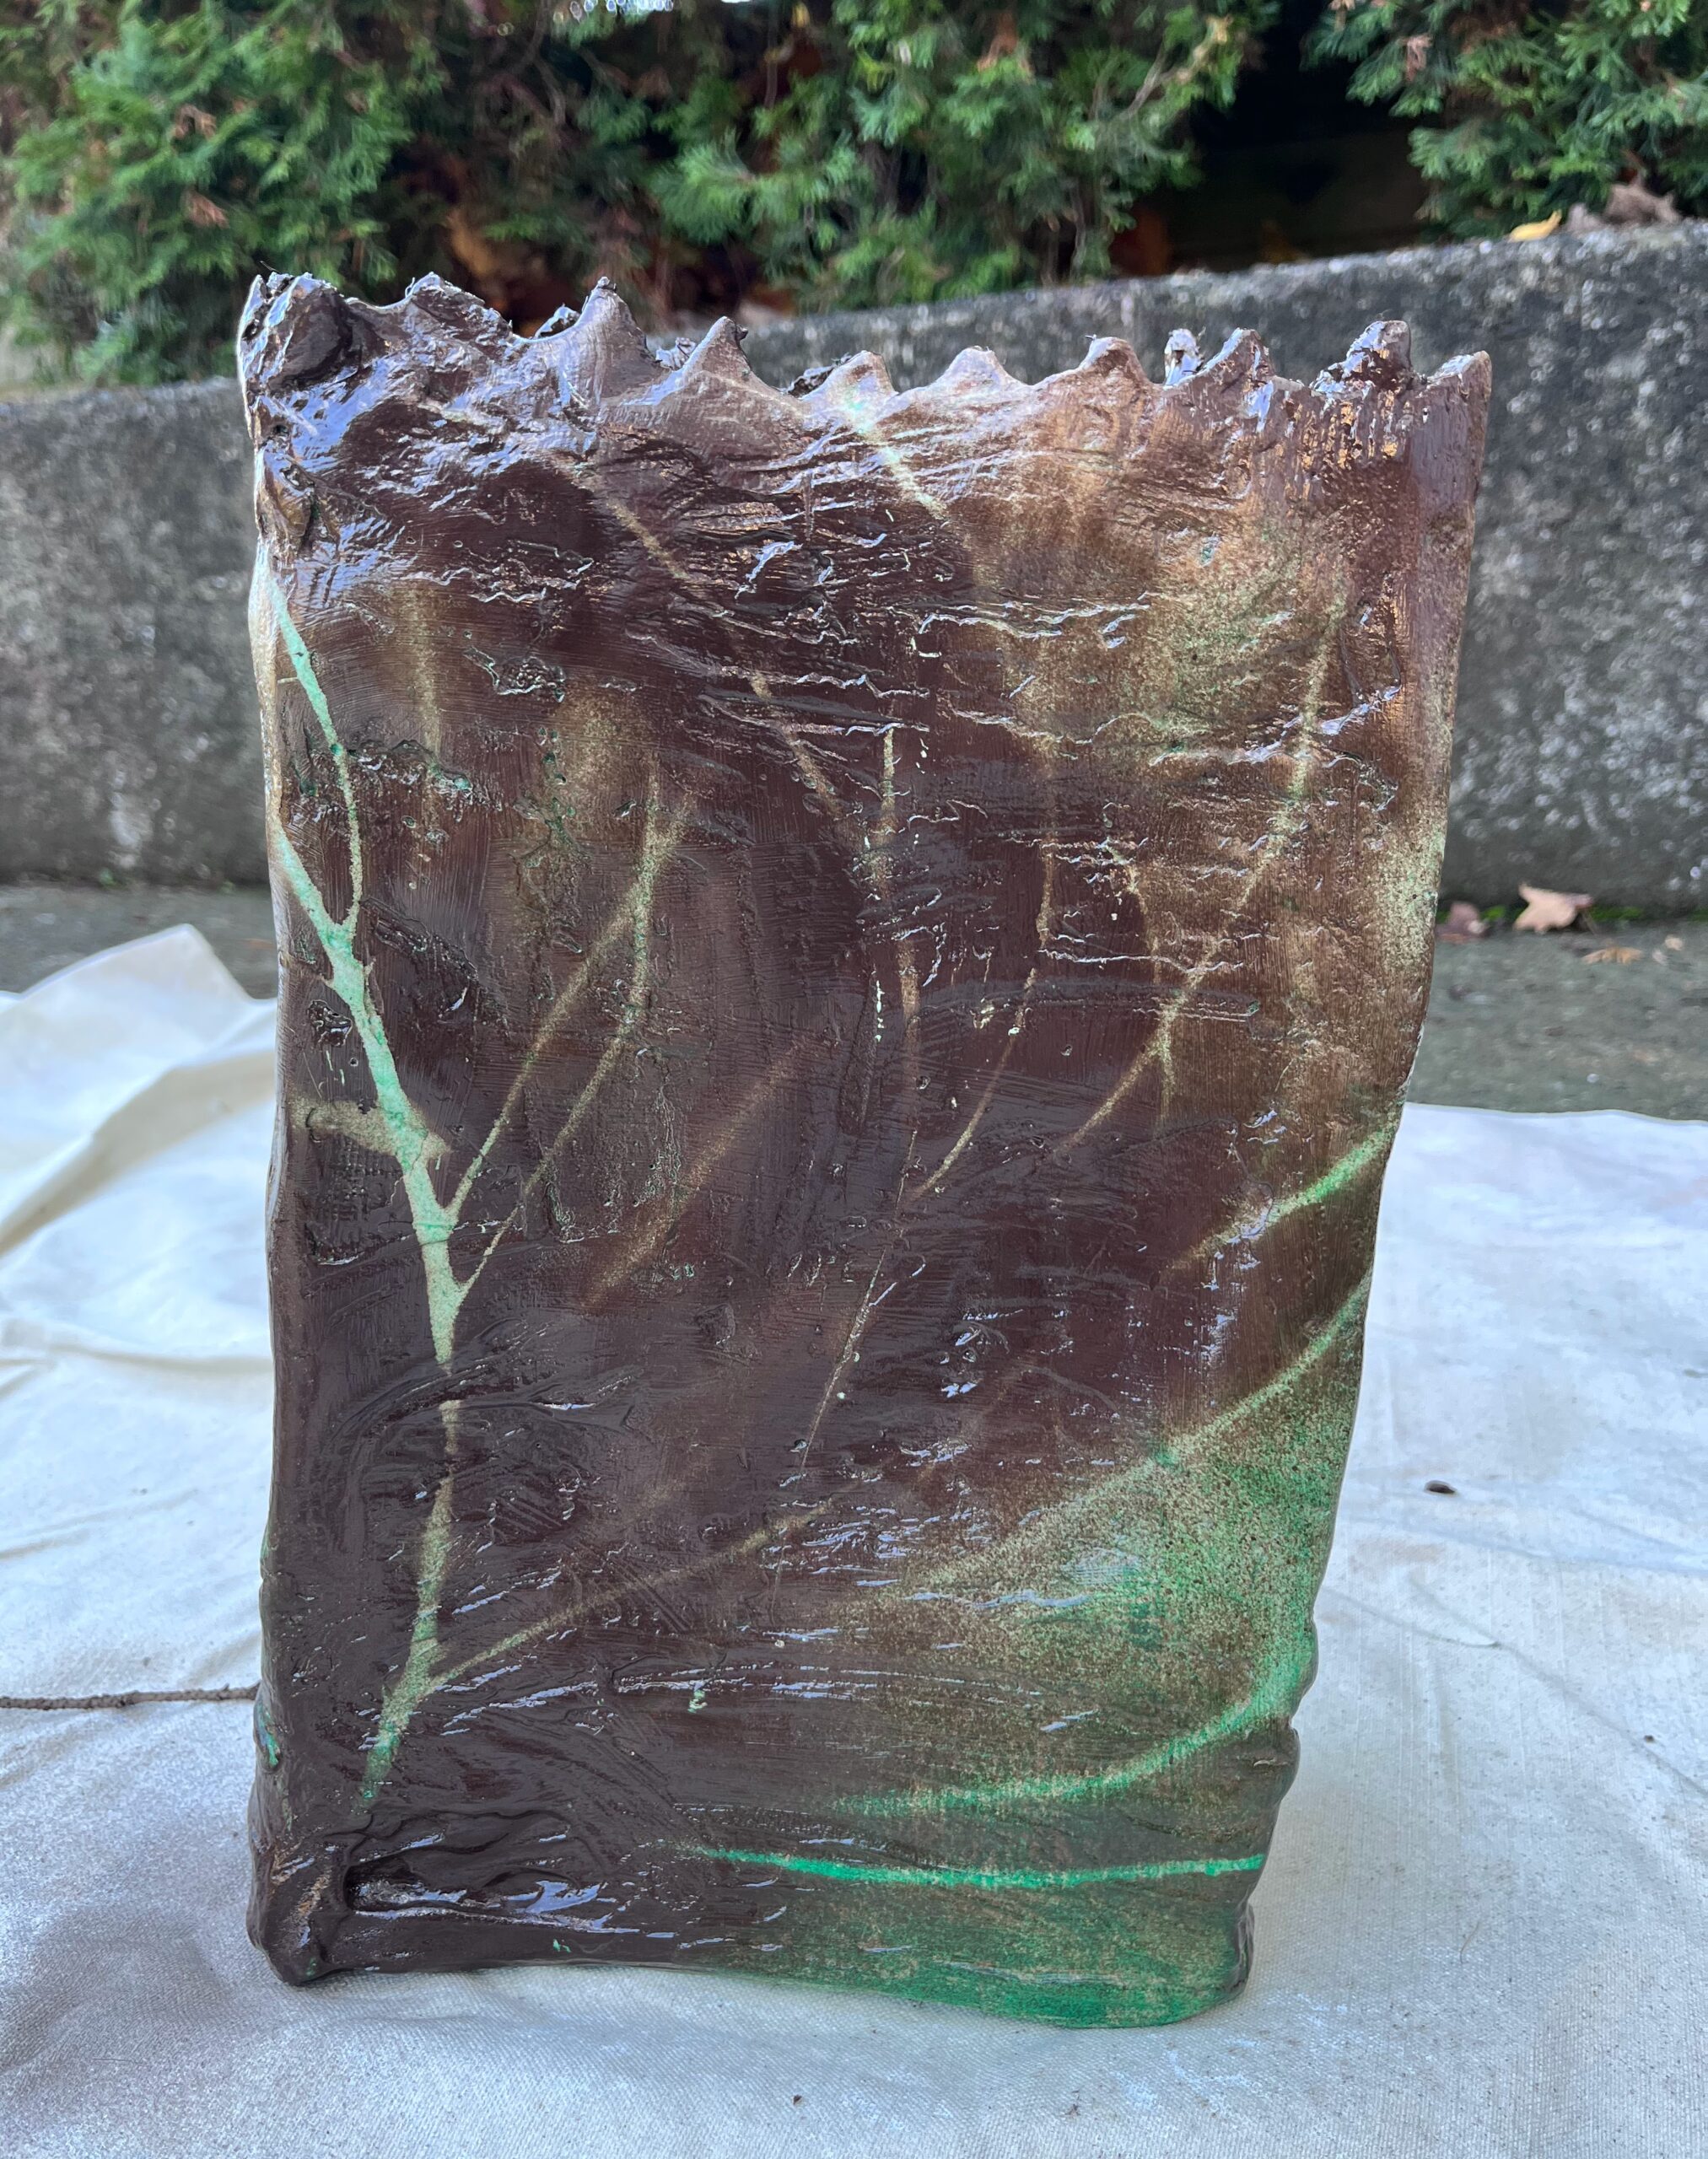
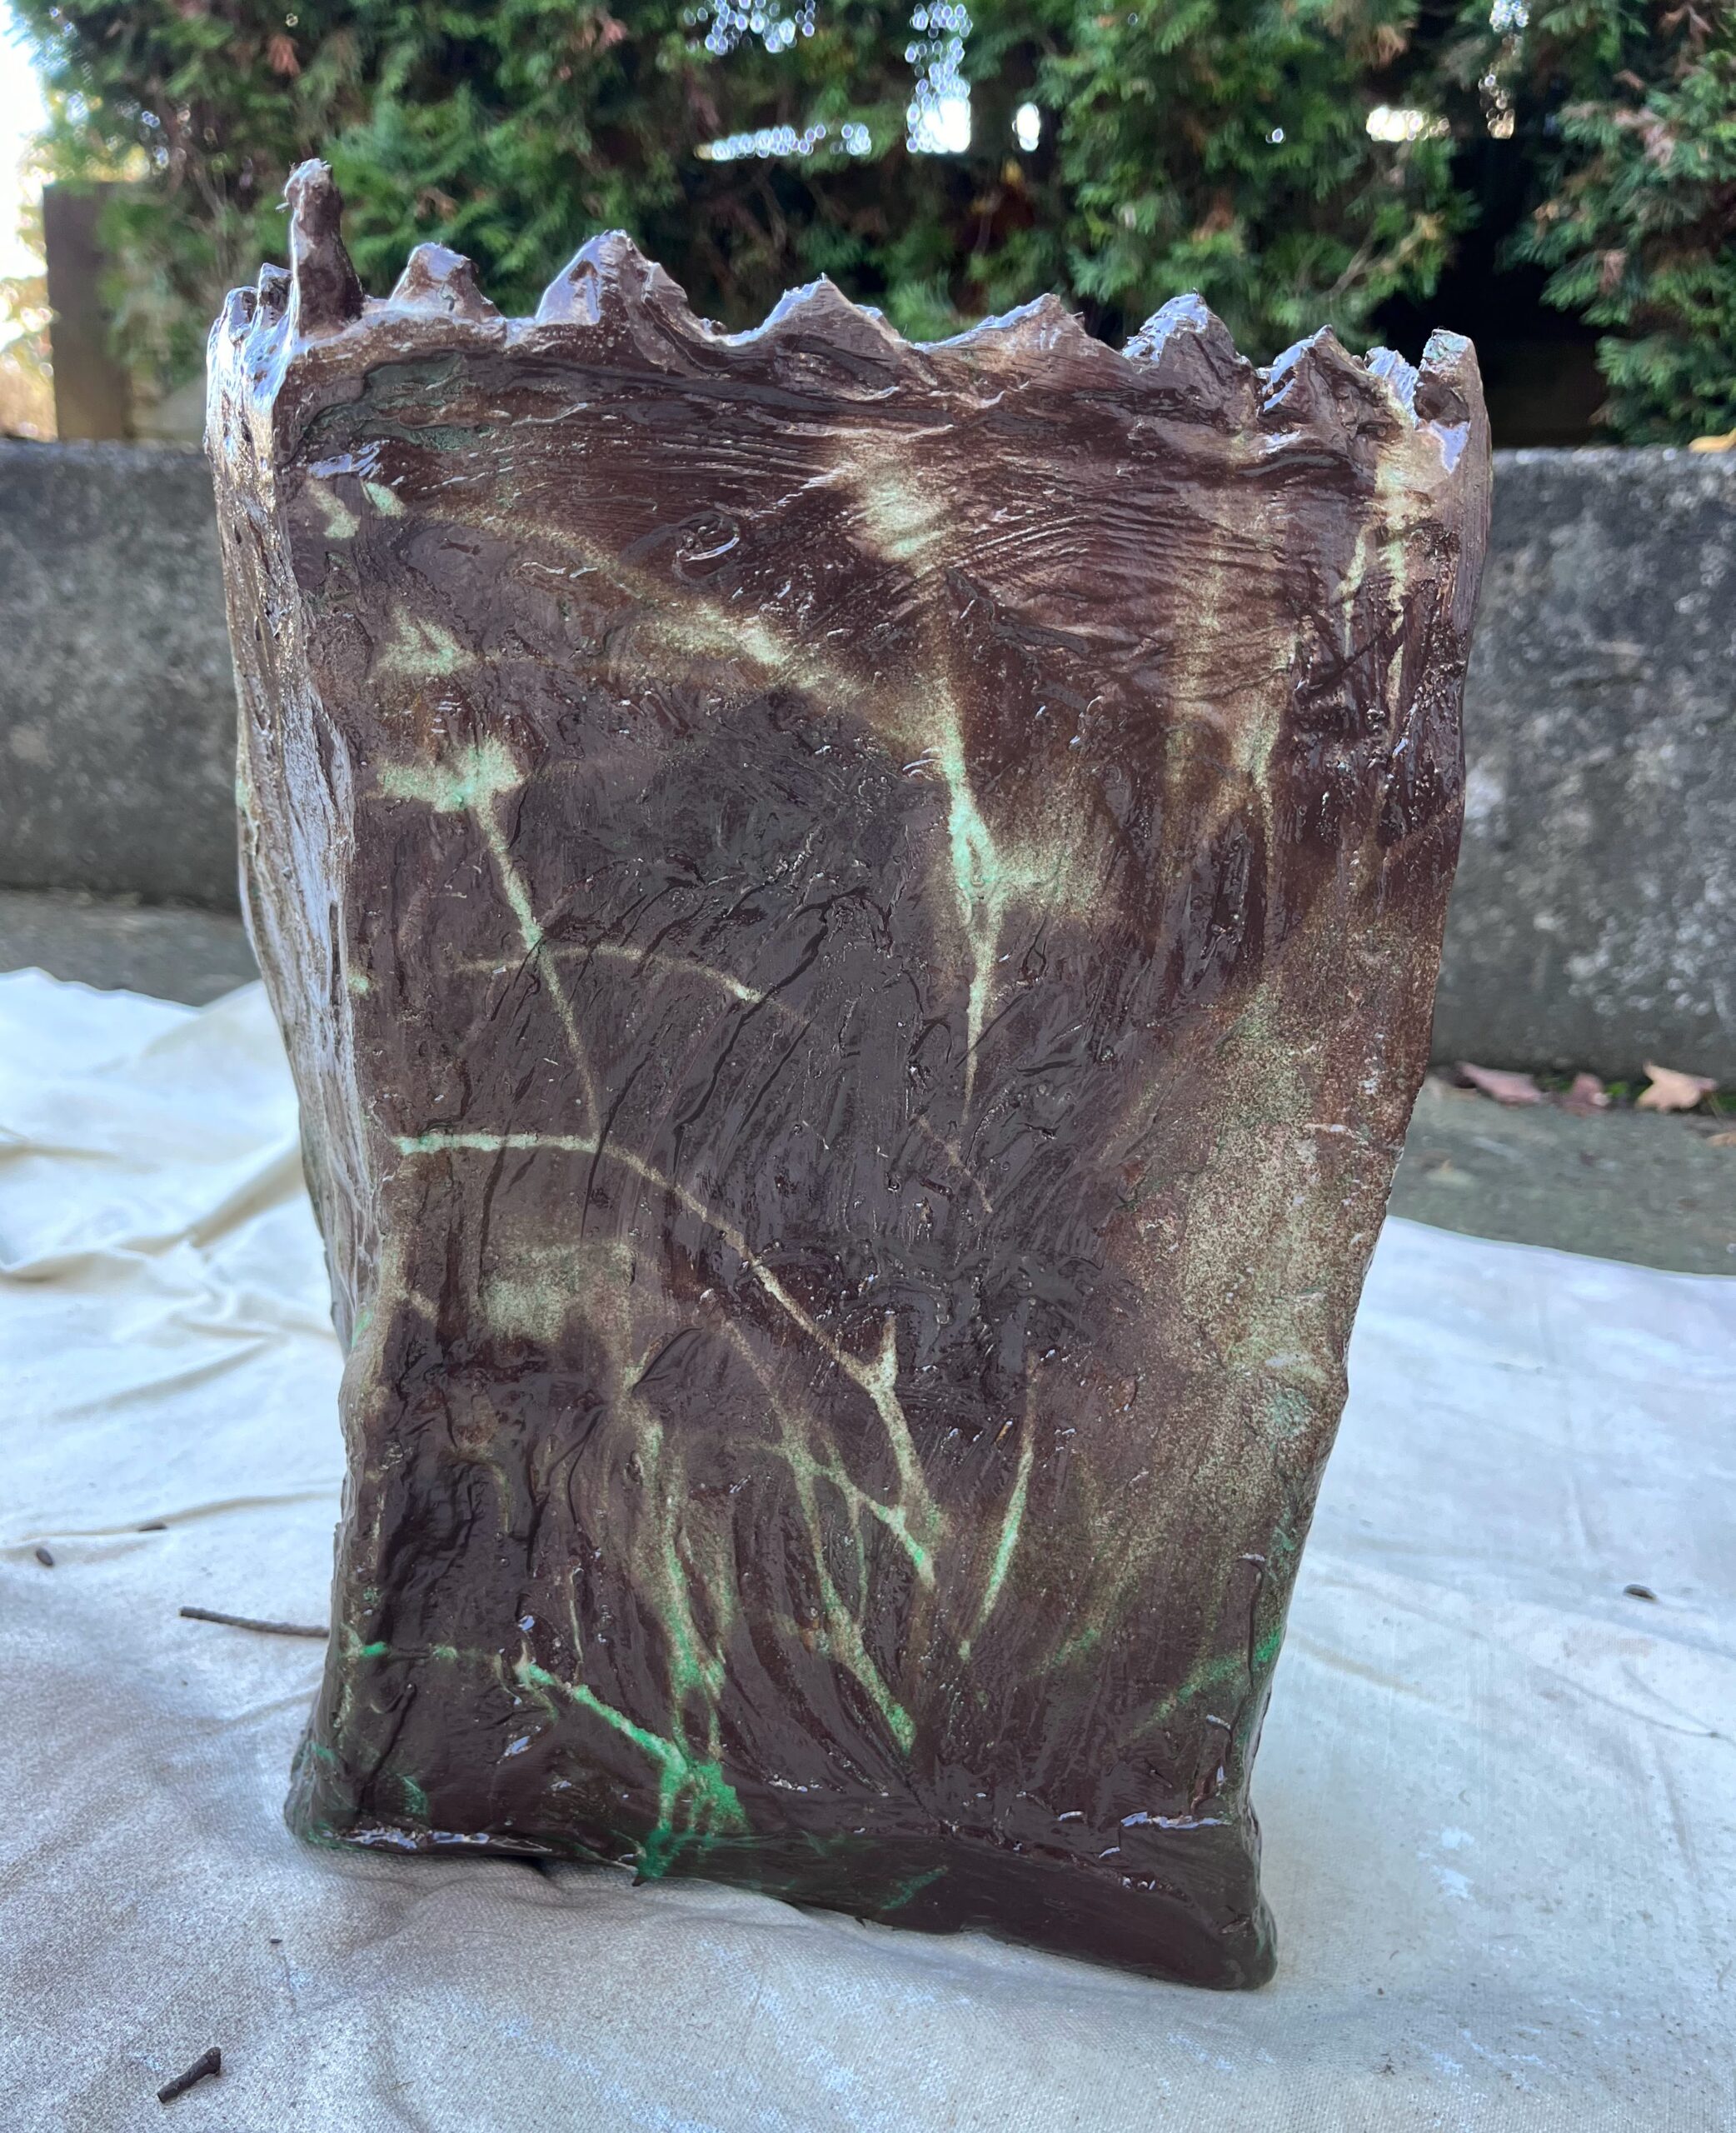
Here is the final design for the Plaster Bag. You can see the ghostly images of the branches from a tree stencilled onto the bag. Fading green undertones reflect the vitality that this bag may have once experienced when it was in it’s tree form. The deep brown is reflective of the place from once the bag came – the earth – and where it will return if composted responsibly.
Peer Feedback
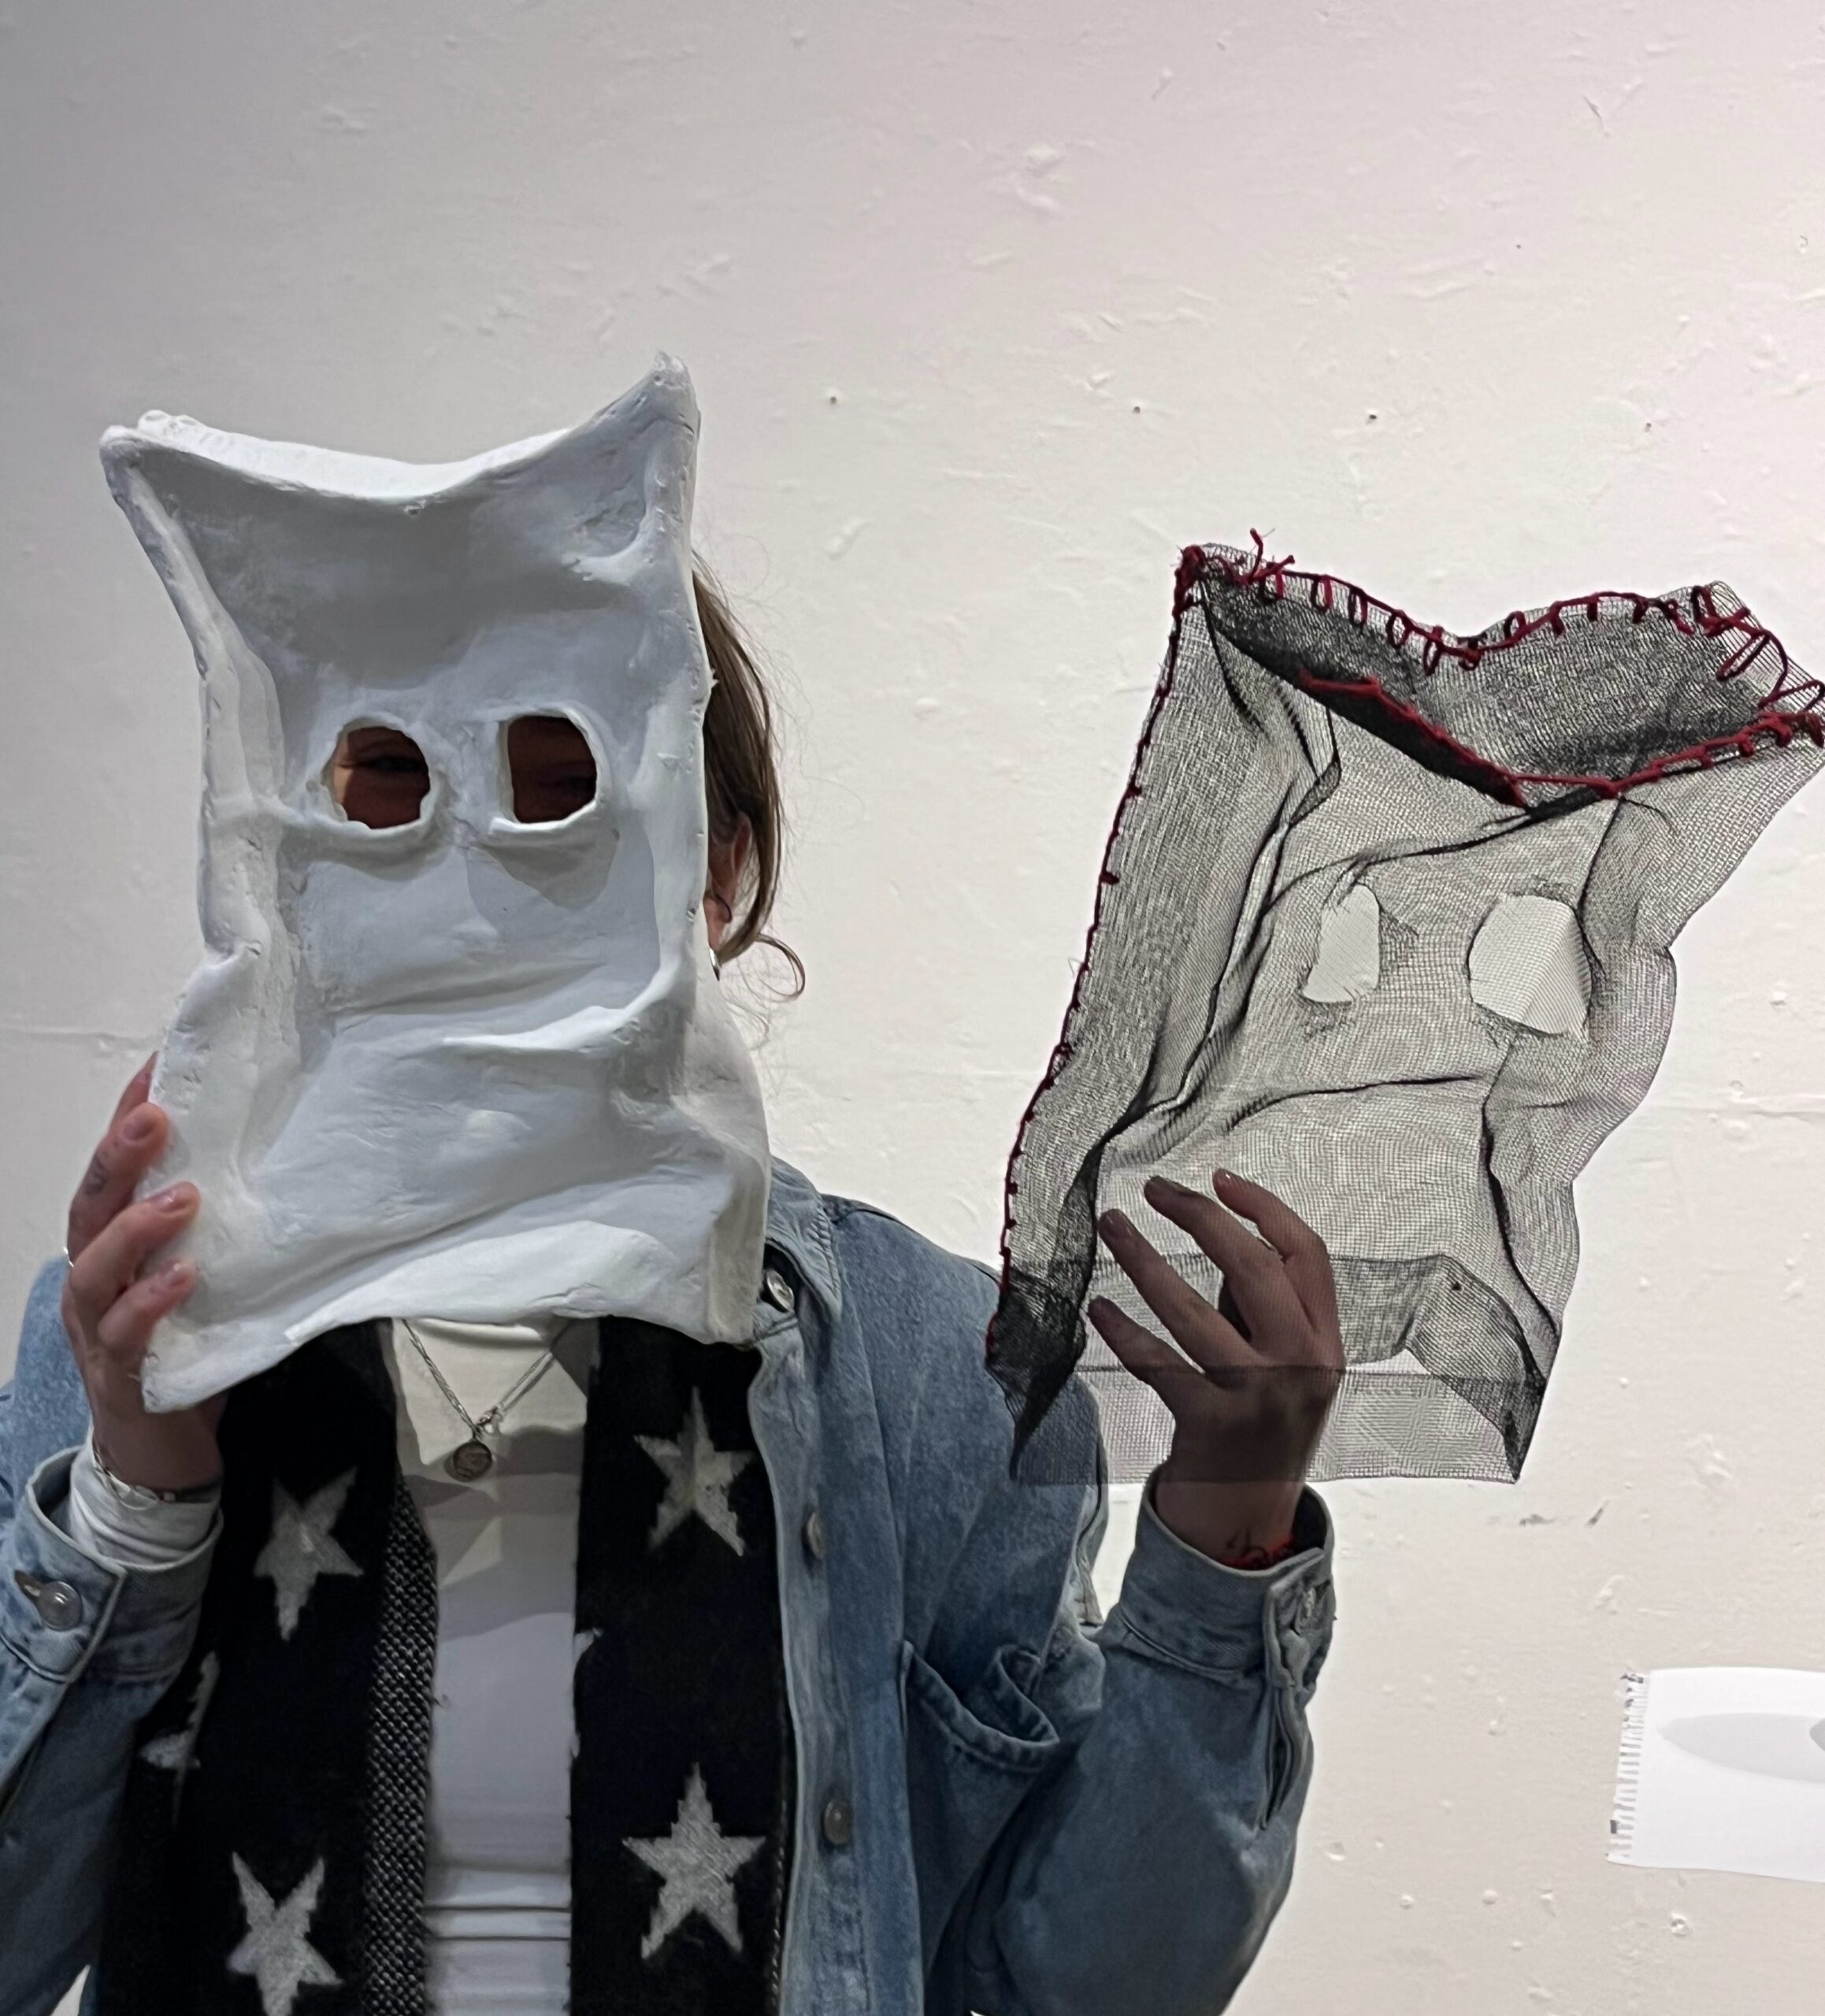
I deeply enjoyed seeing the diversity of projects presented by my classmates. From a more classical representation of the project, to more “outside the bag” interpretations like a mask, a handbag or a spirit form. It was great to see how creative people were with the assignment, and at the same time how the more traditional designs drew me into the finer elements of design, such as shape, line, and texture. This simplicity added to a level of detail and beauty that were enjoyable to see and discuss.
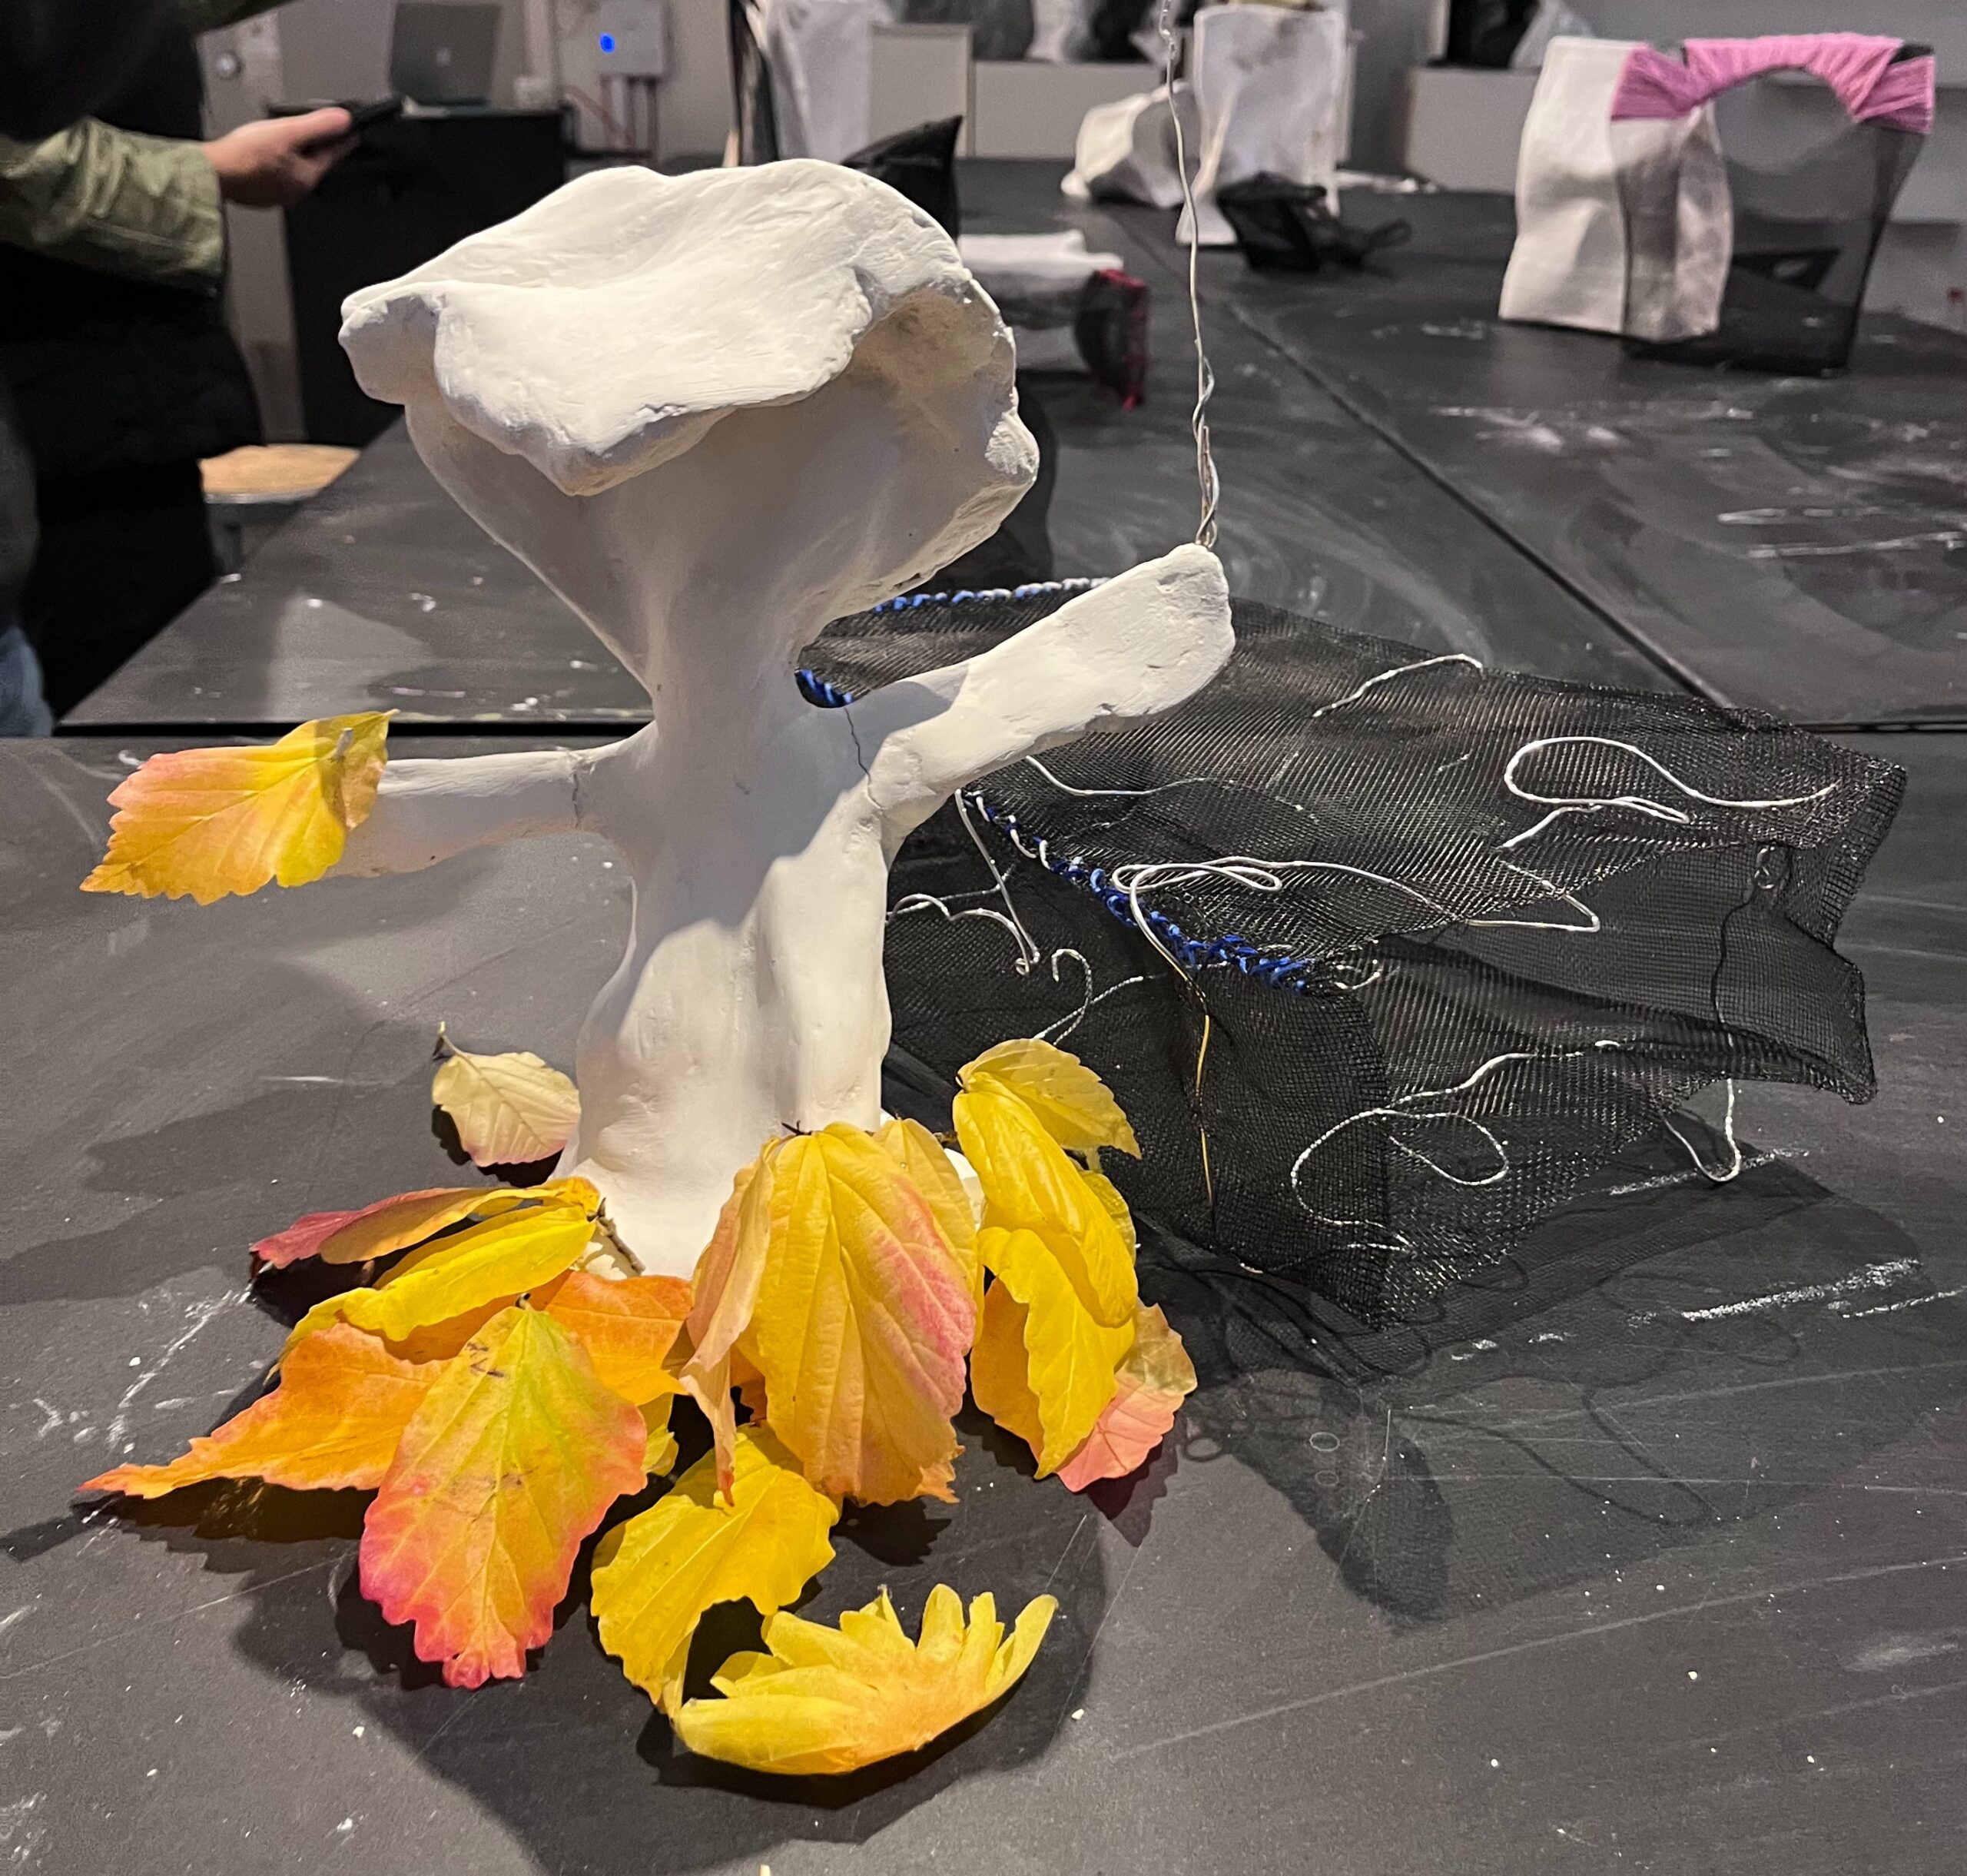
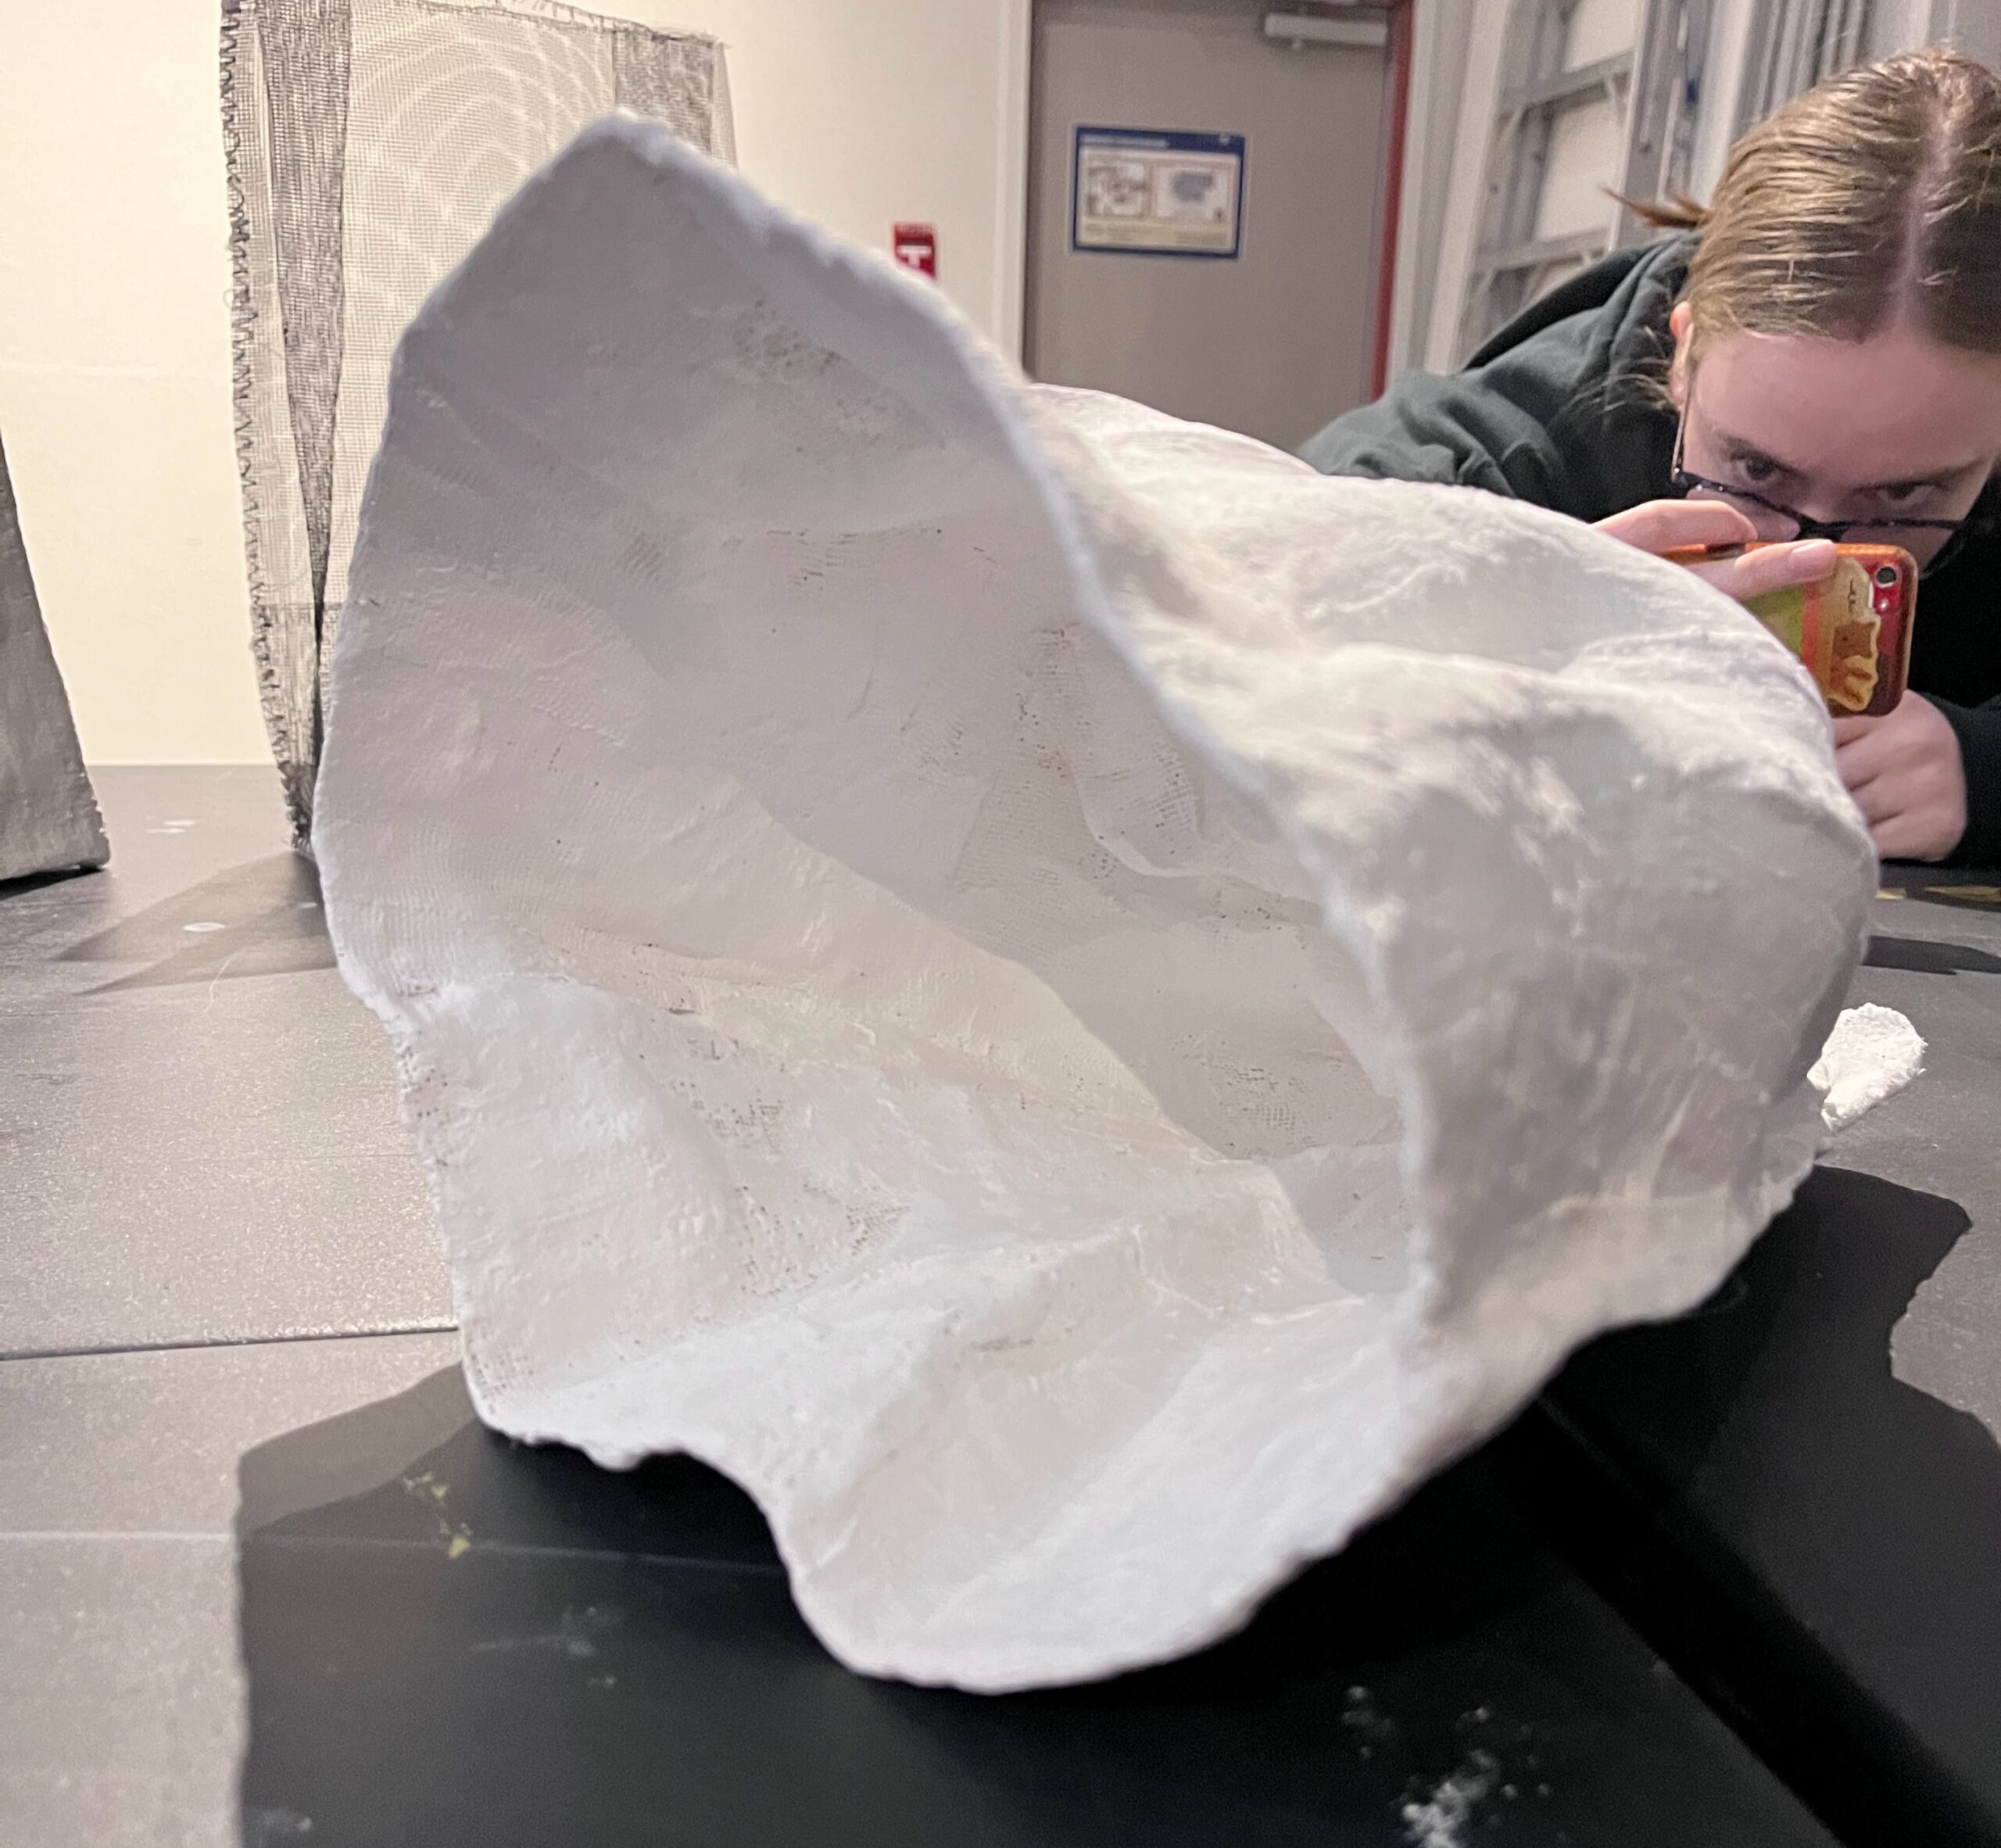
While working with plaster for the first time, and struggling to keep the form and the mess at bay, I was deeply impressed with the folds that my classmates were about to capture in the plaster. Whether making a mouth, or fabric like folds, or straight rigid lines, I was impressed by the relative skill of my classmates (relative to me at the very least). In particular, the cornucopia pictured about as “classmate 5” was particularly impressive. To create such a thin yet solid white open structure was impressive. I’m curious, how did she do that?
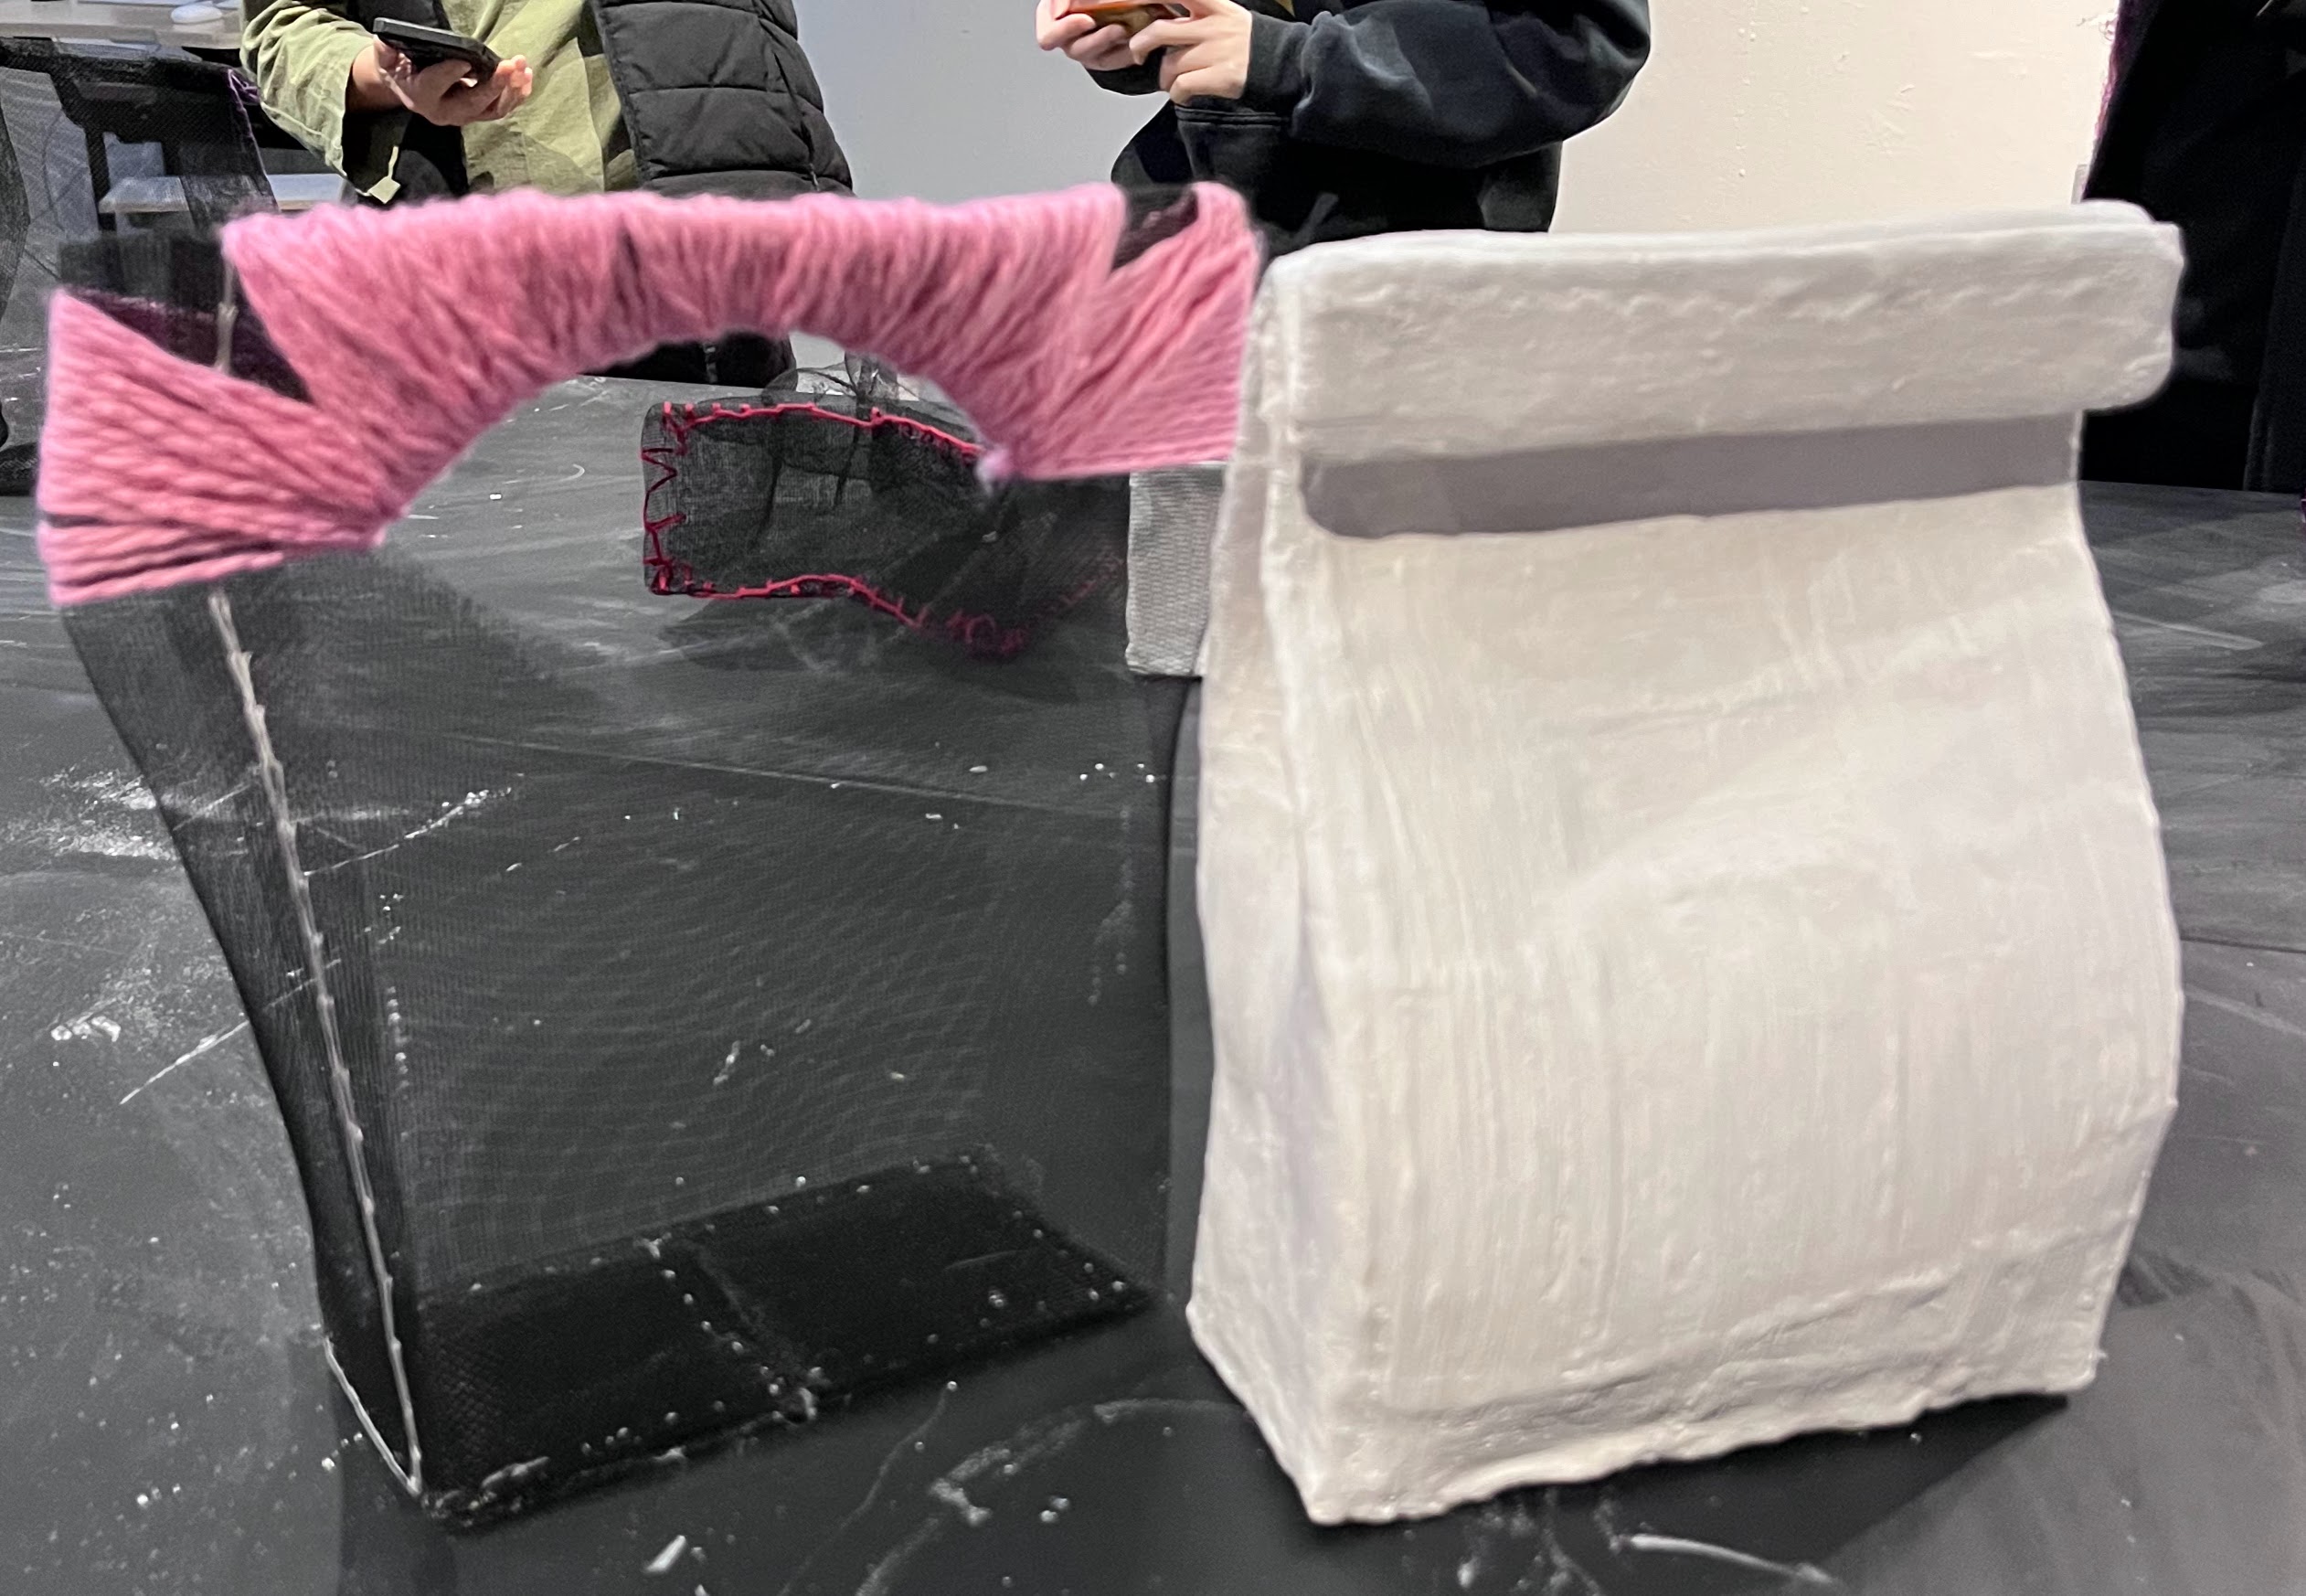
A common thread I saw was the use of colour and materials other than plaster and the mesh bags. Whether using coloured yarn, or embroidery thread, leaves, paint, or even aluminum wire, it was interesting to see how these elements added diversity to the work.
These observations have influenced me by reminding me of how valuable it is to work together on a new subject matter. I wish that I had participated in creating my paster bag with my classmates so I could see their approaches and glean their wisdom since there techniques were very impressive. It also reminded me about another element of art that I feel I often forget – sound. The plaster bags that were open (like mine) versus those that we closed had a different sound. The closed bags gave a drum-like sound to it that was very enjoyable to the ear. I’m interested in seeing how I might be able to make more considerations for sound in my installations and designs.
Self Assessment
Create:
- Learning Outcome: Integrate research and new ideas into your work.
- Prompt: How did research or inspiration from artists, designers, or movements shape your project? What ideas informed your creative decisions?
Research conducted in my art history class of the ghostly “Marilyn Diptych” influenced my final work. The faded overlay of spray paint over sponge with stencils left a haunting image of the final piece. In addition, the research of the other plaster artists and movements inspired the return to nature of this piece. In my ideation phase of the project I thought about the brown paper bag as a boundary: the hand breaking free of the bag as the legs extend beyond the bag in ASPENCROW or the way the Murakami Saburo breaks through the paper wall; a container for holding food, in my case I chose the banana as a recognizable shape; the bag like skin: in my case I chose the vagina, but this idea was drawn from inspiration by Wilmer Wilson’s installation “From my Paper Bag Coloured Heart”, and a tool for self regulation (breathing in/out). These ideas were drawn from the lecture in class. However in the end, playing with the paper bag and beginning my process is what lead to the creation of my own idea: “the edge effect”.
Develop:
- Learning Outcome: Expand your skills by using new tools or techniques.
- Prompt: Did you experiment with new tools (e.g., software, hand tools)? How did learning these tools help you improve your project?
I did experiment with new tools! The plaster was know, the mesh was new, the stitching is a fairly unfamiliar process. But in addition to all of that I also used natural materials as stencils and as materials for assemblage in my piece. In applying the plaster for the first time, I learned how quickly it turns from liquid to thicksotropic state and how each of these can be applied to create different techniques. For example, starting in the more liquid phase through to the thick state helped me cover a lot of the surface area of my bag, then I used left over wet plaster bandage to fill in any missing areas. After this first application, I learned that the thick state would be better to create the ridging on the plaster bag and I made a smaller batch of plaster to get that effect.
Expand:
- Learning Outcome: Take creative or technical risks.
- Prompt: Did you try something unfamiliar or experimental? How did taking this risk impact the final outcome?
I’d never worked with moss before as a material for artwork. Furthermore, harvesting moss fresh from nature was outside of my experience. Drying and cleaning it and then gluing it to the bag gave a warm spongy look to the piece that beautifully contrasted with the black mesh bag. I’d say it rather worked. On the other hand, trying to stamp the fern on the bag didn’t take as nicely. Fortunately, I was able to salvage the green paint on the plastered bag for my other experimental application: the stick stencil with spray paint. This provided a rather satisfying overlay of colour. On the other hand, trying to use the pipe cleaners on my mesh bag didn’t turn out, and I ended up removing them from the design.
Problem-Solve:
- Learning Outcome: Identify challenges and find creative solutions.
- Prompt: What challenges did you face, and how did you overcome them? Were there any problem-solving strategies that worked particularly well?
I was very grateful to have the help of Sam, who was the student monitor on Saturday. Nim was also in the studio when I plastered my bag and the two of them helped me determine how to use the plaster for the first time. One mistake I made was not filling my bag before plastering it, and so it caved into itself rather conveniently. It still stood up but had a ripple that looked more like a flimsy bag – much more organic and realistic. In addition turning to input from Angela when I went was struggling with the pipe cleaners. Overall, turning to my peers and teachers for feedback was the most helpful throughout the problem solving process.
Collaborate & Reflect:
- Learning Outcome: Use research, feedback and self-reflection to improve your work.
- Prompt: How did research, feedback, and your own self-reflection lead to revisions?
What specific changes did you make to improve your project?
Building upon what I shared above, collaboration and feedback were an essential part of this project. The input on the pipecleaners, the idea for the moss and more natural materials, the help with using plaster for the first time, and the research on how to harvest moss were all instrumental in bringing the work all together. Perhaps most importantly, the support helped keep me calm and engaged. Taking five courses is extremely overwhelming and when trying so many new things it can be very anxiety inducing to work on a timeline. The support from my teachers and classmates really helped me to feel supported and get to the finish line.
Communicate:
- Learning Outcome: Identify and reflect on connections made in your work.
- Prompt: As you worked on your project, what connections did you make between ideas, techniques, or materials? Did new approaches or unexpected relationships emerge as your project evolved? How did these connections influence your creative process?
Yes! While I was working with the plaster I noticed the different textures that could be created with the material. The idea of incorporating this more deliberately was something I considered, and incorporated. For example, leaving the texture of the plaster to provide a more organic look. Other ideas I decided to save for future projects (like a the shoe-print idea). Another unexpected relationship included the use of the overlay of paint and the stencilling of natural materials – to mimic natural design. Originally, I thought of painting the diversity of ecosystems on the bag, but after admiring the way nature naturally creates edge (no paintbrush required), I was inspired to stamp, and then ultimately stencil the branches onto the plaster. Another element that emerged during the process was the idea to use the “edge” of the bag as the inspiration. This came about while stitching the mesh.