Artist Research – Plywood, Cardboard, and Bamboo Art
3D-Art-Design-Artist-Research-U3Process Blog
Initial Design
When I started this project I was really struggling to keep up the work, manage stress, and stay connected to my creativity. I was feeling angry that the project was a “2 year” program when five courses at a time felt unmanagable. So I decided to communicate that.
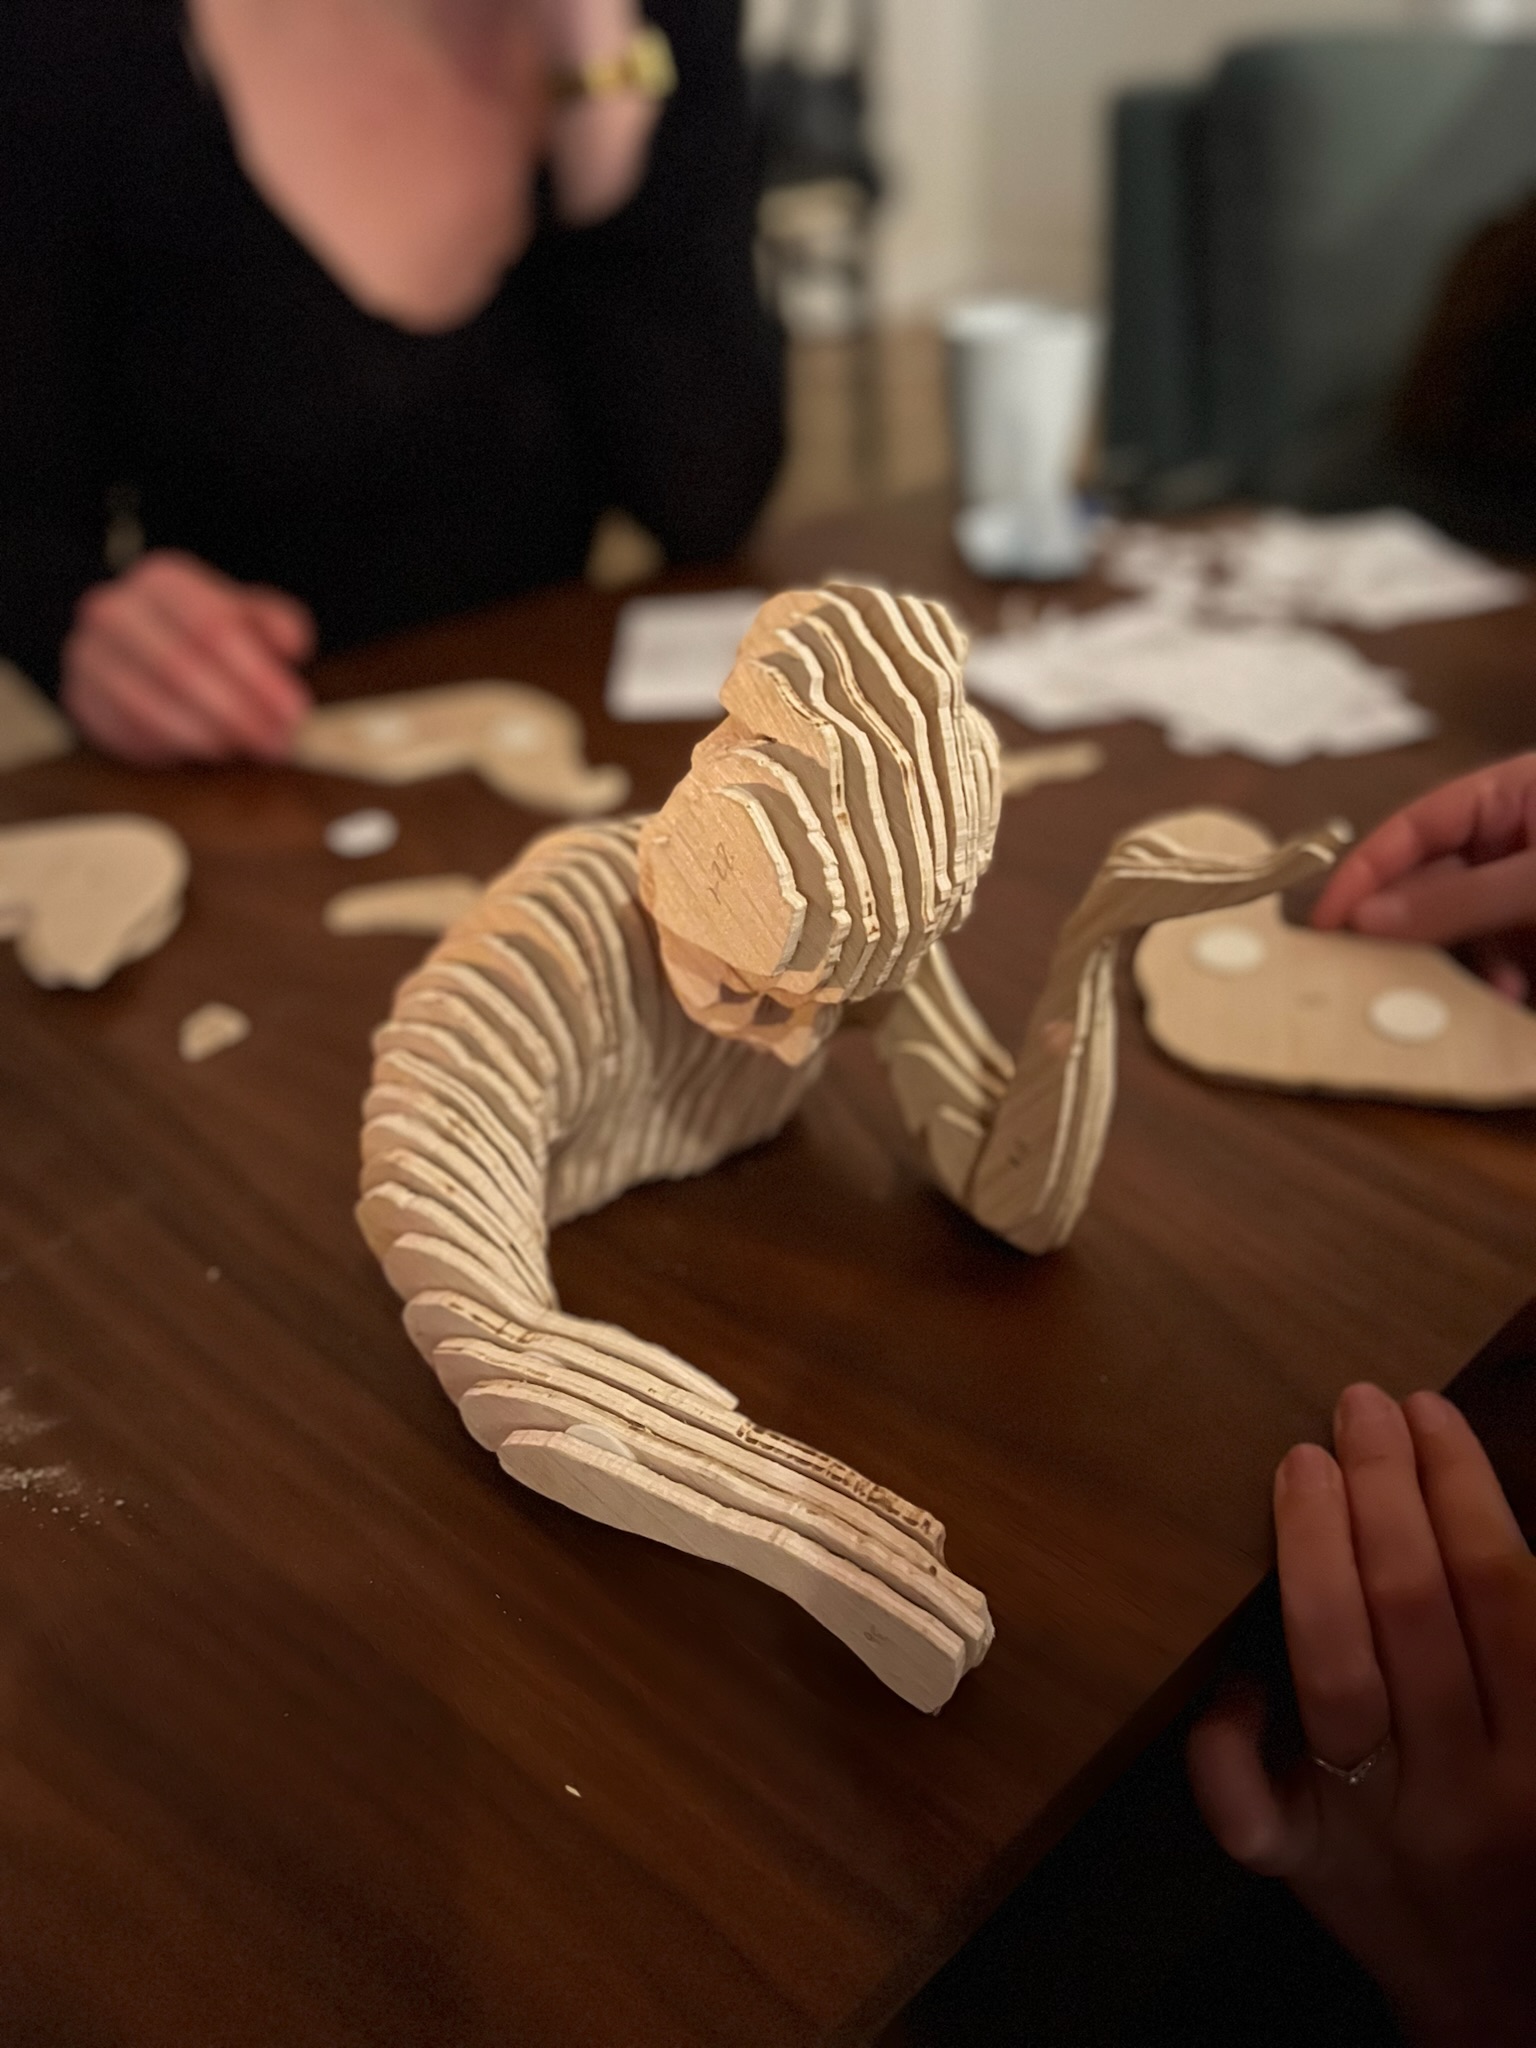
I chose to make one hand holding up the apple – a symbol of pleasing the teacher, or in this case the institution of education to get good grades. While in the other hand I would hold onto the paintbrush – a symbol of my creativity and the reason I chose to come to school in the first place.
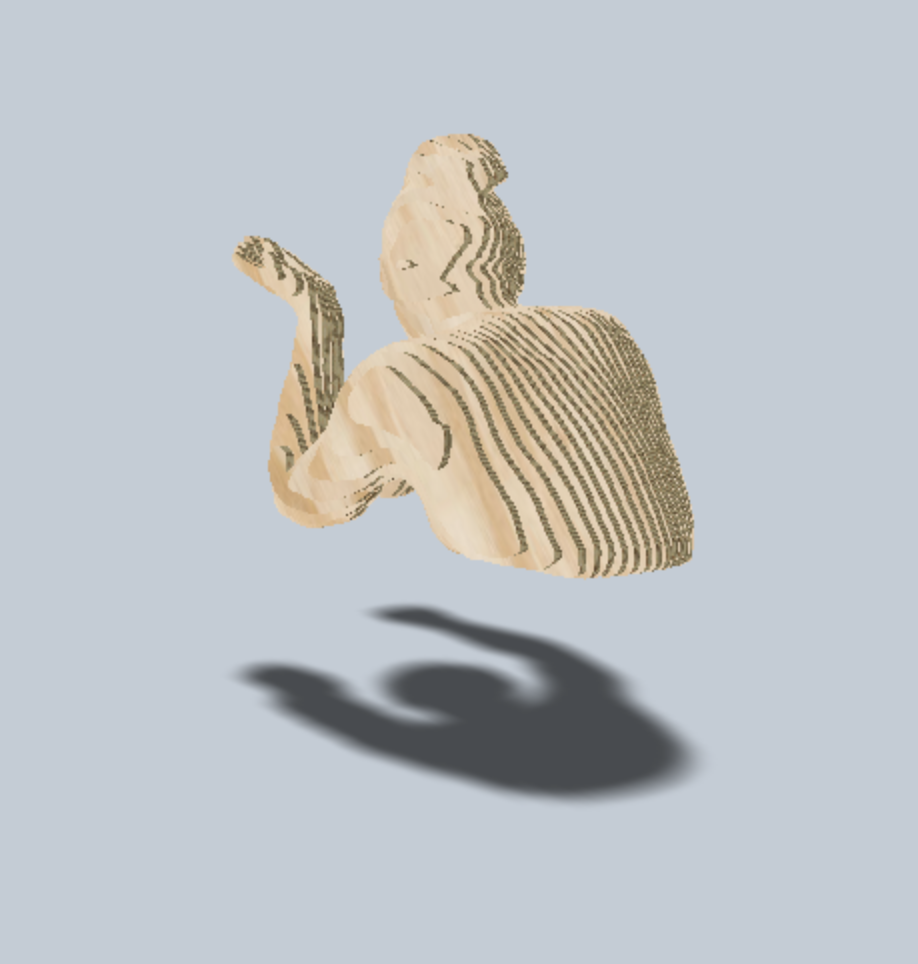
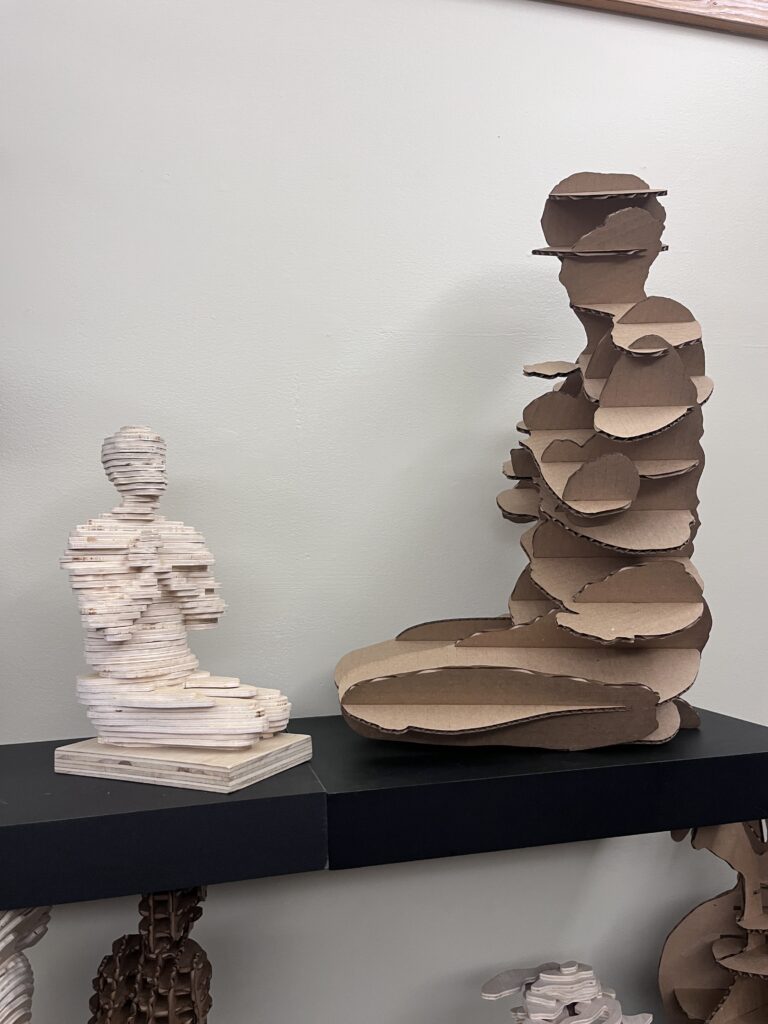
I decided to make myself sitting down for this imagery and focusing on the area above the torso so I could get a “closed” object image and to focus in on the gesture. Here you can see the imagery taking with polycam. Big shoutout to Yuen Ting for helping with this photo. It turned out great.
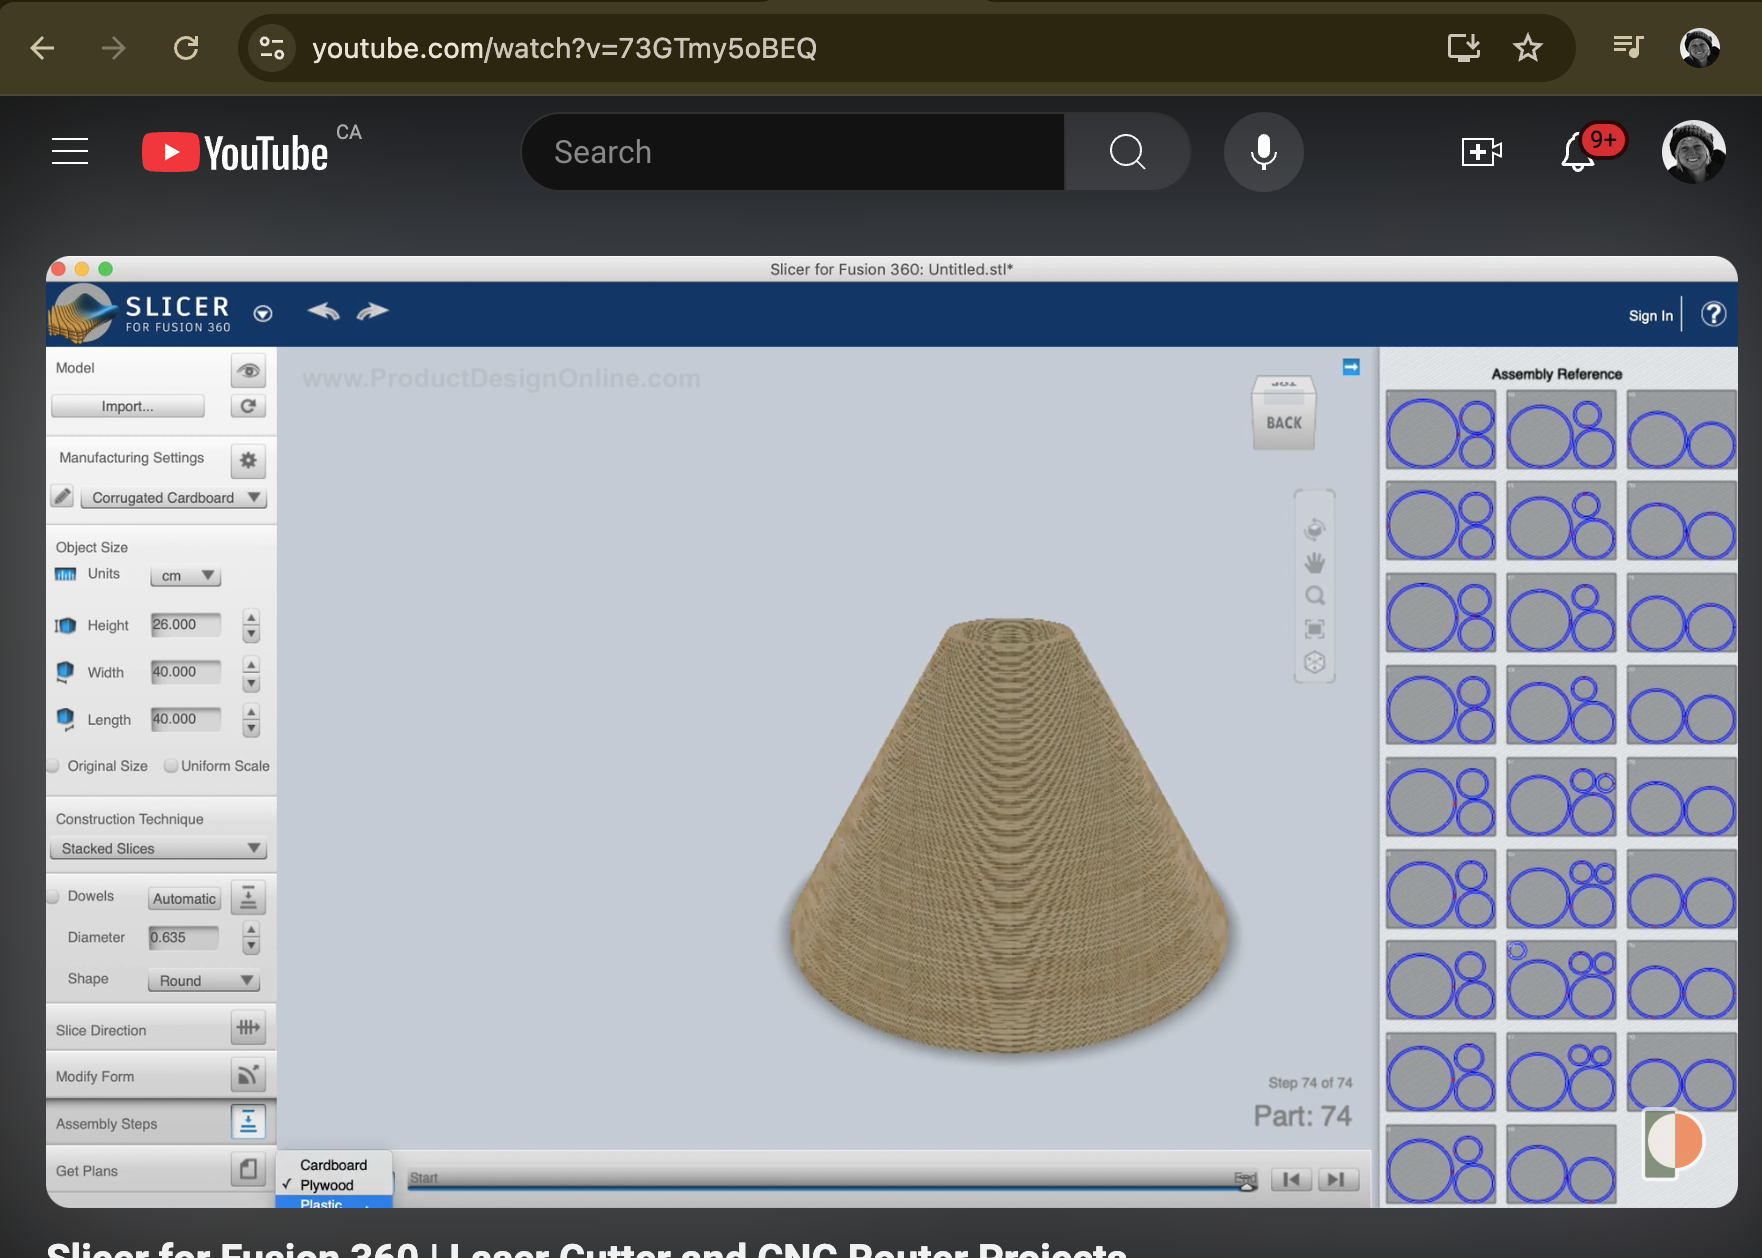
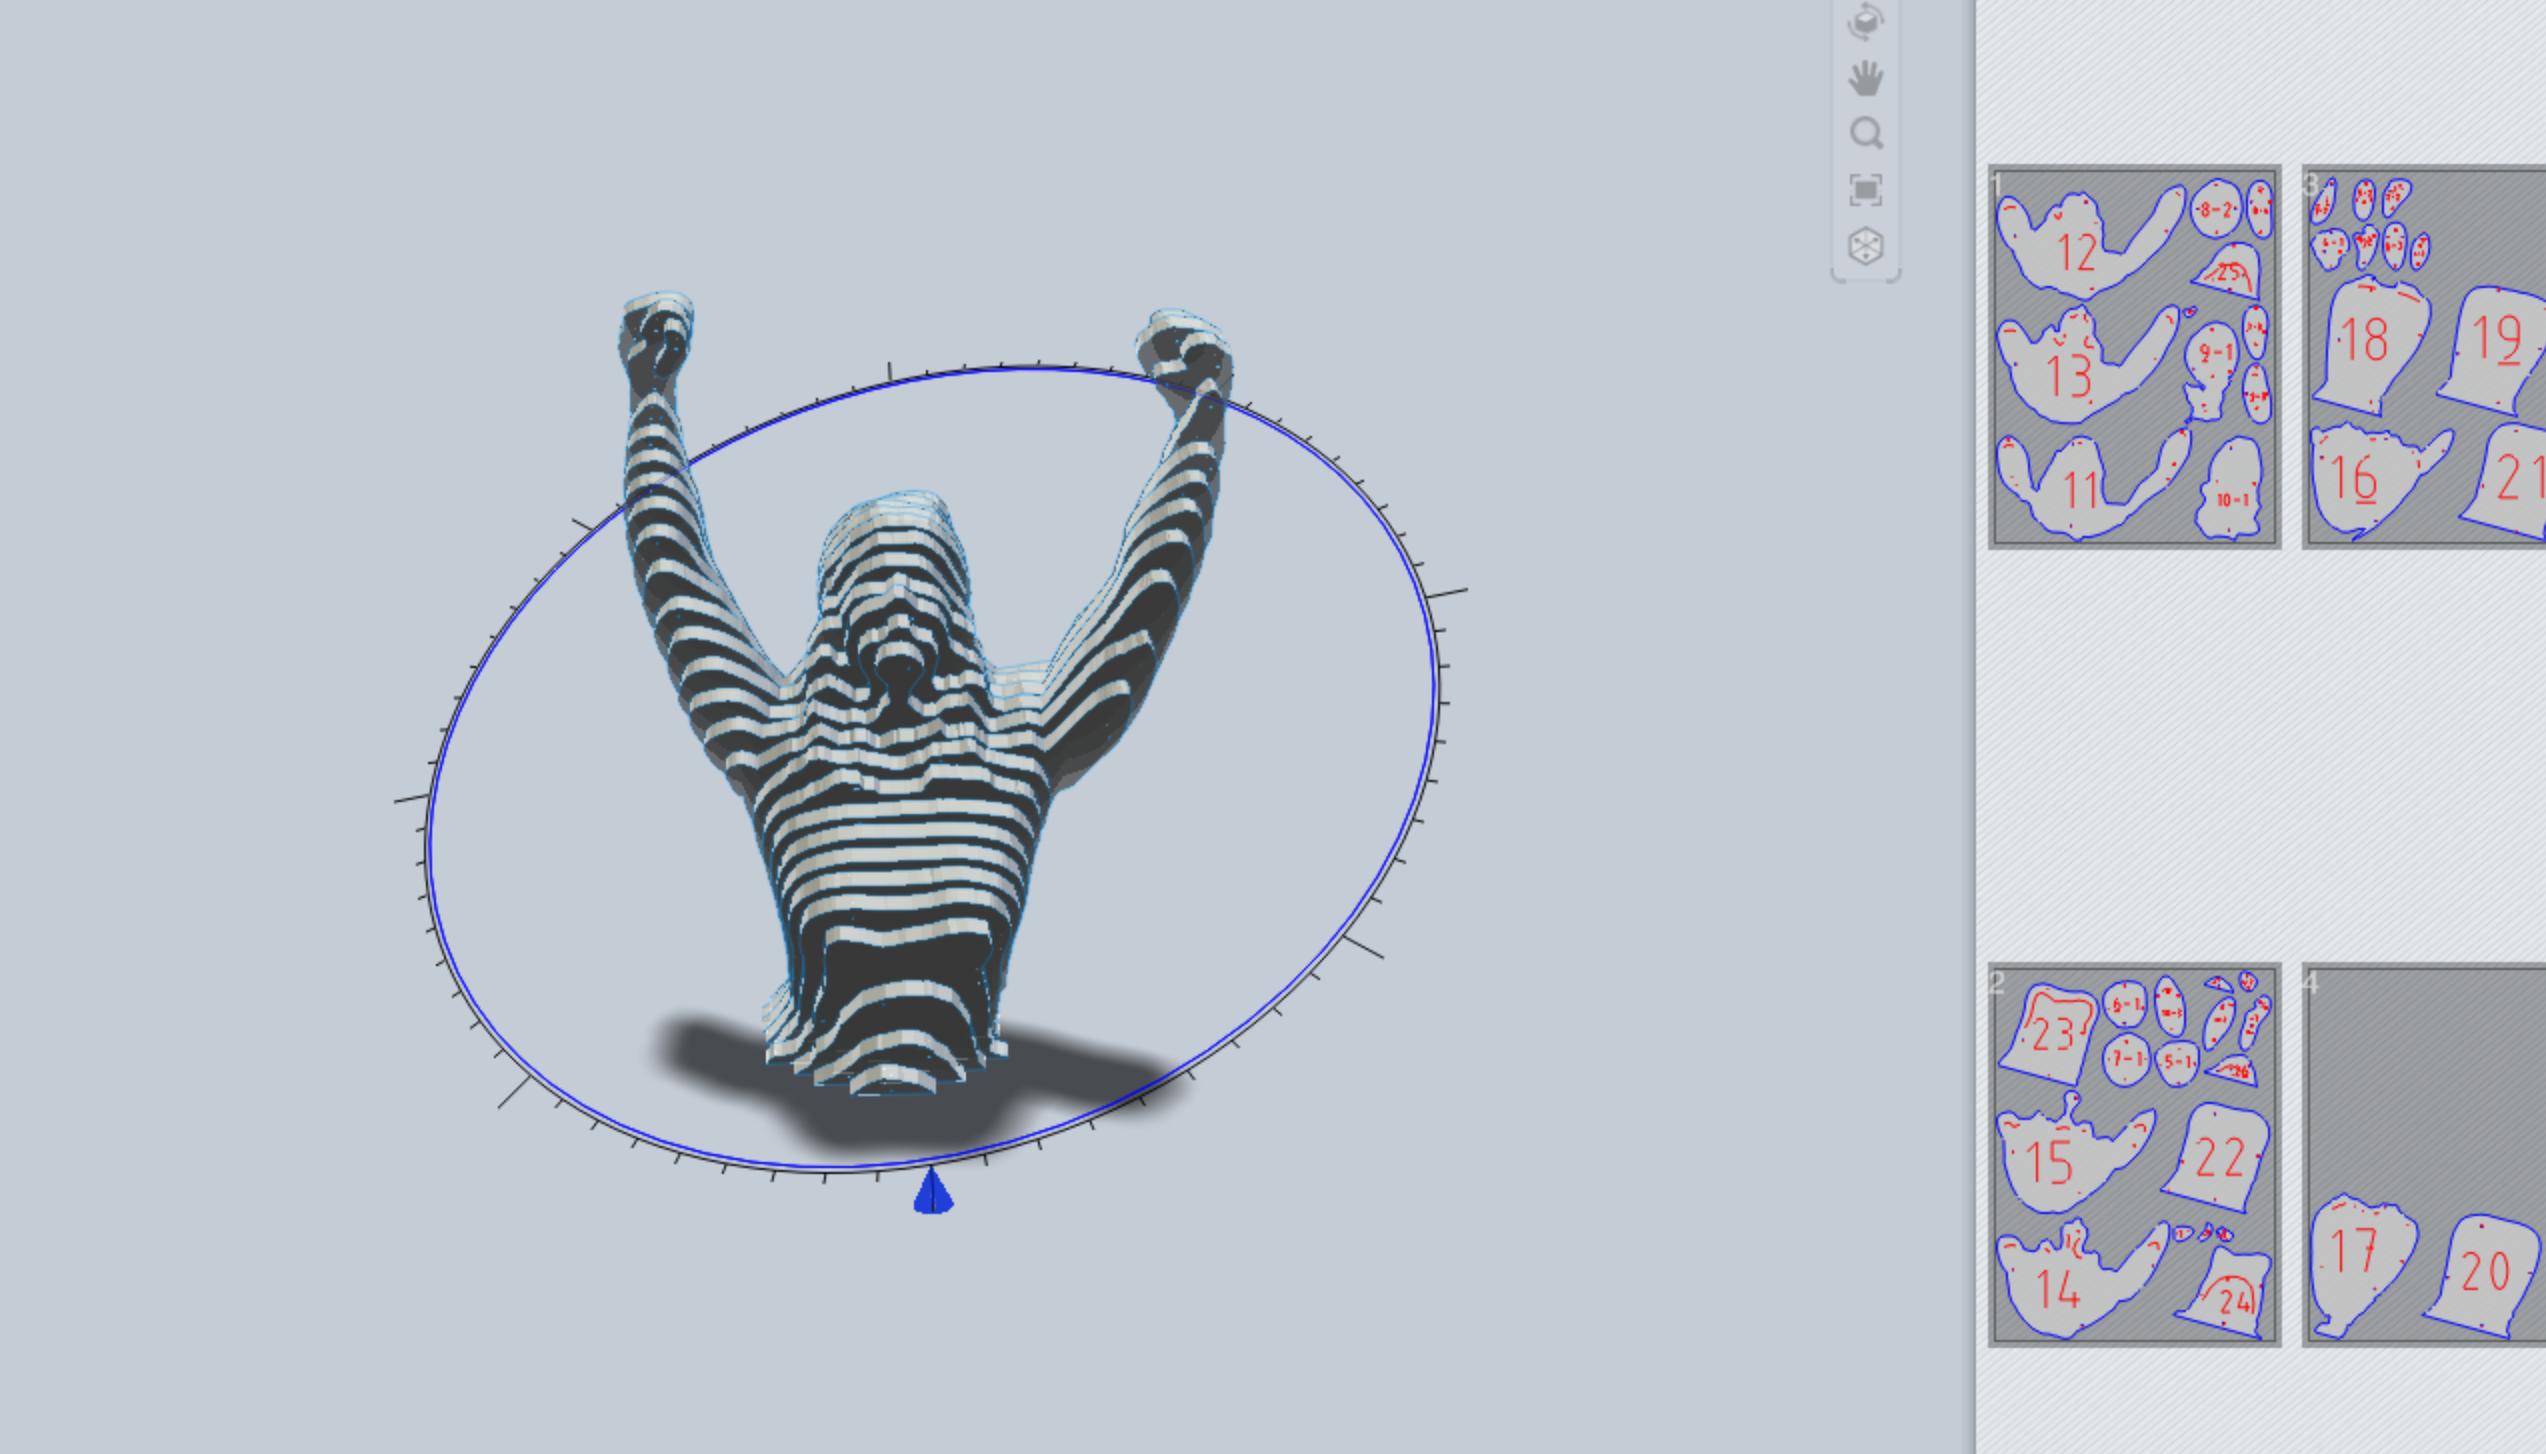
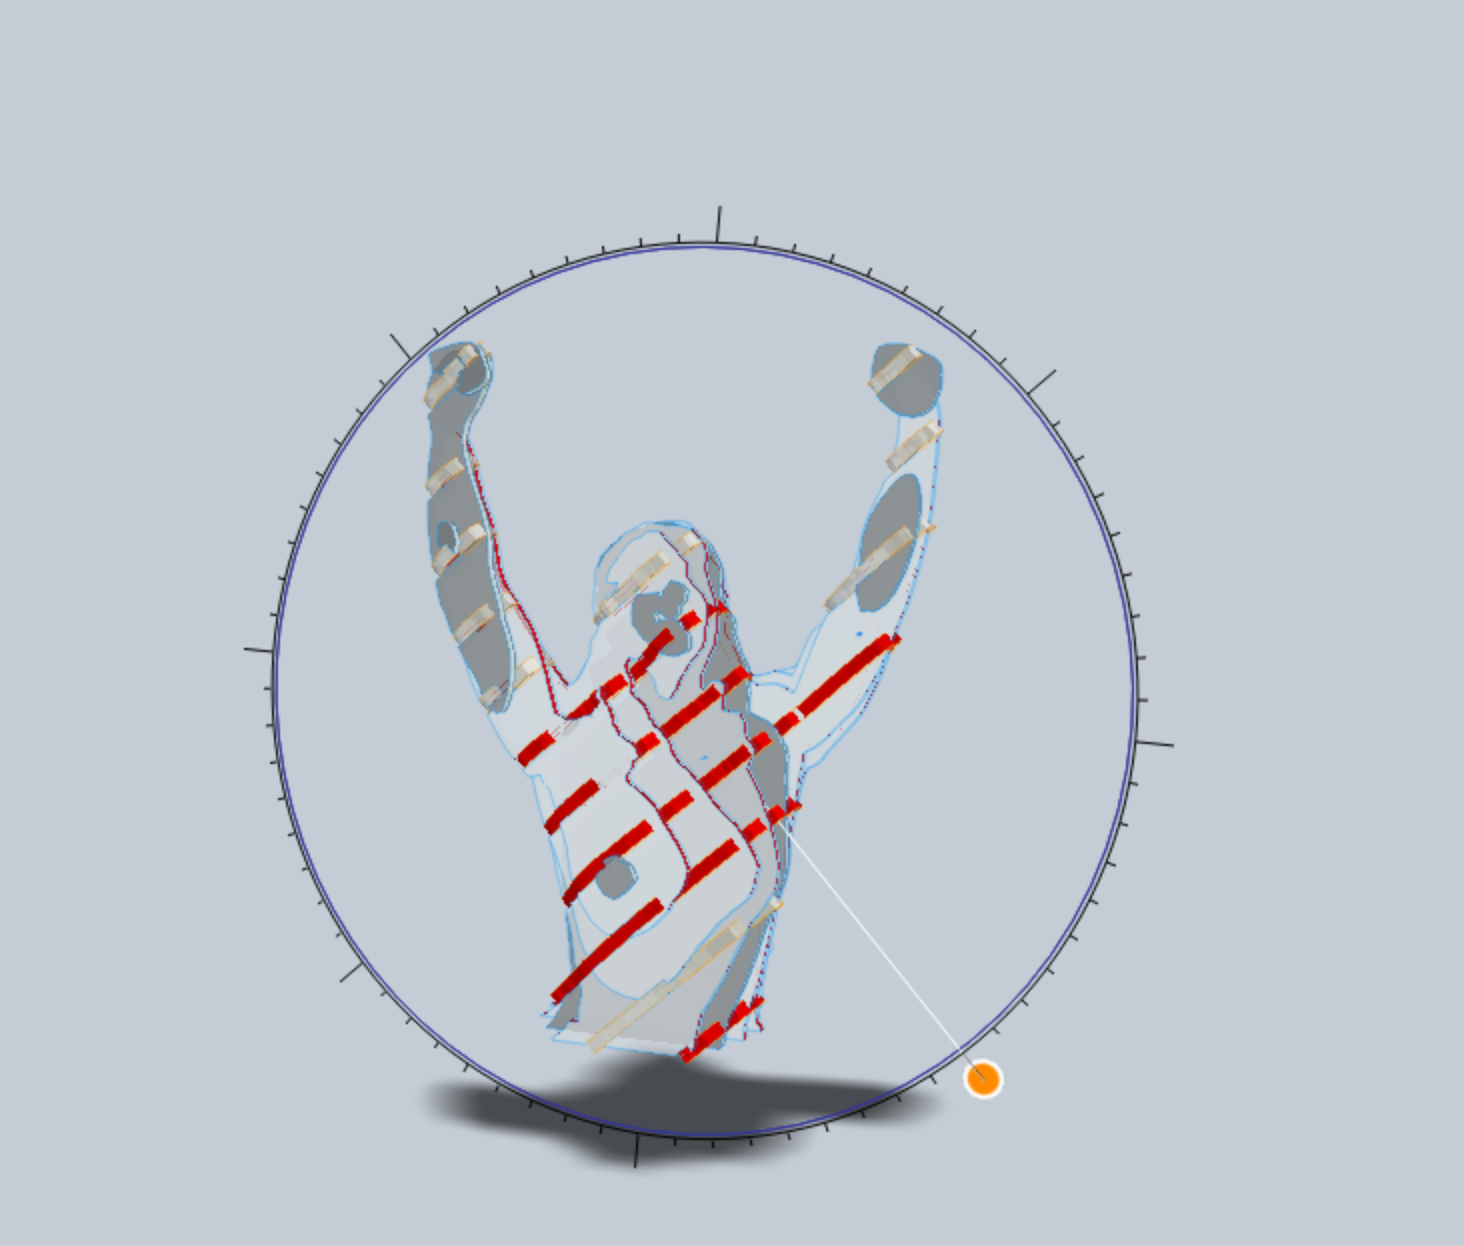
By the time I started working on the second image, for my cardboard piece, I had decided that while I couldn’t control my workload, I could control my attitude and that the stress I was feeling was very much something that was my own experience. So, I wanted to express an overcoming of the stress and the pressure through adjusting my own experience to the program – accepting, letting go, and celebrating the victory over my own self. So for the second image I chose an exhaulted hands in the air “victory” pose. As you can see it was harder to keep my hands totally still in the air for this one. Shout out to Yeun Ting for all your help on this one too!


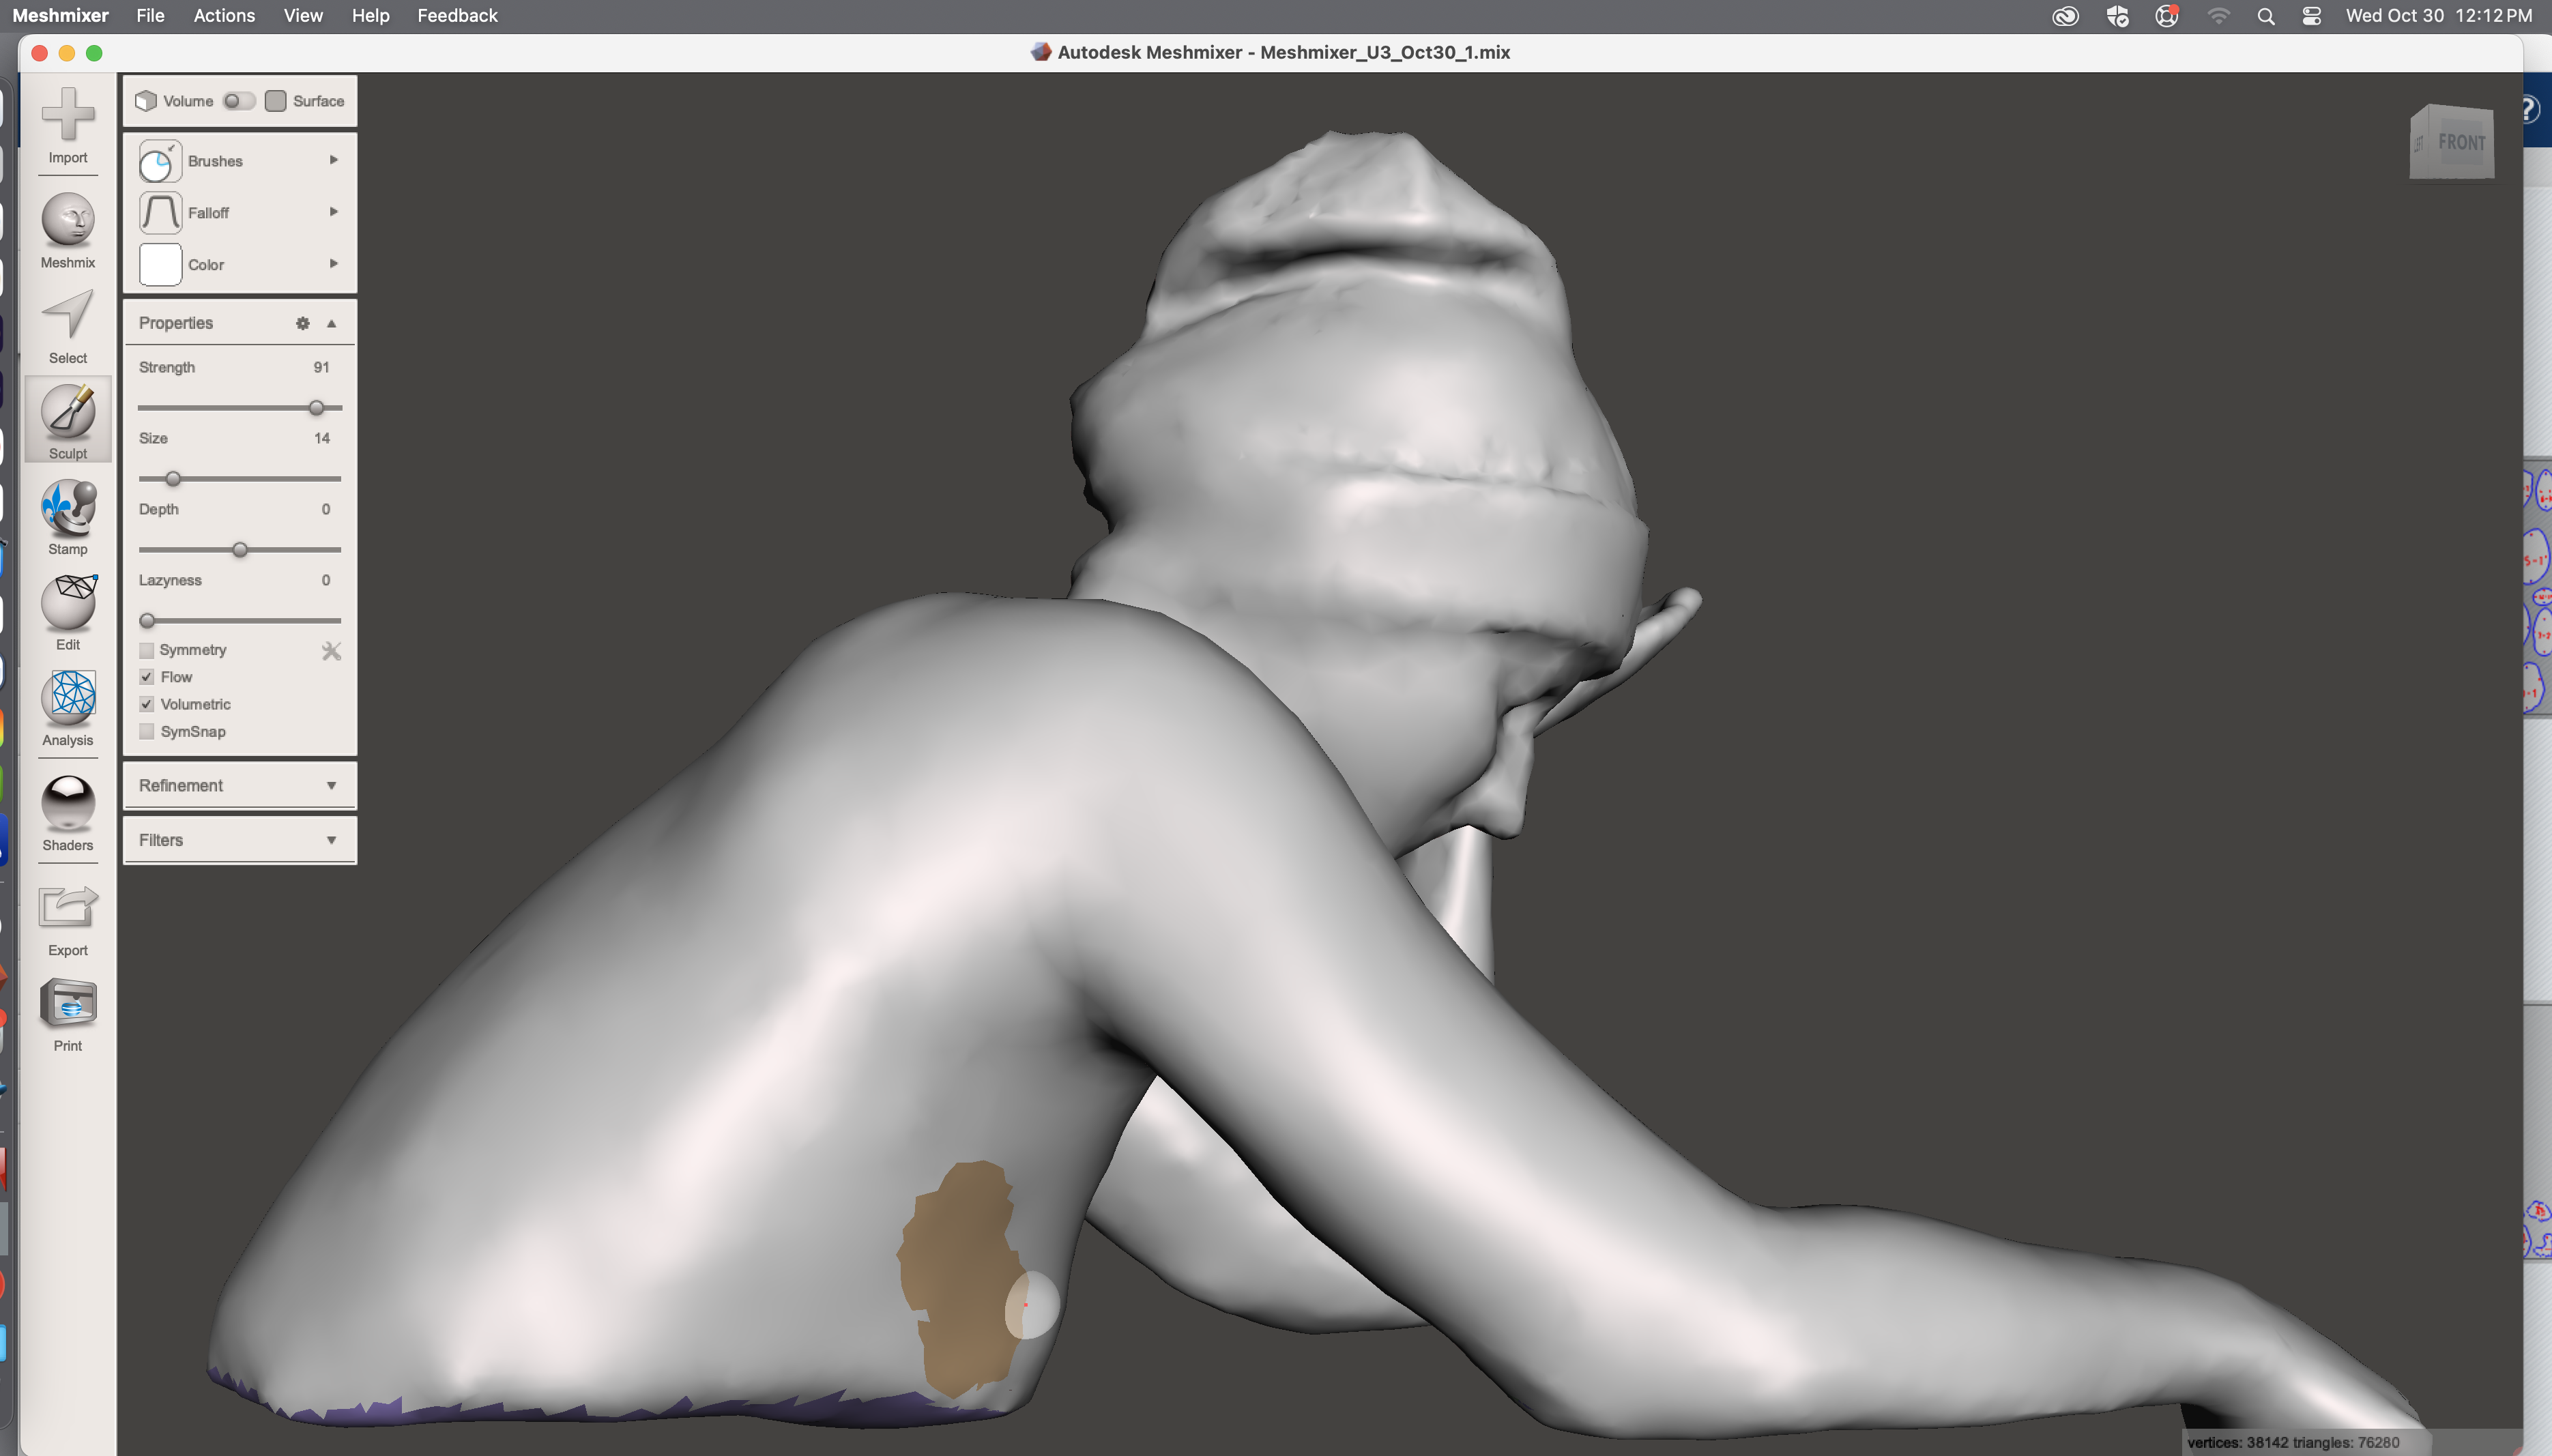
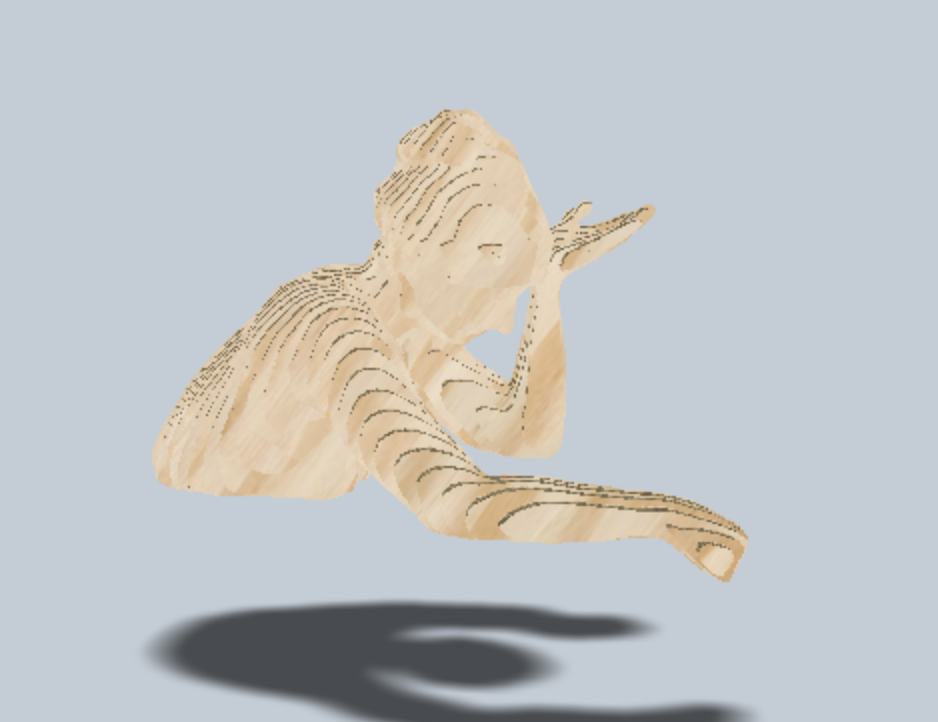
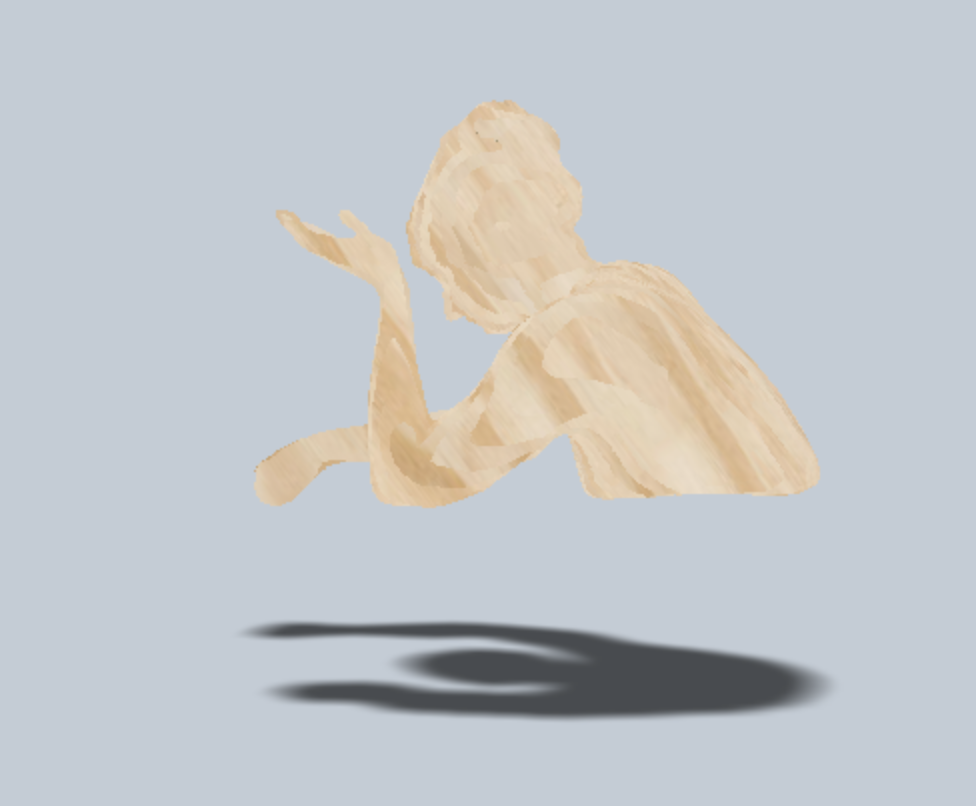
Meshmixer & Slicer
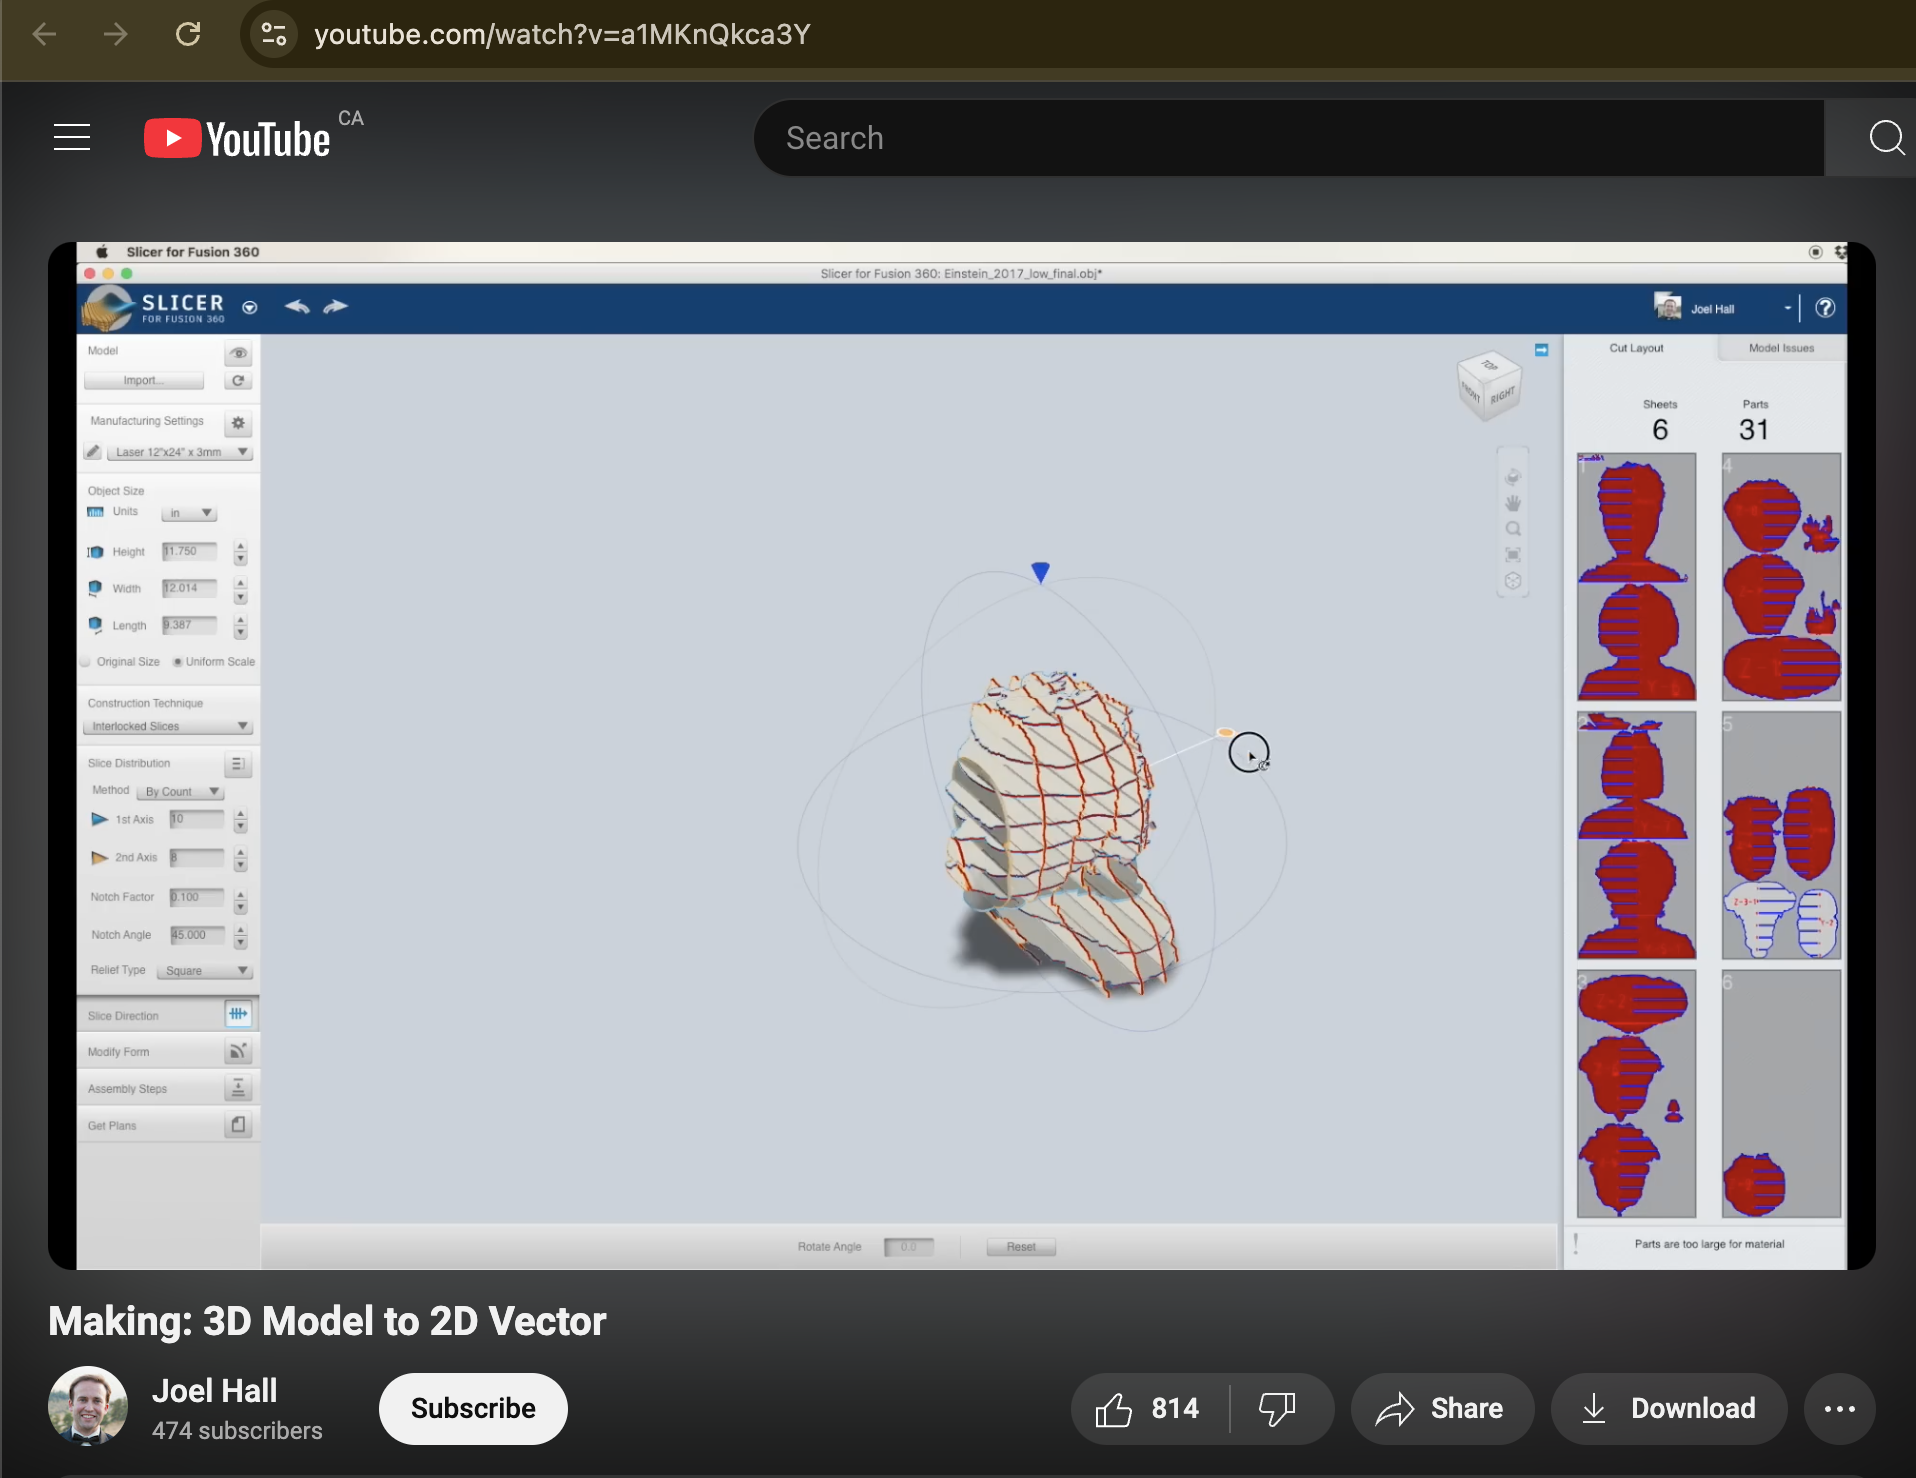
Because of the quality of image for the plywood model, I had very little editing to do on mesh mixer. Help from Tyler and Angela went a long way for this digital design, learning to slice and smooth the image.
For the carboard model, I struggled a lot with the hands. I decided to cut off the arms and add new ones that I found in the mesh mixer. Then I needed to “reflect” the arm so that it was the same shape and size, and delete the reflection so I only had one arm on each side. This took a while to figure out and I definitely turned to a few tutorials to find information. That said, I will admit I did not make as much time as I could of watching tutorials. I think if I was planning to make more edits to my images, watching the tutorials would have been more use. For example, if I planned to swap out more body parts and use more online images then this would have motivated me to watch more videos.
Once I got my images on slicer, it was pretty easy for the stacking piece of the plywood. The interlocking piece of the cardboard was much harder. At first, I wanted to just stack the cardboard, but I thought interlocking would save me time in the assembly. Also, I was interested to see what this process would be like. So, I decided to try the interlocking for the cardboard. Unfortunately, I regret that decision for several reasons I’ll elaborate on in the “cardboard assembly section below”.
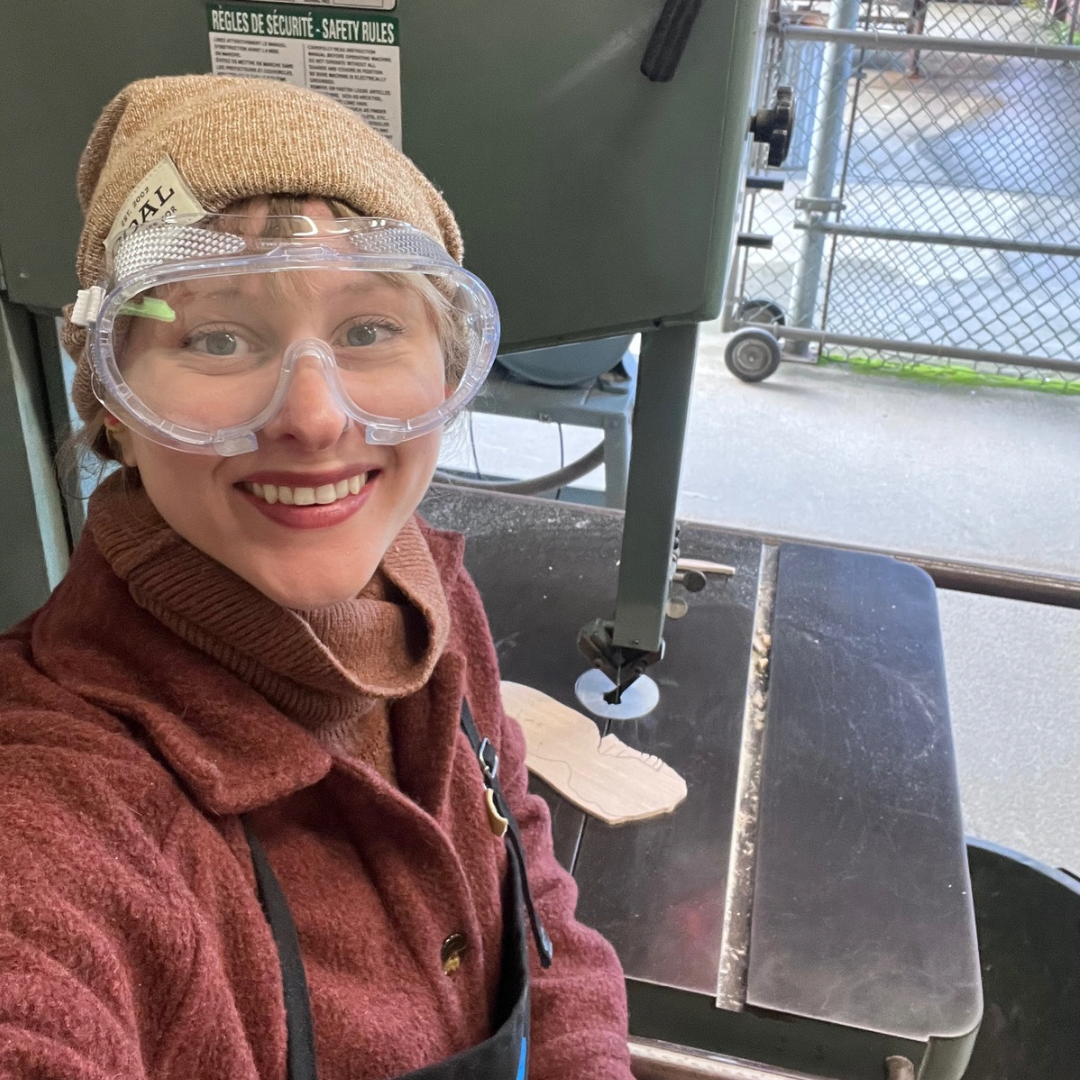
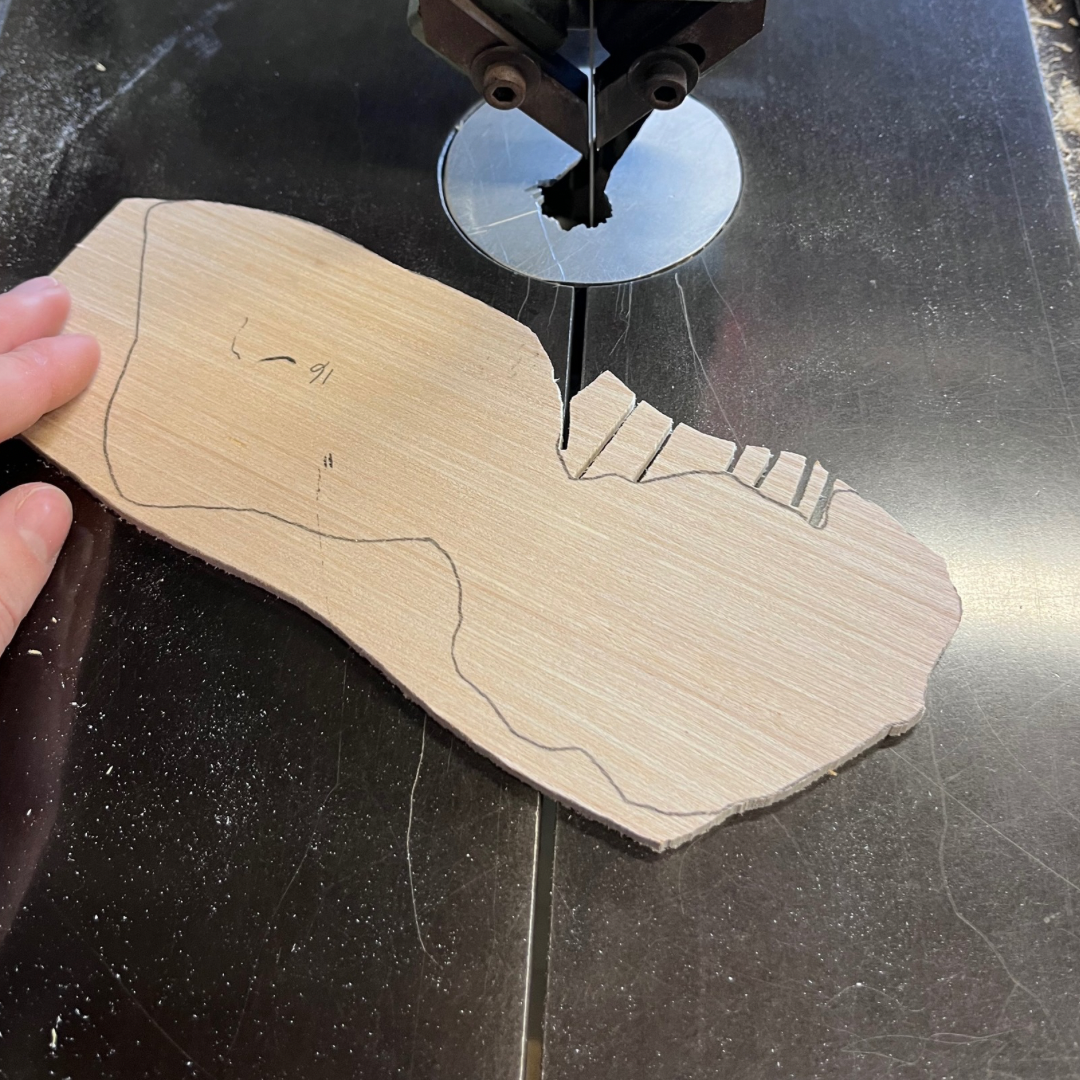
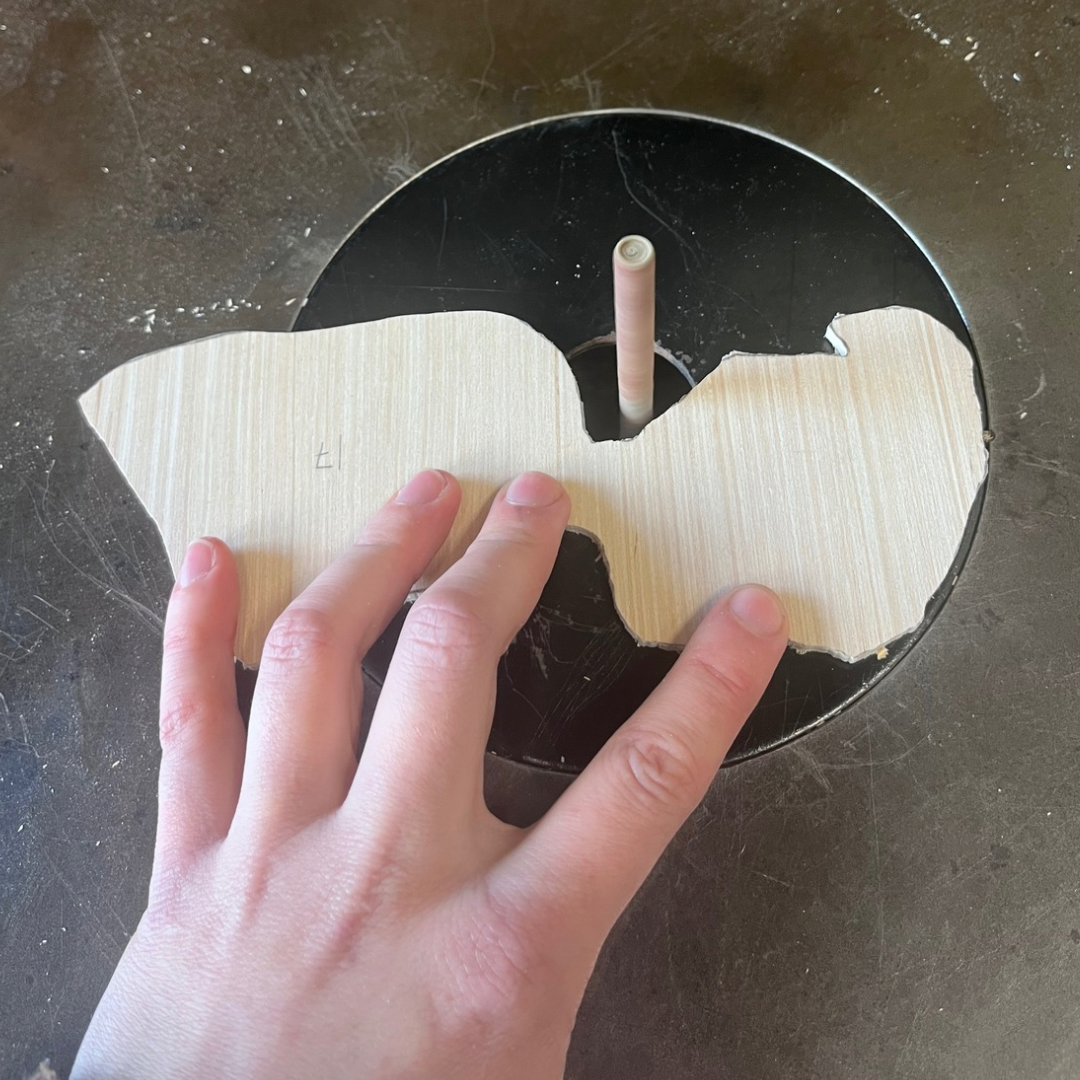
Cutting Plywood
two 2-hour sessions and lots of cold fingers. That said, I really loved the cutting process. Getting to use power tools and learning this new process was so rewarding. It was like a meditative practice and afterwards I felt a sort of after-vibe similar to the way I do when participating in mantras.
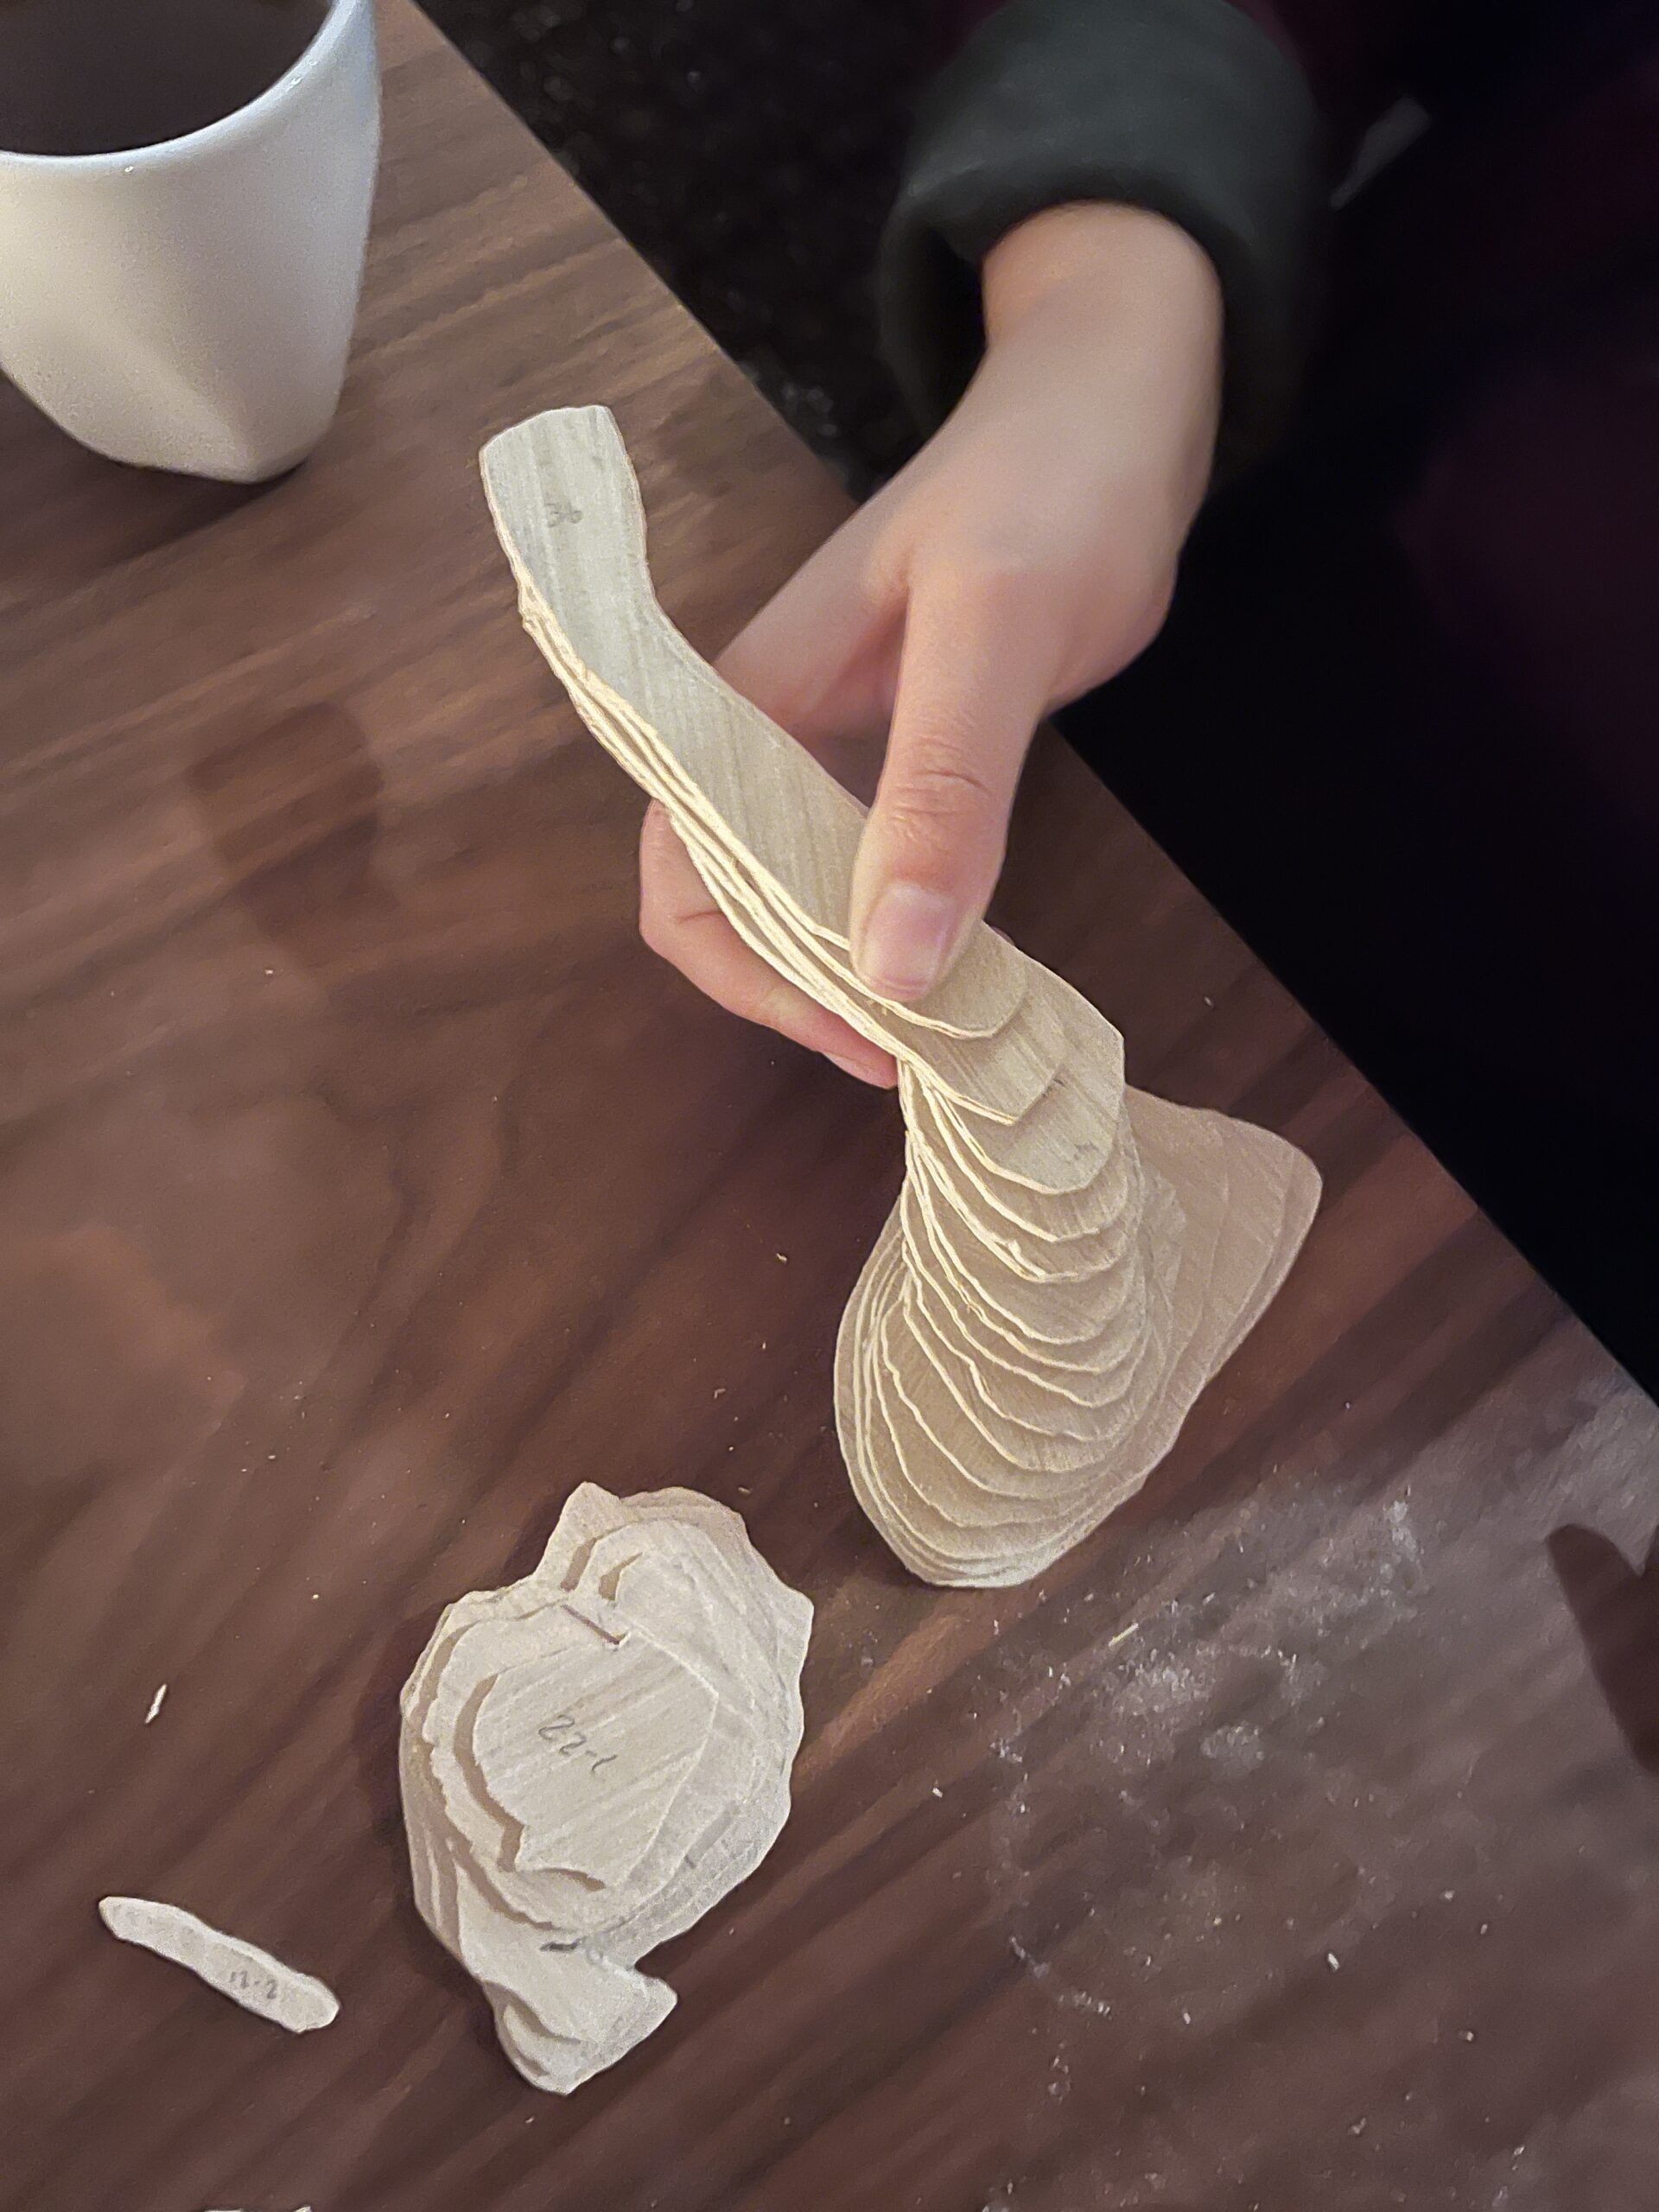
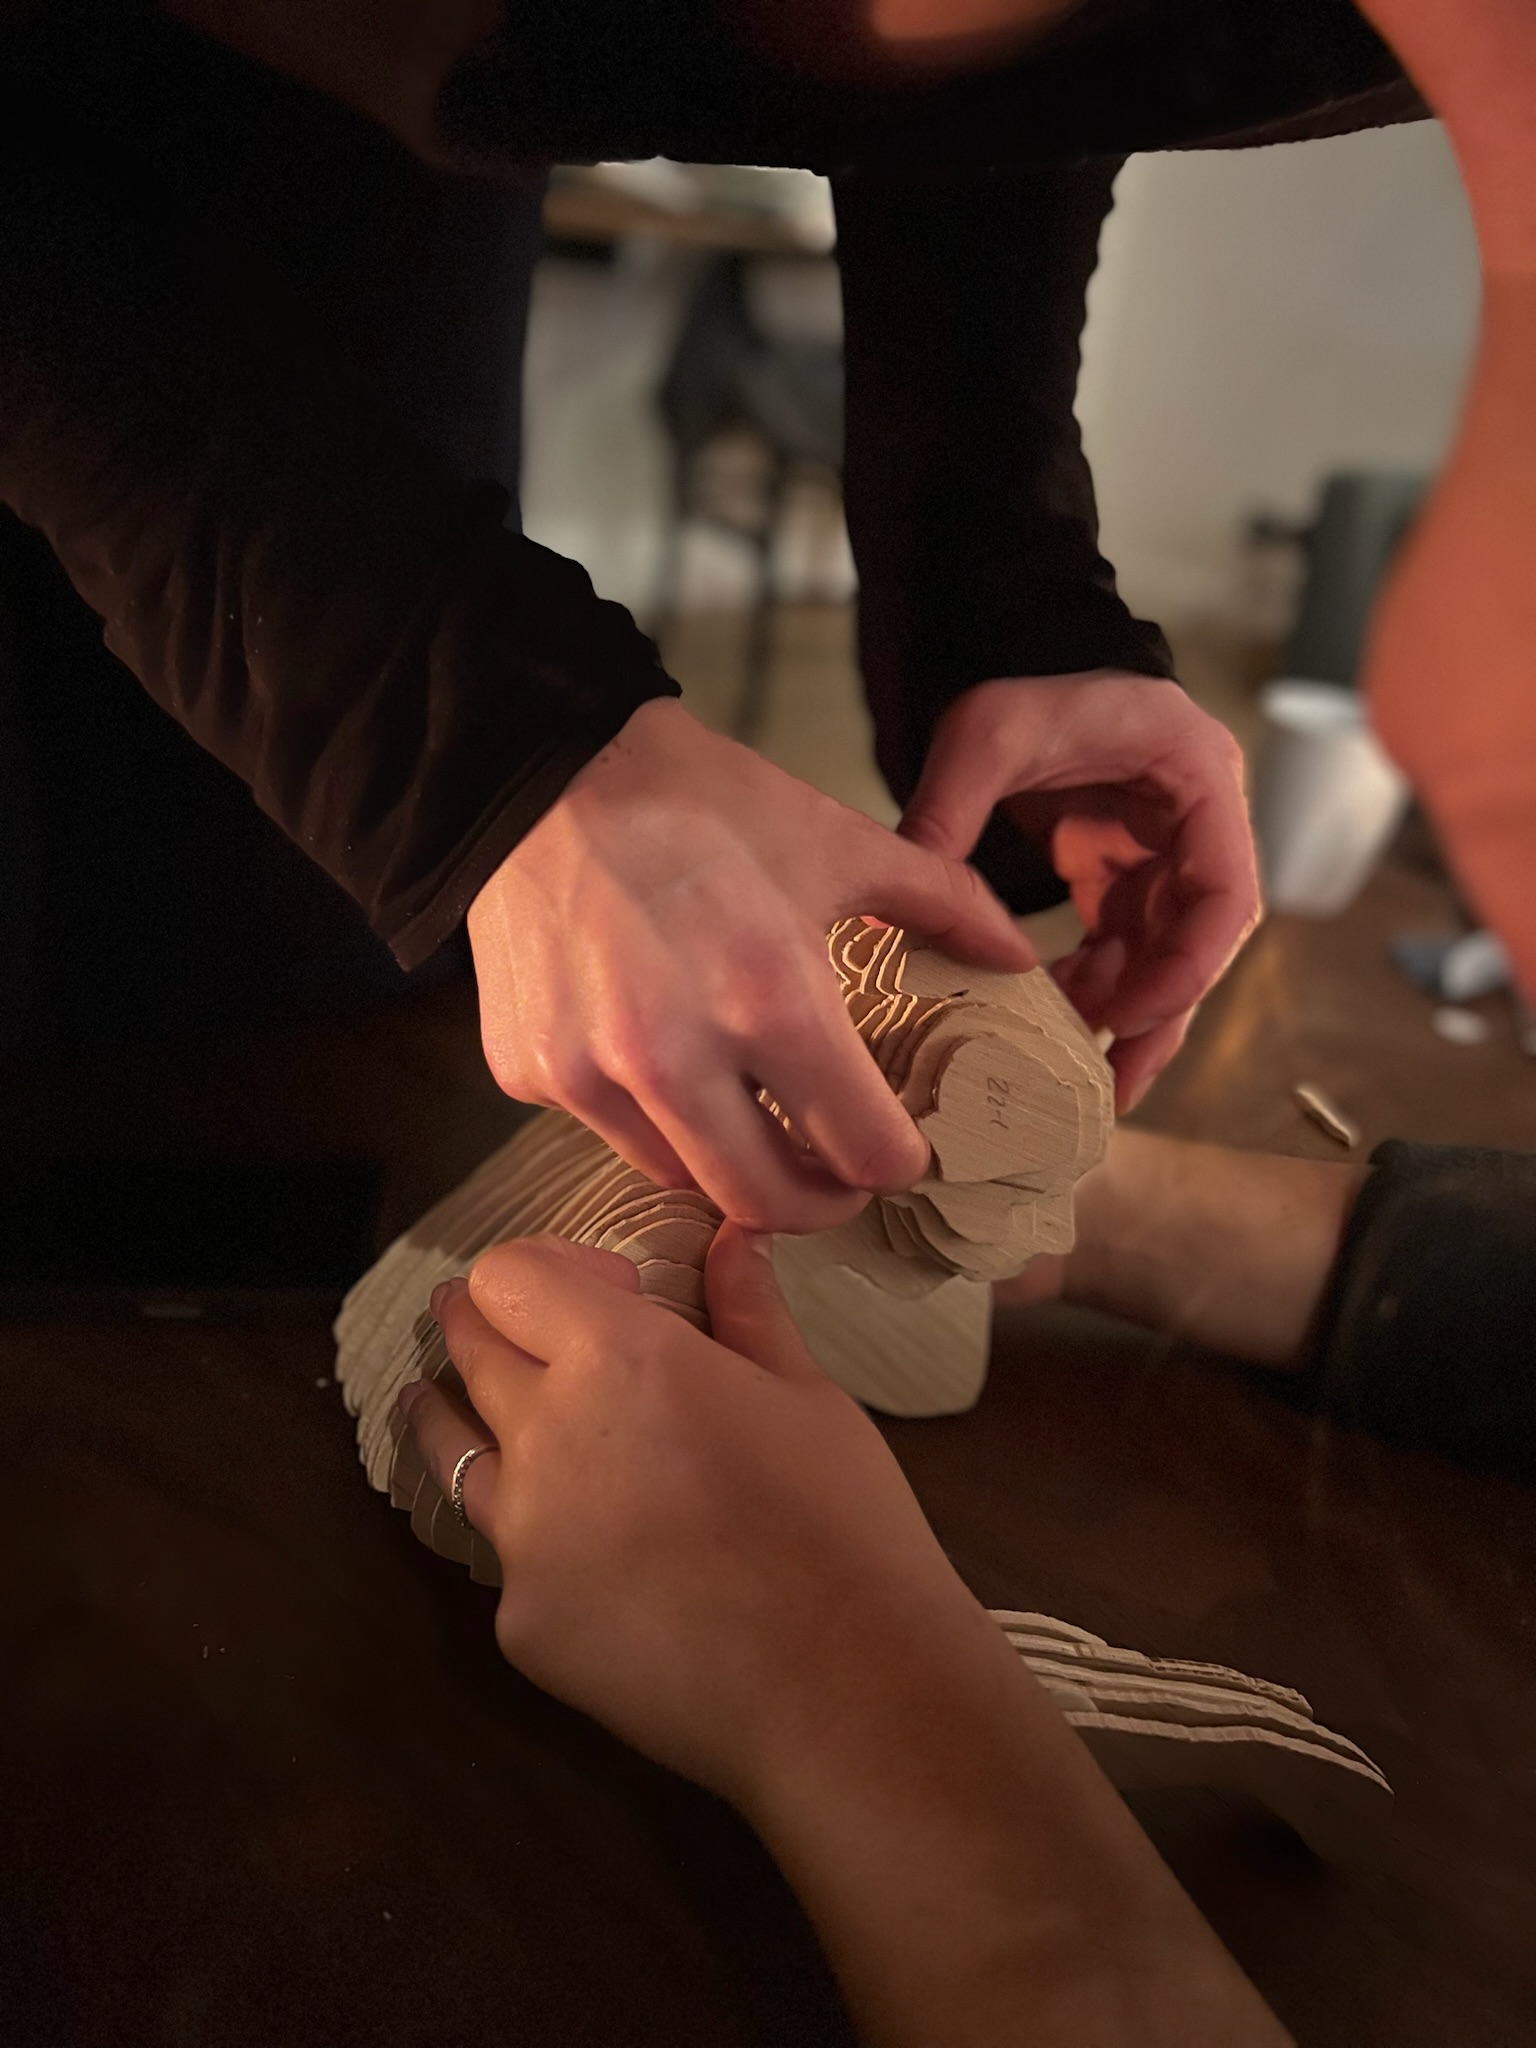
Assembly – Plywood
The assembly was the best part of the project because it was done as a team. Doing it while I was in Tofino with my friends made it into a fun 3D puzzle. Many hands truly made light work as we worked together, deliberated, and helped line up all the pieces. That said, I totally forgot that I had taking screenshots of the plywood which would have been a huge help with assembly. The fact that it was a group effort and it turned out imperfect makes it even more meaningful to me.
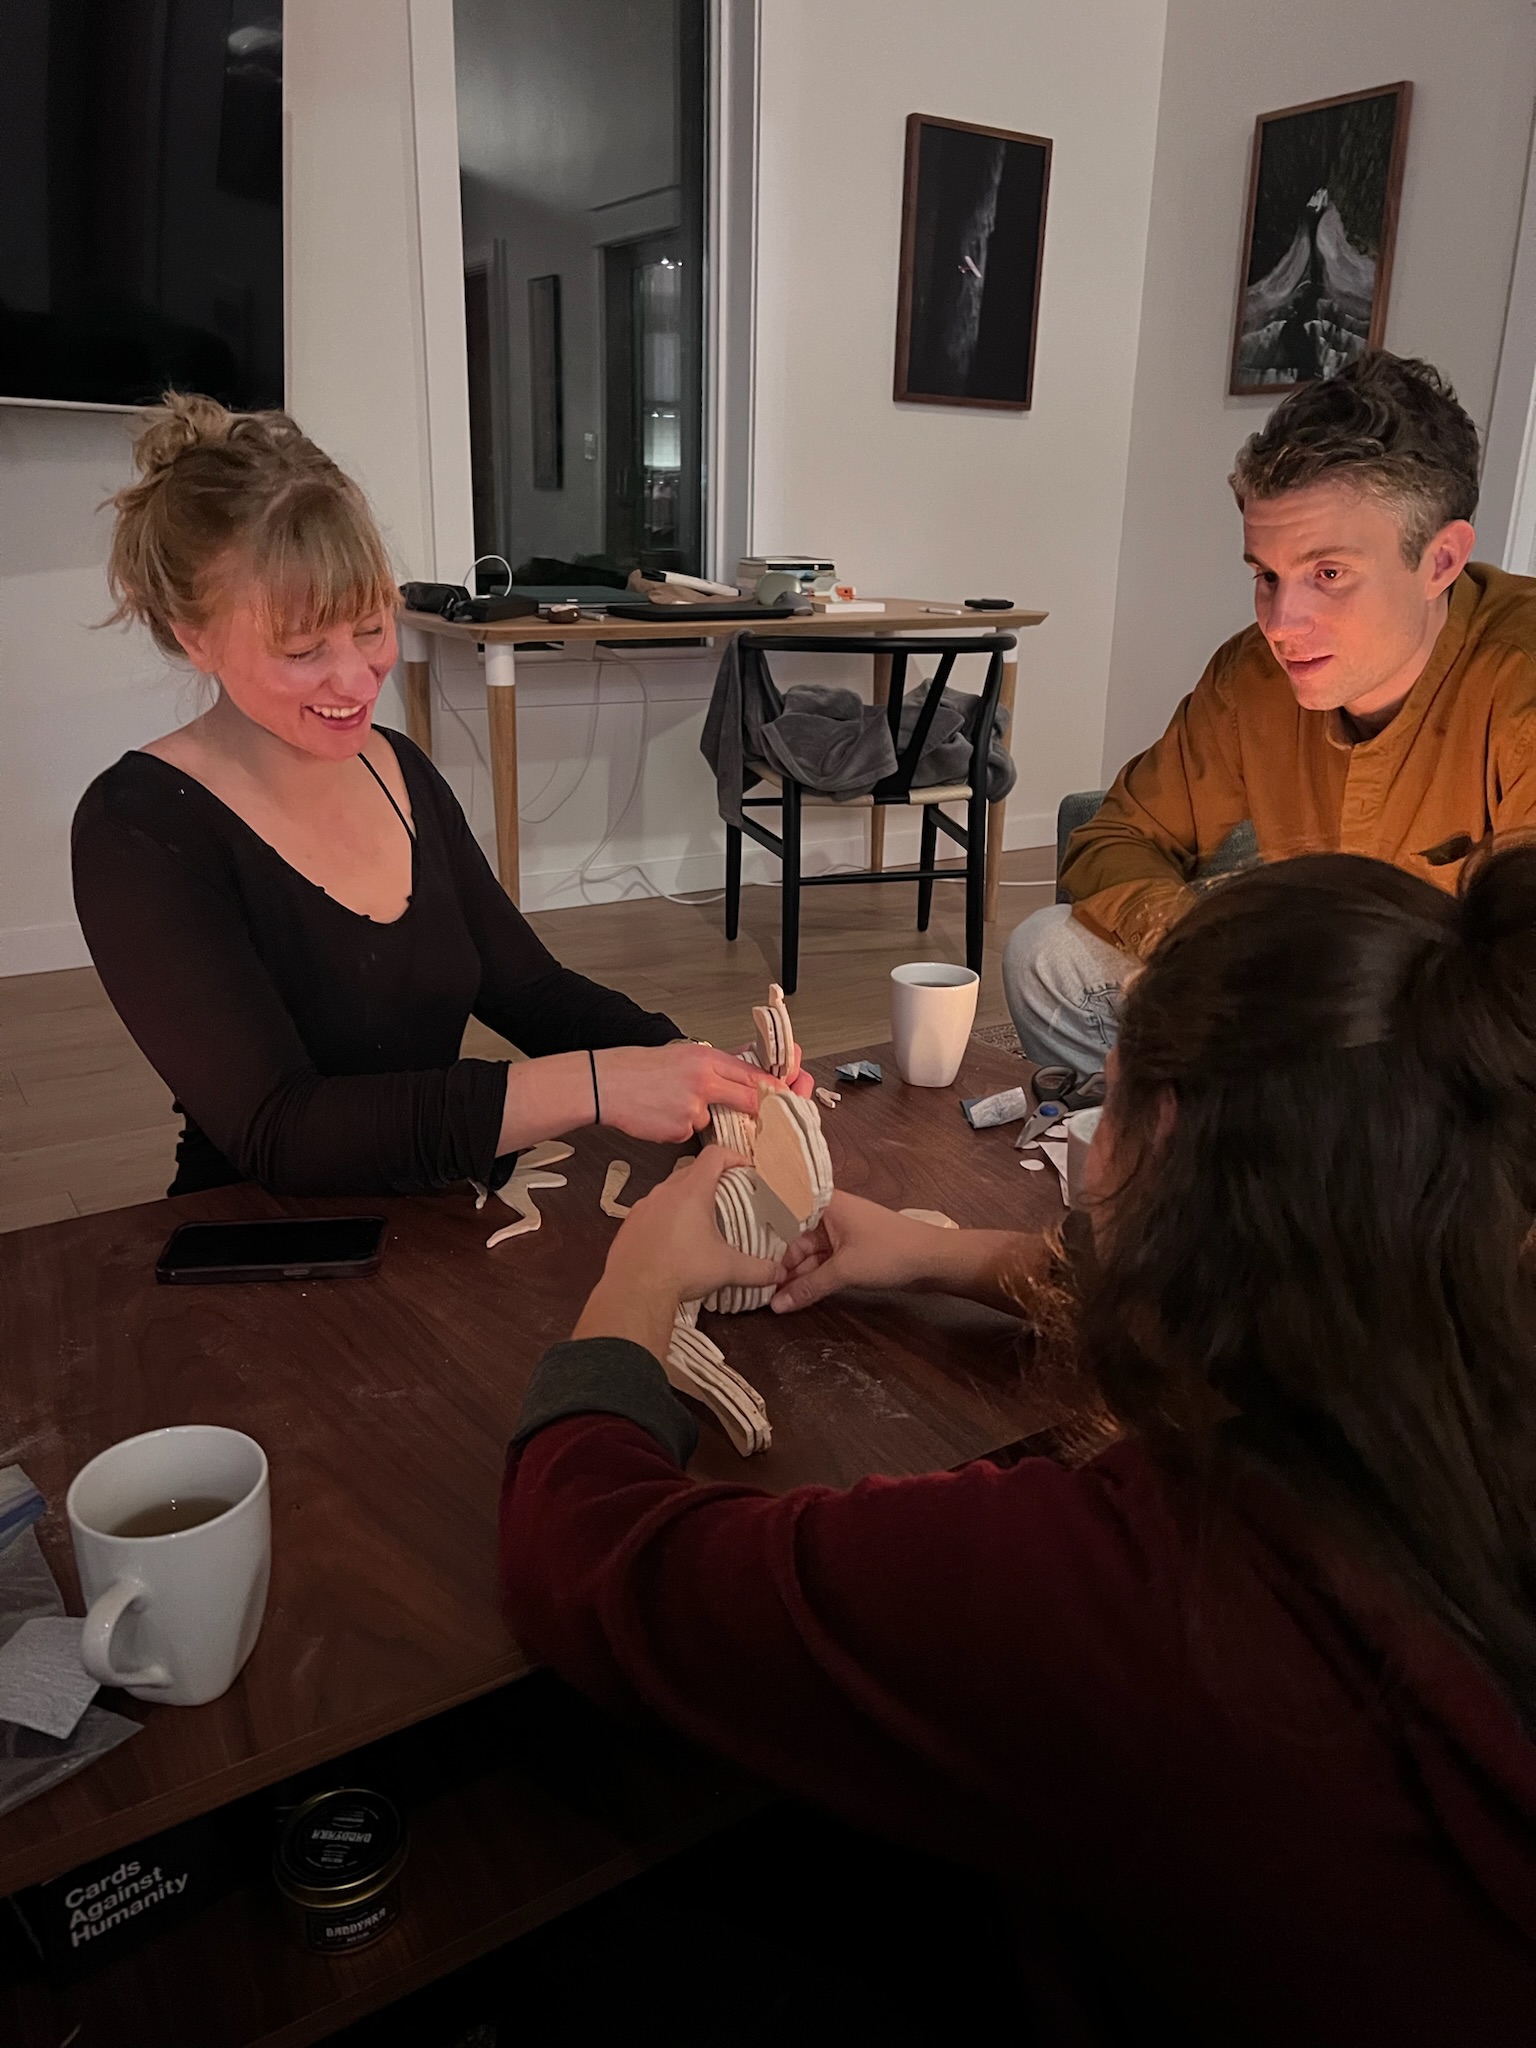
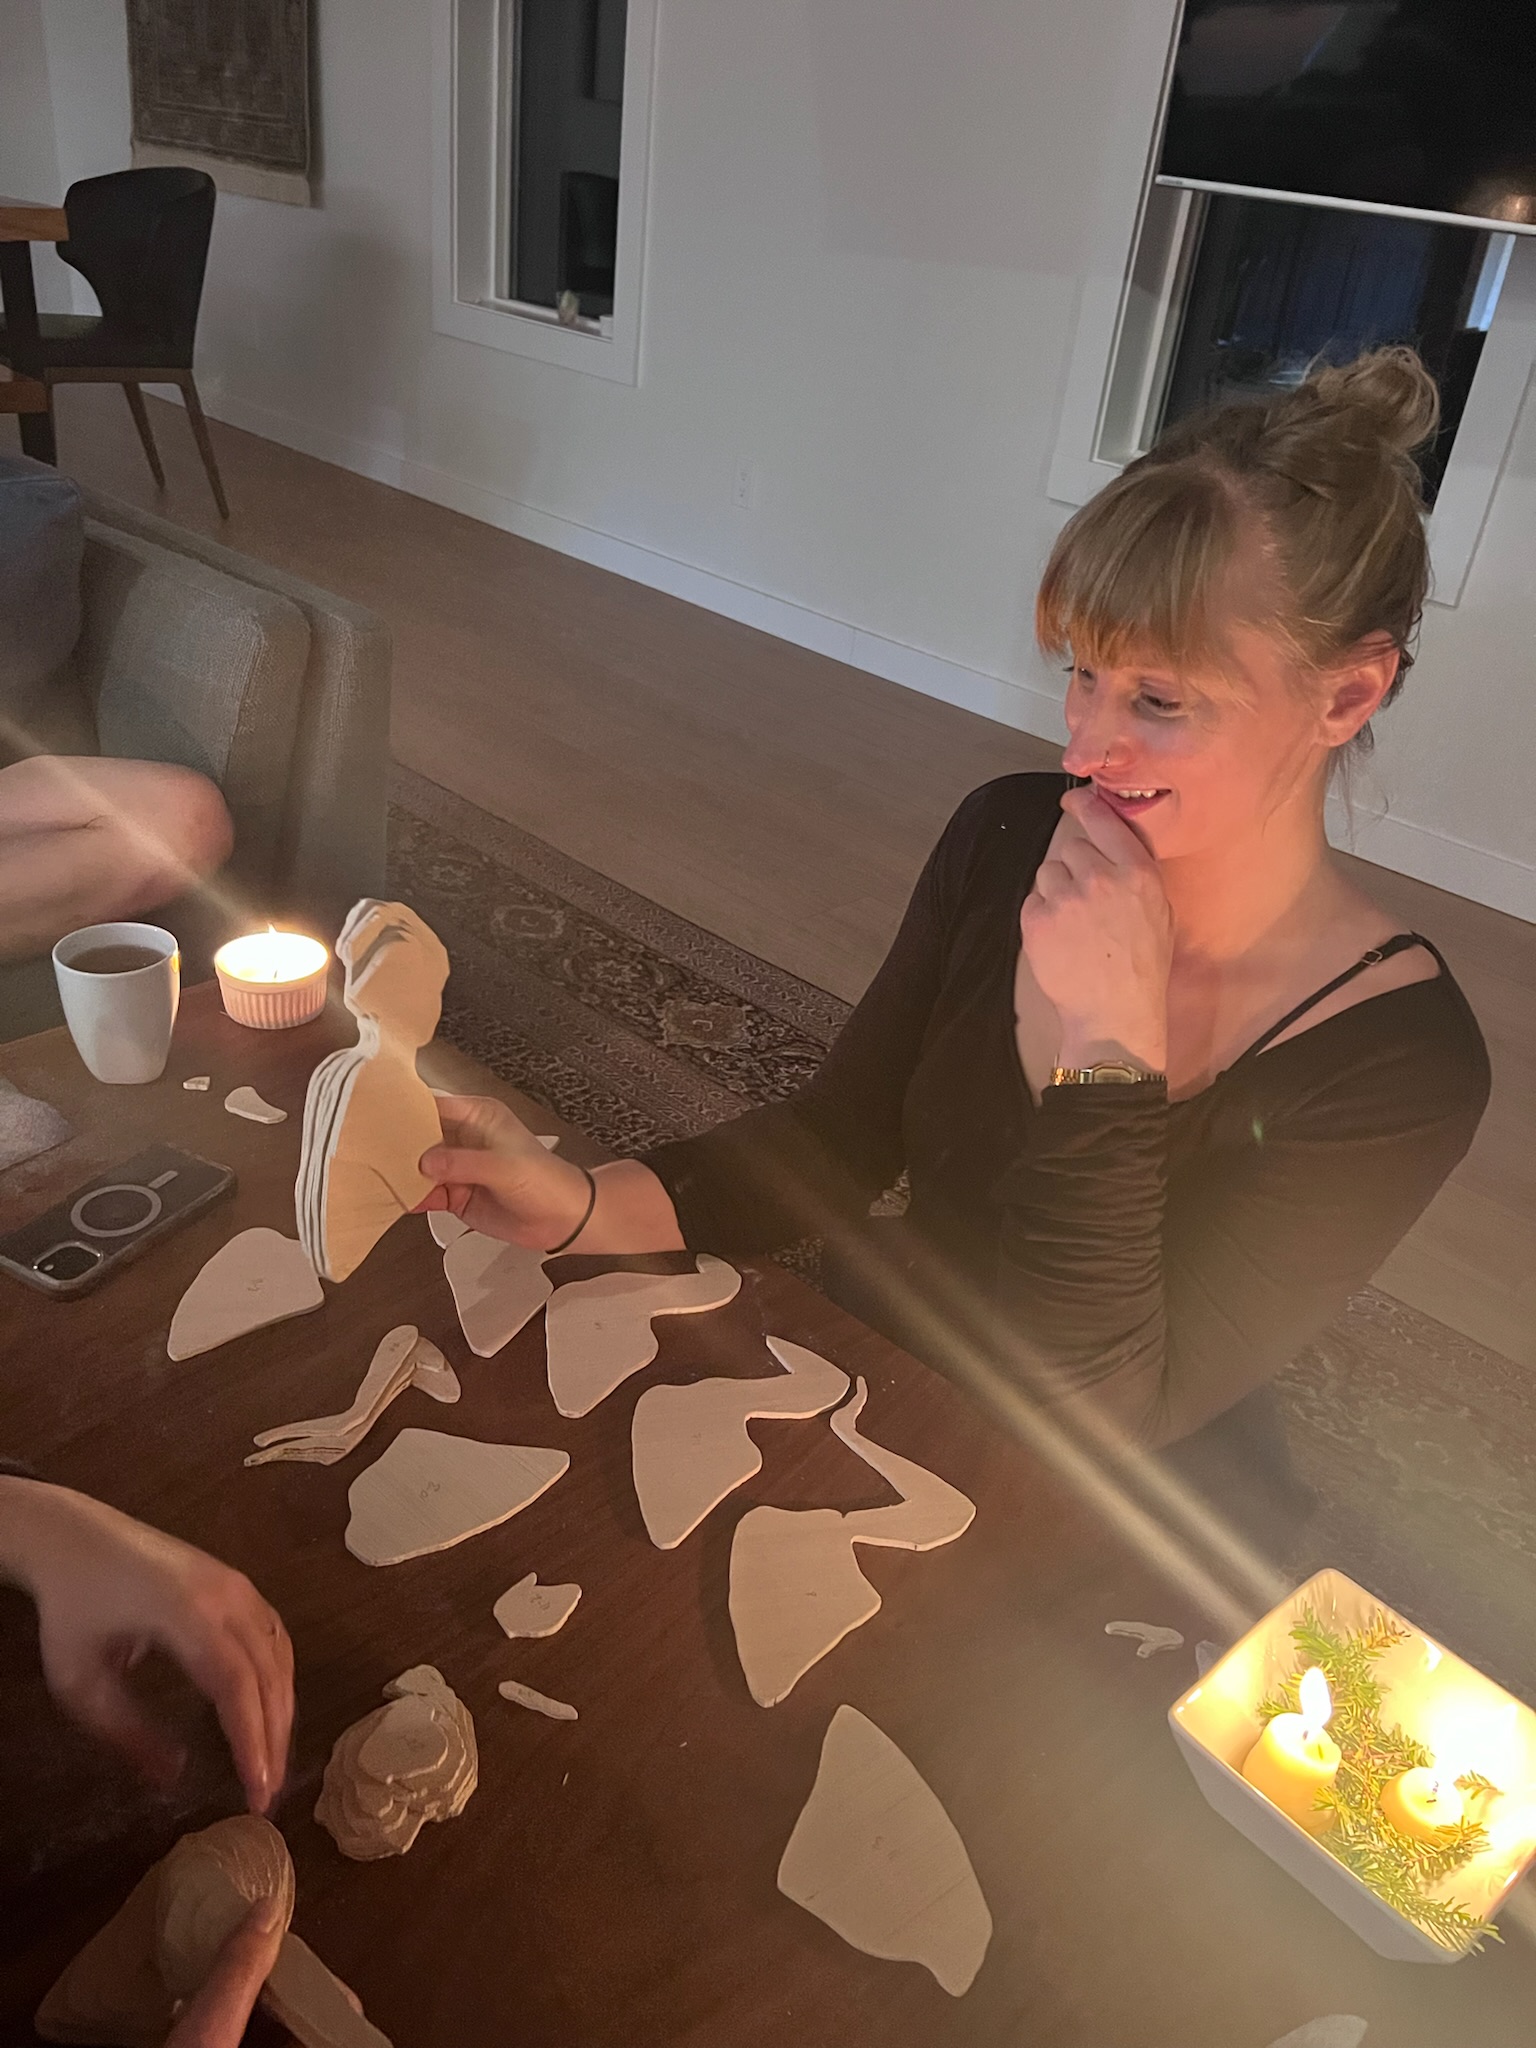
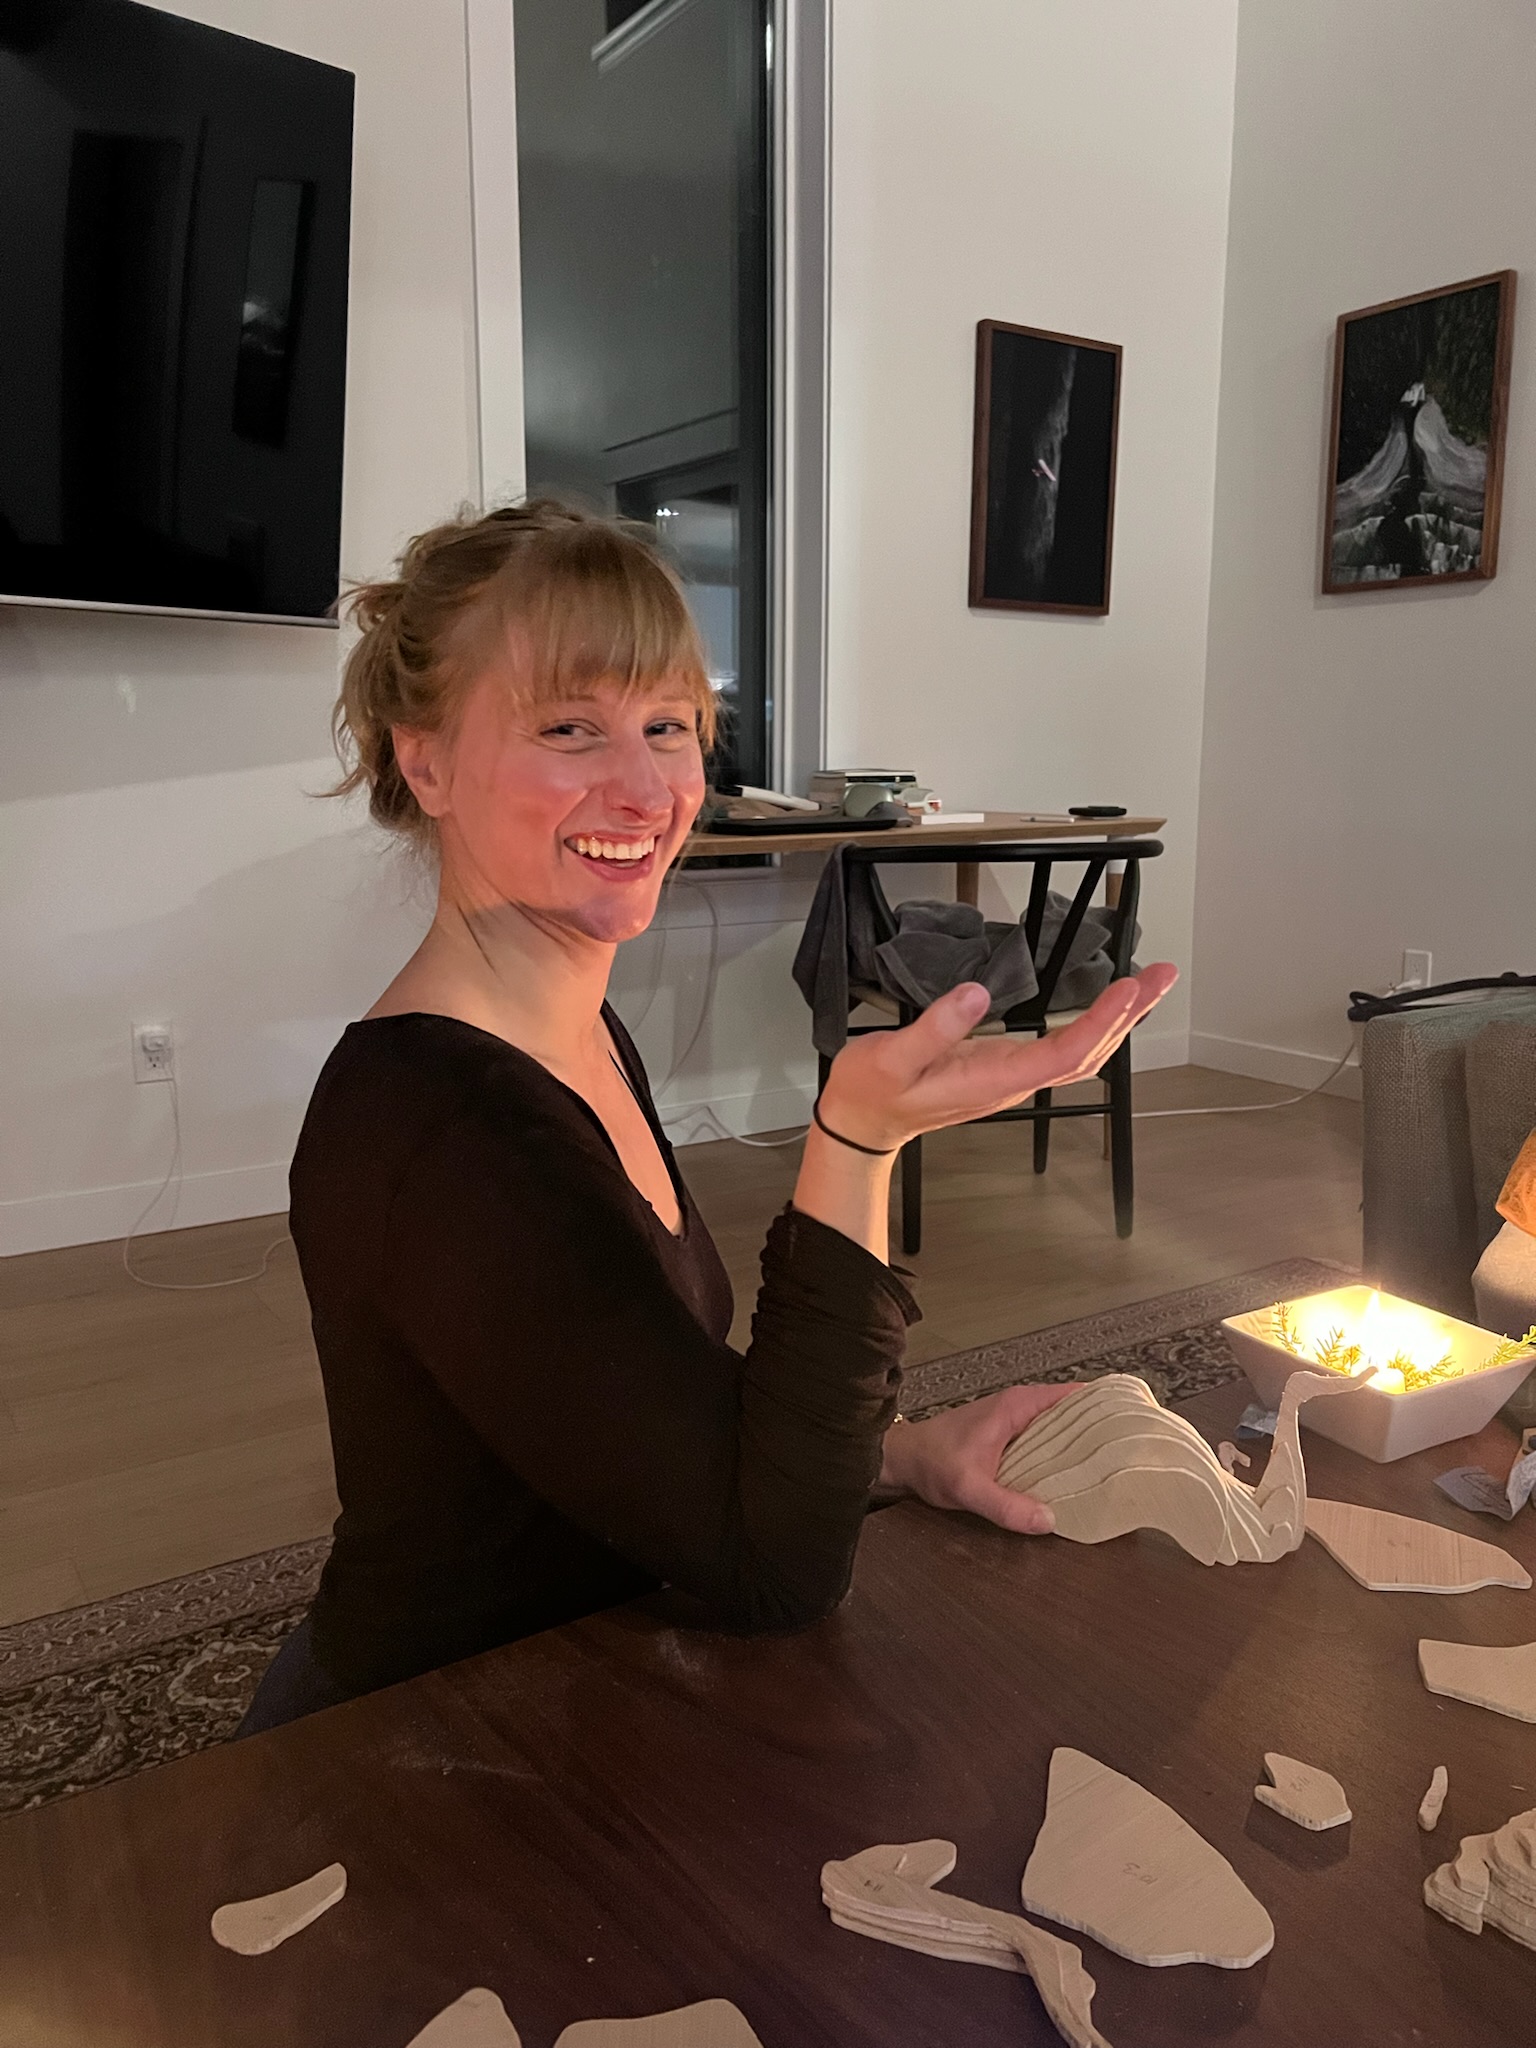

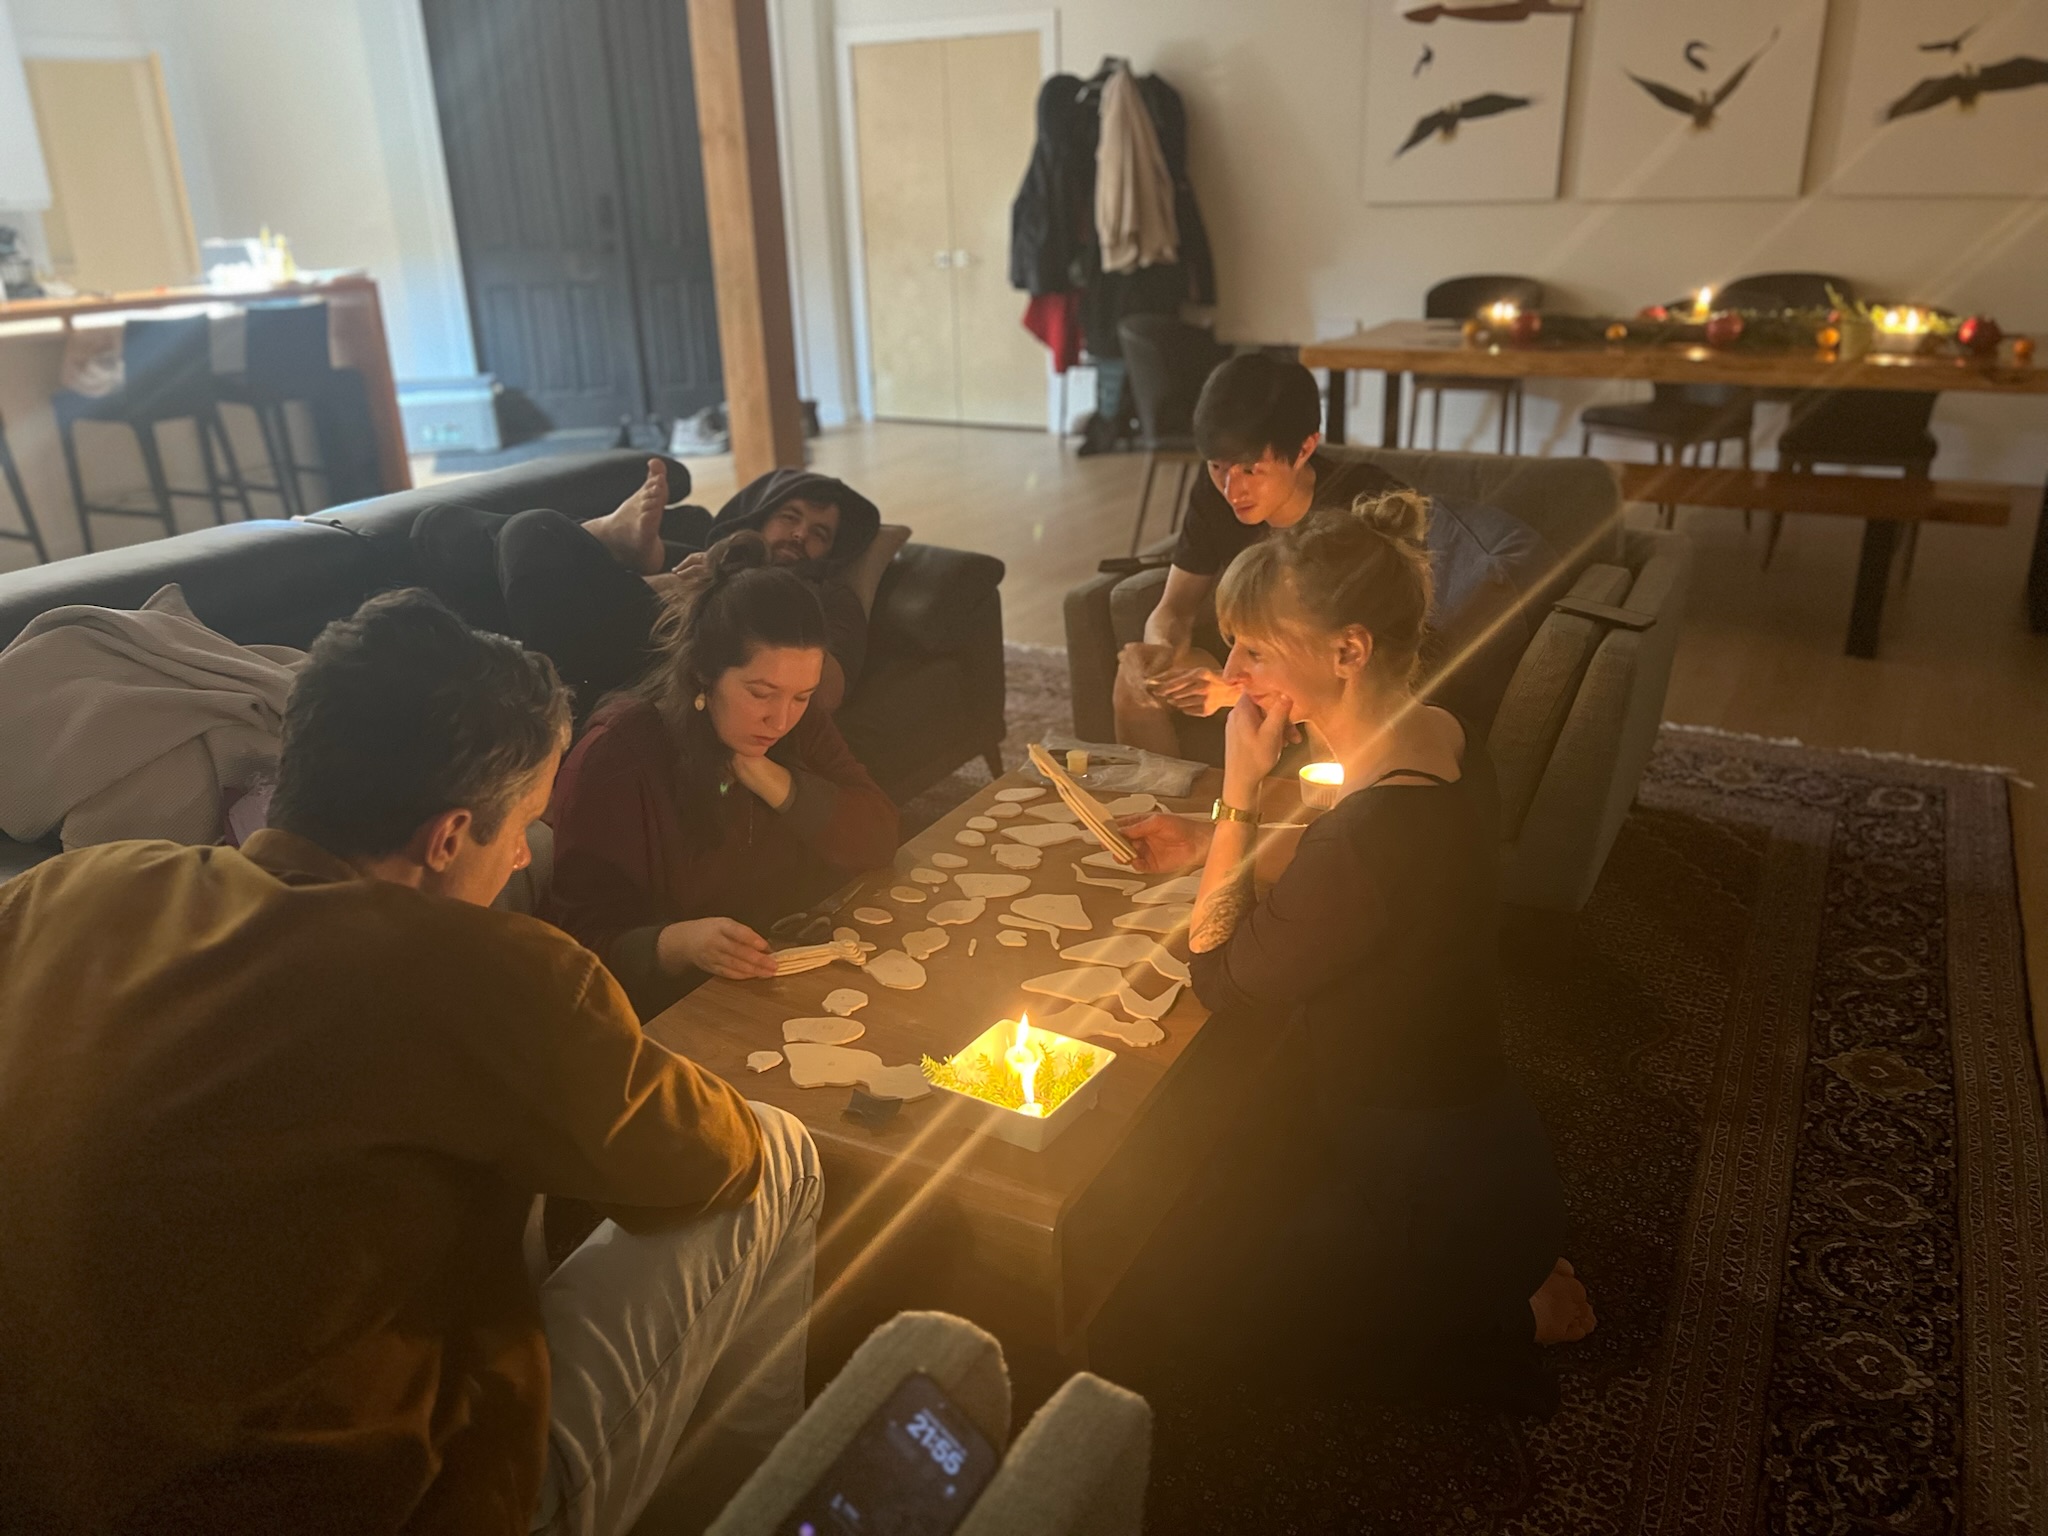
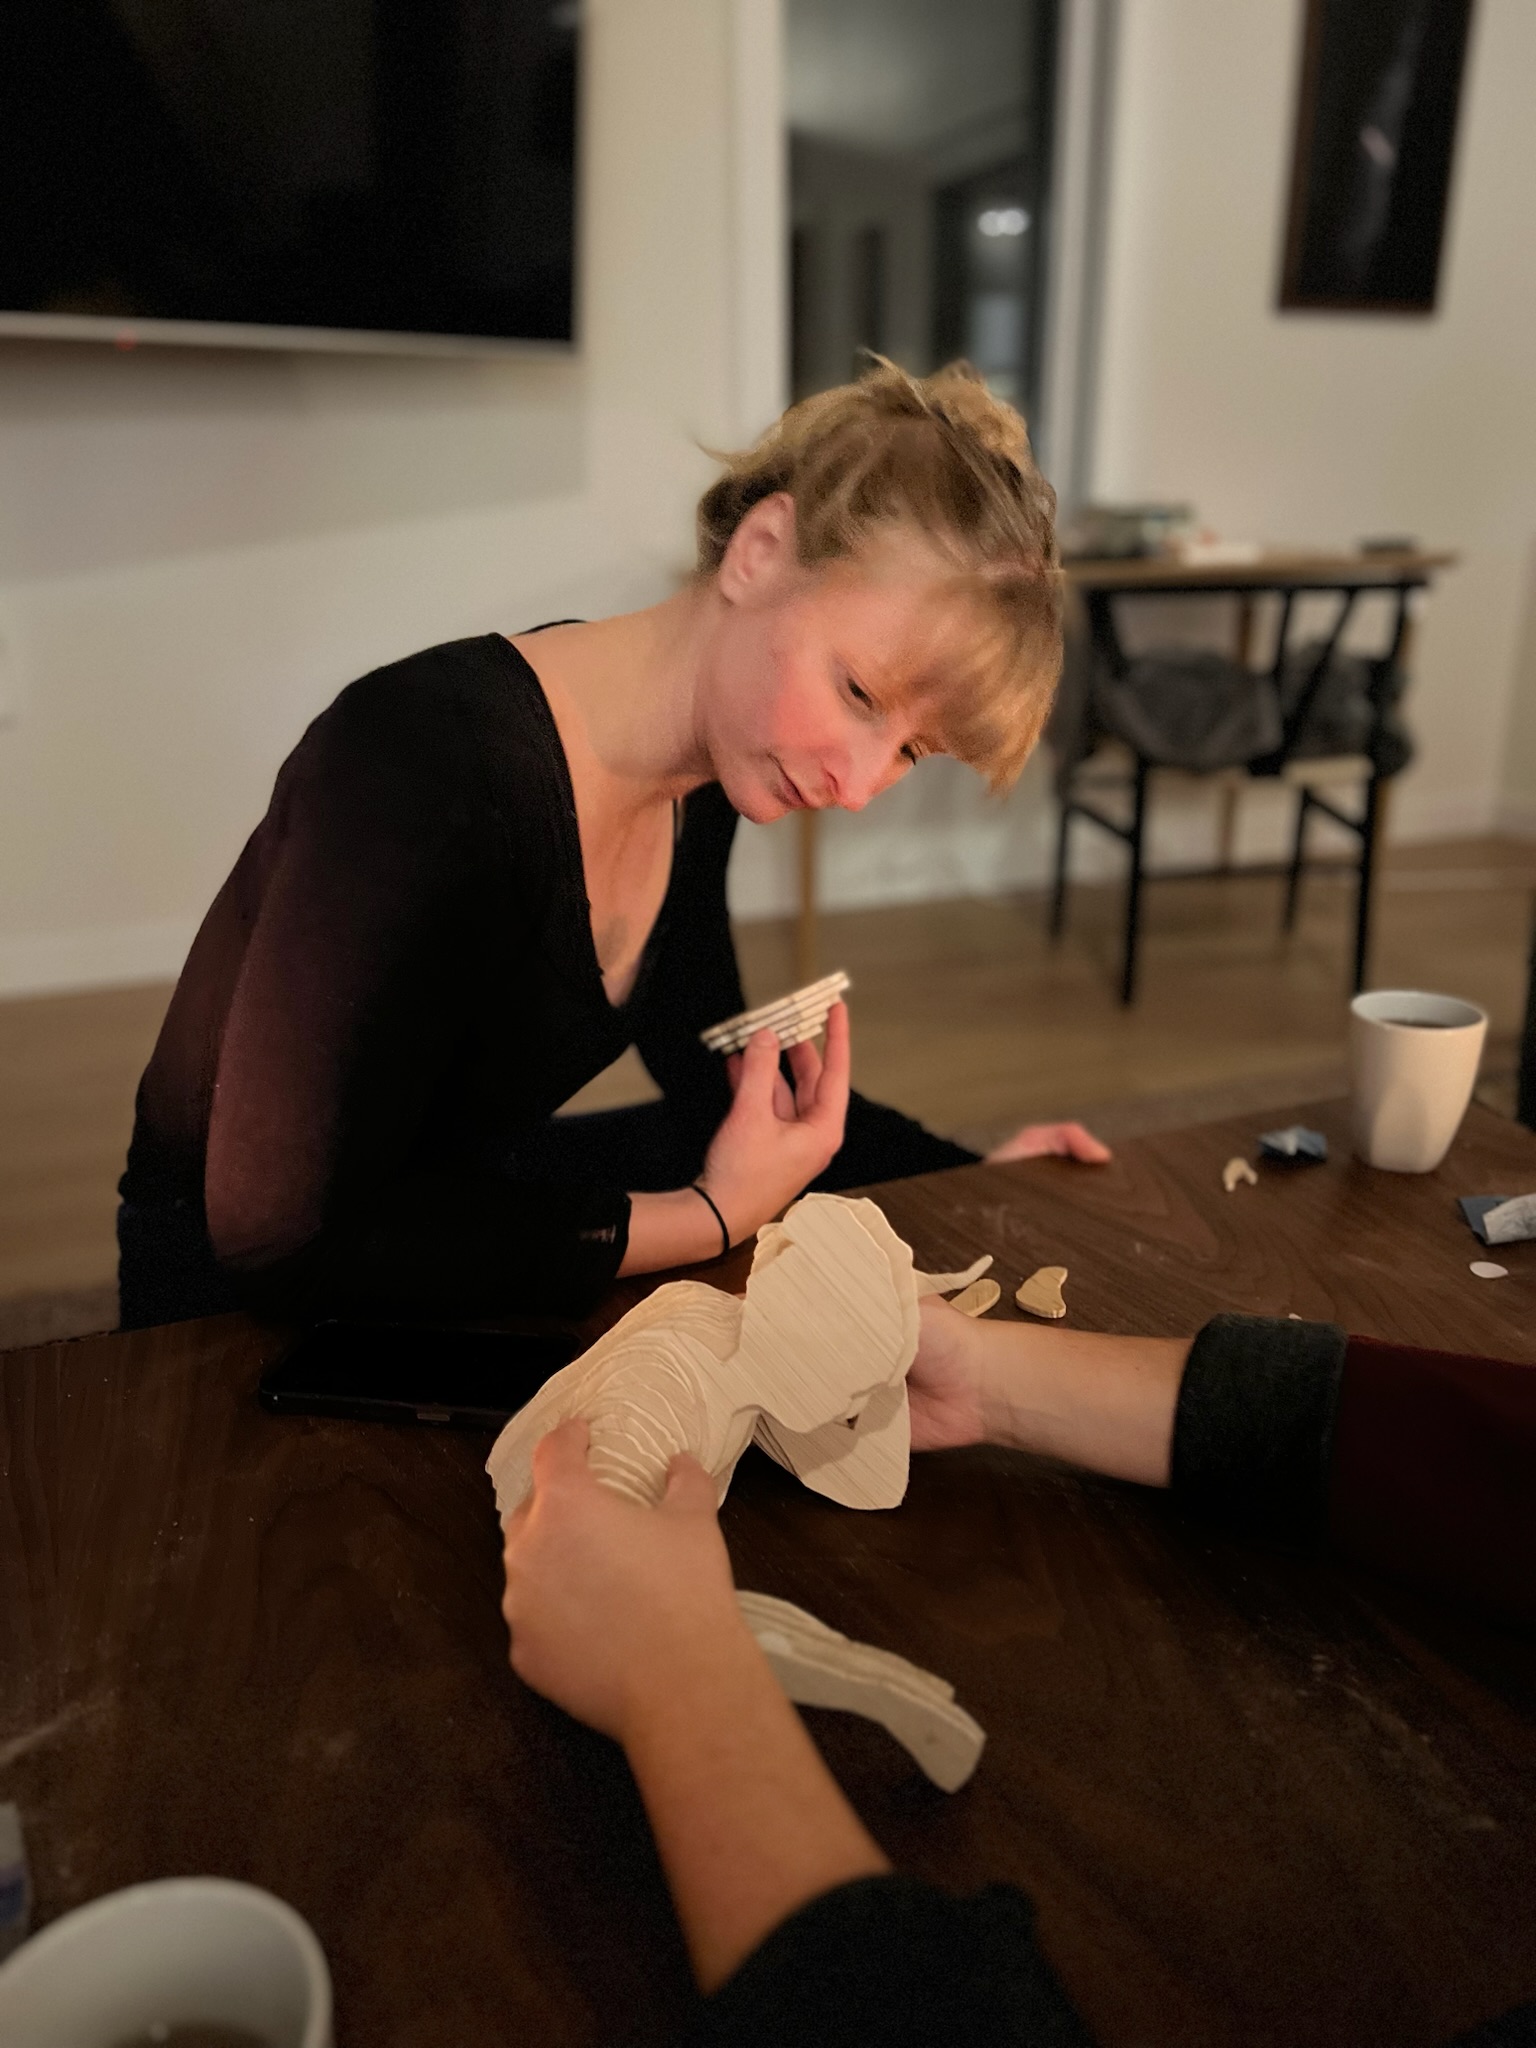
Strangely, I decided to go to Tofino on the last weekend before the end of classes. It was a trip that I booked a month ago for my friends birthday. I decided to bring my plywood because I thought my friend might want to help since she is an incredible artist. I was right! She loved the puzzle of the 3D model. We took it a step further by inviting all my friends to participated and in the end 6 people contributed to the final assembly of the project.
These are the steps we took:
- lay out the pieces in numbered order
- Hand sand any remaining pieces of carbon lining on the pieces
- Begin to stack the obvious pieces to make hand off easier
- Mastermind Sadie assembled the pieces while another person handed the sticky connections and another handing the next piece
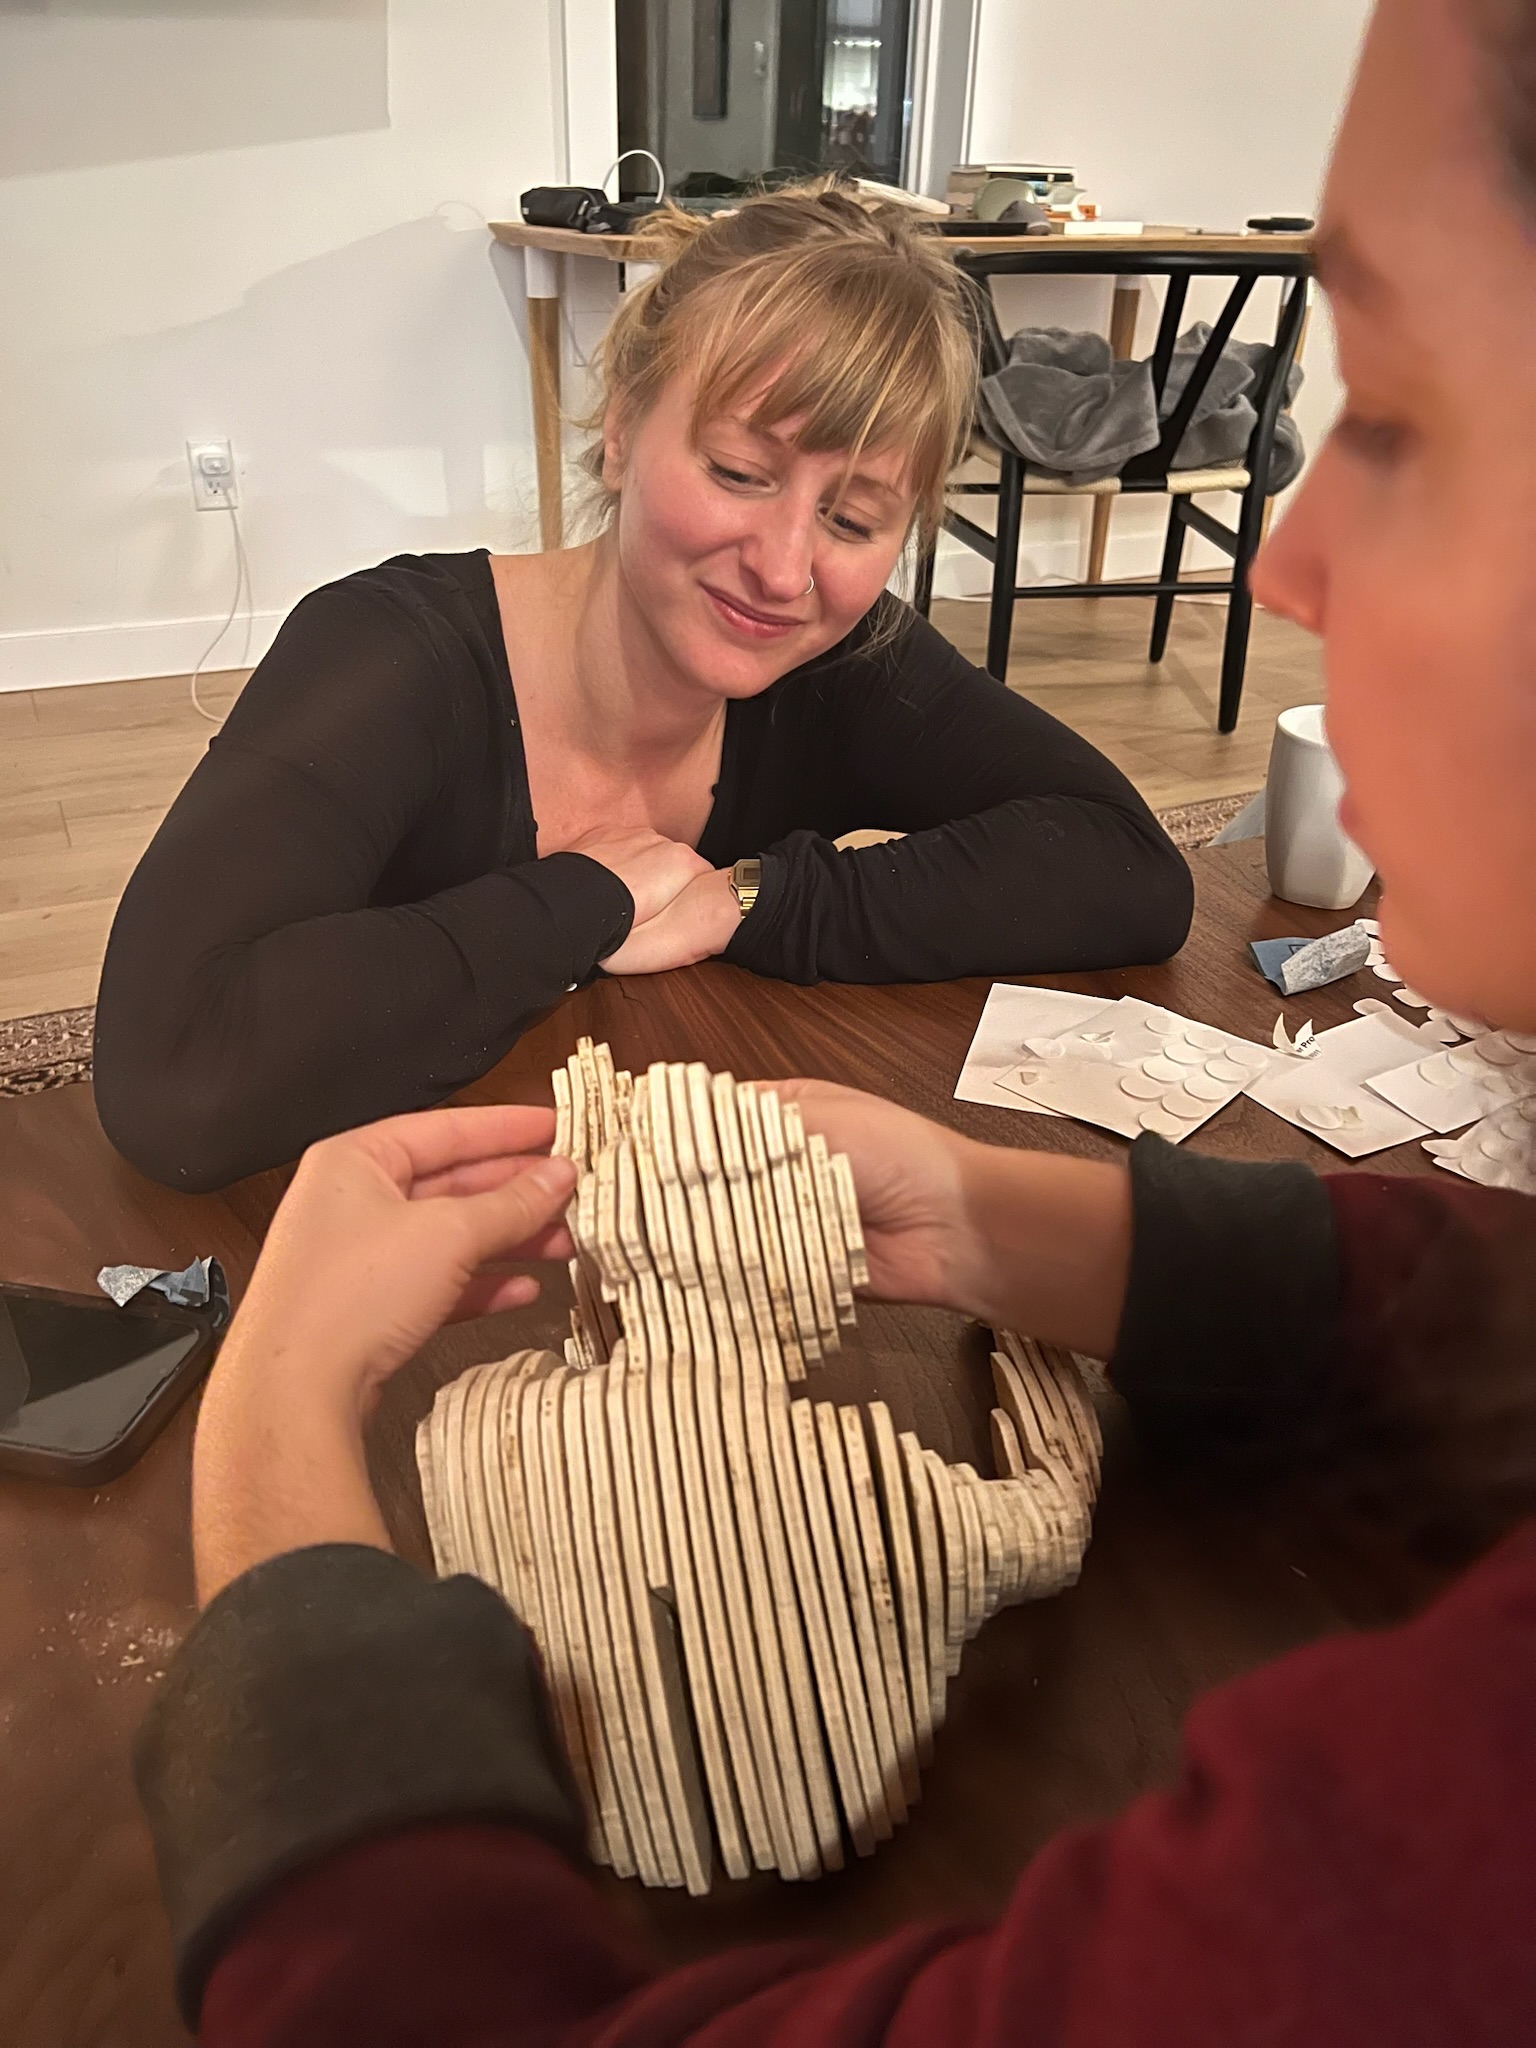
Unexpected challenges
There was one piece that wasn’t numbered and it in the end we discovered it was a duplicate. As you can see from the second to last image above, there is a slice that looks like is missing from my back. That one sent us on a real tissy and it wasn’t until we had assembled the whole thing that we realized it was a duplicate. Fortunately, because we didn’t use wood glue, we could go back and remove that piece.
There were also a few smaller pieces that were kind of confusing on the model. Like the tiny sliver of the arm or a small piece of the toque on my head. This was hard to conceptualize so they still sort of look out of place. At least to me. I think if we had a screen recording of the assembly it would help us figure out the alignment of these smaller objects.


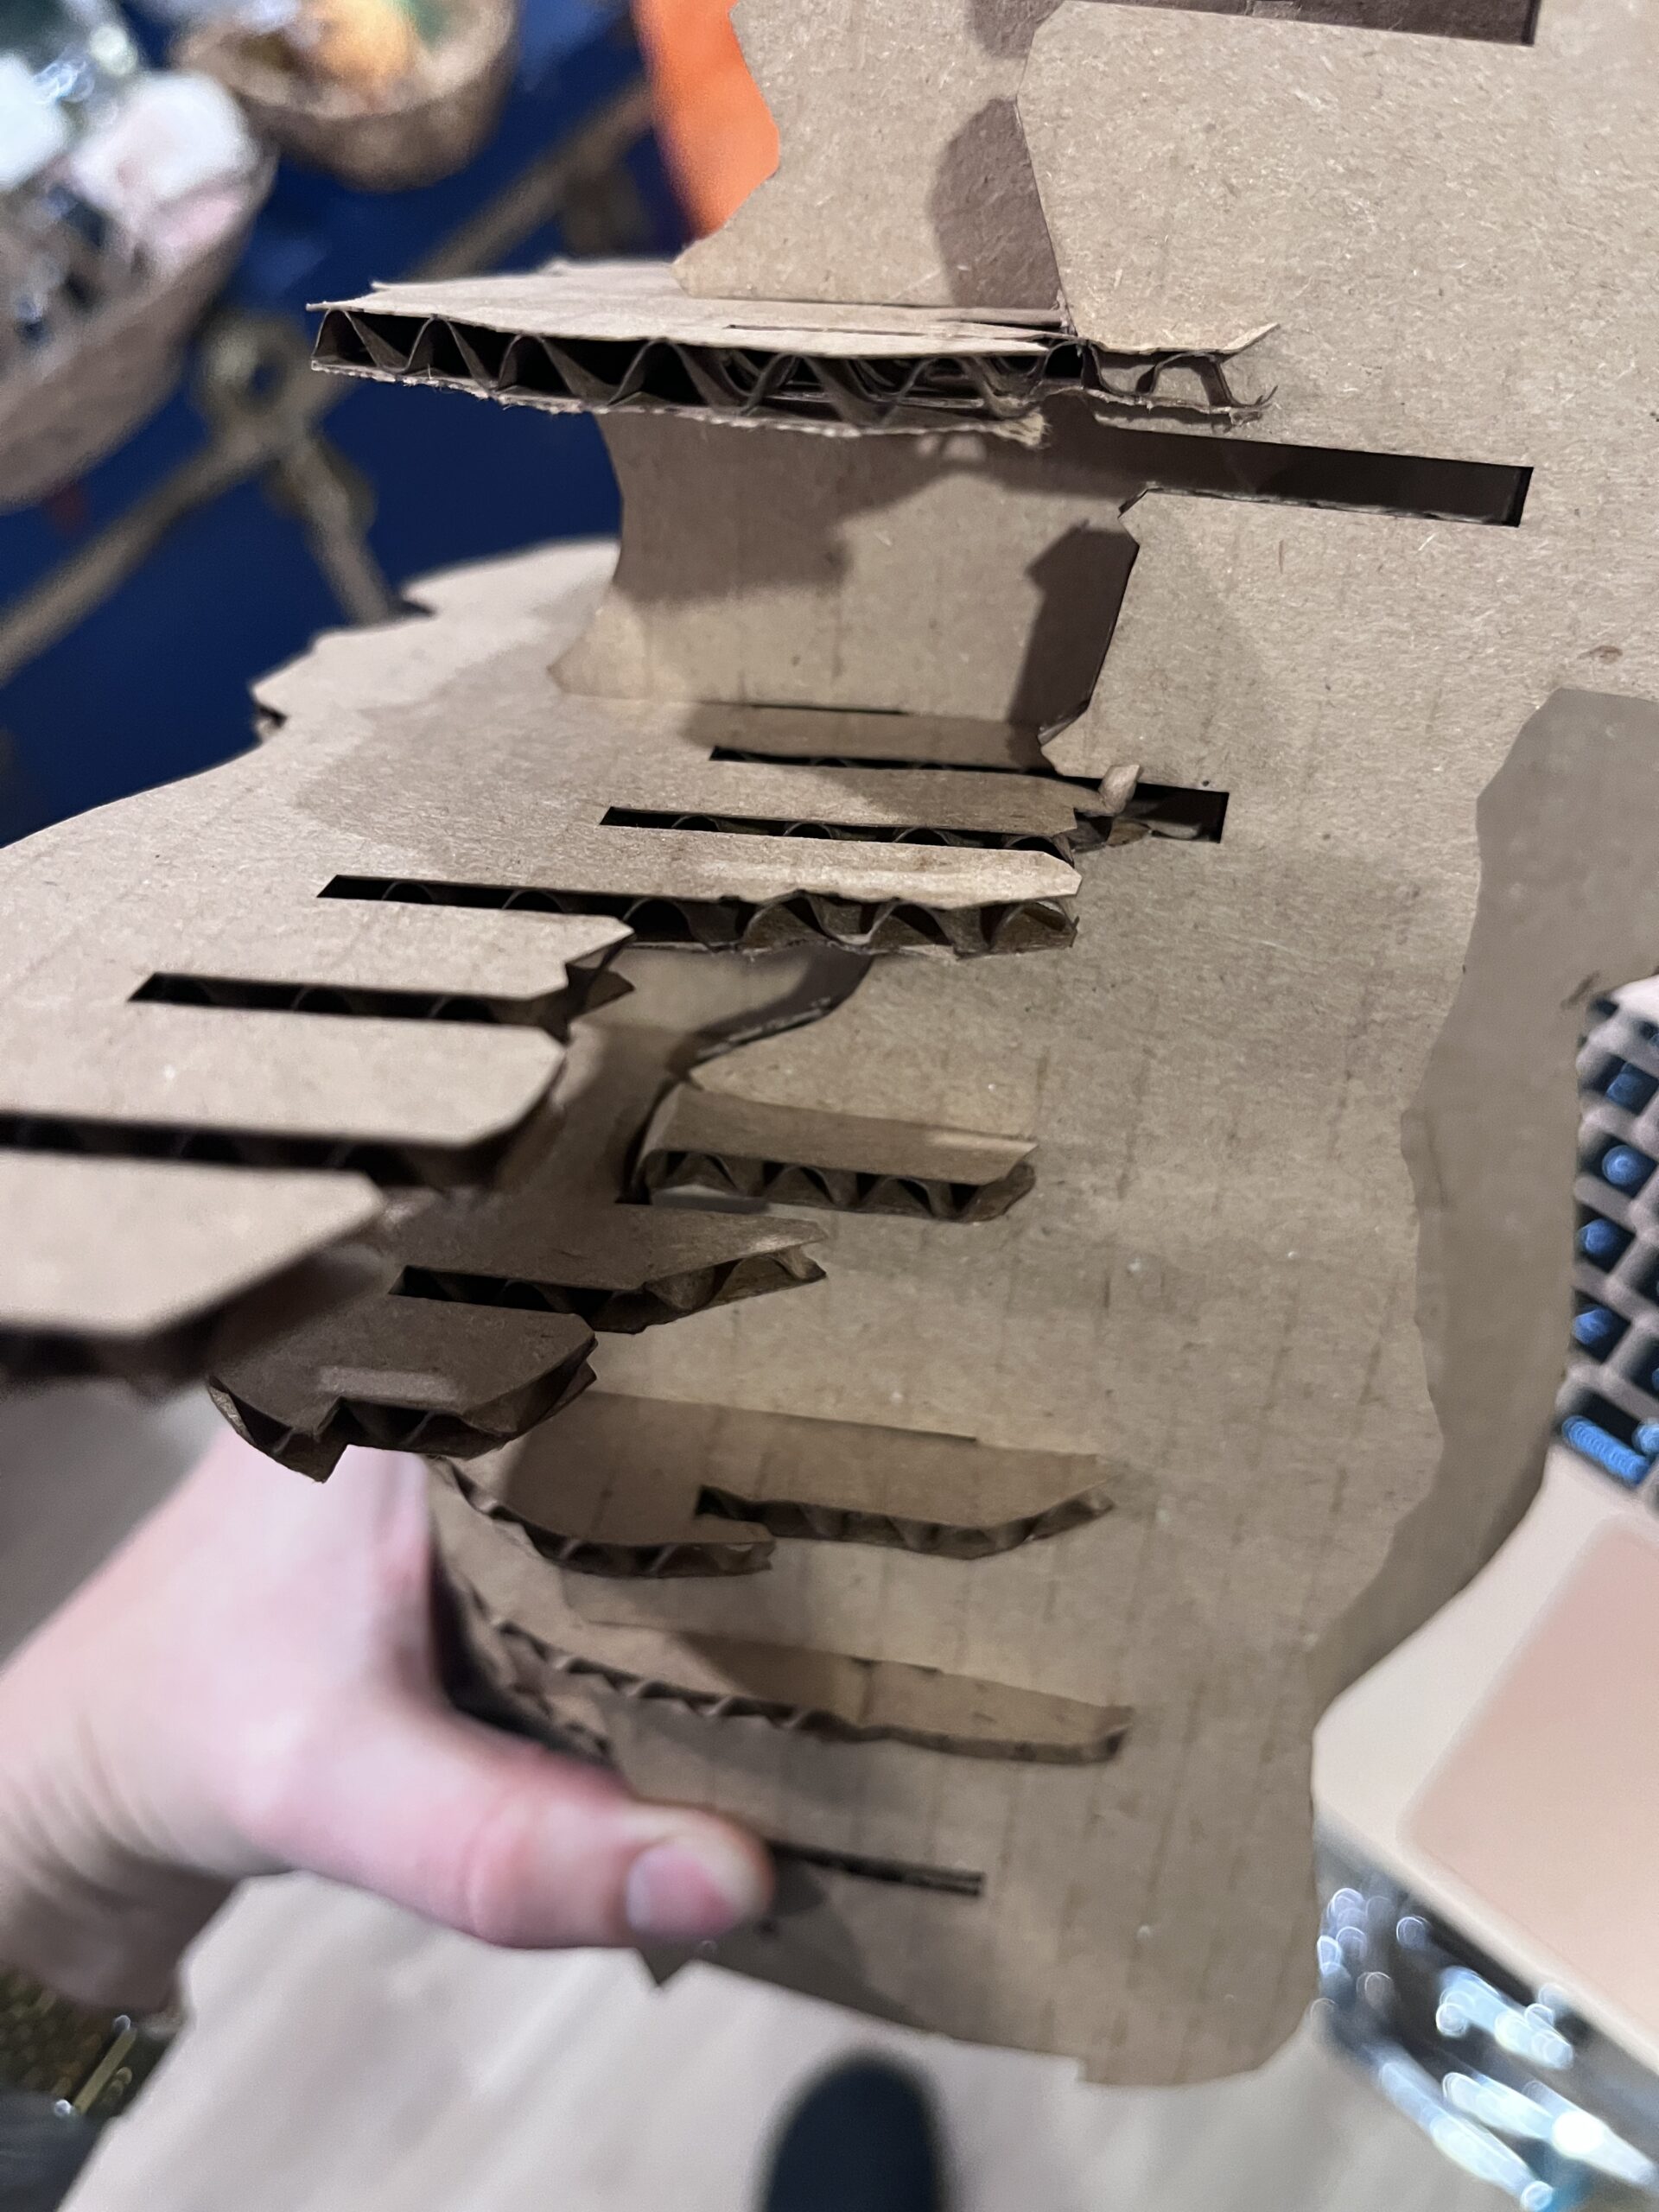
Cardboard assembly


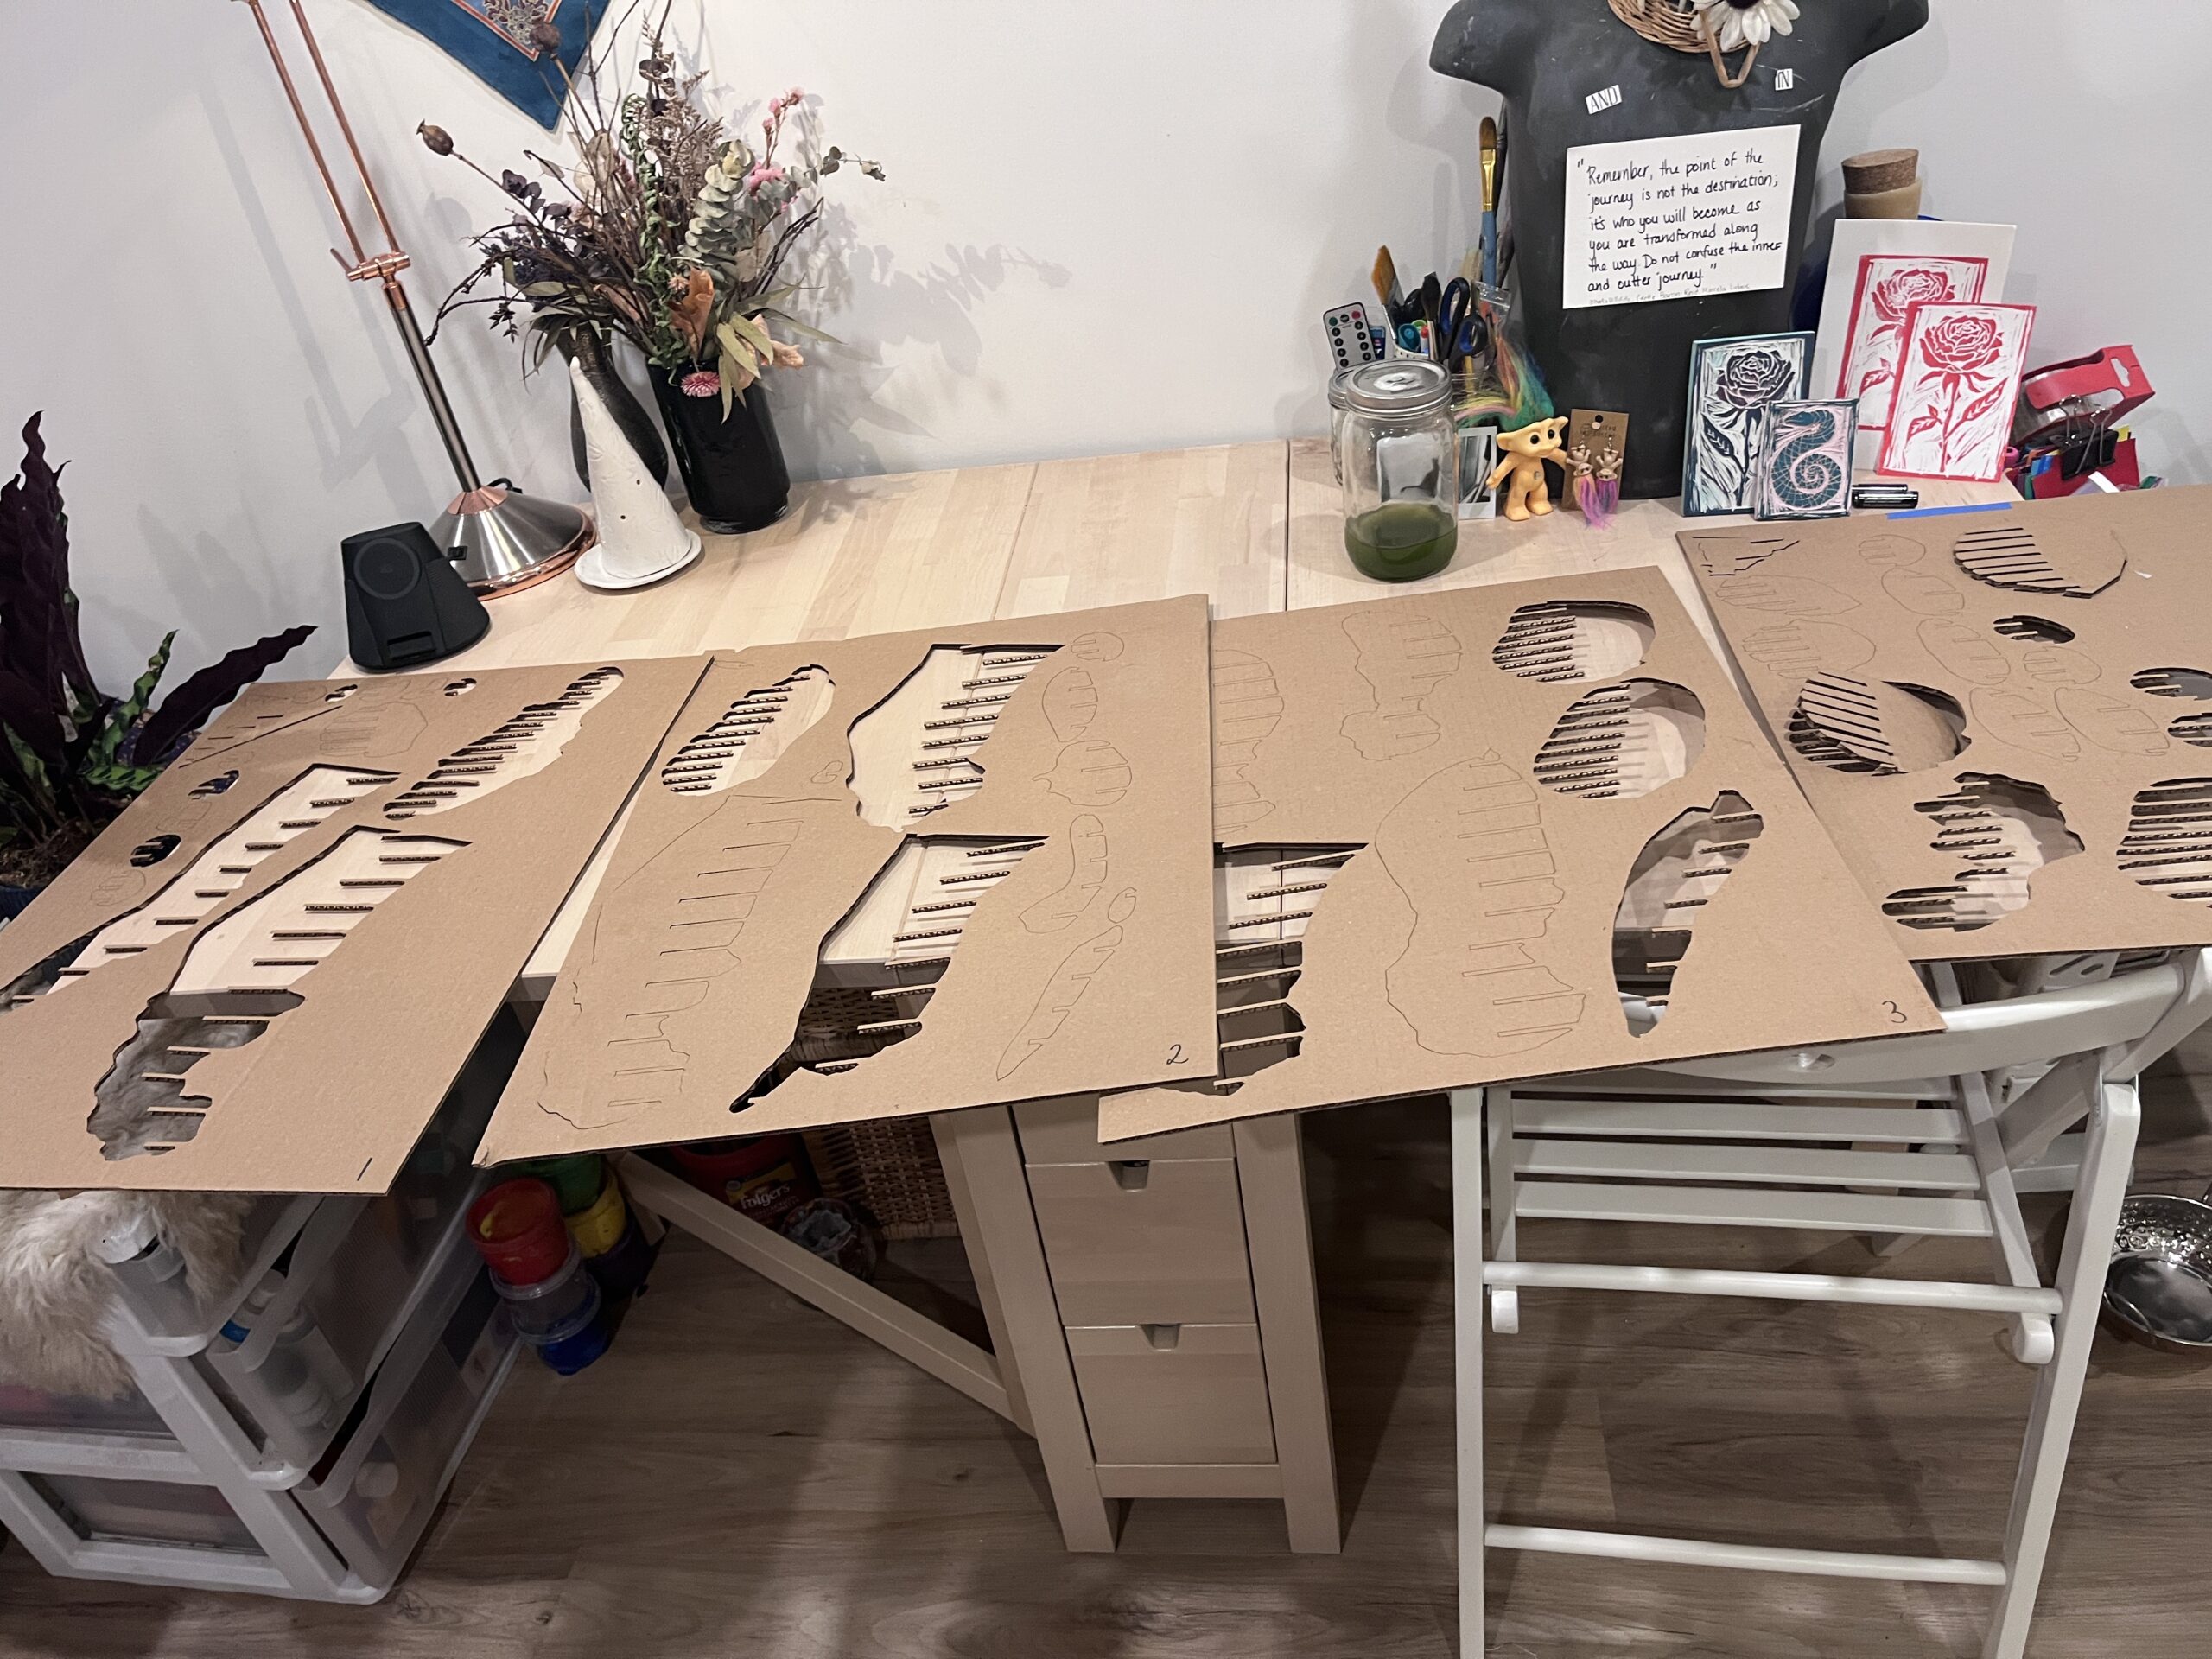
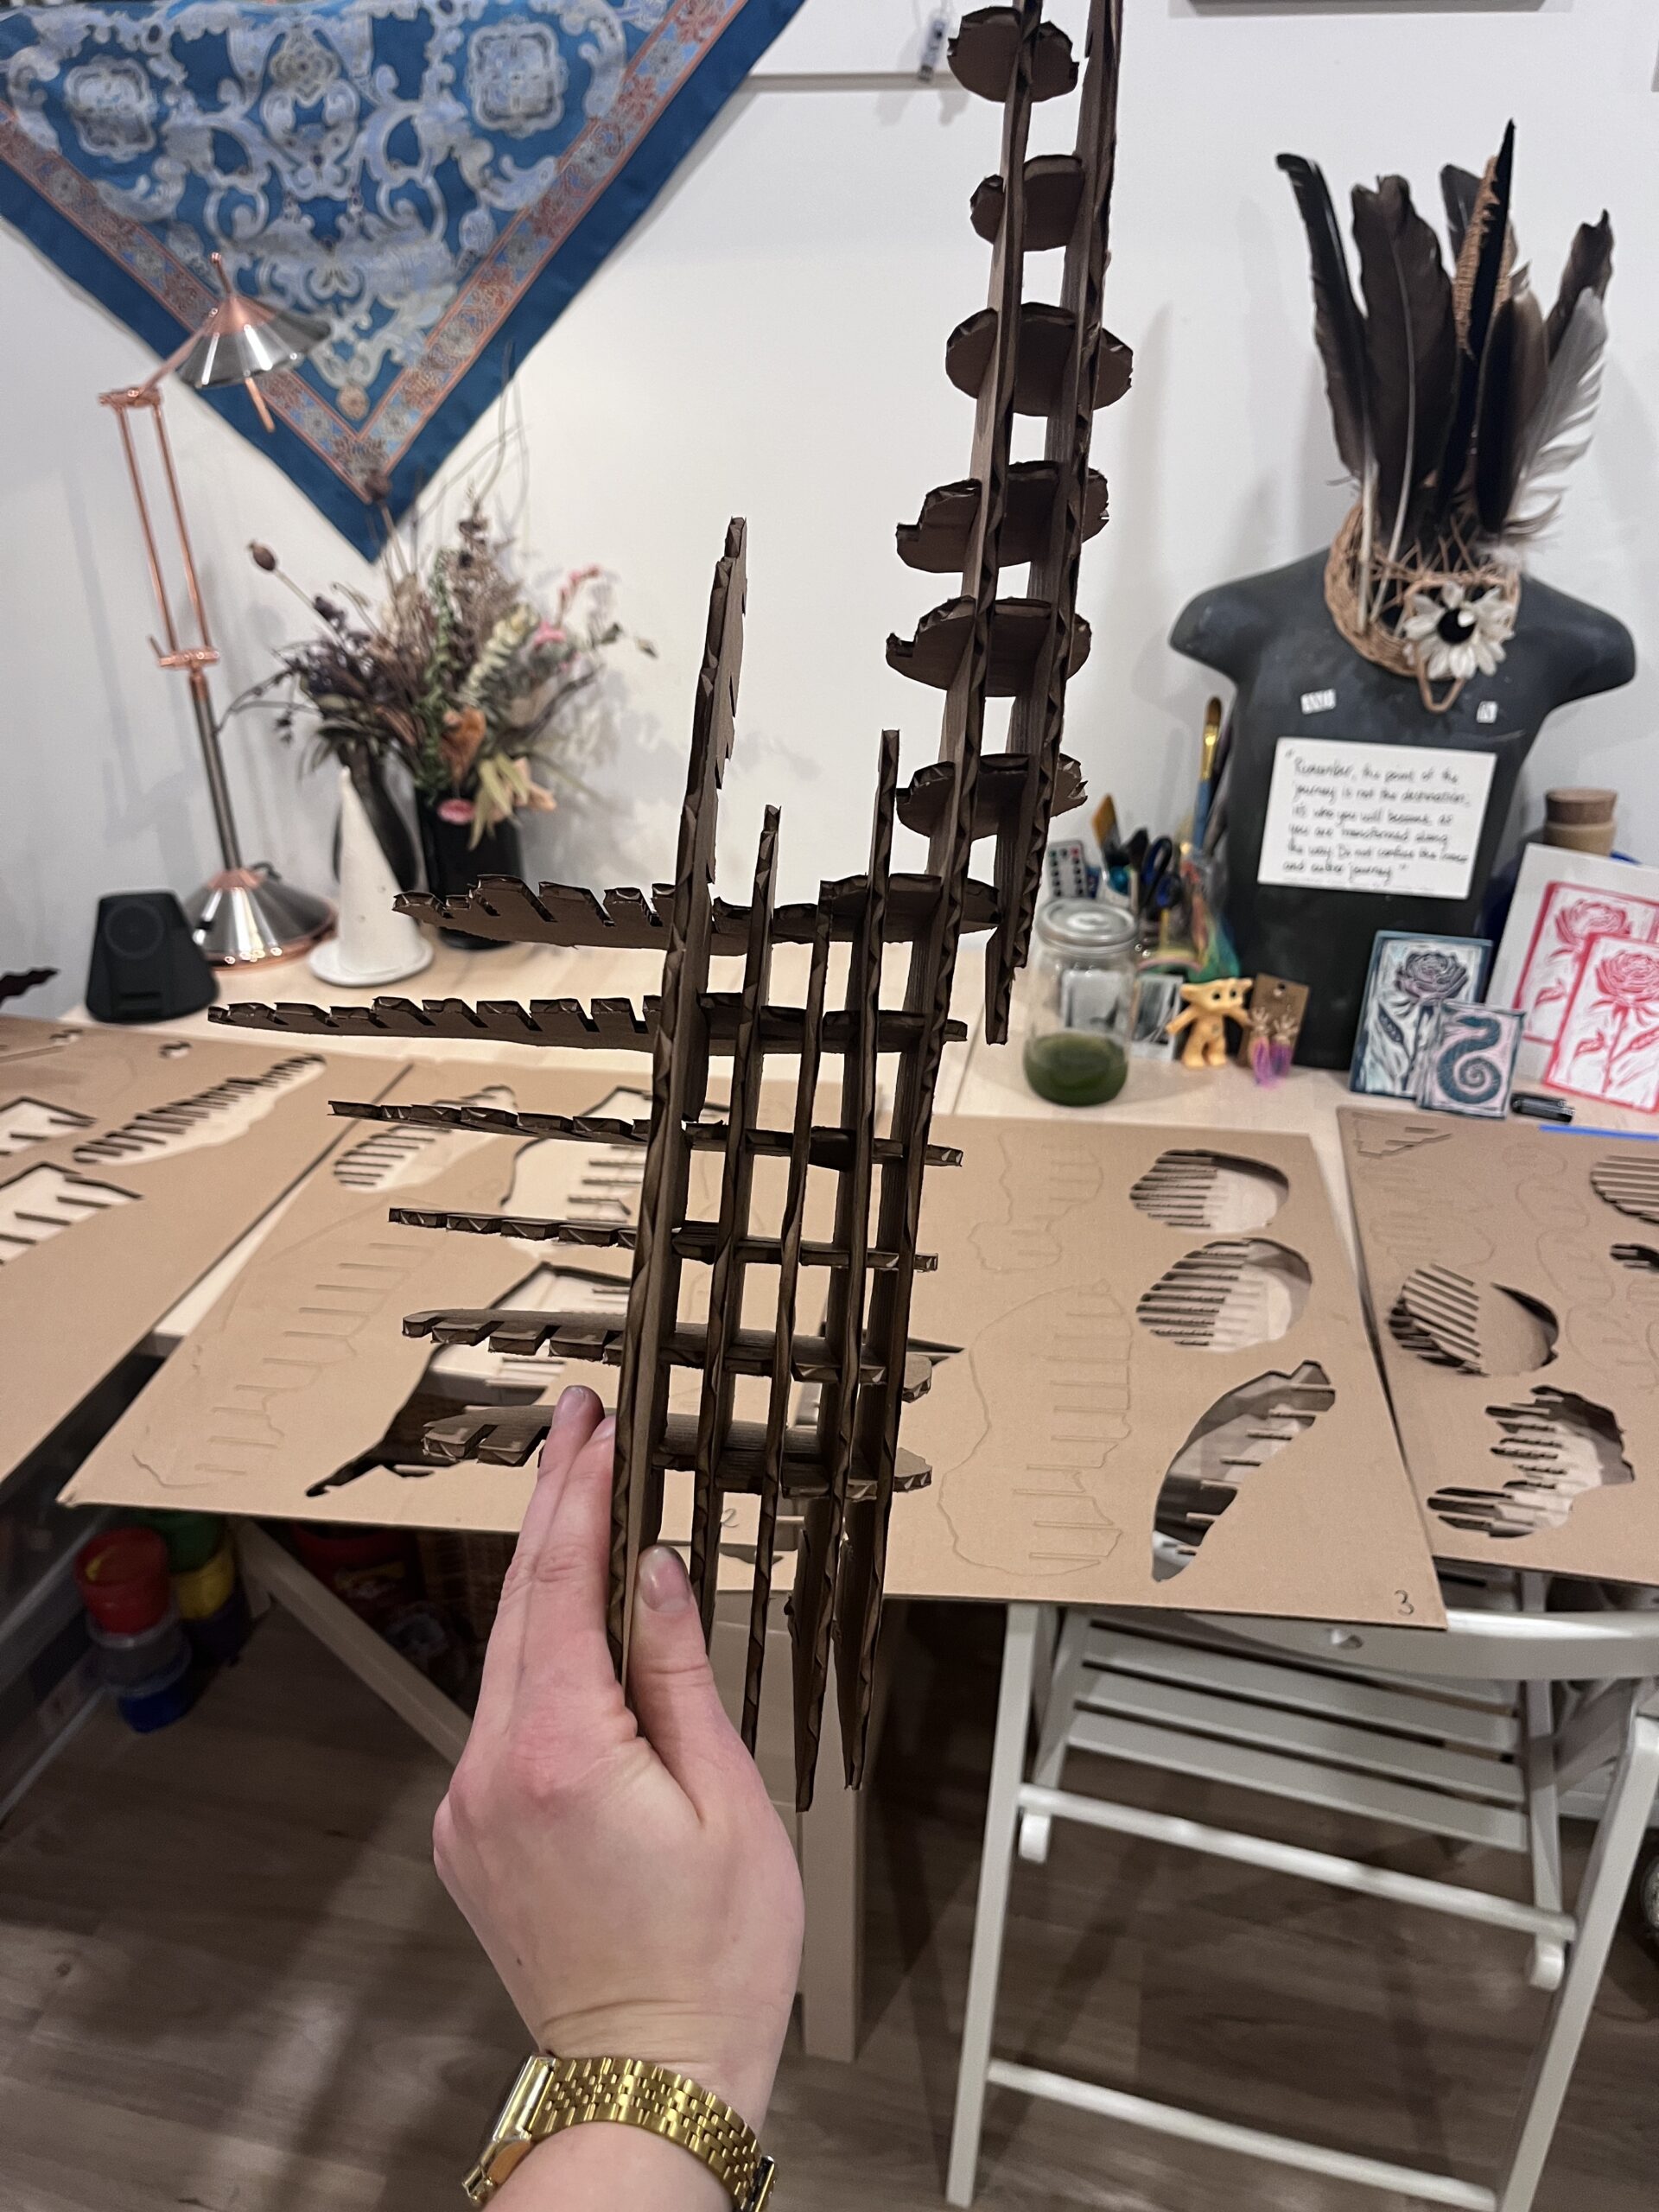
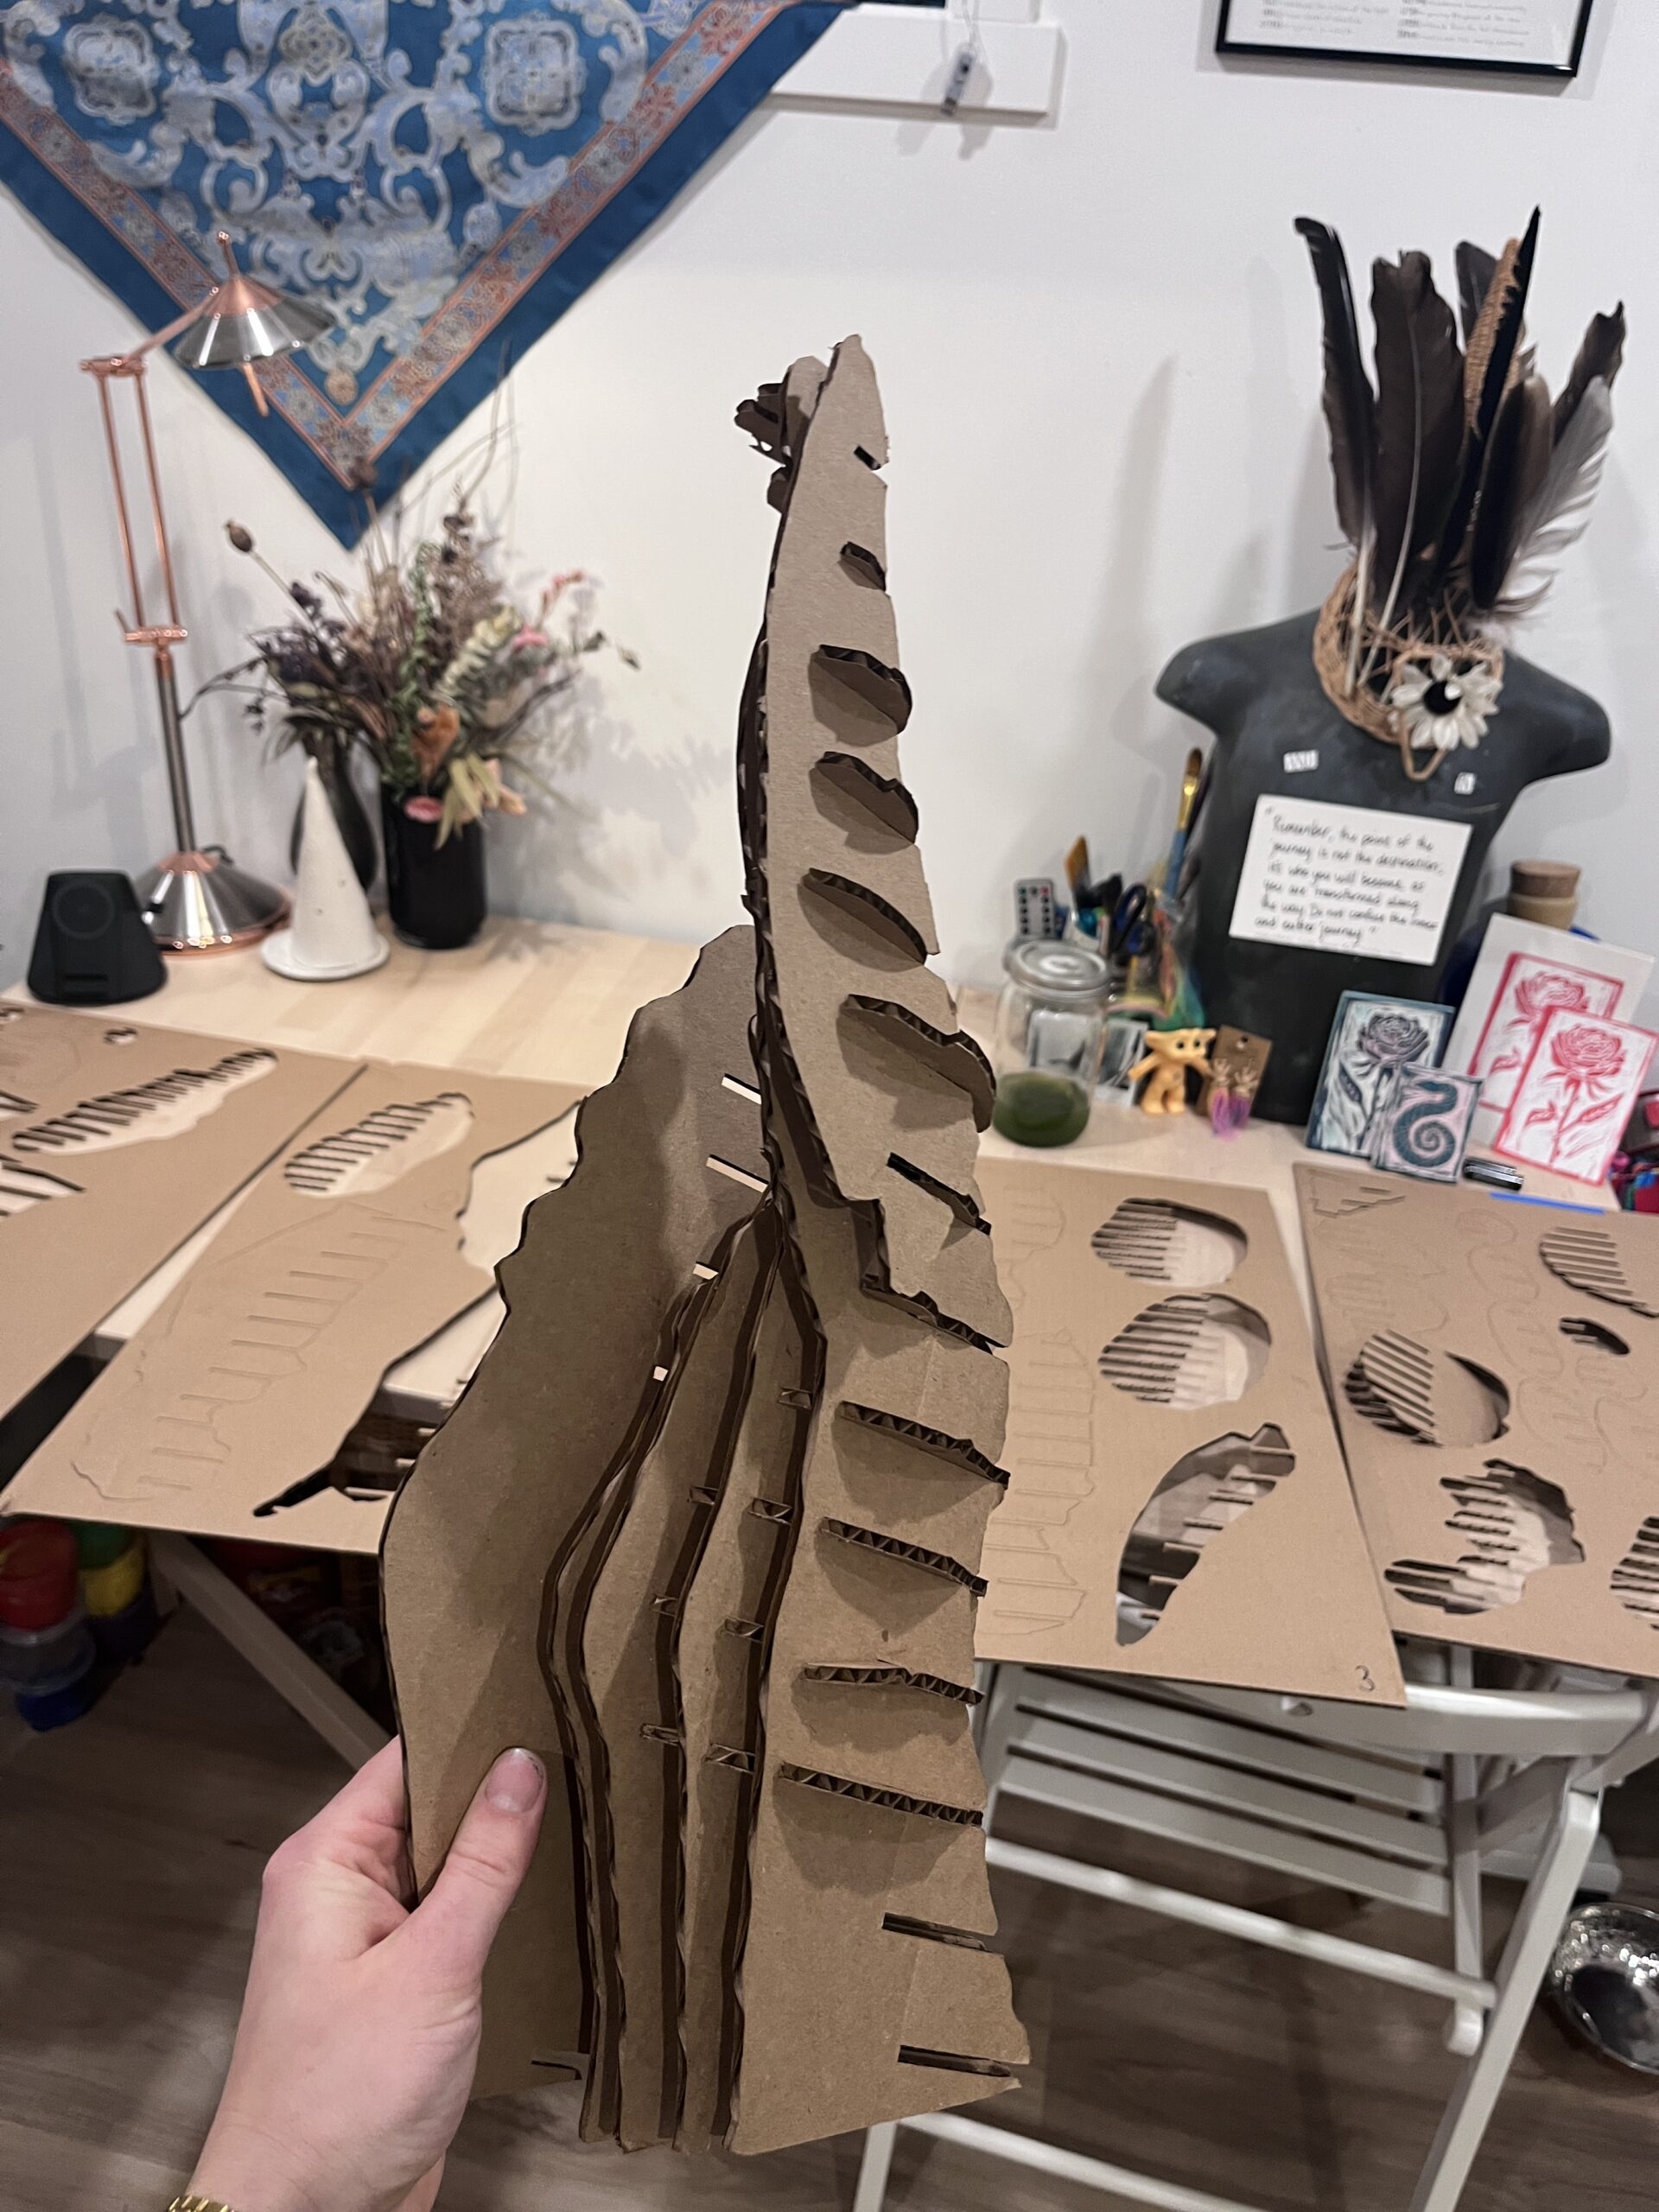
So the assembly for the cardboard didn’t really work out for several reasons:
- The video recording I took of the assembly process was not captured at a good angle. Meaning many of the cardboard pieces were nearly indistinguishable on the screen. Primarily which “tooth” of the carboard was sliding in was a major issue which lead to a domino effect of errors down the road.
- Blueprint imaging didn’t match the lazer cut cardboard pieces. I’m not sure why, but likely to make the best use of space, some of the pieces on my blue print were re-arrached on the cardboard cut outs. This added another layer of complexity and room for human error during the assembly process since the video recording for assembly didn’t match the cut outs I had in person.
- Video recording started to assembly pieces in a non-sequential order. I found while watching the video recording that the video would start to assembly a piece of the arm in mid air, then later connect this to the body. I was really confused why it wouldnt just build one piece that interlocked with the next so that I could keep the pieces in order and aligned. This also made it difficult to figure out what went where especially with the compounding issues from the aforementioned errors.
Due to theses issues, lining up the cardboard interlocking pieces was extremely challenging. I found myself trying to push the pieces into place, the cardboard buckled and I likely put in the wrong pieces in the wrong slots which led to a domino effect of problems. Eventually, I decided I would not be carrying on with the project. Lesson learned through failure this time.
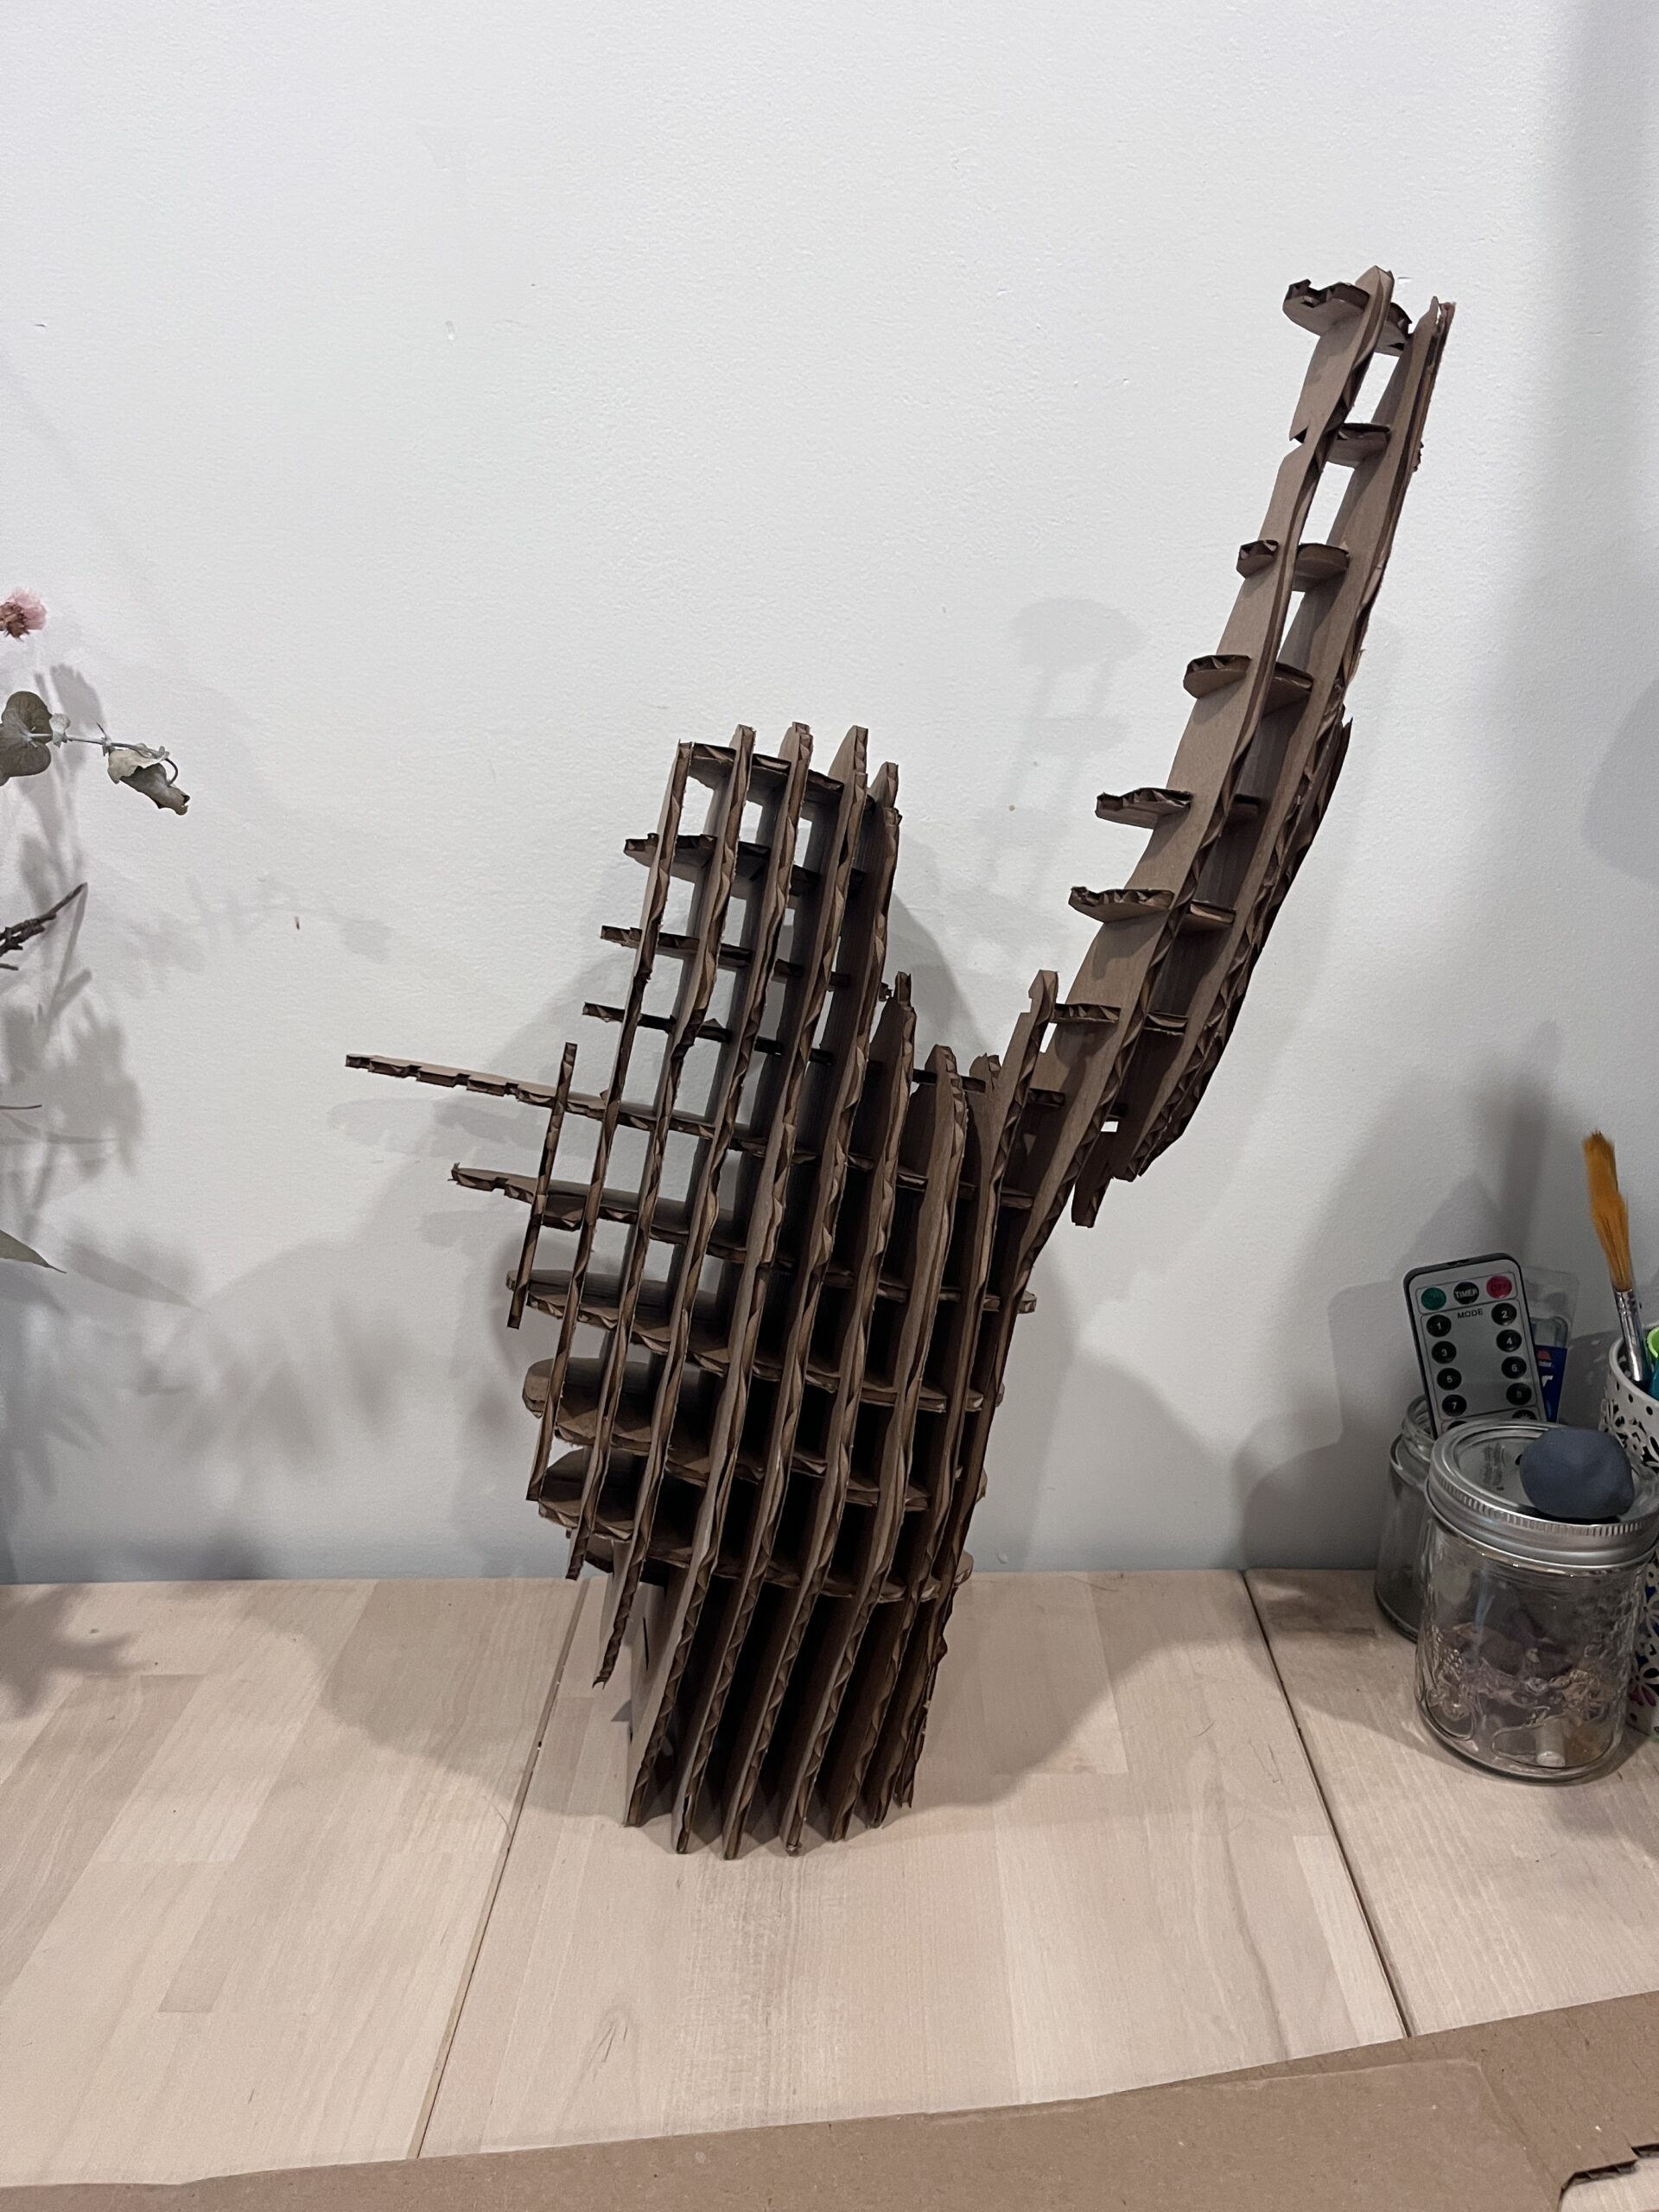
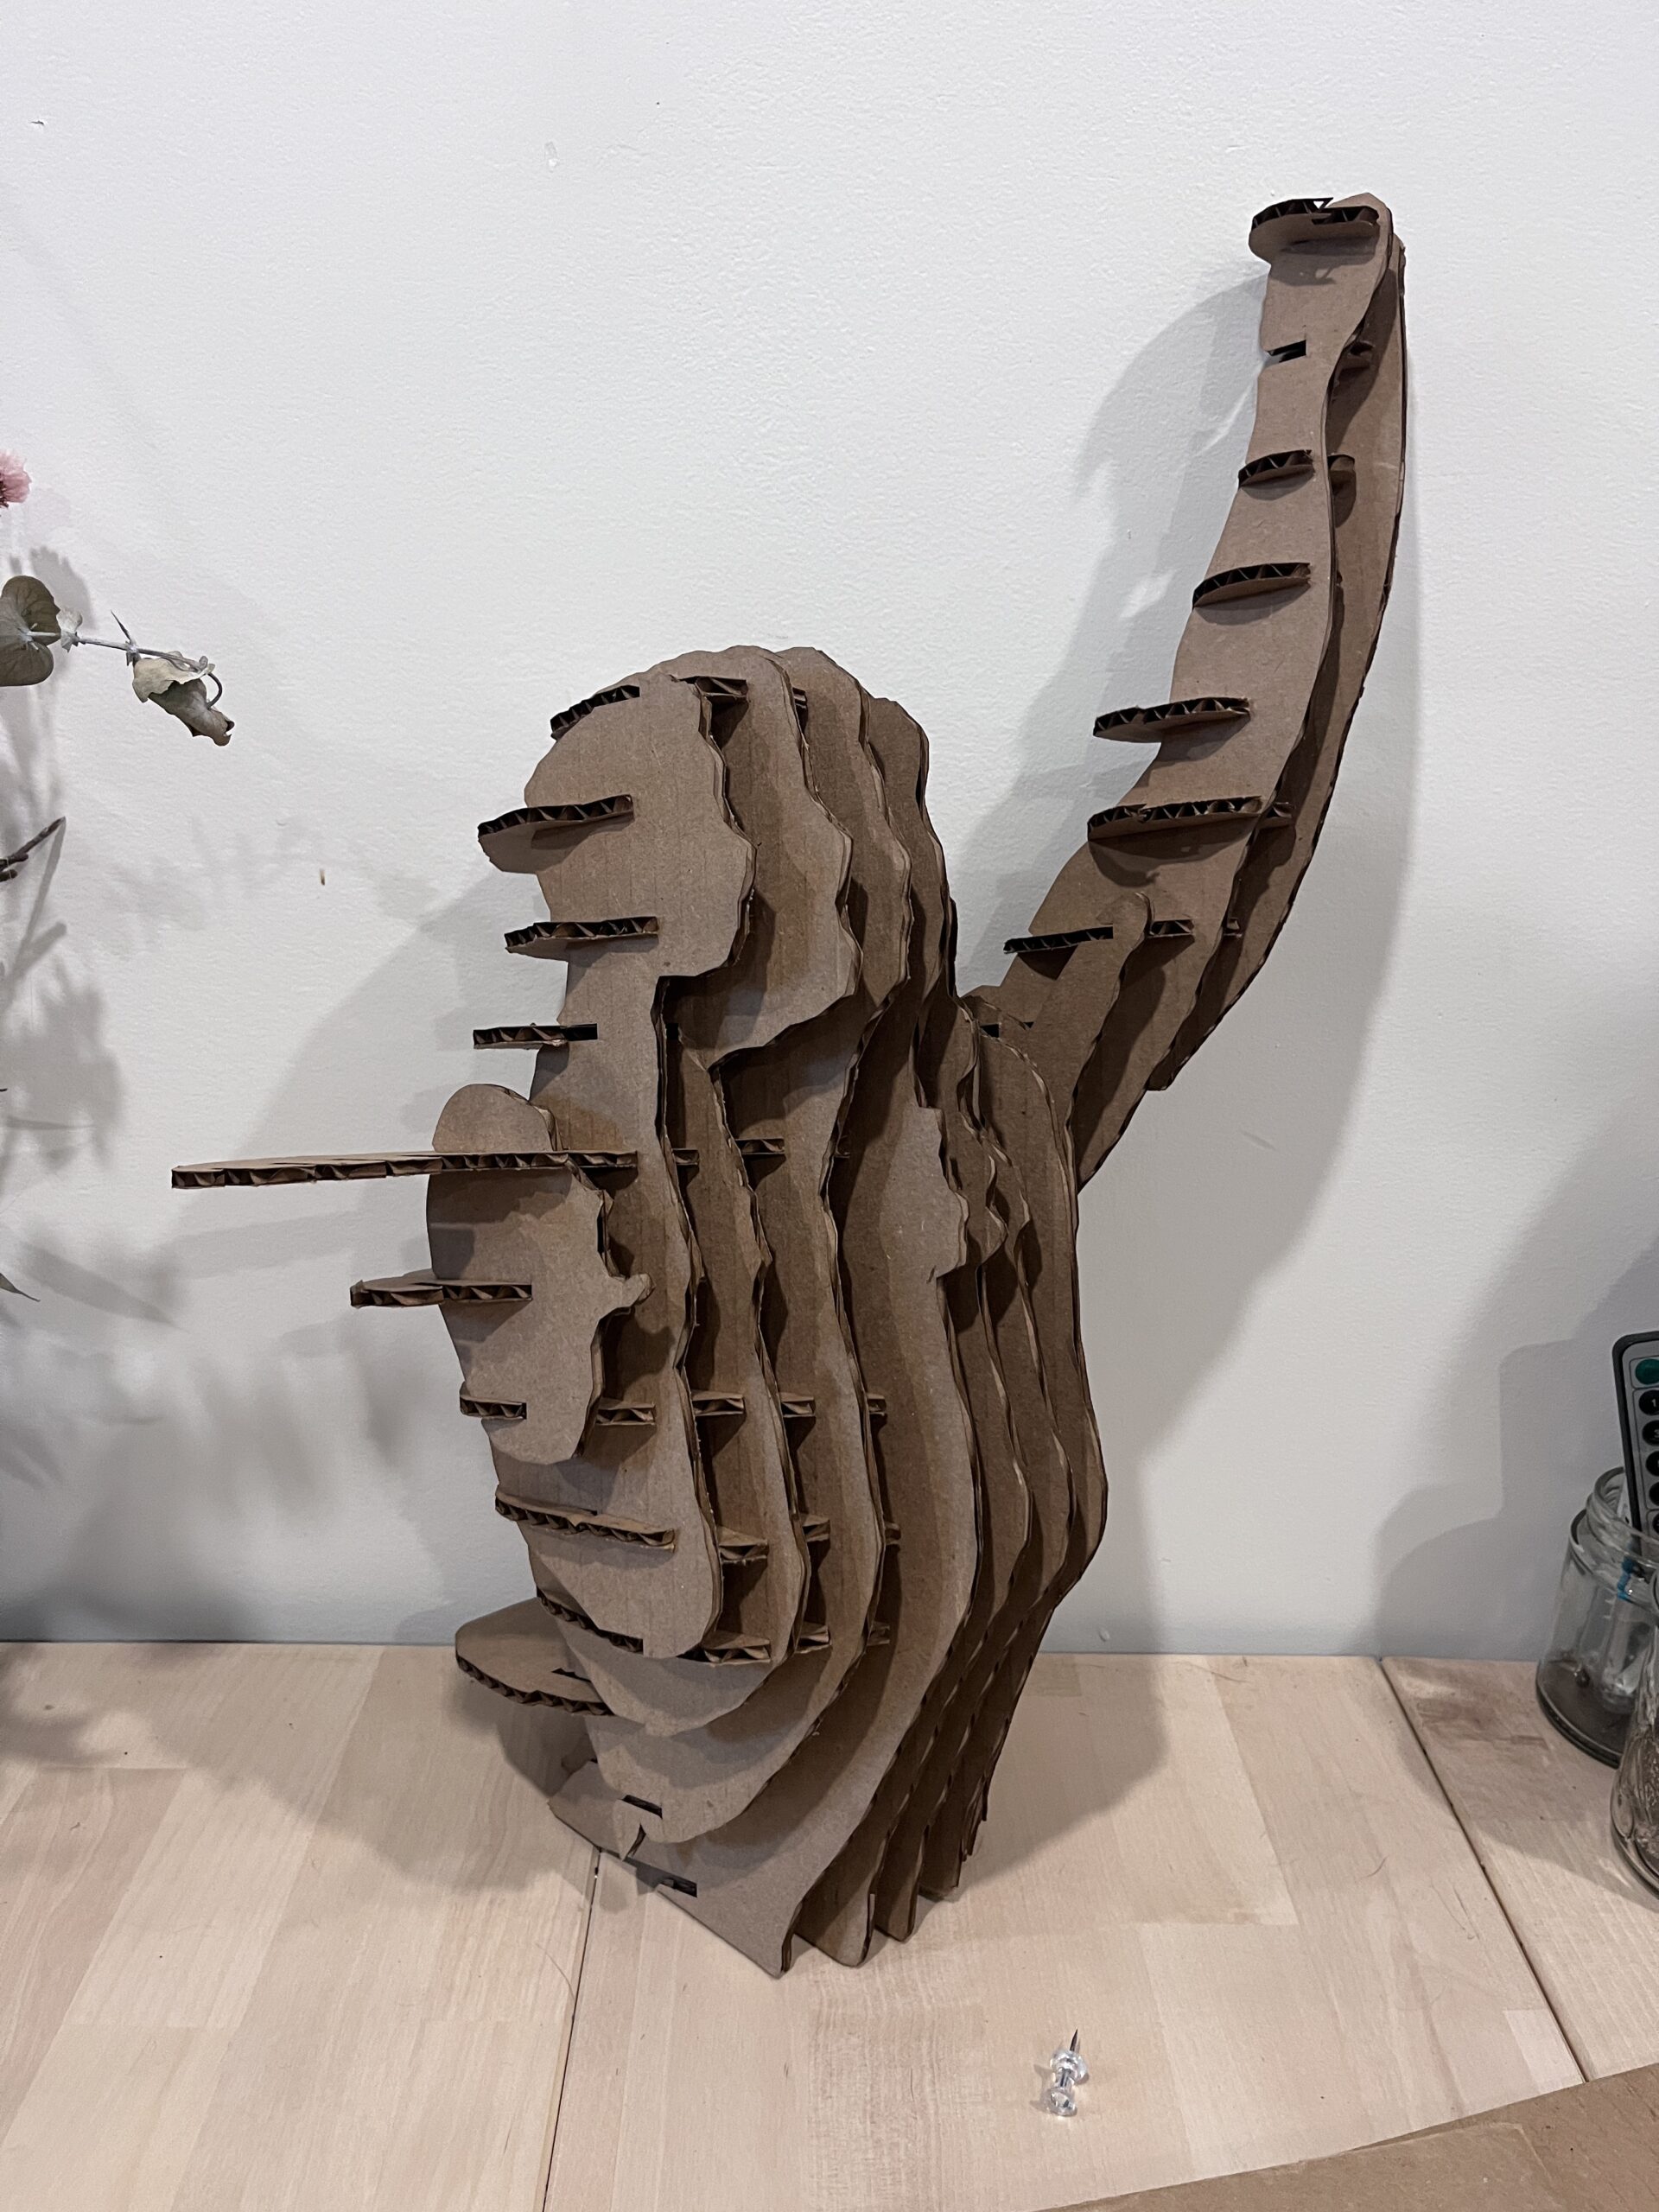
Final piece – cardboard
Decisions
- Glue vs double sides sticky foamy: While assembling the m
- putting objects in hands or not: for my plywood piece I had the idea to put a paintbrush and an apple in each of my hands, but I chose not to include these objects in my polycam scan. This is because I was worried that it wouldn’t translate and then confuse the eye when looking at the form. I was also worried these objects were too small and would look like extended appendages. Finally, I thought it would be funner to add these objects in the end, so that they could also be inter-changable, depending on what it felt like I was “holding up” or “holding on” to as time goes on. This makes the model more engaging.
- Hair or no hair in model: On my plywood model I tucked my hair in my toque, but for my cardboard I let my hair down. The effect was much better with the hair tucked in because the outline of the head was more visible. With the hare, the head becomes more for a triangular shape. While you can still see it’s human, it’s much more interested to look at the distinguishable finish of the rounded head and toque shape.
- Sanding the edges more – I wanted to make a more smooth effect, but didn’t get the effect I was looking for with the power sander. I used a medium and a light sandpaper to soften the edges and remove the carbon copy black lines. This satisfied my desire for smoother edges, but next time I might explore using a drummel sander to get a more rounded finish.
Lessons learned (pre-critique)
Plywood
- take video of the assembly, and an screenshot of the final image to compare as the project is being assembled
- Use tape/stickies during assemblage, and go back with glue as desired
- Simplify the assembly by using vertical or horizontal stacking lines – especially for a first attempt
- Consider laser cutting instead of bandsaw during time restraints
- Leave time for sanding for a smoothed edge finish
- Assembly with friends to increase level of joy
Cardboard:
- Take a video recording of the assembly from multiple vantage points
- Use fewer interlocking pieces to simplify the assembly process
- use vertical or horizontal lines for first projects to simplify – or just stack the cardboard
- Assembly with friends to increase level of joy
Peer Reflection | Post-Presentation Reflection + Documentation:
- How did different students interpret the same brief?
- One student created life-size models (Nim), others used images of stuffed animals, toys or their own body, while others used images made from digital renders such as those available from Meshmixer, or created from scratch on Blender.
- Other students focused more on the ways of building and attaching the pieces. Some students sanding the artwork at the end to create a more smooth finish, or used paint or wood finishing or even tape or stickers for embelishments. While other students used dowels creatively to make the artworks more engaging (Cary’s moveable slices, or Virginia’s solid “top” figure). Other students, such as myself, used tape or felt strips to add a sense of movement to their artwork. Yeun Ting used the felt strips to allow the legs to move, whereas I used foamy double sided tape to give some organic movement to the form.
- What common threads or techniques emerged across the group?
- People using photographs of themselves or their own figures was a common theme. In addition, images of stuffed animals also seemed to be a common thread.
- What unique solutions stood out?
- Utilization of the dowel to both create movement in the pieces (spinning around the dowel in the Carys’ piece, and keep the figure completely solid in Virginia’s piece.
- Creating the hammerhead shark from scratch in Blender was another unique solution. This was the object didn’t need to be scanned and allowed for greater diversity in what object might be created.
- Creating a life sized plywood (Nim).
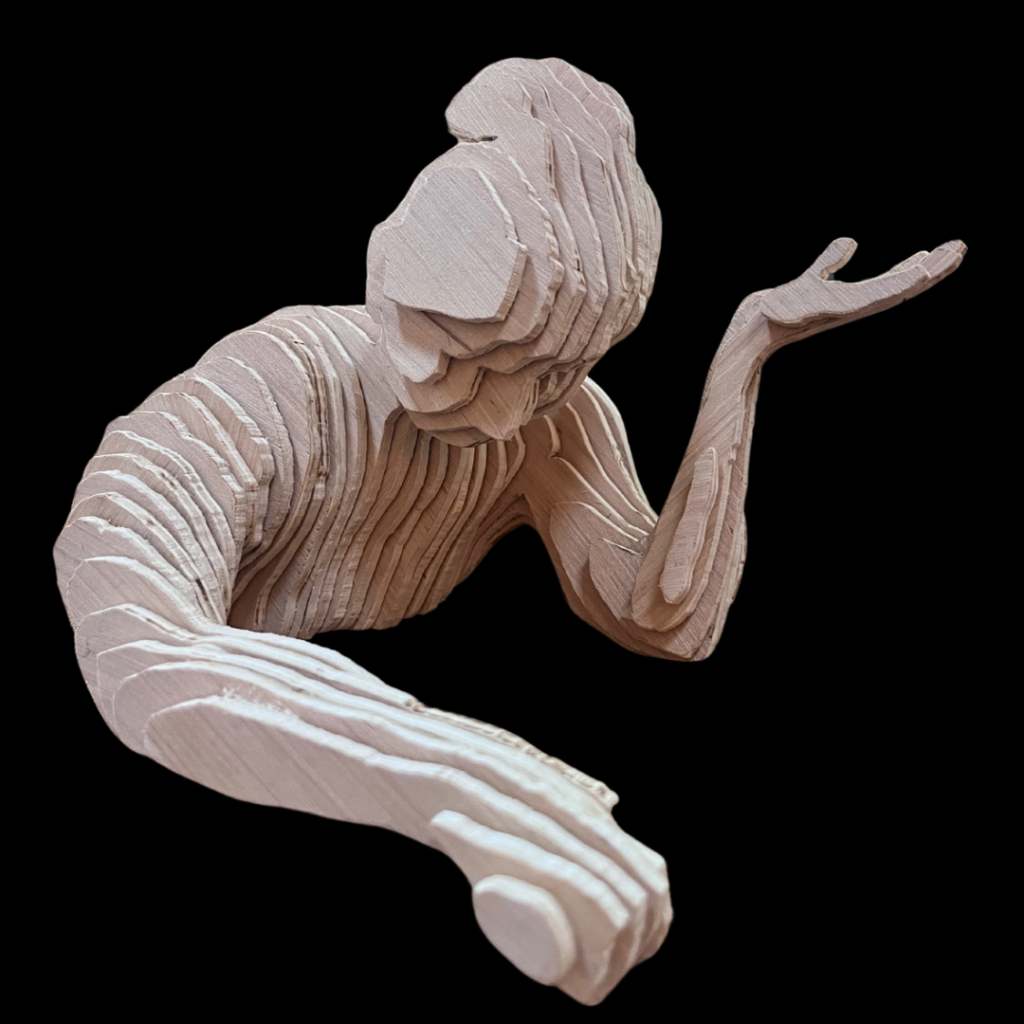
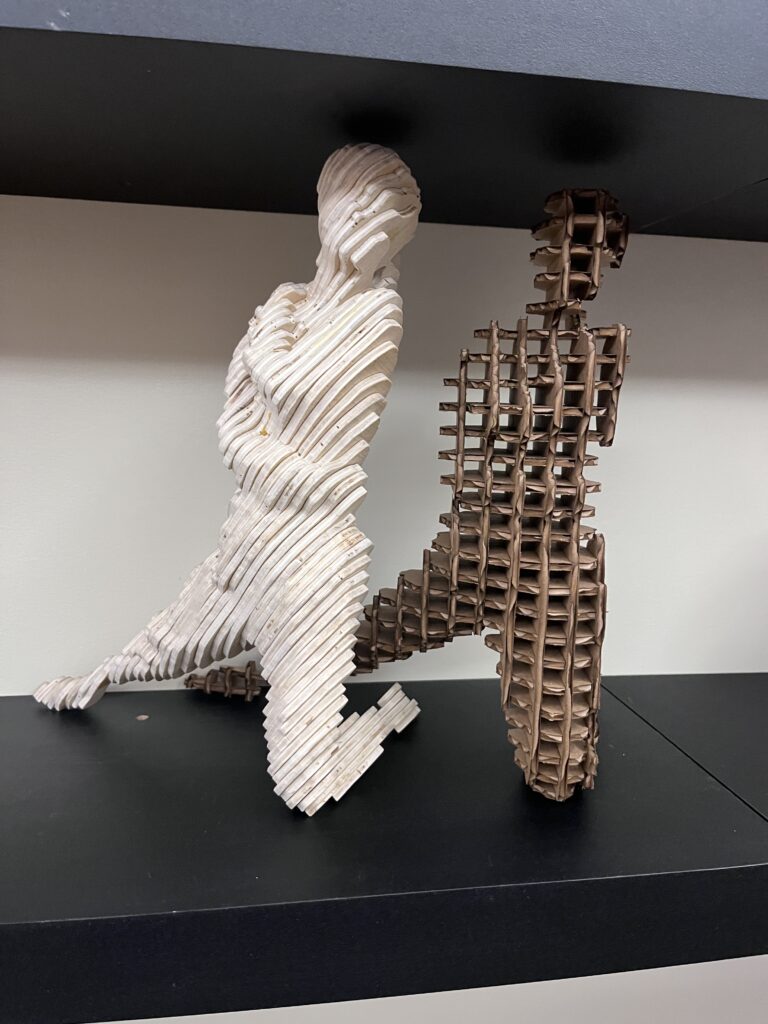
- I also really enjoyed Sarah’s artwork (the dancer pictured below). What I liked about this piece is the shape and position of the figure. I think she was able to come up with some really creative solutions to issues with a stabilized photo by wrapping her arms around her body. I also really liked that she intentionally made the lines move the same direction of her body’s form to add a sense of movement to the piece.
- How did observing others’ work influence your own thinking?
- I learned that simplier is sometimes better. At first, while creating my piece, I thought that more is better in terms of cardboard cut out layers. The reason I believed this is because using more pieces would allow for a more complete or accurate representation of the model. But after viewing the pieces of classmates who had fewer cardboard cut out pieces, I really liked the strong lines and more open for interpretation and sense of “lightness” that came from using fewer interlocking cardboard pieces.

Self Assessment: Learning Outcomes & Reflection Prompts
- Create:
- Learning Outcome: Integrate research and new ideas into your work.
- Prompt: How did research or inspiration from artists, designers, or movements shape your project? What ideas informed your creative decisions?
- When I was deciding what artwork to create for this project I looked at the examples offered by the teacher in the assignment in addition to the artists that I researched (Warren King and Paul Baden) and quickly noticed that the most interesting subjects, for me, were figures of the human body. I also saw a student’s work of a figure with a head and it’s face was sliced to appear like it was melting into the table top surface. I really liked this effect of creating interesting cuts of the figure. This influenced me to create a figure leaning forward that was sliced at the waste line.
- Develop:
- Learning Outcome: Expand your skills by using new tools or techniques.
- Prompt: Did you experiment with new tools (e.g., software, hand tools)? How did learning these tools help you improve your project?
- This whole process was new for me. From using Polycam to creating a 3D image, to editing that image in MeshMixer, to then slicing it, using power tools to cut and sand, and assempbing the pieces. Every step was new and I appreciated that the process was cut down into steps and ample time was given during class. It also gave me a sneak peak into processes that I can utilize for my new job, which is very exciting to be able to apply this artwork method into a paid position.
- In addition, learning to use the band saw and scroll saw allowed me to have more confidence and ideation in other classes. As a result of this project I was inspired to do a plywood artwork for my Creative Process class.
- Expand:
- Learning Outcome: Take creative or technical risks.
- Prompt: Did you try something unfamiliar or experimental? How did taking this risk impact the final outcome?
- Utilizing the sticky foam pieces was unfamiliar and experimental. In fact, everything we did in this project was unfamiliar and experimental. But the foamy pieces were definitely the most unique part of my process and gave a really interesting “breathable” effect to the torso of the figure. I really appreciated this element because it gave the artwork movement, in addition to some flexibility to make alterations during the assembly process.
- Problem-Solve:
- Learning Outcome: Identify challenges and find creative solutions.
- Prompt: What challenges did you face, and how did you overcome them? Were there any problem-solving strategies that worked particularly well?
- Challenge I faced during this project was mostly around the assembly process, but also during the creation of the meshmixer image for the cardboard project. Challenges faced during assemblage were addressed by recruiting friends to help me put together the plywood structure. This both made the assembly more fun and a bonding experience. I will definitely remember to incorporate more friends and fun into my artwork! For the cardboard, it wasn’t so enjoyable, and problem solving looking more like acceptance. A partly assembled artwork still looked interesting given the nature of this project, and it also connected me back to my story and connection with my artistic practice. For me, my artwork is more about therapy and not allowing artwork to be a source of stress or anxiety, but a place for expression. So, this work really reflects that intention because instead of stressing to create some idea of a finished product, I following my values and honoured myself where I was at. I feel proud of that and therefore I feel proud of my artwork because it represents that self care.
- To address my challenged with blurry arms in the cardboard image, I had to get creative no Meshmixer. I used a left arm graphic image, copied it, reflected it, deleted the original, and then slimmed down the arm and attached it to my form to be able to make 2 replicas of arms on each side of the body.
- Collaborate & Reflect:
- Learning Outcome: Use research, feedback and self-reflection to improve your work.
- Prompt: How did research, feedback, and your own self-reflection lead to revisions?
What specific changes did you make to improve your project?- Listening to Angela share with other students what makes the best forms such as wearing tight clothing and wearing the hair up helped me make decisions during my plywood structure polycam photo. That said, I am very much a “learn it the hard way” or “learn it from your own experience” kind of person, so I pushed this boundary for my cardboard project and instead let my hair down and had my arms floating for this revision. I definitely struggled to stabilize my arms for the image and this lead to the creative problem solving aforementioned. In addition, I found out for myself that the hair up creates for a more clear silhouetted figure!
- For future projects, my takeaways from seeing my peer’s artwork are to start with more simple slice directions and innovate during assemblage – Carys and Virginia’s projects; and/or to start with more simple designs (eg. a tooth instead of a figure) and increase frequency to create interest in accumulation (multipe teeth).
- Communicate:
- Learning Outcome: Identify and reflect on connections made in your work.
- Prompt: As you worked on your project, what connections did you make between ideas, techniques, or materials? Did new approaches or unexpected relationships emerge as your project evolved? How did these connections influence your creative process?
- Most of the connections I made were in retrospect. For example, I realized that taking a video of the assemblage of my plywood sculpture would have been helpful. In addition, I learned that taking multiple angles for the interlocking cardboard assemblage could have saved me a lot of grief. Also, numbering the cardboard pieces, like I did for my plywood sculpture, might also have served me during the assembly process. With more time, I would have taken the cardboard assembly process over to a friends house to make this portion of the project more fun and connective, like I did with my plywood structure.